目次
02.codesandboxのvue.jsでvuetifyのテンプレート
—2019/08/13 更新
2019/8/13時点で、やり方が変更になっています。
https://codesandbox.io/s/vue-vuetify-template-2019-aug-dn1t2
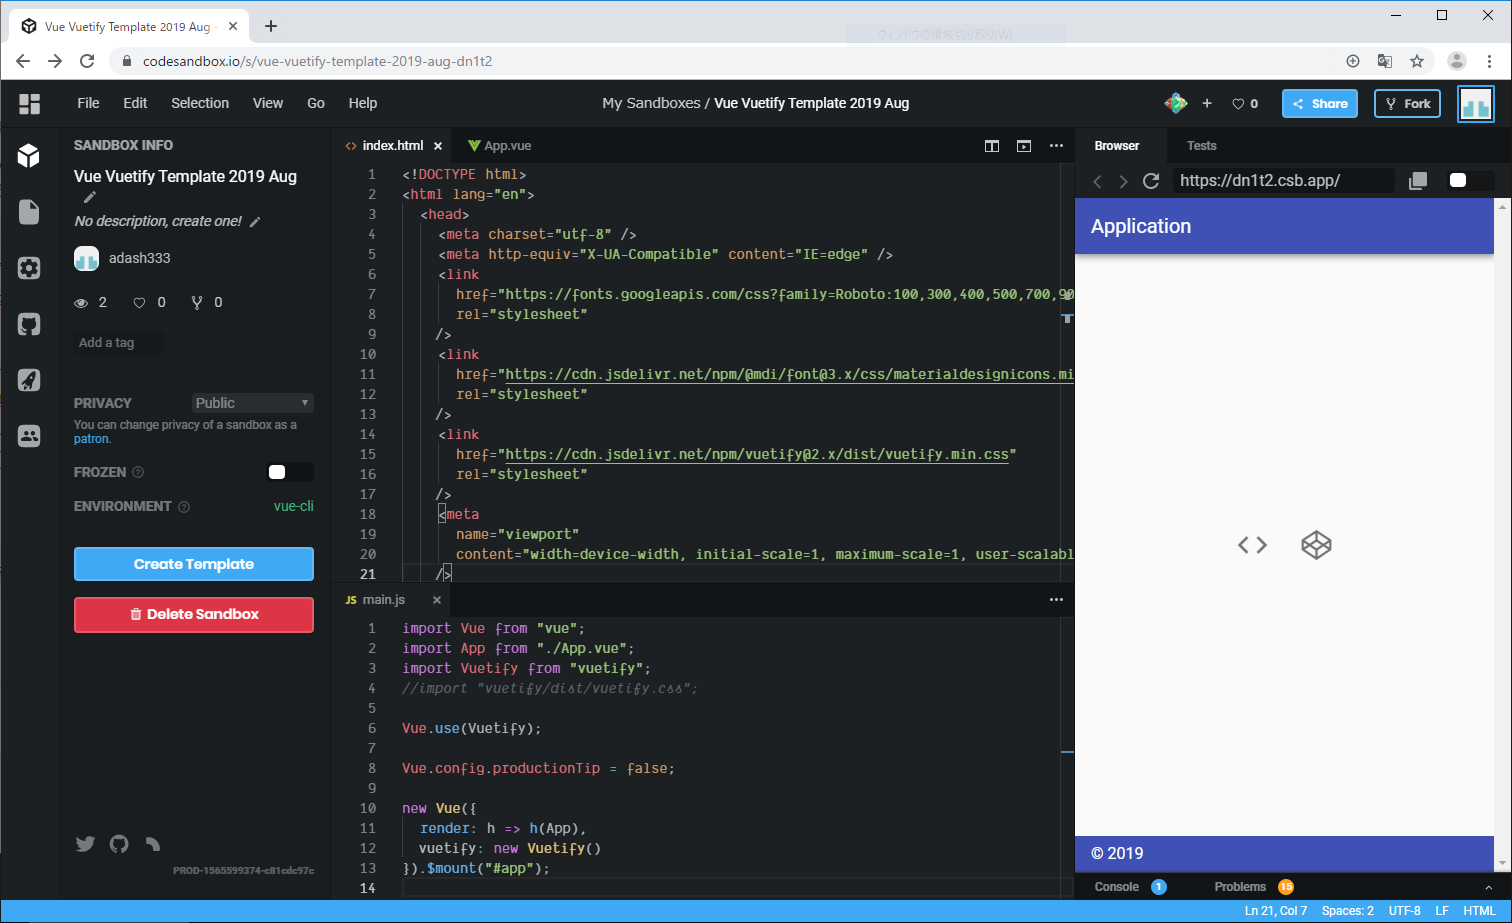
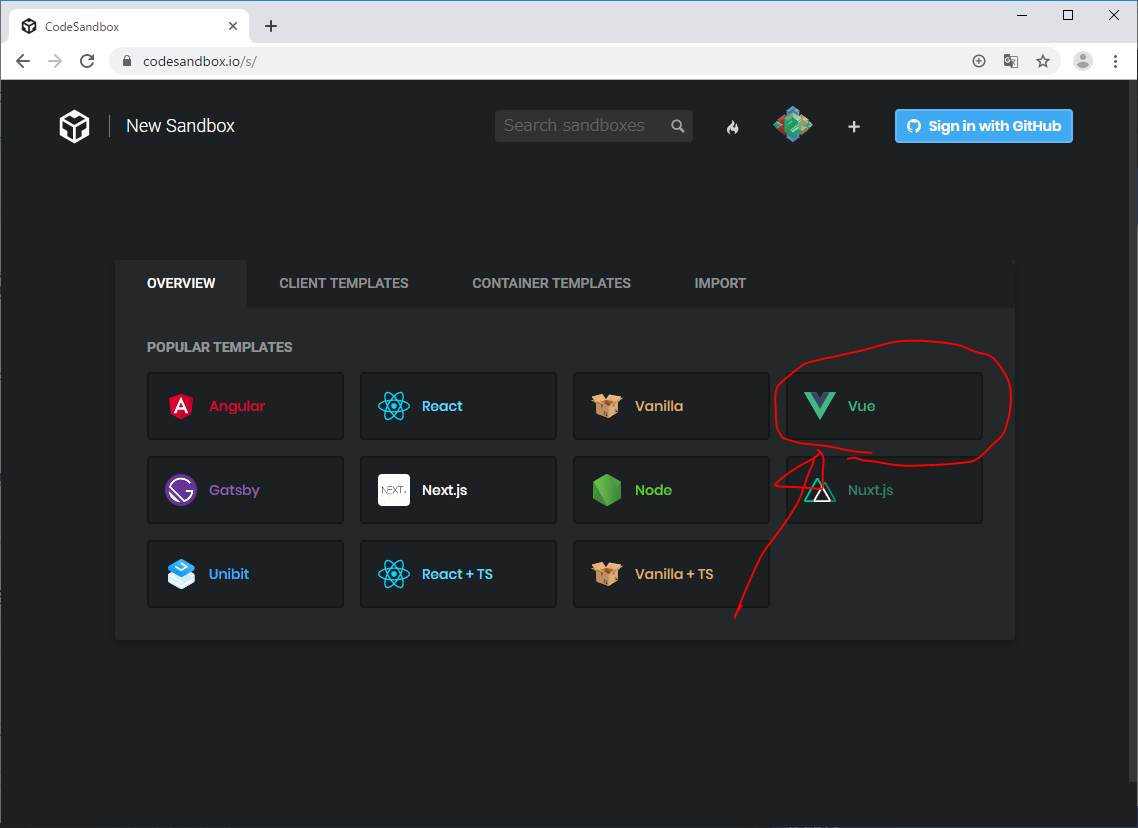
CodeSandboxで新規Vue.jsアプリを作成し、以下の操作を行います。
- https://codesandbox.io/で、Create Sandboxをクリックし、Vue.jsアプリを作成
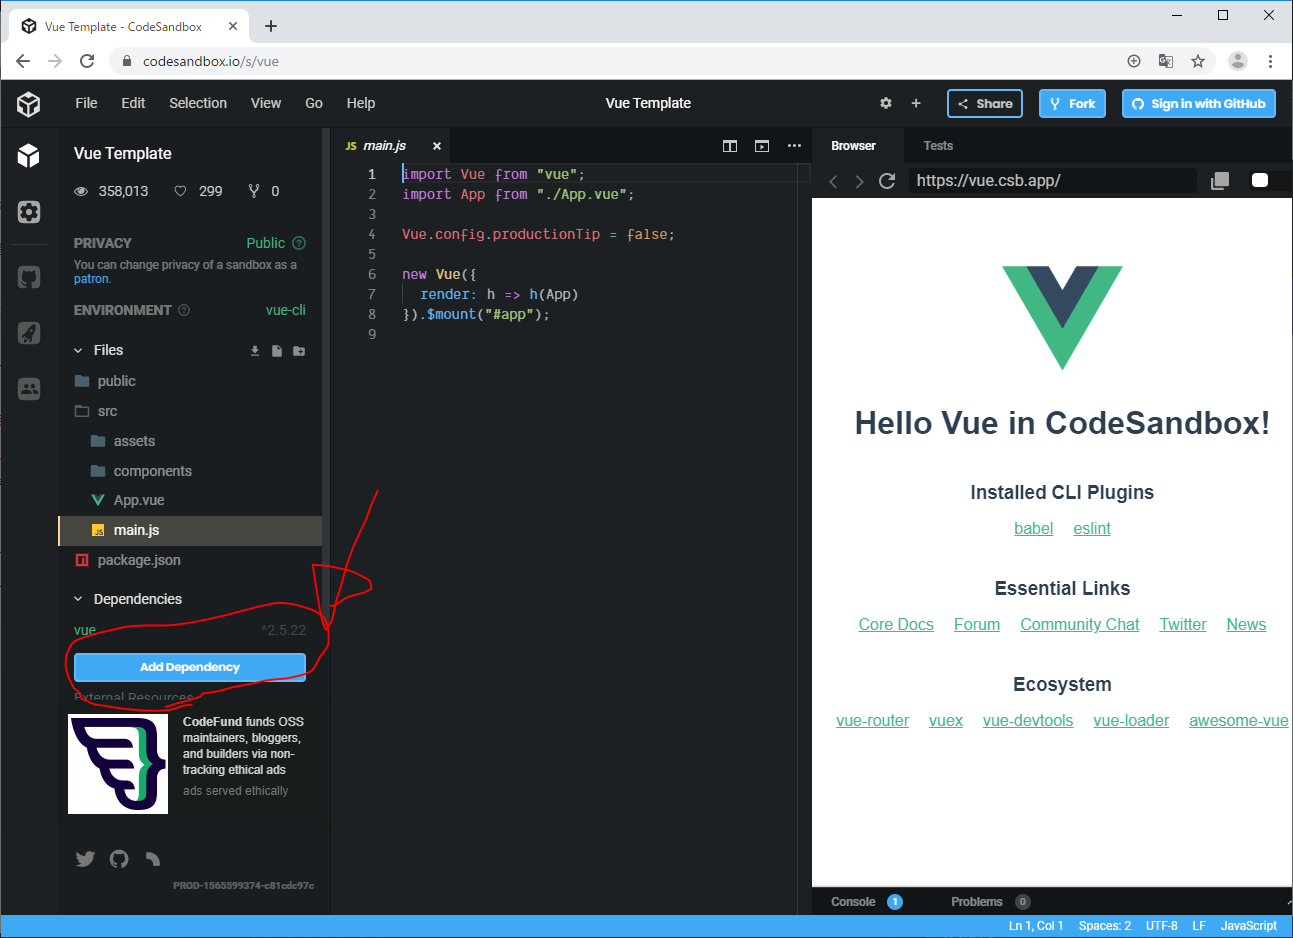
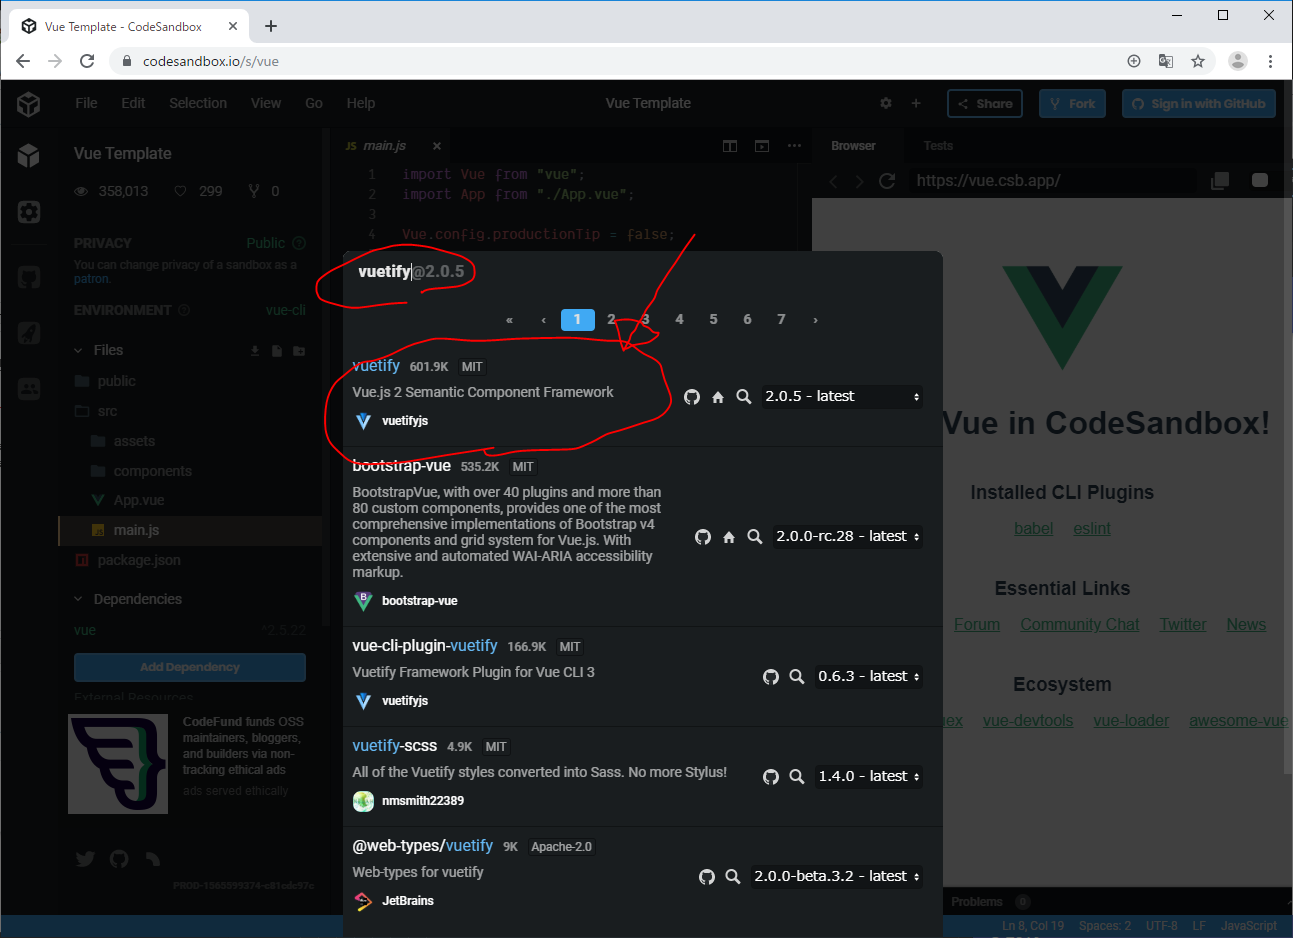
- Add Dependencyから、Vuetifyをインストール
- public/index.htmlの編集
- src/main.jsの編集
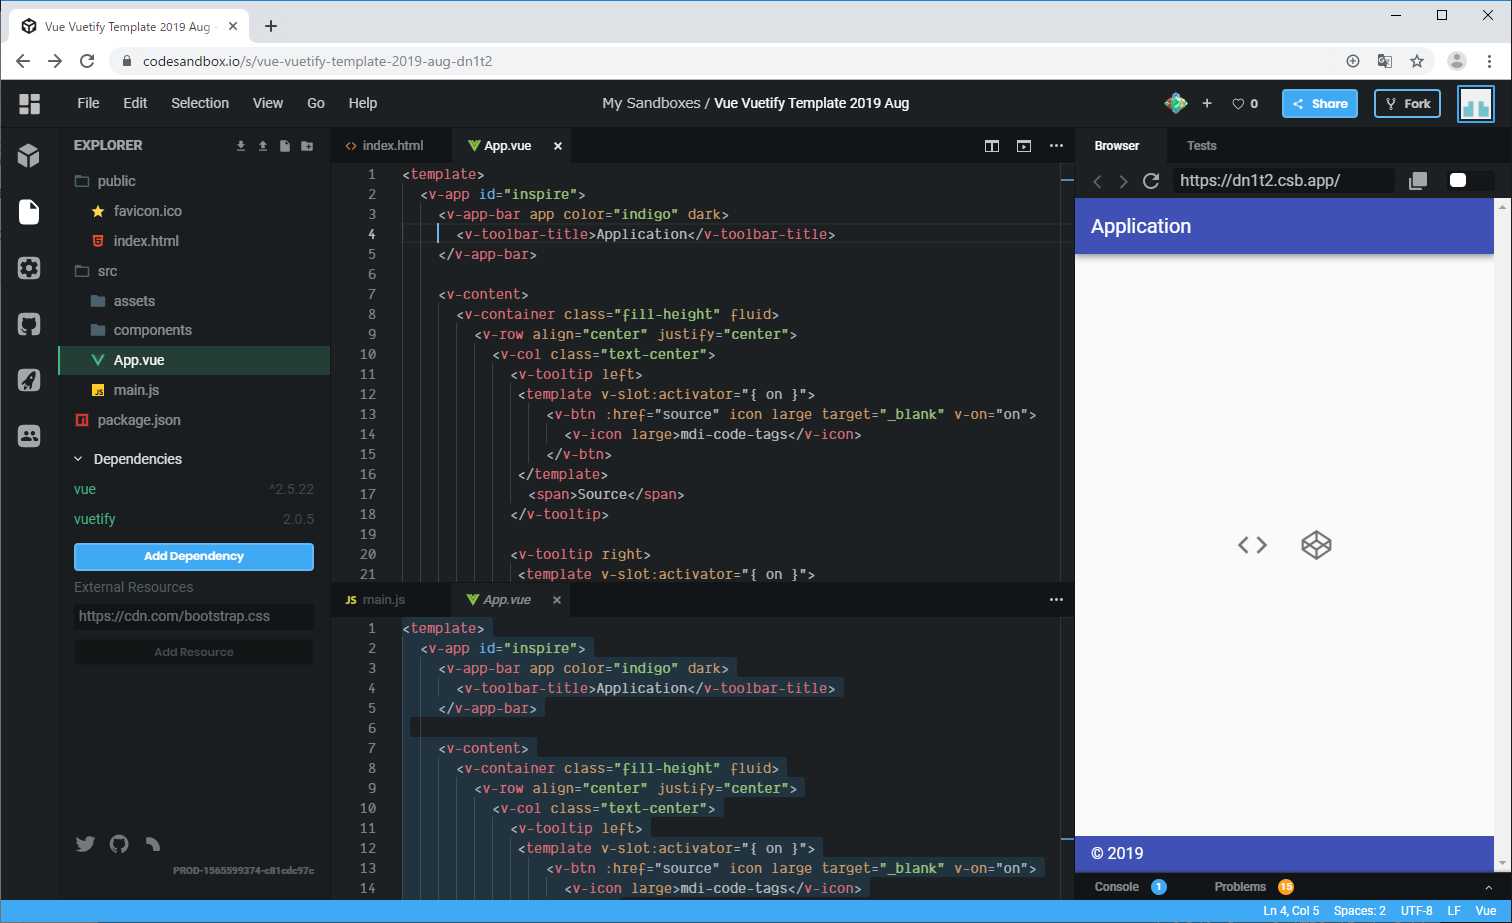
- src/App.vueの編集
public/index.htmlと、src/main.jsと、src/App.vueを以下のコードをコピペします。
https://codesandbox.io/s/vue-vuetify-template-2019-aug-dn1t2
2019年1月以前の方法
2019/8/13時点で、Vuetifyの変更のためか、以下のやり方そのままではうまくいきません。
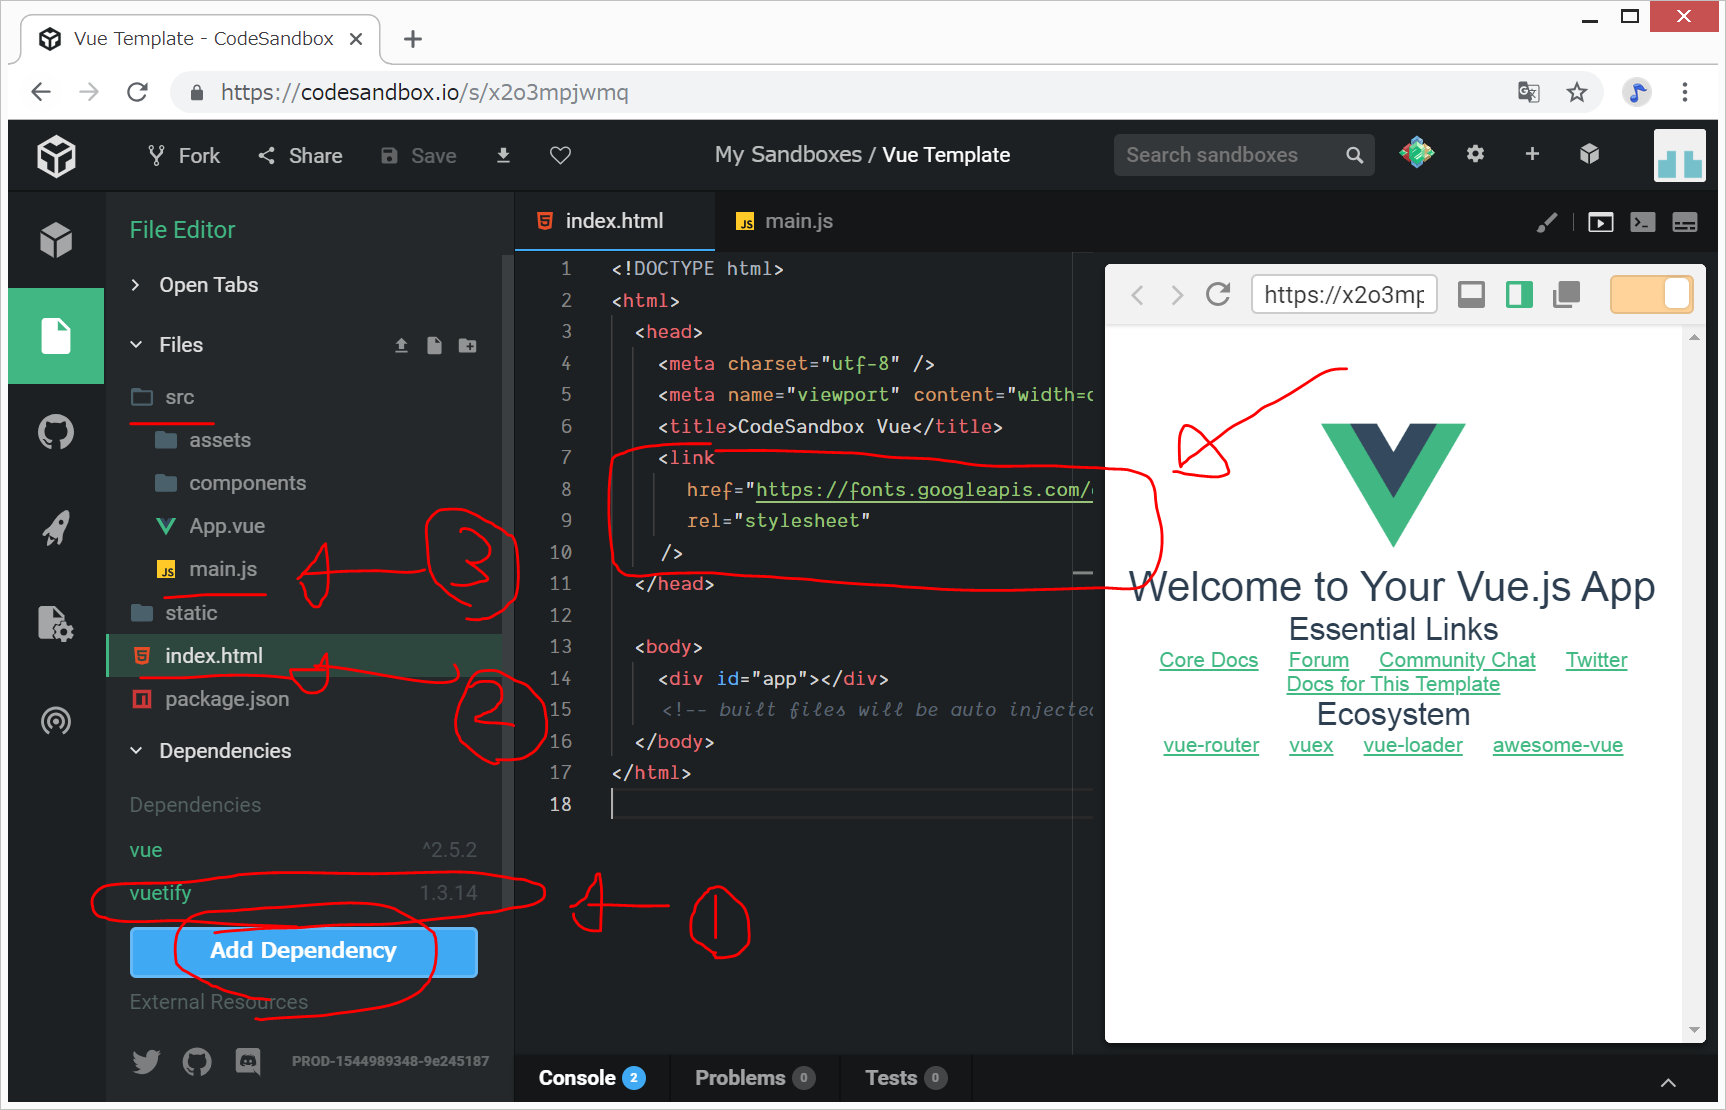
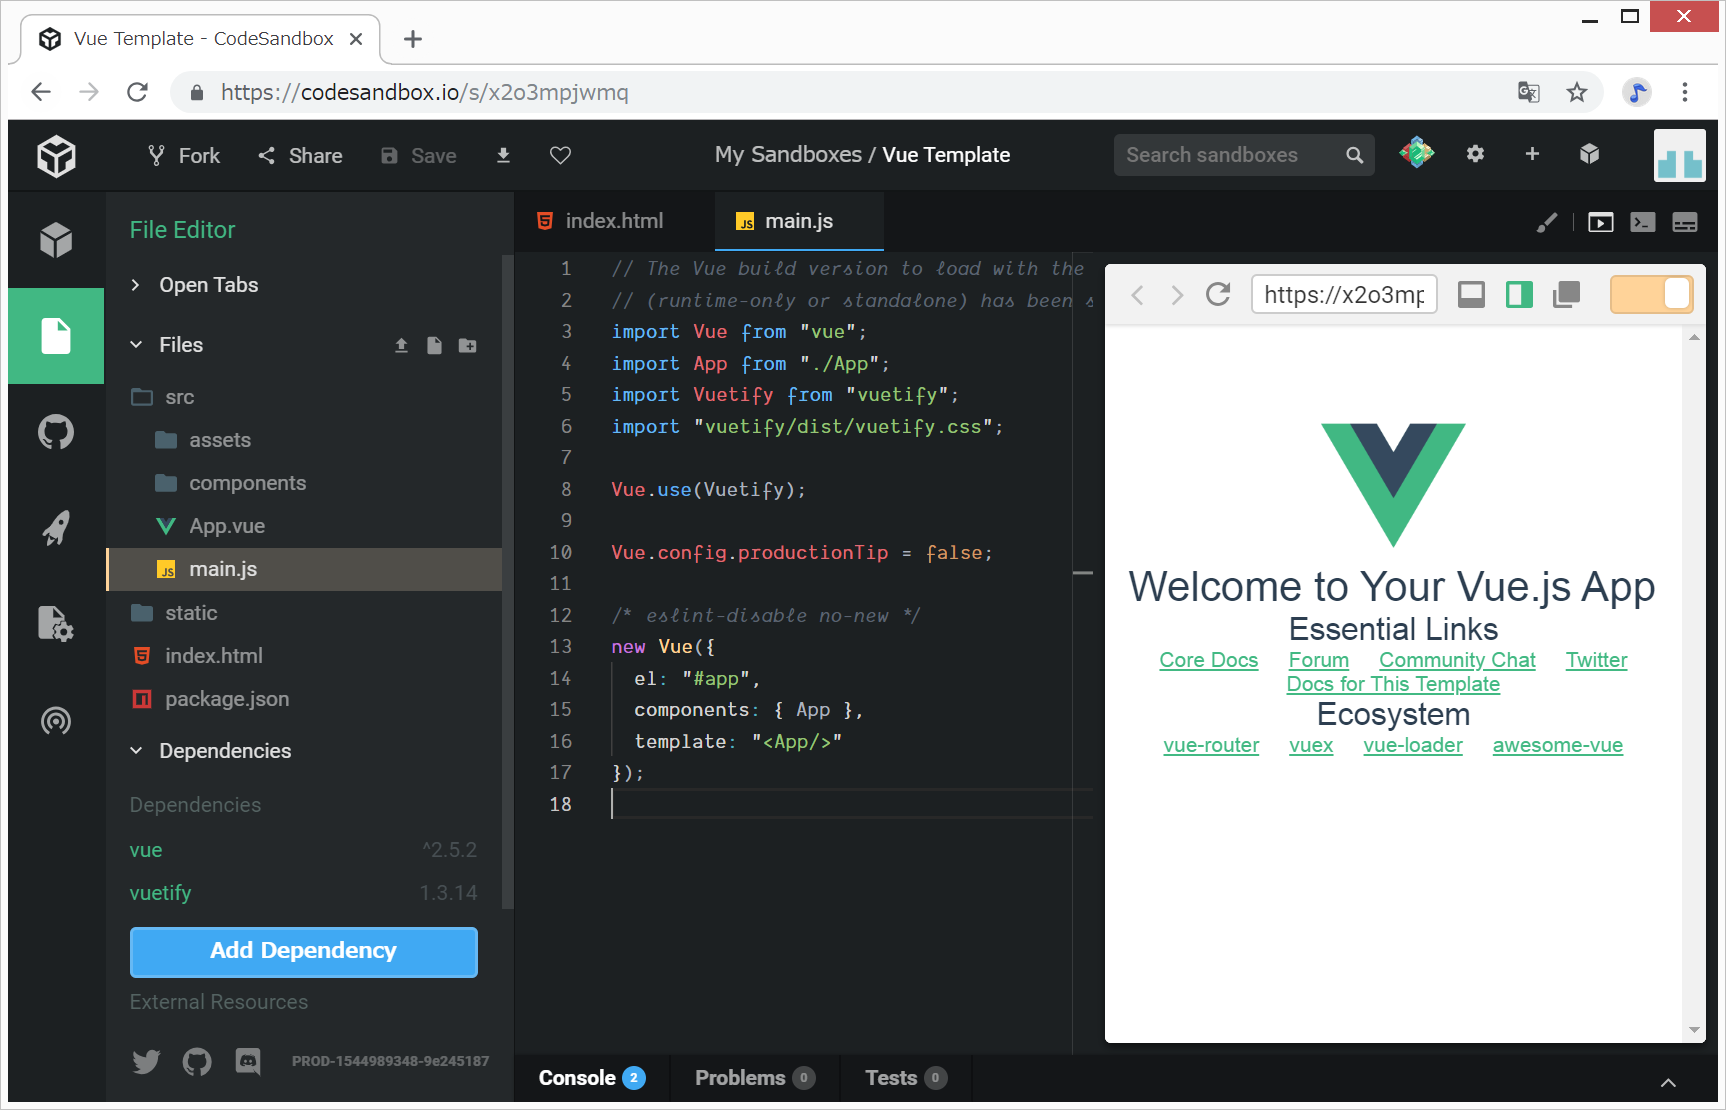
CodeSandboxで新規Vue.jsアプリを作成後、以下の3操作を行う。
- Add Dependencyから、Vuetifyをインストール
- index.htmlの編集
- src/main.jsの編集
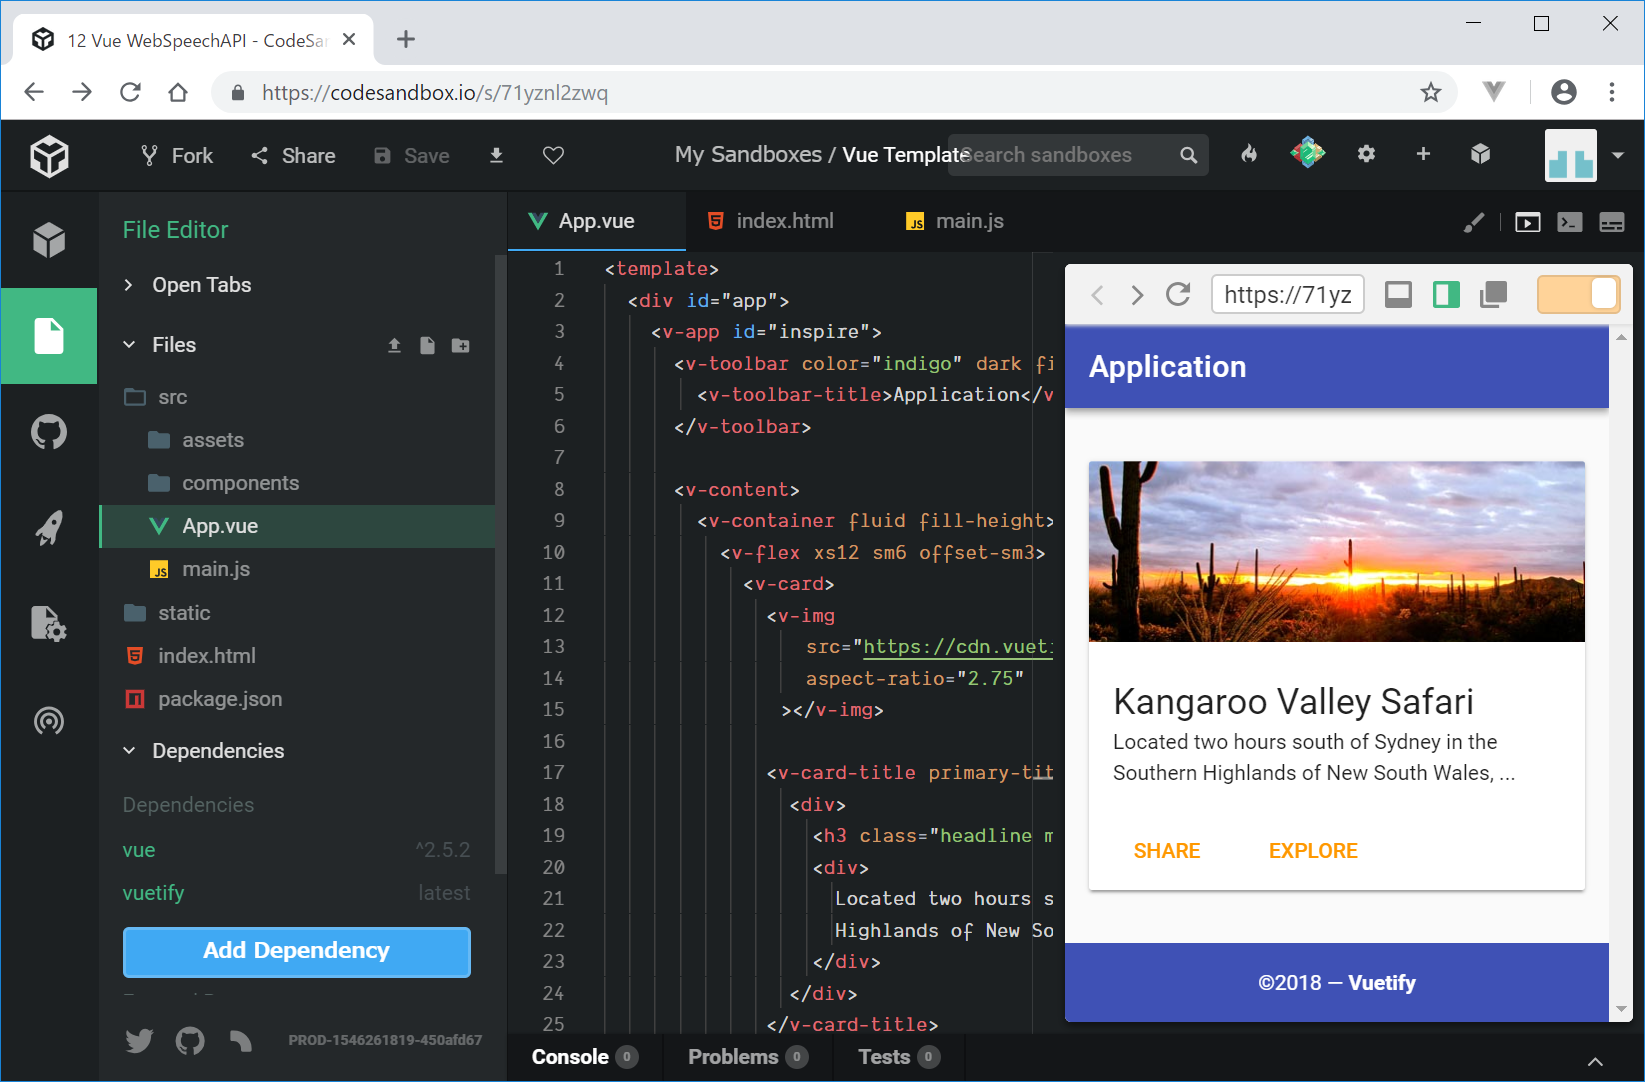
上記の後、src/App.vueを編集し、Vuetifyによるデザインを行う『テンプレート1』
例えば、src/App.vueを以下のように編集すると、ヘッダーとフッターが表示される。
参考:https://vuetifyjs.com/ja/examples/layouts/baseline
https://github.com/vuetifyjs/vuetifyjs.com/blob/master/src/examples/footer/companyFooter.vue
以下のような感じになる。
ヘッダー+αのみのシンプルなテンプレート『テンプレート2』
『テンプレート3』
https://qiita.com/nobu-maple/items/43c1228b8f04837d753b#4home-コンポーネント作成
こちらのサイトのテンプレートを転記させて頂きます。
(引用ここから)
<template>
  <v-content>
    <v-container fluid fill-height>
      <v-layout justify-center fluid>
        <v-flex xs12 offset-mx5>
          Home Component.
        </v-flex>
      </v-layout>
    </v-container>
  </v-content>
</template>

<script>
  export default {
    data: () => ({
    }),

    props: {
    },

    created() {
      console.log('Home Component created.')
      this.initialize()
    },

    mounted() {
      console.log('Home Component mounted.')
    },

    methods: {
      initialize: function() {
      },
    },

  }
</script>
(引用ここまで)

