学習と結果の出力(Chainer)
Chainer2でMNIST目次
Chainer2プログラミングの全体図
- (5)学習と結果の出力(Chainer) ⇐ いまココ
(5)#5 学習と結果の出力
# UpdaterにIteratorとOptimizerを渡す
from chainer import training
updater = training.StandardUpdater(train_iter, optimizer, device=gpu_id)
# TrainerにUpdaterを渡す
trainer = training.Trainer(updater, (max_epoch, 'epoch'), out='mnist_result')
# TrainerにExtensionを追加
from chainer.training import extensions
    # trainer.extend()で、学習の進行状況を表すプログレスバーや、lossのグラフ化と画像の保存などを行う

# 学習を実行
trainer.run()
開発環境
Windows 8.1
Anaconda
Python 3.5
Chainer 2.0
Chainerのインストール方法はChainer2.0をWindowsにインストールをご覧下さい。
このページは、(4)モデルと最適化アルゴリズムの設定(Chainer)の続きであり、今回は、MNISTの学習と結果の出力を行っていきます。
手順
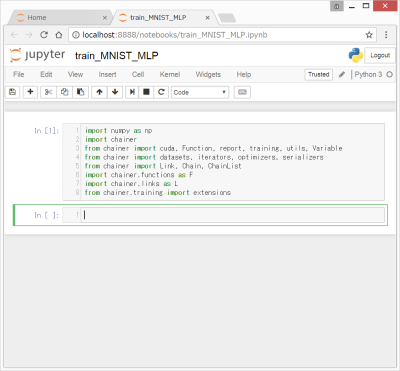
0. 前回終了時の画面
1. データセットの準備
作成中。
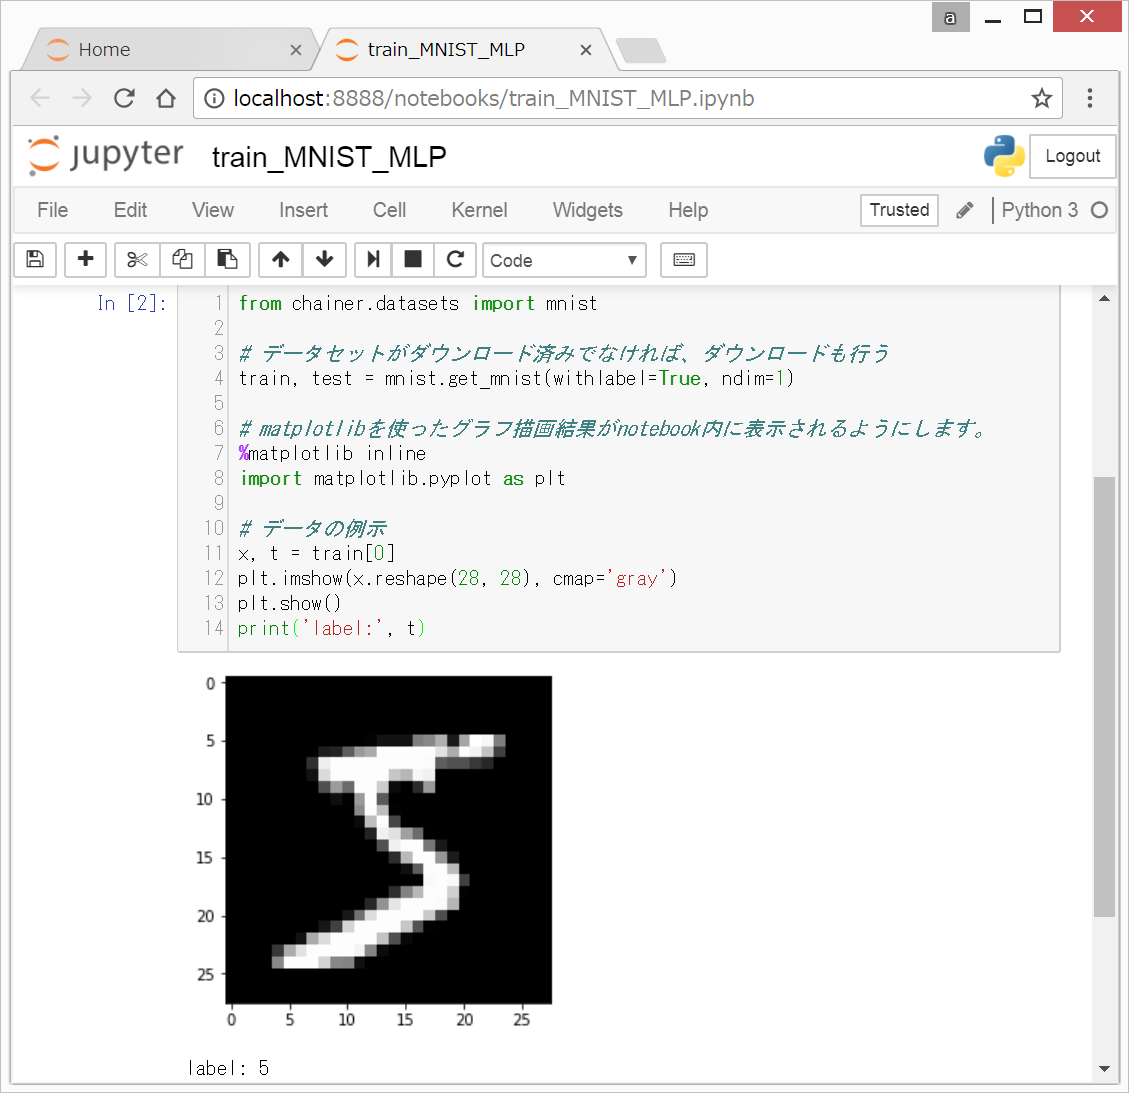
from chainer.datasets import mnist

# データセットがダウンロード済みでなければ、ダウンロードも行う
train, test = mnist.get_mnist(withlabel=True, ndim=1)

# matplotlibを使ったグラフ描画結果がnotebook内に表示されるようにします。
%matplotlib inline
import matplotlib.pyplot as plt

# データの例示
x, t = train[0]
plt.imshow(x.reshape(28, 28), cmap='gray')
plt.show()
print('label:', t)
以下のような画面になります。(以下の画面は、2回目以降の画面となります。最初は、「Downloading from http://yann.lecun.com/exdb/mnist/train-images-idx3-ubyte.gz...」といった感じの文字が4行続くと思います。)
順に解説していきます。

