目次
Ionic4でタイマーアプリ
—2019/02/13 更新
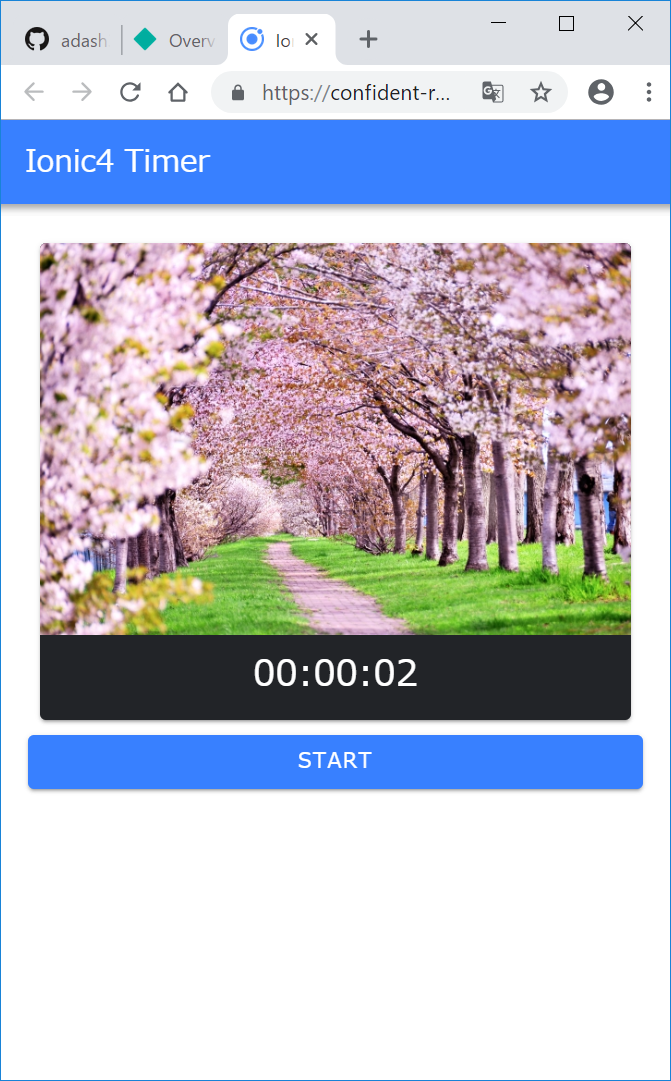
今回は、以下の本のタイマーアプリを、Ionic4で実装してみたいと思います。
ソースコードとDEMOサイト
すること
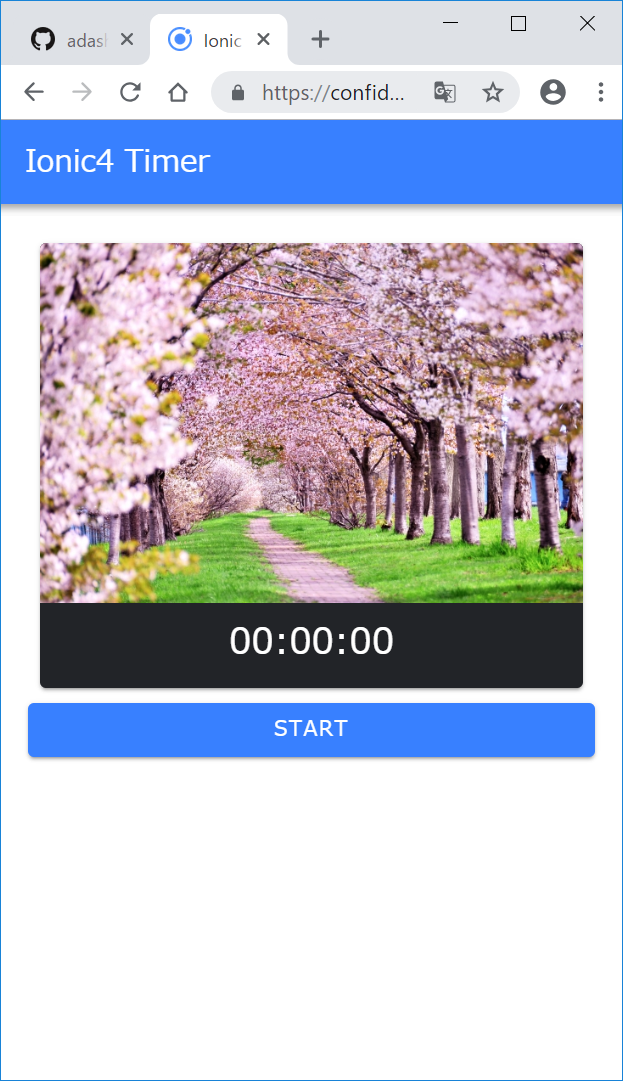
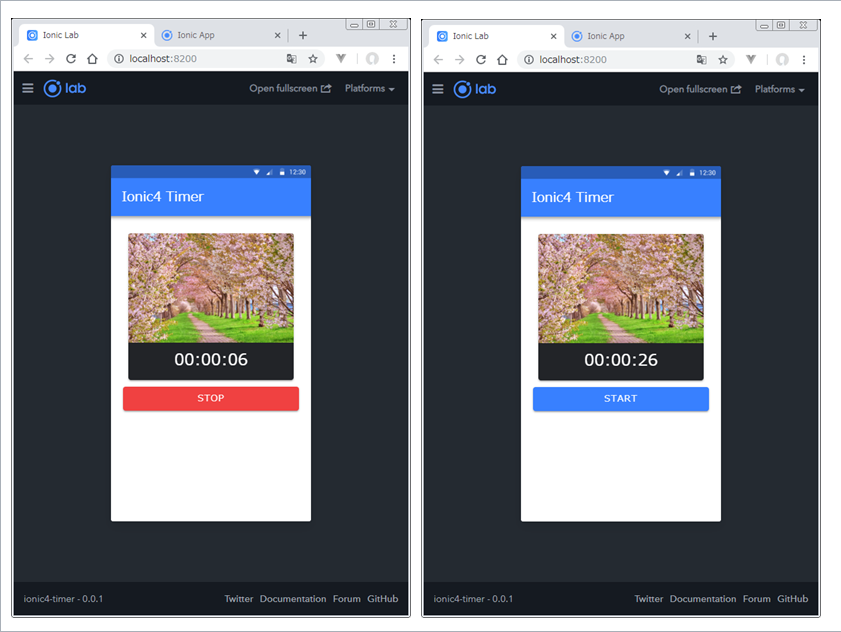
- スタートボタンを押すと、00:00:00からカウントアップする
- ストップボタンを押すと、カウントアップが止まる
- リセットボタンを押すと、カウントがリセットされる
- PWA化して、オフラインでもアプリとして利用できるようにする
開発環境
WindowsでのIonic4環境構築方法については、WindowsでIonicを始める方法をご覧ください。
Panasonic CF-RZ6
Windows10 Pro (1803)
VisualStudioCode
git version 2.20.1.windows.1

Node v10.15.1
npm 6.4.1
Ionic (Ionic CLI) 4.10.2
@ionic/angular 4.0.1
@angula/pwa 0.13.1
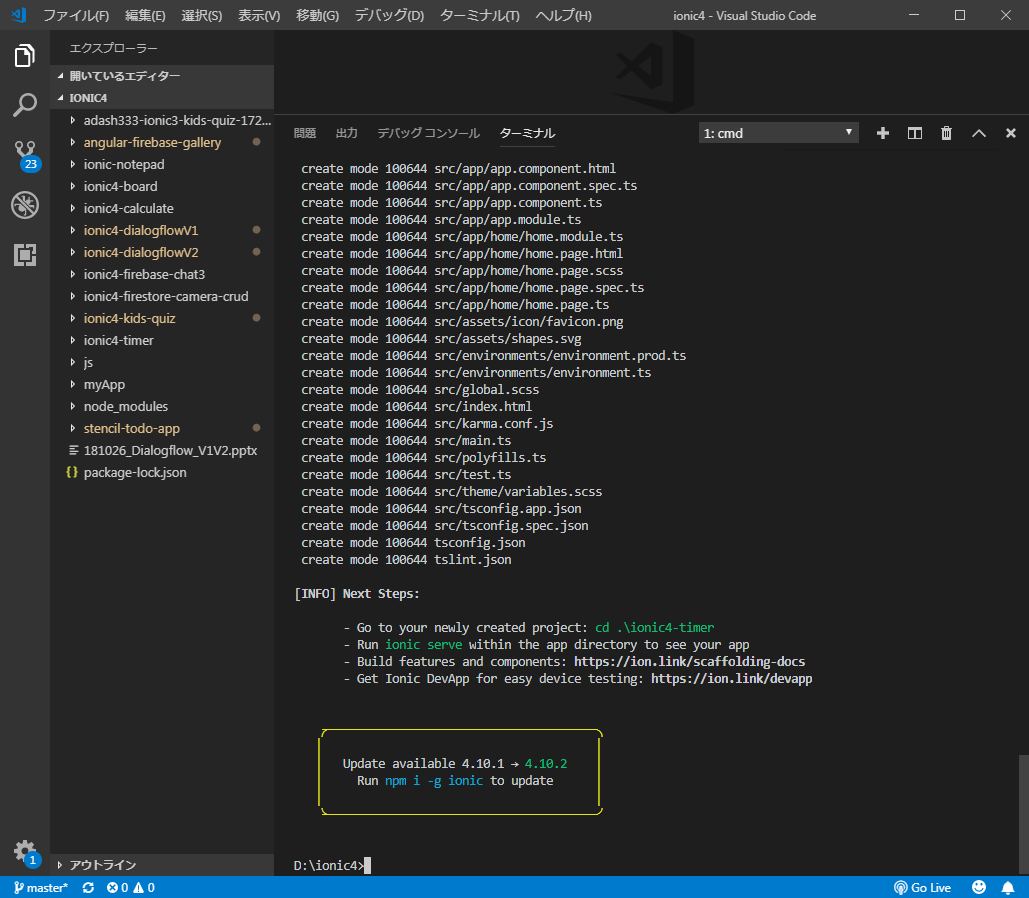
新規Ionic4アプリの作成
- VisualStudioCodeでWindowsのC:/ionic/フォルダを開く
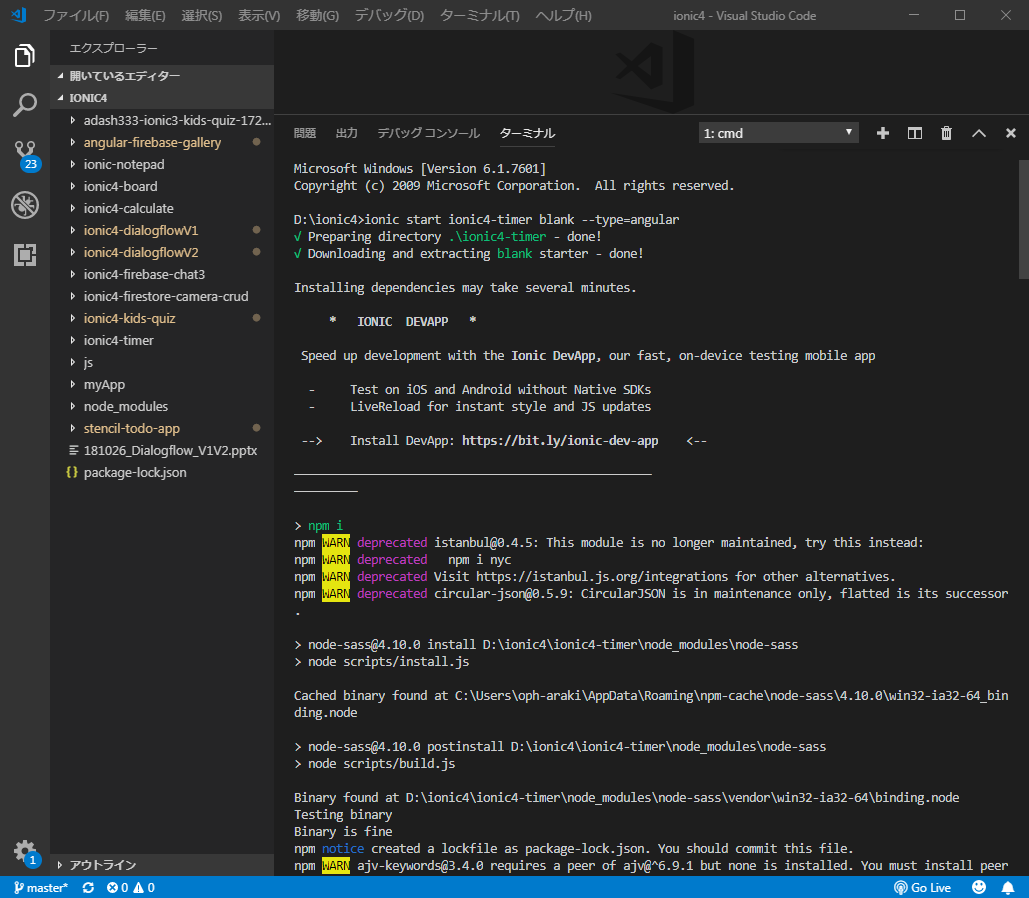
- Ctrl+@でターミナル画面を開いて、以下を入力します
cd ionic
ionic start ionic4-timer blank --type=angular
// 何か聞かれたら、n + Enter
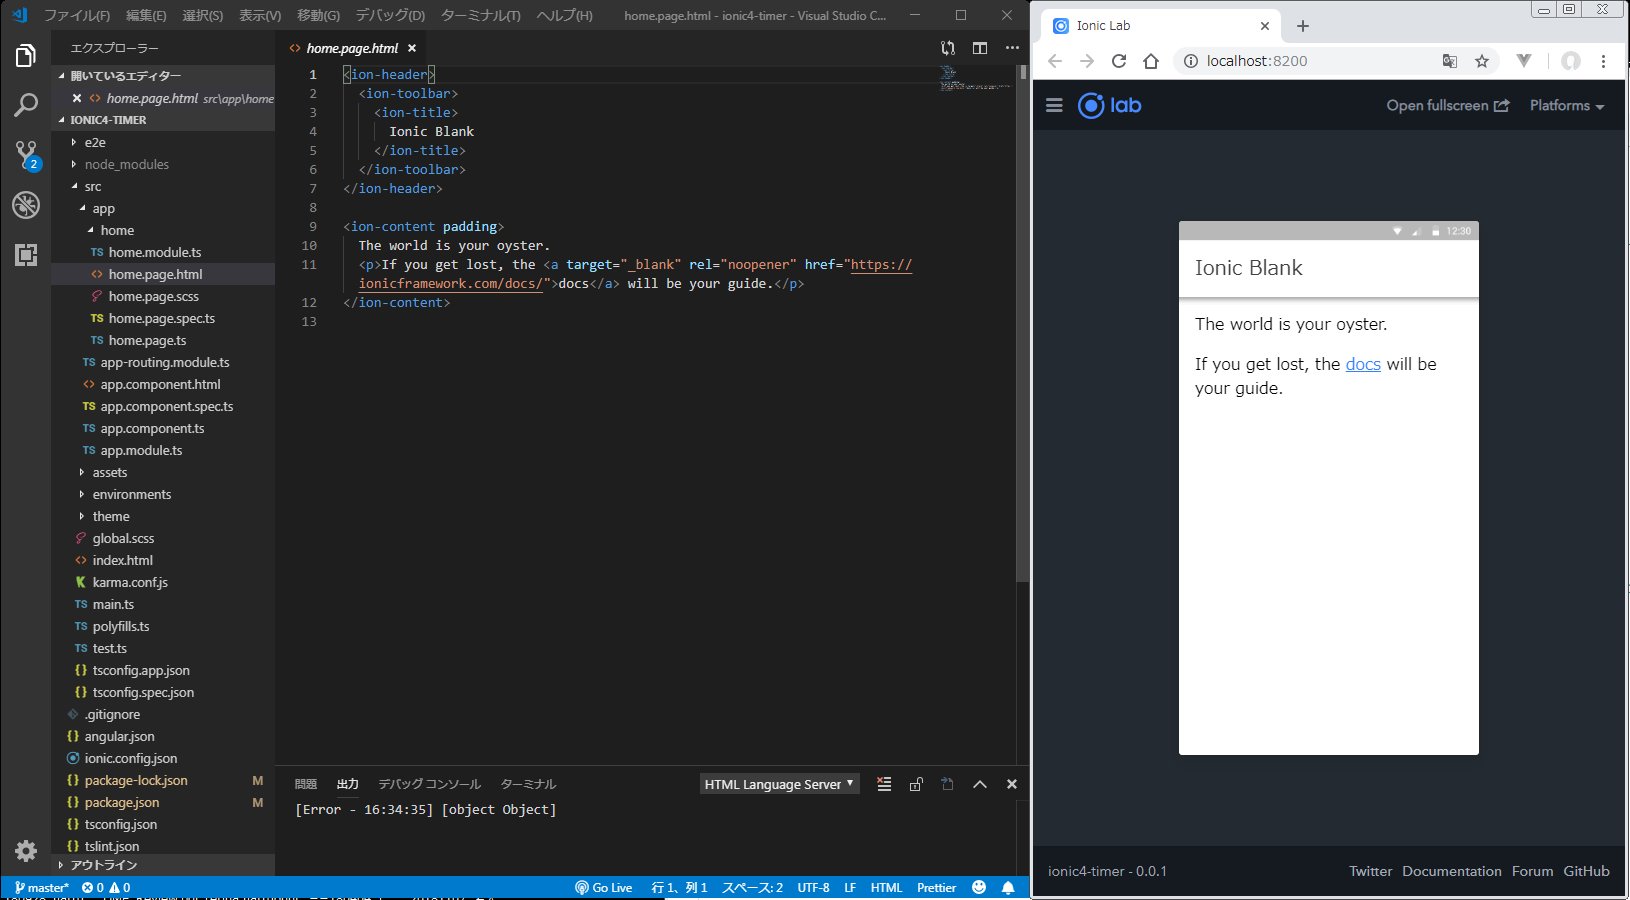
- 以下を入力して、サーバを起動します。
cd ionic4-timer
ionic serve
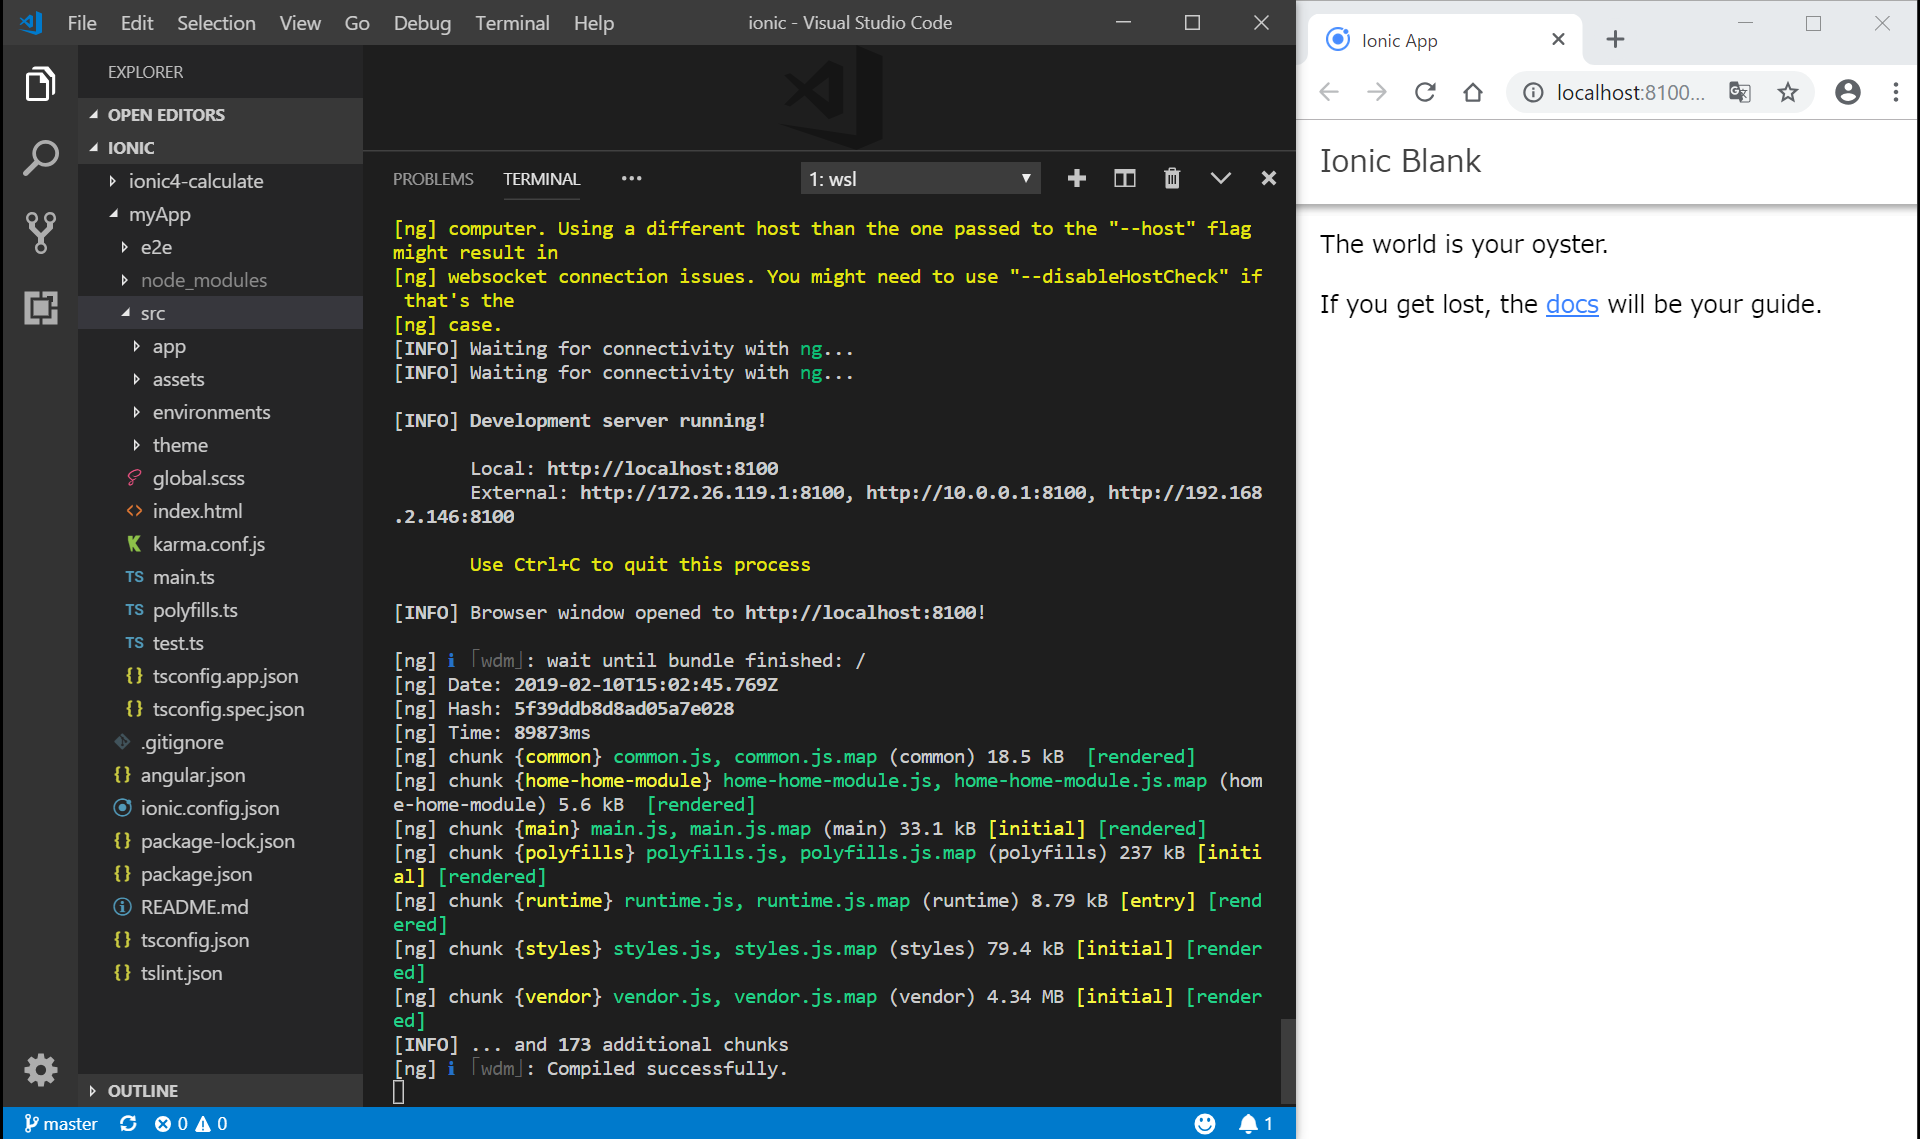
なお、サーバを停止するためには、Ctrl+C, Y, Enterの操作を行います。
以下の操作でもよいです。
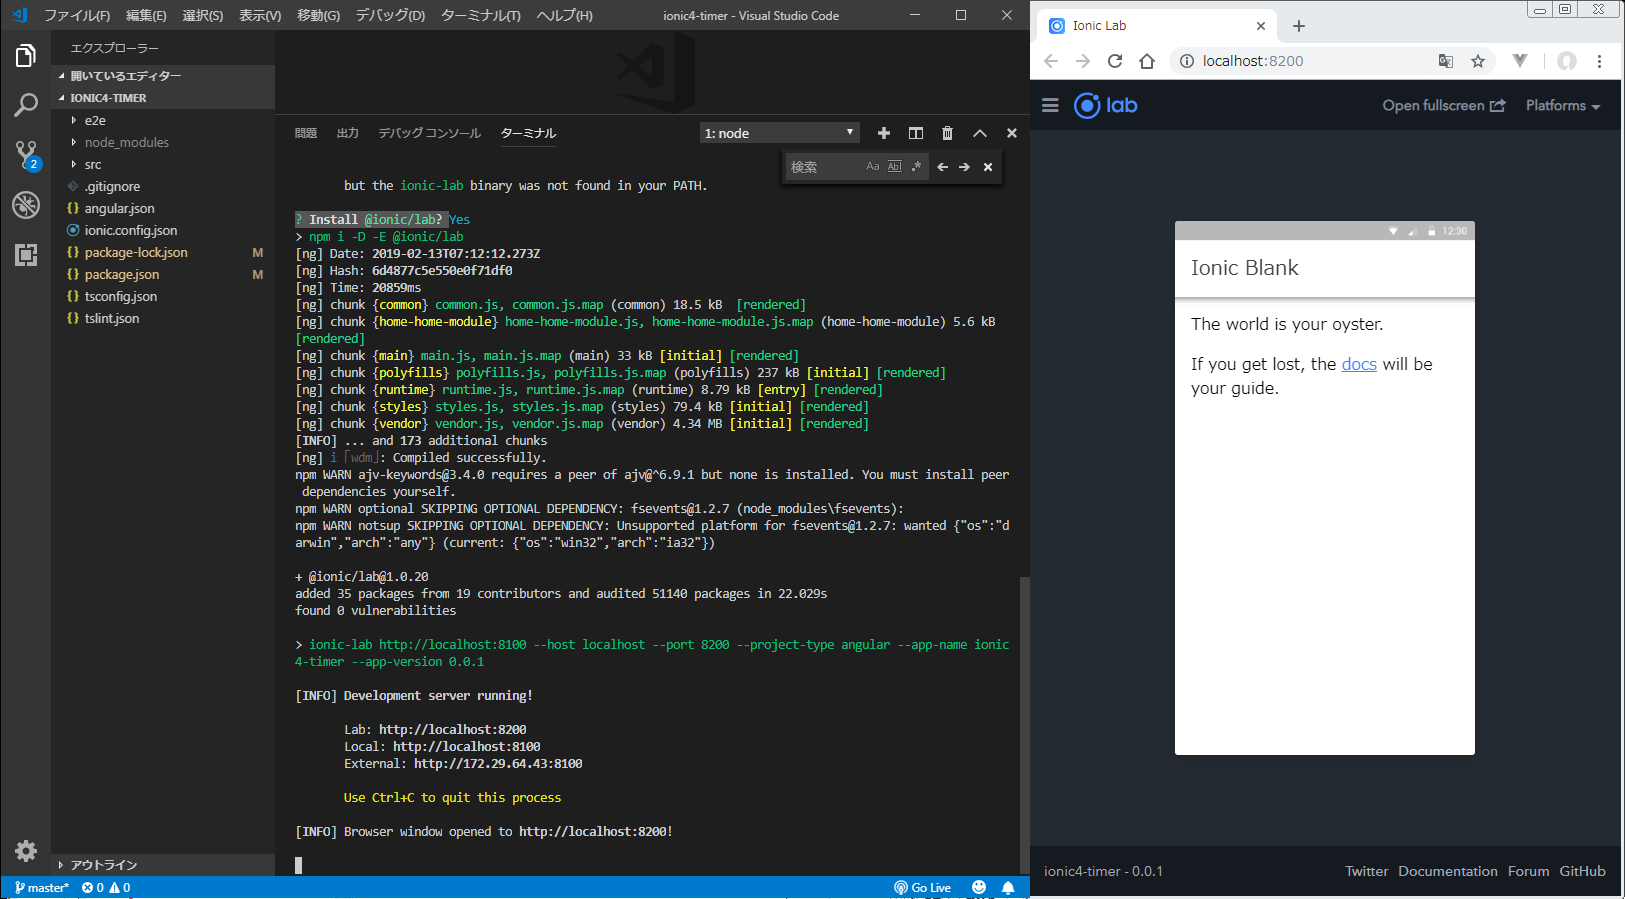
ionic serve --lab
? Install @ionic/lab? には、Enterを入力します。(@ionic/labがインストールされます)
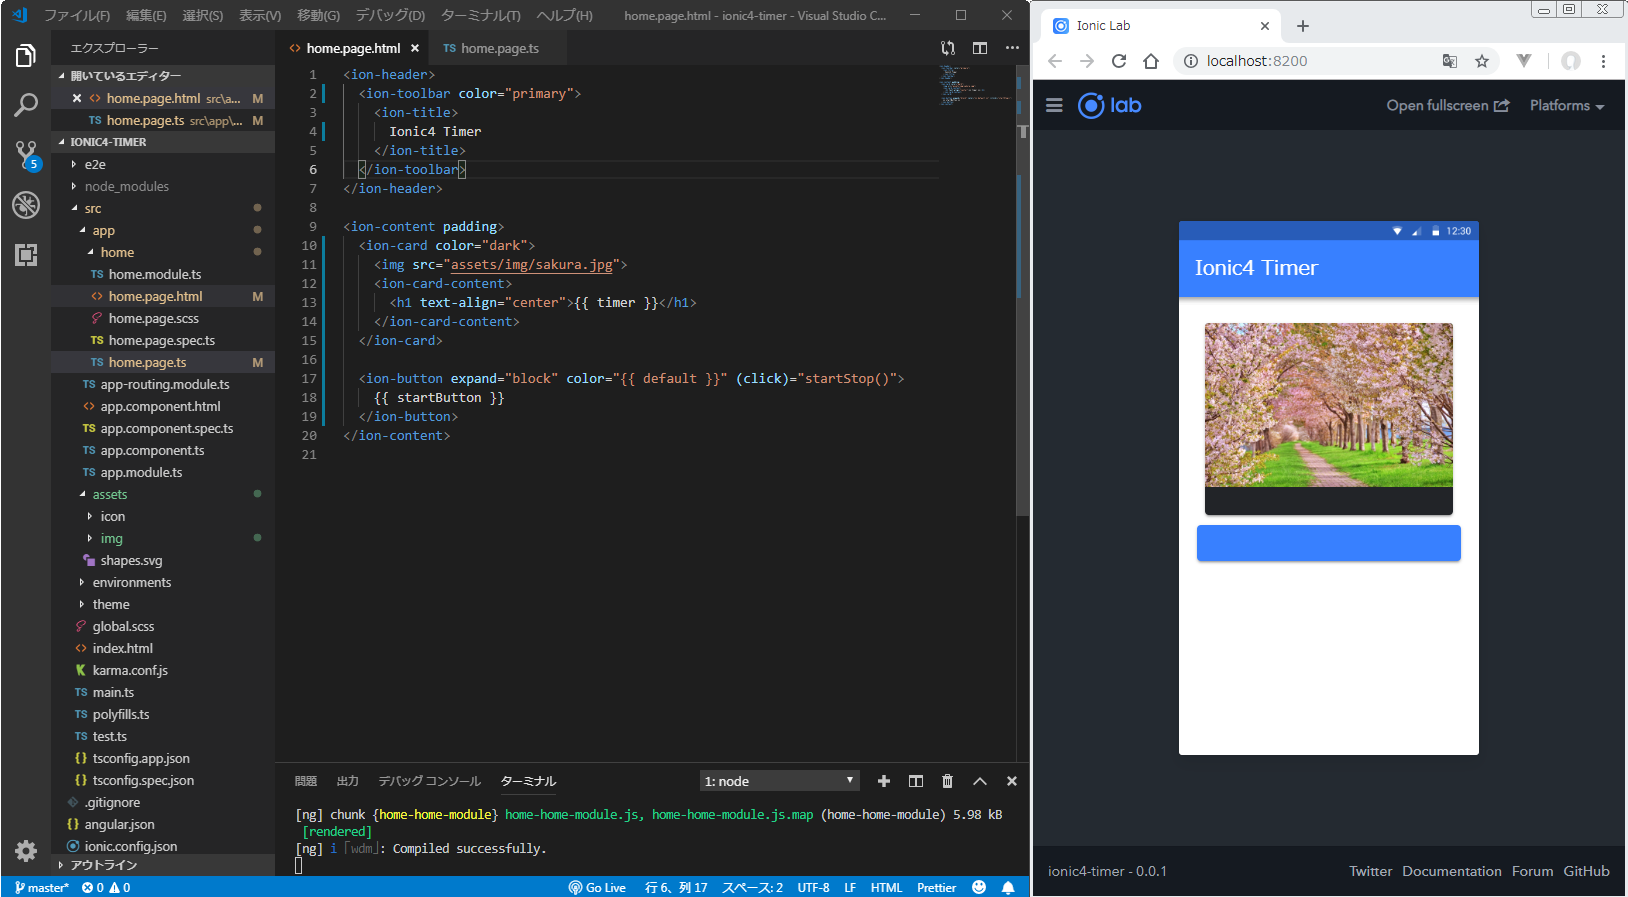
src/app/home/home.page.htmlの編集
ページの見栄えを作成します。
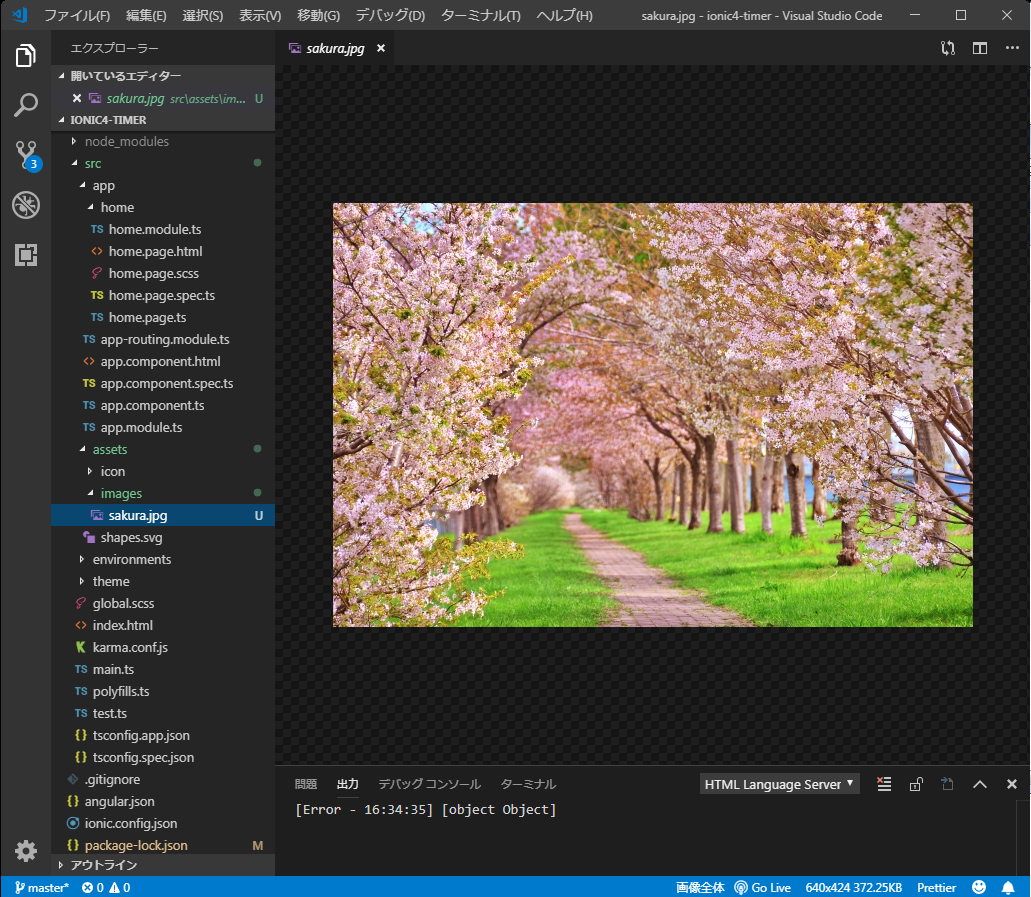
photoACから、さくらの画像ファイルをダウンロードして、sakura.jpgという名前に変更します。
src/assets/images/ フォルダを新規作成して、その中に、sakuar.jpgを移動します。
src/app/home/home.page.html
<ion-header>
  <ion-toolbar color="primary">
    <ion-title>
      Ionic4 Timer
    </ion-title>
  </ion-toolbar>
</ion-header>

<ion-content padding>
  <ion-card color="dark">
    <img src="assets/img/sakura.jpg">
    <ion-card-content align="center">
      <h1>{{ timer }}</h1>
    </ion-card-content>
  </ion-card>

  <ion-button expand="block" color="{{ default }}" (click)="startStop()">
    {{ startButton }}
  </ion-button>
</ion-content>
<コード解説1>
<ion-xxx>というところは、全て、ionic特有のUI(見栄え)の表記です。ionicの公式ドキュメントを参照しつつ、入力します。
Ionic4から、ボタンは、<ion-button>と表記するようになっています。
<コード解説2>
Ionic4で画像ファイルなどを保存する場所は、src/app/assets/ フォルダに、img/ フォルダを作成し、その中にjpgファイルなど(たとえば、sakura.jpg など)を保存します。
その後、画像ファイルをsrc/home/home.page.htmlなどで表示する場合は、以下のように表記します。
<img src="assets/img/sakura.jpg">
参考:https://scotch.io/courses/build-your-first-angular-website/adding-an-imagelogo-in-angular
<コード解説3>
{{ timer }}
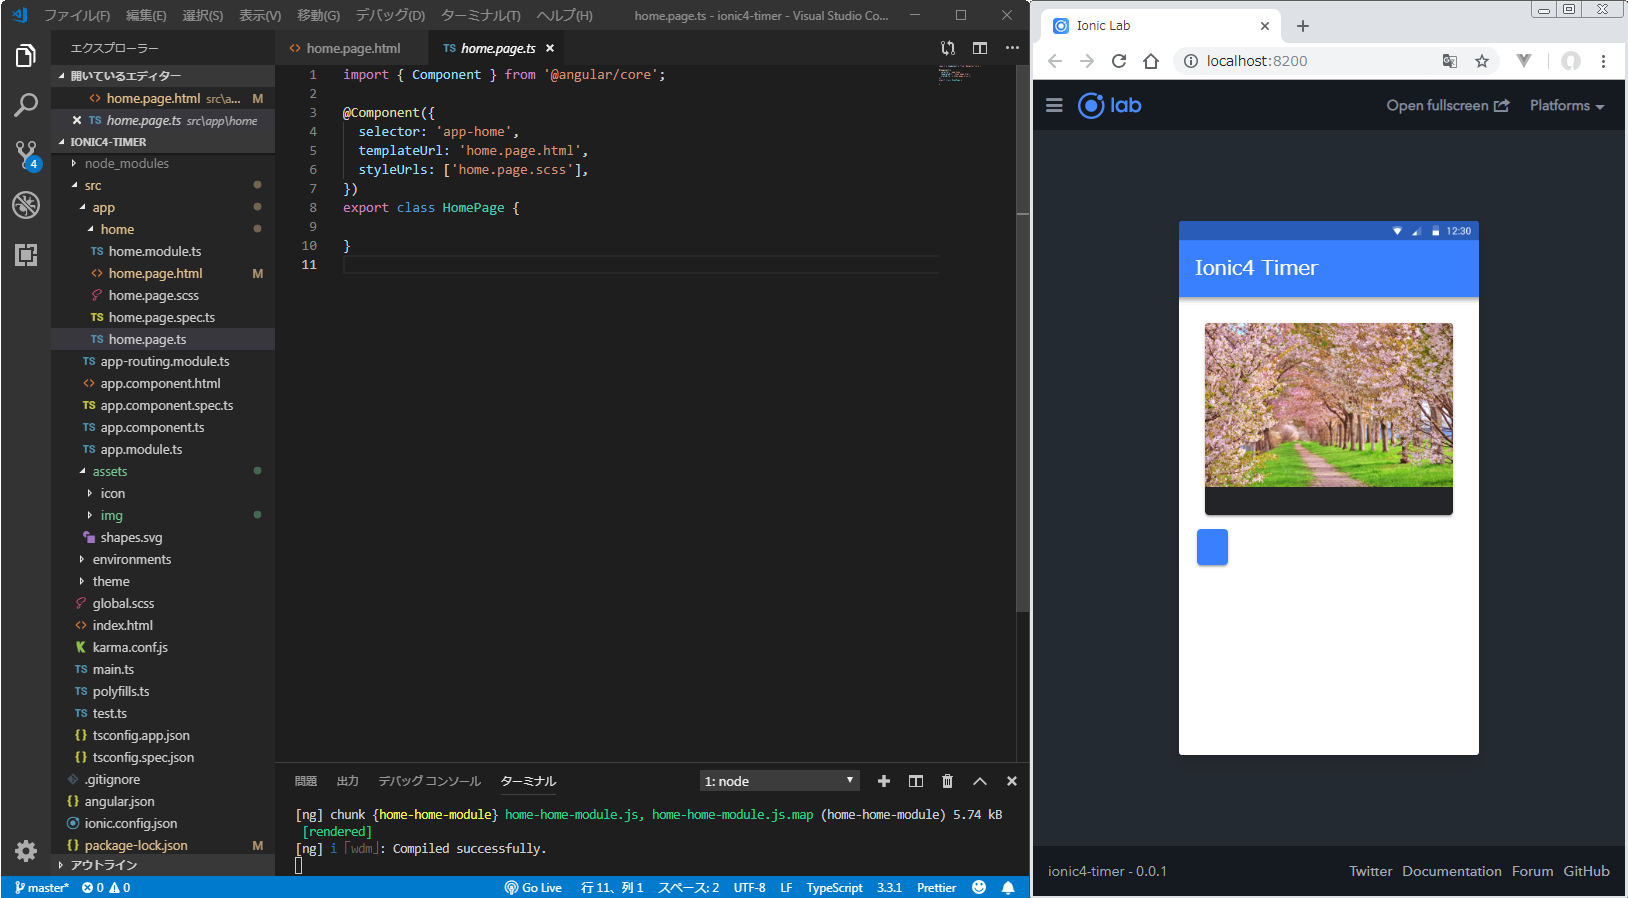
src/app/home/home.page.tsの編集
home.page.htmlで記載した、{{ timer }}や、{{ startButton }}を定義します。
import { Component } from '@angular/core';

@Component({
  selector: 'app-home',
  templateUrl: 'home.page.html',
  styleUrls: ['home.page.scss'],
})
export class HomePage {
  public timer = "00:00:00";
  public startButton = "START";
  public seconds;
  public minutes;
  public hours;
  public start;
  public default;
  public timer_id;

  constructor() {
  }

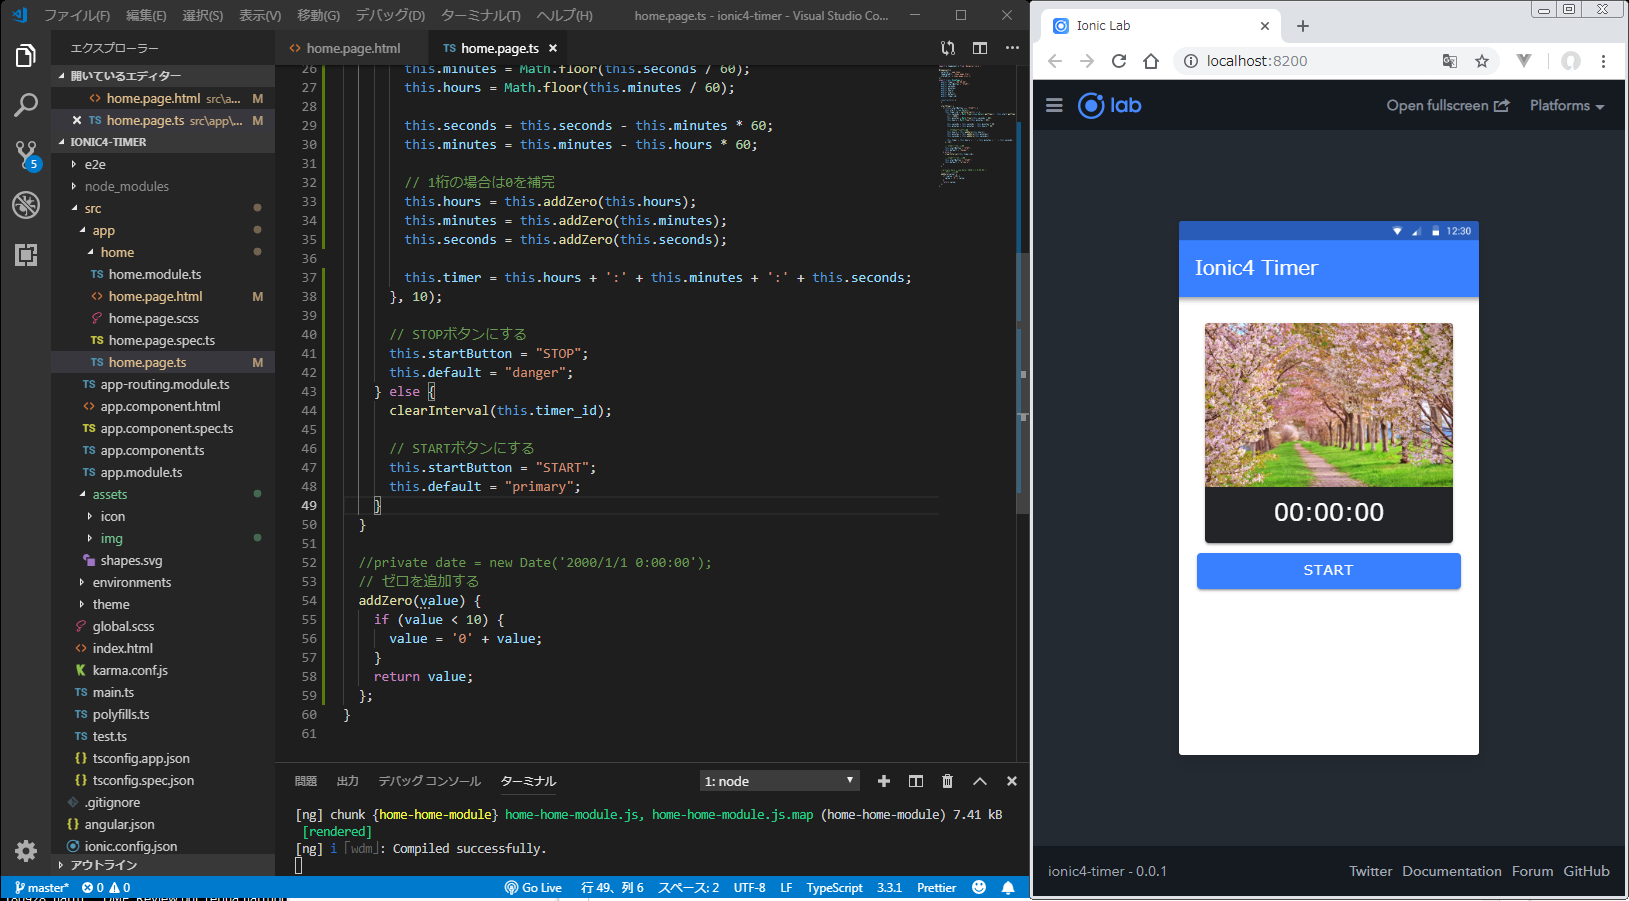
  startStop() {
    if (this.startButton === "START") {
      this.start = new Date();
      this.timer_id = setInterval(() => {
        this.seconds = Math.floor((new Date().getTime() - this.start.getTime()) / 1000);
        this.minutes = Math.floor(this.seconds / 60);
        this.hours = Math.floor(this.minutes / 60);

        this.seconds = this.seconds - this.minutes * 60;
        this.minutes = this.minutes - this.hours * 60;

        // 1桁の場合は0を補完
        this.hours = this.addZero(this.hours);
        this.minutes = this.addZero(this.minutes);
        this.seconds = this.addZero(this.seconds);

        this.timer = this.hours + ':' + this.minutes + ':' + this.seconds;
      }, 10);

      // STOPボタンにする
      this.startButton = "STOP";
      this.default = "danger";
    } else {
      clearInterval(this.timer_id);

      // STARTボタンにする
      this.startButton = "START";
      this.default = "primary";
    }
  }

  //private date = new Date('2000/1/1 0:00:00');
  // ゼロを追加する
  addZero(value) {
    if (value < 10) {
      value = '0' + value;
    }
    return value;
  };
}
PWA(Progressive Web Apps)化
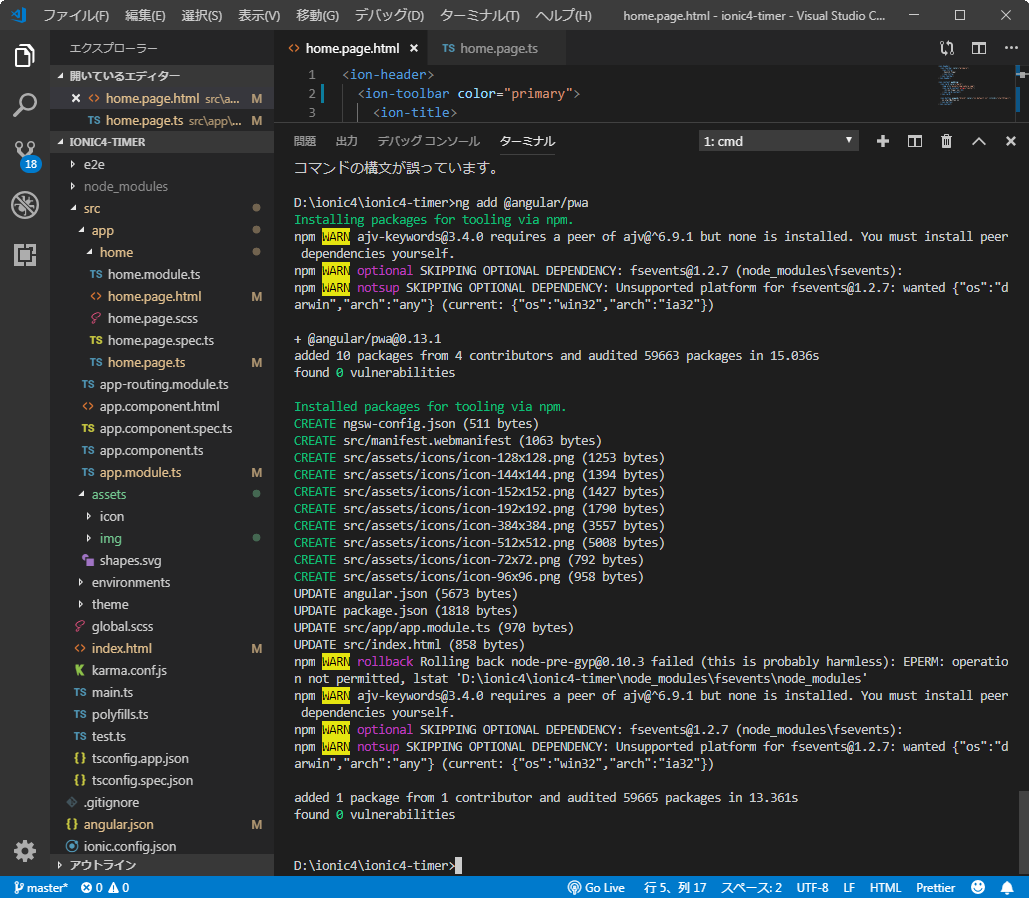
Ctrl+Cでいったんサーバを停止し、以下を入力します。
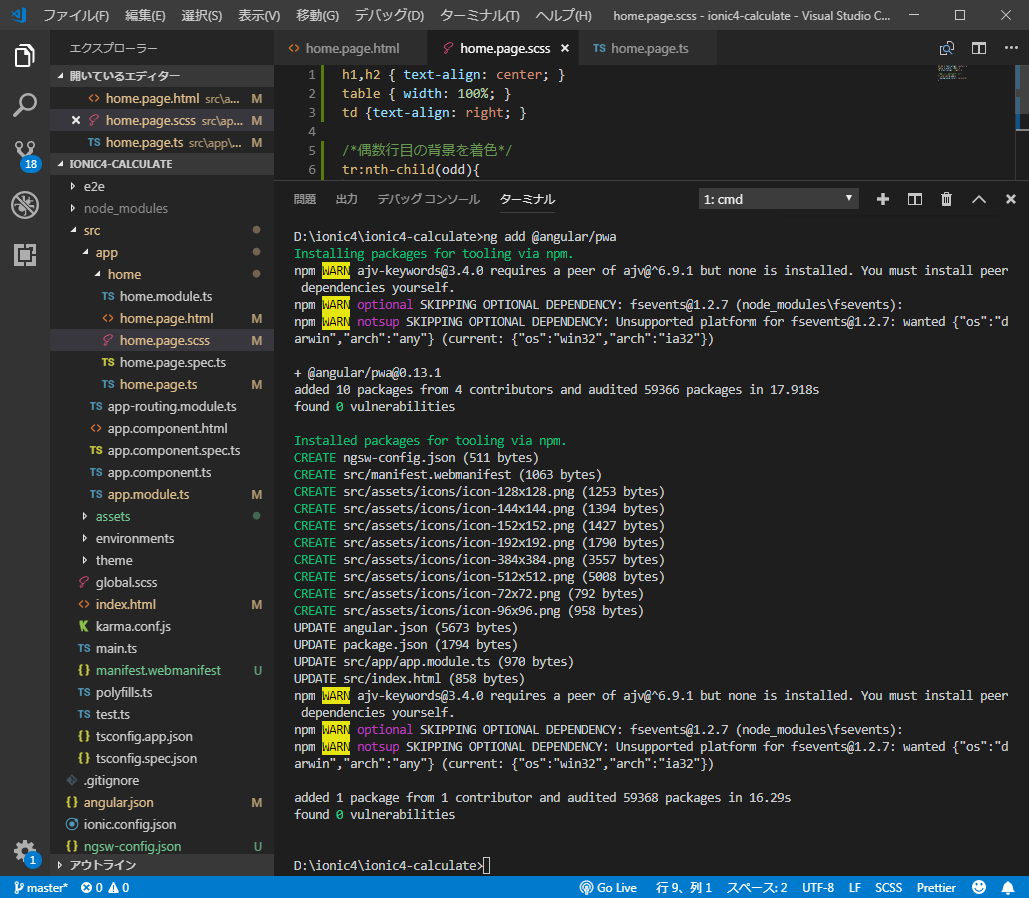
ng add @angular/pwa
// だめな場合は、npm run ng add @angular/pwa
GitHubに登録
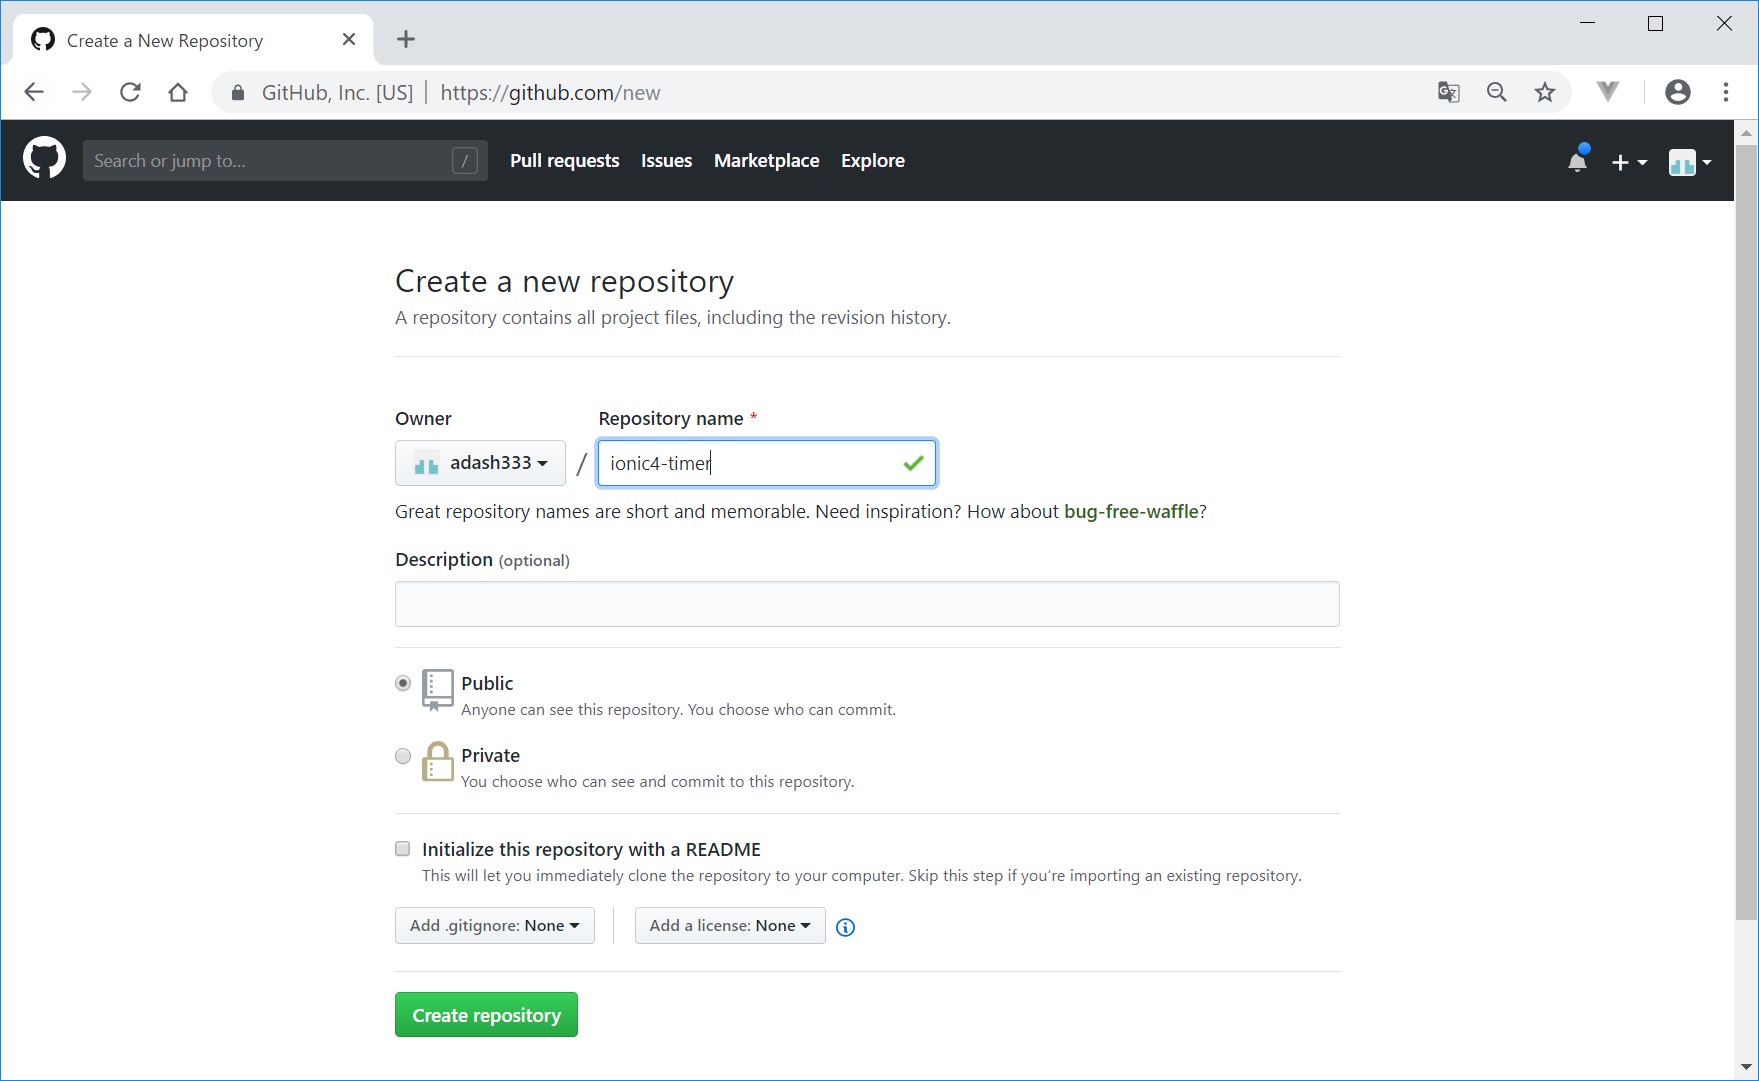
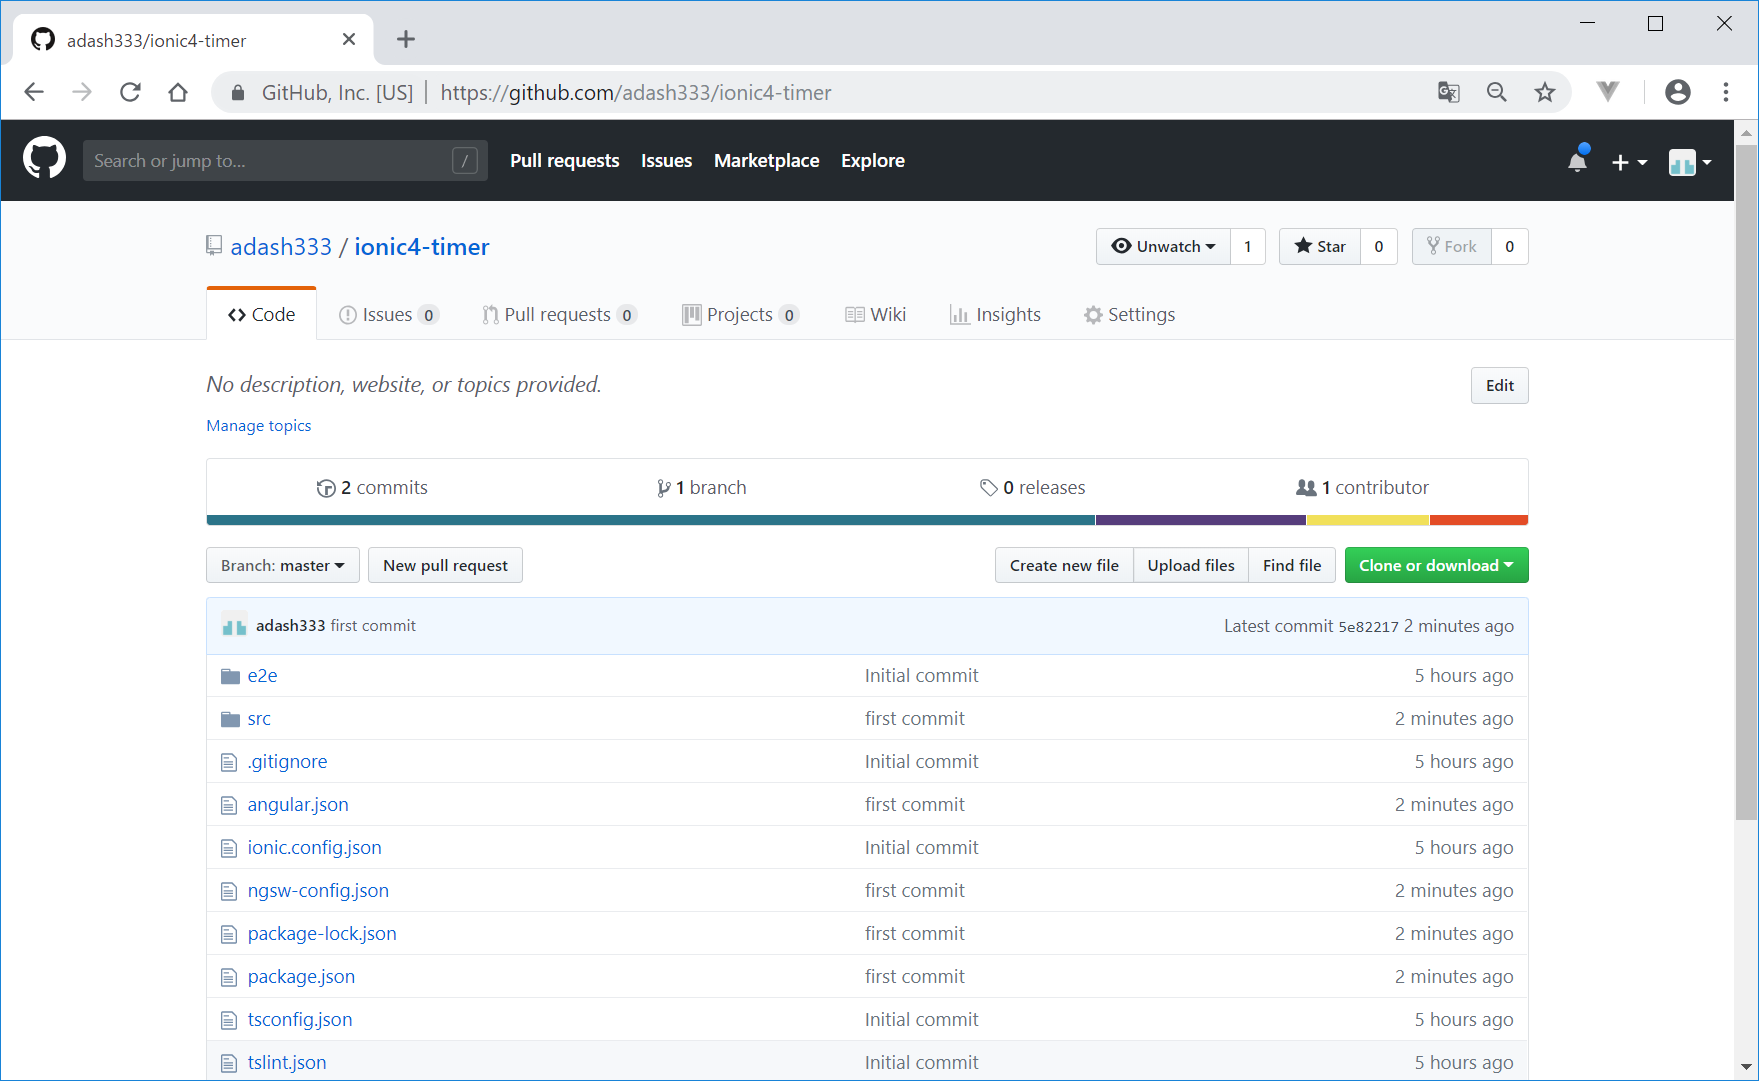
- https://github.com/ にログインして、新規リポジトリを作成(今回は、ionic4-timerという名前にしました)
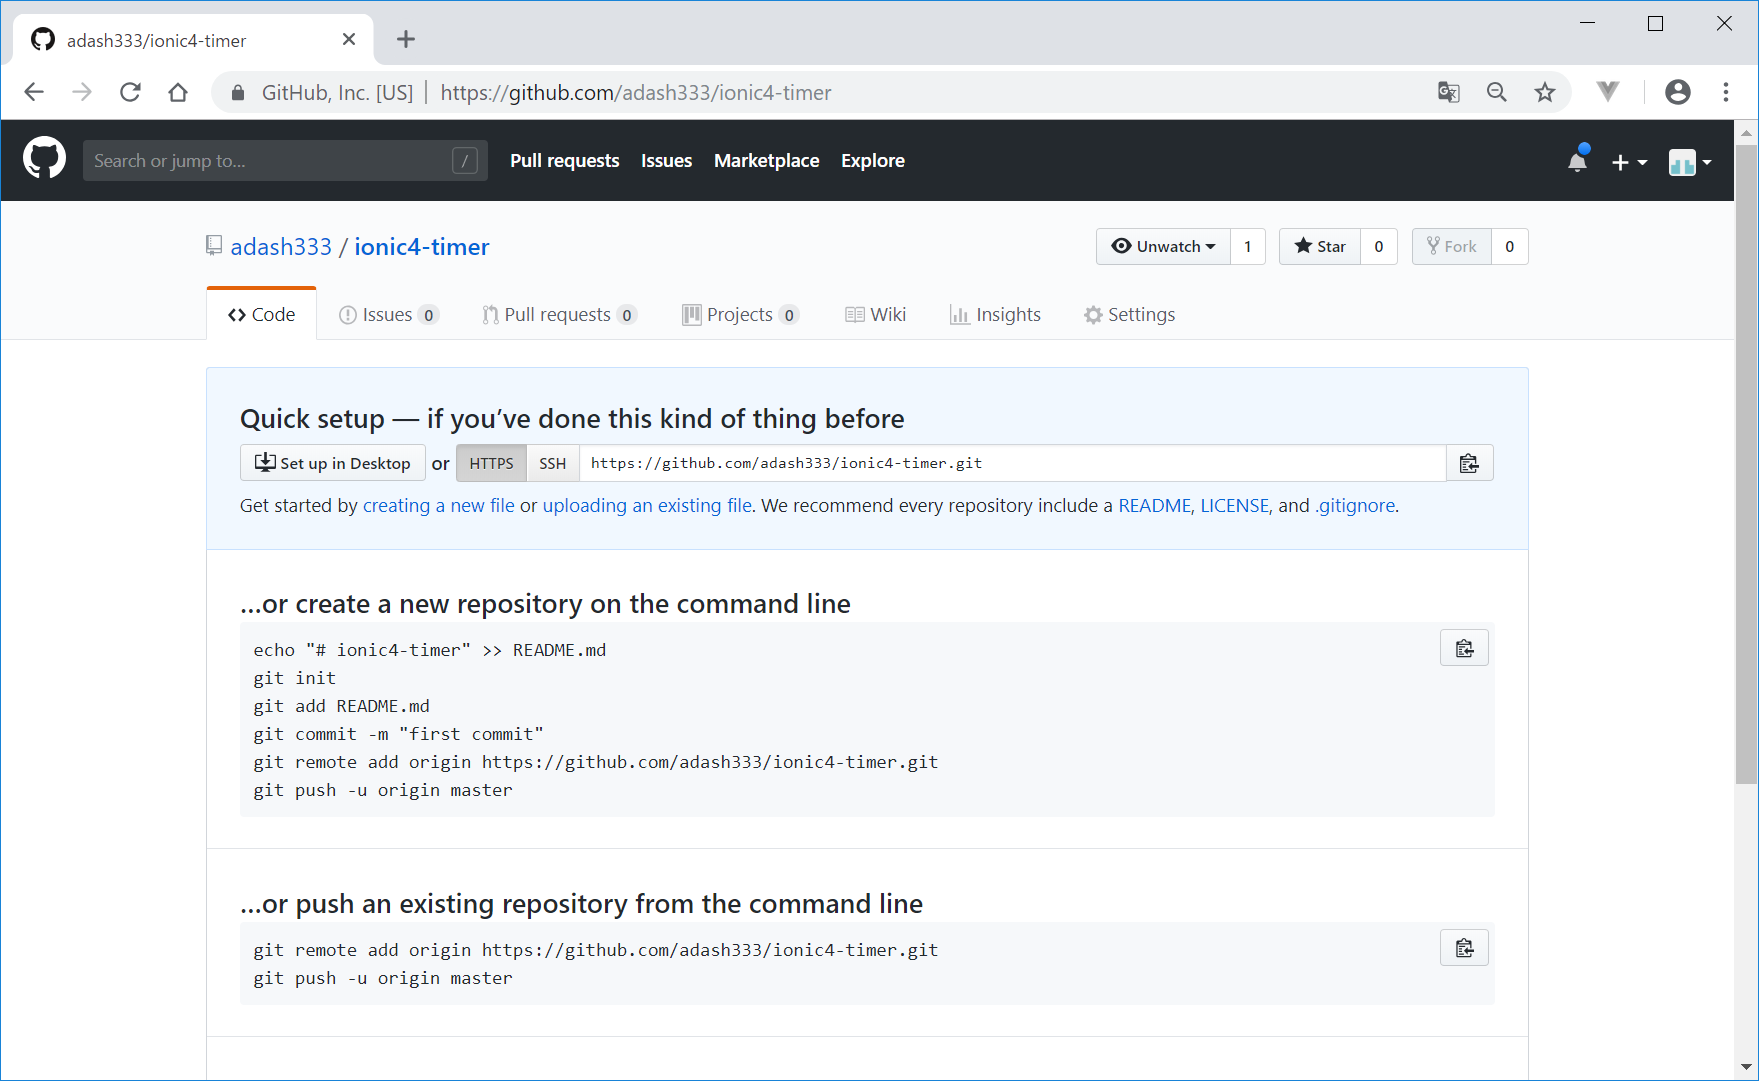
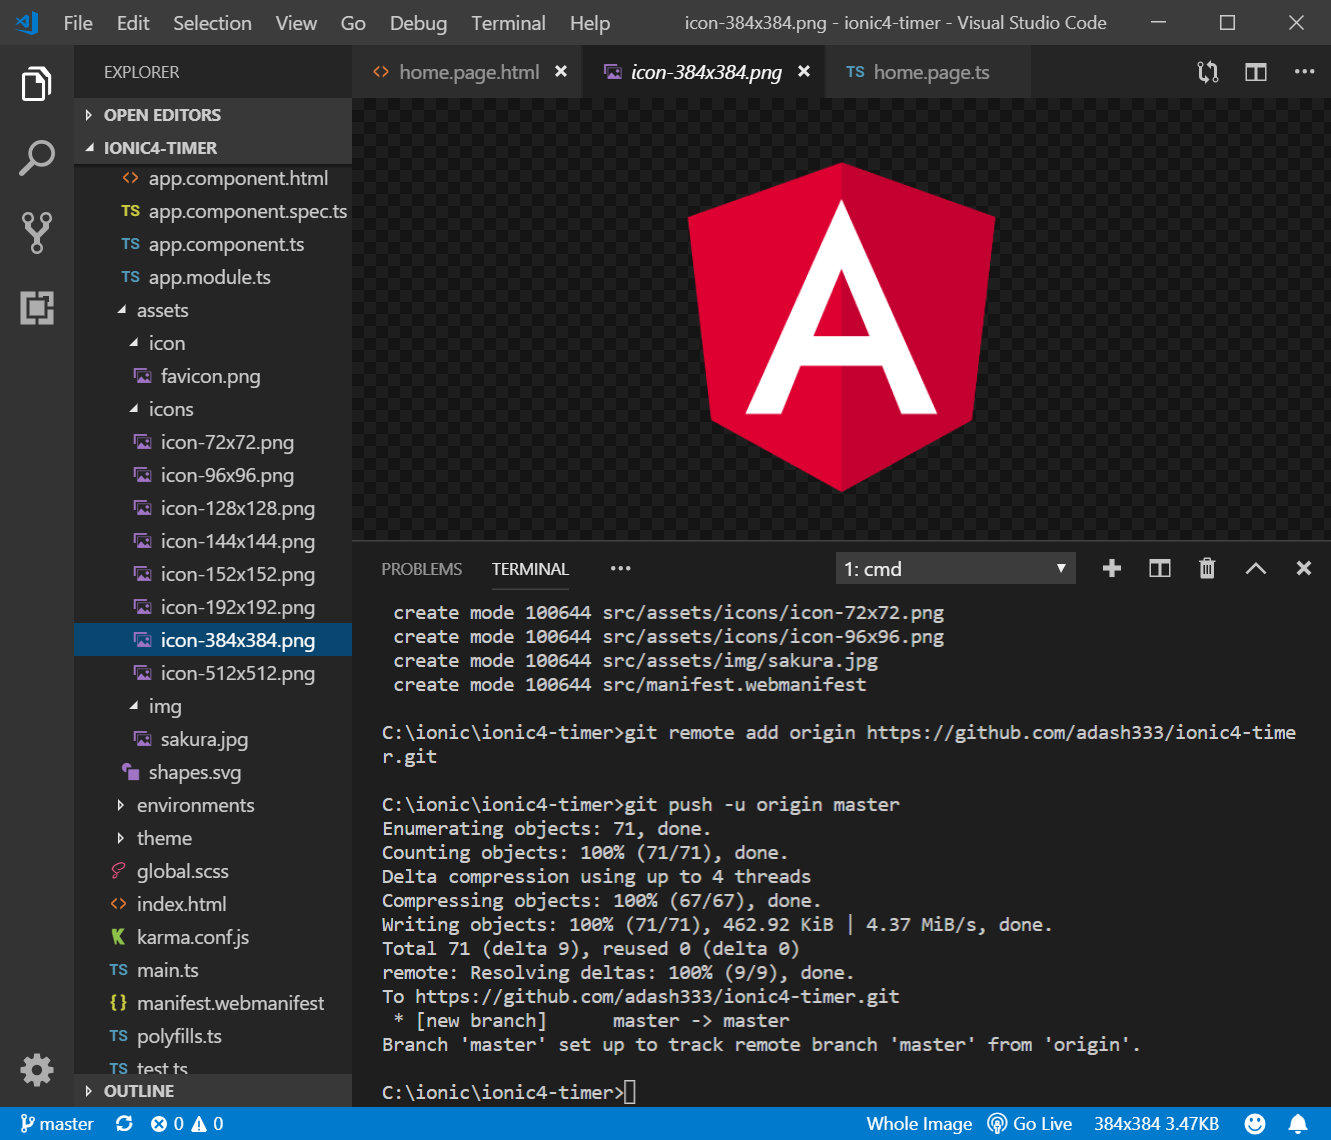
- 以下を入力して、GitHubにpush
git add .
git commit -m "first commit"
git remote add origin https://github.com/adash333/ionic4-timer.git
git push -u origin master
Netlifyにデプロイ
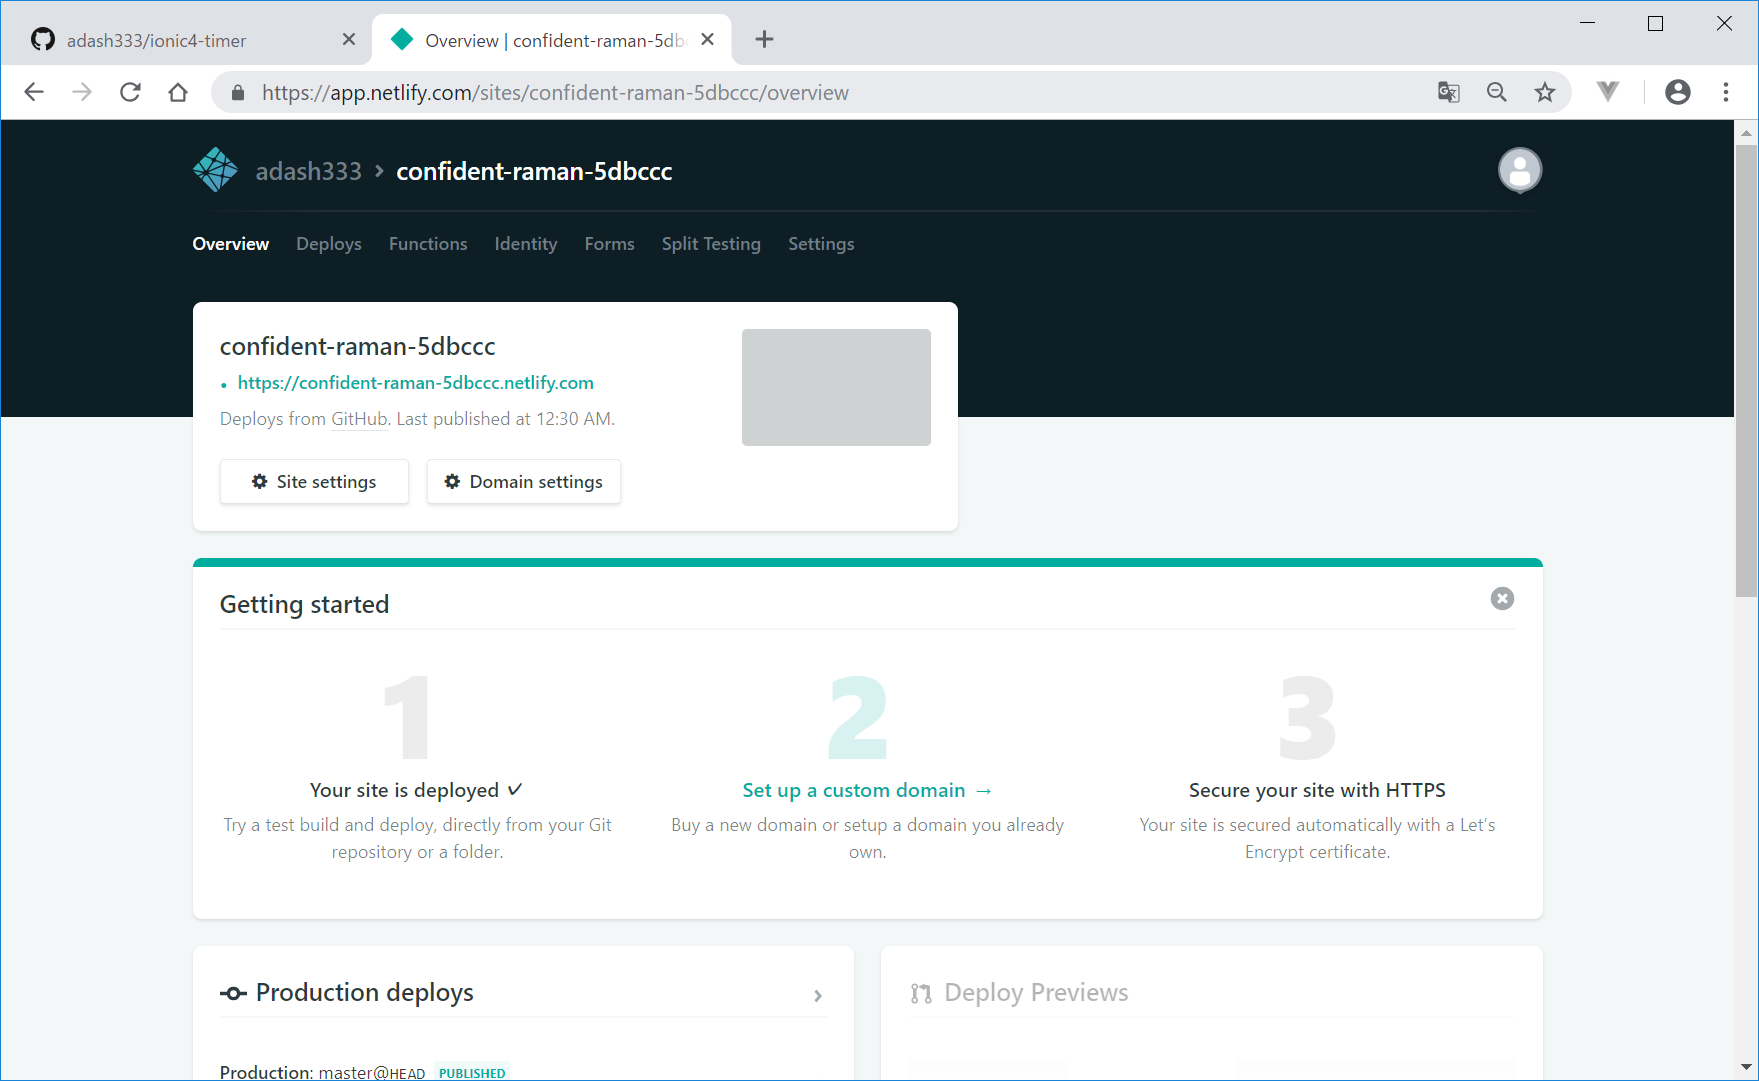
- https://www.netlify.com/ にログイン
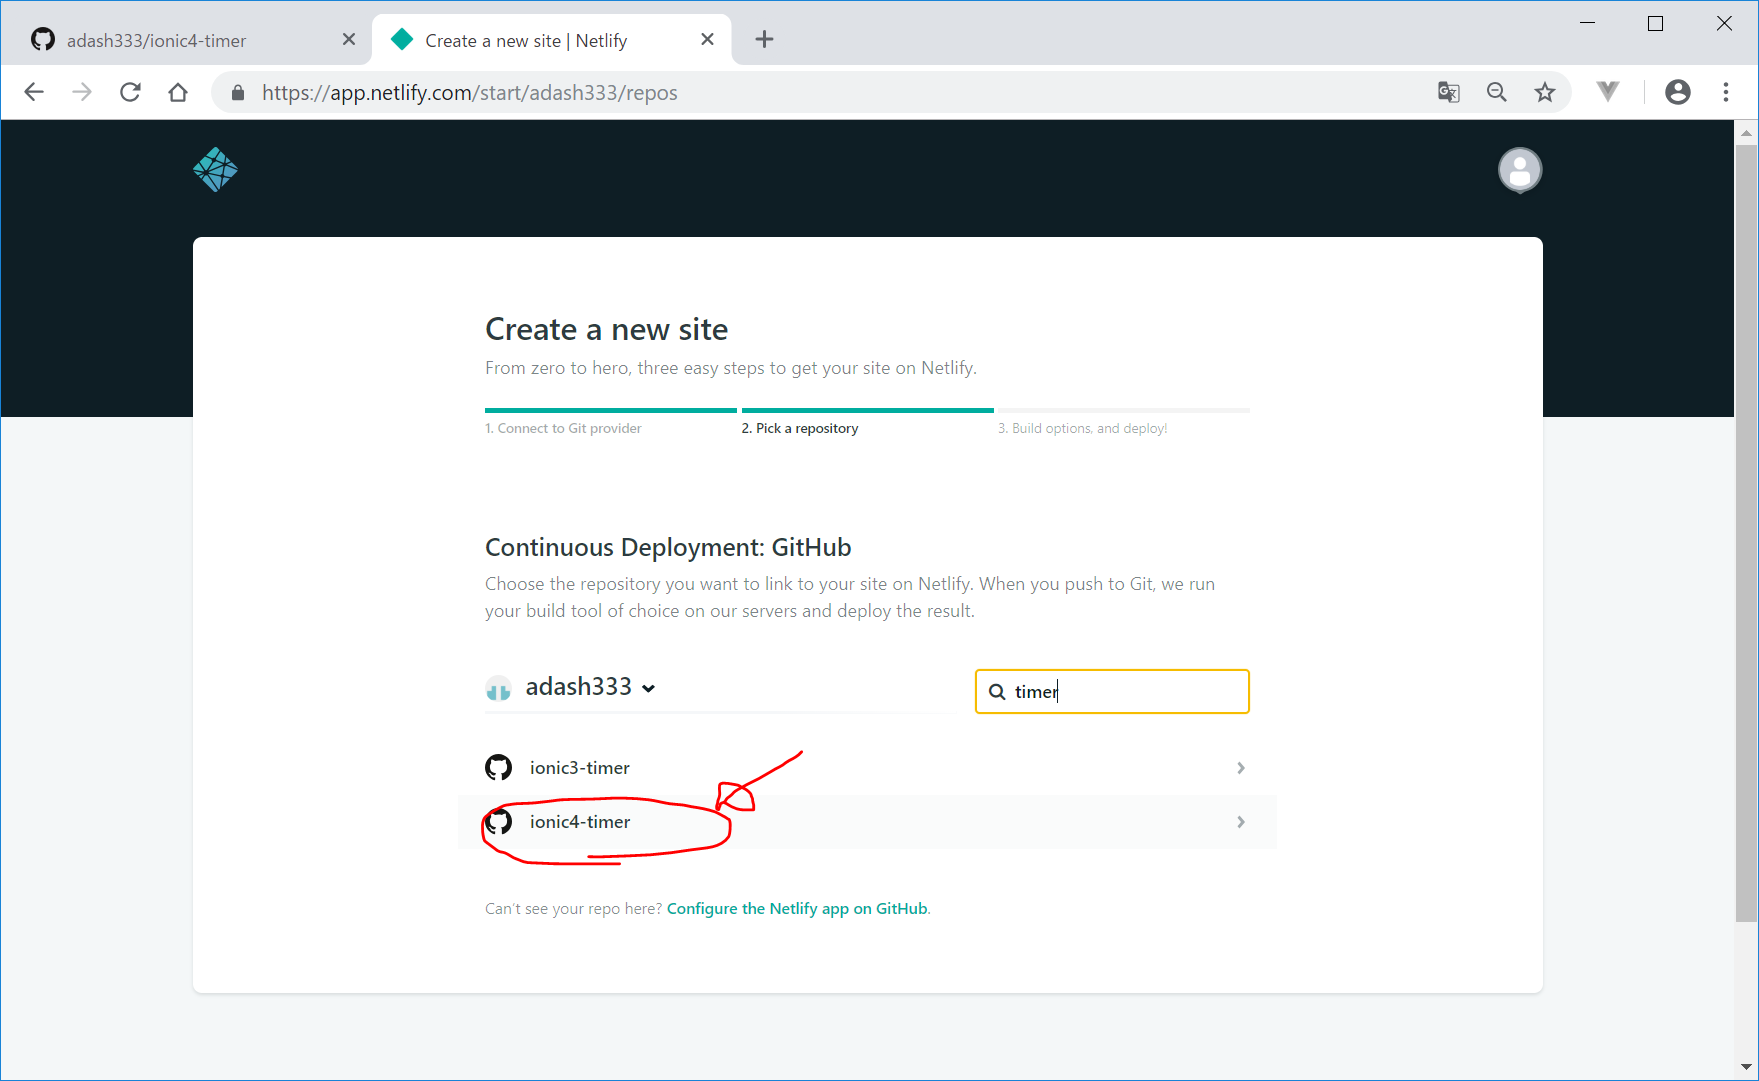
- New site from Git をクリック
- GitHubから、ionic4-timerを選択
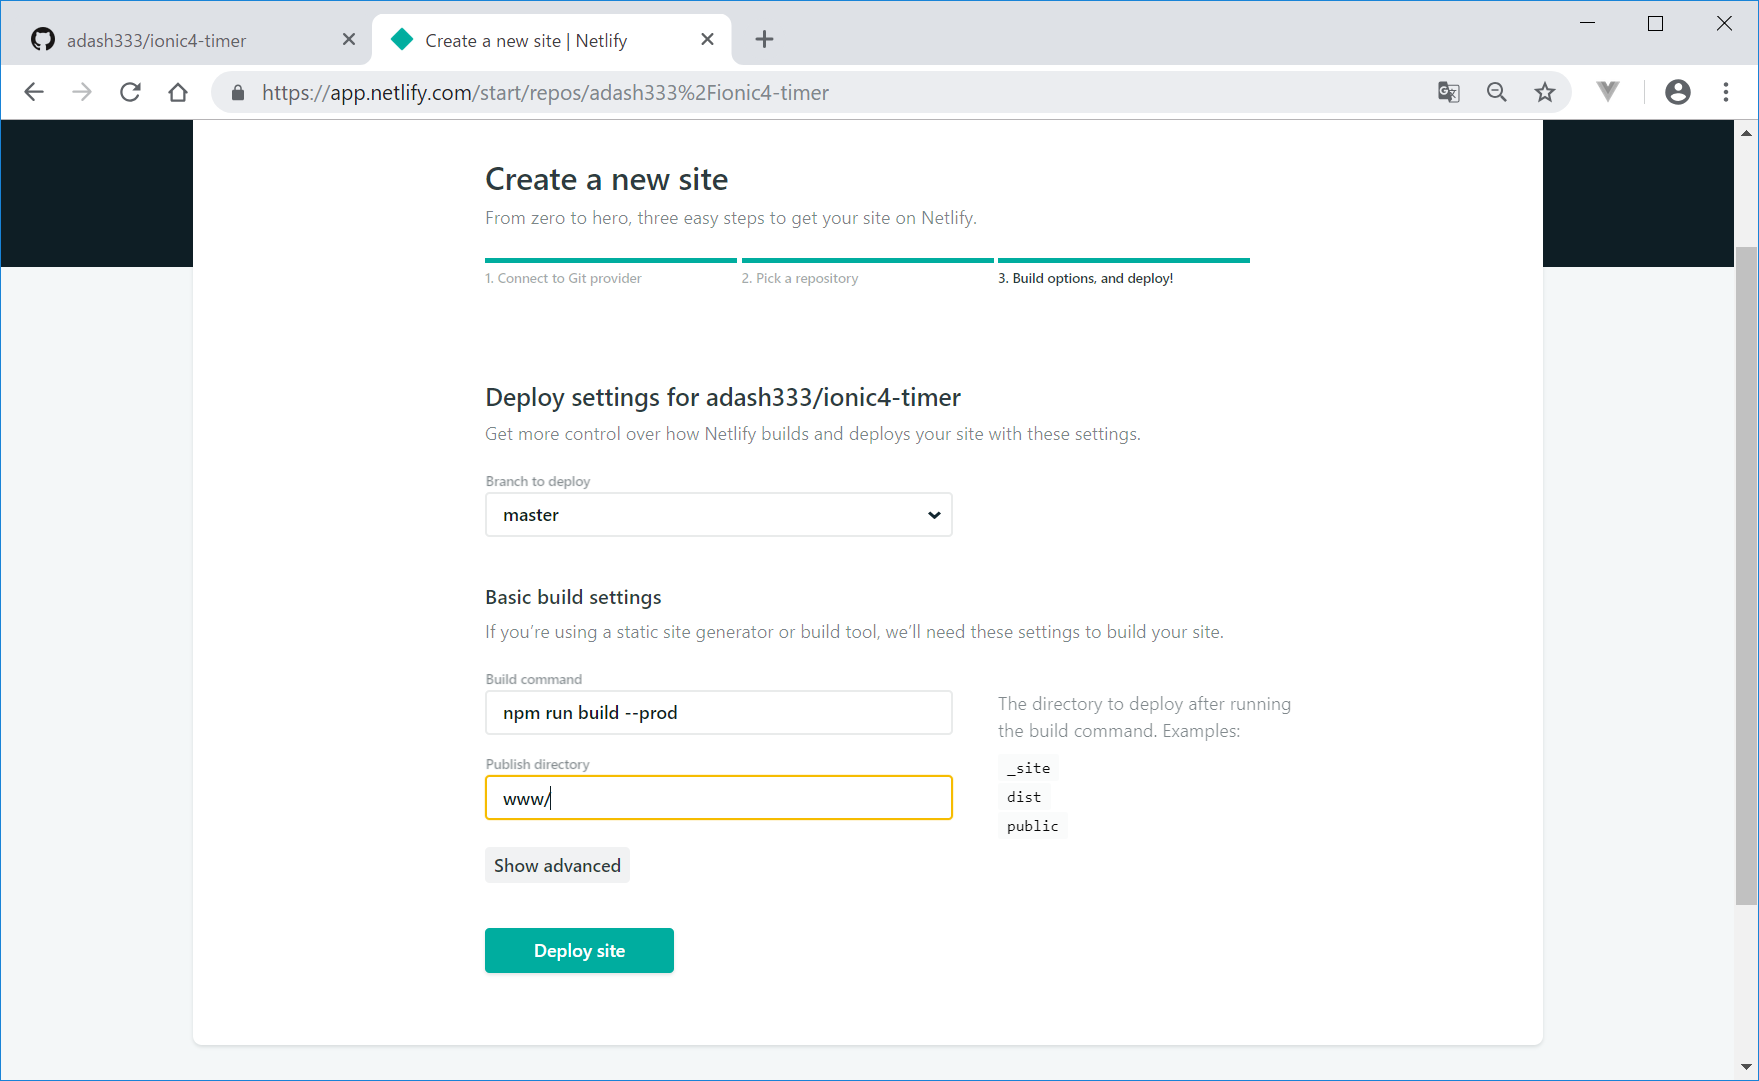
npm run build --prodと、www/と入力して、Deploy site をクリック- デプロイがうまくいったら、リンクをクリックして、確認します
- スマホで、上のアドレスへ行き、スマホにアプリとして登録できるかチェックします
ソースコード
今回写経した本
参考リンク
http://twosquirrel.mints.ne.jp/?p=16984
Ionic3でタイマーアプリ
2017/5/13 2017/5/14
Ionic3バージョンのソースコード
https://github.com/adash333/ionic3-timer
