目次
11.IonicとLeafletで地図表示
Webアプリで地図を表示したいときに、LeafletというJavaAcriptライブラリを用いて、OpenStreetMapを利用するのが便利です。Ionicを用いなくても、Leafletは利用することができ、普通のhtmlファイルにLeafletjsを読み込んで、すぐに地図を表示することができます。
(GoogleMapは非常に便利そうですが、使用するために登録が必要ですし、使用しすぎると有料になってしまう恐れがあります。)
以下のサイトを写経してみたいと思います。
http://edupala.com/how-to-add-leaflet-map-in-ionic-4/
How to add Leaflet Map in Ionic -4 or Angular
https://qiita.com/uedayou/items/30f88d88238f648e8ee6
@uedayou
2018年07月09日に更新
Angular6とLeafletで地図を表示する
ソースコードとDEMOサイト
ソースコード
DEMOサイト
開発環境
Windows 10 Pro 1803
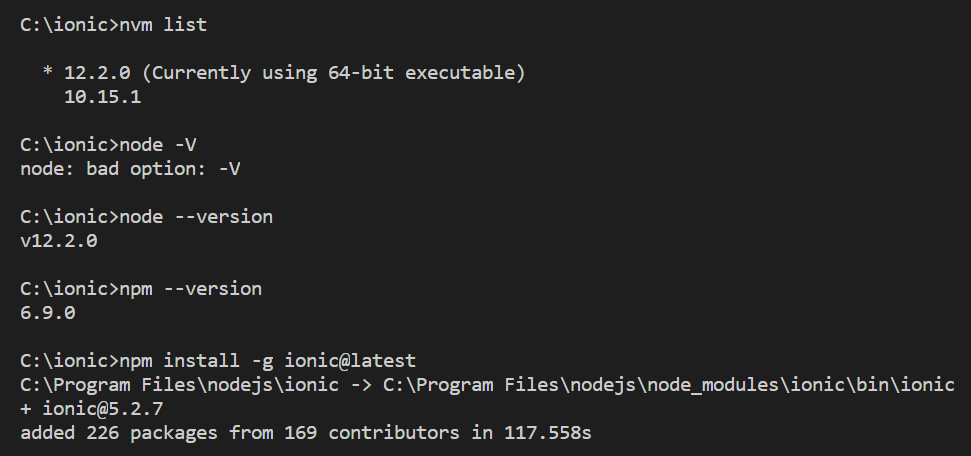
nvm-windows 1.1.7
node 12.2.0
npm 6.9.0
ionic@5.2.7
git version 2.17.1.windows.2
Node.jsをインストールした状態で、npm install -g ionic@latestでIonic CLIをインストールしています。
nvm --version
nvm list
npm install -g ionic@latest
ionic -V
今回のアプリ作成の流れ
以下の予定です。
- 新規Ionic4アプリ作成(GPSを利用するためcapacitor入り)
- leafletのインストール
- leaflet+openstreetmapで地図を読み込み
- capacitorのgeolocationAPIで現在地を取得
- 現在地を地図に表示
- アプリのPWA化
- Netlifyにデプロイ
新規Ionic4アプリ作成
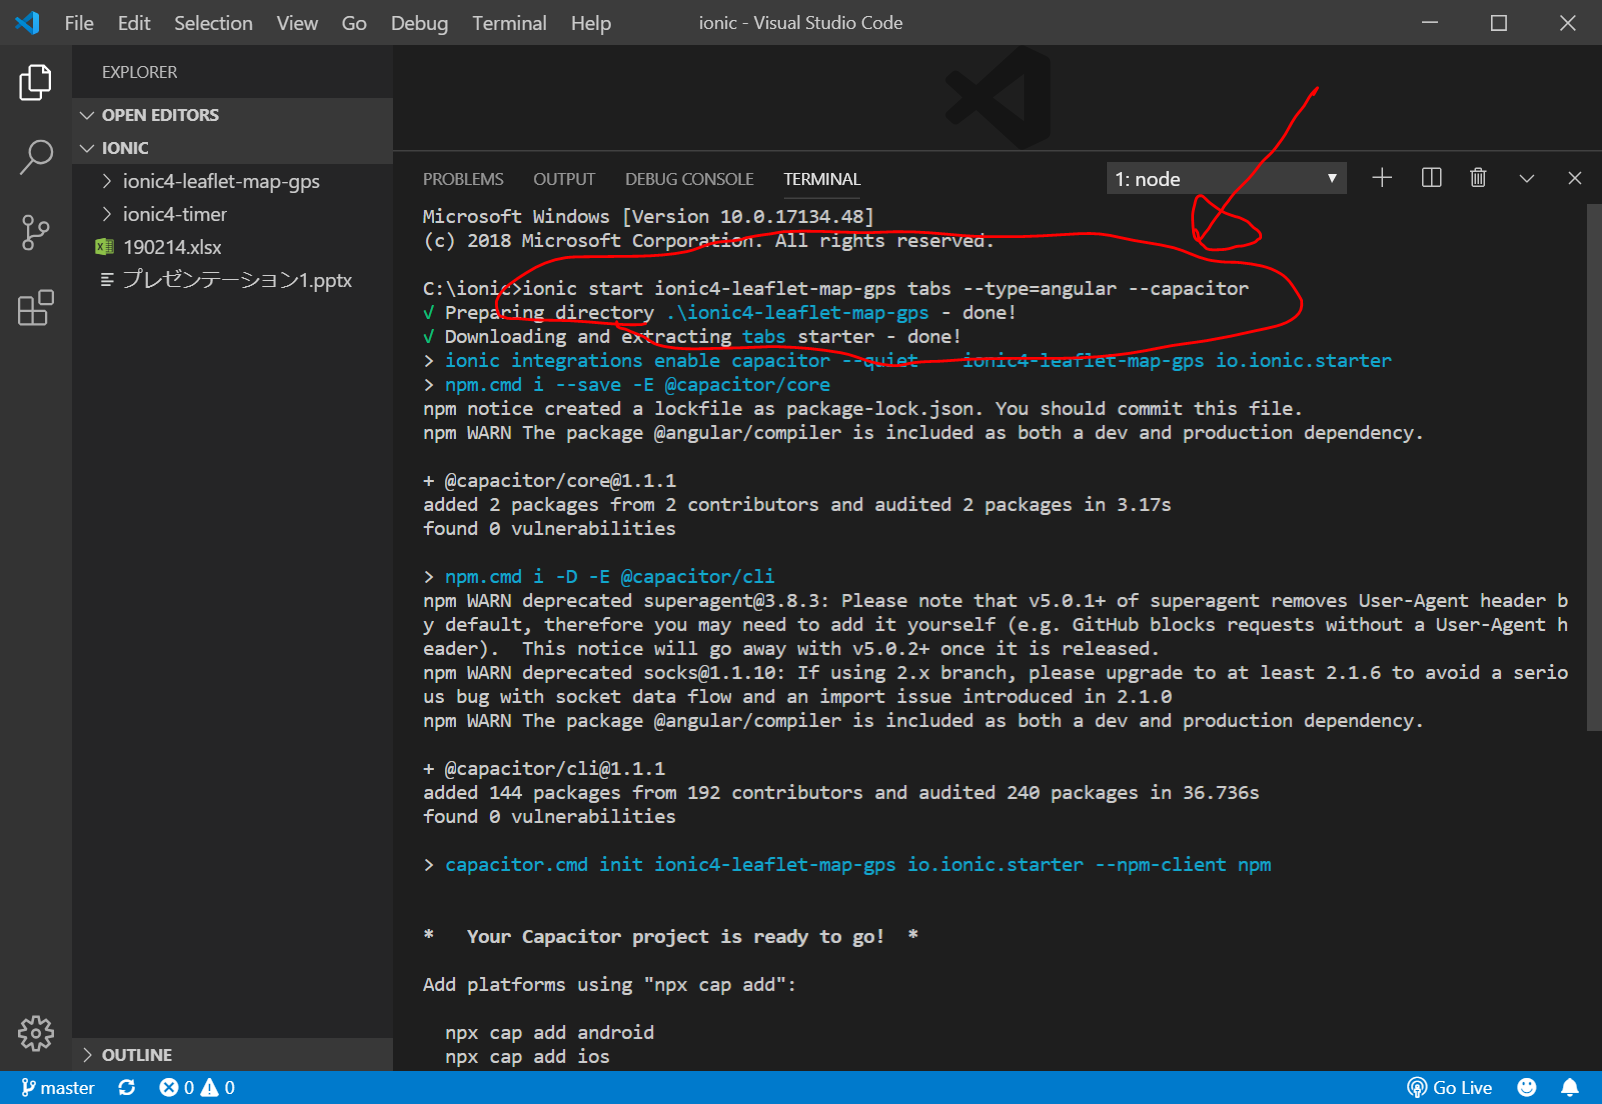
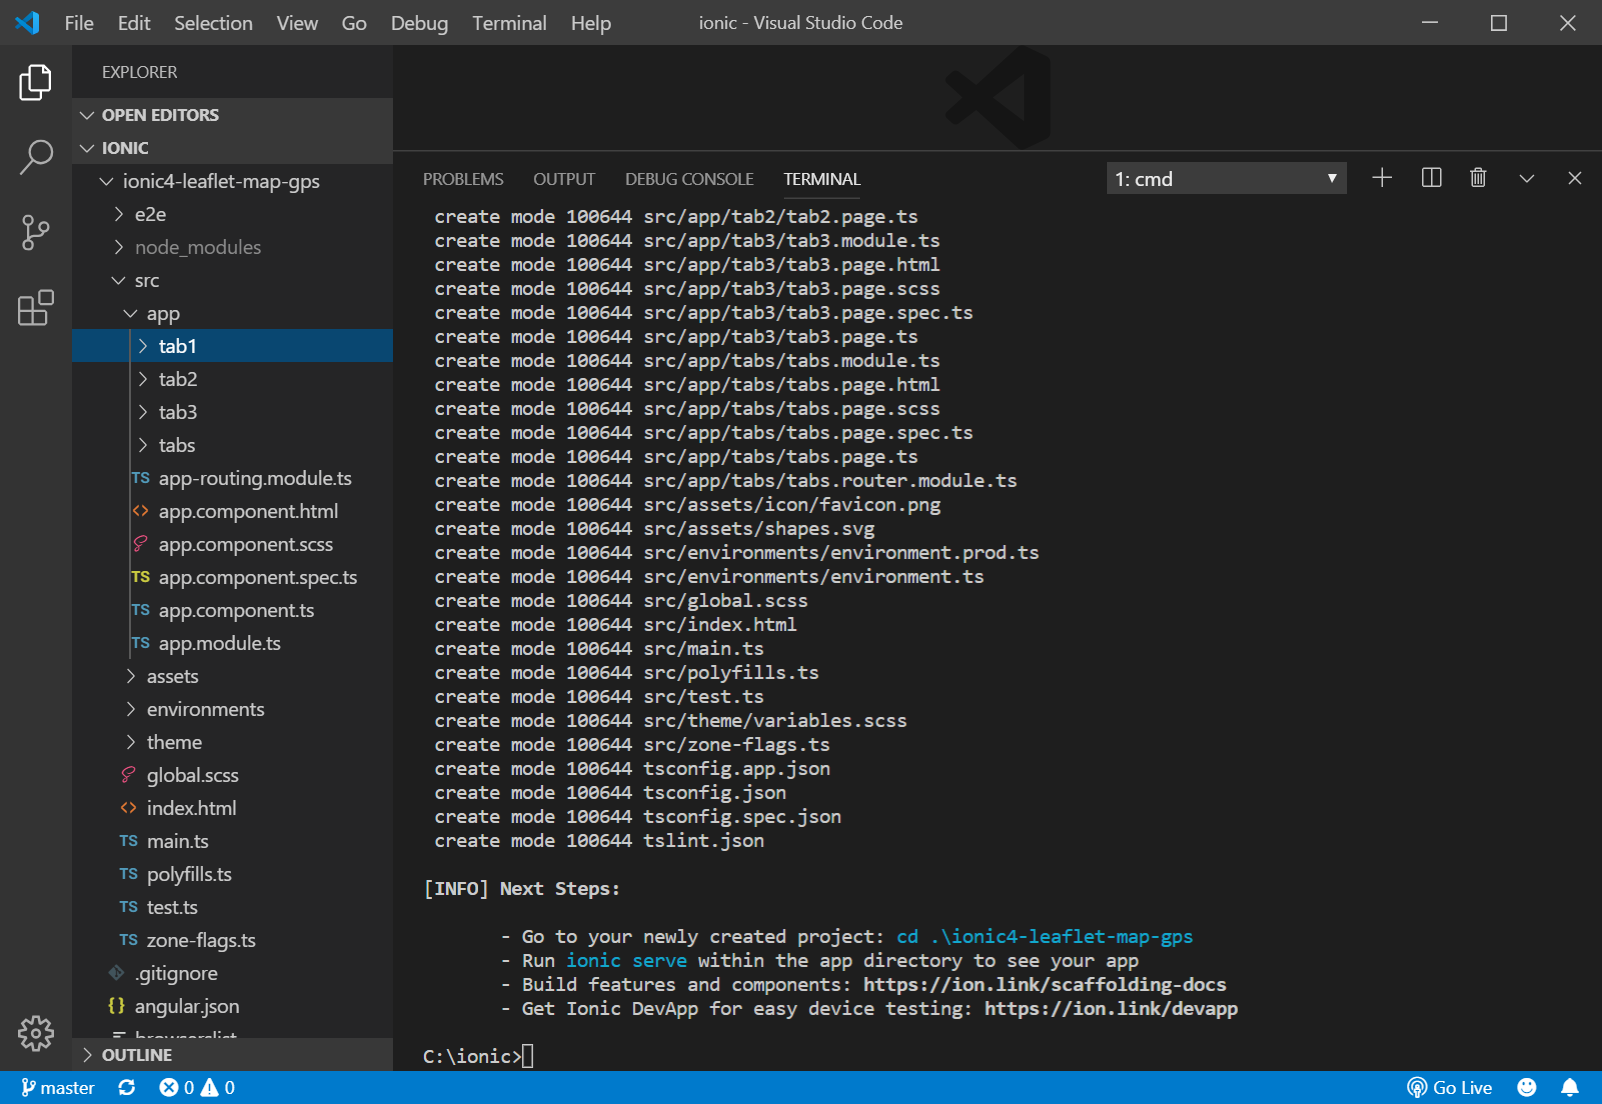
C:/ionic/ フォルダをVisualStudioCodeで開き、Ctrl+@でコマンドプロンプトを開き、以下を入力します。
後で、CapacitorのGeolocationを利用したいので、--capacitorオプションをつけておきます。
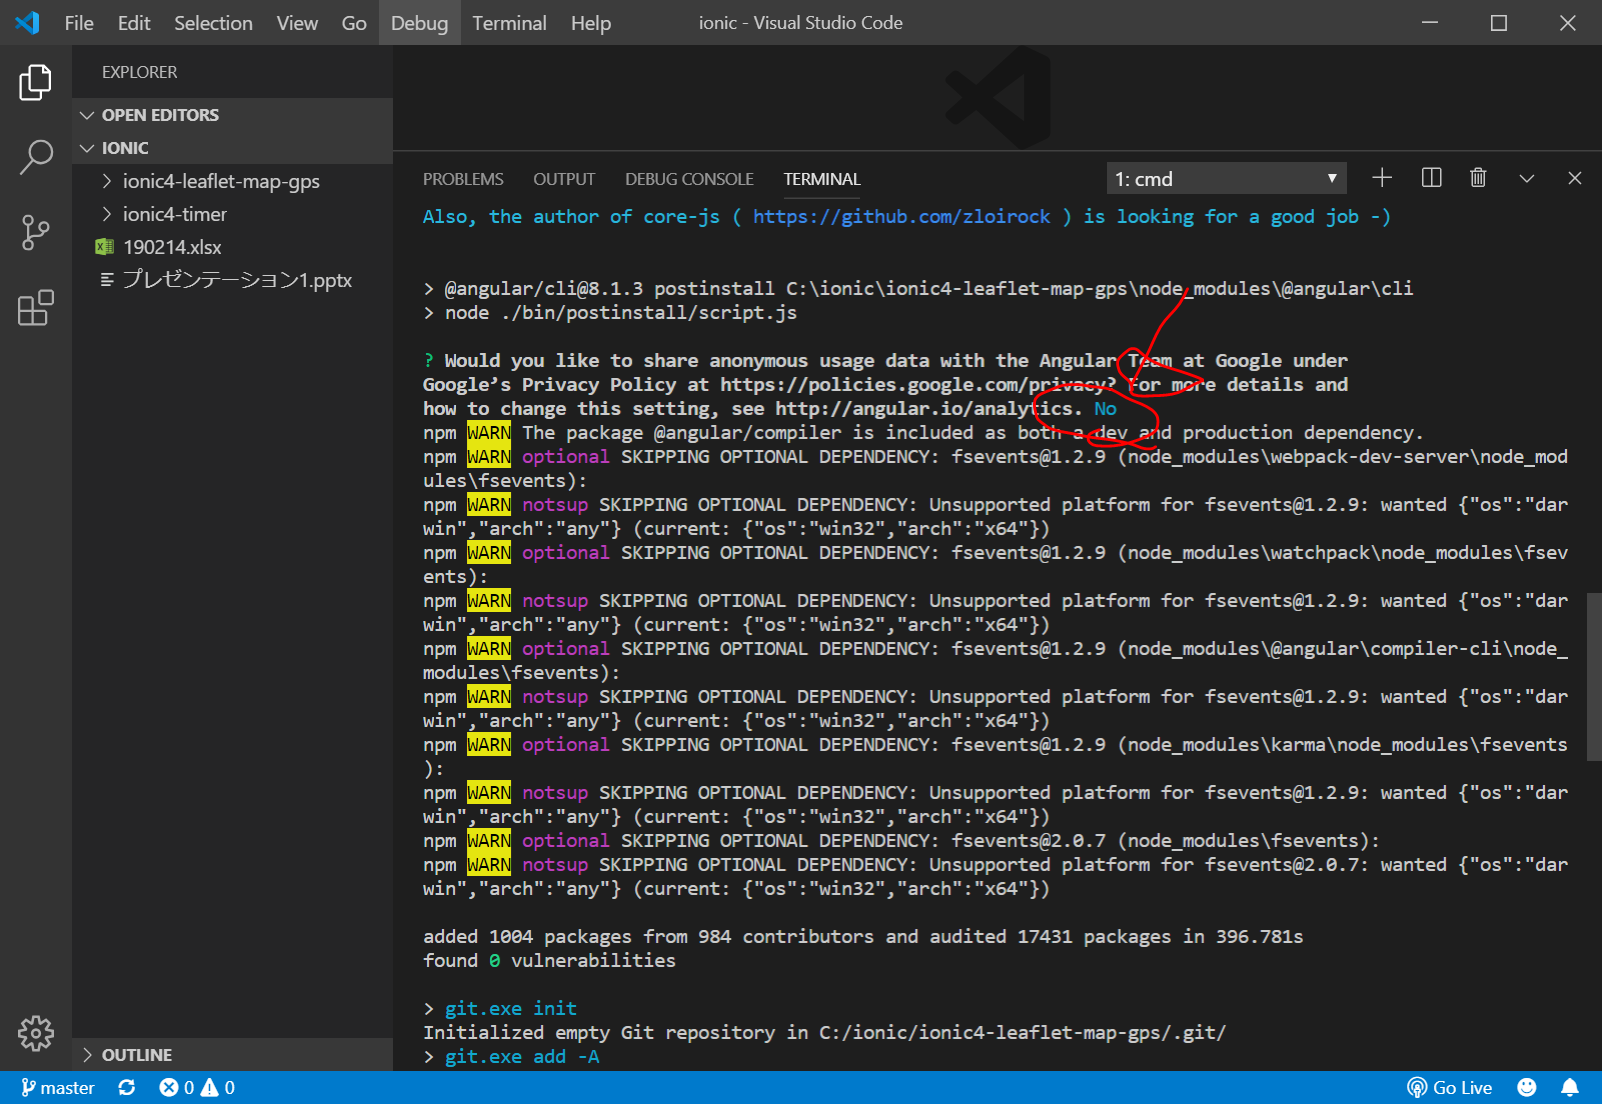
5分くらいかかります。
ionic start ionic4-leaflet-map-gps tabs --type=angular --capacitor
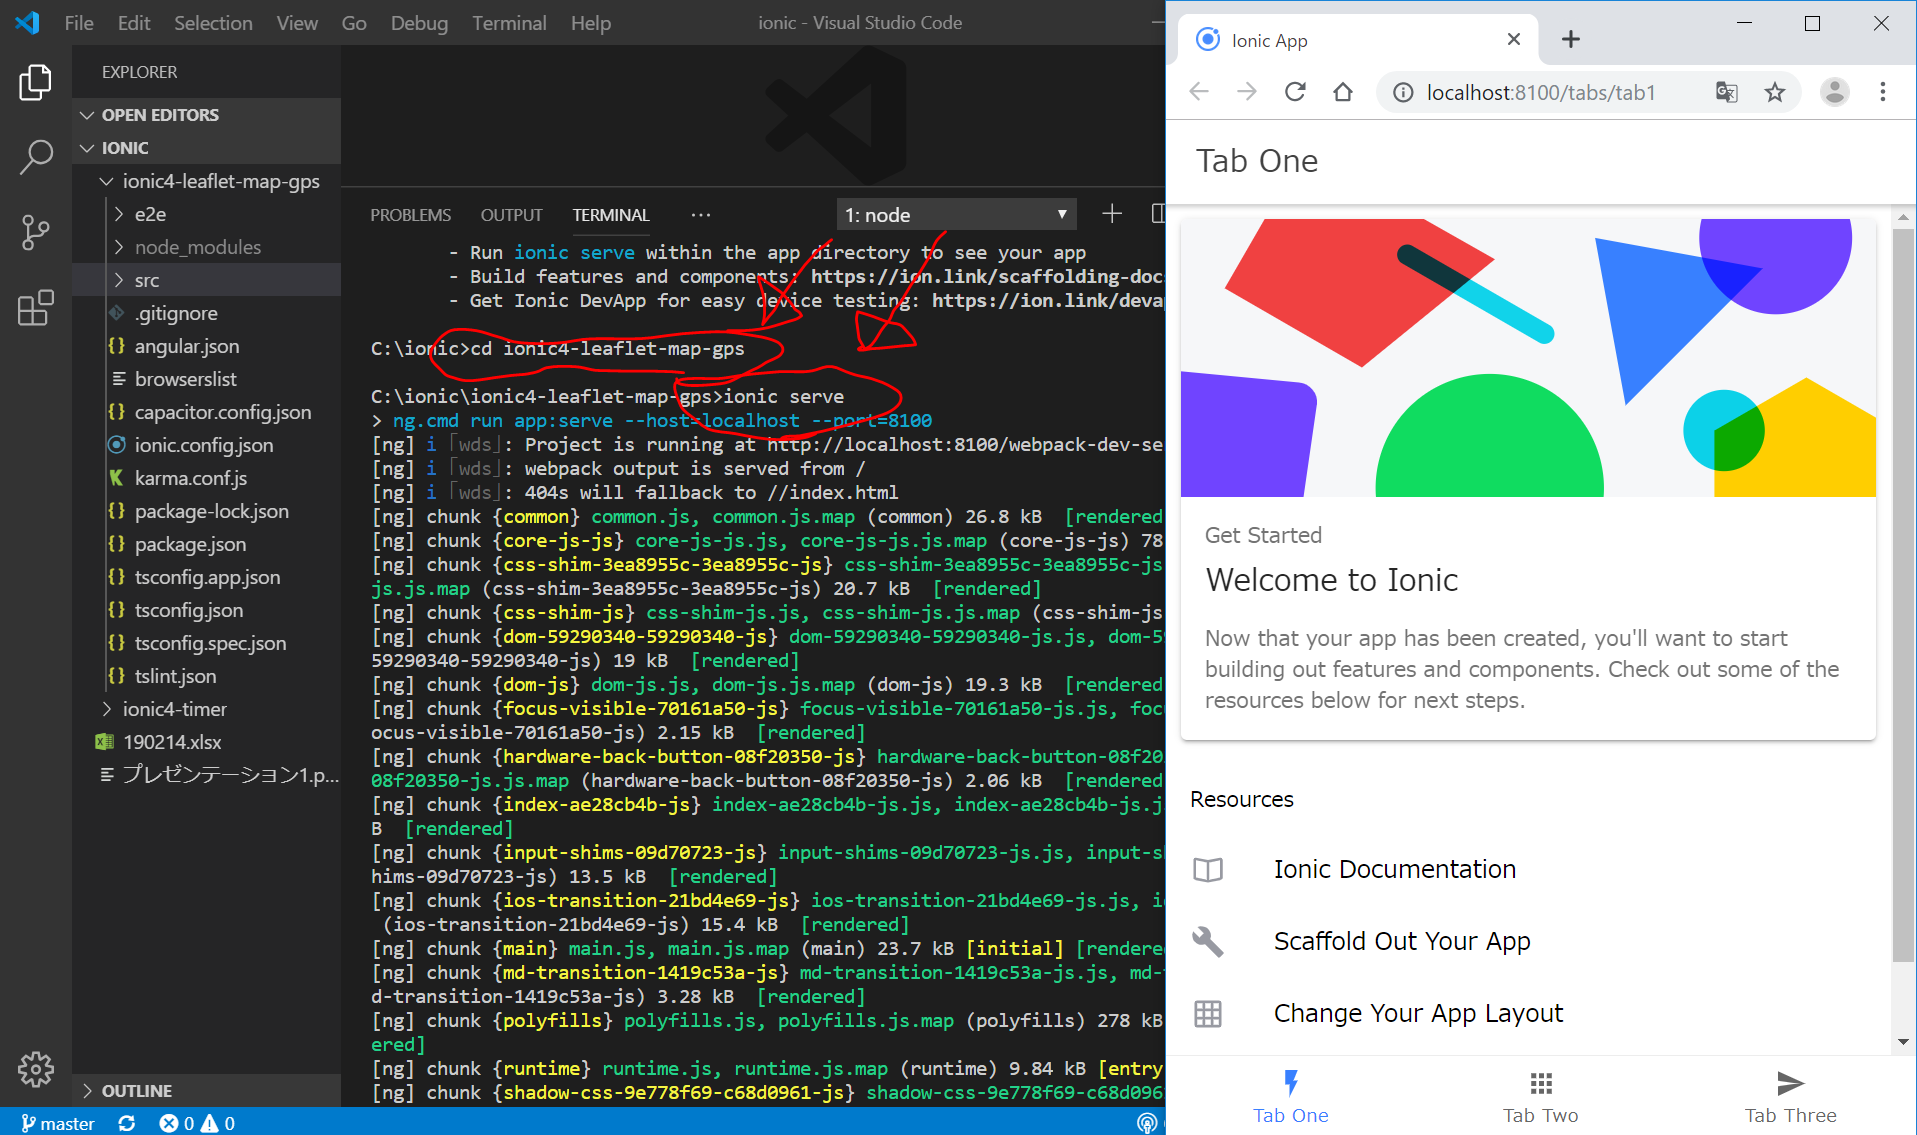
次に以下を入力して、一旦、Ionic4アプリを起動してみます。
cd ionic4-leaflet-map-gps
ionic serve
いったん、Ctrl+C ⇒ y + Enter でサーバを停止します。
さらに、VisualStudioCodeを閉じます。
leafletのインストールと初期設定
アプリに地図表示ライブラリであるleaflet.jsをインストールします。
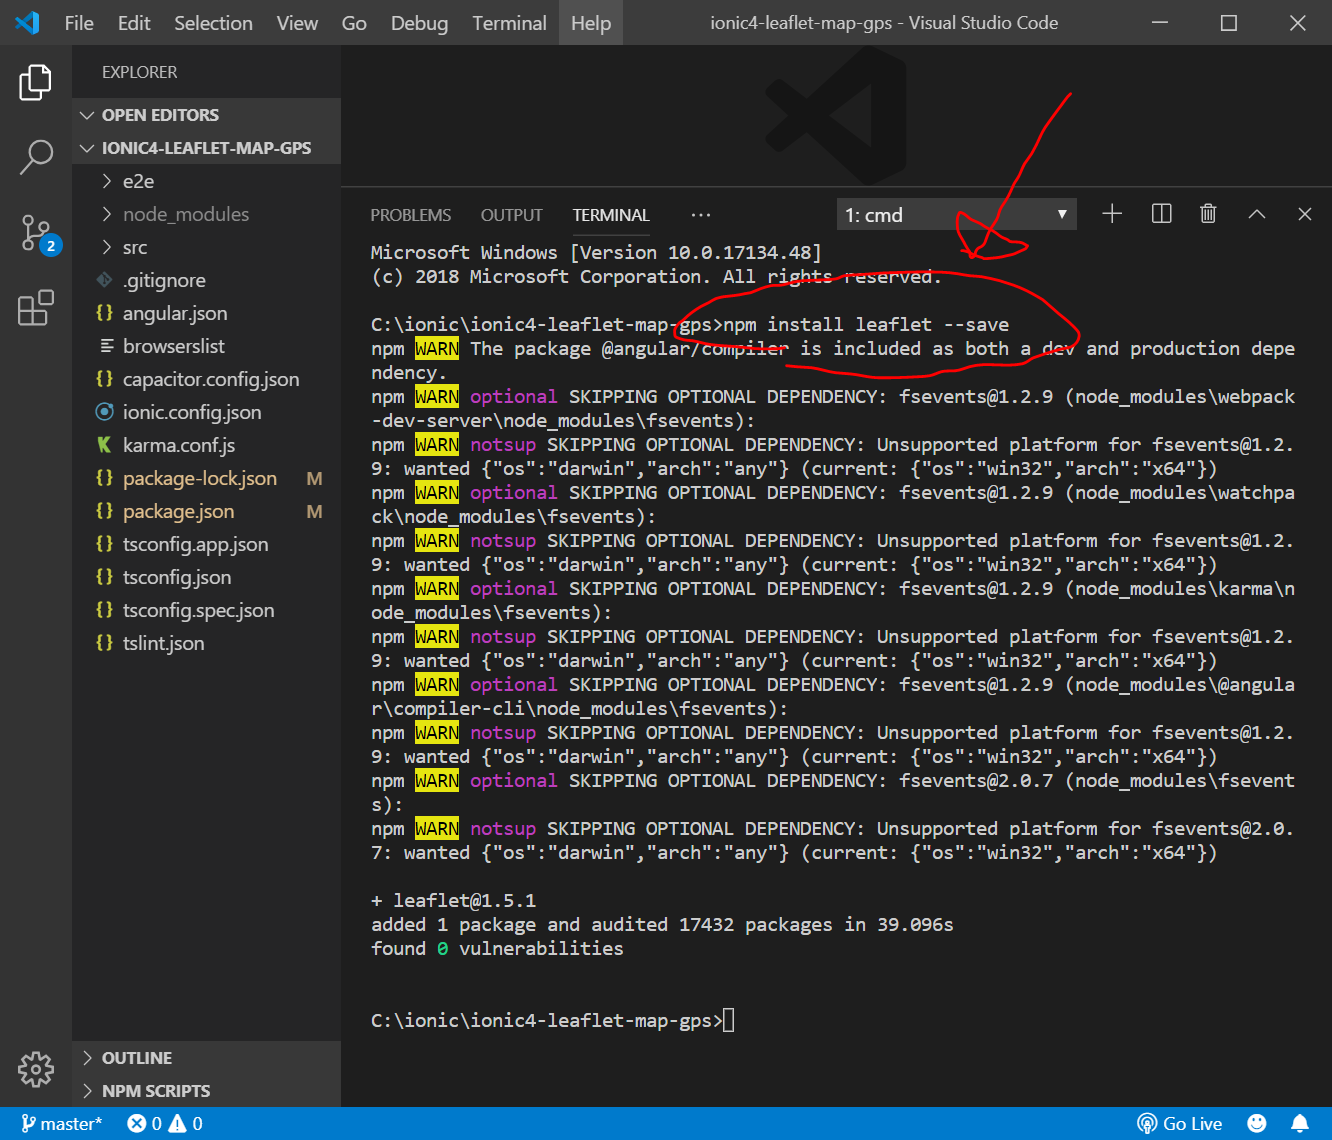
C:/ionic/ionic4-leaflet-map-gps/ フォルダをVisualStudioCodeで開き、Ctrl+@でコマンドプロンプトを開き、以下を入力します。
npm install leaflet --save
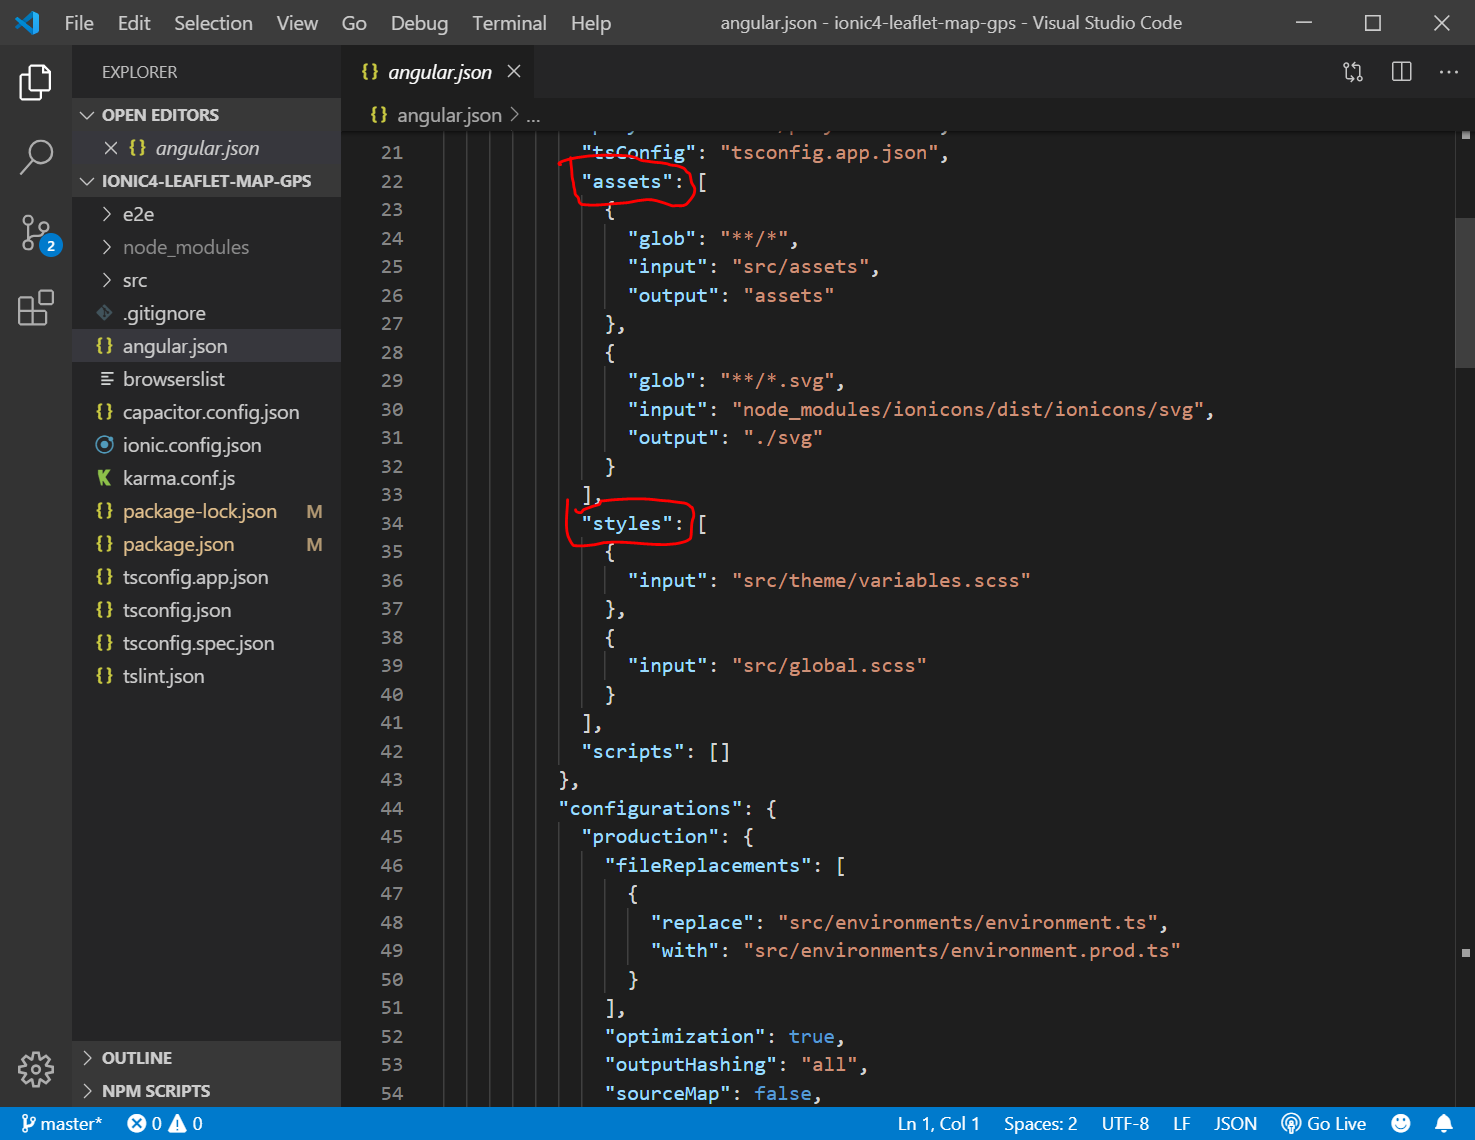
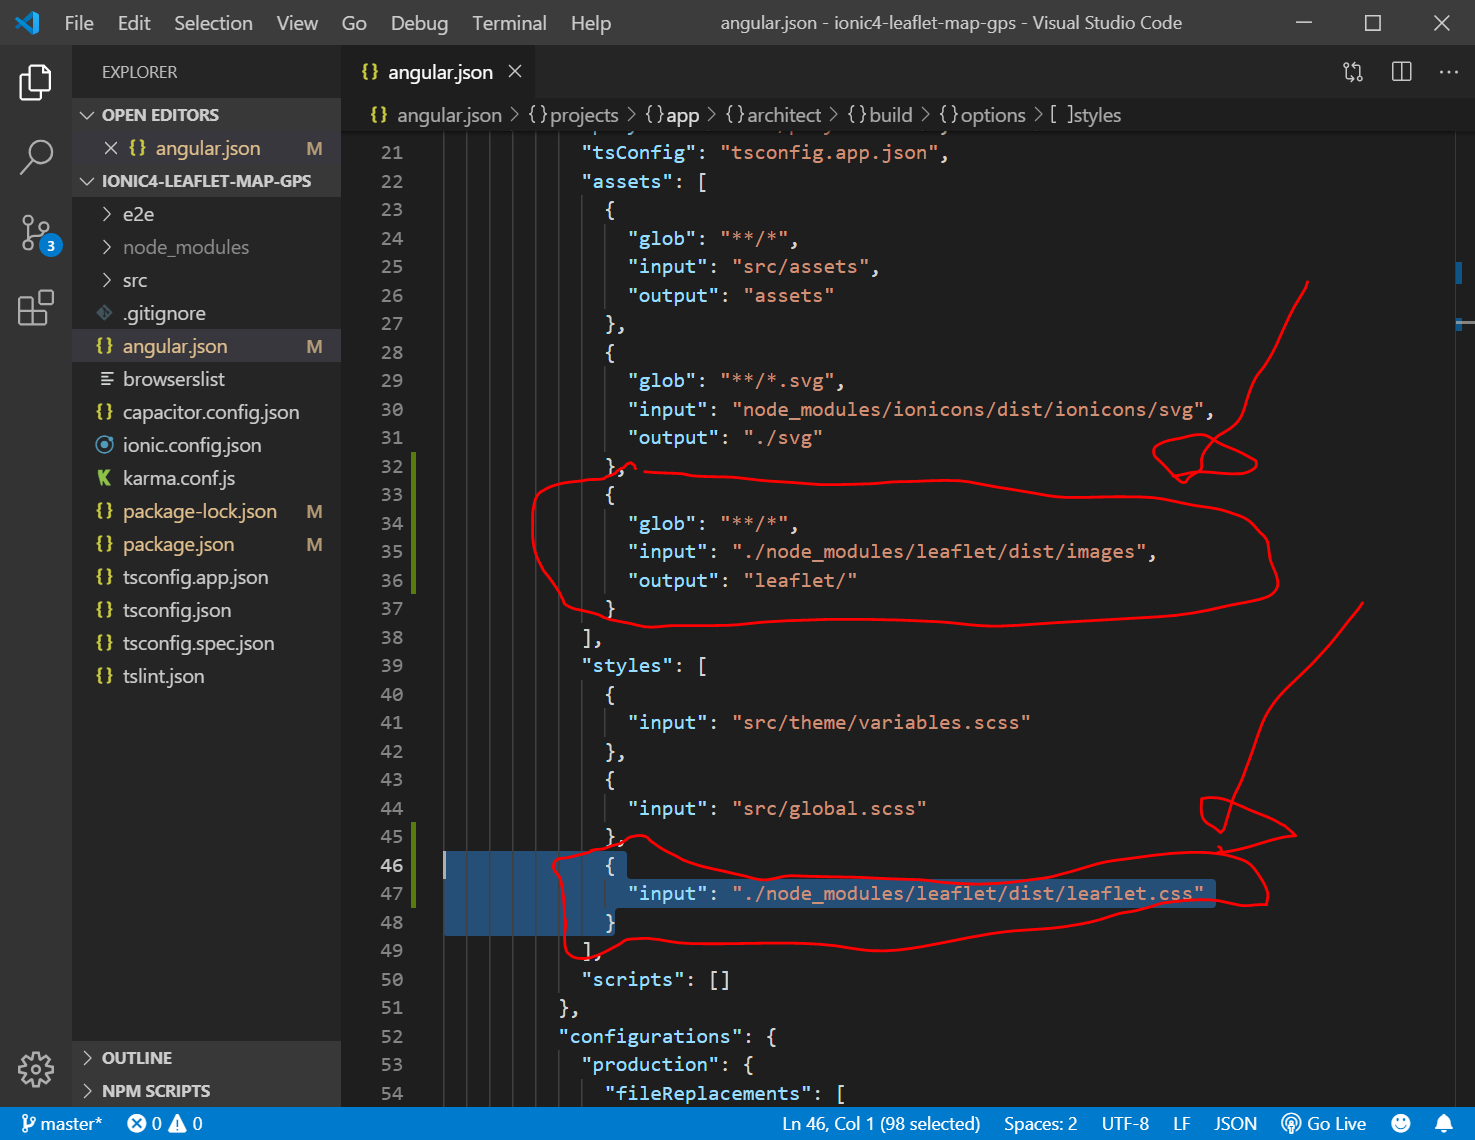
angular.json の
"assets":
"styles":
の最後のところに、以下のように追加します。
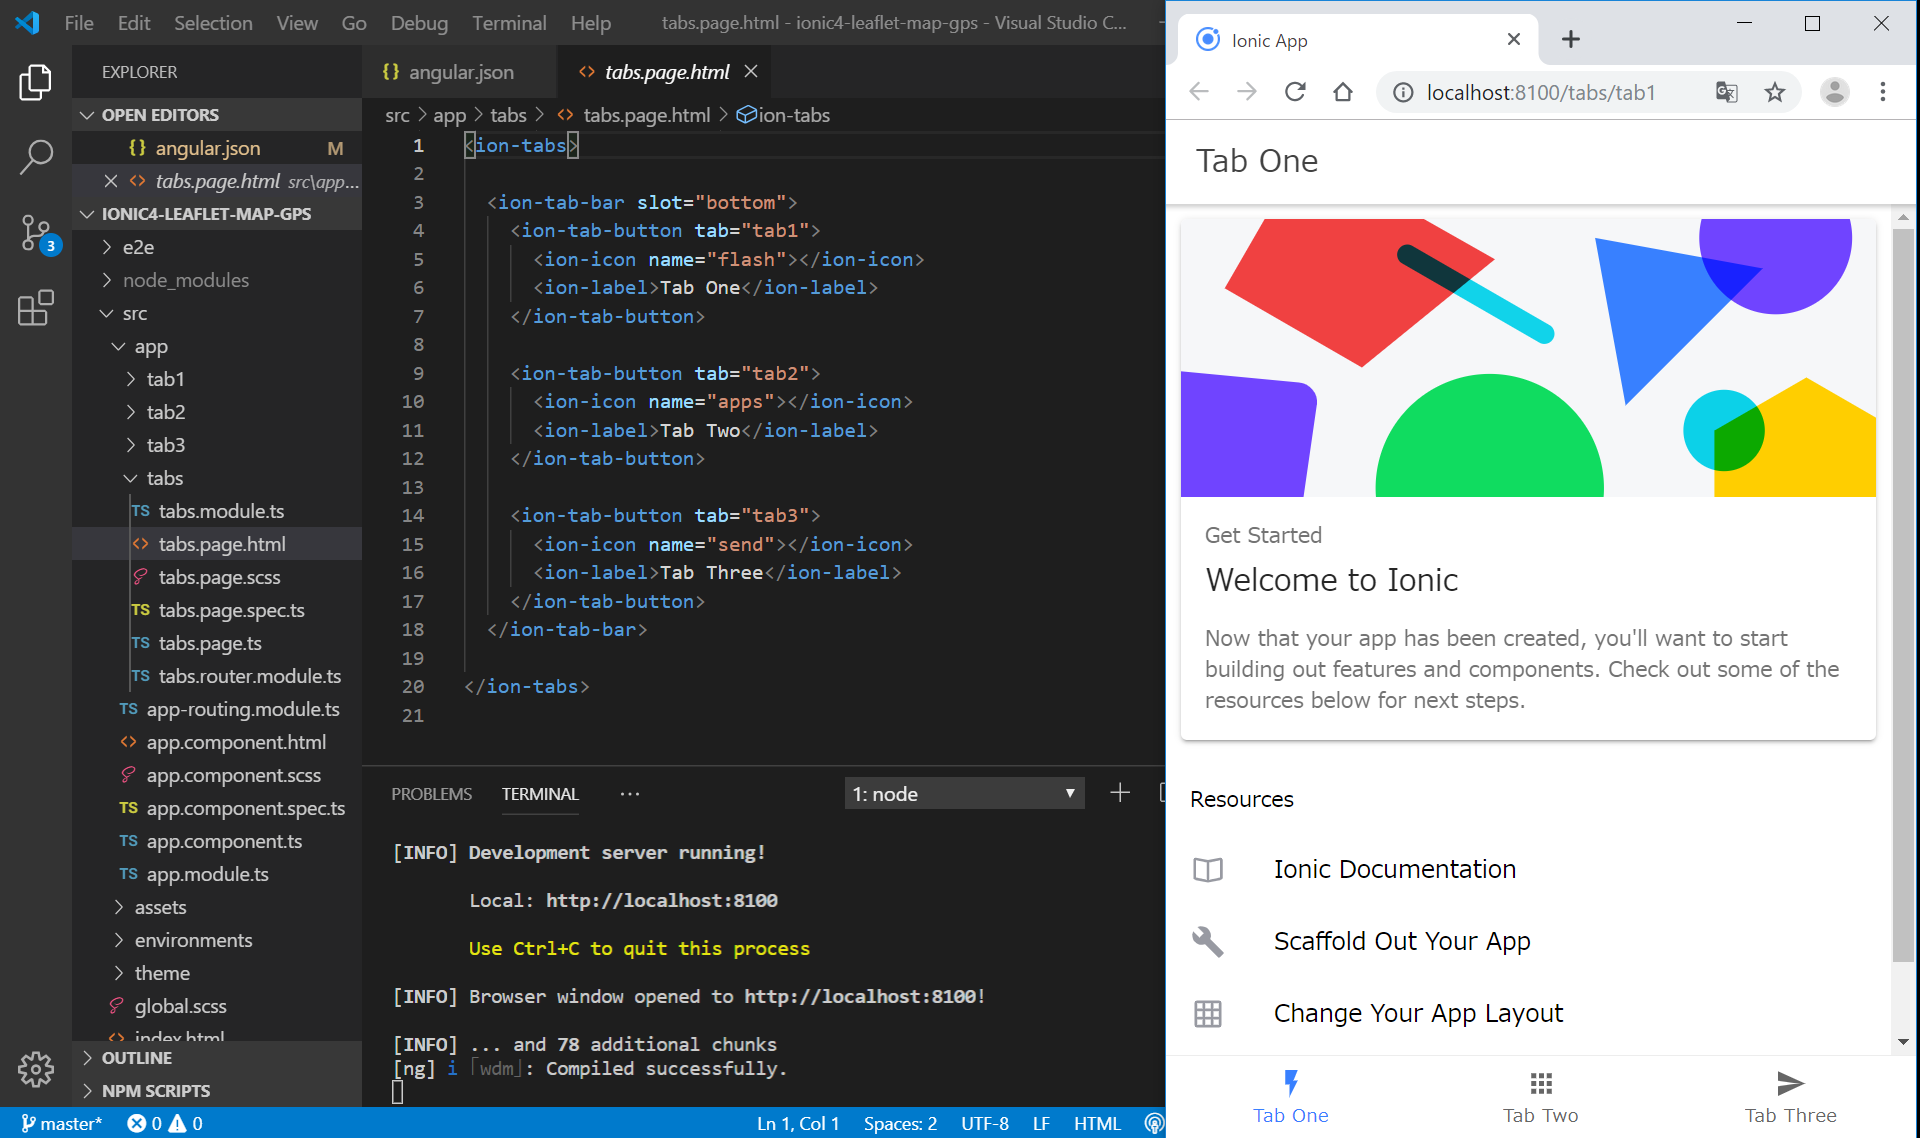
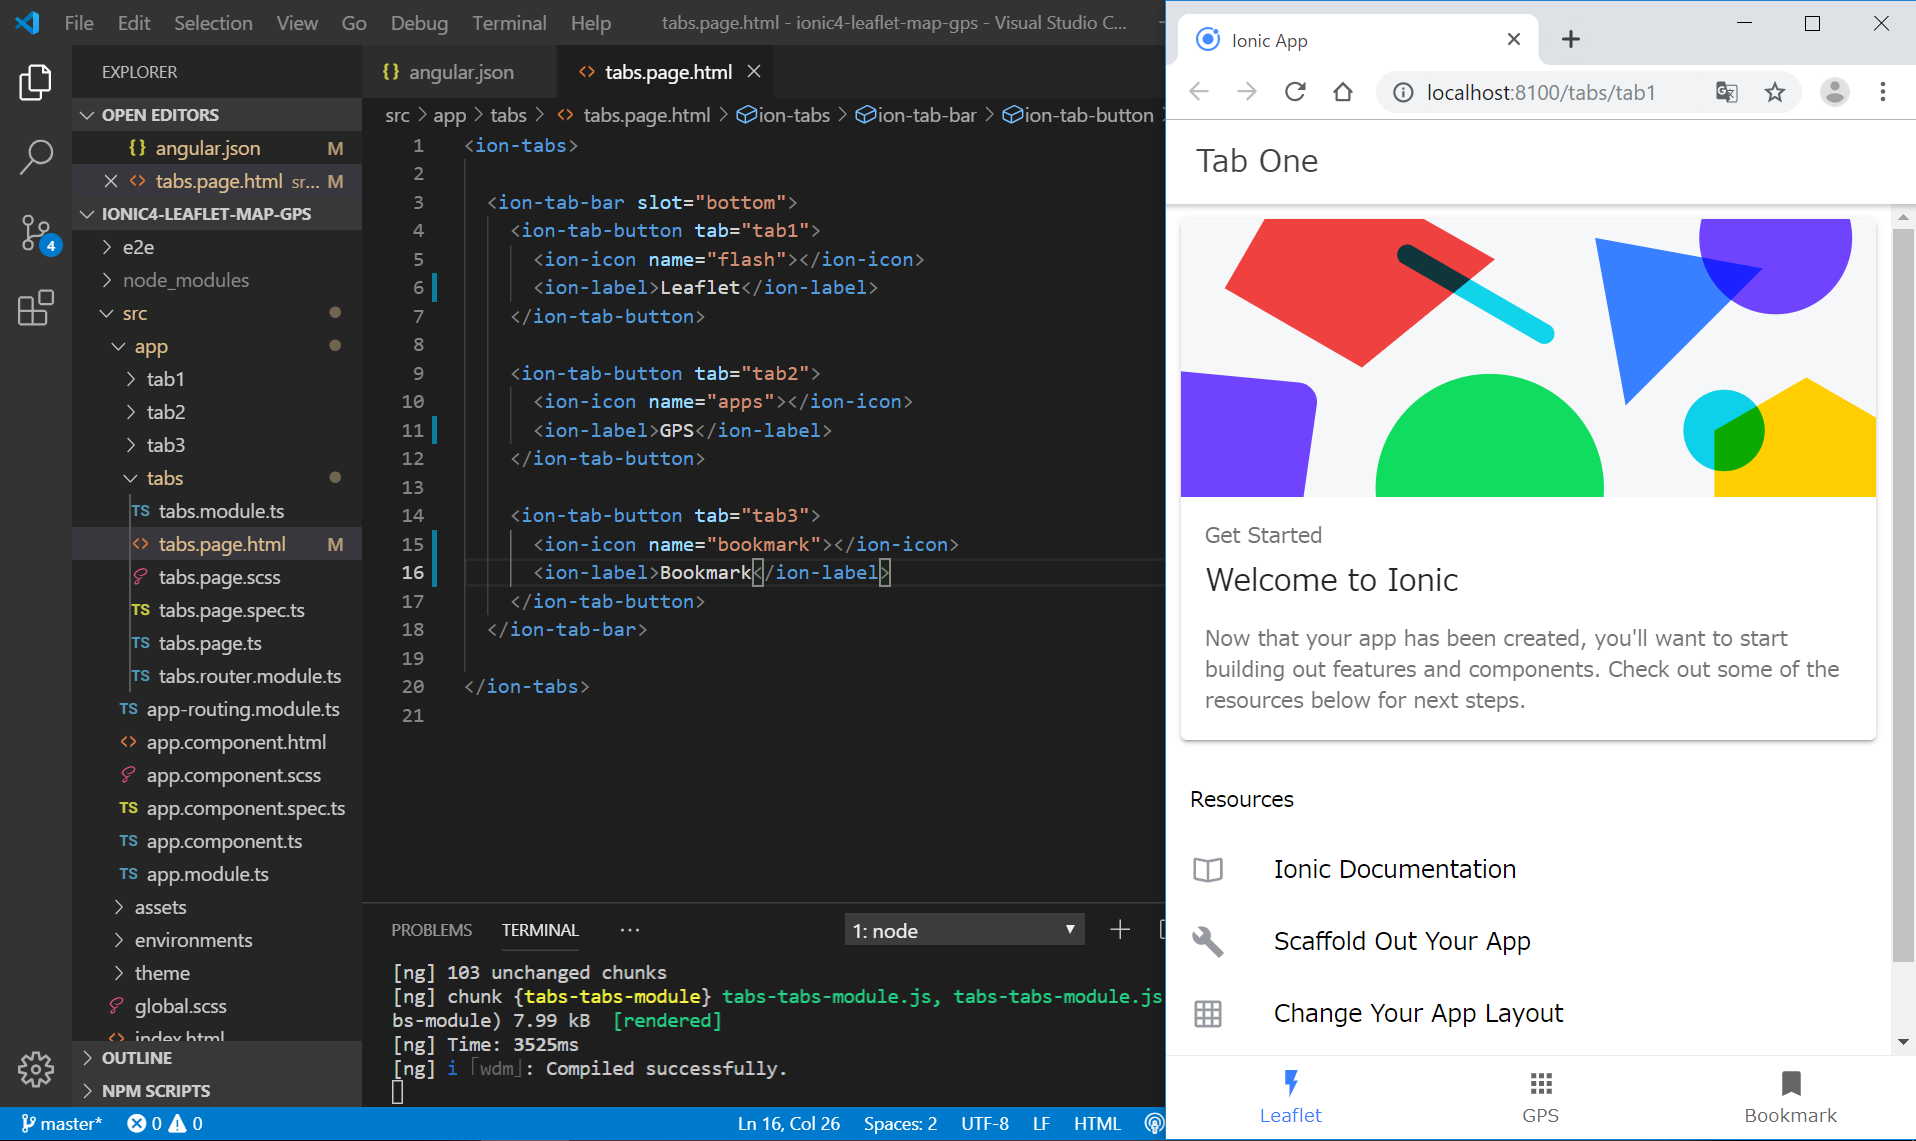
Tabテンプレートの設定
地図の表示(tab1.page.html)
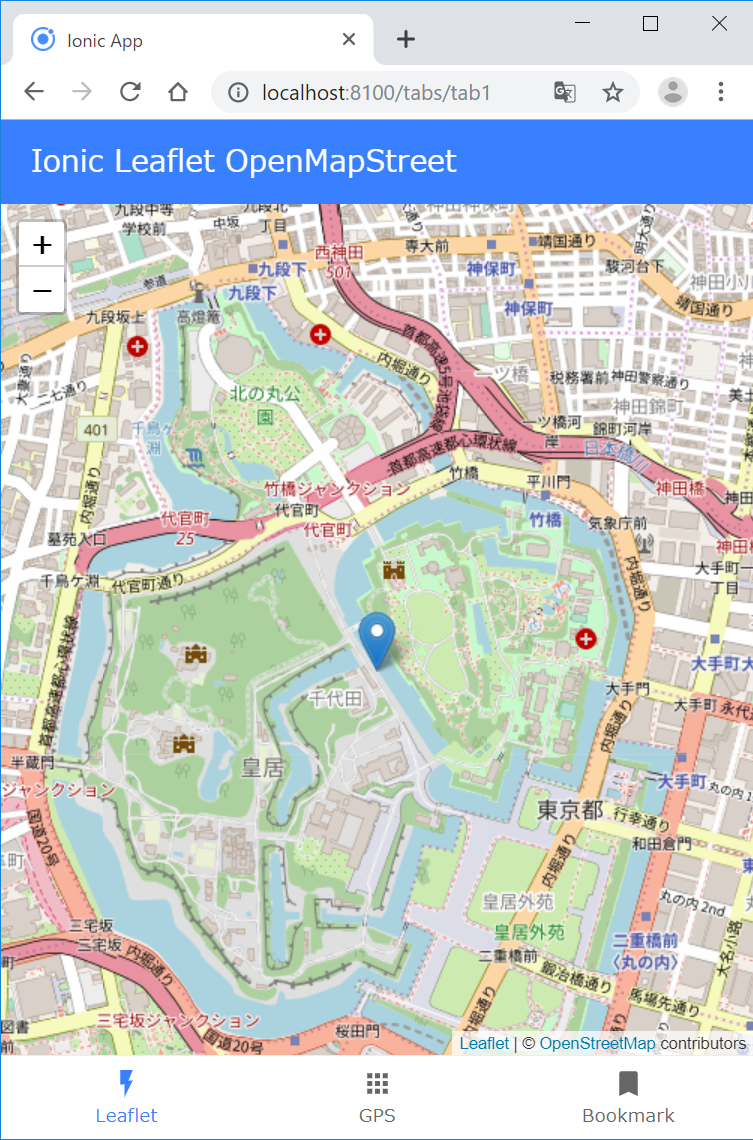
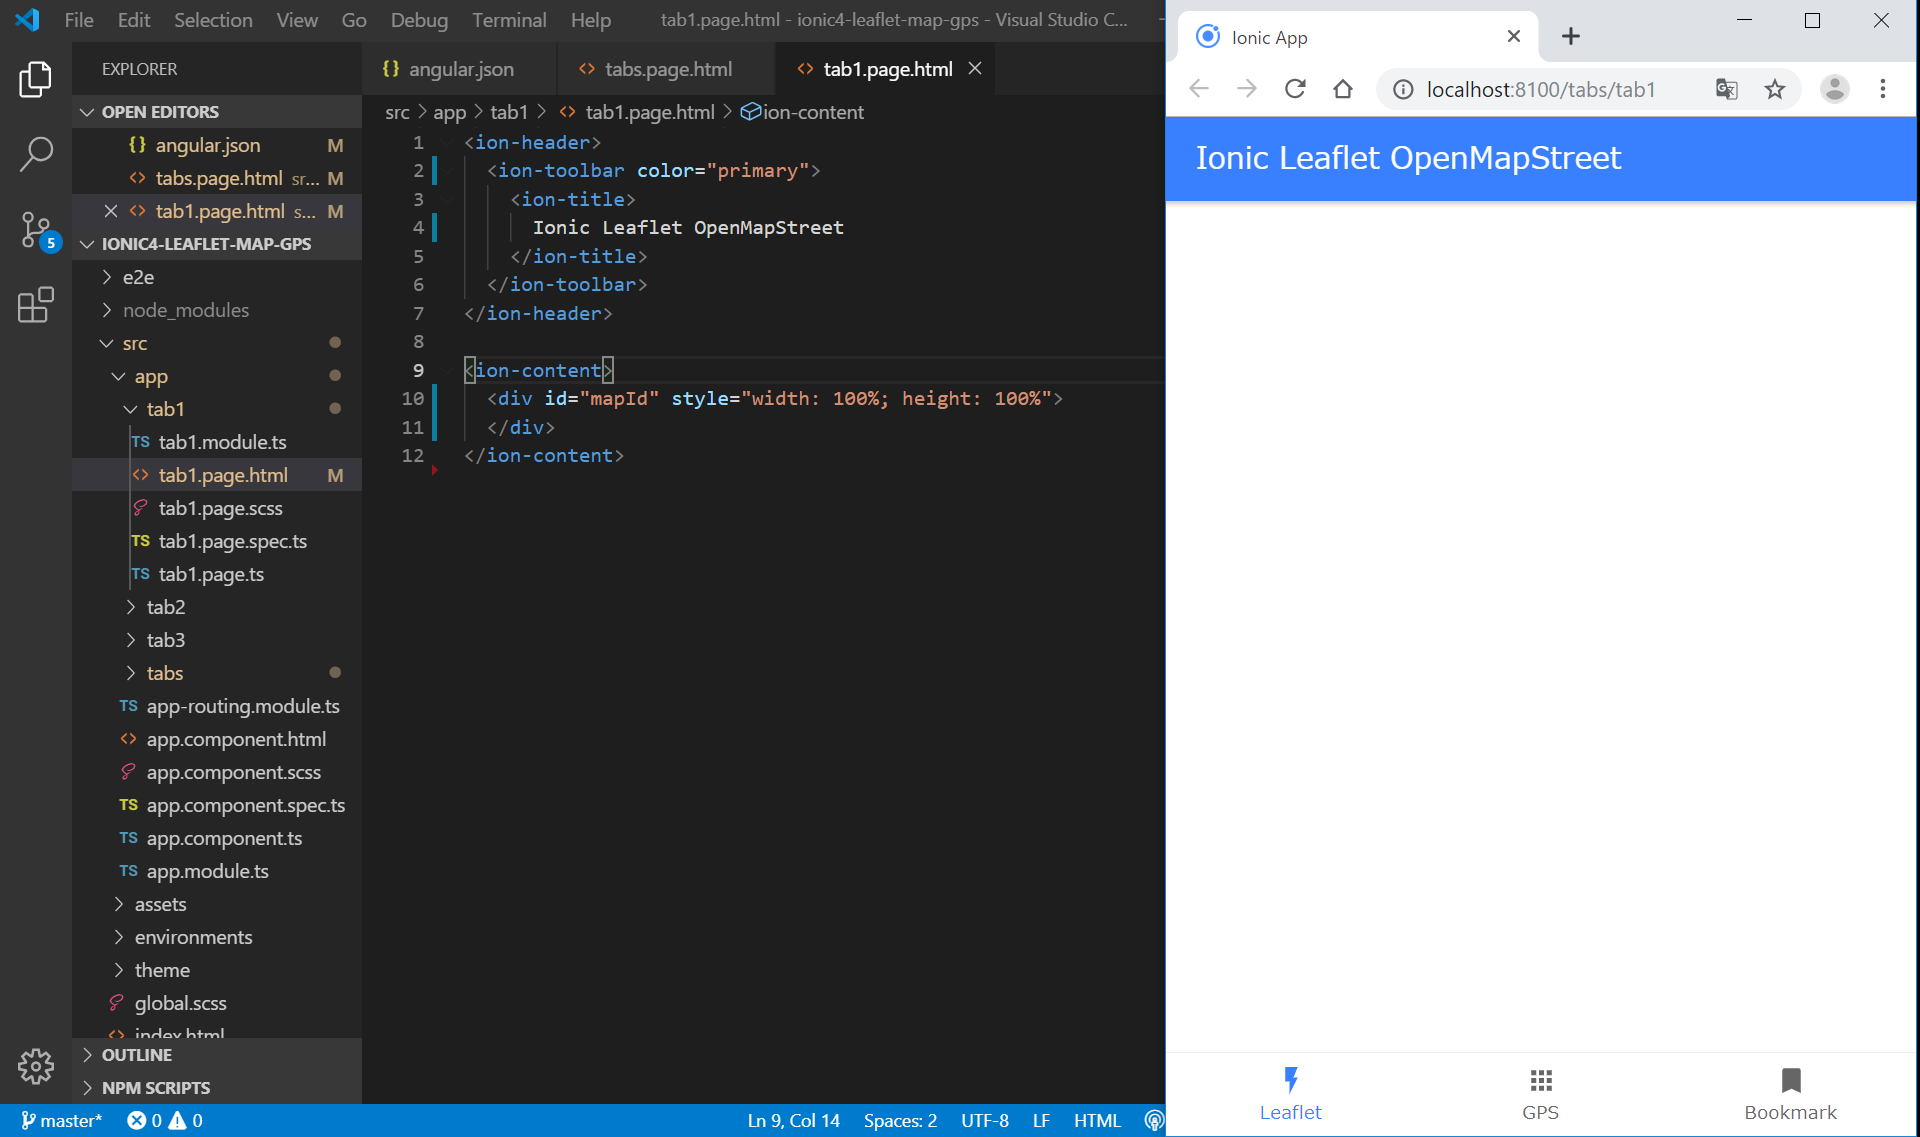
Tab1でLeafletを用いて地図を表示します。
src/app/tab1/tab1.page.html(ソースコード)
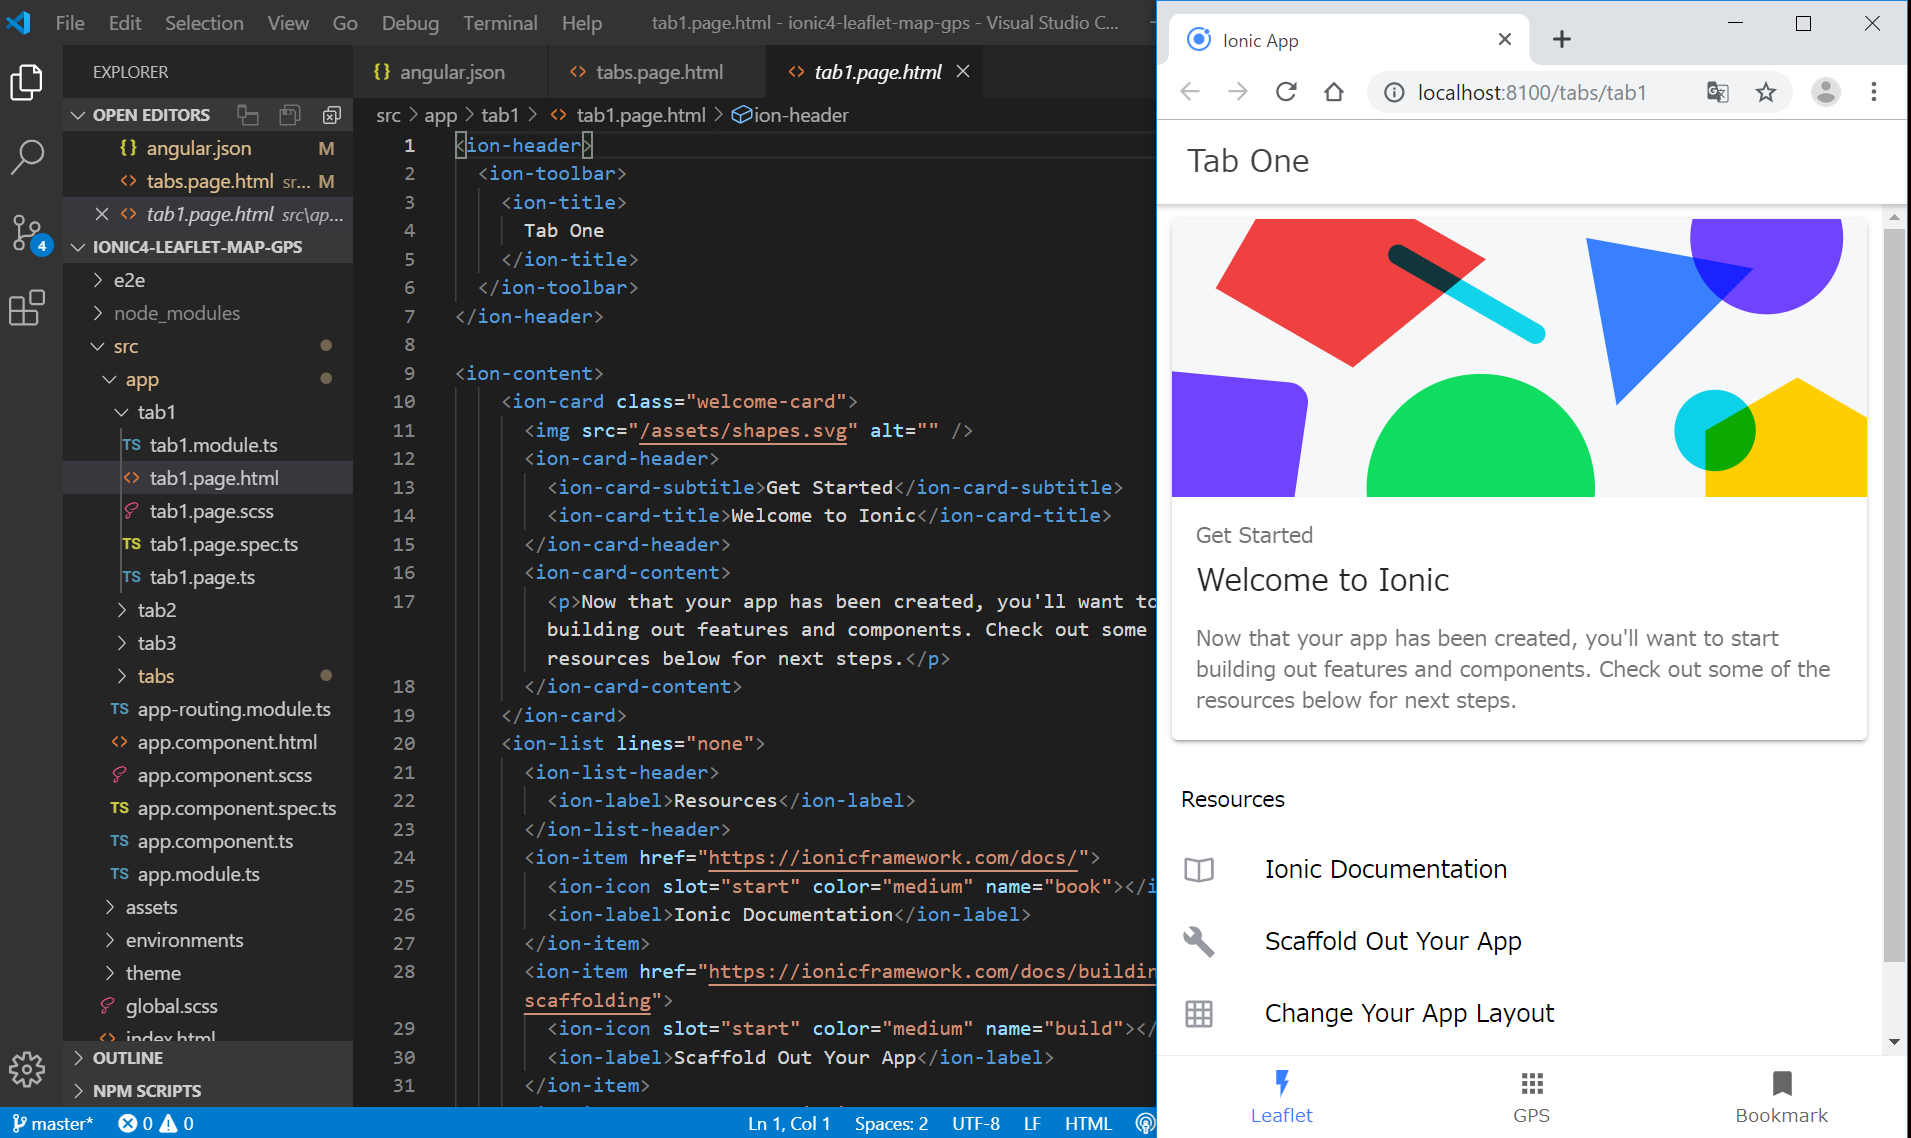
(変更前)
(変更後)
src/app/tab1/tab1.page.ts(ソースコード)
(変更前)
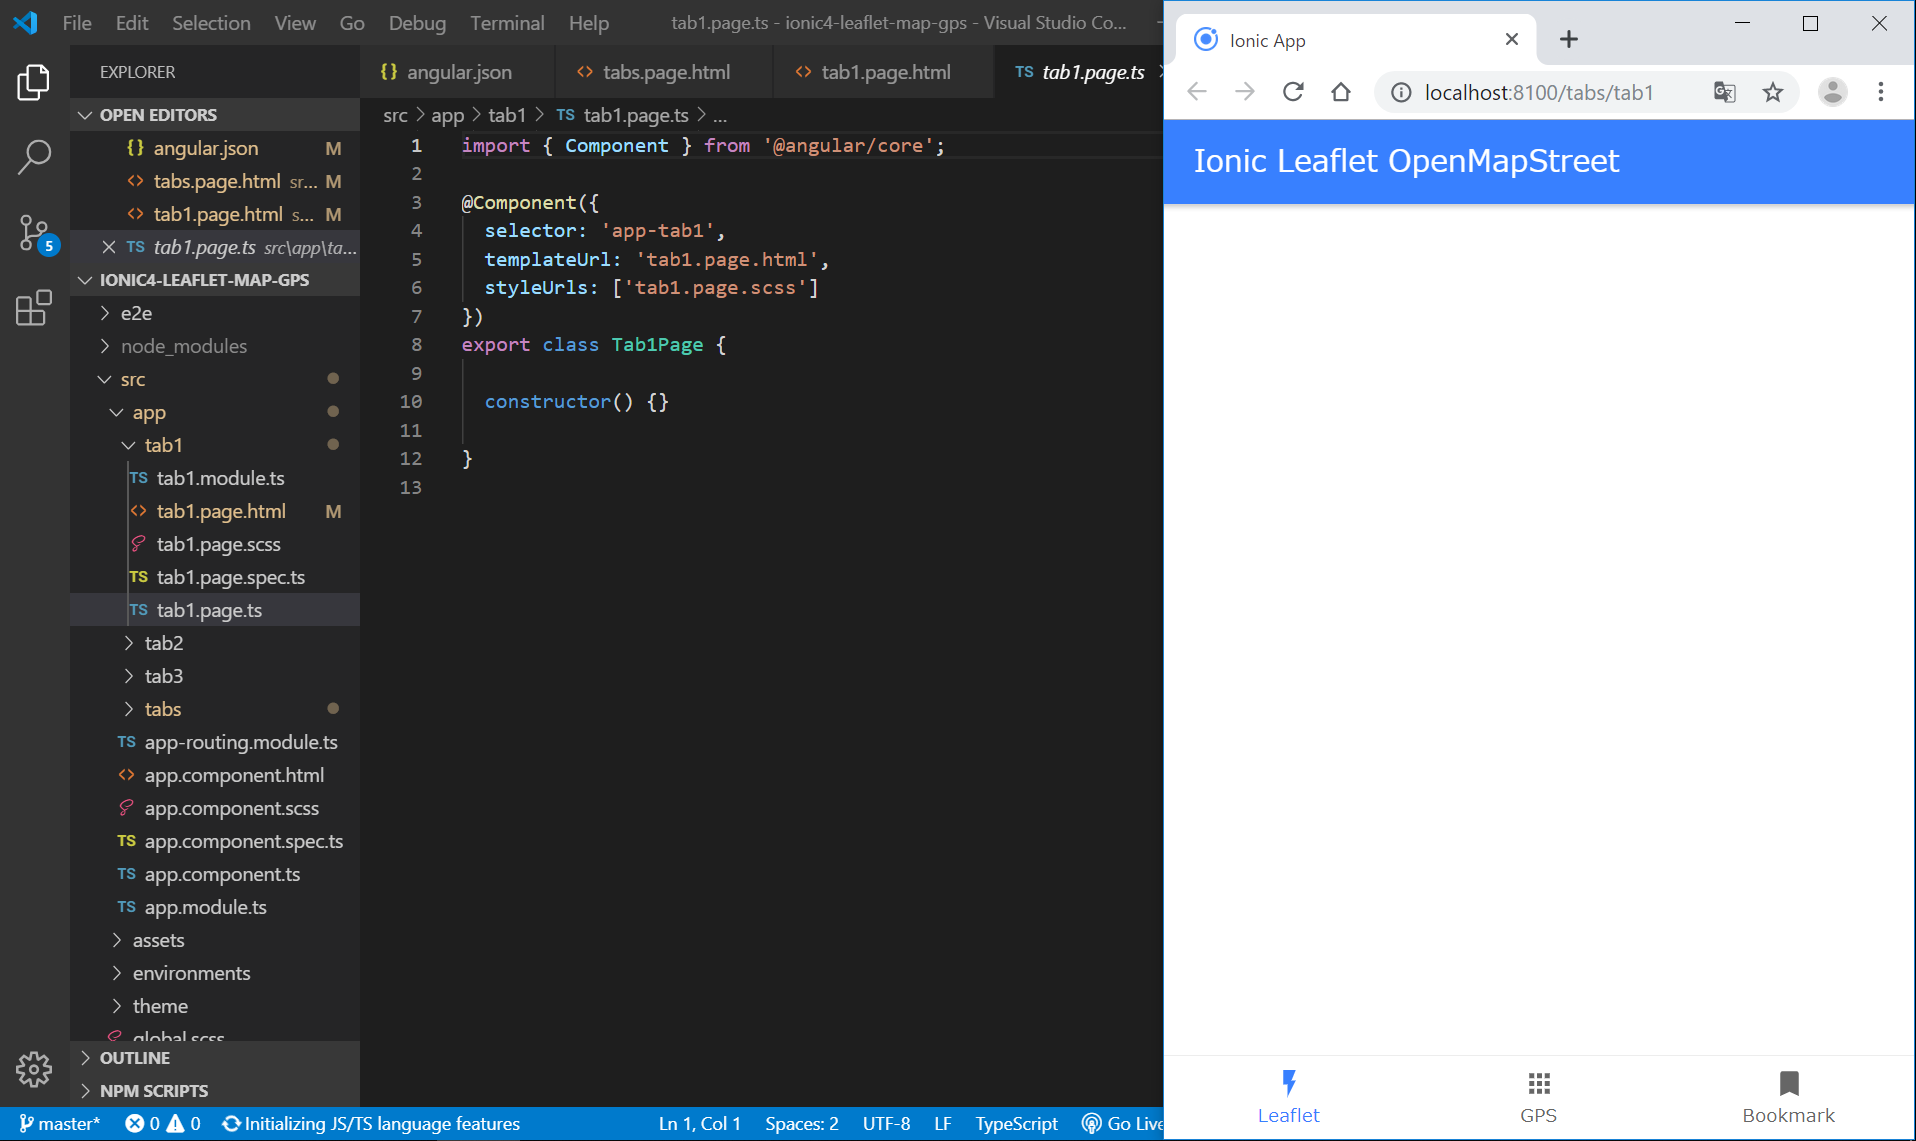
(変更後)
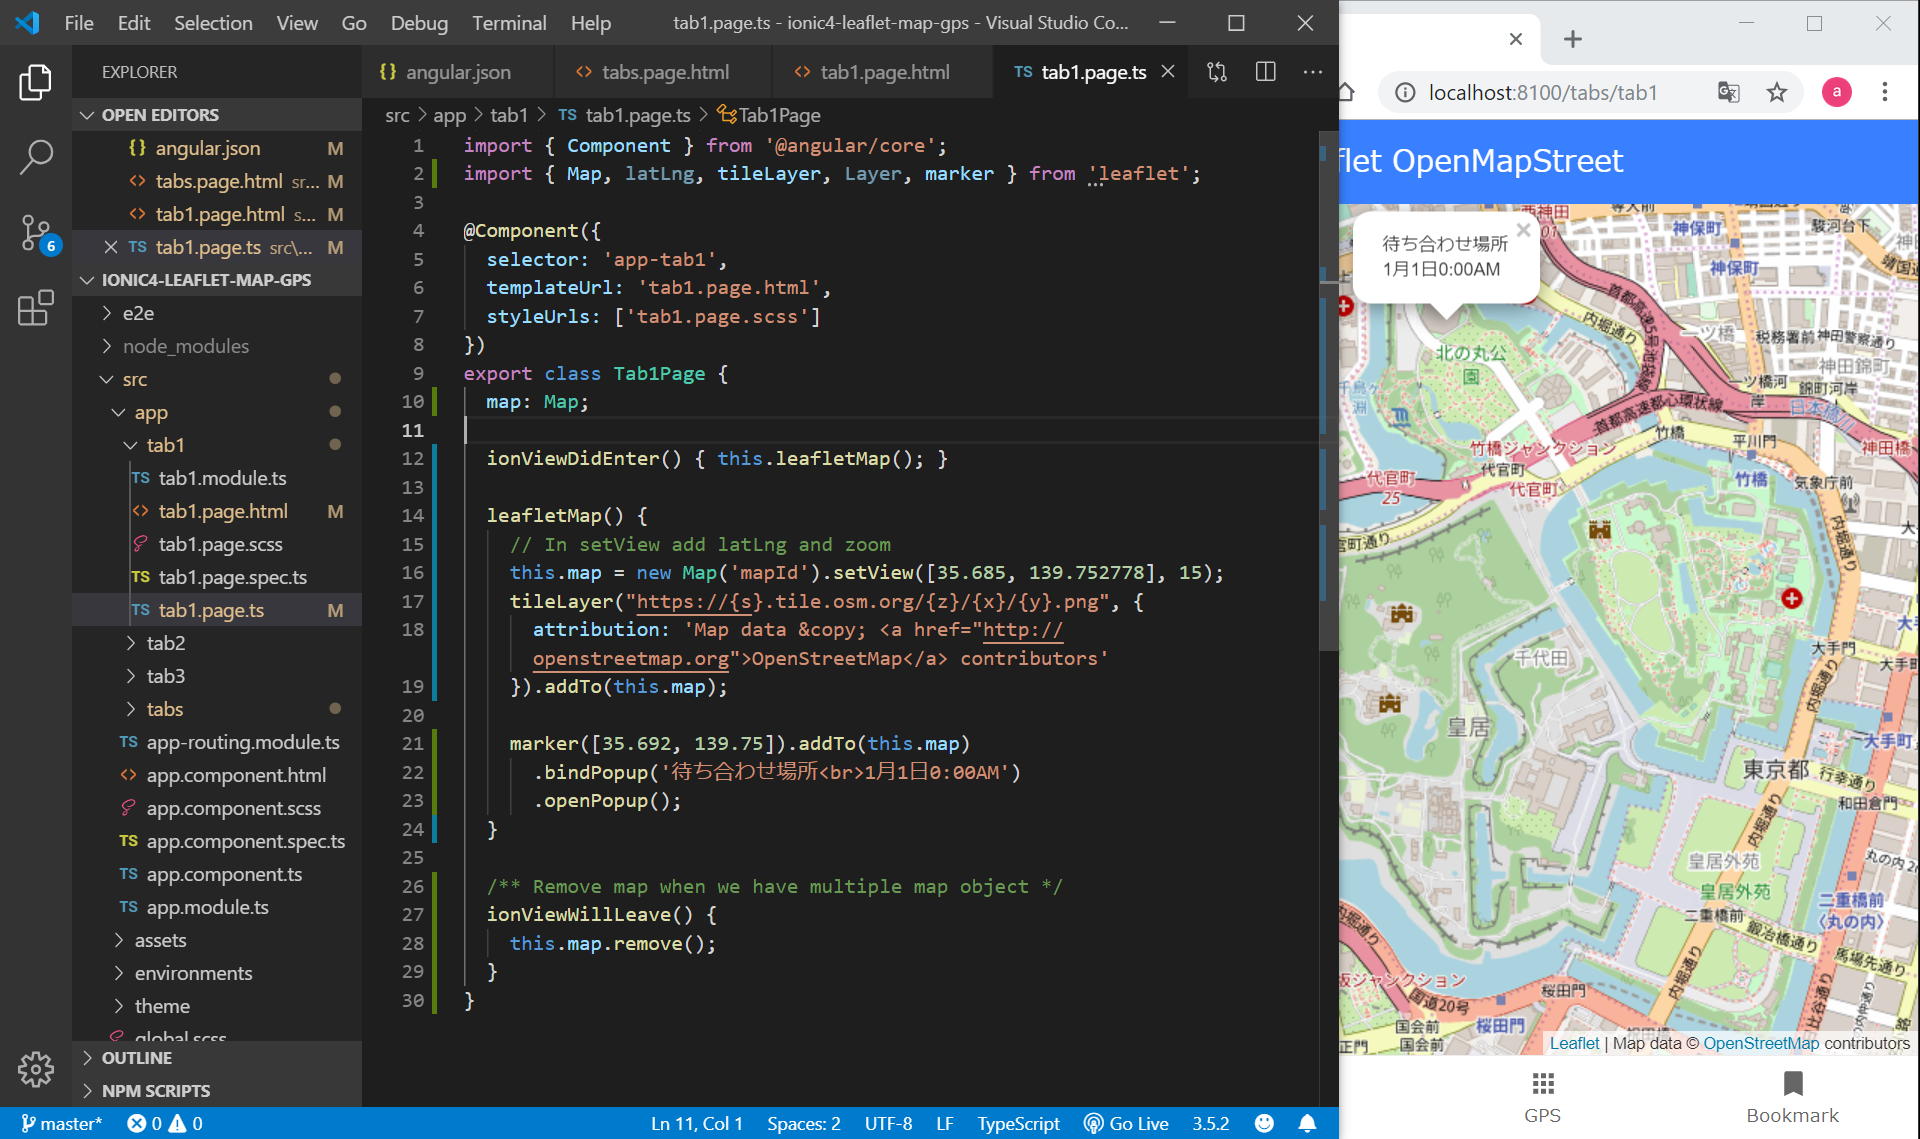
この時点でのソースコード
https://github.com/adash333/ionic4-leaflet-map-gps/tree/65a5a6ea888867c51cf1e3452bdca0bbdade1345
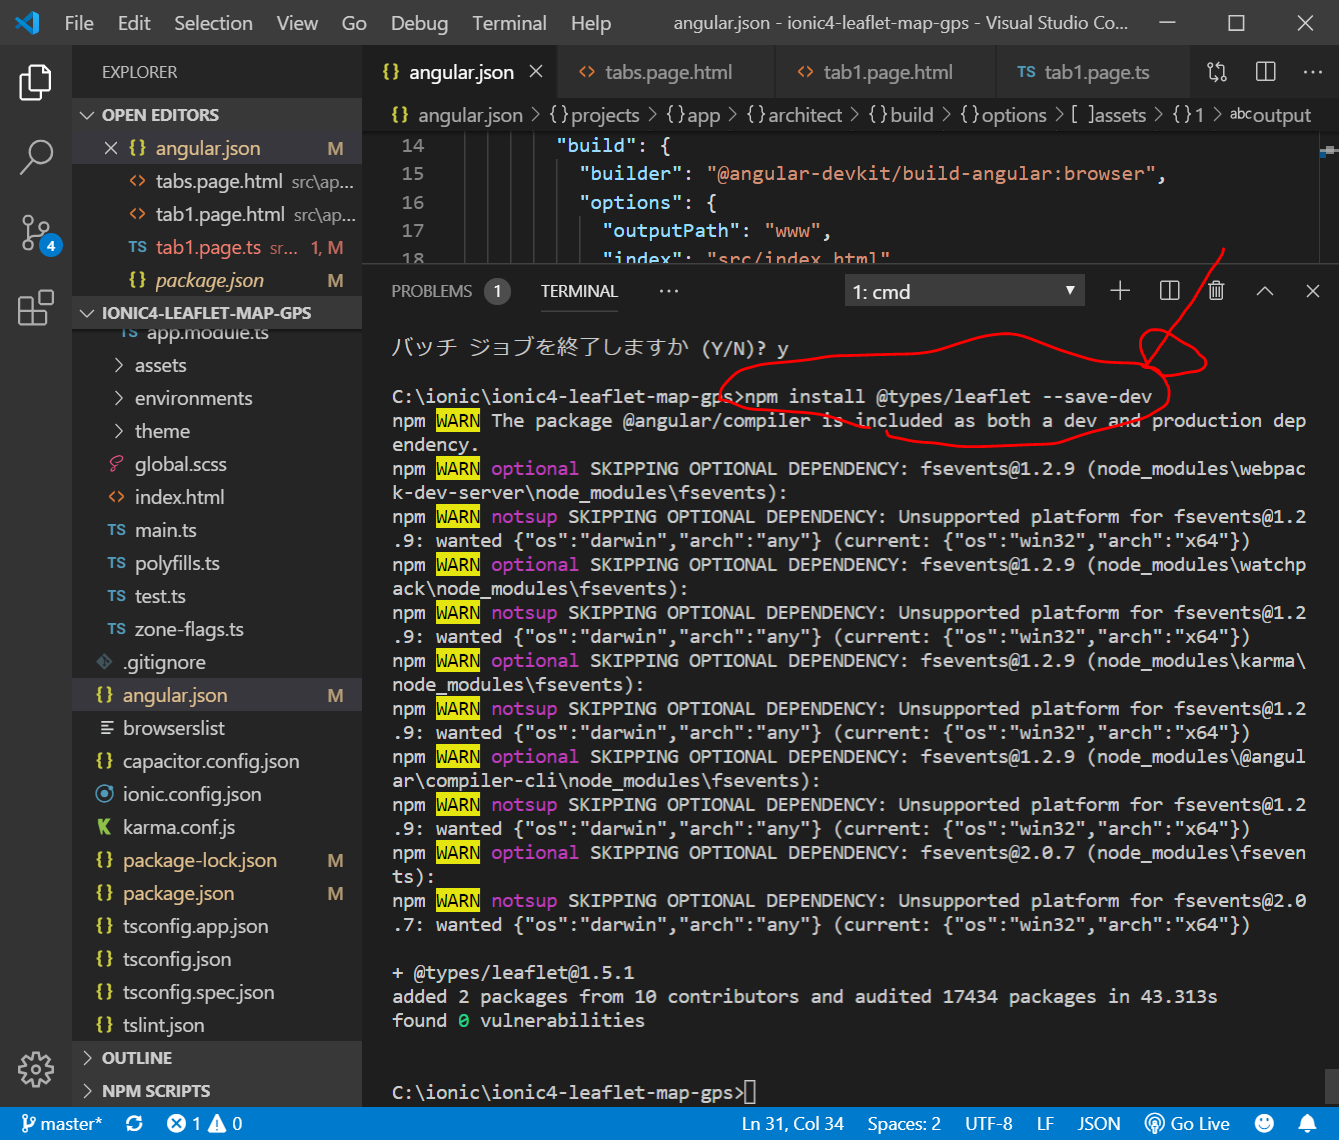
@types/leafletを--save-devでインストールしてアイコンを表示
なぜかアイコンが表示されないので、https://qiita.com/uedayou/items/30f88d88238f648e8ee6 を参考に以下のようにやってみます。
npm install @types/leaflet --save-dev
angular.jsonの設定(参考:こちらのコード)
CapacitorのGeolocationを用いて現在地を表示
通常のhtmlファイルであれば、Chromeなどのブラウザに付属しているGeolocation APIを用いればよいらしいのですが、今回はCapacitorのGeolocationというものを用います。
https://qiita.com/spice/items/22811539d3561bd1e73c
https://qiita.com/uedayou/items/30f88d88238f648e8ee6
https://github.com/Asymmetrik/ngx-leaflet
https://www.javascripttuts.com/using-leaflet-open-street-map-in-an-ionic-application-in-one-go/
を見ながらいろいろやったのですが、うまくアイコンを表示することができなかったので、結局、以下の方法で行いました。
- ““npm install leaflet””
- ““npm install @types/leaflet –save-dev””
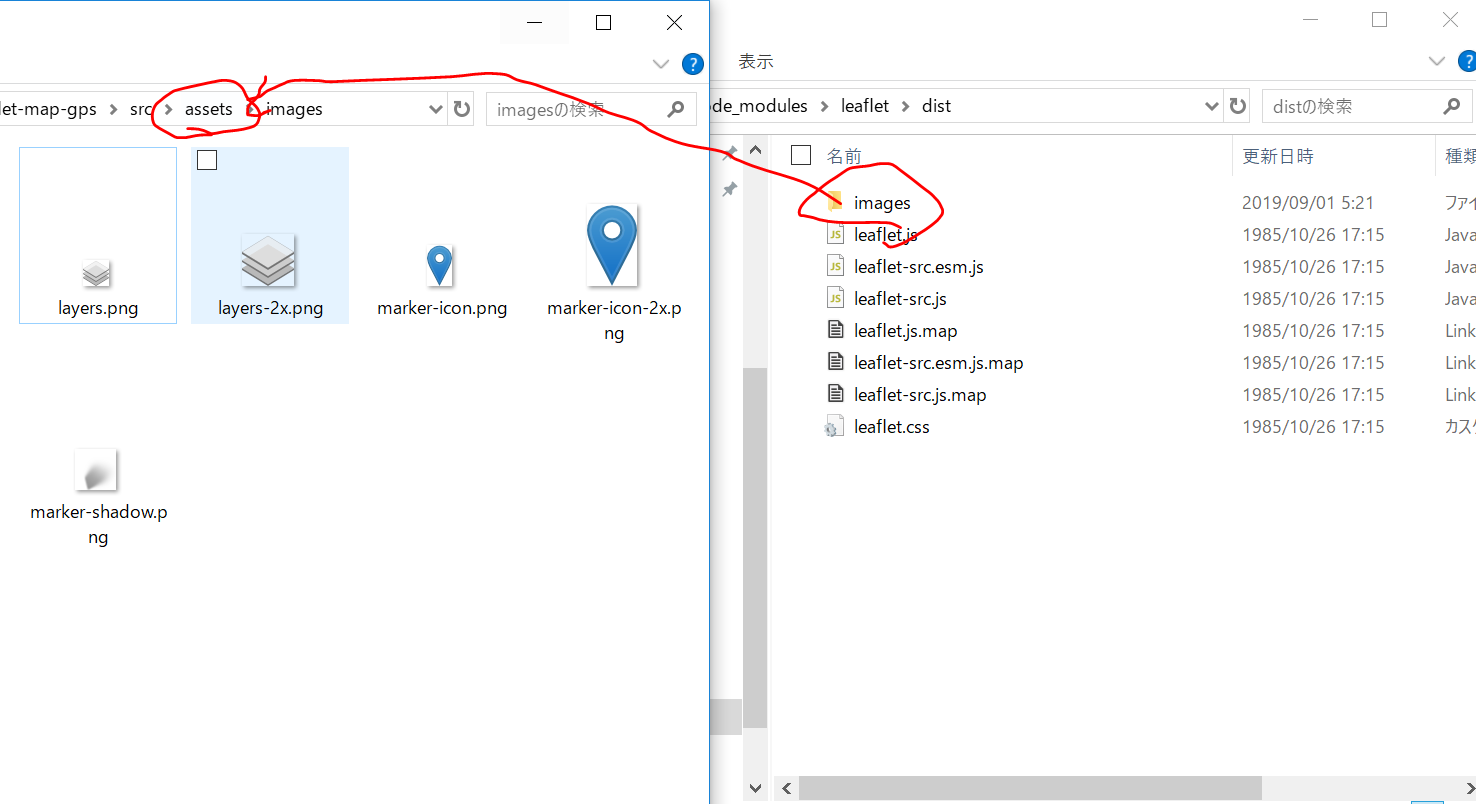
- C:\ionic\ionic4-leaflet-map-gps\node_modules\leaflet\dist から、images/ フォルダを、C:\ionic\ionic4-leaflet-map-gps\src\assets フォルダにコピー&ペーストする
- angular.jsonを編集(assets と styles)
- tab1.page.tsからは以下のように呼び出す
import { Component } from '@angular/core';
import * as L from 'leaflet';
@Component({
selector: 'app-tab1',
templateUrl: 'tab1.page.html',
styleUrls: ['tab1.page.scss']
})
export class Tab1Page {
map: any;
ionViewDidEnter() {
// 地図表示
this.map = L.map('map').setView([35.685988,139.753947], 15);
L.tileLayer('https://{s}.tile.openstreetmap.org/{z}/{x}/{y}.png', {
attribution: '© <a href="https://www.openstreetmap.org/copyright">OpenStreetMap</a> contributors'
}).addTo(this.map);
L.marker([35.685988,139.753947], {
icon: L.icon({
iconSize: [ 25, 41 ],
iconAnchor: [ 13, 41 ],
iconUrl: 'assets/images/marker-icon.png',
shadowUrl: 'assets/images/marker-shadow.png'
})
}).addTo(this.map);
}
/** Remove map when we have multiple map object */
ionViewWillLeave() {
this.map.remove();
}
}
リンク

