create-elm-appで作成したelm0.19アプリをNetlifyにデプロイ
webアプリはデプロイ(インターネット上に公開)して初めてwebアプリです。今回は、前回作成したアプリをNetlifyにデプロイしてみたいと思います。
(2019/5/11追記)
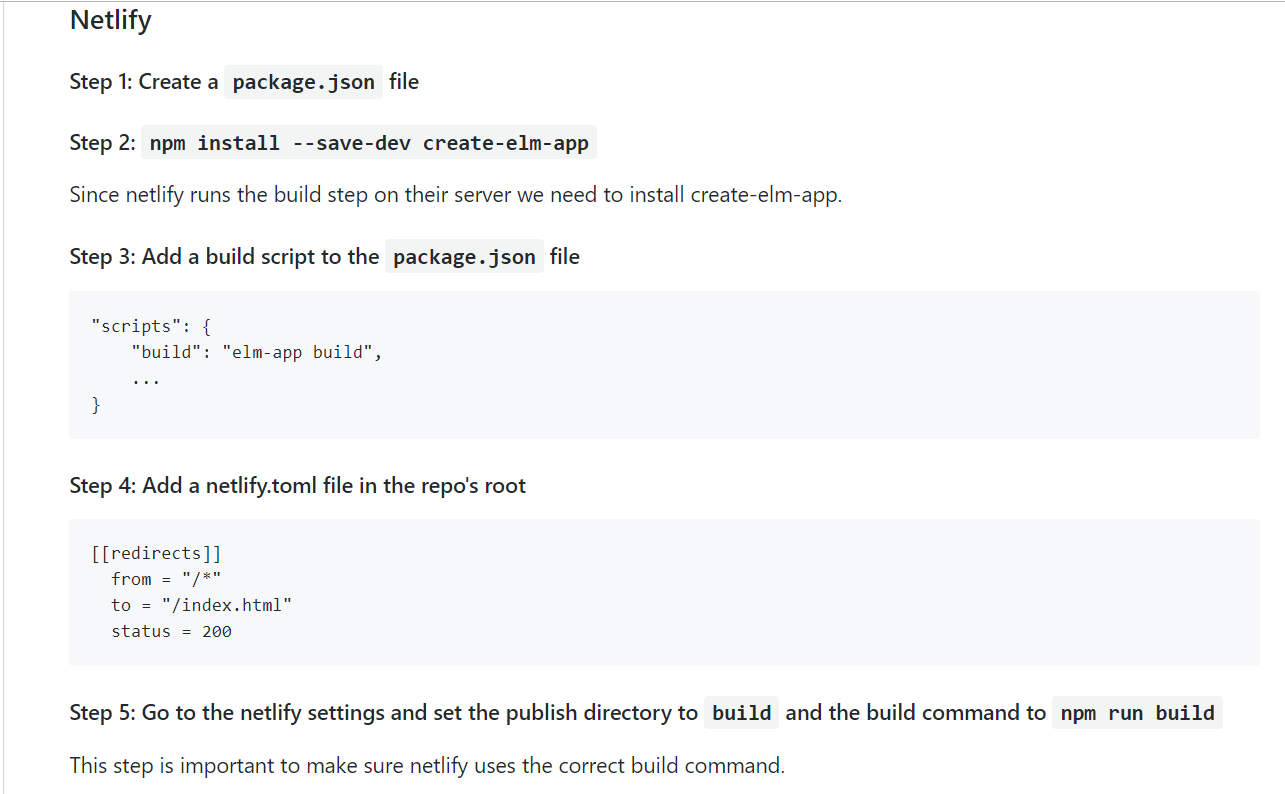
create-elm-appアプリのNetlifyにデプロイの流れ
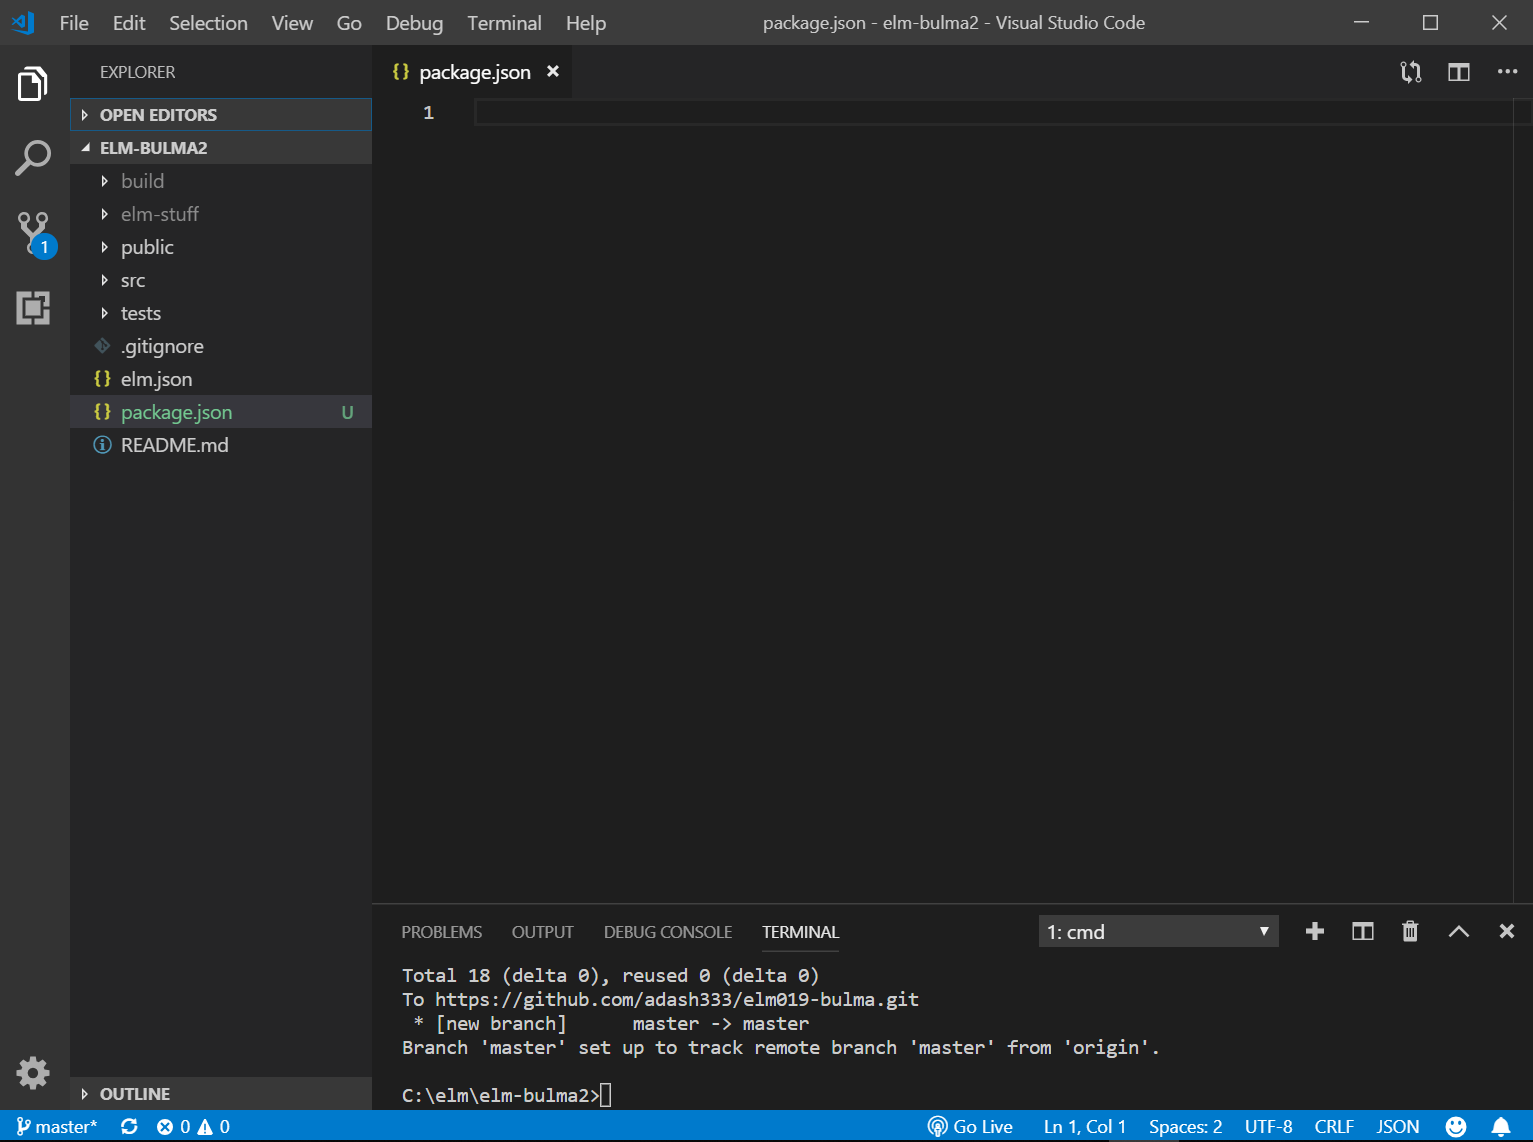
npm init -y
npm install --save-dev create-elm-app
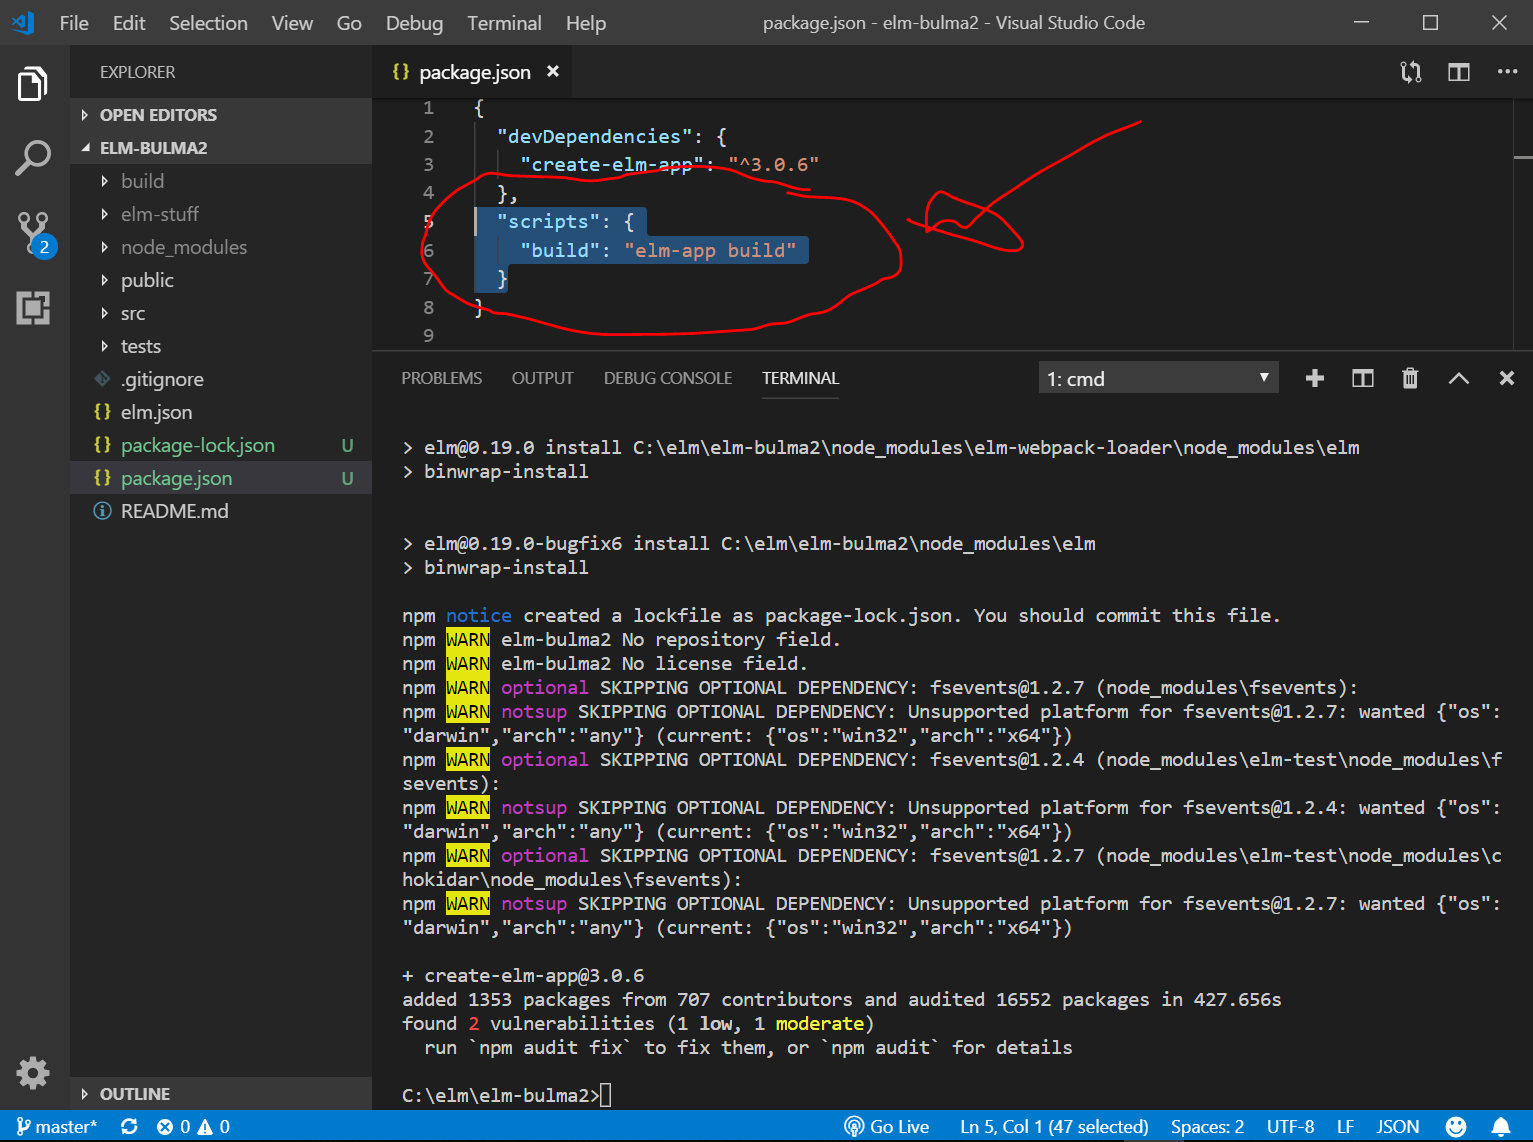
package.json の"scripts" {} に , "build": "elm-app build" を追記
netlify.tomlの新規作成(下記参照)
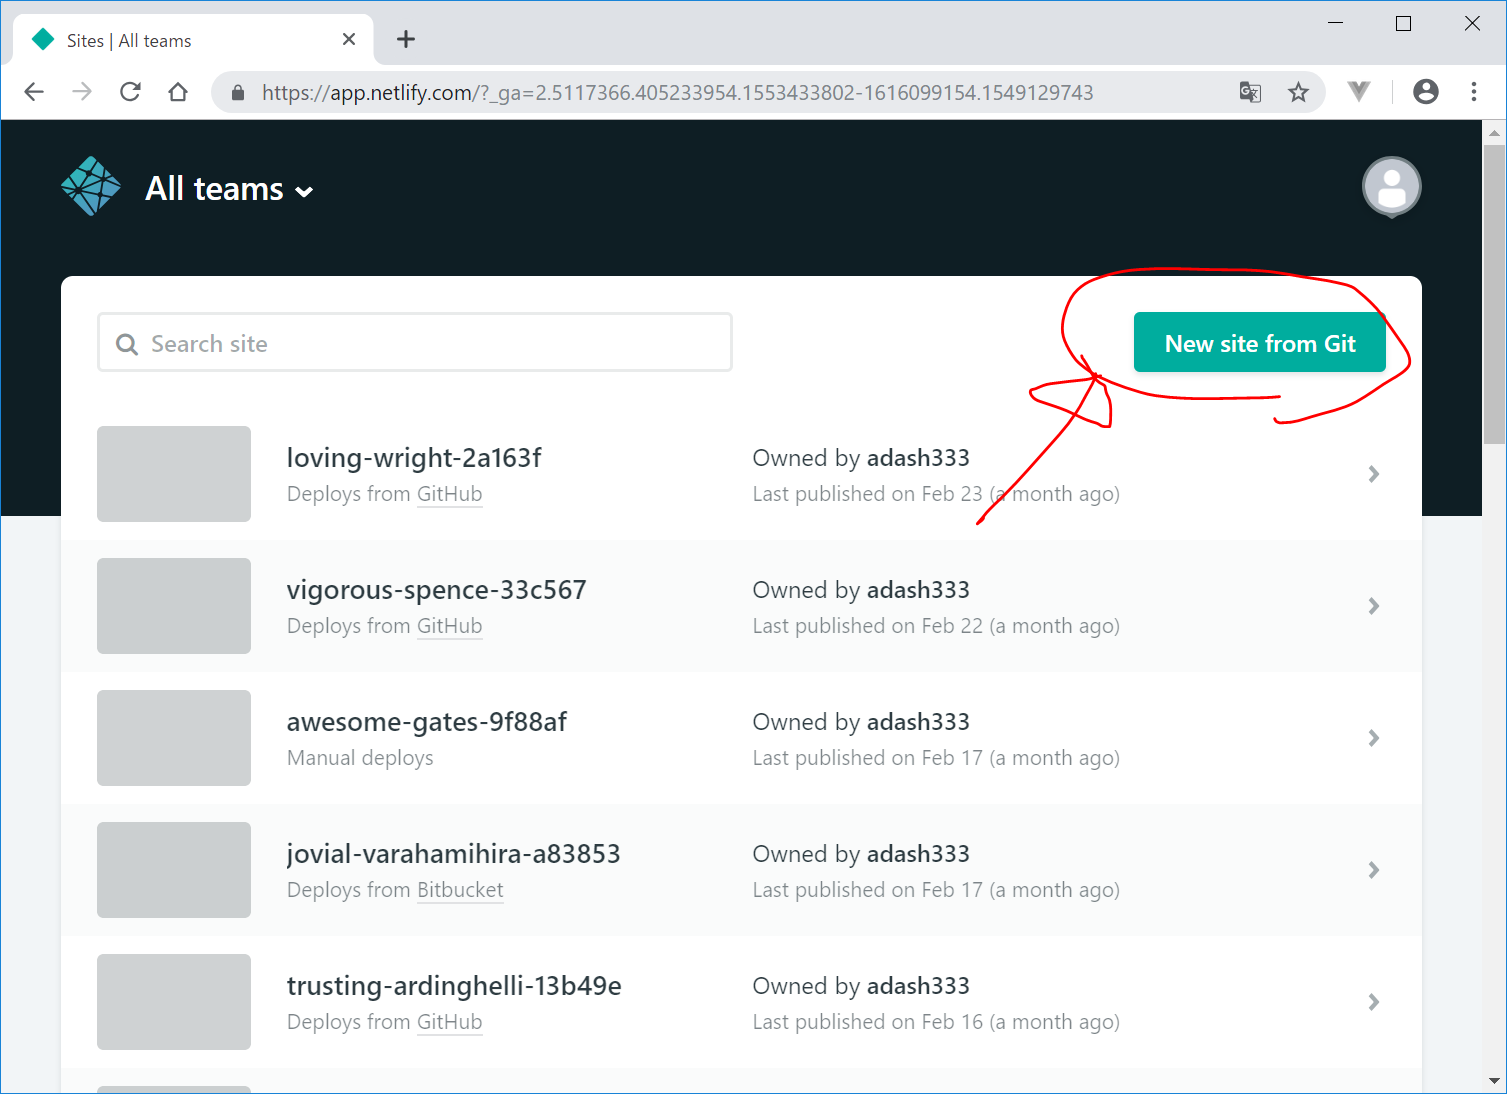
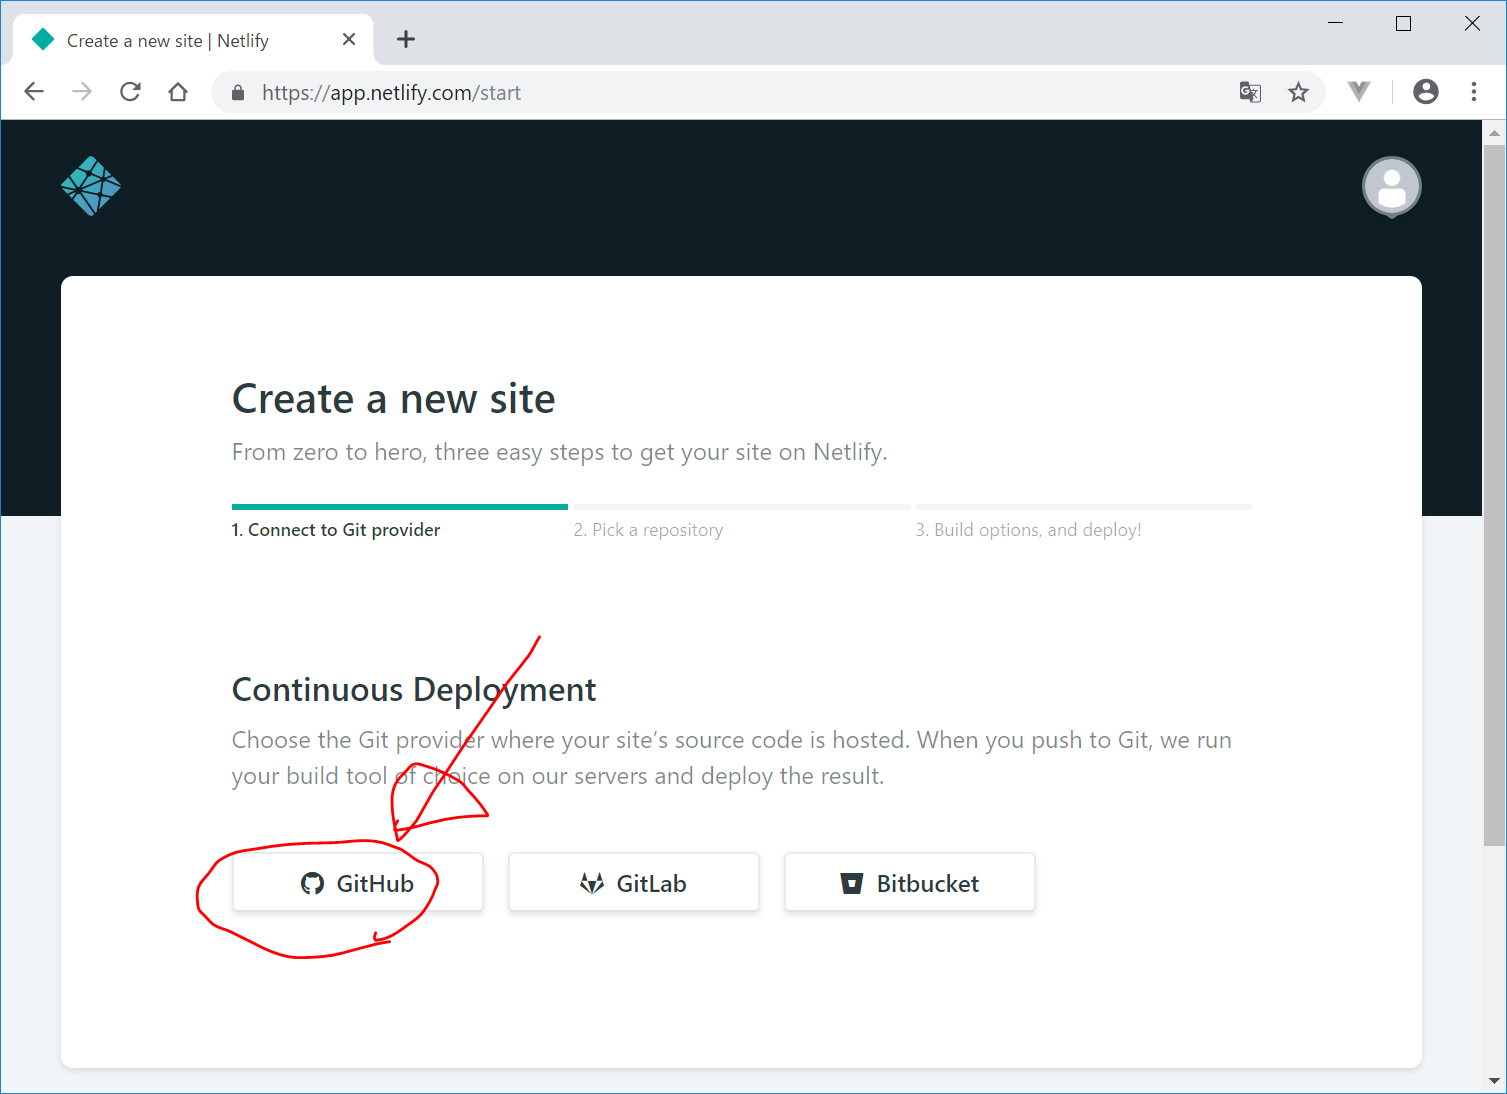
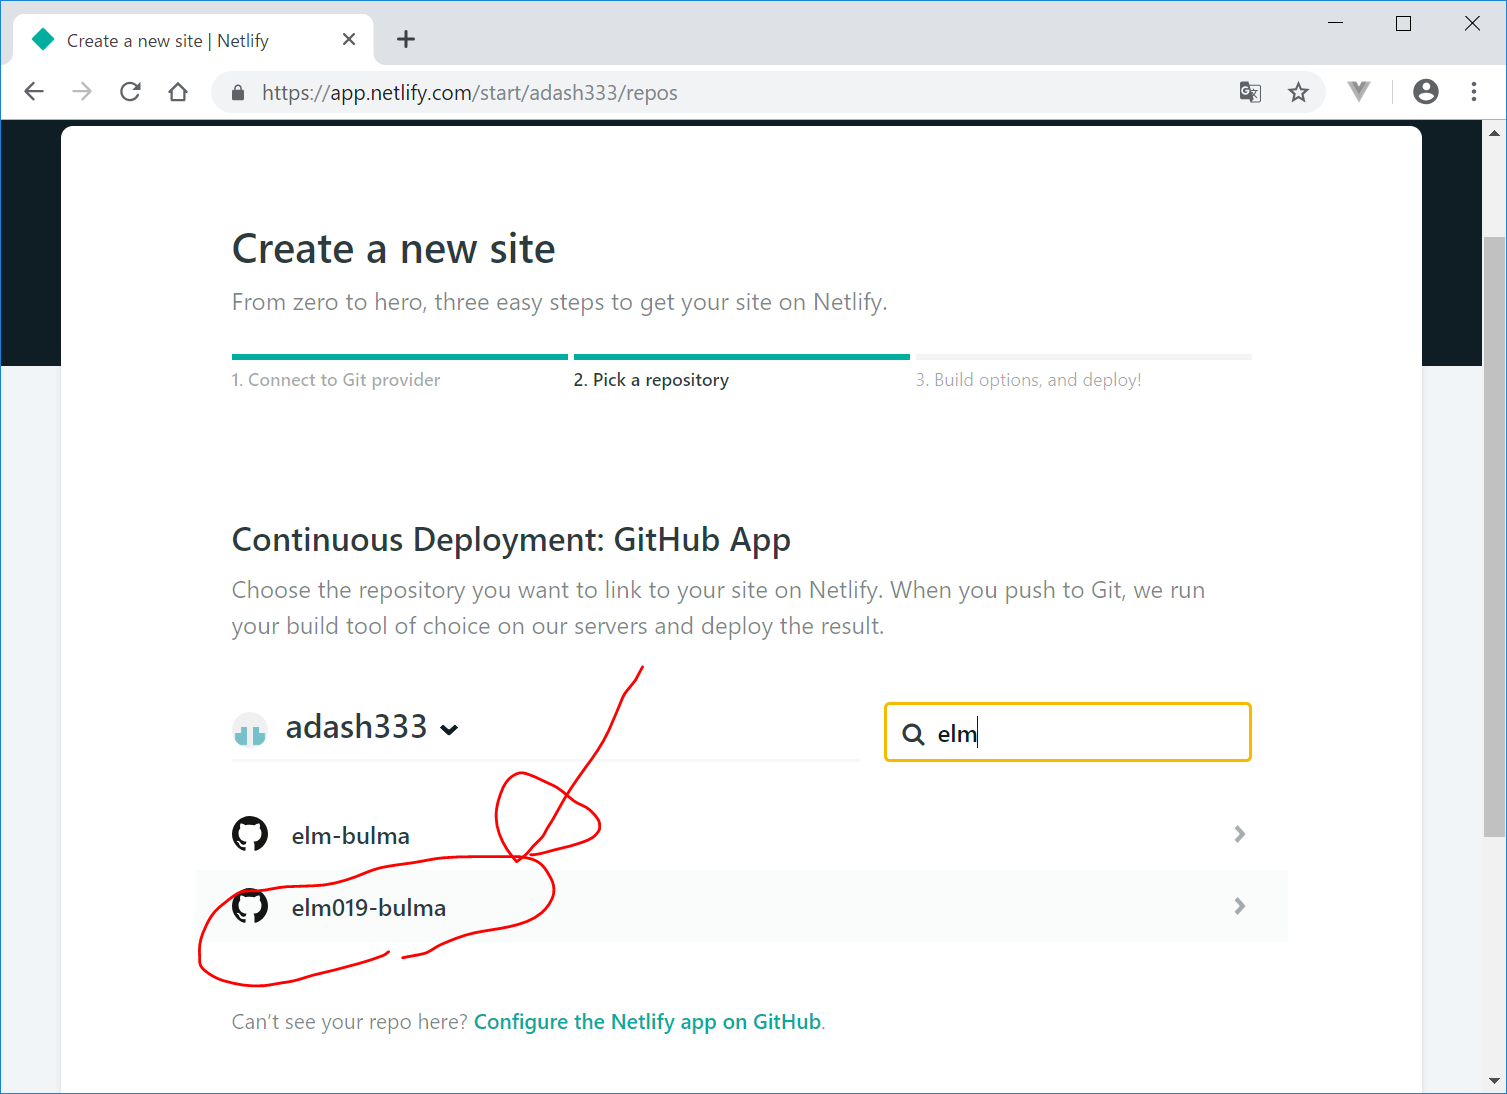
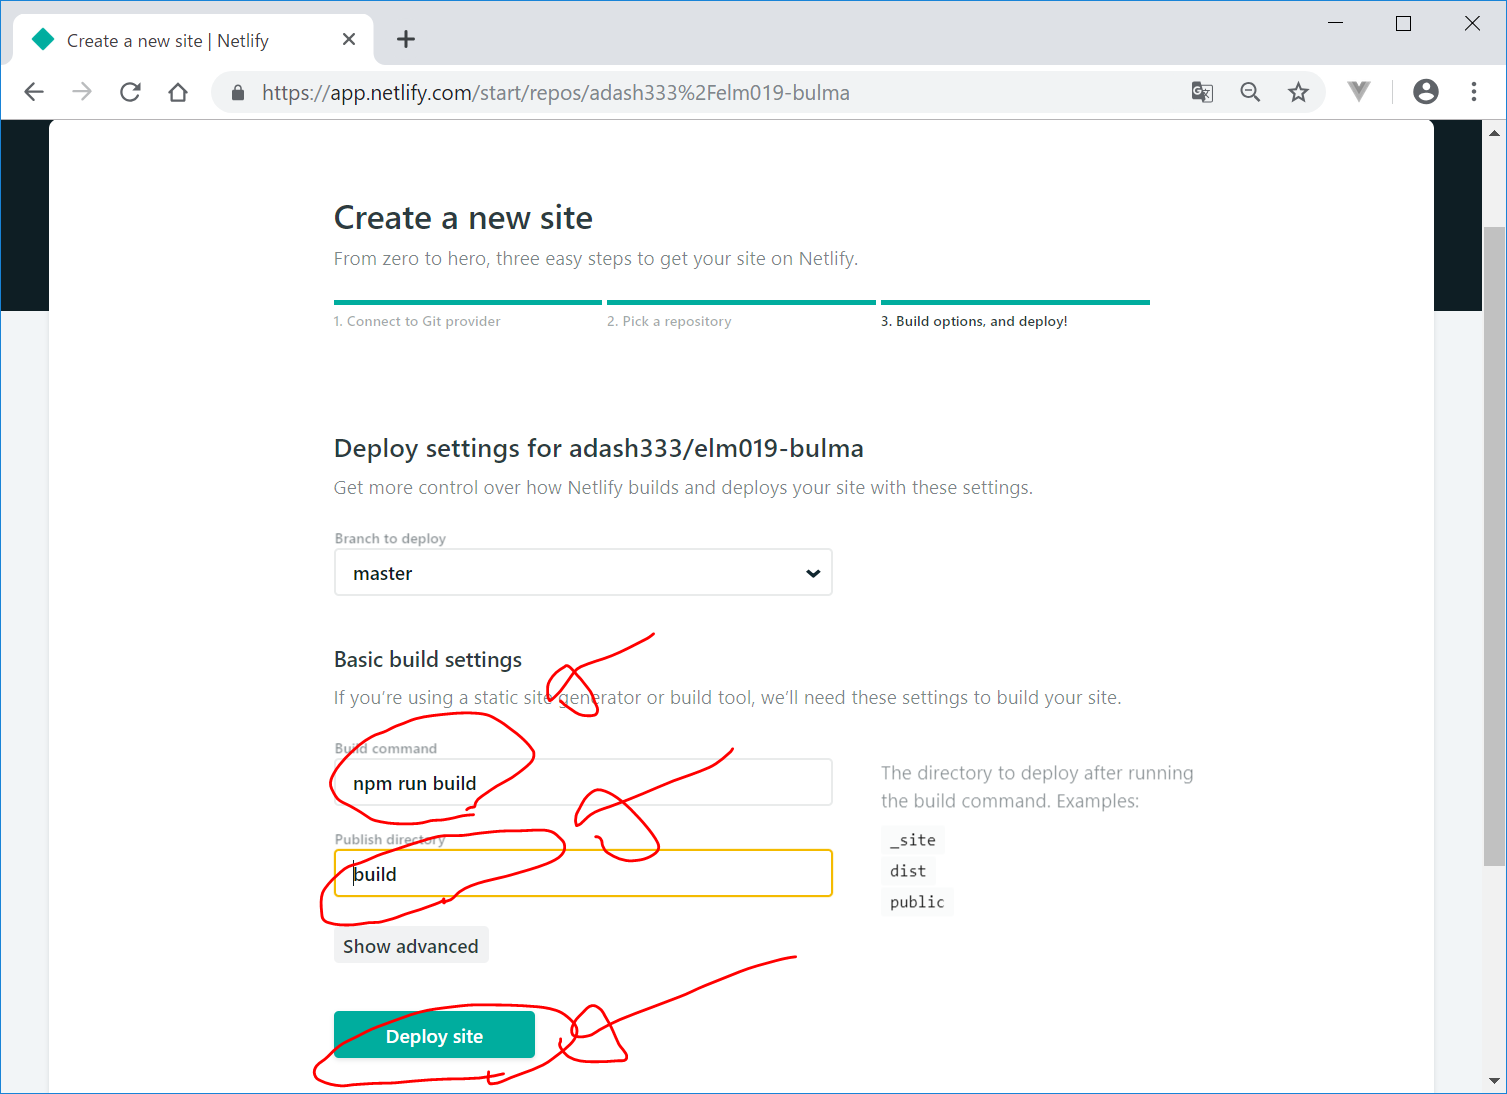
Netlifyにログインしてdeploy、コマンドは"npm run build"、ディレクトリは "build"前回作成したアプリ
- 1. 開発環境
- 2. 参考リンク
- 3. Step 1: Create a
package.jsonfile - 4. Step 2:
npm install --save-dev create-elm-app - 5. Step 3: Add a build script to the
package.jsonfile - 6. Step 4: Add a netlify.toml file in the repo’s root
- 7. Step 5: Go to the netlify settings and set the publish directory to
buildand the build command tonpm run build - 8. ソースコード
開発環境
Windows 10 Pro
Chrome
VisualStudioCode 1.32.3
git version 2.20.1.windows.1
nvm 1.1.7
node 10.2.0
npm 6.4.1
elm 0.19.0-bugfix6
elm-format 0.8.1
VisualStudioCodeの拡張機能でelmをインストールして、settings.jsonに以下のようにelmを設定。
(『Alt + Shift + F』と『Ctrl + S』を使用。)
    "[elm]": {
        "editor.formatOnSave": true
    },
参考リンク
https://github.com/halfzebra/create-elm-app/blob/master/template/README.md#netlify
このREADMEの通りにやってみたいと思います。
Step 1: Create a package.json file
空(から)のpackage.json ファイルを作成します。
(追記:空ではダメで、ターミナル画面で、npm init と入力して、適宜質問に答えつつpackage.jsonを作成するか、せめて、 {} と記載する必要があることが後でわかりました。)
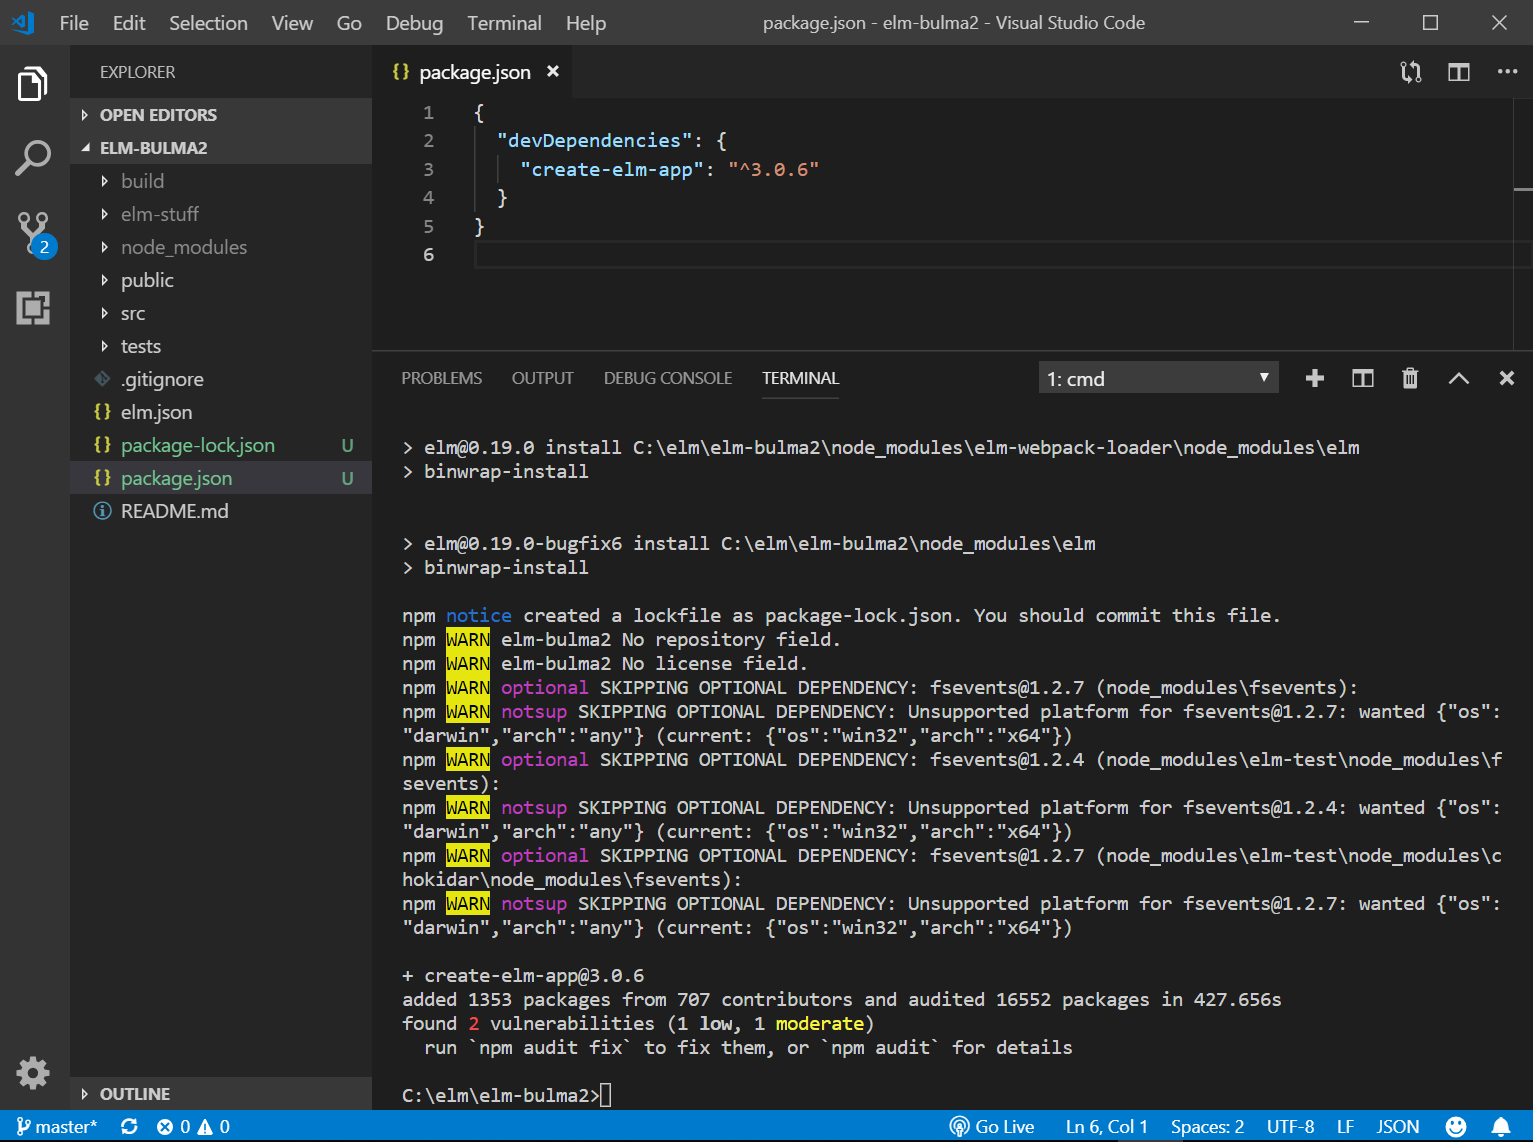
Step 2: npm install --save-dev create-elm-app
最初、エラーが出てダメだったので、package.json に、以下のように記載して保存してから、もう一度上記コマンドを入力しました。
{}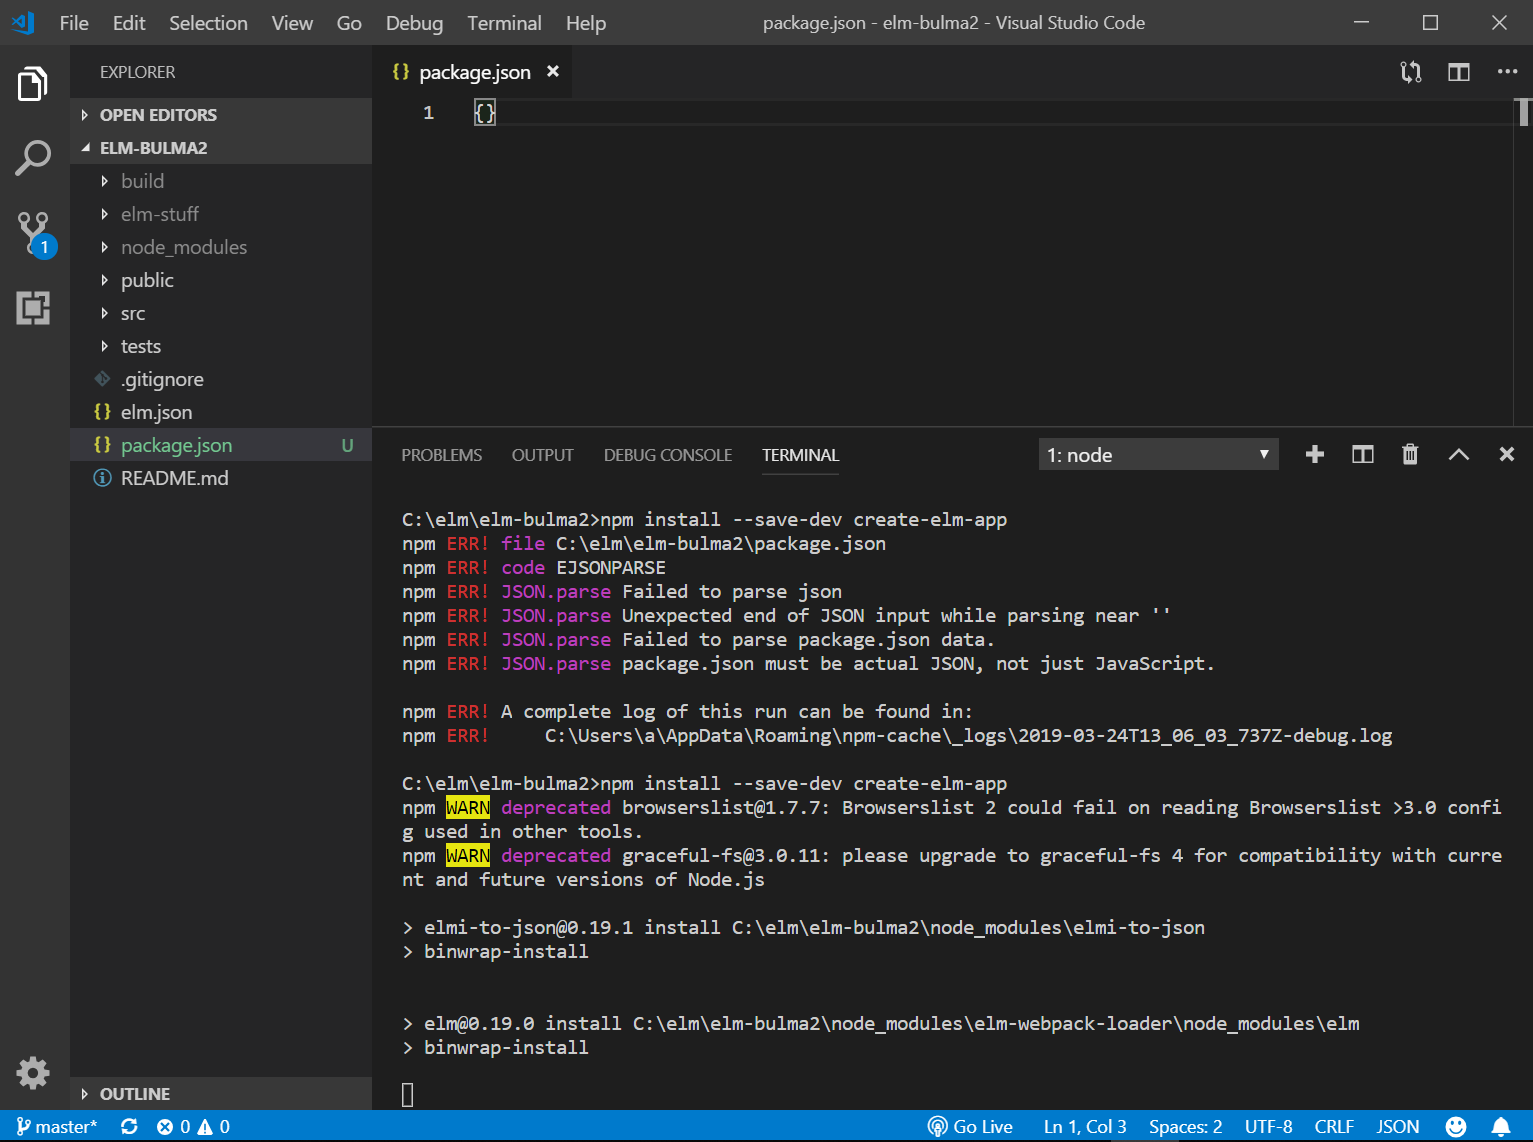
なんか数分かかります。
本当は、package.json は、ターミナル画面で、"npm init" と入力して、作成した方がよかったのだと思われます。が、とりあえず、このまま次に進みます。
Step 3: Add a build script to the package.json file
"scripts": {
    "build": "elm-app build",
    ...
}
Step 4: Add a netlify.toml file in the repo’s root
[[redirects]]
  from = "/*"
  to = "/index.html"
  status = 200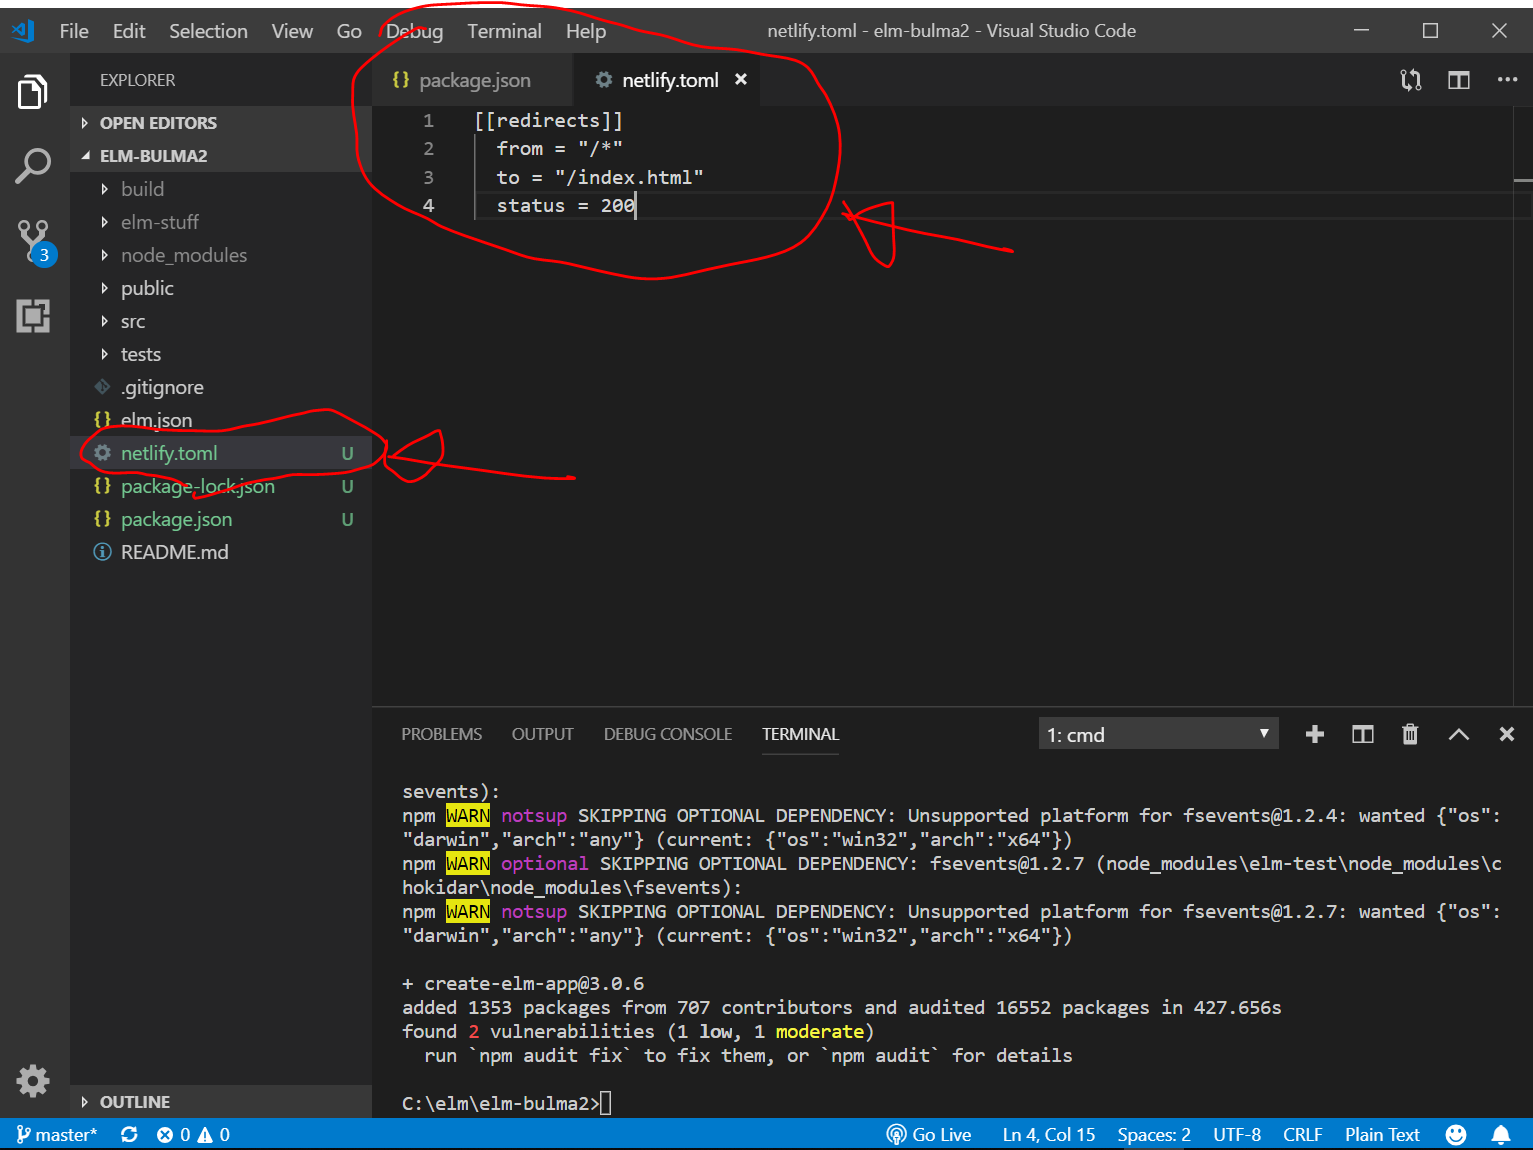
Step 5: Go to the netlify settings and set the publish directory to build and the build command to npm run build
にログインして、New site from Git をクリック
デプロイされるのを待つ

なんかダメでした。。。とほほ。
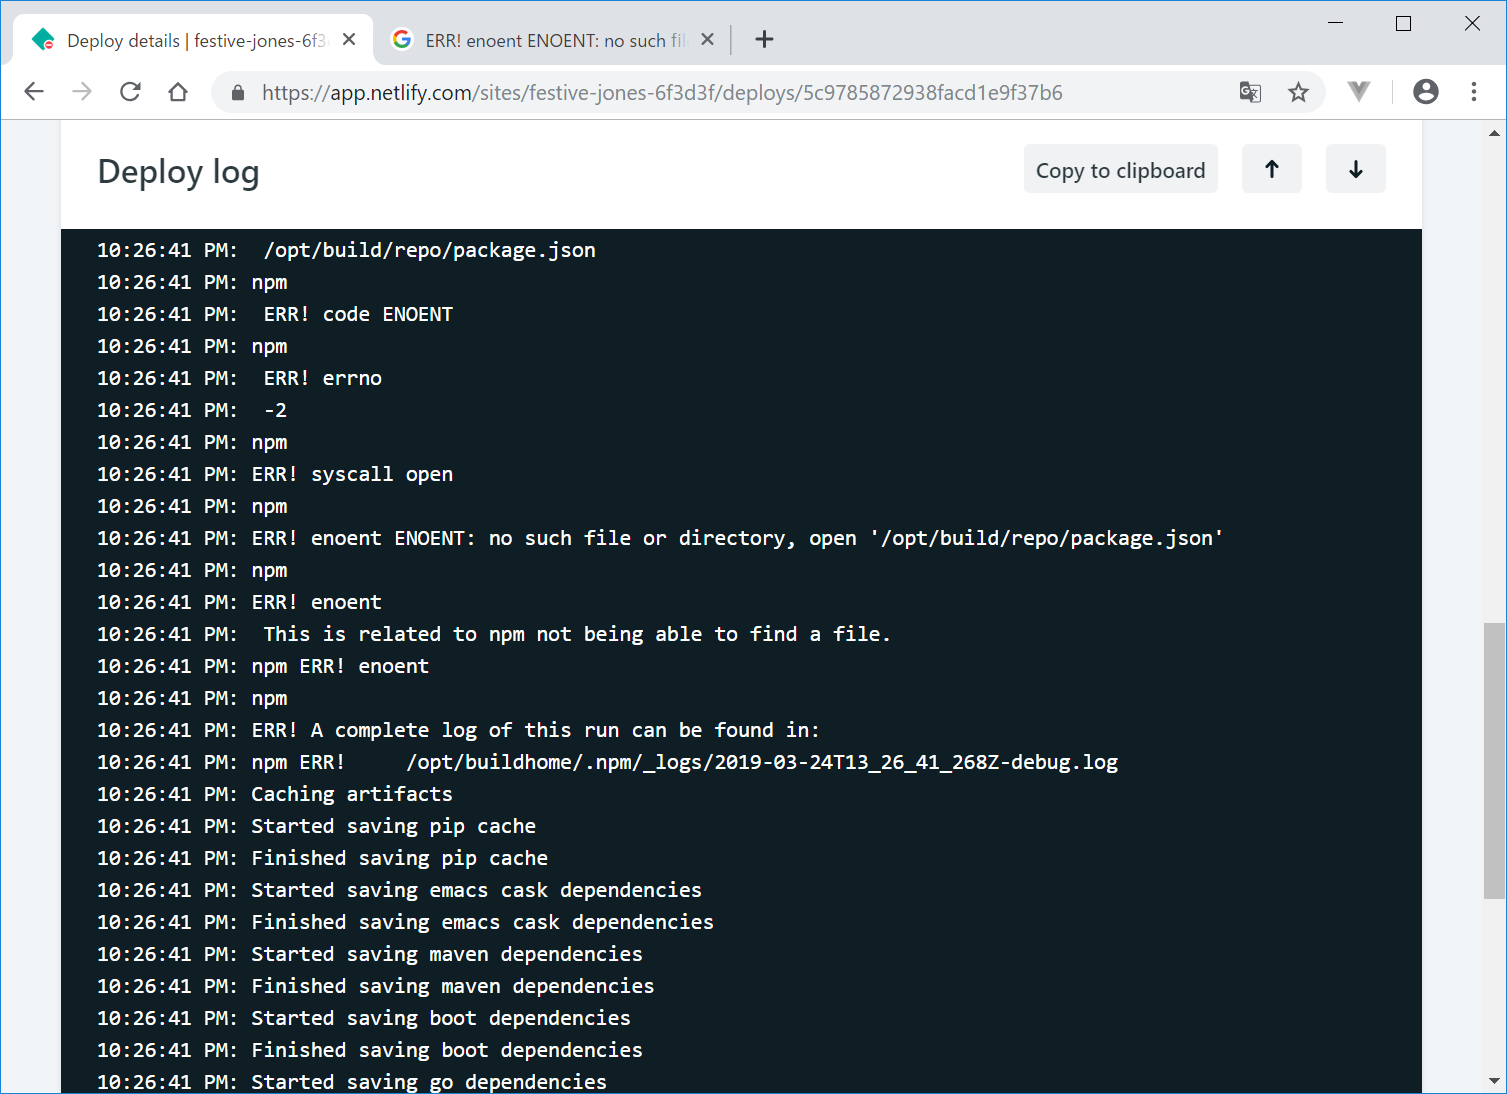
エラーメッセージをググっても、よくわからず。。。
いや、git add. していなかったので、VisualStudioCodeで以下の3行を入力。
git add .
git commit -m "add package.json and netlify.toml"
git push -u origin master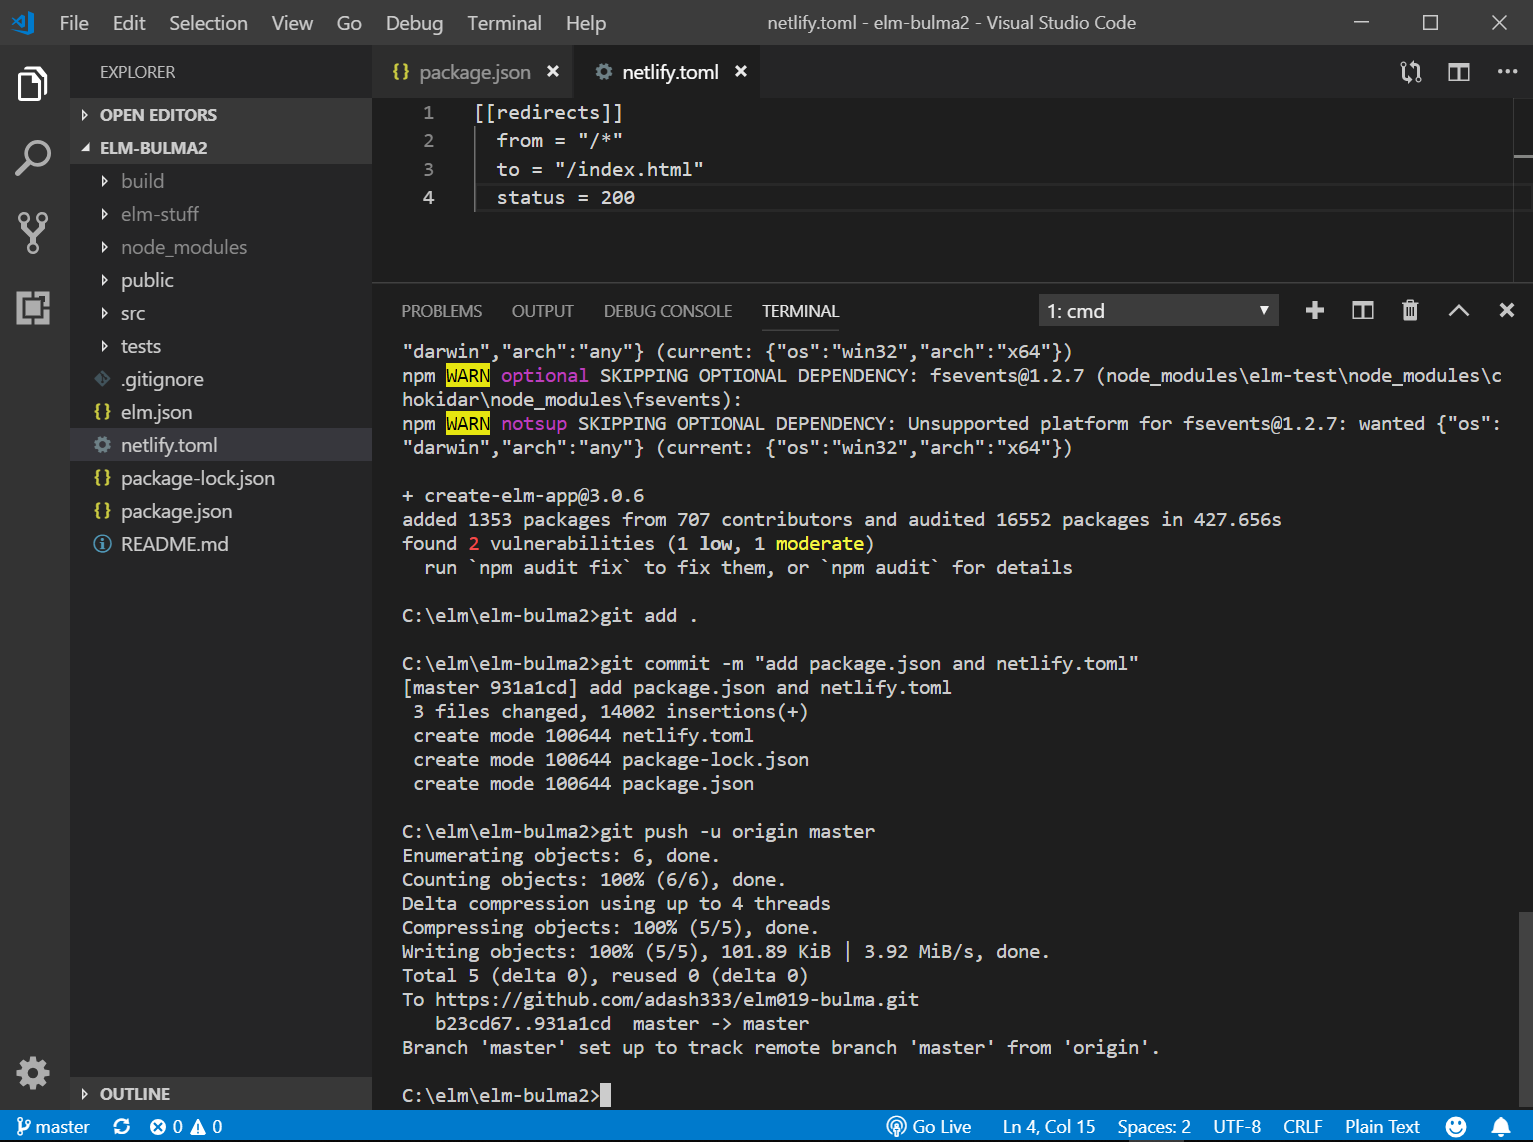
あ、GitHubにpushすると、自動的にNetlifyでデプロイしなおしてくれたみたいです。
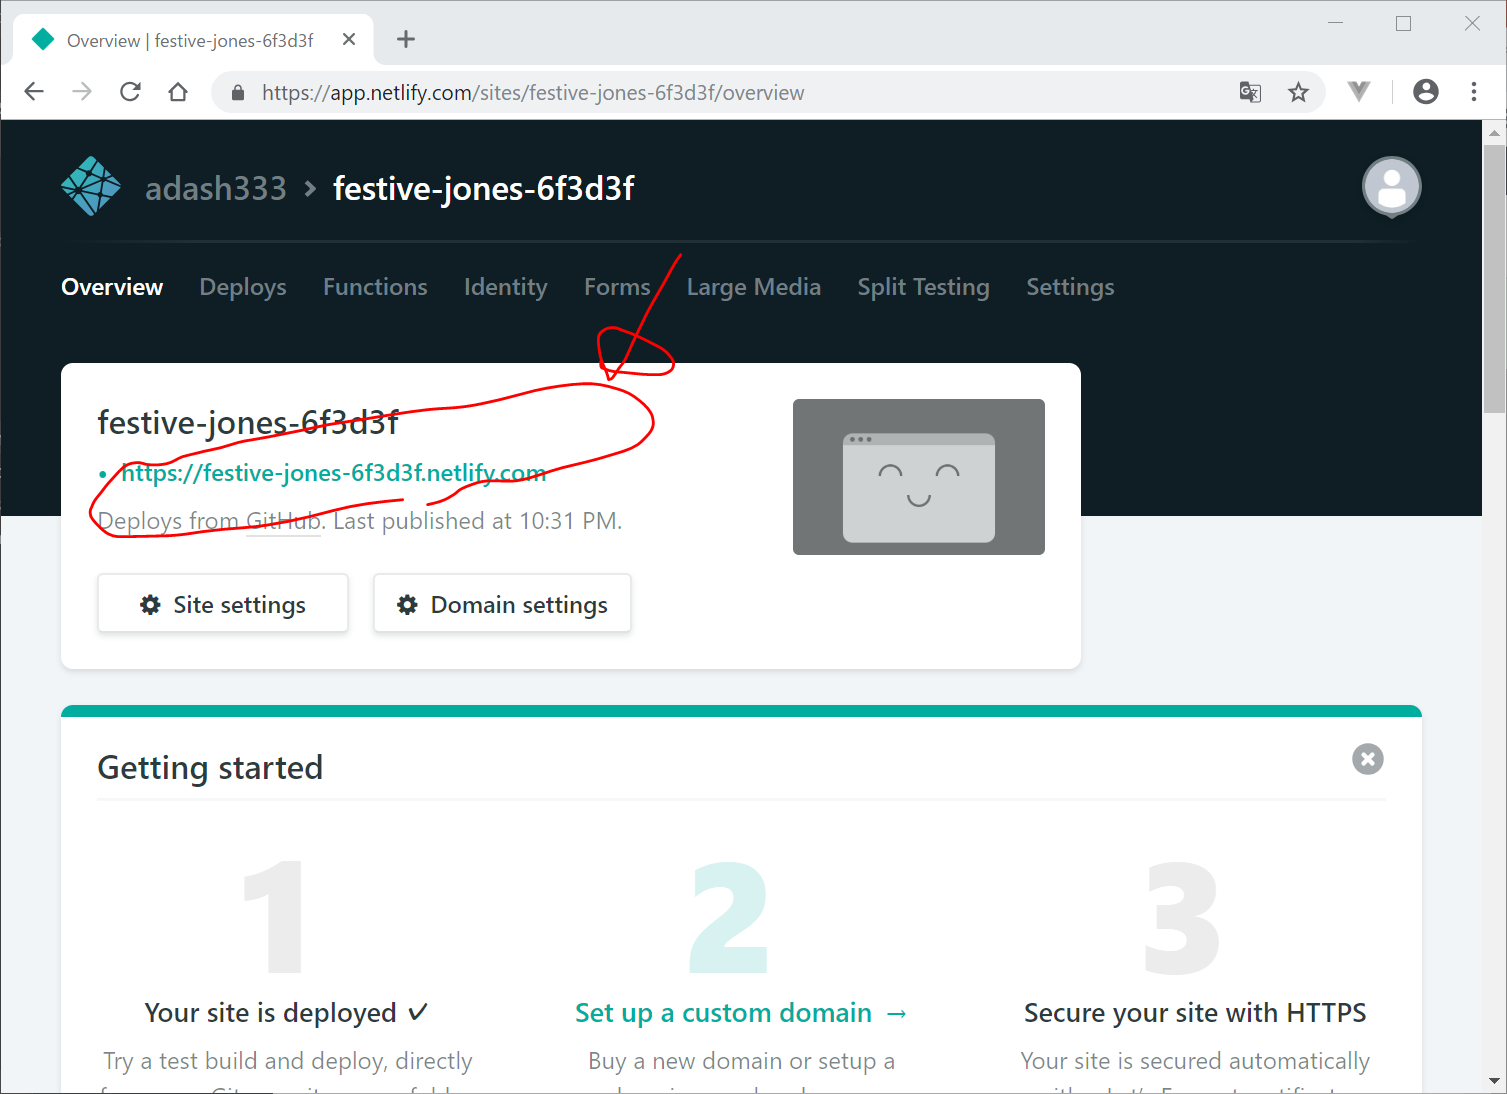
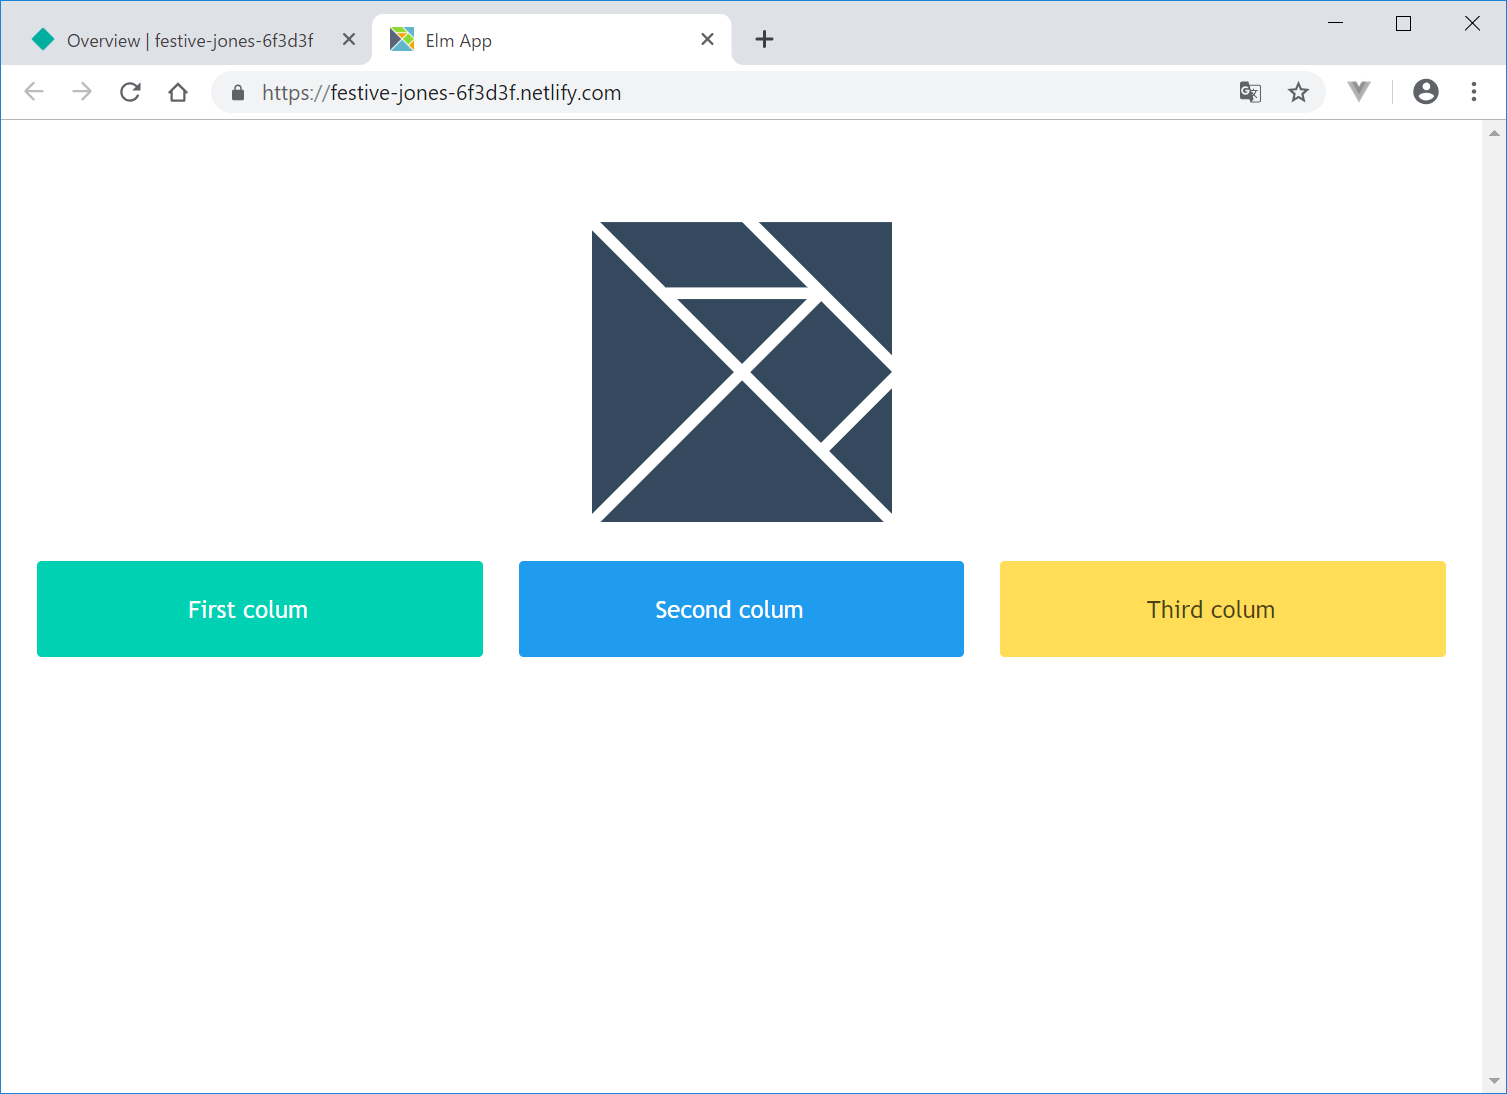
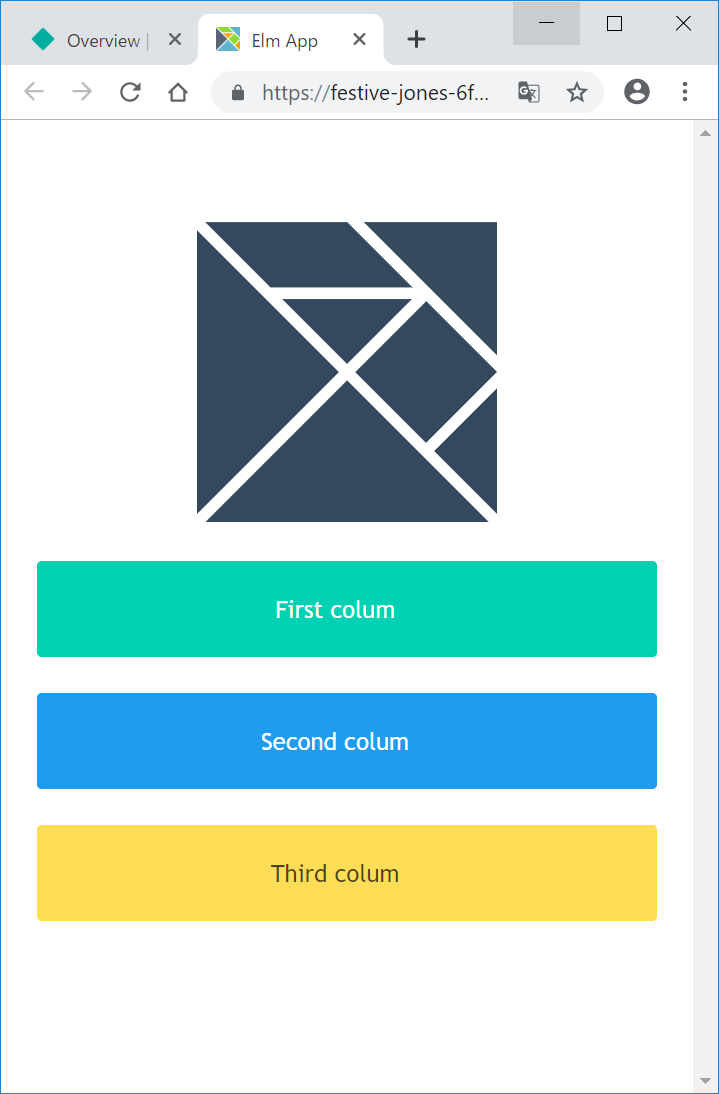
リンク先をクリックすると、ちゃんとデプロイ(インターネット上に公開)できました。
今回はここまでです。