ElmとFirebaseでチャットアプリを写経してみる(1)実行してみる
前回、elmでlocalStorage利用のTODOアプリを2つのソースコードのコピペで作ることができたので、次は、elmでfirebase利用のチャットアプリを作成したいと思いました。
大変ありがたいことに、以下にソースコードを公開してくださっていたので、実行してみたいと思います。
https://qiita.com/qnoyxu/items/ee479b2b96831907e024
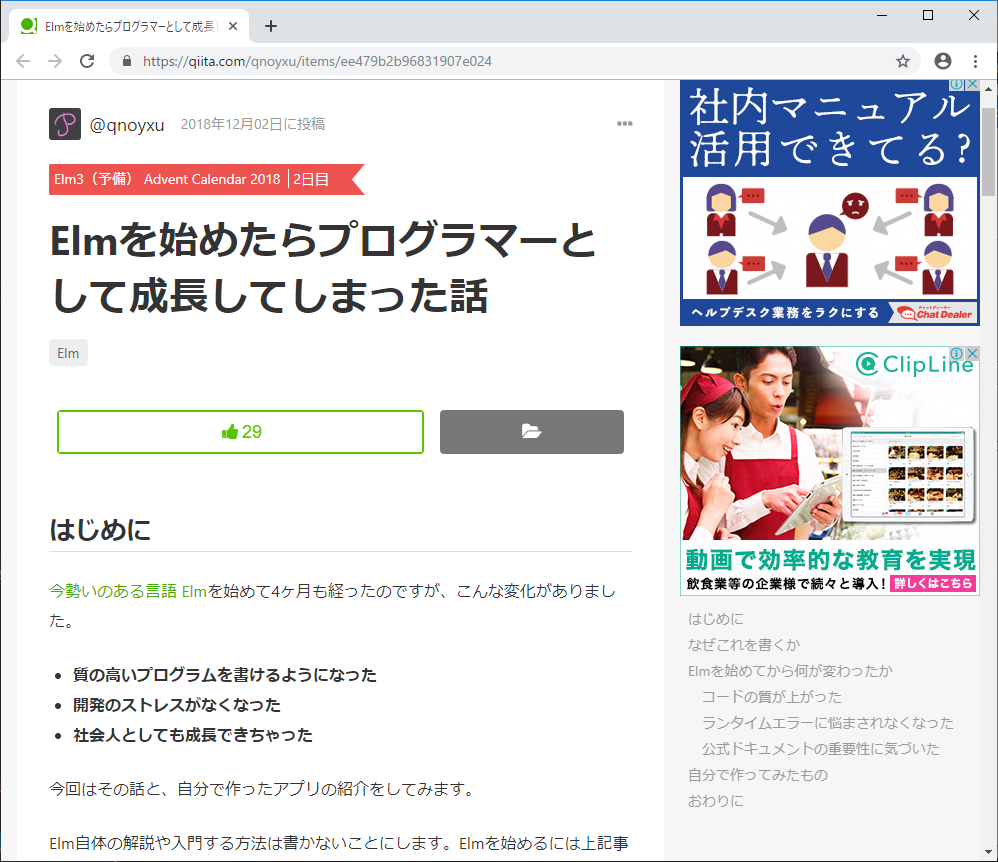
ソースコード: https://github.com/qnoyxu/chat-room
ElmとFirebaseでチャットアプリ目次
開発環境
Windows 10 Pro
Chrome
VisualStudioCode 1.32.3
git version 2.20.1.windows.1
nvm 1.1.7
node 10.2.0
npm 6.4.1
elm 0.19.0-bugfix6
elm-format 0.8.1
VisualStudioCodeの拡張機能でelmをインストールして、settings.jsonに以下のようにelmを設定。
(『Alt + Shift + F』と『Ctrl + S』を使用。)
    "[elm]": {
        "editor.formatOnSave": true
    },
Firebaseで新規プロジェクトを作成
Googleアカウントがなければ作成し、
https://console.firebase.google.com/
へログインして、新規プロジェクトを作成します。
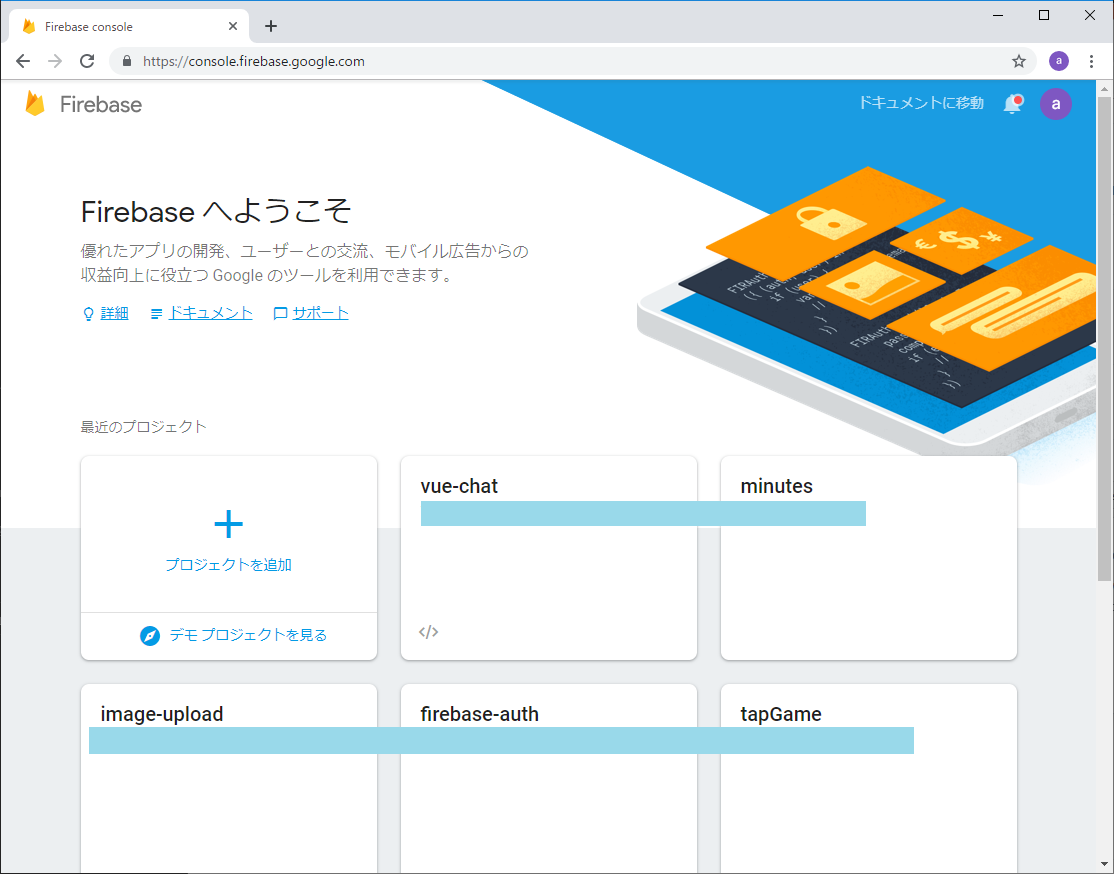
Project Overview
+アプリを追加
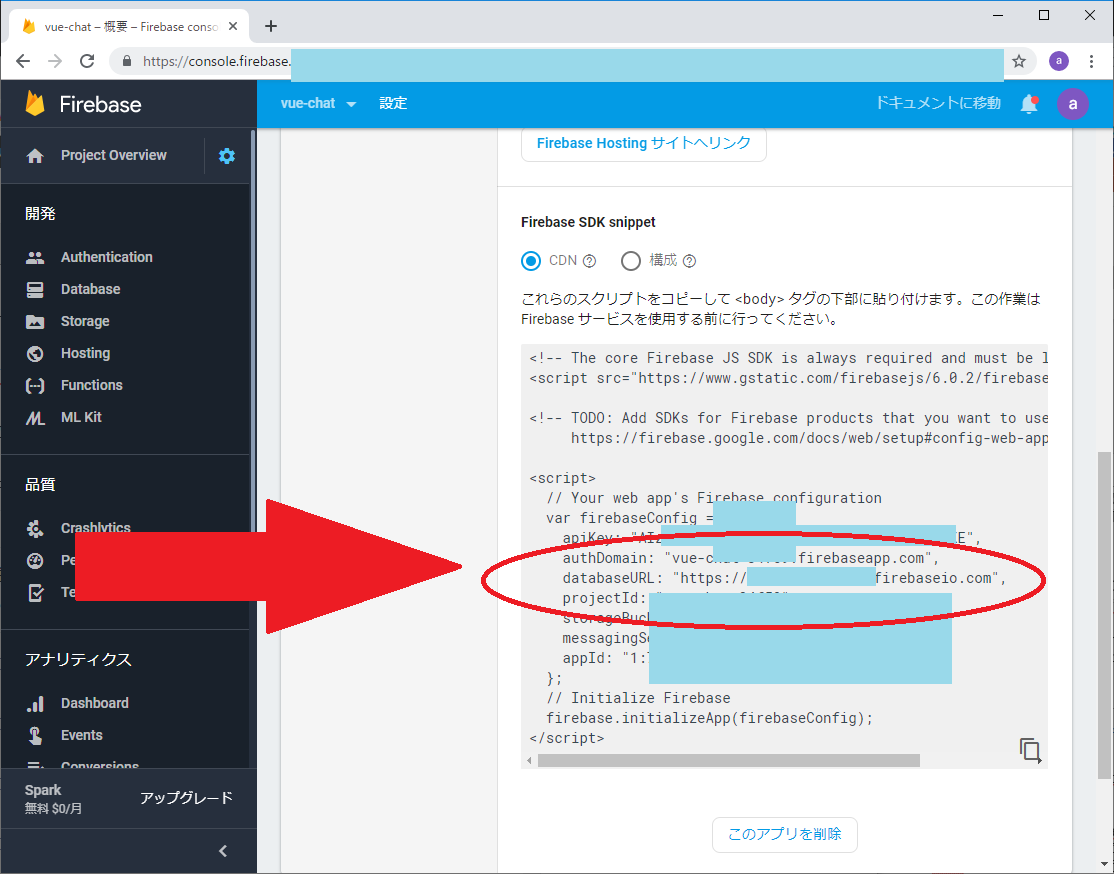
Firebase database の 画面に従って入力していくと、
var firebaseConfig = {
の画面が出てくるので、
databaseURL: “https://<YOUR-APPLICATION>.firebaseio.com",
のところのアドレスをコピーしておきます。
注:"https://<YOUR-APPLICATION>.firebaseio.com" のところは、それぞれの人によって変わります。
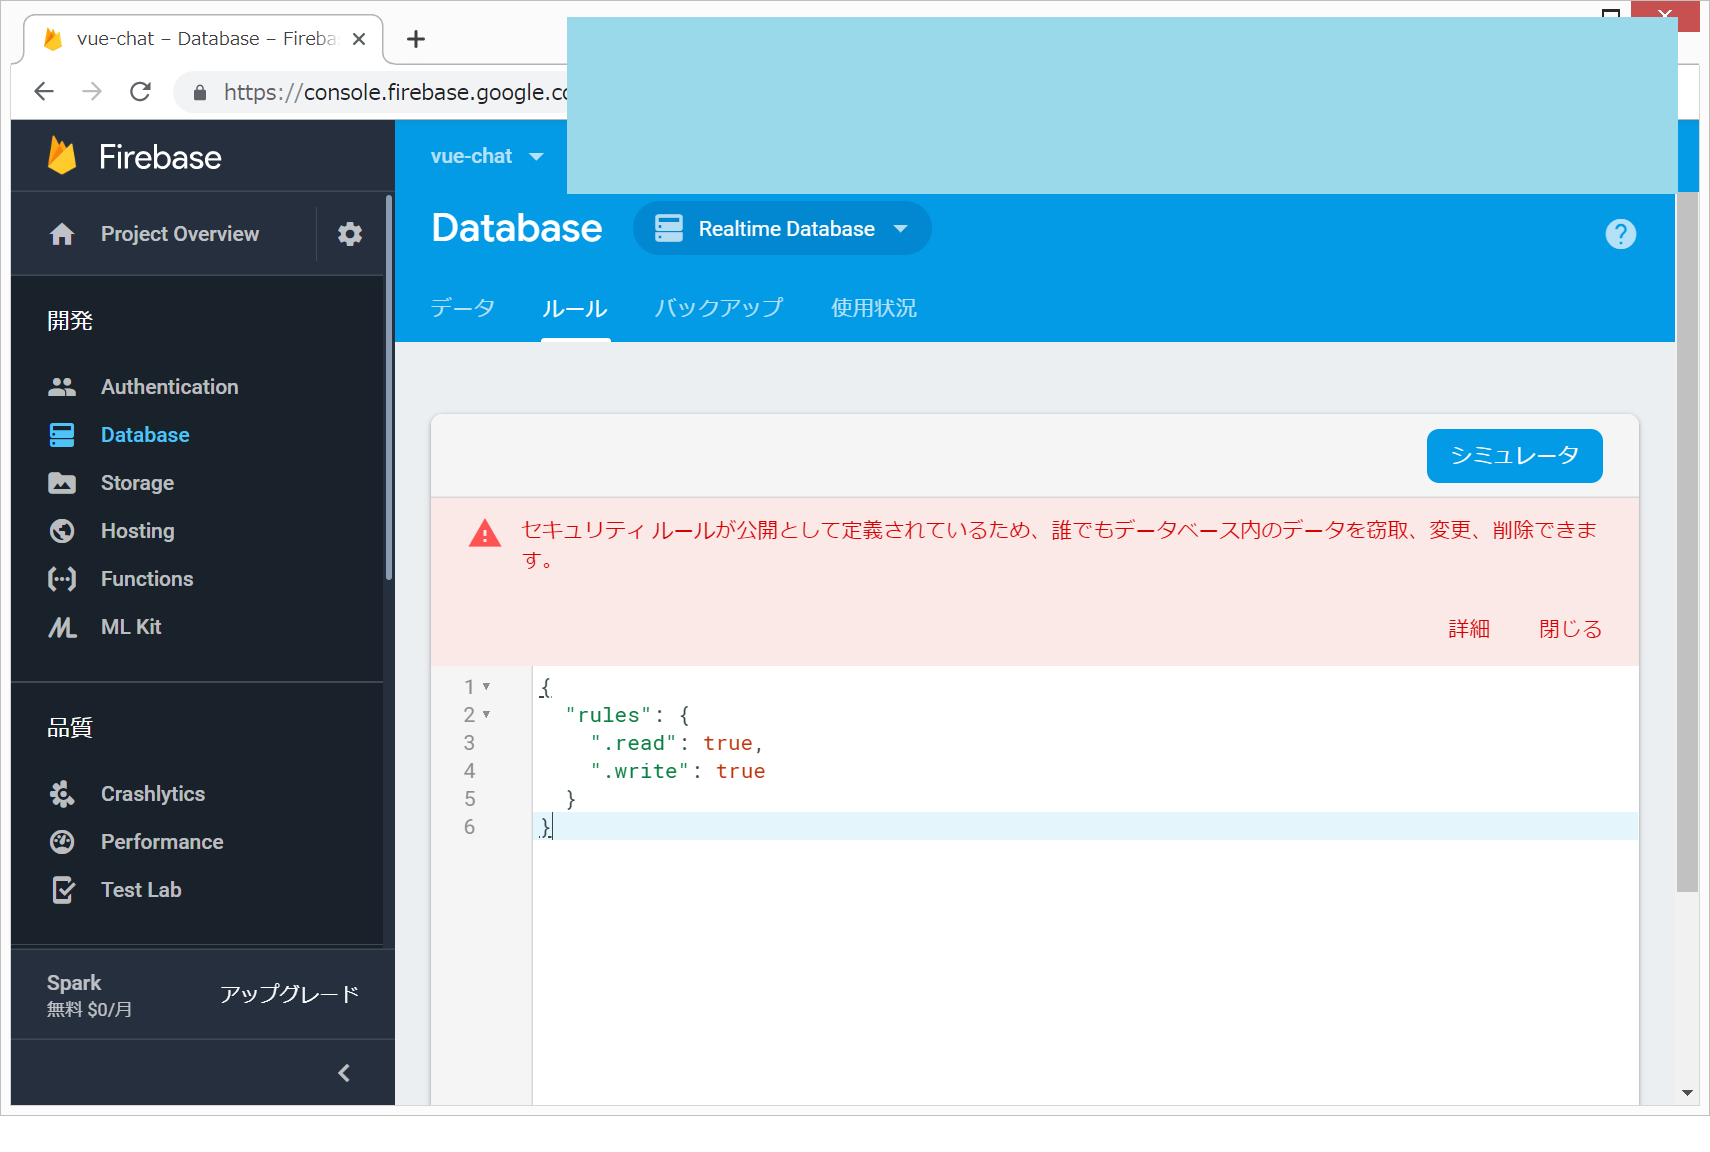
Firebaseの認証のルールをread, writeともにtrueにする
セキュリティ的には危険ですが、FirebaseのDatabaseのルールの設定を以下のようにします。
{
  "rules": {
    ".read": true,
    ".write": true
  }
}
ソースコードのZIPファイルをダウンロードして解凍
ソースコード: https://github.com/qnoyxu/chat-room
のページから、DOWNLOAD ZIPをクリックしてダウンロードして解凍します。
今回は、D:/elm/ フォルダに解凍しました。

“npm i"
フォルダをVisualStudioCodeで開いて、Ctrl+@でターミナル画面を開き、以下を入力します。
npm i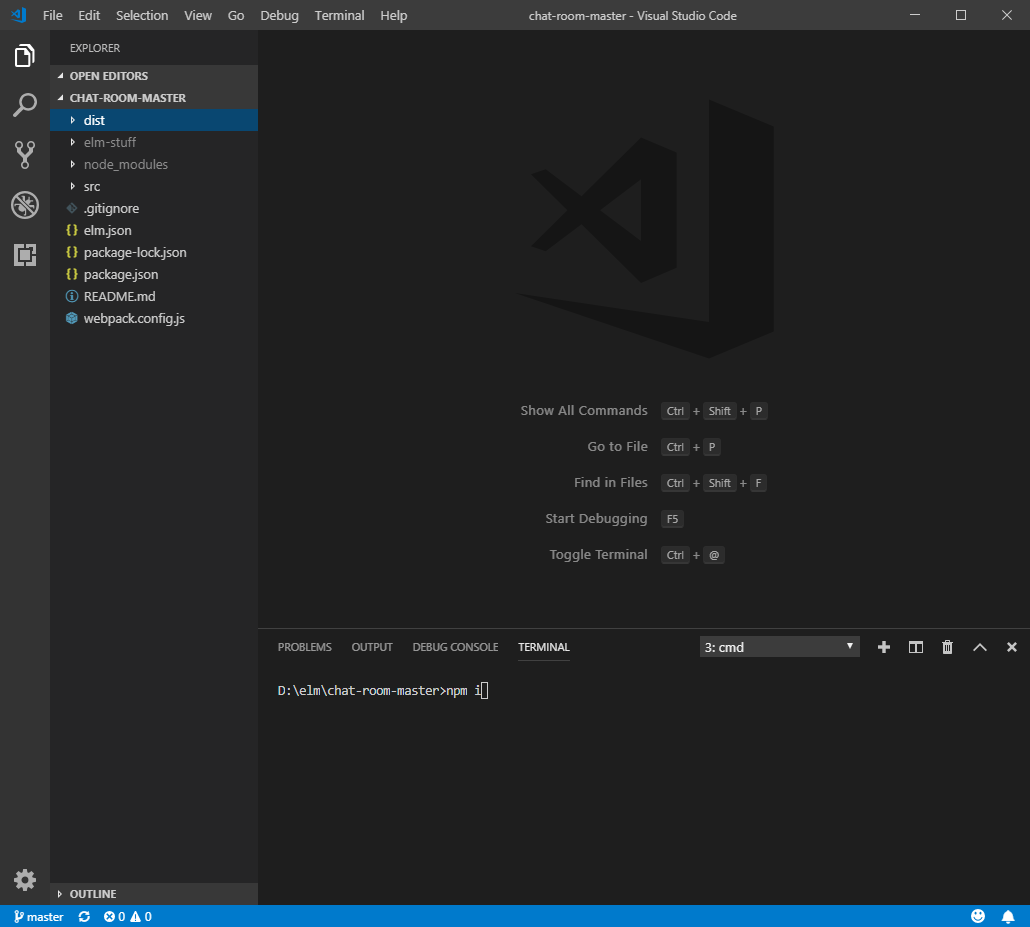
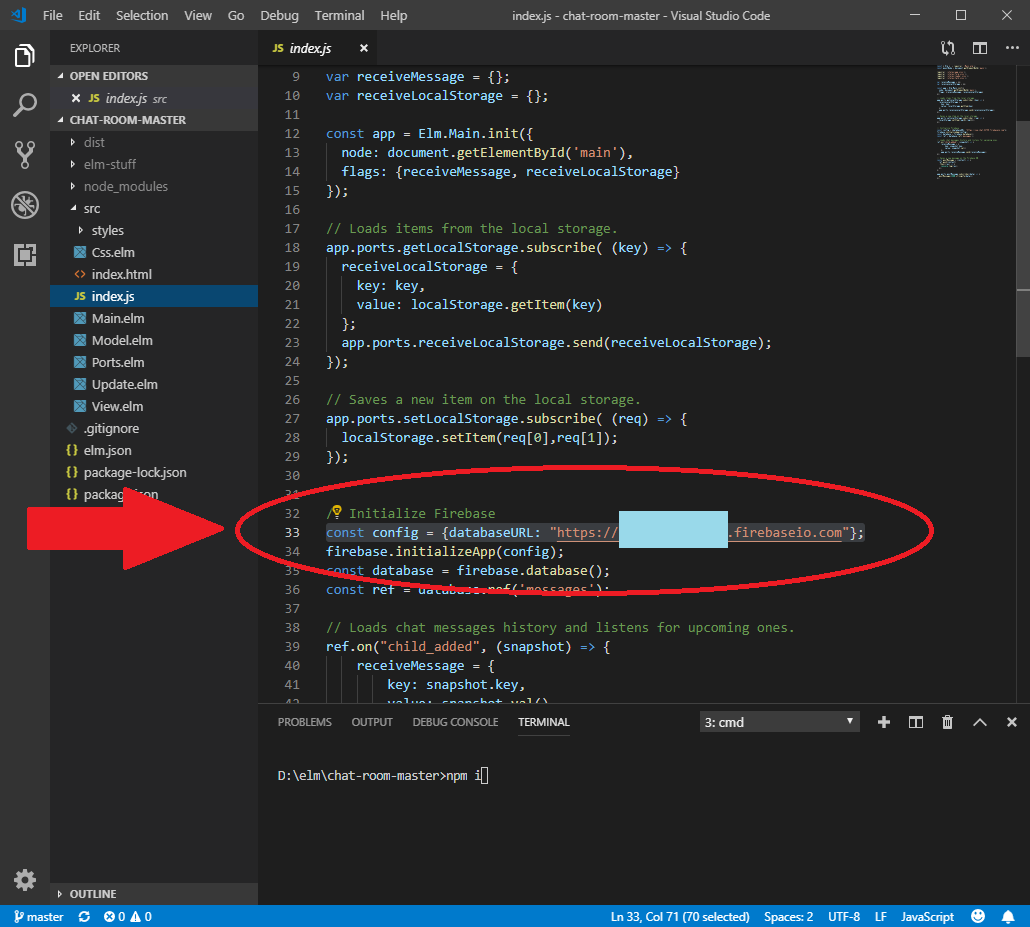
src/index.jsの編集
src/index.jsの33行目の
const config = {databaseURL: “Your App Name"};
のdatabaseURL: の次のところを、上記でコピーしておいたアドレスで置き換えます。
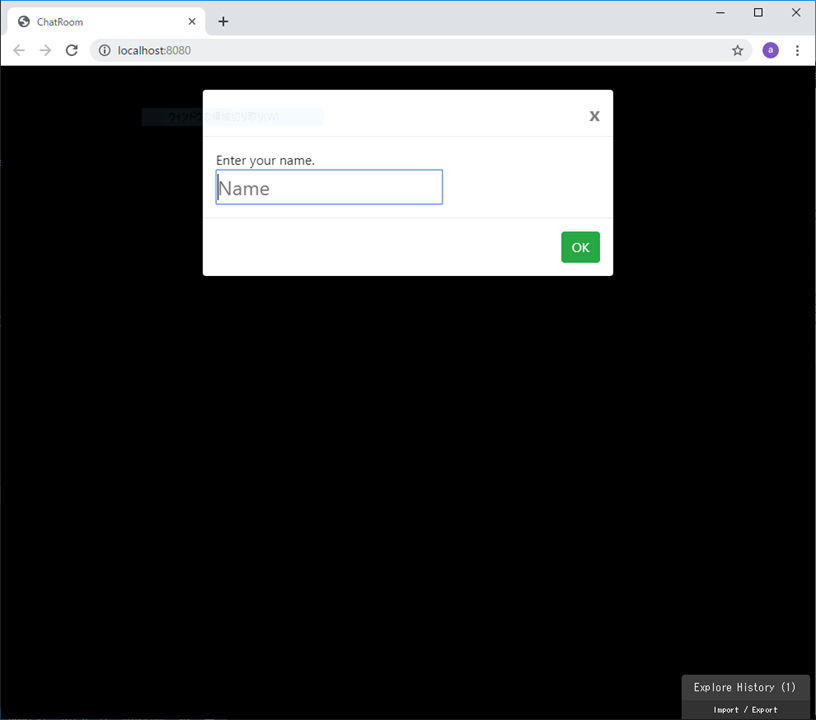
npm startでlocalhostで確認
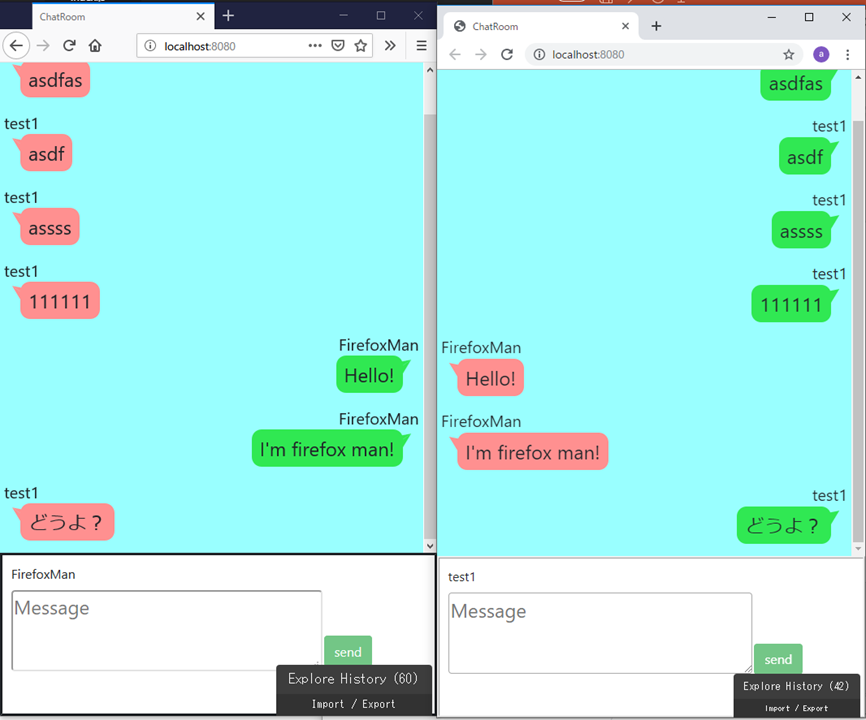
npm startで確認できます。localhostで2人の操作を行いたい場合は、ChromeとFirefox(3人なら、さらにEdgeで)で確認できました。
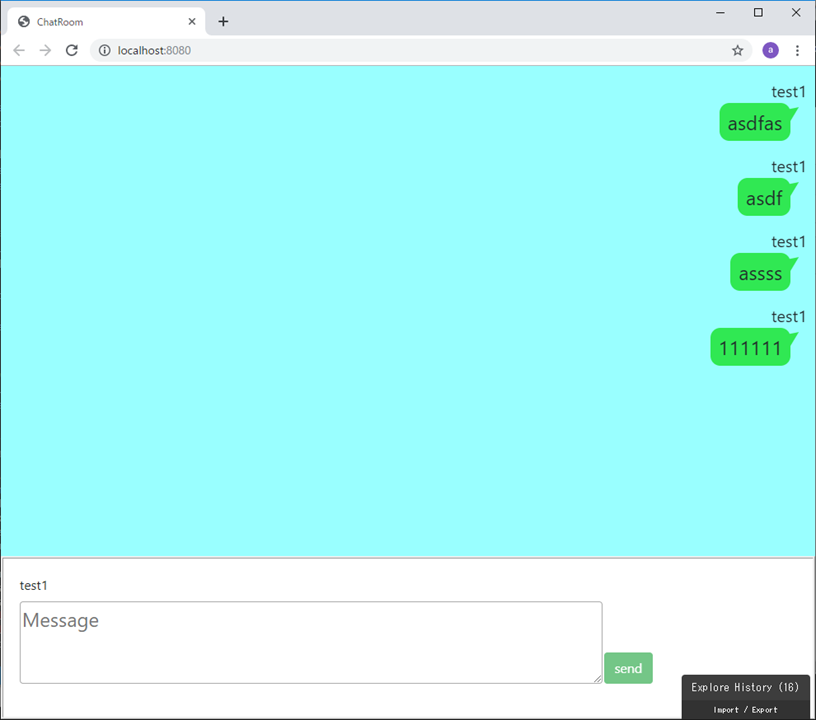
2人分
3人分

なお、私の環境下では、Internet Explorer11では画面が真っ白で動きませんでした。理由は不明です。
Netlifyにデプロイ
Bitbucket経由でNetlifyにデプロイしました。debugの表示が残ってしまっているのですが、後で消し方を、、、
https://hardcore-fermi-5d12db.netlify.com/
debugの表示を消す(webpack.config.jsを編集)
こちらのコードは、Webpackというシステムを用いているらしく、設定ファイルがwebpack.config.js
のようです。debugの表示を消すためには、以下のように変更するようです。(本当はdevelopment modeとproduction modeで分けて、production modeでoptimiseを使いたいですが、また今度、、、)
参考:https://qiita.com/hibohiboo/items/311b65987fbe64ce29fe
(変更前)
test:    /\.elm$/,
loader: 'elm-loader',
options: {
    debug: true
}
(変更後)
test:    /\.elm$/,
loader: 'elm-loader',
options: {
    debug: false
}