【ChatGPT】Gmail内のリンク先からデータを取得するpythonコード作成にtry(2)
開発環境
Windows10 Pro
GCPでGmail APIを有効化、かつ、認証でデスクトップアプリでIDを作成し、jsonファイルをダウンロード、GoogleDriveに保存
Colaboratoryで何かの準備
!pip install --upgrade google-api-python-client
!pip install --upgrade google-auth-oauthlib
何かをimport
import os
from googleapiclient.discovery import build
from google_auth_oauthlib.flow import InstalledAppFlow
from google.auth.transport.requests import Request
jsonファイルをGoogleDriveに保存
参考:https://www.ushiji.online/colab-file-upload
Google Colaboratoryでのファイル読み込み方法 May 20, 2020
from google.colab import drive
drive.mount('/content/drive')
何か出てくるので認証します。
リンク
Google ColaboratoryでGmail APIを利用する方法がわからないので、とりあえずNode.jsでlocalでtryしてみる
あ、結局localだった。いや、WEBページとしてアップロードすればクラウドでいけると思われる。。。
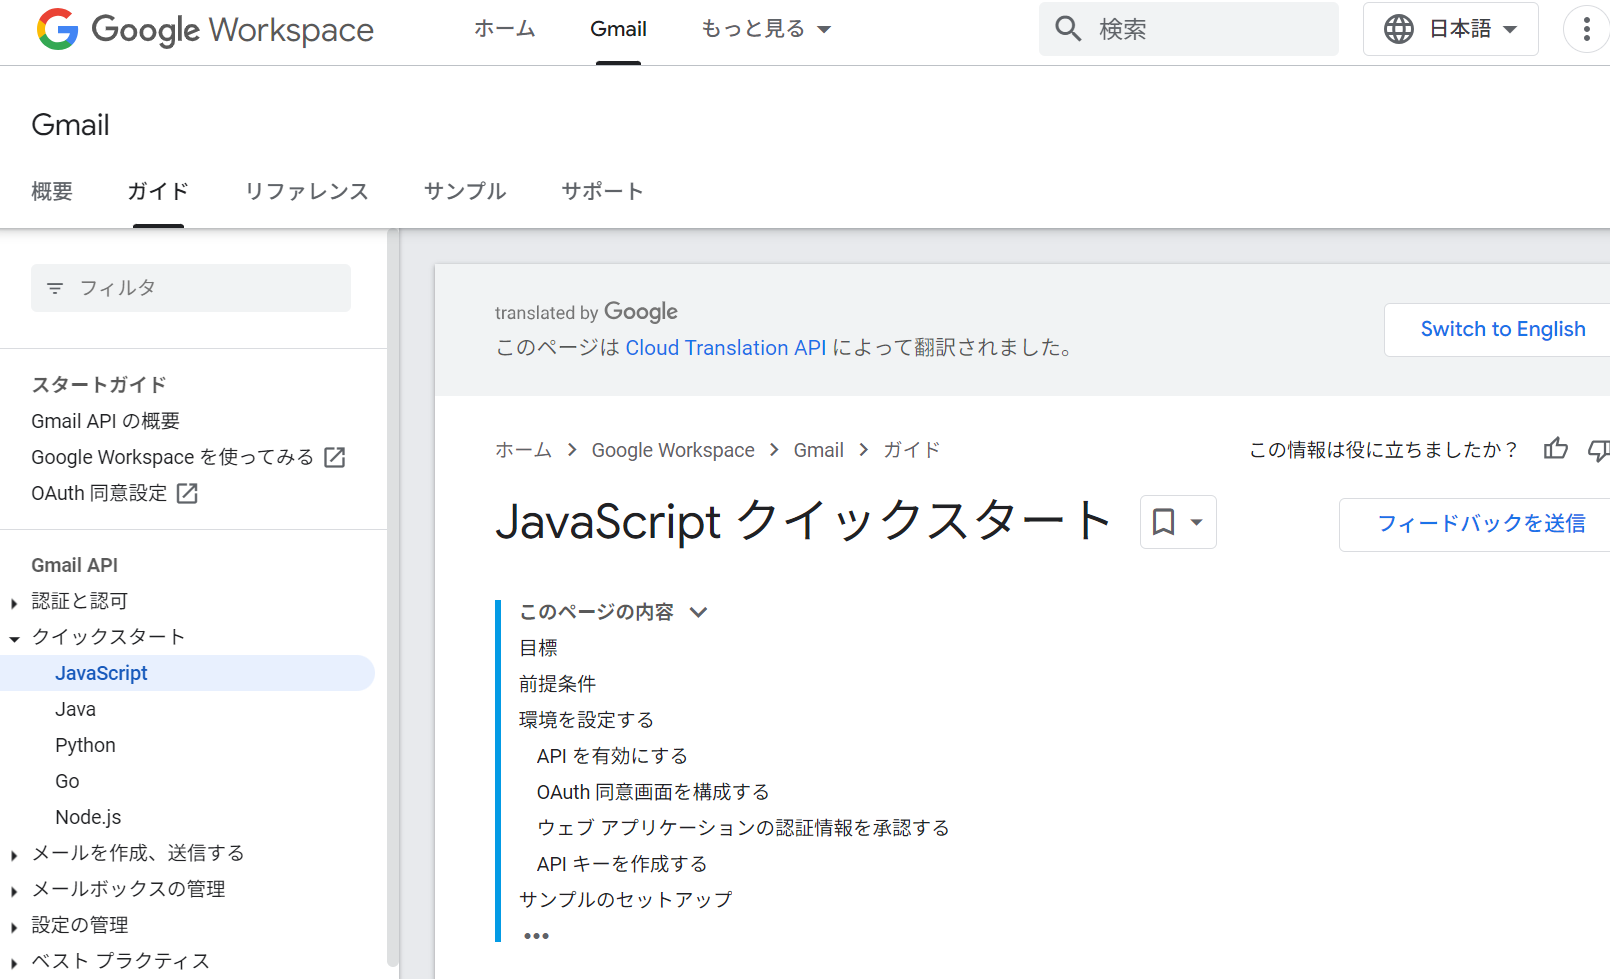
上記公式サイトに従ってやってみる。
<!DOCTYPE html>
<html>
<head>
<title>Gmail API Quickstart</title>
<meta charset="utf-8" />
</head>
<body>
<p>Gmail API Quickstart</p>
<!--Add buttons to initiate auth sequence and sign out-->
<button id="authorize_button" onclick="handleAuthClick()">Authorize</button>
<button id="signout_button" onclick="handleSignoutClick()">Sign Out</button>
<pre id="content" style="white-space: pre-wrap;"></pre>
<script type="text/javascript">
/* exported gapiLoaded */
/* exported gisLoaded */
/* exported handleAuthClick */
/* exported handleSignoutClick */
// TODO(developer): Set to client ID and API key from the Developer Console
const CLIENT_ID = '<YOUR_CLIENT_ID>';
const API_KEY = '<YOUR_API_KEY>';
// Discovery doc URL for APIs used by the quickstart
const DISCOVERY_DOC = 'https://www.googleapis.com/discovery/v1/apis/gmail/v1/rest';
// Authorization scopes required by the API; multiple scopes can be
// included, separated by spaces.
const SCOPES = 'https://www.googleapis.com/auth/gmail.readonly';
let tokenClient;
let gapiInited = false;
let gisInited = false;
document.getElementById('authorize_button').style.visibility = 'hidden';
document.getElementById('signout_button').style.visibility = 'hidden';
/**
* Callback after api.js is loaded.
*/
function gapiLoaded() {
gapi.load('client', initializeGapiClient);
}
/**
* Callback after the API client is loaded. Loads the
* discovery doc to initialize the API.
*/
async function initializeGapiClient() {
await gapi.client.init({
apiKey: API_KEY,
discoveryDocs: [DISCOVERY_DOC],
});
gapiInited = true;
maybeEnableButtons();
}
/**
* Callback after Google Identity Services are loaded.
*/
function gisLoaded() {
tokenClient = google.accounts.oauth2.initTokenClient({
client_id: CLIENT_ID,
scope: SCOPES,
callback: '', // defined later
});
gisInited = true;
maybeEnableButtons();
}
/**
* Enables user interaction after all libraries are loaded.
*/
function maybeEnableButtons() {
if (gapiInited && gisInited) {
document.getElementById('authorize_button').style.visibility = 'visible';
}
}
/**
* Sign in the user upon button click.
*/
function handleAuthClick() {
tokenClient.callback = async (resp) => {
if (resp.error !== undefined) {
throw (resp);
}
document.getElementById('signout_button').style.visibility = 'visible';
document.getElementById('authorize_button').innerText = 'Refresh';
await listLabels();
};
if (gapi.client.getToken() === null) {
// Prompt the user to select a Google Account and ask for consent to share their data
// when establishing a new session.
tokenClient.requestAccessToken({prompt: 'consent'});
} else {
// Skip display of account chooser and consent dialog for an existing session.
tokenClient.requestAccessToken({prompt: ''});
}
}
/**
* Sign out the user upon button click.
*/
function handleSignoutClick() {
const token = gapi.client.getToken();
if (token !== null) {
google.accounts.oauth2.revoke(token.access_token);
gapi.client.setToken('');
document.getElementById('content').innerText = '';
document.getElementById('authorize_button').innerText = 'Authorize';
document.getElementById('signout_button').style.visibility = 'hidden';
}
}
/**
* Print all Labels in the authorized user's inbox. If no labels
* are found an appropriate message is printed.
*/
async function listLabels() {
let response;
try {
response = await gapi.client.gmail.users.labels.list({
'userId': 'me',
});
} catch (err) {
document.getElementById('content').innerText = err.message;
return;
}
const labels = response.result.labels;
if (!labels || labels.length == 0) {
document.getElementById('content').innerText = 'No labels found.';
return;
}
// Flatten to string to display
const output = labels.reduce(
(str, label) => `${str}${label.name}\n`,
'Labels:\n');
document.getElementById('content').innerText = output;
}
</script>
<script async defer src="https://apis.google.com/js/api.js" onload="gapiLoaded()"></script>
<script async defer src="https://accounts.google.com/gsi/client" onload="gisLoaded()"></script>
</body>
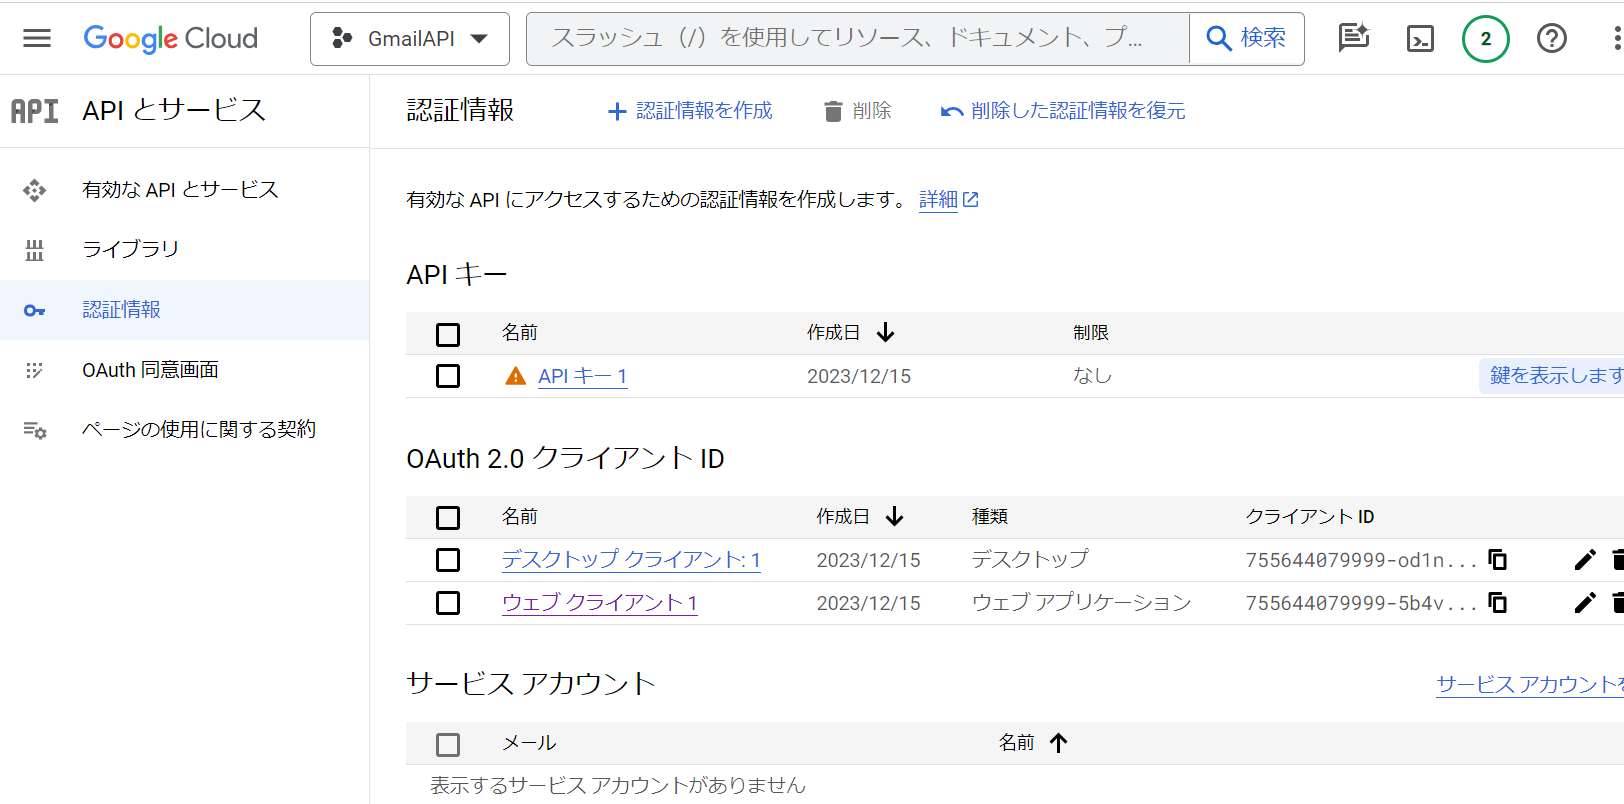
</html><YOUR_CLIENT_ID> と <YOUR_API_KEY> のところは、GmailAPIの以下の画面でゲットする。(作成方法は、https://i-doctor.sakura.ne.jp/font/?p=51684 をご覧ください。)
Node.jsのインストールと、http-serverのインストール
- nvm-windowsのインストール → https://i-doctor.sakura.ne.jp/font/?p=51729
- node.jsのインストールと指定 → nvm install 20.10.0 , nvm use 20.10.0
- npm install http-server
Set-ExecutionPolicy -ExecutionPolicy RemoteSigned -Scope Process
npm -g install http-server
npx http-server -p 8000参考:https://qiita.com/ponsuke0531/items/4629626a3e84bcd9398f
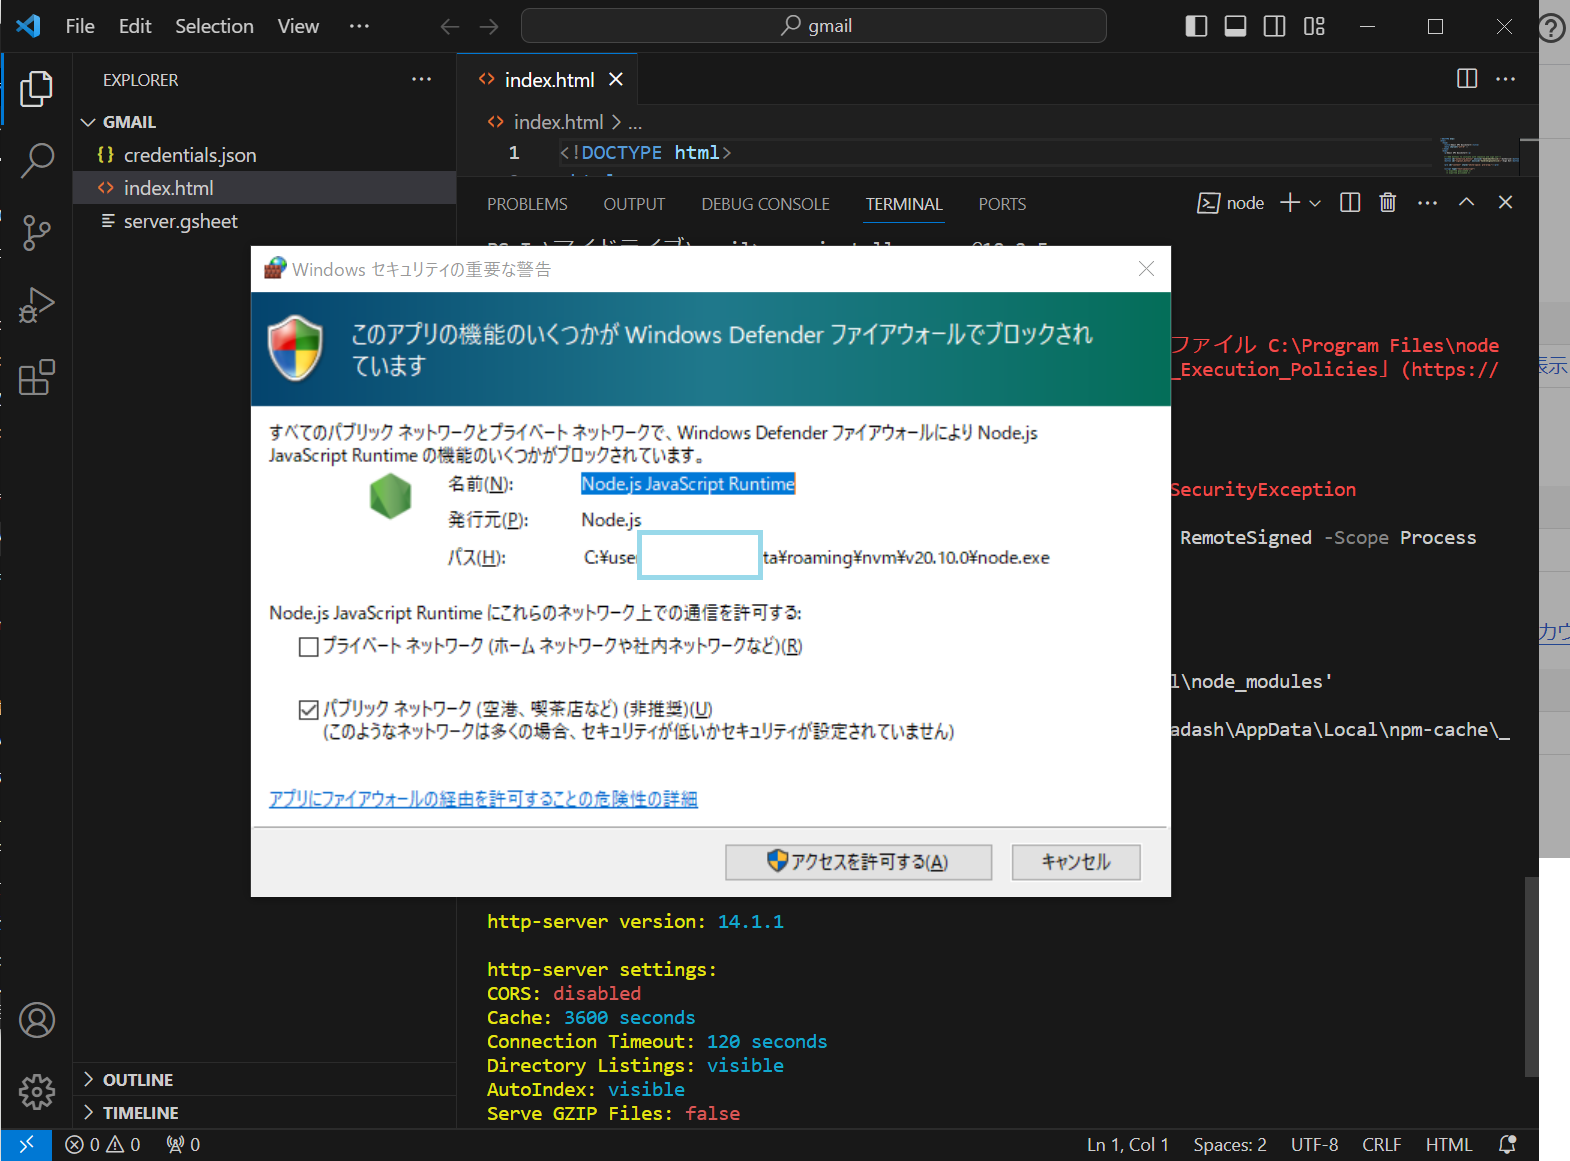
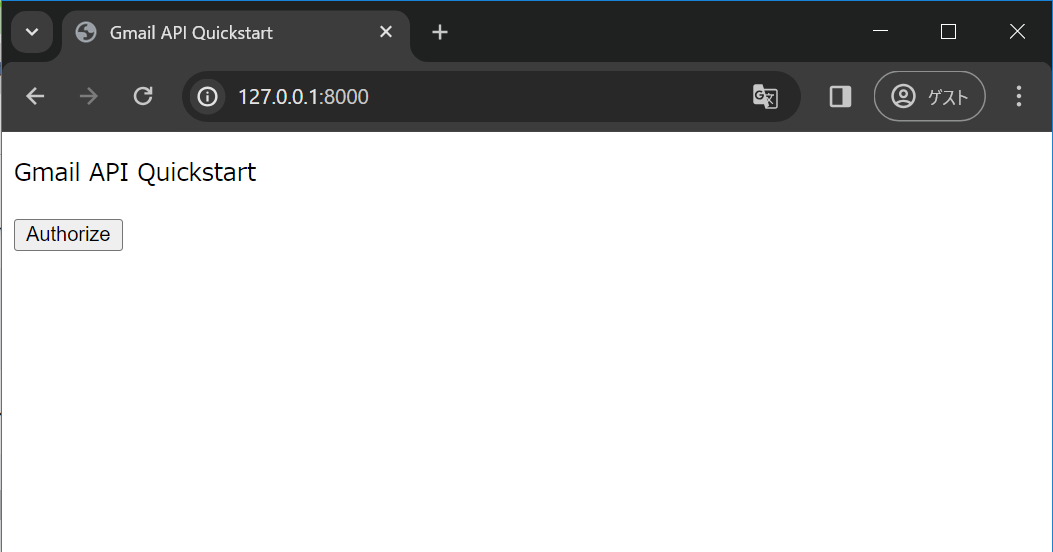
ブラウザで、http://127.0.0.1:8000 を開くと、以下のようになる。いけたかな?
Authorize をクリックしたら、以下のようになってダメだった。
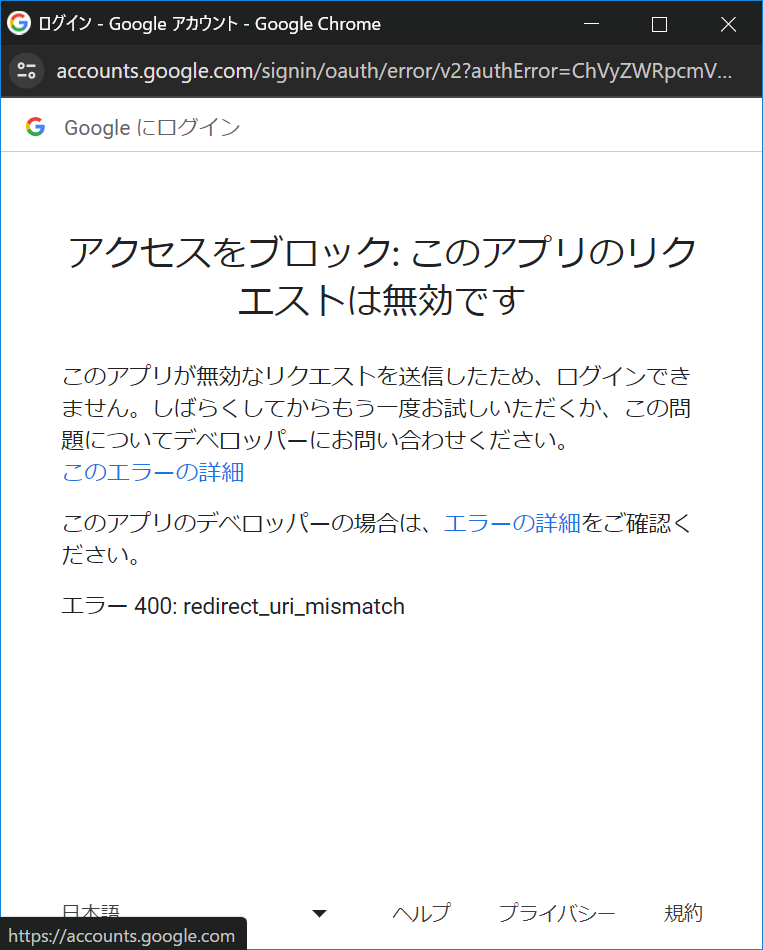
ググったが、どうしてもうまくいかず。ローカルパソコンで、pythonでGmail APIに接続する方針に変更。
ローカルパソコンで、pythonでGmail APIに接続する
- Gmail API を有効にする
- OAuth同意画面を作成する
- デスクトップアプリケーションの認証情報を承認する
は既に終わって終わっている。
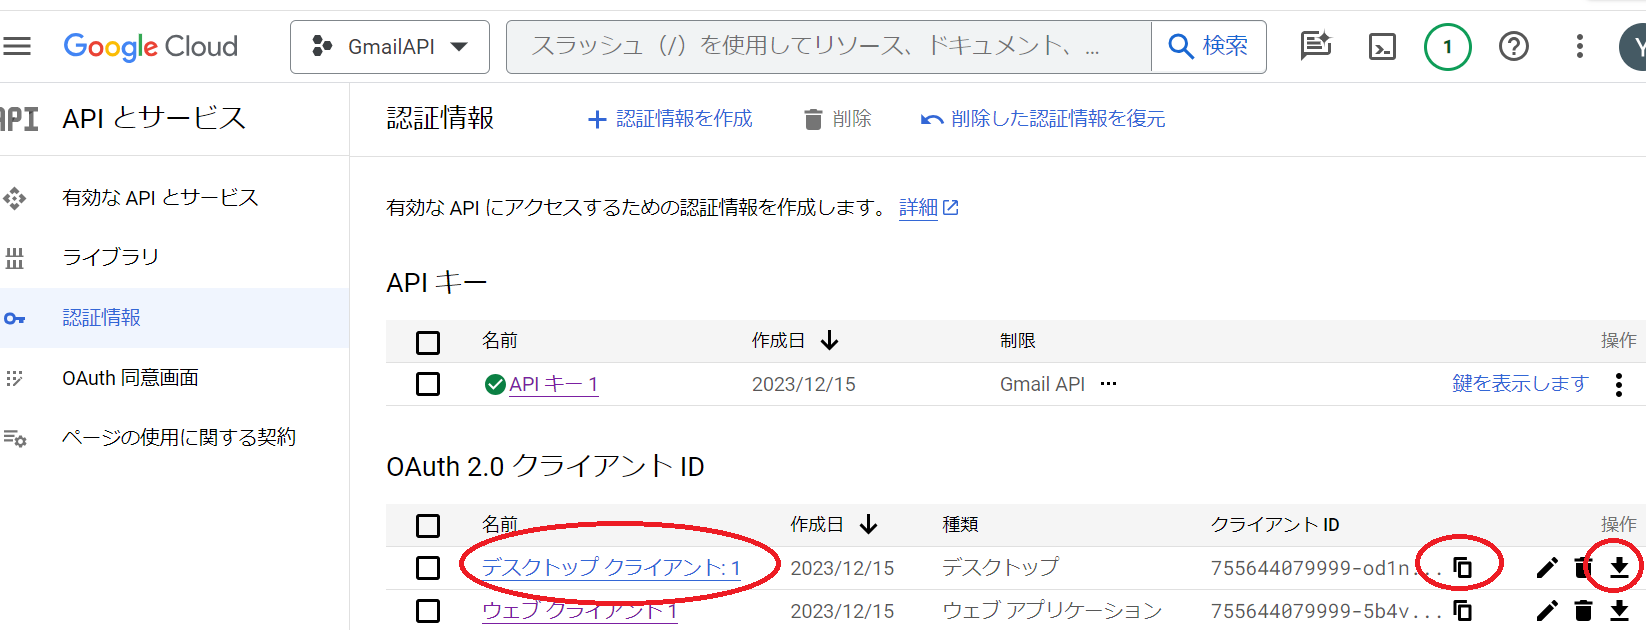
デスクトップ クライアント:1の一番右側のダウンロードボタンをクリックしてダウンロードされるxxxxxx.json を、credentials.json という名前に書き換えて、保存。
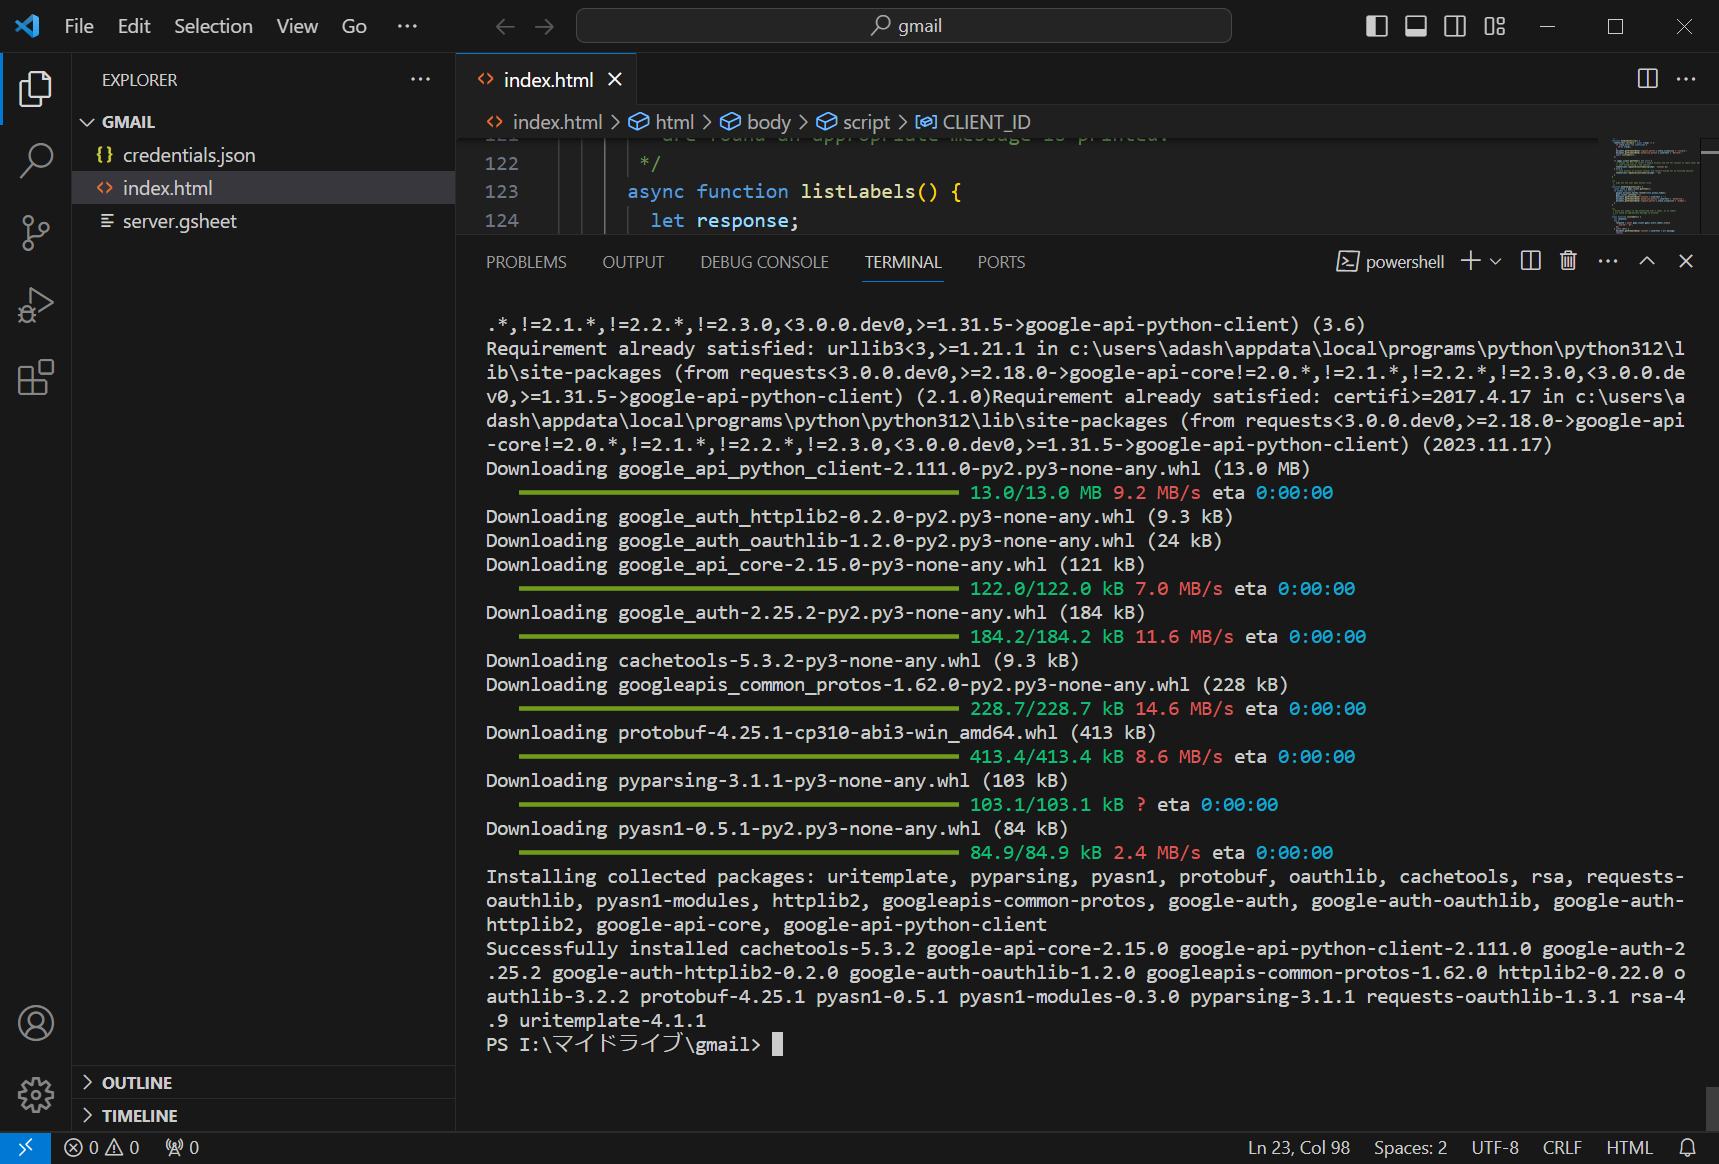
ので、その次の、「Python 用 Google クライアント ライブラリをインストール」から。
pip install --upgrade google-api-python-client google-auth-httplib2 google-auth-oauthlib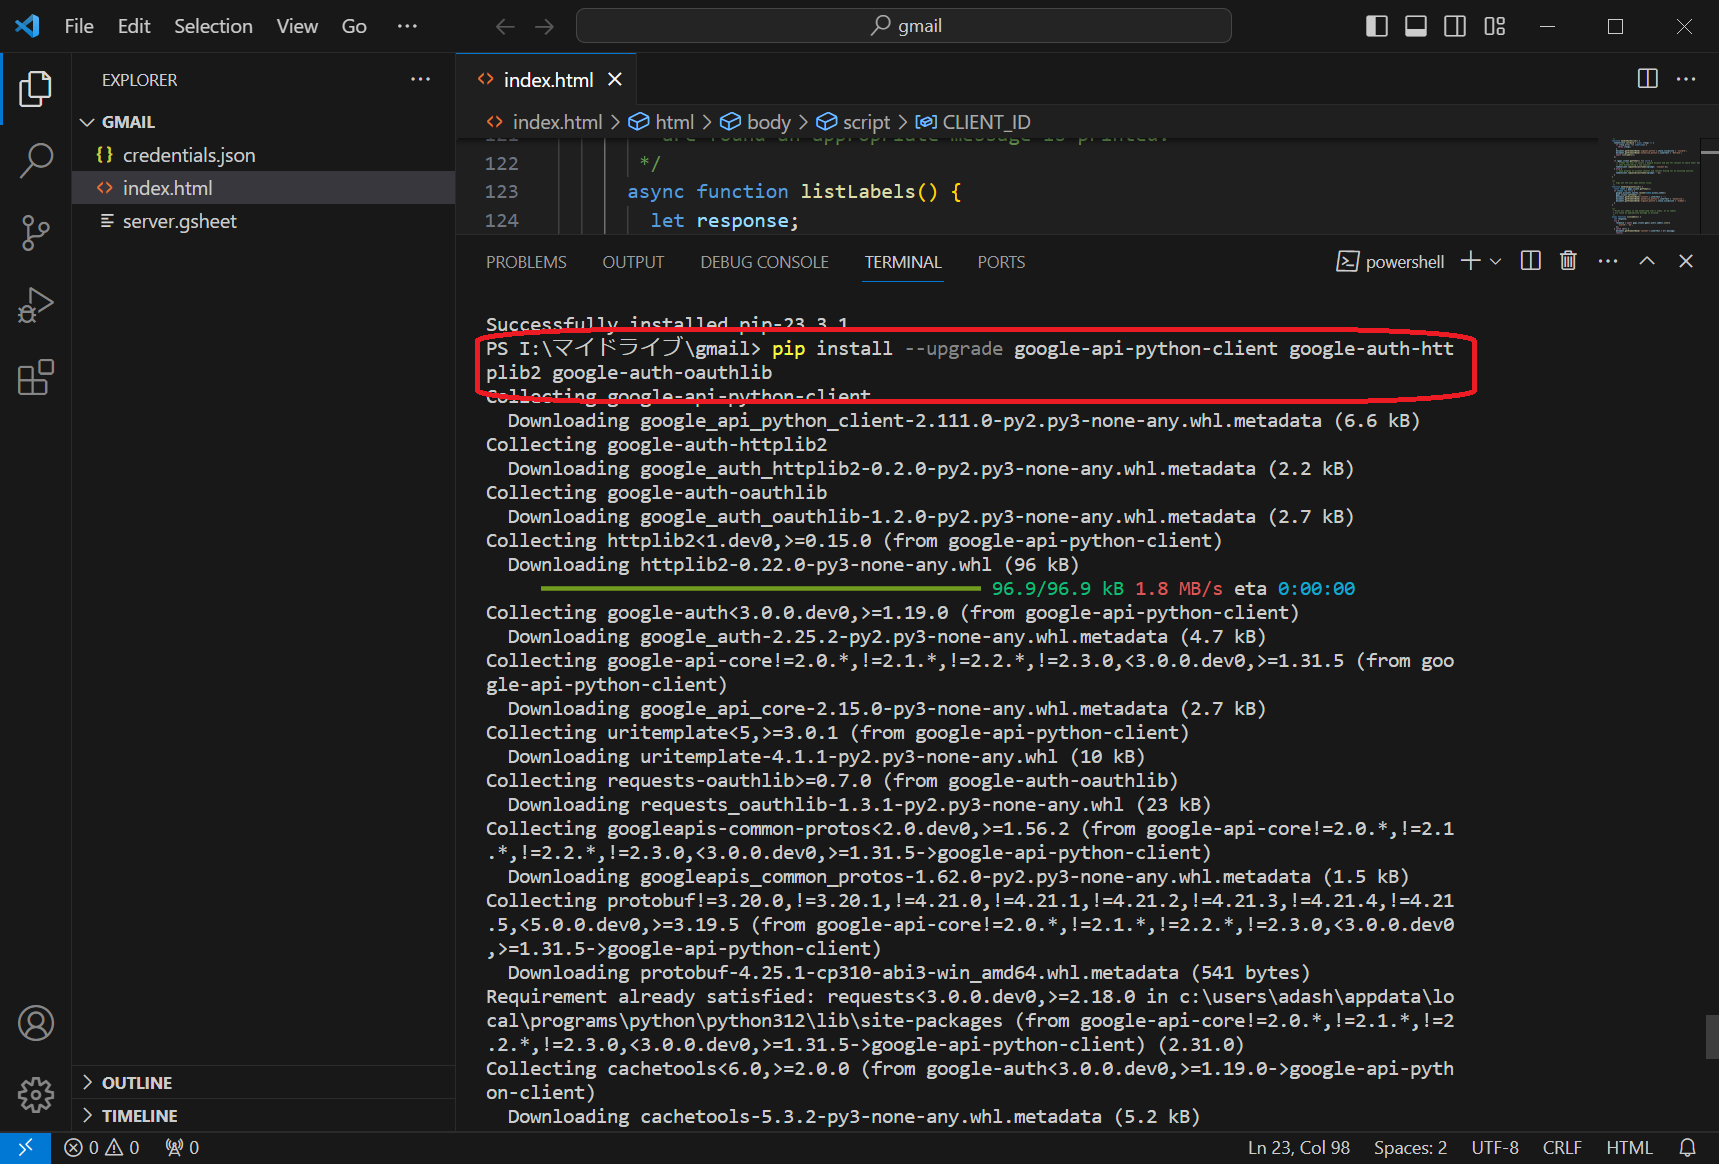
好きなフォルダに、quickstart.py という名前のファイルを作成
import os.path

from google.auth.transport.requests import Request
from google.oauth2.credentials import Credentials
from google_auth_oauthlib.flow import InstalledAppFlow
from googleapiclient.discovery import build
from googleapiclient.errors import HttpError

# If modifying these scopes, delete the file token.json.
SCOPES = ["https://www.googleapis.com/auth/gmail.readonly"]


def main():
  """Shows basic usage of the Gmail API.
  Lists the user's Gmail labels.
  """
  creds = None
  # The file token.json stores the user's access and refresh tokens, and is
  # created automatically when the authorization flow completes for the first
  # time.
  if os.path.exists("token.json"):
    creds = Credentials.from_authorized_user_file("token.json", SCOPES)
  # If there are no (valid) credentials available, let the user log in.
  if not creds or not creds.valid:
    if creds and creds.expired and creds.refresh_token:
      creds.refresh(Request())
    else:
      flow = InstalledAppFlow.from_client_secrets_file(
          "credentials.json", SCOPES
      )
      creds = flow.run_local_server(port=0)
    # Save the credentials for the next run
    with open("token.json", "w") as token:
      token.write(creds.to_json())

  try:
    # Call the Gmail API
    service = build("gmail", "v1", credentials=creds)
    results = service.users().labels().list(userId="me").execute()
    labels = results.get("labels", [])

    if not labels:
      print("No labels found.")
      return
    print("Labels:")
    for label in labels:
      print(label["name"])

  except HttpError as error:
    # TODO(developer) - Handle errors from gmail API.
    print(f"An error occurred: {error}")


if __name__ == "__main__":
  main()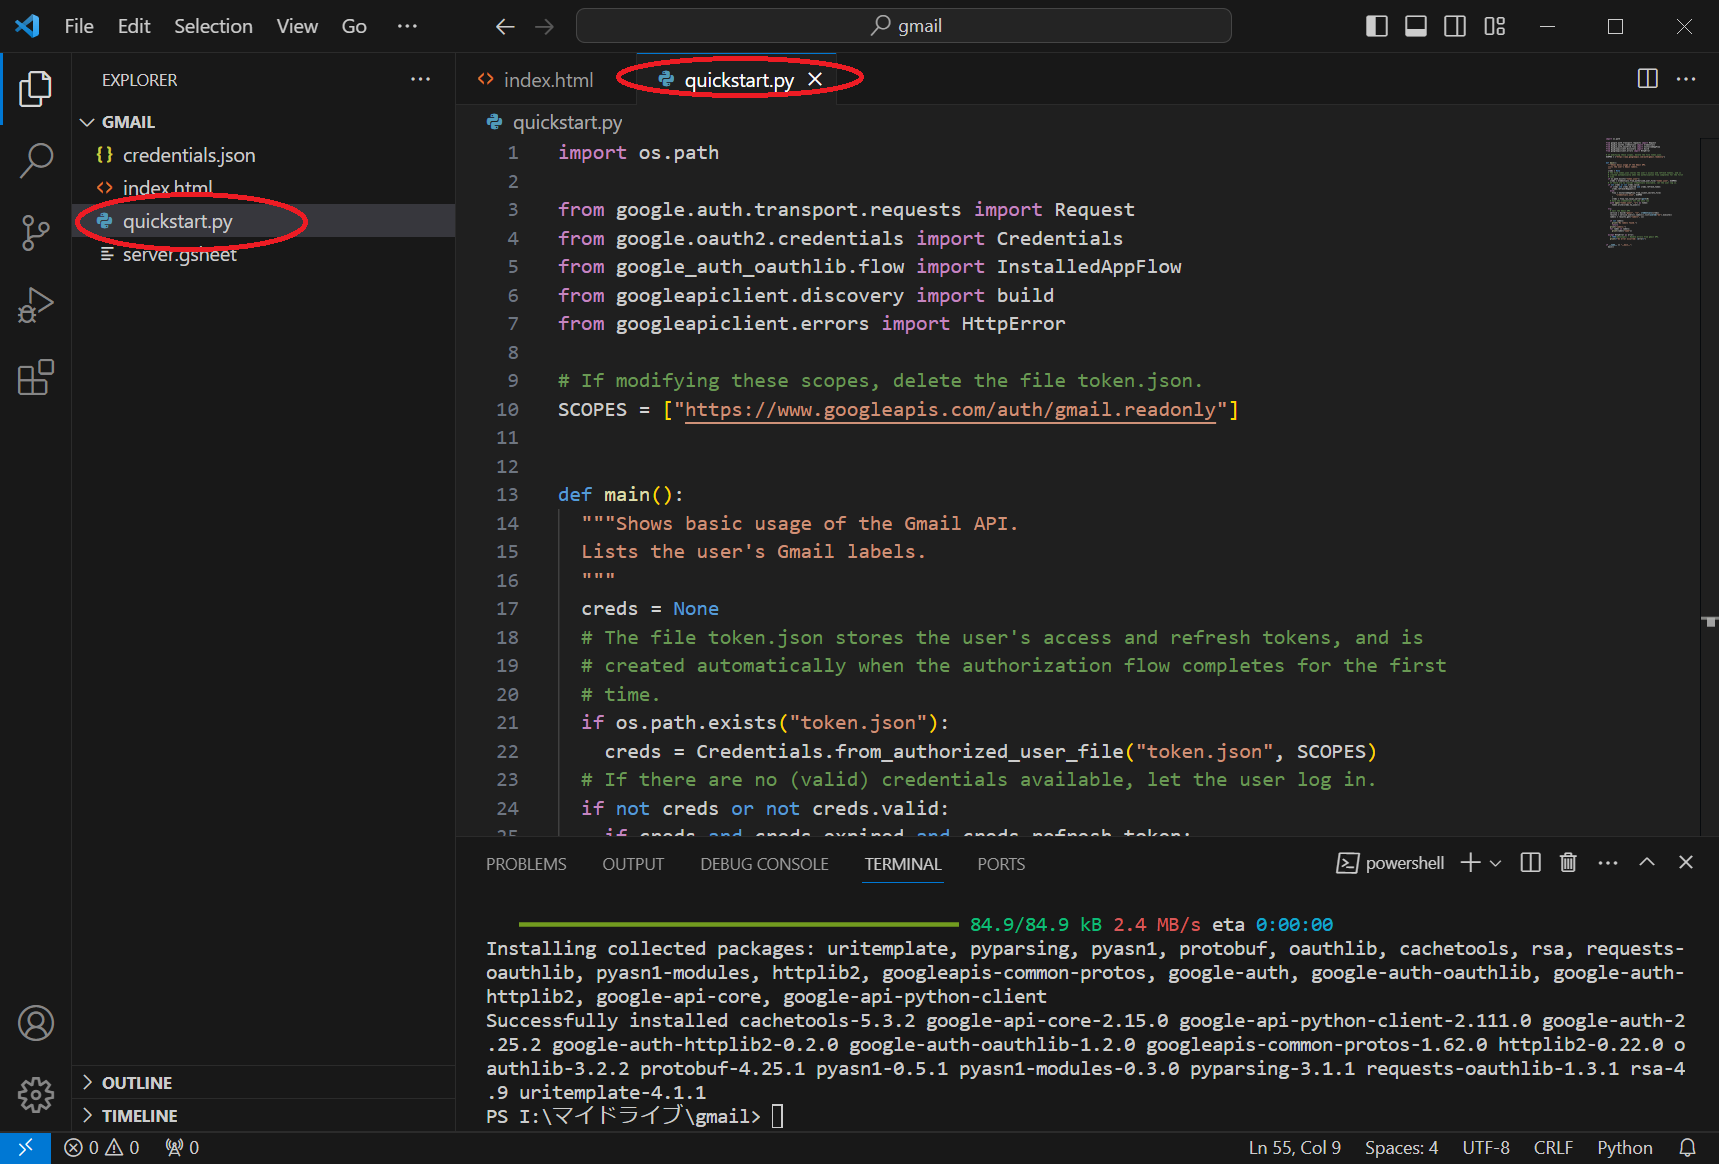
ターミナルで、以下を実行
python quickstart.py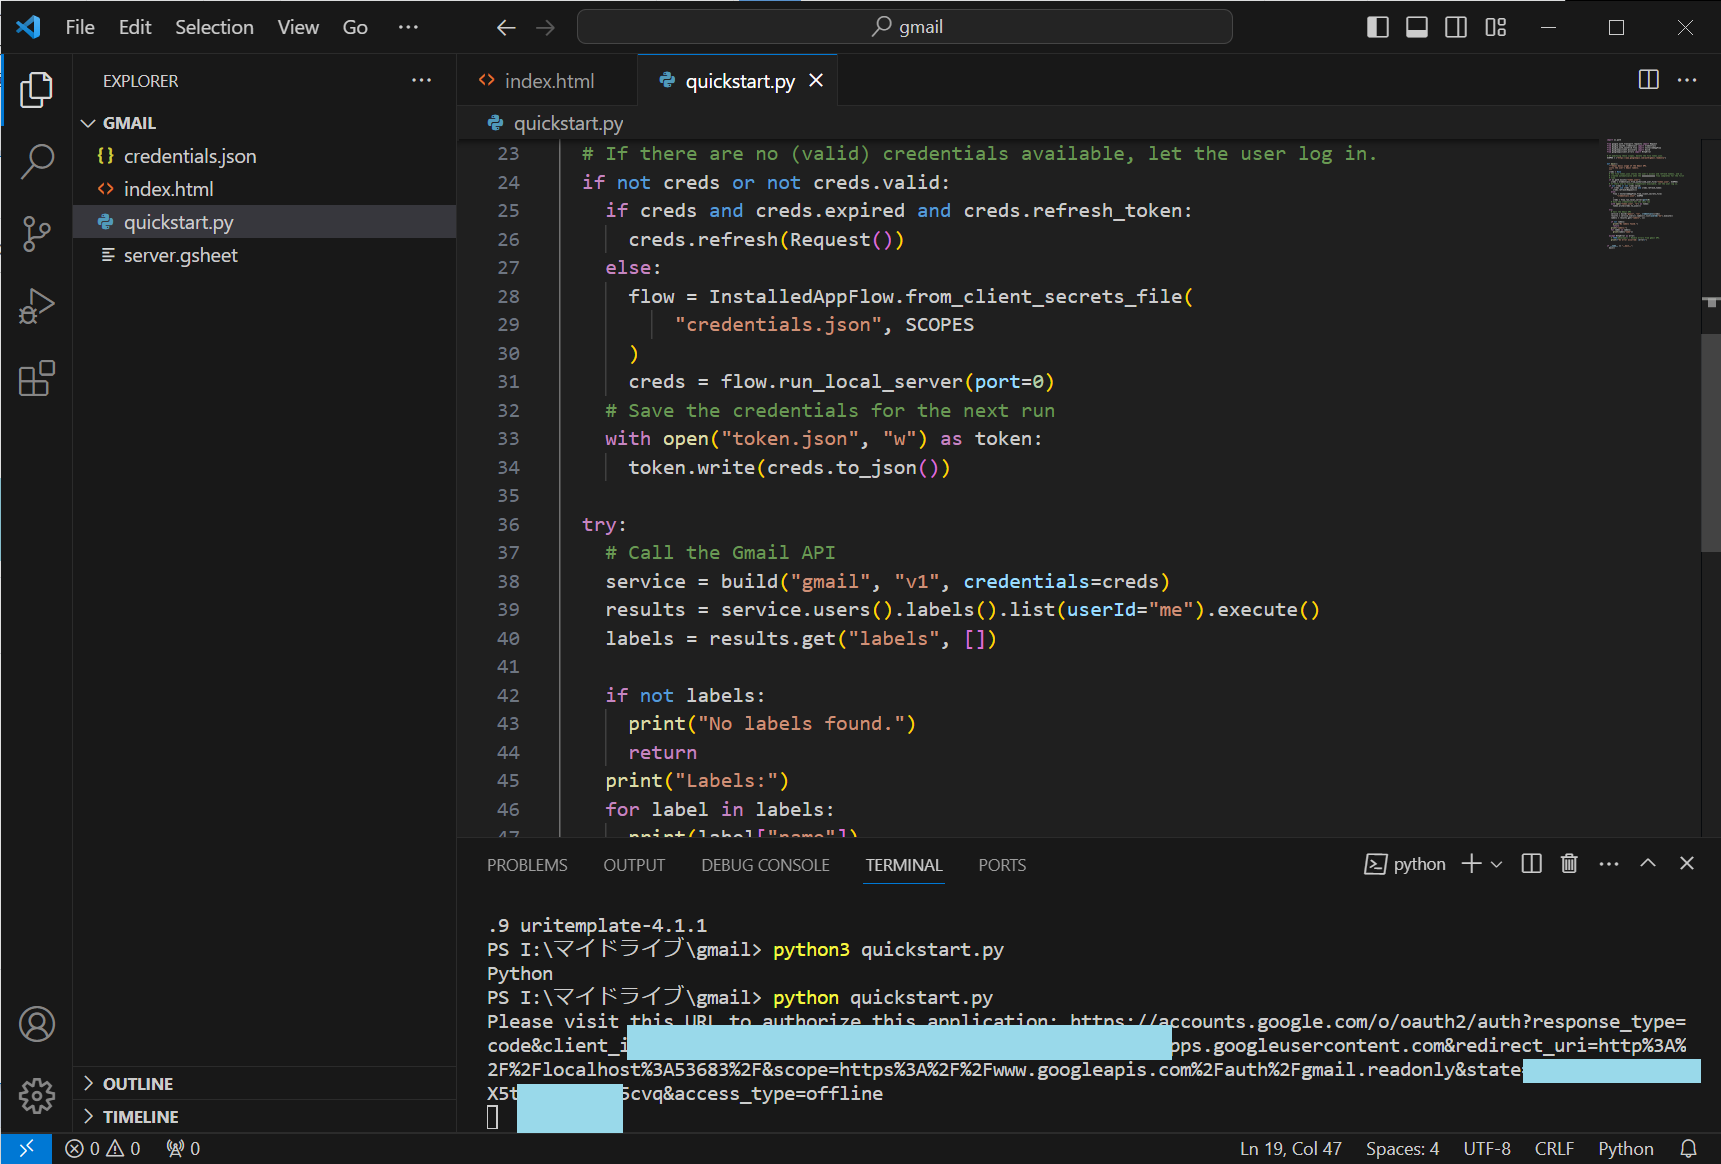
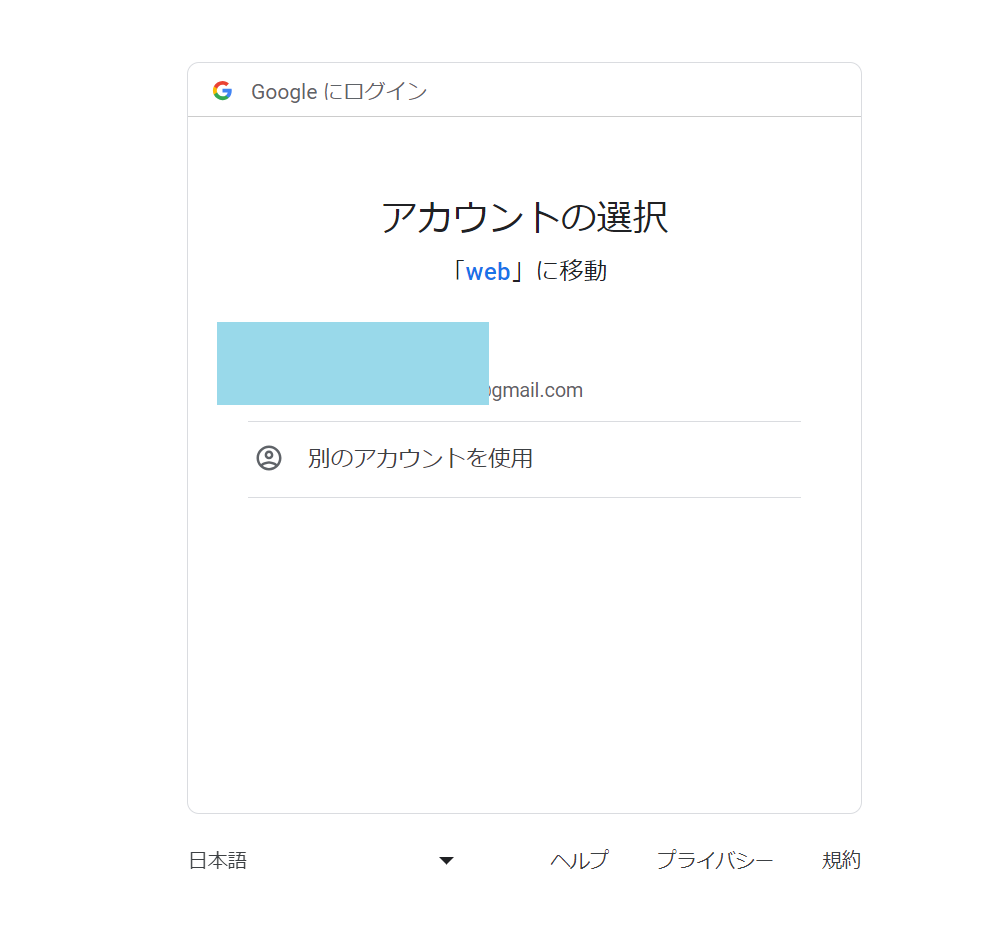
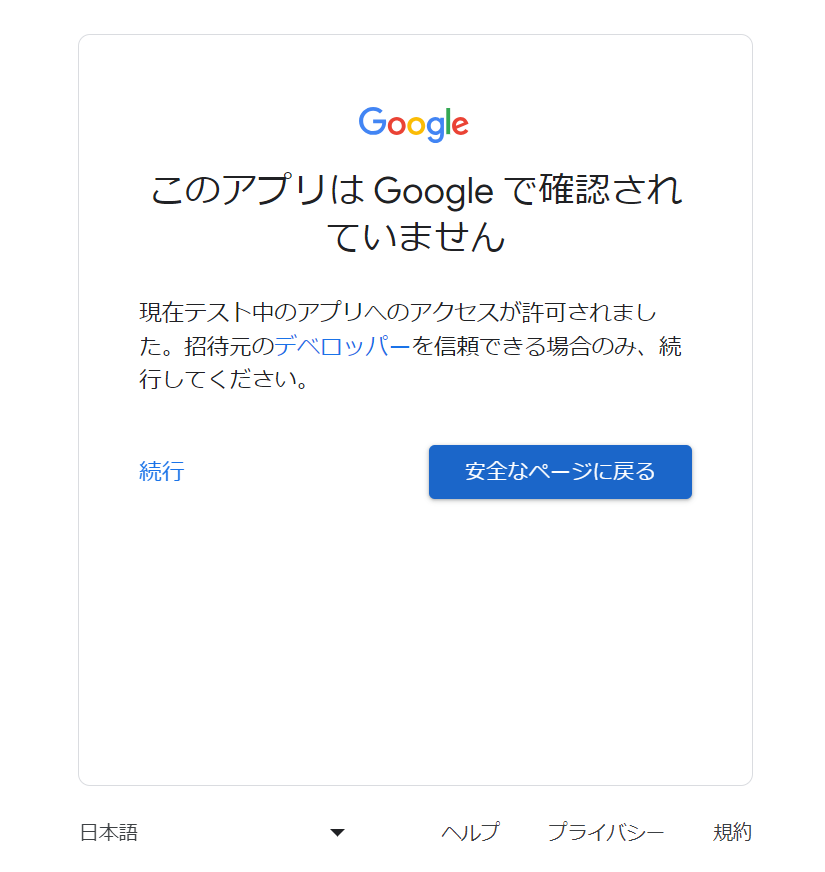
自動で上記の画面が開きます。そのまま進みます。下の画面では、続行 をクリックします。
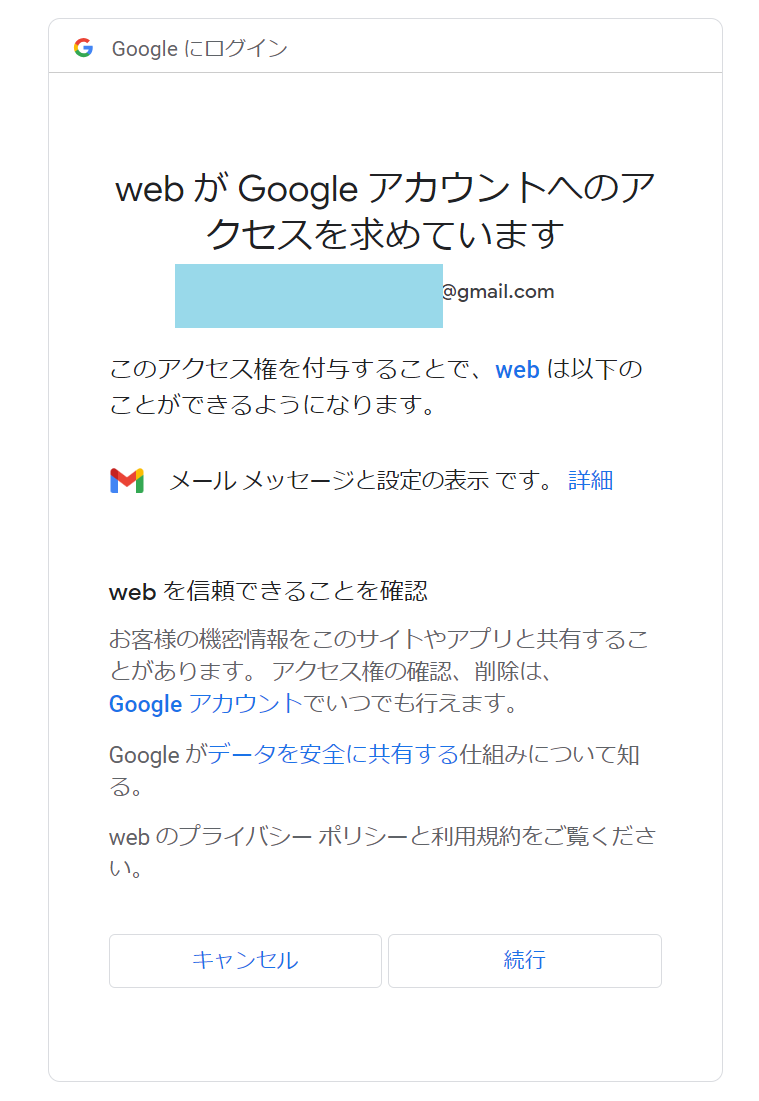
以下のような画面になるので、続行
なんとかここまではうまくいったようです。
pythonで、Gmailの内容をfromを指定して10件テキストファイルに保存
上記動画が非常にわかりやすく、とりあえずここまで。まだ遠い。。。
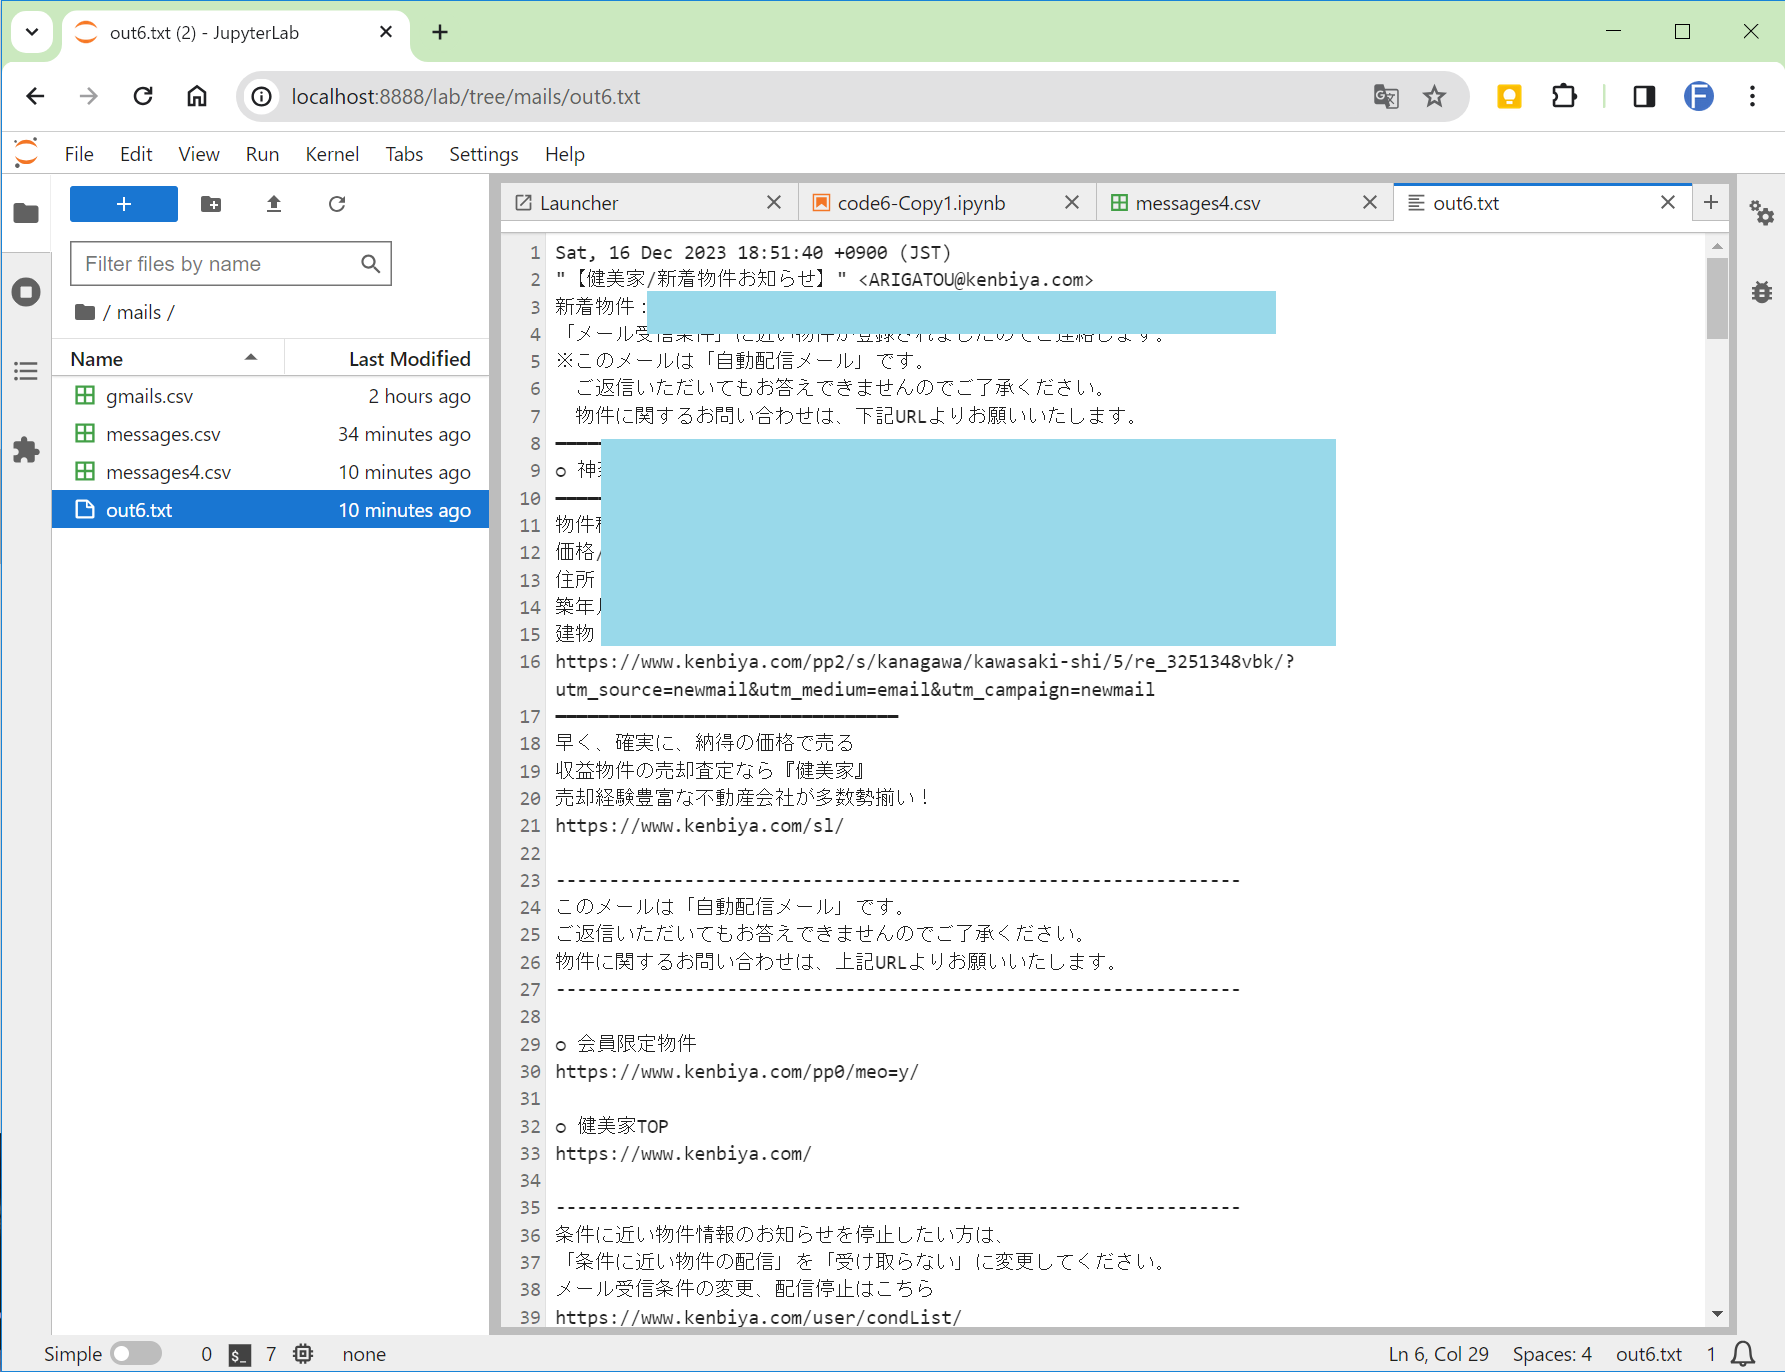
結局CSVファイルにはできず、テキストファイルに保存。ここからリンクを探して、リンク先のページへ行き、必要事項をピックアップして、また、テキストファイルかcsvファイルに保存したいけれど、、、
# original code from https://www.youtube.com/watch?v=L4BH1sDRpaQ
# and https://developers.google.com/gmail/api/quickstart/python?hl=ja

# ライブラリの定義
import os.path

from google.auth.transport.requests import Request
from google.oauth2.credentials import Credentials
from google_auth_oauthlib.flow import InstalledAppFlow
from googleapiclient.discovery import build
from googleapiclient.errors import HttpError
import json
import base64
import csv

# If modifying these scopes, delete the file token.json.
SCOPES = ["https://www.googleapis.com/auth/gmail.readonly"]

def get_header(headers, name):
    for h in headers:
        if h['name'].lower() == name:
            return h['value']

def base64_decode(data):
    return base64.urlsafe_b64decode(data).decode()

def base64_decode_file(data):
    return base64.urlsafe_b64decode(data.encode('UTF-8'))

def get_body(body):
    if body['size'] > 0:
        return base64_decode(body['data'])

def get_parts_body(body):
    if (body['size'] > 0
            and 'data' in body.keys()
            and 'mimeType' in body.keys()
            and body['mimeType'] == 'text/plain'):
        return base64_decode(body['data'])

def get_parts(parts):
    for part in parts:
        if part['mimeType'] == 'text/plain':
            b = base64_decode(part['body']['data'])
            if b is not None:
                return b
        if 'body' in part.keys():
            b = get_parts_body(part['body'])
            if b is not None:
                return b
        if 'parts' in part.keys():
            b = get_parts(part['parts'])
            if b is not None:
                return b

def get_attachment_id(parts):
    for part in parts:
        if part['mimeType'] == 'image/png':
            return part['body']['attachmentId'], 'png'
    return None, None

# original code from https://qiita.com/KWS_0901/items/2ab834af57a0b2cdae3e
# アクセストークン取得
def get_token():
    creds = None
    # token.json
    # access/refresh tokenを保存
    # 認可フロー完了時に自動で作成。
    if os.path.exists('token.json'):
        creds = Credentials.from_authorized_user_file(
            'token.json', SCOPES)
    # トークンが存在しない場合
    if not creds or not creds.valid:
        if creds and creds.expired and creds.refresh_token:
            creds.refresh(Request())
        else:
            flow = InstalledAppFlow.from_client_secrets_file(
                'credentials.json', SCOPES)
            creds = flow.run_local_server(port=0)
        # トークンを保存
        with open('token.json', 'w') as token:
            token.write(creds.to_json())
    return creds

def main():
    # 1. アクセストークン取得
    creds = get_token()

    try:
        # Call the Gmail API
        service = build("gmail", "v1", credentials=creds)

        # messagesの受け取り
        messages = service.users().messages().list(
            userId='me',
            q='from: ARIGATOU@kenbiya.com',
            maxResults=10
        ).execute().get('messages')

        # csvファイルの準備
        with open('mails/messages4.csv', 'w', newline='', encoding='utf8') as f:
            w = csv.writer(f)
            w.writerow(['date', 'from', 'subject', 'body'])

        g = open("mails/out6.txt", "w", encoding='utf8')

        # 取得したjsonデータを、pythonのリスト形式?辞書?でm_dataに格納
        if messages is not None:
            for message in messages:
                print('=' * 10)
                m_data = service.users().messages().get(
                    userId='me',
                    id=message['id']
                ).execute()

                # ヘッダー情報
                headers = m_data['payload']['headers']

                # 日付
                message_date = get_header(headers, 'date')
                print(f'日付: {message_date}')

                # 差出人
                from_date = get_header(headers, 'from')
                print(f'差出人: {from_date}')

                # 宛先
                to_date = get_header(headers, 'to')
                print(f'宛先: {to_date}')

                # 件名
                sub_date = get_header(headers, 'subject')
                print(f'件名: {sub_date}')

                body = m_data['payload']['body']
                body_data = get_body(body)

                parts_data = None
                if 'parts' in m_data['payload'].keys():
                    parts = m_data['payload']['parts']
                    parts_data = get_parts(parts)
                    # 添付ファイル
                    attachment_id, extension = get_attachment_id(parts)
                    if attachment_id is not None:
                        res = service.users().messages().attachments().get(
                            userId='me',
                            messageId=message['id'],
                            id=attachment_id
                        ).execute()
                        f_data = base64_decode_file(res['data'])

                        with open(f'download.{extension}', 'wb') as f:
                            f.write(f_data)

                body_result = body_data if body_data is not None else parts_data
                print(f'本文: {body_result}')

                # csvファイルに書き込み
                with open('mails/messages4.csv', 'a', newline='', encoding='utf8') as f:
                    w = csv.writer(f)
                    w.writerow([message_date, from_date, sub_date, body_result])
                with open('mails/out6.txt', 'a', encoding='utf8') as g:
                    g.write(f'{message_date}\n{from_date}\n{sub_date}\n{body_result}\n')

    except HttpError as error:
        # TODO(developer) - Handle errors from gmail API.
        print(f"An error occurred: {error}")

if __name__ == "__main__":
  main()
上記の、
q='from: ARIGATOU@kenbiya.com',のところのメールアドレスを変更すると、特定のメールアドレスから来たメールのみ抽出できます。ちなみに、if messages is not None を入れると、うまくいかなかったので、あえて入れていません。

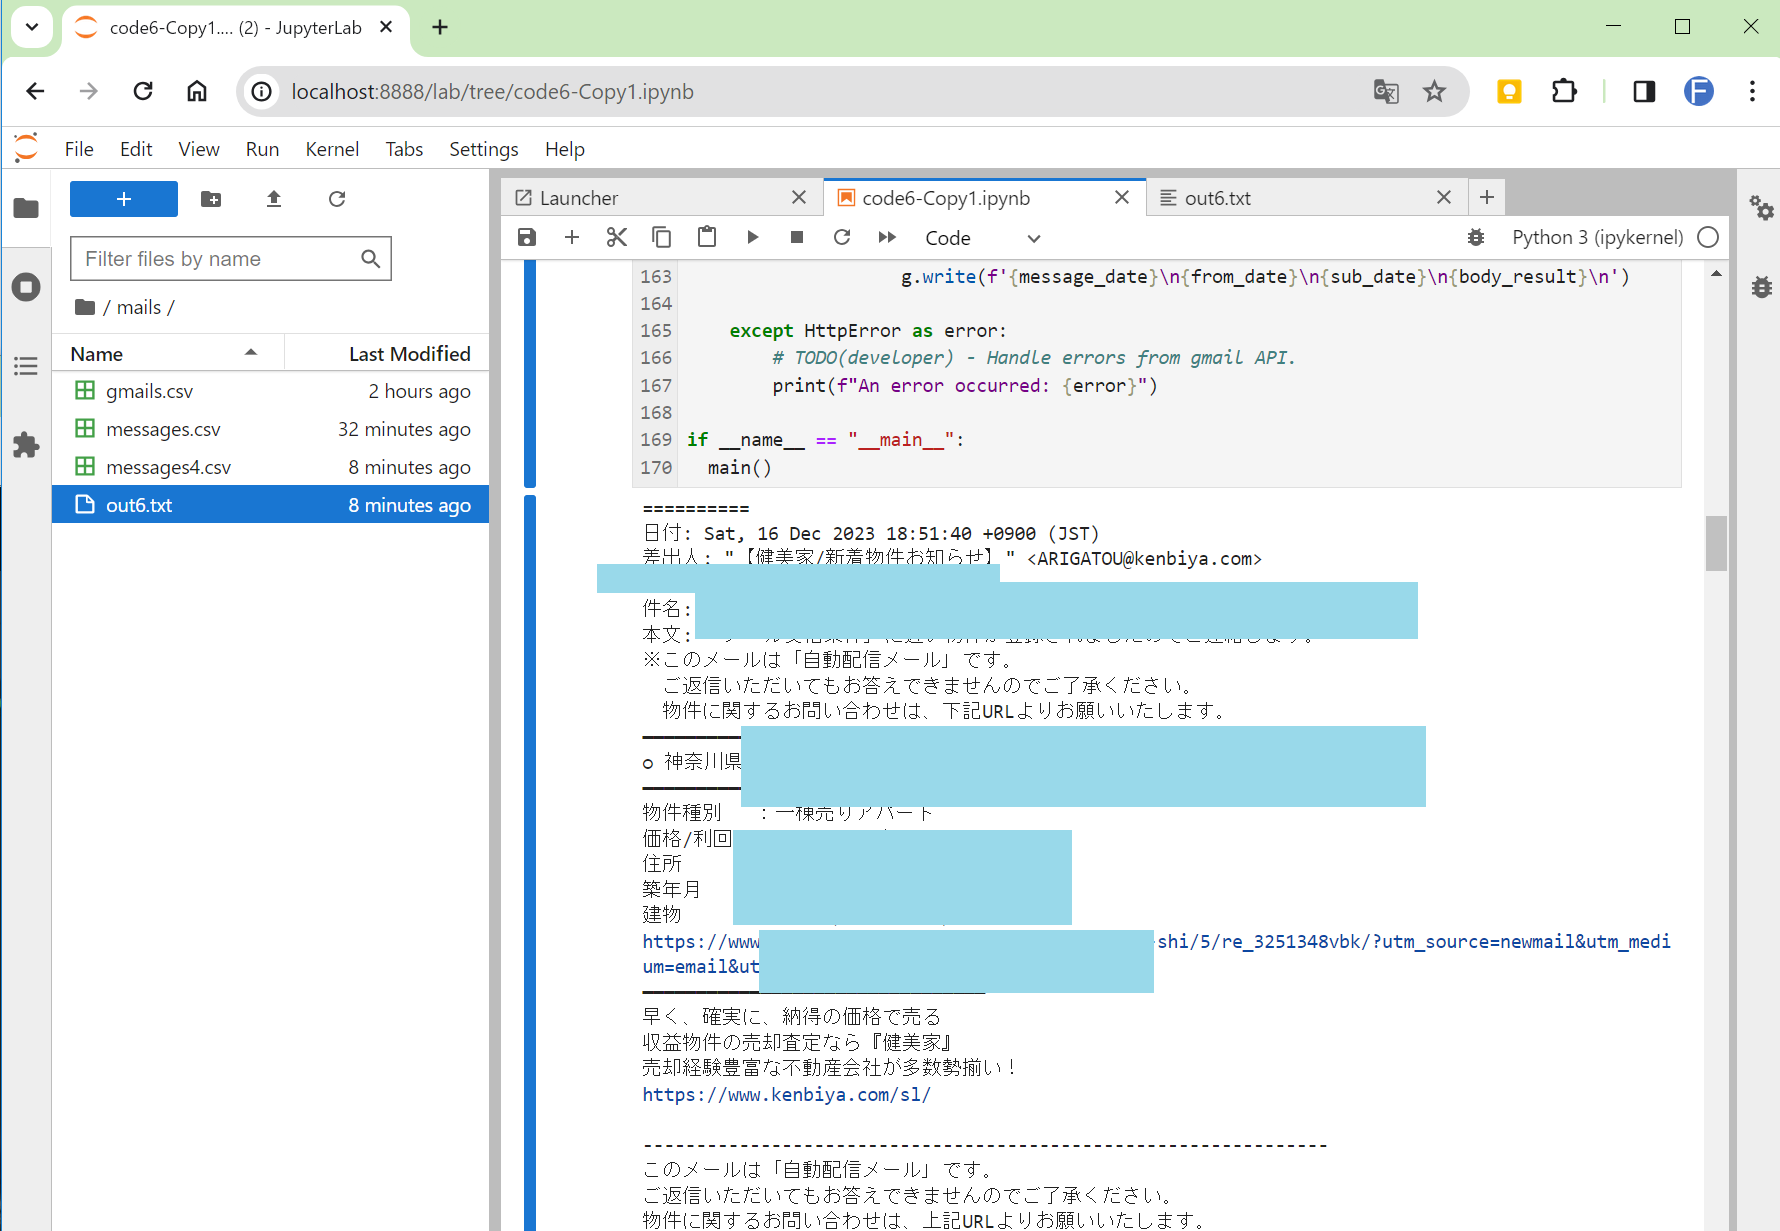
imges/out6.txtは以下のようになります。