DjangoGirlsTutorialをやってみる(11)記事編集ページ
前回は、「個別記事ページの作成」(Railsでいう 「show」)について扱った。
http://twosquirrel.mints.ne.jp/?p=9757
今回は、以下のところから再開する。いよいよラスト。
Django フォーム
https://djangogirlsjapan.gitbooks.io/workshop_tutorialjp/content/django_forms/
(環境)
Windows8.1
Anaconda4.1.1 (python 3.5.2)
Django1.9
(下準備)
cmd.exeを「管理者で実行」
cd c:/py/djangogirls/myproject
activate root
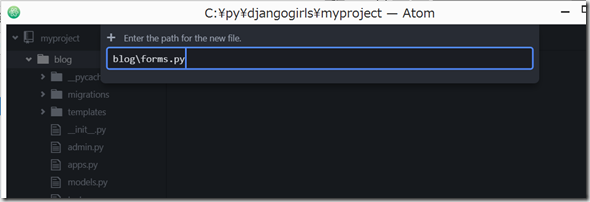
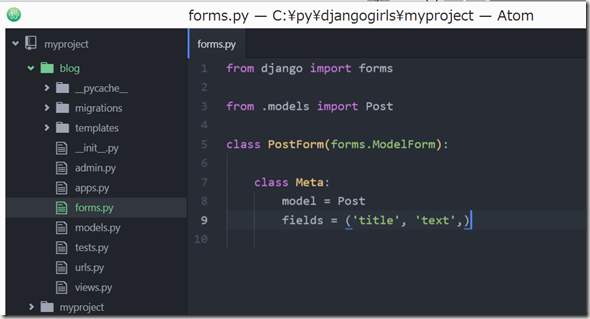
(1)blog/ フォルダに、forms.py を作成し、以下を記載して保存。
from django import forms

from .models import Post

class PostForm(forms.ModelForm):

    class Meta:
        model = Post
        fields = ('title', 'text',)
[sourcecode language="python" padlinenumbers="true"]
from django import forms
from .models import Post
class PostForm(forms.ModelForm):
class Meta:
model = Post
fields = ('title’, 'text’,)
[/sourcecode]
(2)フォームを含むページへのリンク
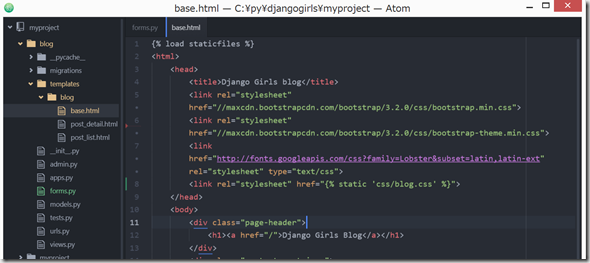
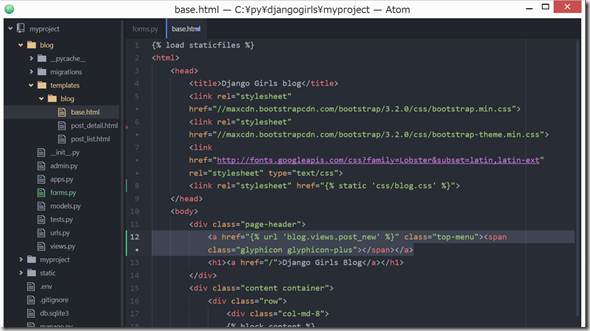
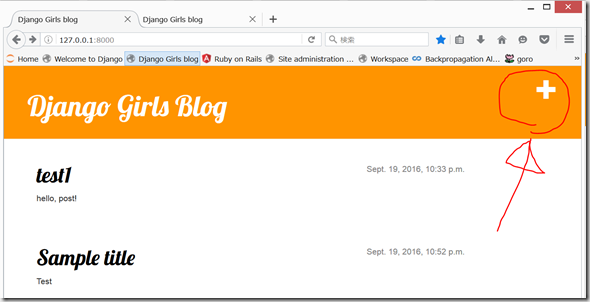
blog/templates/blog/base.html を開き、 div class="page-header" タグ内にリンクを追加
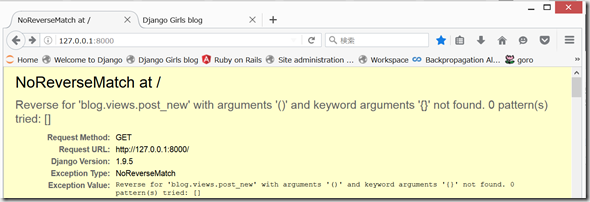
<a href="{% url 'blog.views.post_new' %}" class="top-menu"><span class="glyphicon glyphicon-plus"></span></a>
[sourcecode language="python"]
<a href="{% url 'blog.views.post_new’ %}" class="top-menu"><span class="glyphicon glyphicon-plus"></span></a>
[/sourcecode]
cmd.exe で、python manage.py runserver
ブラウザで、http://127.0.0.1:8000
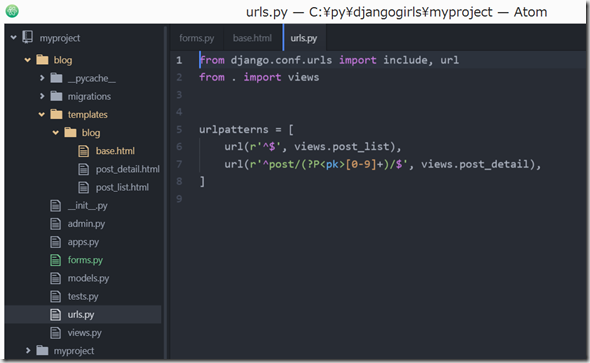
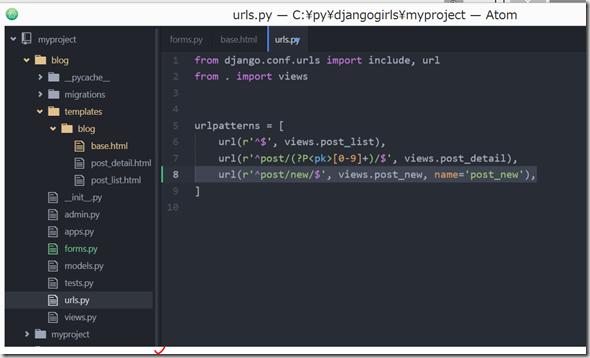
(3)URLを追加(Railsでのルーティング、config/routes.rbと同じと思われる)。blog/urls.py の、urlpatterns = [ ] に、次の行を追加。
url(r'^post/new/$', views.post_new, name='post_new'),
[sourcecode language="python"]
url(r’^post/new/$’, views.post_new, name=’post_new’),
[/sourcecode]
AttributeError: module ‘blog.views’ has no attribute ‘post_new’
(Railsでいう、blogs_controller.rb に、post_new アクションが定義されていませんよという意味だと思われる。)
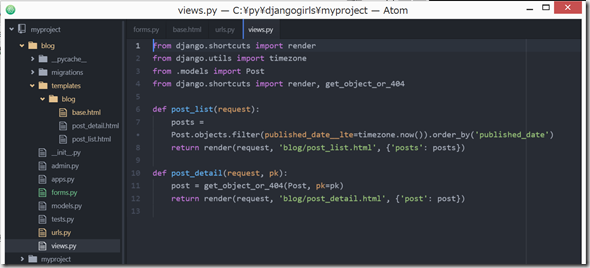
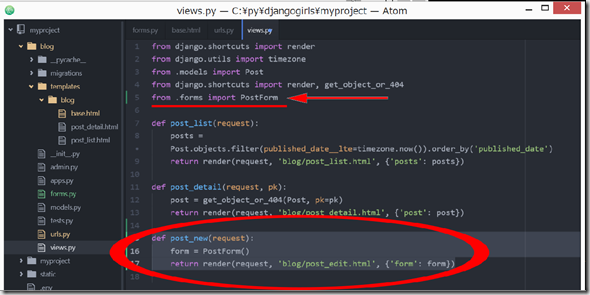
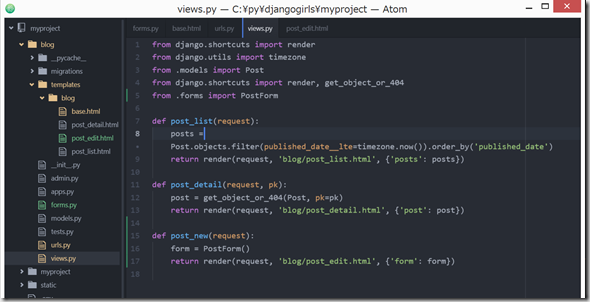
(4)blog/views.py の最初と最後に、以下を追加して保存。
from .forms import PostFormdef post_new(request):
form = PostForm()
return render(request, 'blog/post_edit.html', {'form': form})
[sourcecode language="python"]
def post_new(request):
form = PostForm()
return render(request, 'blog/post_edit.html’, {'form’: form})
[/sourcecode]
ブラウザで、http://127.0.0.1:8000
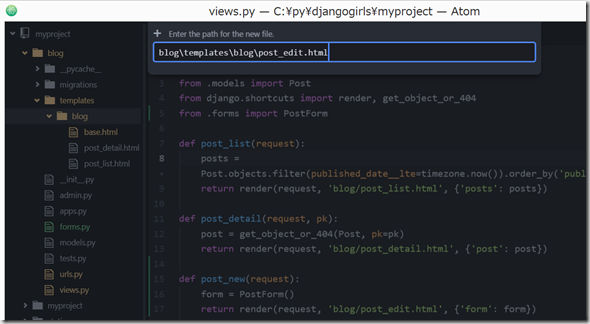
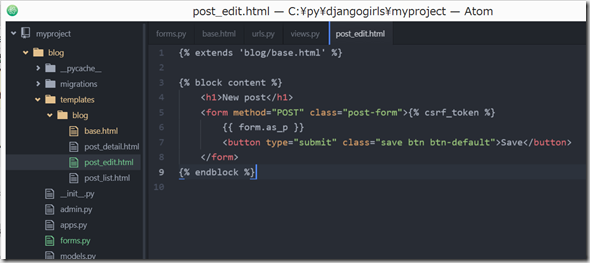
(4)blog/templates/blog フォルダに post_edit.html を作成
{% csrf_token %} を、<form method> の後にちゃんと記載するのがポイントらしい。
{% extends 'blog/base.html' %}

{% block content %}
    <h1>New post</h1>
    <form method="POST" class="post-form">{% csrf_token %}
        {{ form.as_p }}
        <button type="submit" class="save btn btn-default">Save</button>
    </form>
{% endblock %}
[sourcecode language="python"]
{% extends 'blog/base.html’ %}
{% block content %}
<h1>New post</h1>
<form method="POST" class="post-form">{% csrf_token %}
{{ form.as_p }}
<button type="submit" class="save btn btn-default">Save</button>
</form>
{% endblock %}
[/sourcecode]
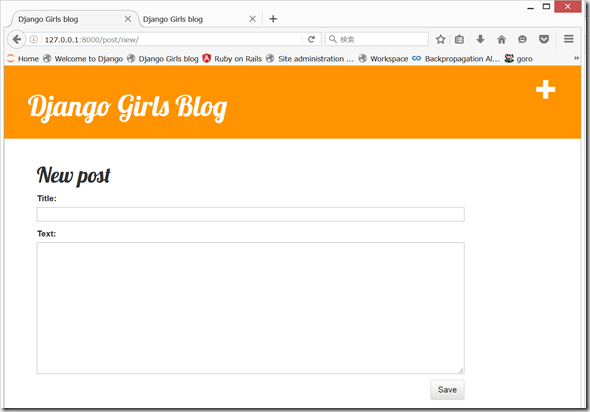
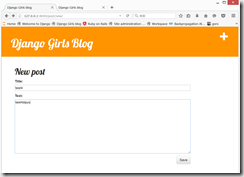
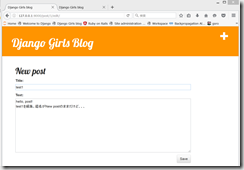
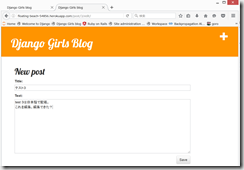
ブラウザで、http://127.0.0.1:8000/post/new/
この時点では、TitleとTextに何か入力して、Saveしても、何もおこらない。
(5)formをsaveする
Raisだと、blogs_controller.rbで、def new (GET) と、def create (POST)の2つのアクションで、データの新規作成を行っていたが、Djangoでは、blog/views.pyで、def post_new(request): の中で、
if request.method == "POST":
    [...]
else:
    form = PostForm()
と記載するらしい。
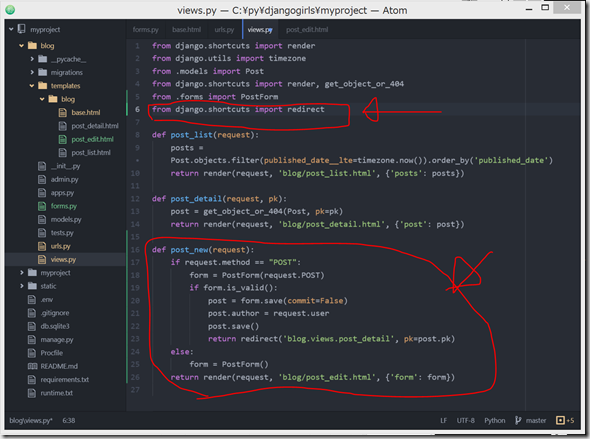
blog/views.py の、最初の方に、以下を追加。
from django.shortcuts import redirectさらに、def post_new(request): 以下を、このように変更。
def post_new(request):
    if request.method == "POST":
        form = PostForm(request.POST)
        if form.is_valid():
            post = form.save(commit=False)
            post.author = request.user
            post.save()
            return redirect('blog.views.post_detail', pk=post.pk)
    else:
        form = PostForm()
    return render(request, 'blog/post_edit.html', {'form': form})
[sourcecode language="python"]
def post_new(request):
if request.method == "POST":
form = PostForm(request.POST)
if form.is_valid():
post = form.save(commit=False)
post.author = request.user
post.save()
return redirect('blog.views.post_detail’, pk=post.pk)
else:
form = PostForm()
return render(request, 'blog/post_edit.html’, {'form’: form})
[/sourcecode]
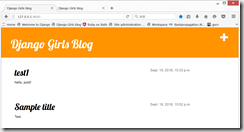
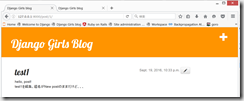
ブラウザで、http://127.0.0.1:8000/post/new/
新規Postは投稿されるが、公開設定にしないと、公開はされない。
(Admin以外で、公開設定する手段が今のところない)
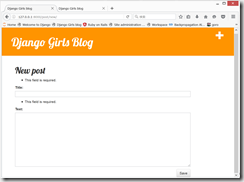
何も入力しないで Save だけクリックすると、バリデーションエラーが表示される。
ちなみに、https://djangogirlsjapan.gitbooks.io/workshop_tutorialjp/content/django_forms/によると、「ここでは現在、Djangoの管理画面と同様に、ログイン状態で操作しています。」だそうだ。むむ。。。
なお、Publish ボタンの設置や、Deleteについては、以下に英語で記載されている。やあはり、CRUD(Create, Read, Update, Delete)はできるようになっておきたいところ。いずれ、、、
https://github.com/DjangoGirls/tutorial-extensions/blob/master/homework/README.md
(6)フォームの編集(Edit)
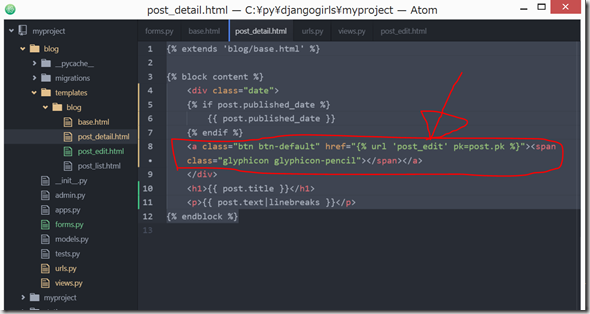
● blog/templates/blog/post_detail.html の post.published_date の記載部分の後に、以下を記載して保存。
<a class="btn btn-default" href="{% url 'post_edit' pk=post.pk %}"><span class="glyphicon glyphicon-pencil"></span></a>
[sourcecode language="python"]
<a class="btn btn-default" href="{% url 'post_edit’ pk=post.pk %}"><span class="glyphicon glyphicon-pencil"></span></a>
[/sourcecode]
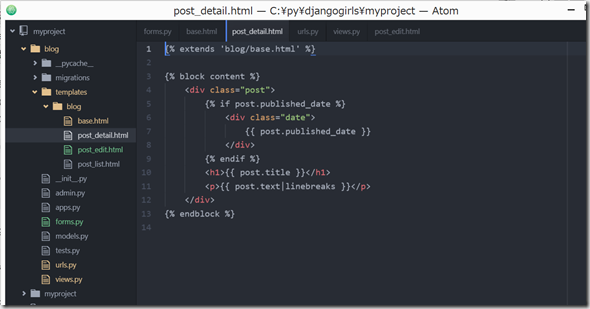
どこかで間違えたのが覚えていないが、最終的には、以下のようにするらしい。
{% extends 'blog/base.html' %}

{% block content %}
    <div class="date">
    {% if post.published_date %}
        {{ post.published_date }}
    {% endif %}
    <a class="btn btn-default" href="{% url 'post_edit' pk=post.pk %}"><span class="glyphicon glyphicon-pencil"></span></a>
    </div>
    <h1>{{ post.title }}</h1>
    <p>{{ post.text|linebreaks }}</p>
{% endblock %}
[sourcecode language="python"]
{% extends 'blog/base.html’ %}
{% block content %}
<div class="date">
{% if post.published_date %}
{{ post.published_date }}
{% endif %}
<a class="btn btn-default" href="{% url 'post_edit’ pk=post.pk %}"><span class="glyphicon glyphicon-pencil"></span></a>
</div>
<h1>{{ post.title }}</h1>
<p>{{ post.text|linebreaks }}</p>
{% endblock %}
[/sourcecode]
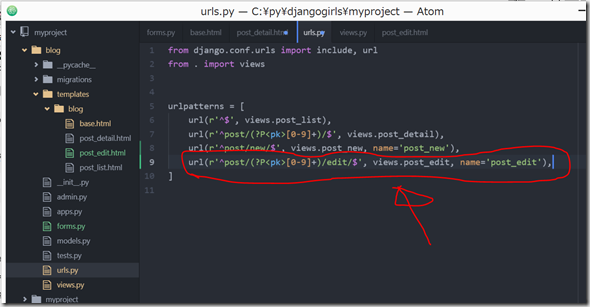
● blog/urls.py の、urlpatterns = [ ] に、次の行を追加。
url(r'^post/(?P<pk>[0-9]+)/edit/$', views.post_edit, name='post_edit'),
[sourcecode language="python"]
url(r’^post/(?P<pk>[0-9]+)/edit/$’, views.post_edit, name=’post_edit’),
[/sourcecode]
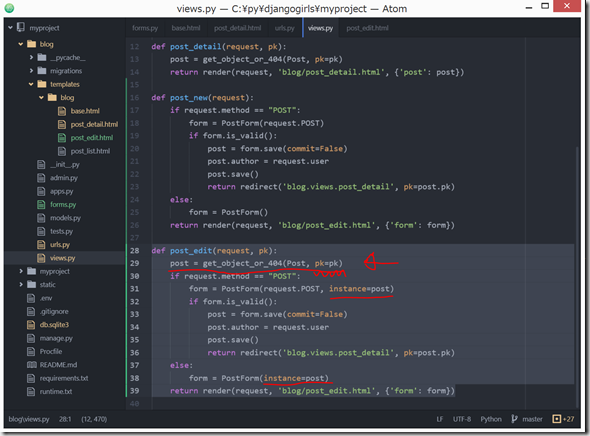
● blog/views.py の最後に、以下を追加。
def post_edit(request, pk):
    post = get_object_or_404(Post, pk=pk)
    if request.method == "POST":
        form = PostForm(request.POST, instance=post)
        if form.is_valid():
            post = form.save(commit=False)
            post.author = request.user
            post.save()
            return redirect('blog.views.post_detail', pk=post.pk)
    else:
        form = PostForm(instance=post)
    return render(request, 'blog/post_edit.html', {'form': form})
[sourcecode language="python"]
def post_edit(request, pk):
post = get_object_or_404(Post, pk=pk)
if request.method == "POST":
form = PostForm(request.POST, instance=post)
if form.is_valid():
post = form.save(commit=False)
post.author = request.user
post.save()
return redirect('blog.views.post_detail’, pk=post.pk)
else:
form = PostForm(instance=post)
return render(request, 'blog/post_edit.html’, {'form’: form})
[/sourcecode]
post_view とほとんど同じに見えるが、
<1>URLから pk パラメータを渡し、
<2>Post モデルを get_object_or_404(Post, pk=pk) で取得し、
<3>フォームを保存する際、この記事をインスタンスとしてフォームを作成。
ところが違うらしい。
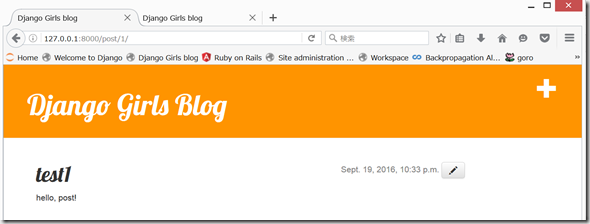
ブラウザで、http://127.0.0.1:8000/post/1/
たしかに編集はできるようになった。
Rails から入った私には、なんだかここら辺はややこしく感じるが、どうなんだろうか。。。RailsでいるStrongParametersに相当するものはどうなっているのかなあって思ったりするが、私にはわからない。
(参考)フレームワークに見る Web セキュリティ対策
Jxck_が2015/07/24に投稿(2015/08/17に編集)
http://qiita.com/Jxck_/items/ec8e928f69d099b25764
いわゆるMass Assignment対策は、Formsを利用することでなんとかなっているらしい。。。(なるほどわからん)
Mass Assignment – Security Part 10
09 AUGUST 2012 on django, django-nyc-security, forms, models, mozilla, security
https://coffeeonthekeyboard.com/mass-assignment-security-part-10-855/
(7)Herokuにデプロイ
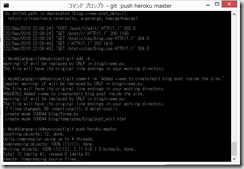
git add -A .
git commit -m “Added views to create/edit blog post inside the site."
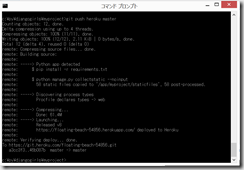
git push heroku master
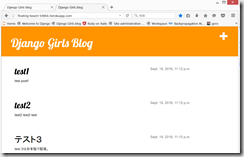
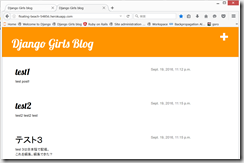
Herokuの自分のアドレスを確認。
私の場合は、今回は、
http://floating-beach-54856.herokuapp.com/
うまくいっているようである。
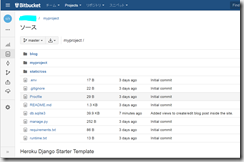
Bitbucketに登録。
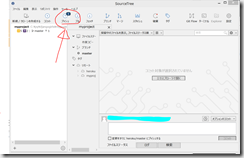
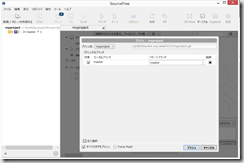
(既に、git addと、git commitはしてあるので、)Sourcetreeのプッシュボタンをクリック。
プッシュ先を、(私の場合は)myproject にして、プッシュ。
Bitbucketで確認。
これでいったん終了。しかし、deleteと、publishボタンの追加は、いずれしなければ、、、
https://github.com/DjangoGirls/tutorial-extensions/blob/master/homework/README.md





ディスカッション
コメント一覧
まだ、コメントがありません