DjangoGirlsTutorialをやってみる(12)publishボタンの作成
前回は、「個別記事の作成ページと編集ページの作成」(Railsでいう 「crate, new, edit」)について扱った。
http://twosquirrel.mints.ne.jp/?p=9877
2016/9/22時点のDjangogirlsの日本語のページ
https://djangogirlsjapan.gitbooks.io/workshop_tutorialjp/content/
についてやってみた。ここまでで、CRUD(create, read, update, delete)のうち、C, R, Uを経験することができあ。しかし、まだ、deleteができていない。Django Girls Tutorialの続きとして、英語ではあるが、
Homework: add more to your website!
https://github.com/DjangoGirls/tutorial-extensions/blob/master/homework/README.md
に、「Save new posts as drafts」と、「Delete post」の項目があったので、tryしてみる。
(環境)
Windows8.1
Anaconda4.1.1 (python 3.5.2)
Django1.9
Atom
(下準備)
cmd.exeを「管理者で実行」
cd c:/py/djangogirls/myproject
activate root
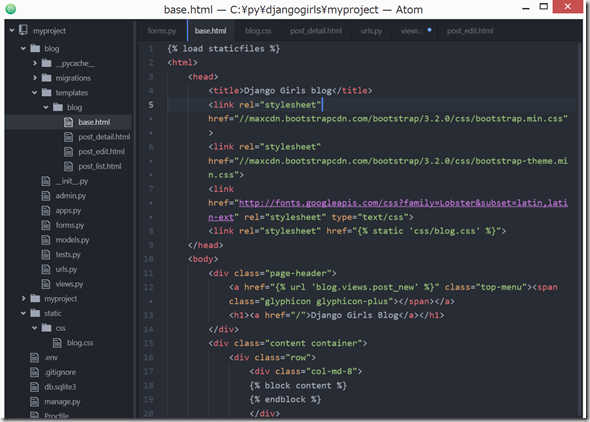
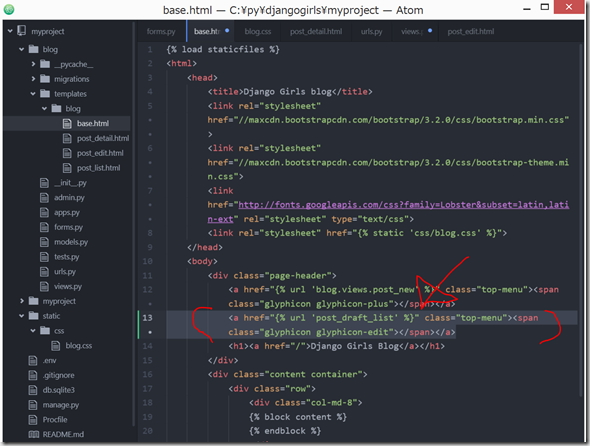
(1)blog/templates/blog/base.html の、<h1><a href="/">Django Girls Blog</a></h1> の上に、以下を記載して保存。
<a href="{% url 'post_draft_list' %}" class="top-menu"><span class="glyphicon glyphicon-edit"></span></a>
[sourcecode language="python" padlinenumbers="true"]
<a href="{% url 'post_draft_list’ %}" class="top-menu"><span class="glyphicon glyphicon-edit"></span></a>
[/sourcecode]
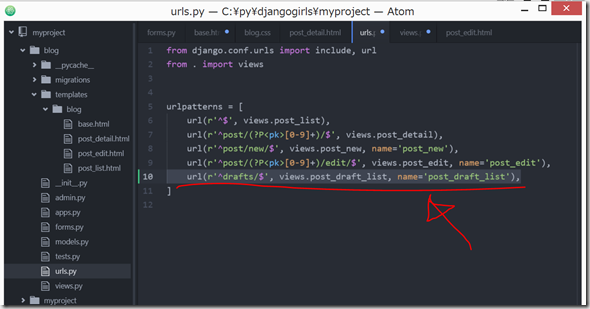
● blog/urls.py に、以下を追加。
url(r'^drafts/$', views.post_draft_list, name='post_draft_list'),
[sourcecode language="python"]
url(r’^drafts/$’, views.post_draft_list, name=’post_draft_list’),
[/sourcecode]
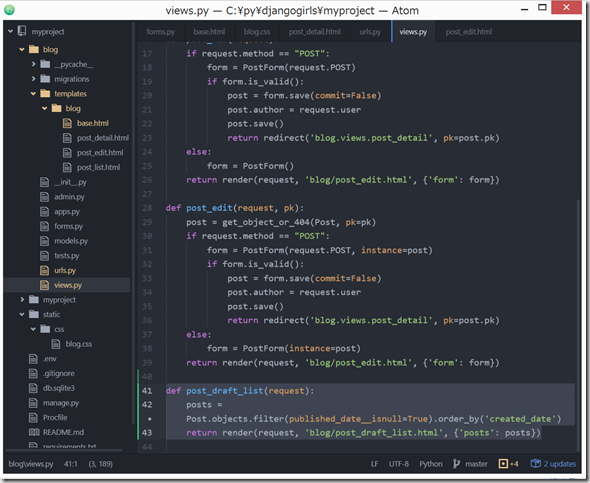
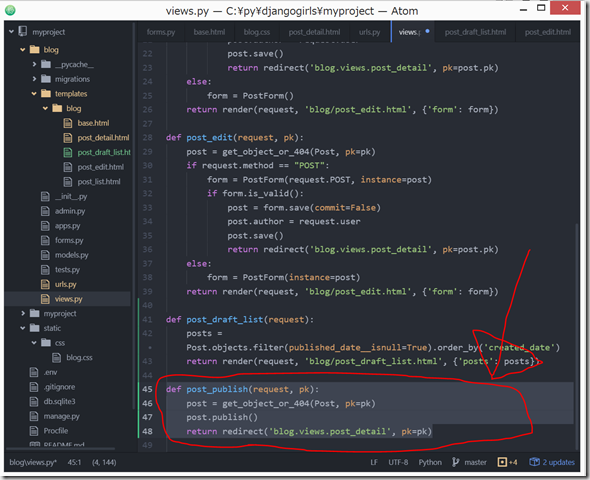
● blog/views.py に、以下を追加。
def post_draft_list(request):
    posts = Post.objects.filter(published_date__isnull=True).order_by('created_date')
    return render(request, 'blog/post_draft_list.html', {'posts': posts})
[sourcecode language="python"]
def post_draft_list(request):
posts = Post.objects.filter(published_date__isnull=True).order_by('created_date’)
return render(request, 'blog/post_draft_list.html’, {'posts’: posts})
[/sourcecode]
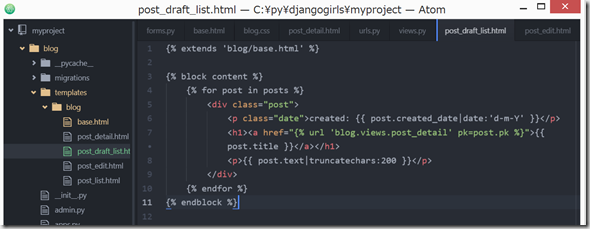
● blog/templates/blog/post_draft_list.html を作成し、以下を記載して保存。
{% extends 'blog/base.html' %}

{% block content %}
    {% for post in posts %}
        <div class="post">
            <p class="date">created: {{ post.created_date|date:'d-m-Y' }}</p>
            <h1><a href="{% url 'blog.views.post_detail' pk=post.pk %}">{{ post.title }}</a></h1>
            <p>{{ post.text|truncatechars:200 }}</p>
        </div>
    {% endfor %}
{% endblock %}
[sourcecode language="python"]
{% extends 'blog/base.html’ %}
{% block content %}
{% for post in posts %}
<div class="post">
<p class="date">created: {{ post.created_date|date:’d-m-Y’ }}</p>
<h1><a href="{% url 'blog.views.post_detail’ pk=post.pk %}">{{ post.title }}</a></h1>
<p>{{ post.text|truncatechars:200 }}</p>
</div>
{% endfor %}
{% endblock %}
[/sourcecode]
(2)publish ボタンの追加
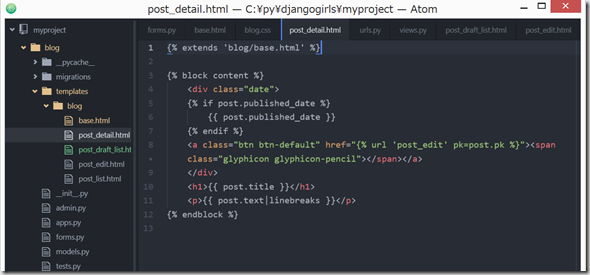
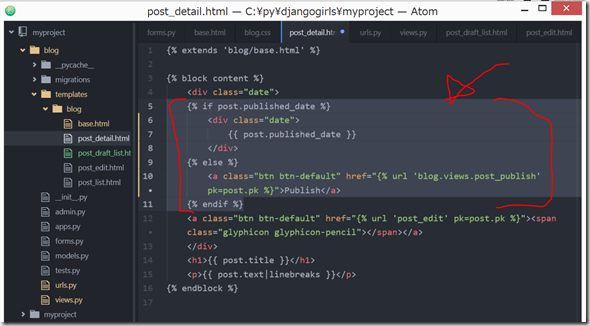
blog/template/blog/post_detail.html の一部を、以下のように変更。
{% if post.published_date %}
    <div class="date">
        {{ post.published_date }}
    </div>
{% else %}
    <a class="btn btn-default" href="{% url 'blog.views.post_publish' pk=post.pk %}">Publish</a>
{% endif %}
[sourcecode language="python"]
{% if post.published_date %}
<div class="date">
{{ post.published_date }}
</div>
{% else %}
<a class="btn btn-default" href="{% url 'blog.views.post_publish’ pk=post.pk %}">Publish</a>
{% endif %}
[/sourcecode]
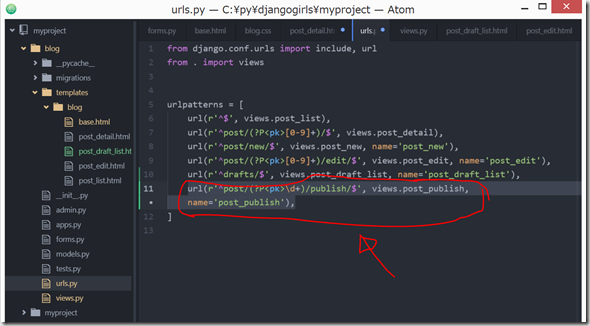
● blog/urls.py
url(r'^post/(?P<pk>\d+)/publish/$', views.post_publish, name='post_publish'),
[sourcecode language="python"]
url(r’^post/(?P<pk>\d+)/publish/$’, views.post_publish, name=’post_publish’),
[/sourcecode]
● blog/views.py
def post_publish(request, pk):
    post = get_object_or_404(Post, pk=pk)
    post.publish()
    return redirect('blog.views.post_detail', pk=pk)
[sourcecode language="python"]
def post_publish(request, pk):
post = get_object_or_404(Post, pk=pk)
post.publish()
return redirect('blog.views.post_detail’, pk=pk)
[/sourcecode]
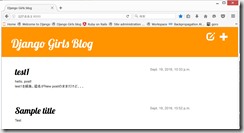
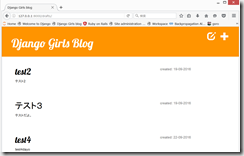
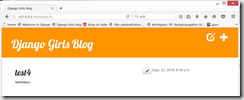
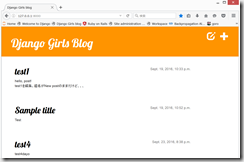
cmd.exe で、python manage.py runserver して、
ブラウザで、http://127.0.0.1:8000/
公開設定する手段ができた。
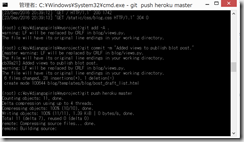
(3)Herokuにデプロイ
git add -A .
git commit -m “Added views to publish blog post.”
git push heroku master
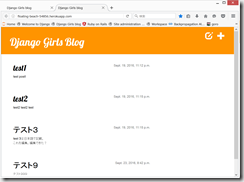
Herokuの自分のアドレスを確認。
私の場合は、今回は、
http://floating-beach-54856.herokuapp.com/
Bitbucketに登録
長くなったので、「Delete post」は次回で、、、
https://github.com/DjangoGirls/tutorial-extensions/blob/master/homework/README.md



ディスカッション
コメント一覧
まだ、コメントがありません