DjangoGirlsTutorialをやってみる(5)urlとview
前回は、Herokuにデプロイするところまで行った。
http://twosquirrel.mints.ne.jp/?p=9534
今回は、https://djangogirlsjapan.gitbooks.io/workshop_tutorialjp/content/django_urls/ をtryしてみる。
(環境)
Windows8.1
Anaconda4.1.1 (python 3.5.2)
(下準備)
cmd.exeを「管理者で実行」
cd c:/py/djangogirls/myproject
activate root
(1)myproject/myprject/urls.py を変更、
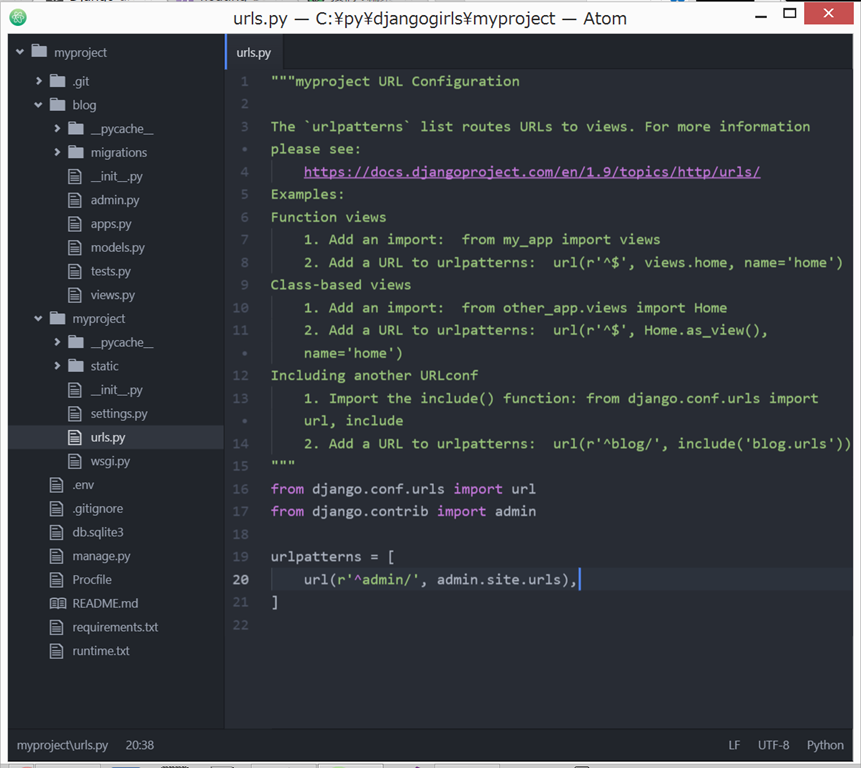
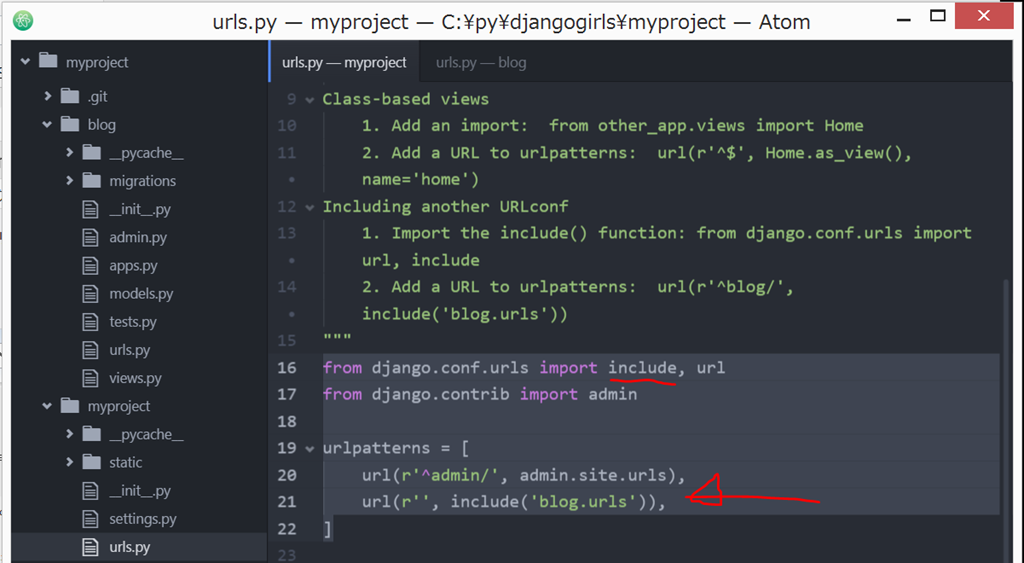
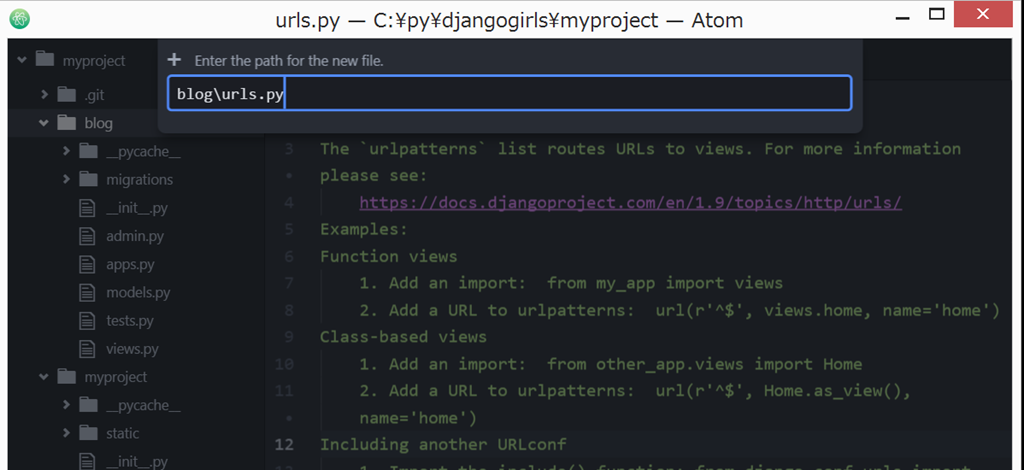
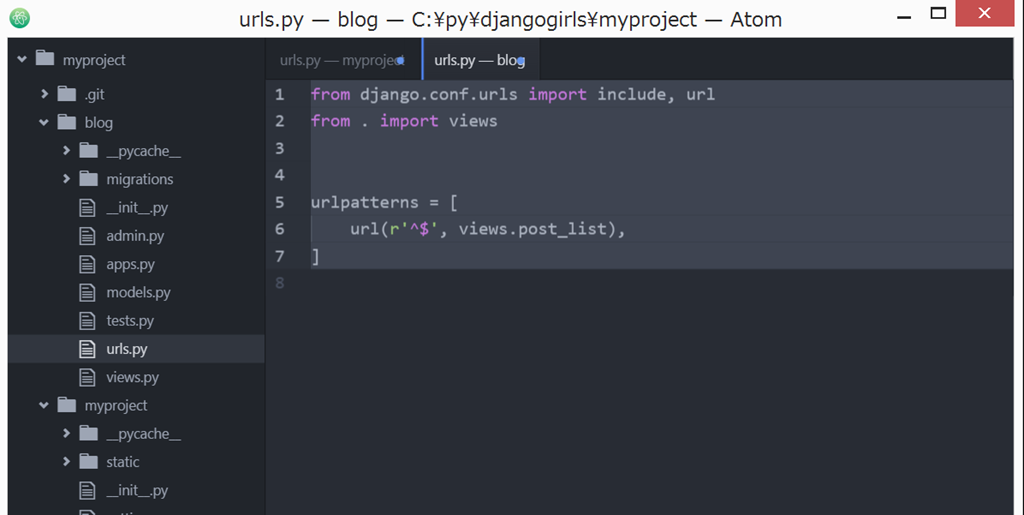
(2)myproject/blog/ 下に、urls.py を作成
from django.conf.urls import include, url from . import views
from django.conf.urls import include, url
from . import views
urlpatterns = [
url(r’^$’, views.post_list),
]
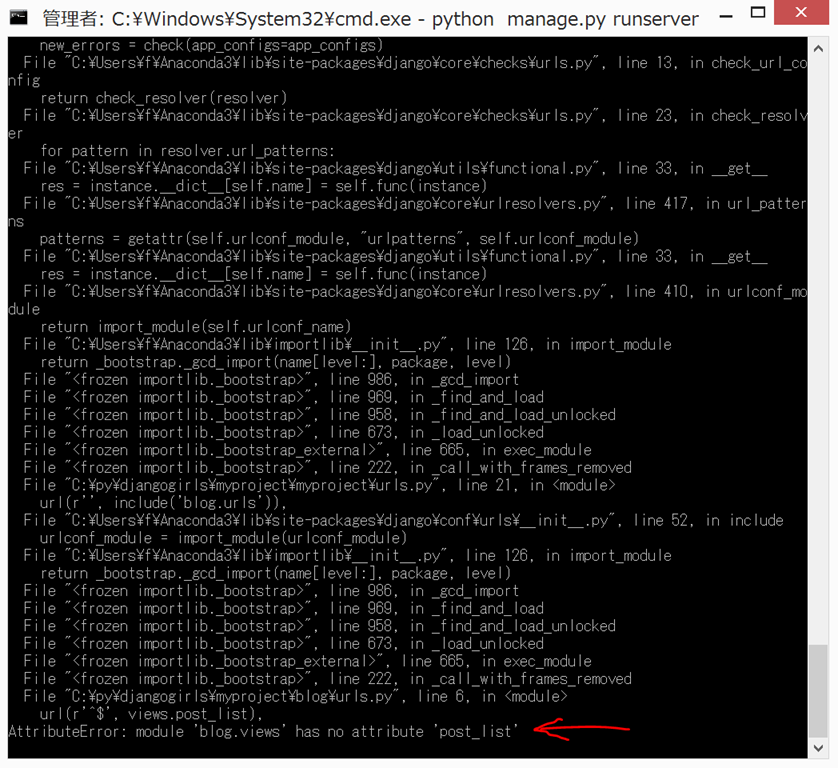
(3)python manage.py runserver
してから、ブラウザで、127.0.0.1:8000/ を開く。
がっくしだが、cmd.exe に出てくるエラーは、
https://djangogirlsjapan.gitbooks.io/workshop_tutorialjp/content/django_urls/
に記載されているエラーページと同内容のよう。
(4)blog/views.py を変更。
def post_list(request):

    return render(request, 'blog/post_list.html', {})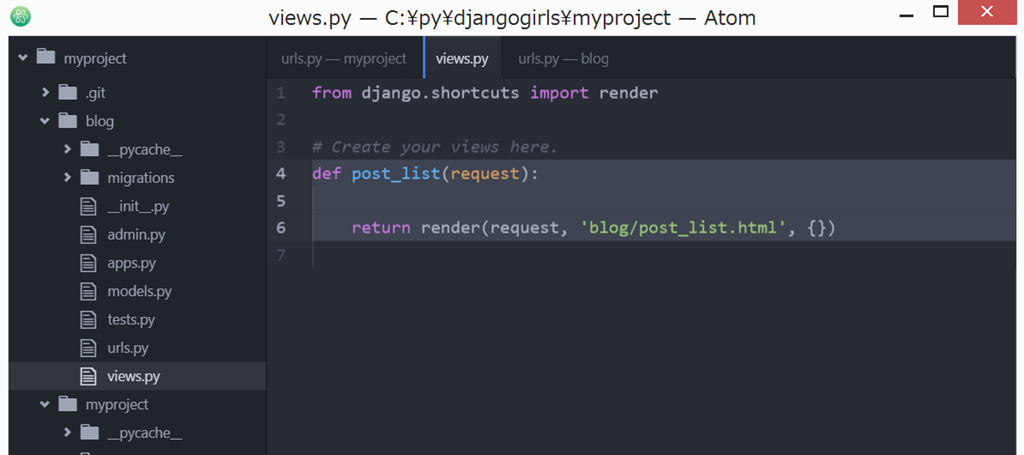
この後、127.0.0.1:8000 を開くと、以下のようなエラーページ
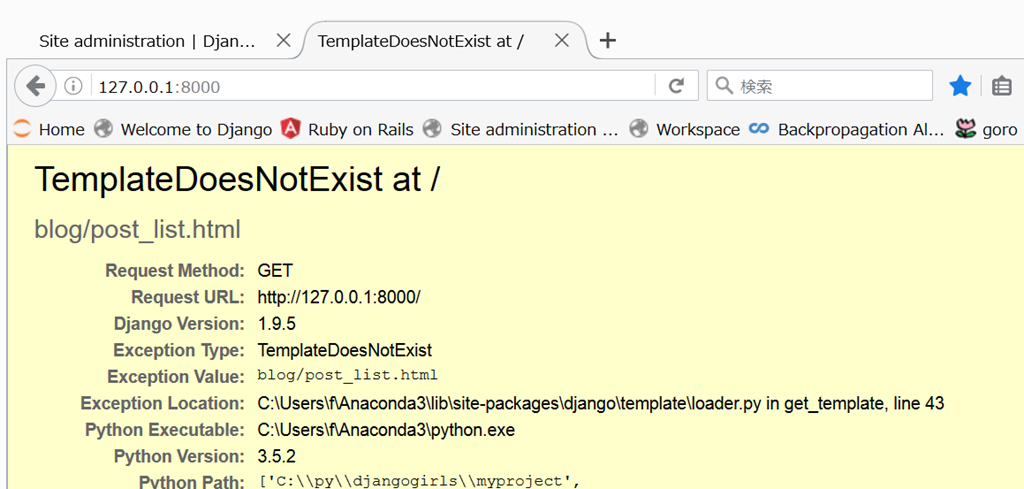
templateを作ればよいことが分かる。
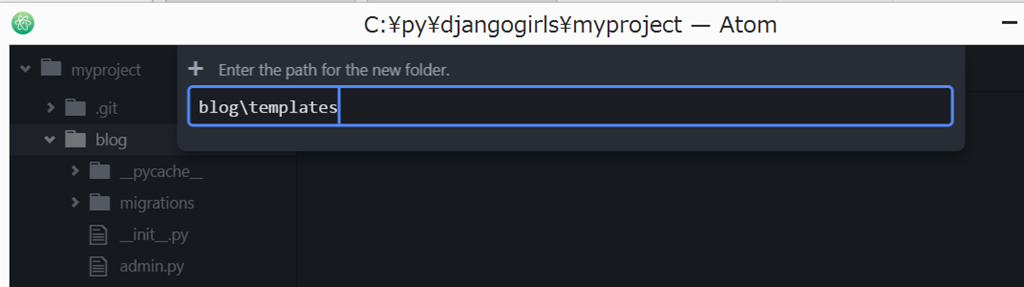
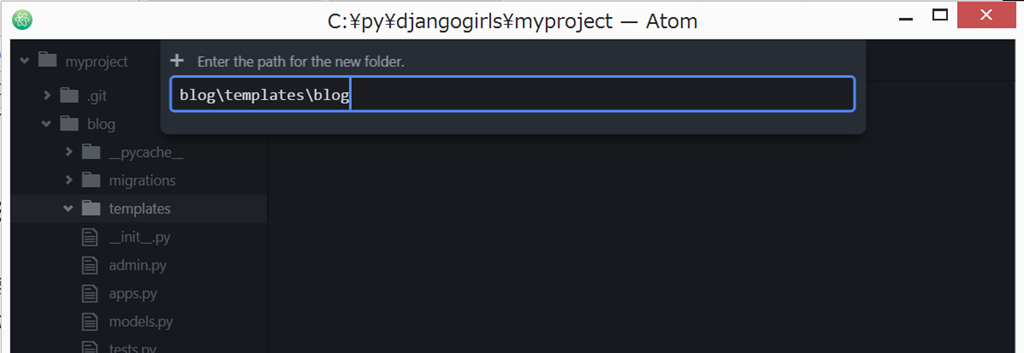
(5)blog/ フォルダに、templates フォルダを作成し、さらにその下に、blog フォルダを作成する。
blog/templates/blog フォルダの中に、post_list.html ファイルを作成。
cmd.exeで、一度、Ctrl + C でサーバを止めてから、再度、
python manage.py runserver
して、ブラウザで、127.0.0.1:8000 を開くと、まあ、真っ白だけど、エラーは出なくなった。
(6)post_list.html を以下のように変更。
<html>
    <head>
        <title>Ola's blog</title>
    </head>
    <body>
        <p>Hi there!</p>
        <p>It works!</p>
    </body>
</html>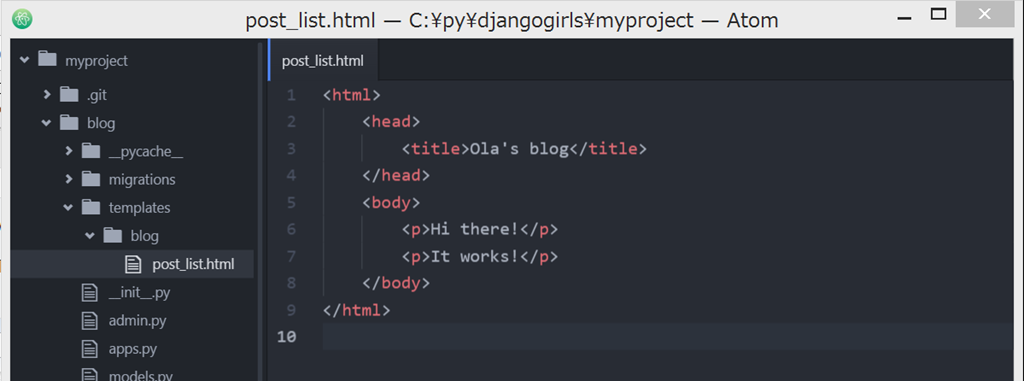
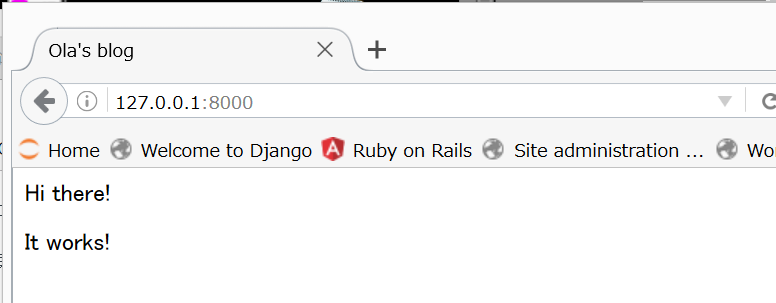
ブラウザで、127.0.0.1:8000
(7)post_list.html を以下のように変更。
<html>
    <head>
        <title>Django Girls blog</title>
    </head>
    <body>
        <div>
            <h1><a href="">Django Girls Blog</a></h1>
        </div>

        <div>
            <p>published: 14.06.2014, 12:14</p>
            <h2><a href="">My first post</a></h2>
            <p>Aenean eu leo quam. Pellentesque ornare sem lacinia quam venenatis vestibulum. Donec id elit non mi porta gravida at eget metus. Fusce dapibus, tellus ac cursus commodo, tortor mauris condimentum nibh, ut fermentum massa justo sit amet risus.</p>
        </div>

        <div>
            <p>published: 14.06.2014, 12:14</p>
            <h2><a href="">My second post</a></h2>
            <p>Aenean eu leo quam. Pellentesque ornare sem lacinia quam venenatis vestibulum. Donec id elit non mi porta gravida at eget metus. Fusce dapibus, tellus ac cursus commodo, tortor mauris condimentum nibh, ut f.</p>
        </div>
    </body>
</html>
cmd.exe で、Ctrl + C で、サーバを停止しておく。
(8)Herokuにデプロイ
cmd.exe で、以下のように入力。
$ git status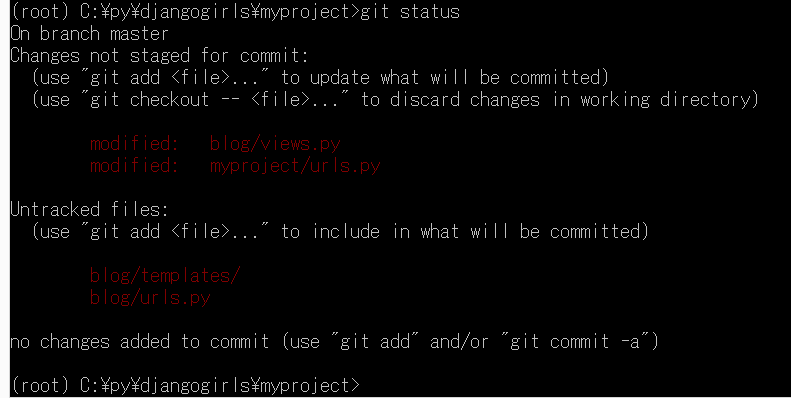
$ git add -A .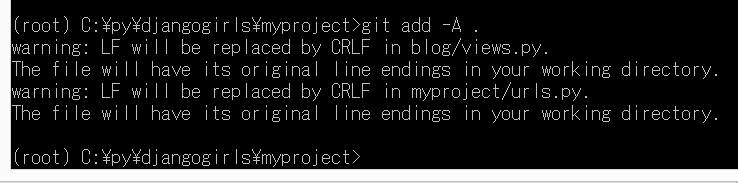
$ git commit -m "Changed the HTML for the site."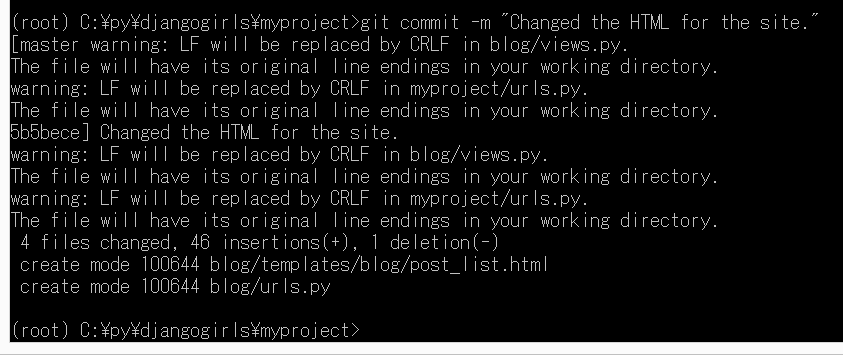
git push heroku master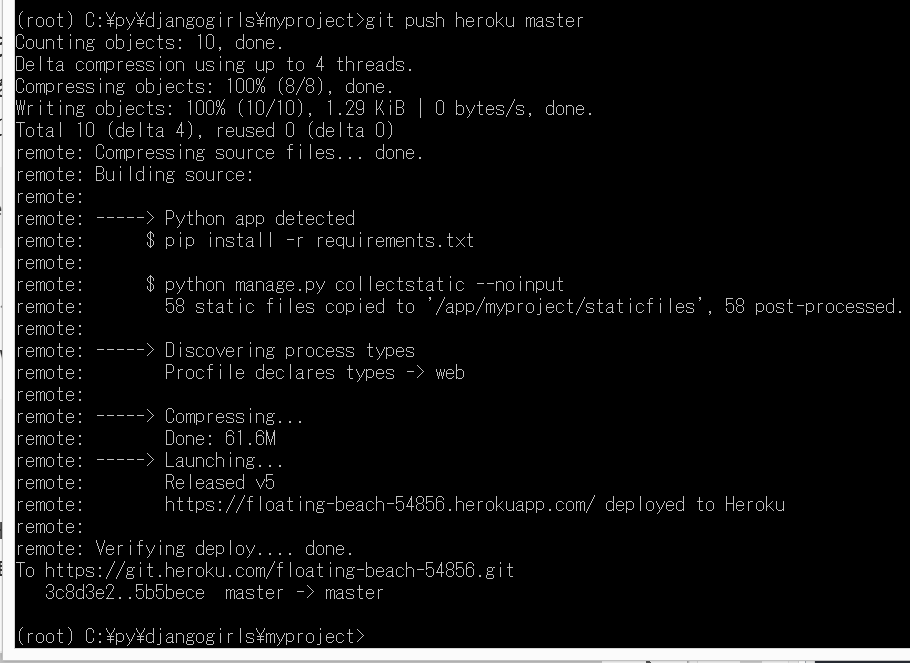
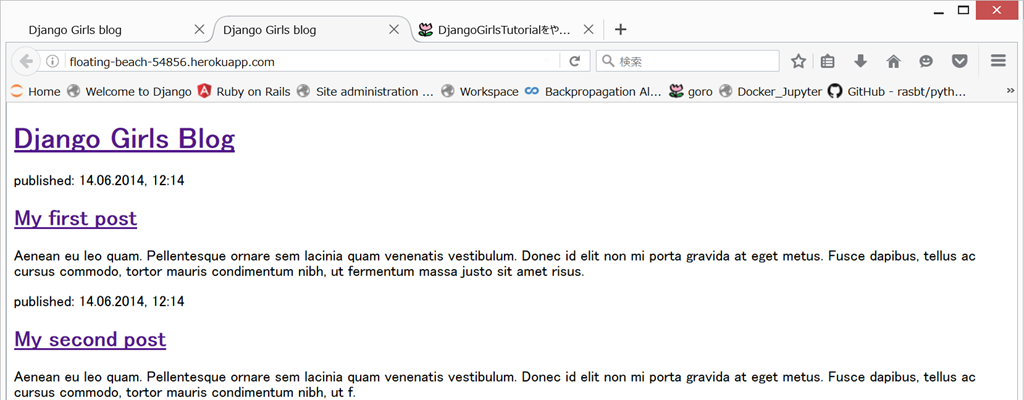
自分のHerokuのサイトを開く。(今回は、http://floating-beach-54856.herokuapp.com/ )
今回はここまで。続きは後日。。。