An Introduction to Elm日本語訳を写経してみる(1)
Elm公式ガイド
https://guide.elm-lang.org/
の、日本語訳を読んで、写経してみたいと思います。
Elm公式ガイド 日本語訳
https://guide.elm-lang.jp/
今回は、Text fileds
https://guide.elm-lang.jp/architecture/text_fields.html
を写経してみたいと思います。
『テキストを入力すると、さかさまにして表示するアプリ』を作成します。
写経元サイトのコード
https://github.com/evancz/elm-architecture-tutorial/blob/master/examples/02-field.elm
開発環境
Windows 10 Pro
Chrome
VisualStudioCode 1.32.3
git version 2.20.1.windows.1
nvm 1.1.7
node 10.2.0
npm 6.4.1
elm 0.19.0-bugfix6
elm-format 0.8.1
VisualStudioCodeの拡張機能でelmをインストールして、settings.jsonに以下のようにelmを設定。
(『Alt + Shift + F』と『Ctrl + S』を使用。)
    "[elm]": {
        "editor.formatOnSave": true
    },
create-elm-app 3.0.6
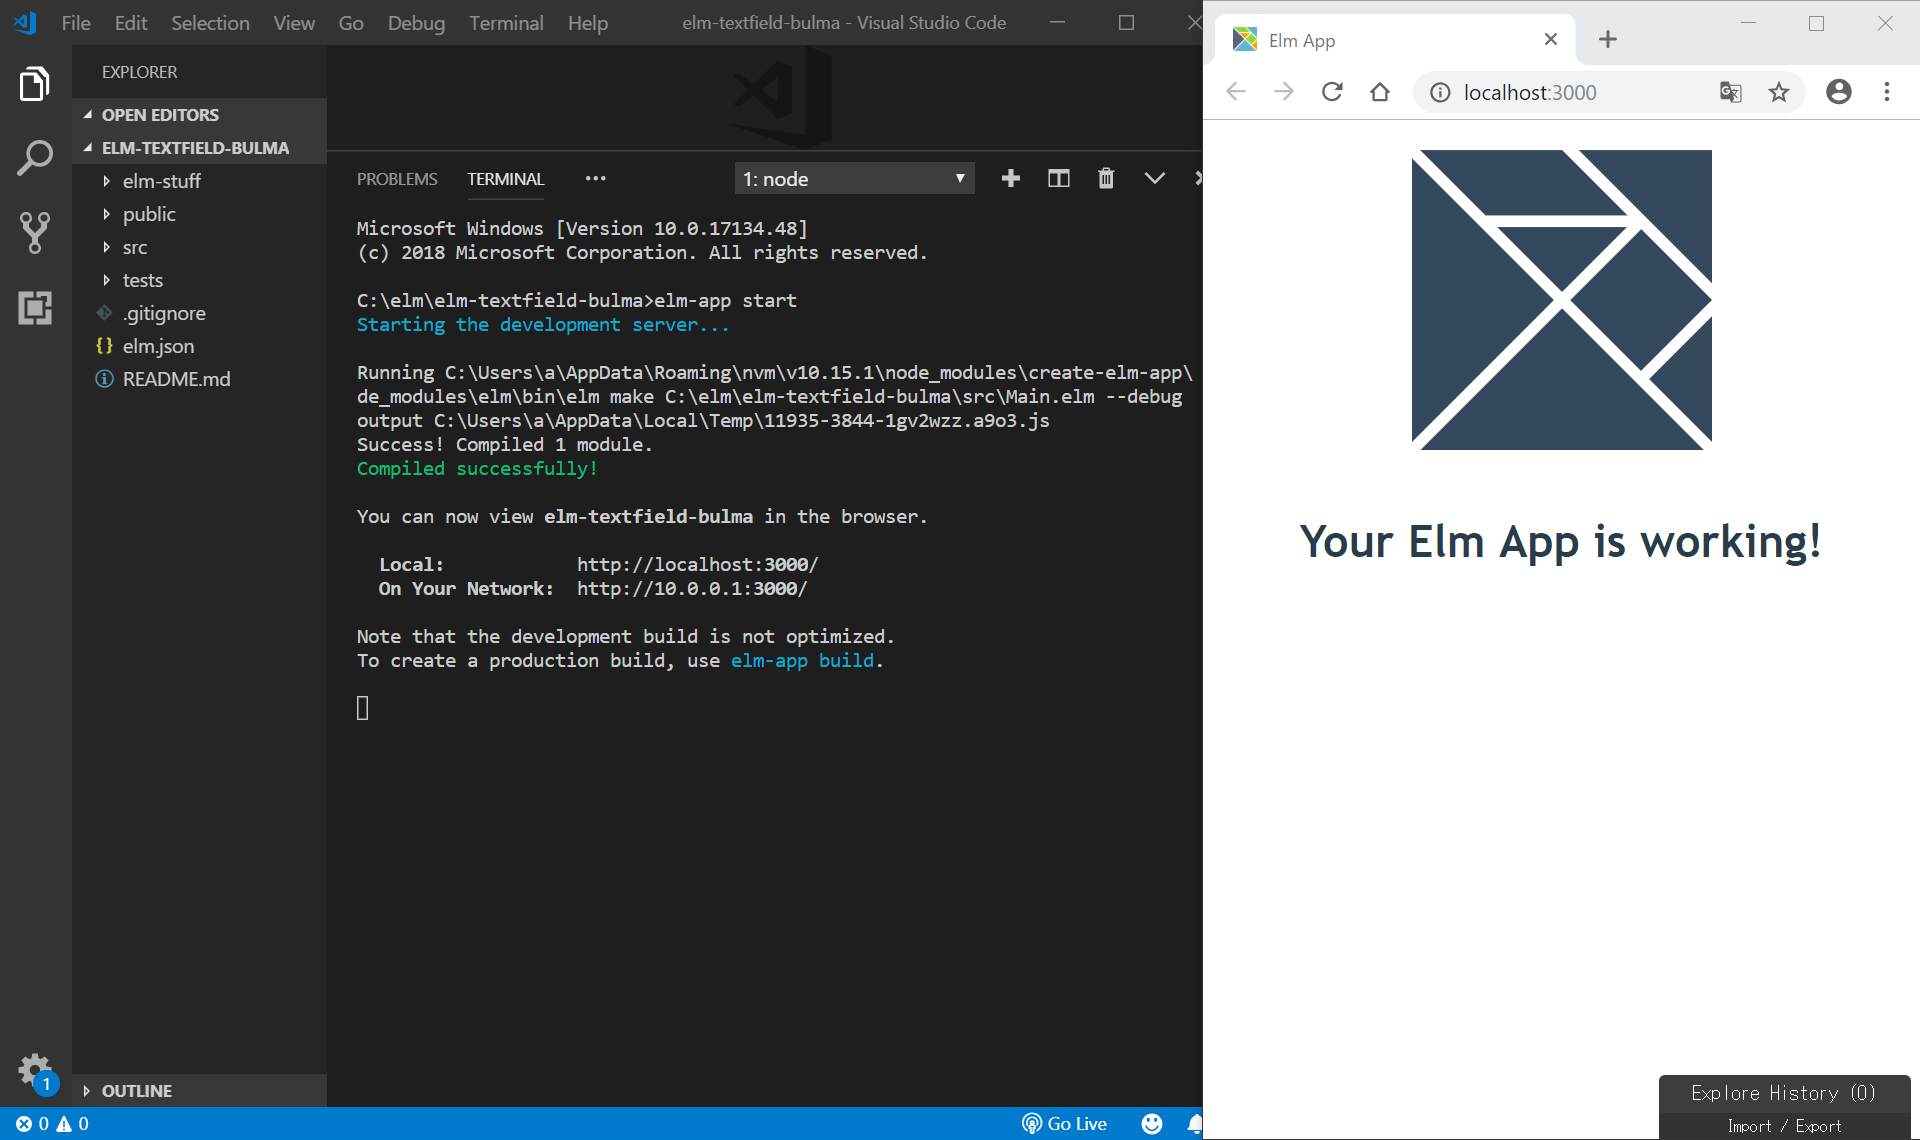
新規create-elm-appの作成
C:/elm/ をVisualStudioCodeで開き、Ctrl+@ でコマンドプロンプトを開き、以下を入力。
create-elm-app elm-counter-bulma
cd elm-counter-bulma
elm-app start
public/htmlの編集
public/index.htmlの<head></head>内に、bulmaとFontAwesome5のCDNを記載して、使用できるようにします。
参考: https://bulma.io/documentation/overview/start/
<link rel="stylesheet" href="https://cdnjs.cloudflare.com/ajax/libs/bulma/0.7.4/css/bulma.min.css">
<script defer src="https://use.fontawesome.com/releases/v5.3.1/js/all.js"></script>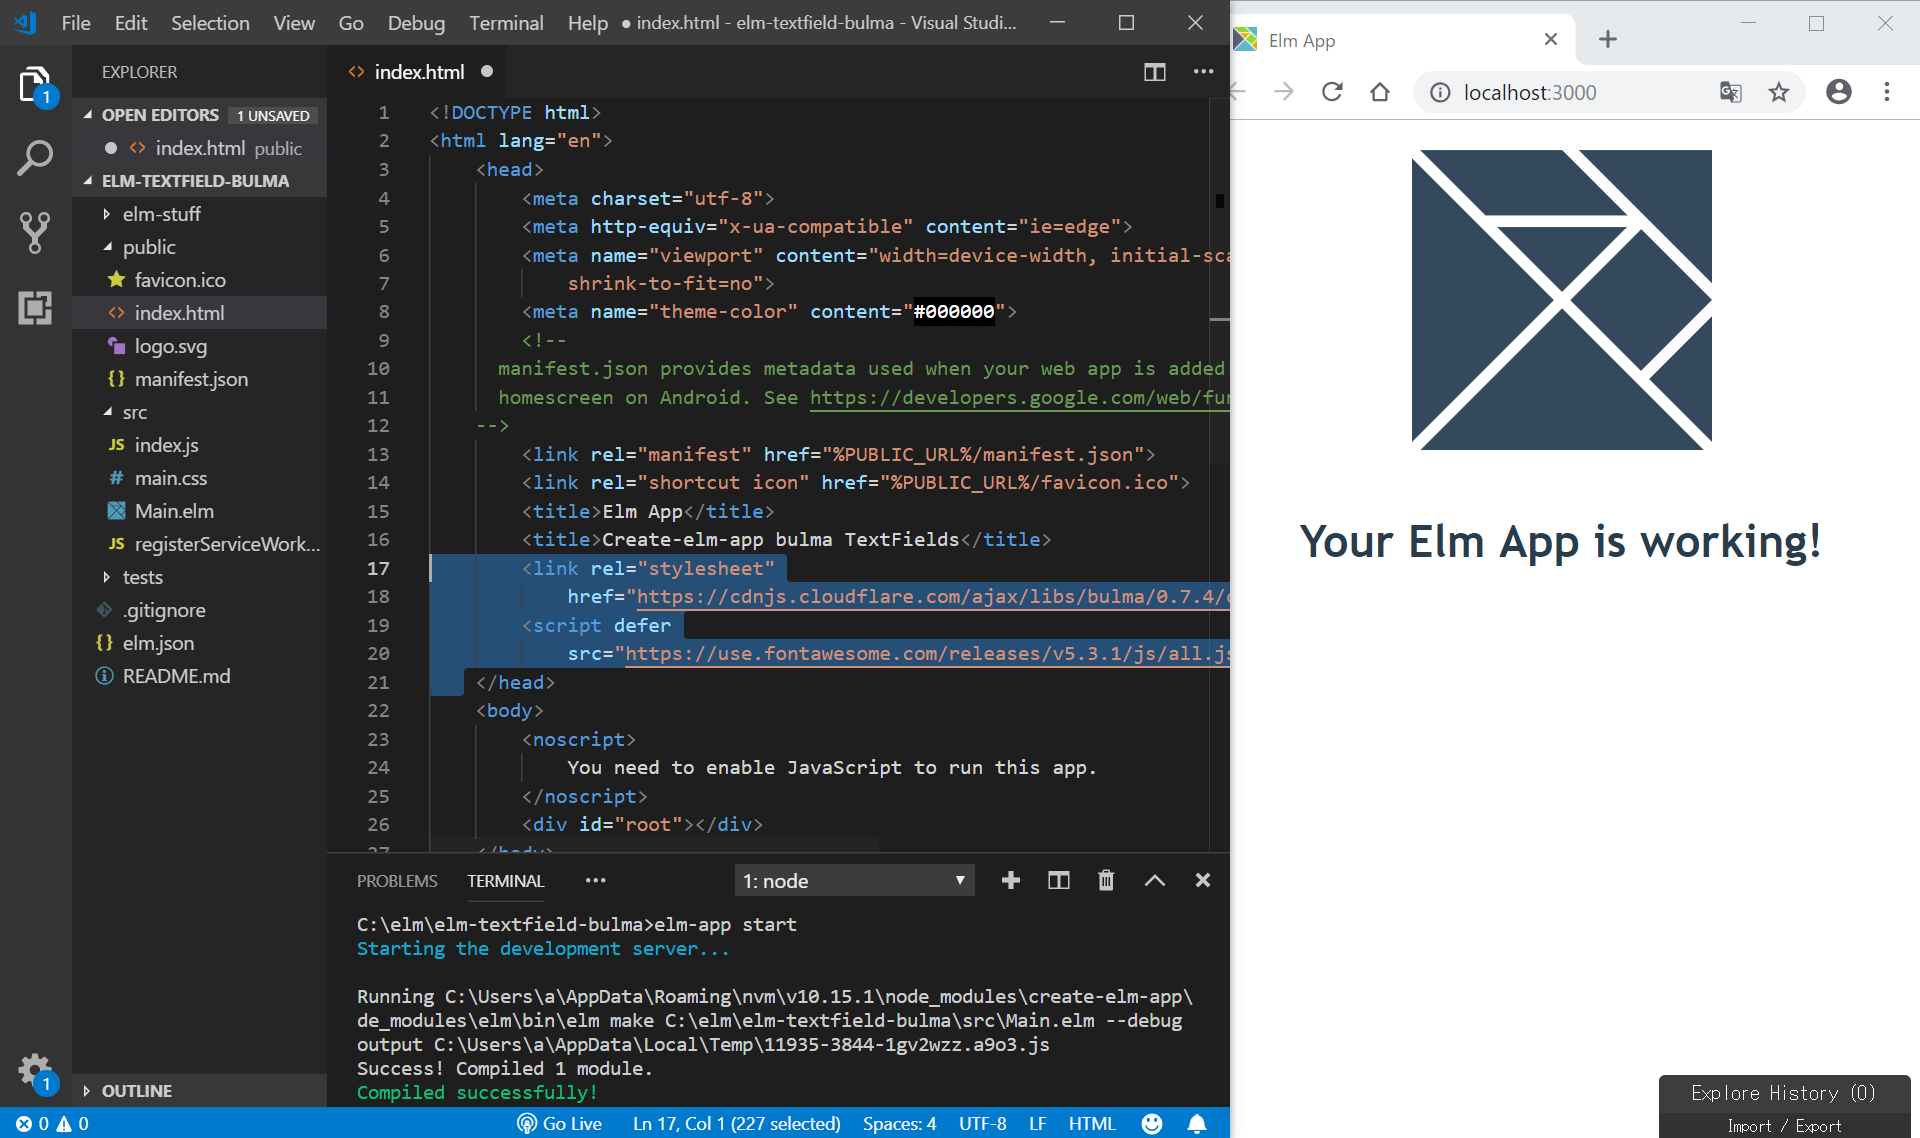
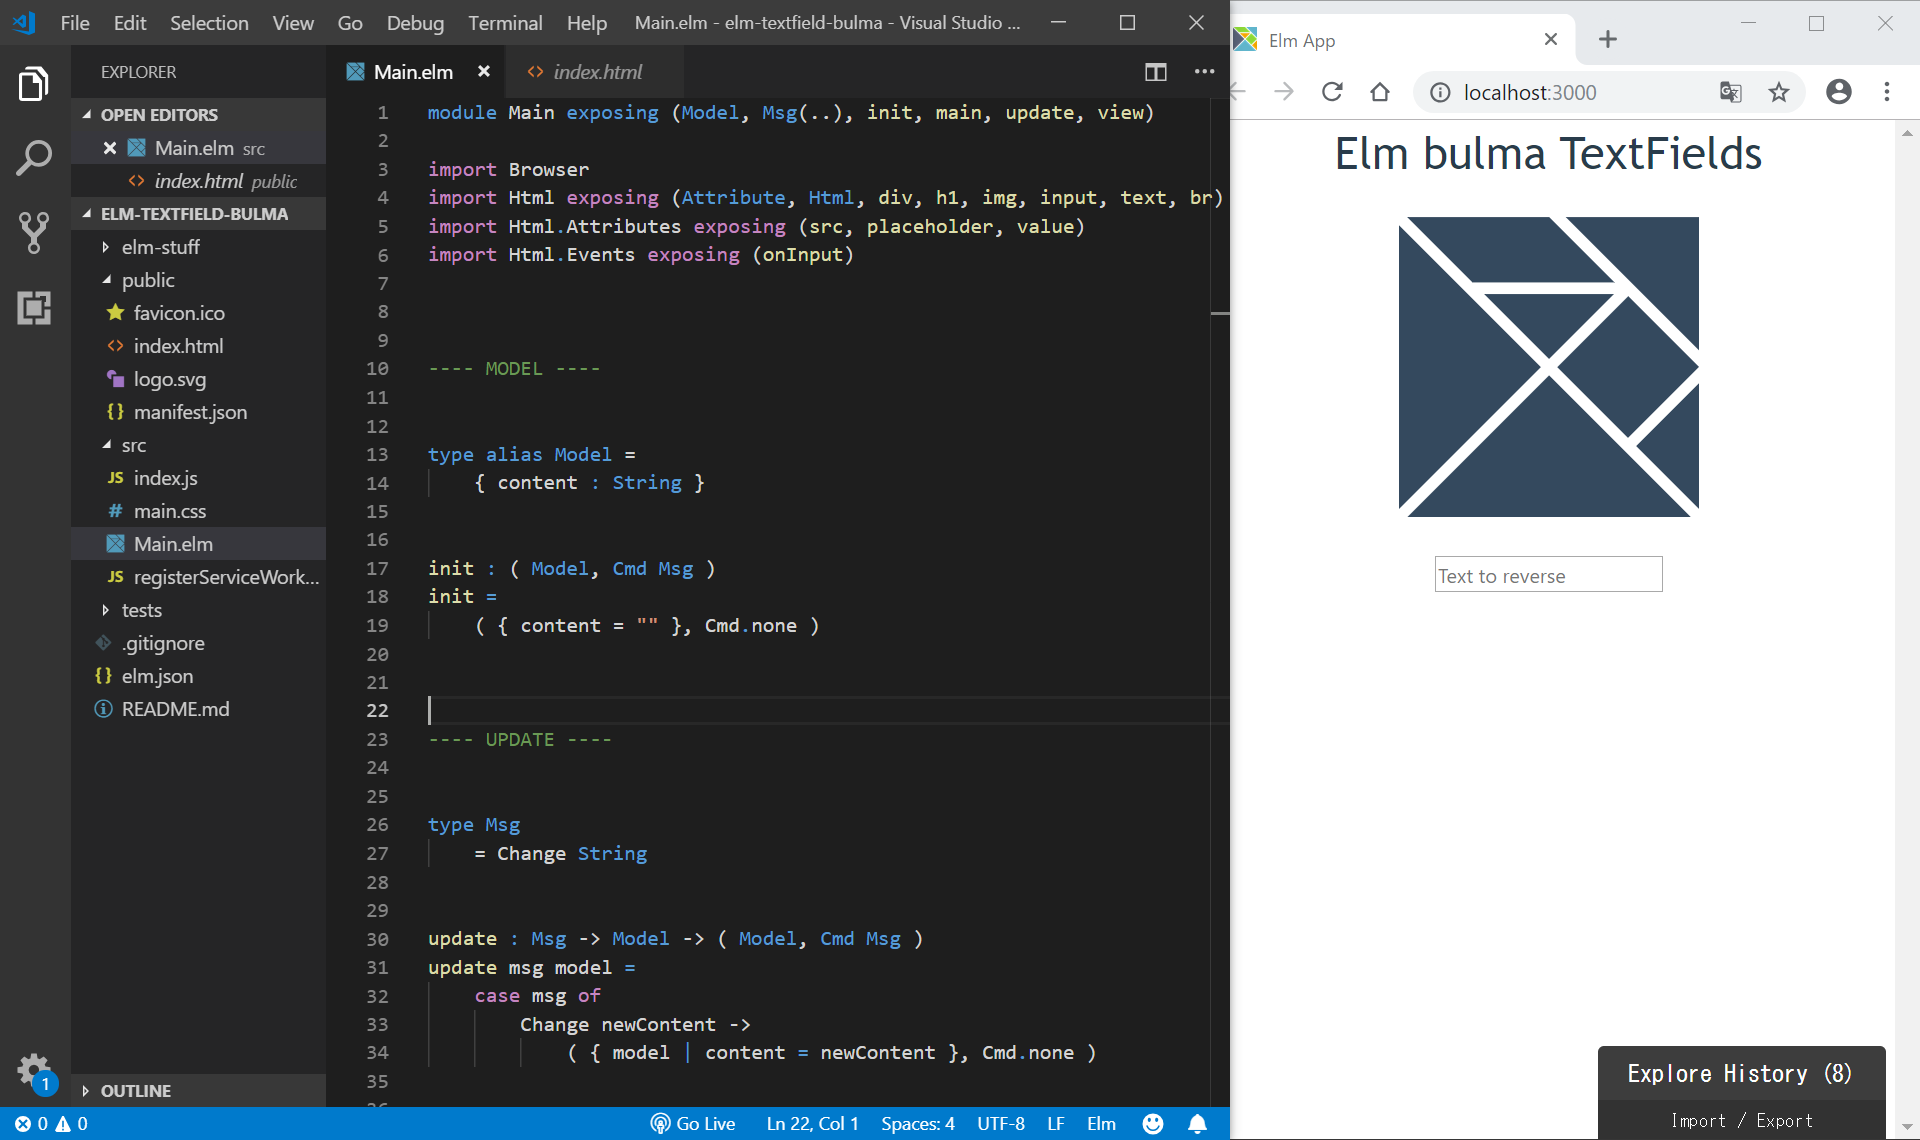
src/Main.elmの編集
以下のコードの一部を写経します。
https://guide.elm-lang.jp/architecture/text_fields.html
import文
import Html exposing (Attribute, Html, div, h1, img, input, text, br)
import Html.Attributes exposing (src, placeholder, value)
import Html.Events exposing (onInput)
MODEL
---- MODEL ----


type alias Model =
    { content : String }


init : ( Model, Cmd Msg )
init =
    ( { content = "" }, Cmd.none )
UPDATE
---- UPDATE ----


type Msg
    = Change String


update : Msg -> Model -> ( Model, Cmd Msg )
update msg model =
    case msg of
        Change newContent ->
            ( { model | content = newContent }, Cmd.none )
VIEW
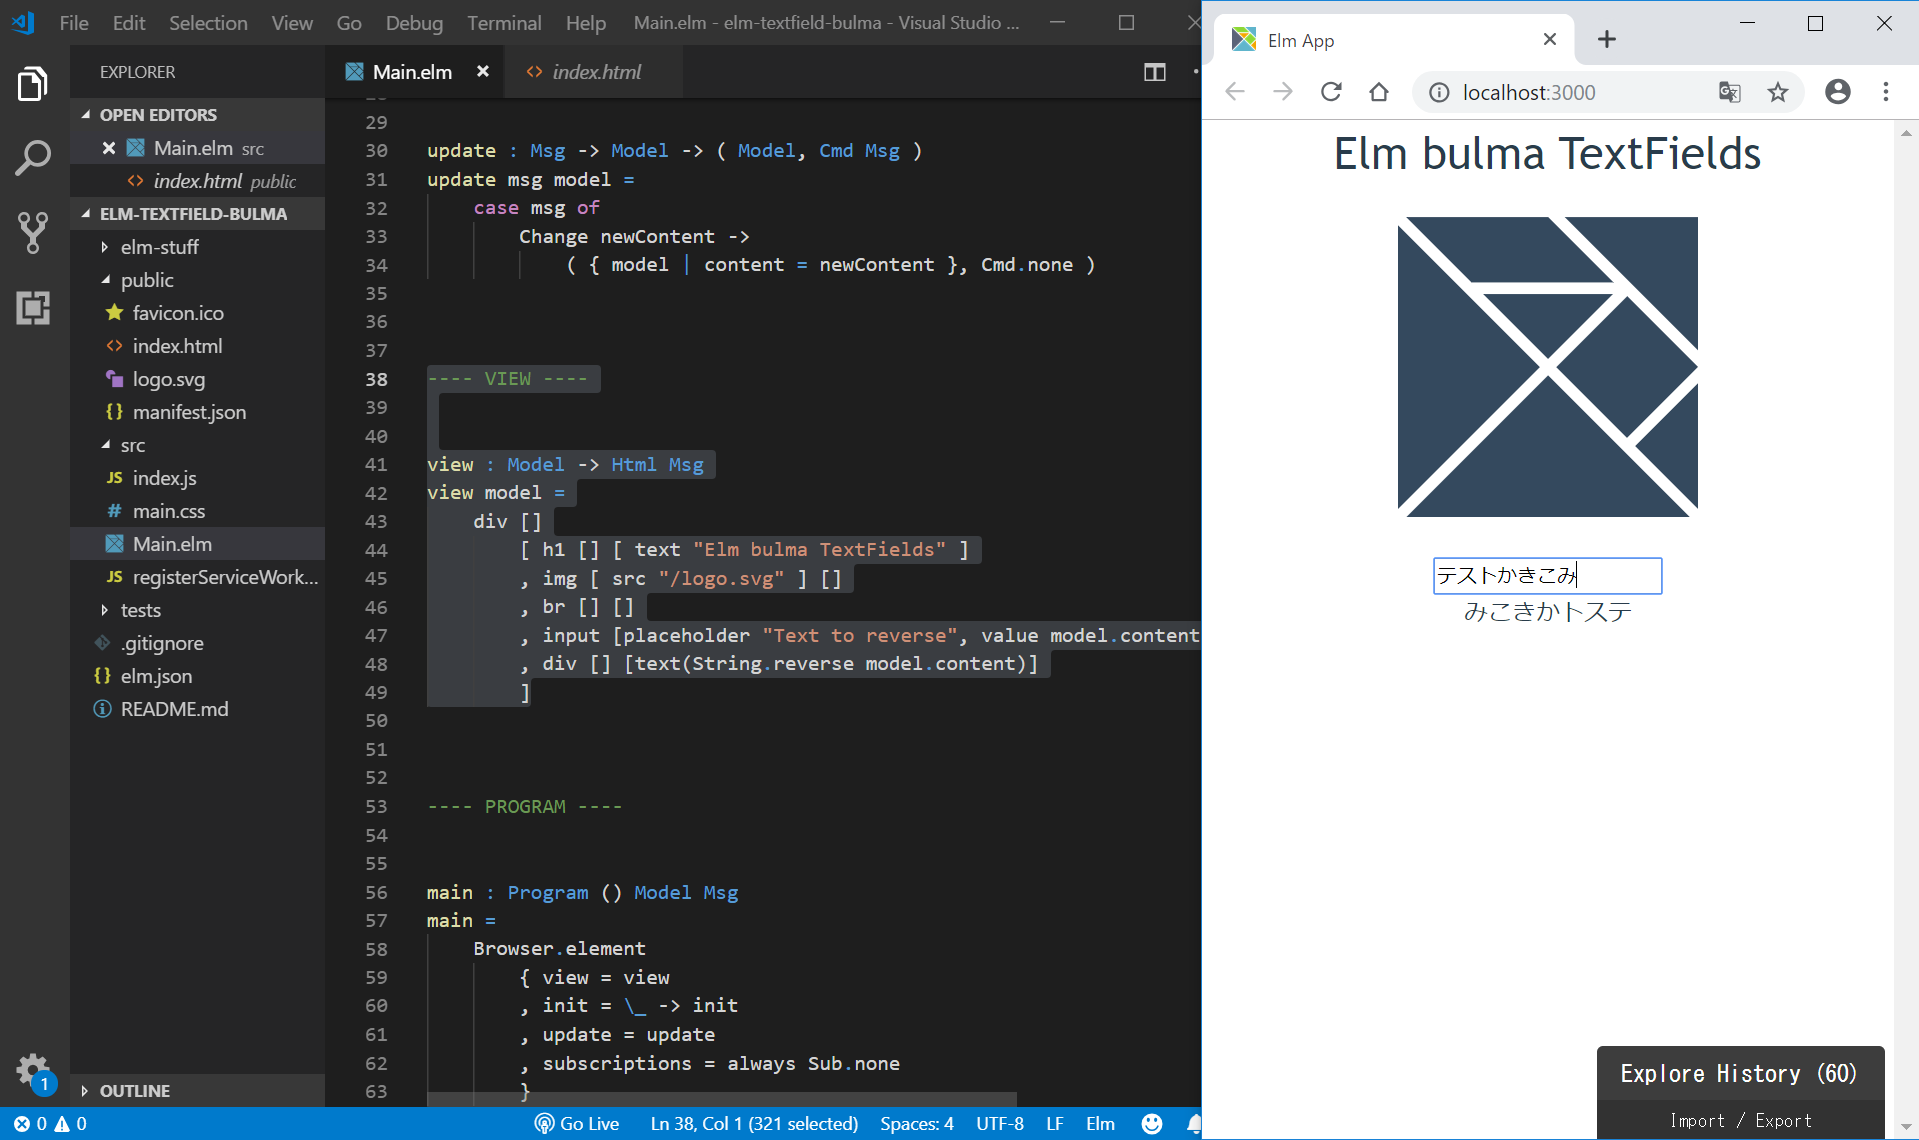
---- VIEW ----


view : Model -> Html Msg
view model =
    div []
        [ h1 [] [ text "Elm bulma TextFields" ]
        , img [ src "/logo.svg" ] []
        , br [] []
        , input [placeholder "Text to reverse", value model.content, onInput Change] []
        , div [] [text(String.reverse model.content)]
        ]
テキストを入力すると、すぐ下にreverseされた単語が表示されます。
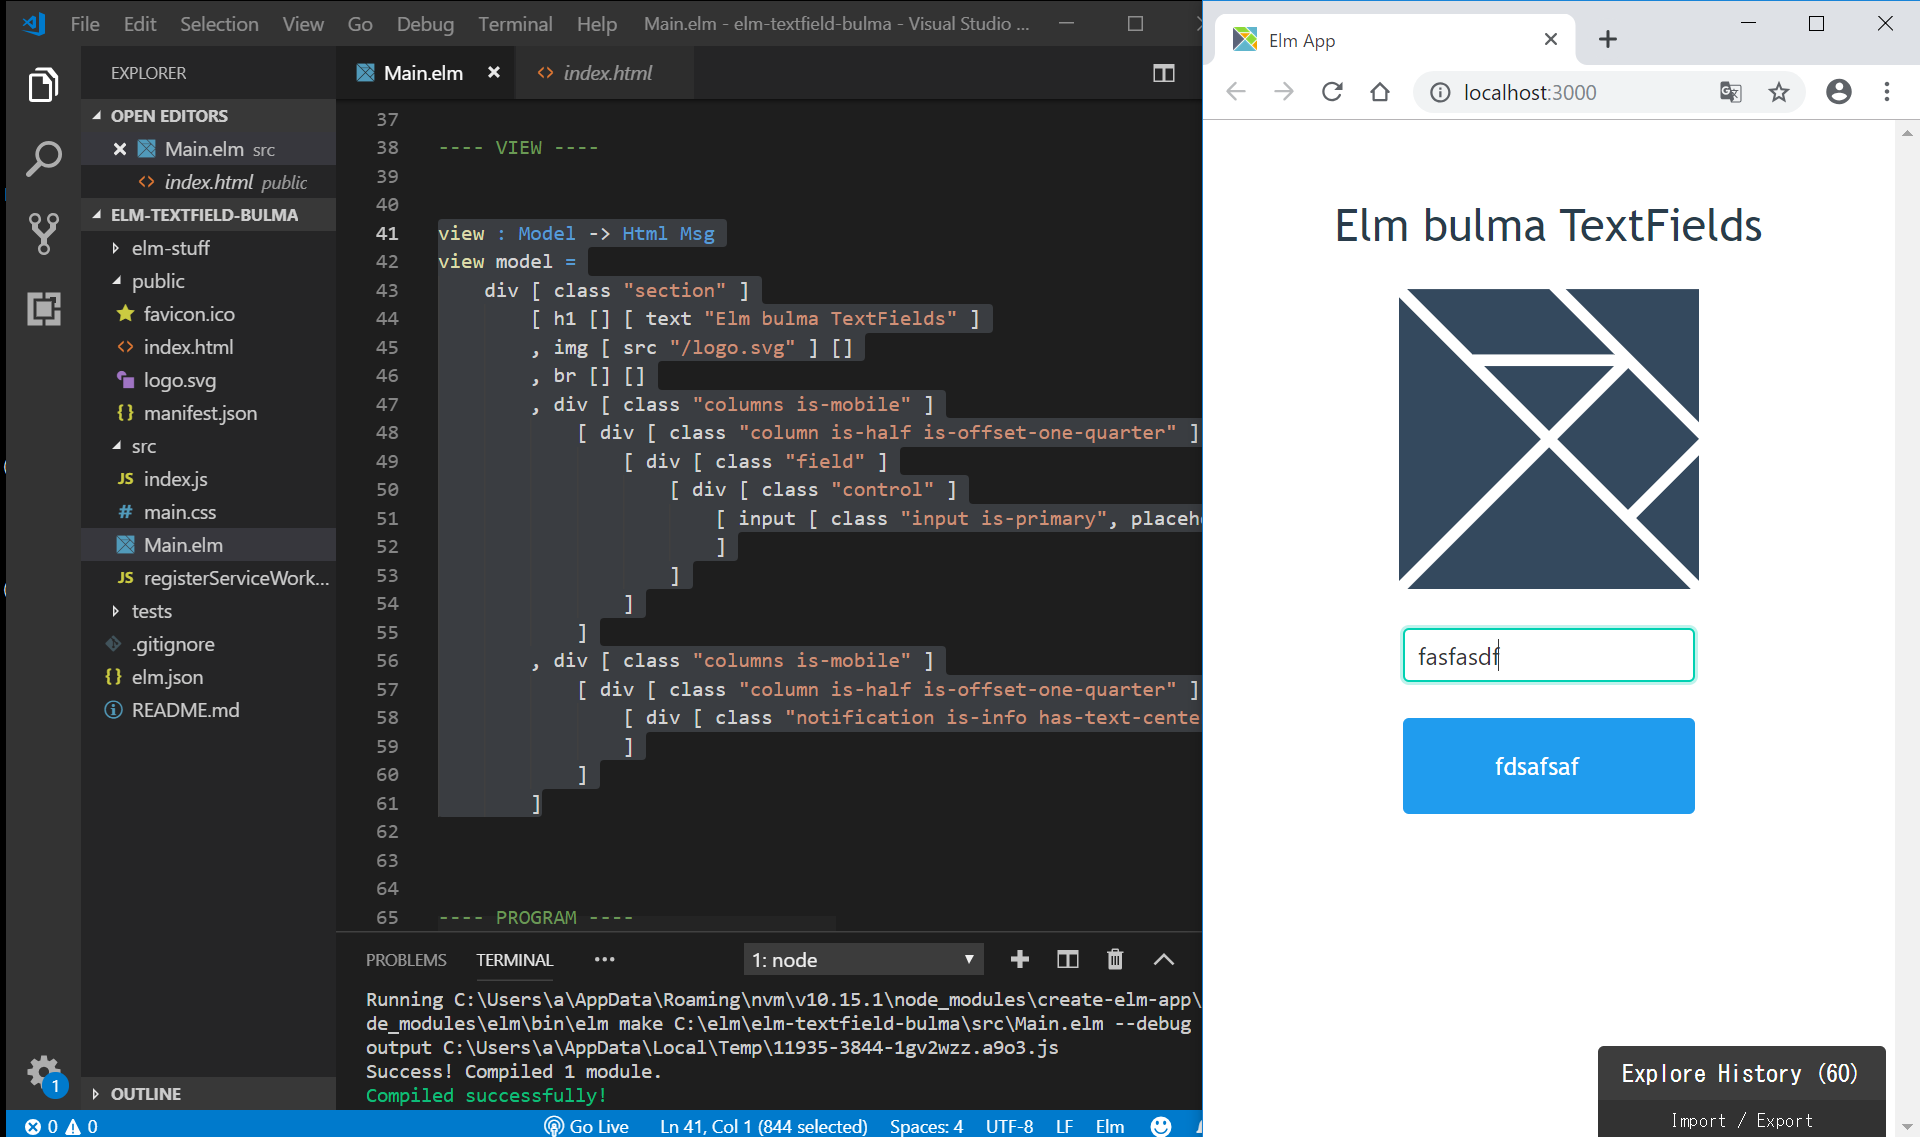
VIEWをbulmaを用いて少し変更

参考:https://bulma.io/documentation/form/input/
view : Model -> Html Msg
view model =
div [ class "section" ]
[ h1 [] [ text "Elm bulma TextFields" ]
, img [ src "/logo.svg" ] []
, br [] []
, div [ class "columns is-mobile" ]
[ div [ class "column is-half is-offset-one-quarter" ]
[ div [ class "field" ]
[ div [ class "control" ]
[ input [ class "input is-primary", placeholder "Text to reverse", value model.content, onInput Change ] []
]
]
]
]
, div [ class "columns is-mobile" ]
[ div [ class "column is-half is-offset-one-quarter" ]
[ div [ class "notification is-info has-text-centered" ] [ text (String.reverse model.content) ]
]
]
]
Netlifyにデプロイ
https://i-doctor.sakura.ne.jp/font/?p=36506 と同様の手順で、Netlifyにデプロイします。
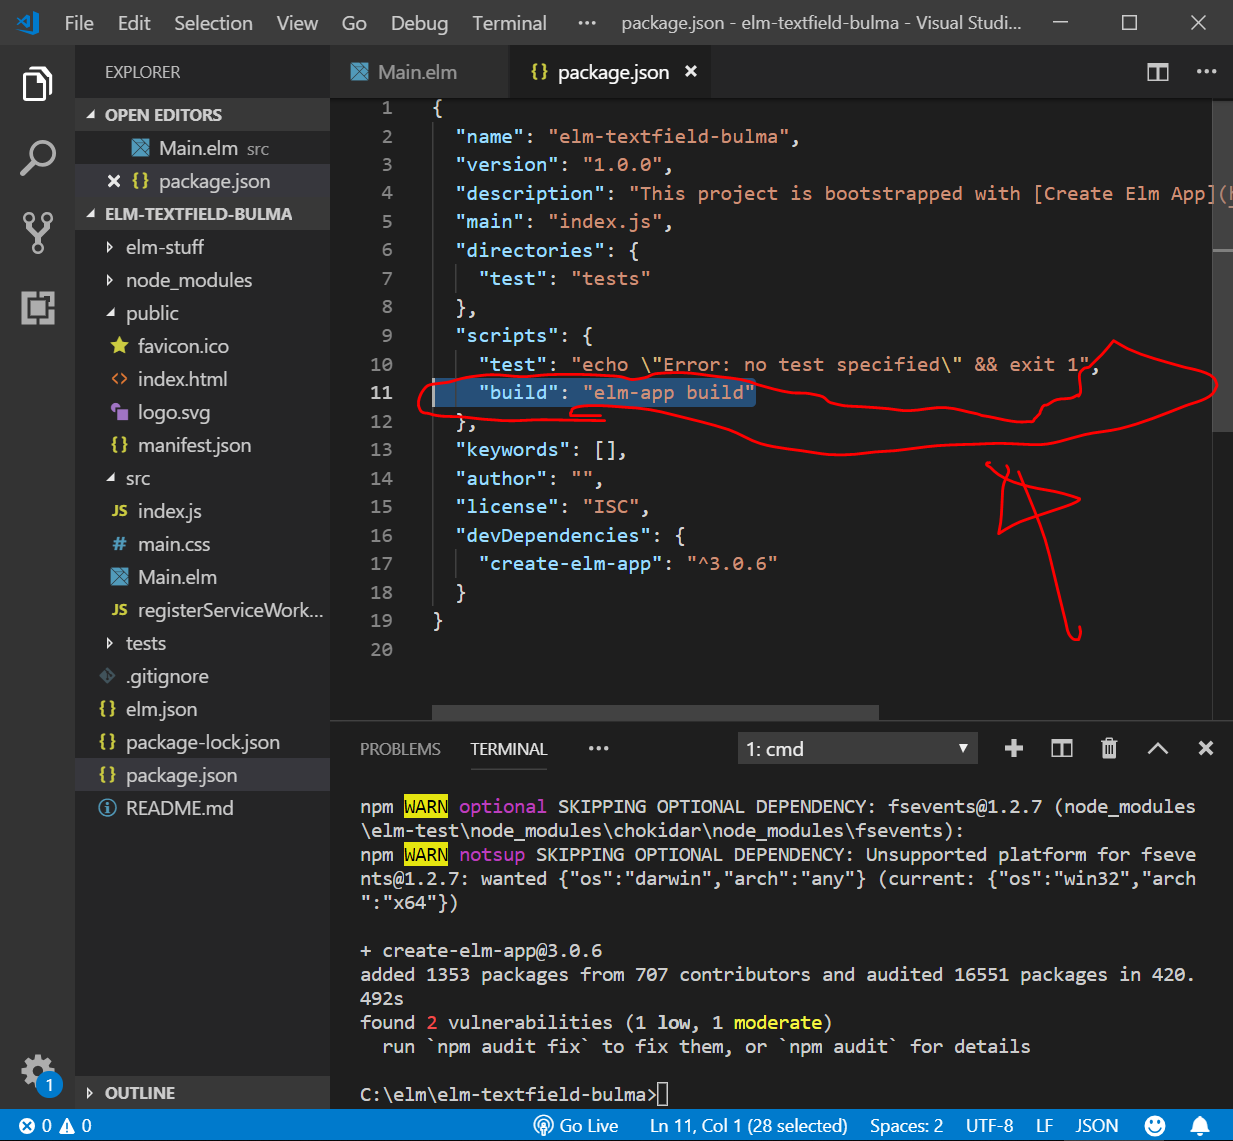
npm init -y
npm install --save-dev create-elm-app
// package.json の編集
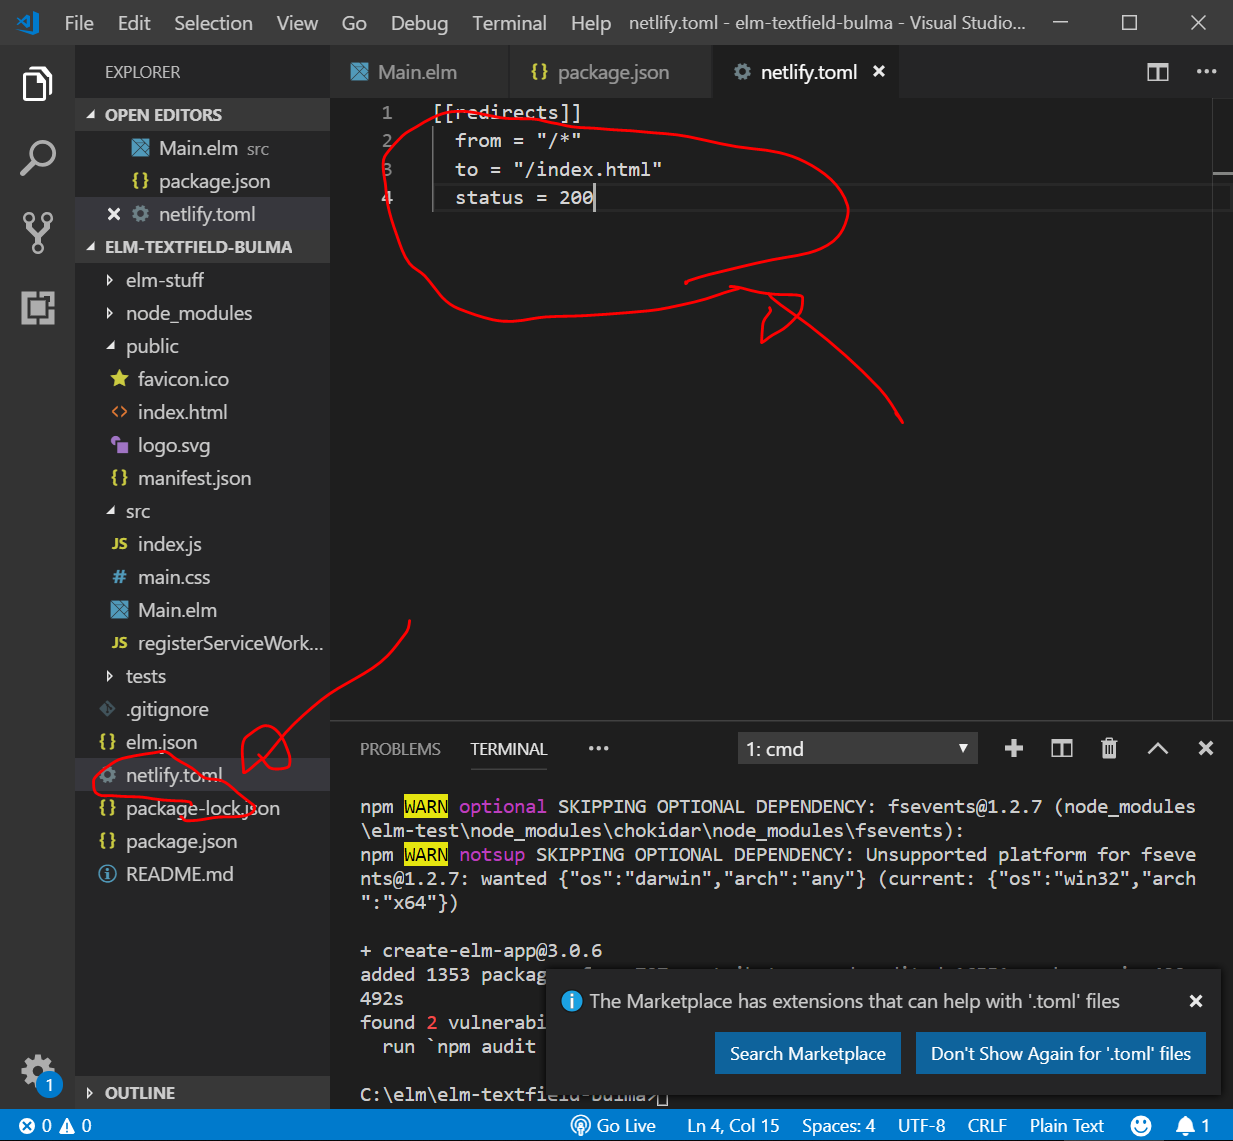
// netlify.toml file の新規作成
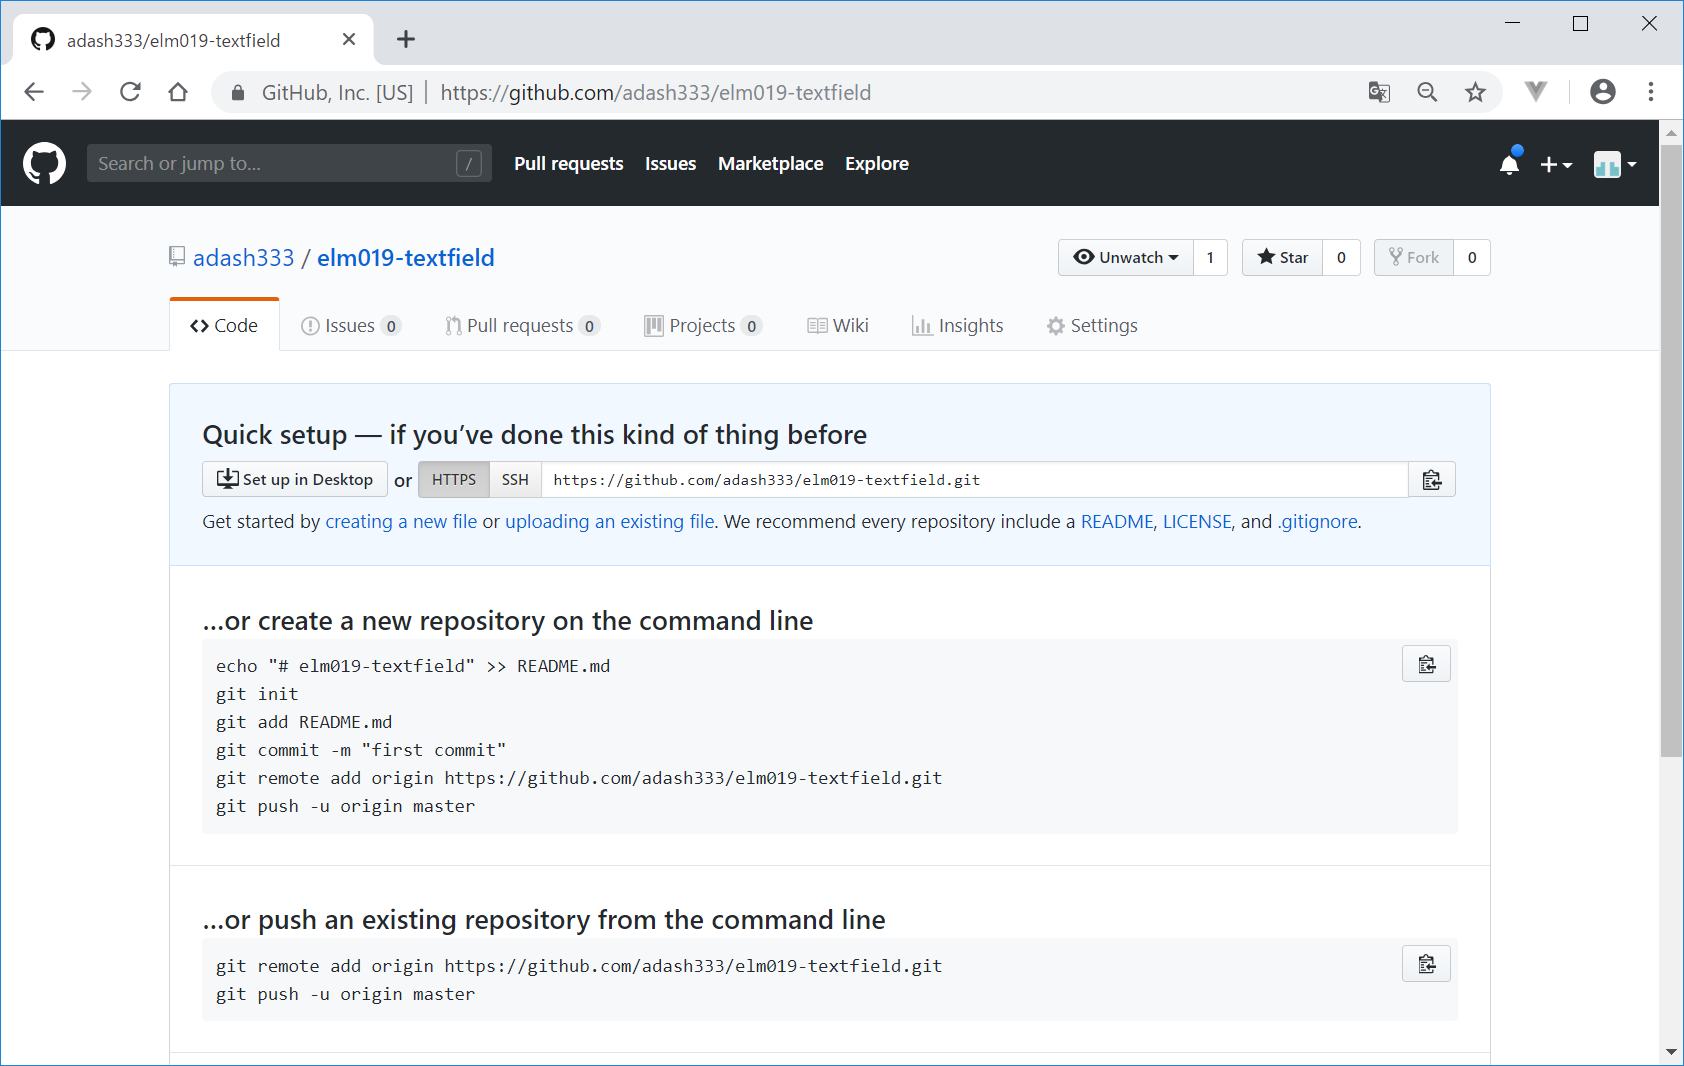
// https://github.com/ にログインして新規リポジトリ作成
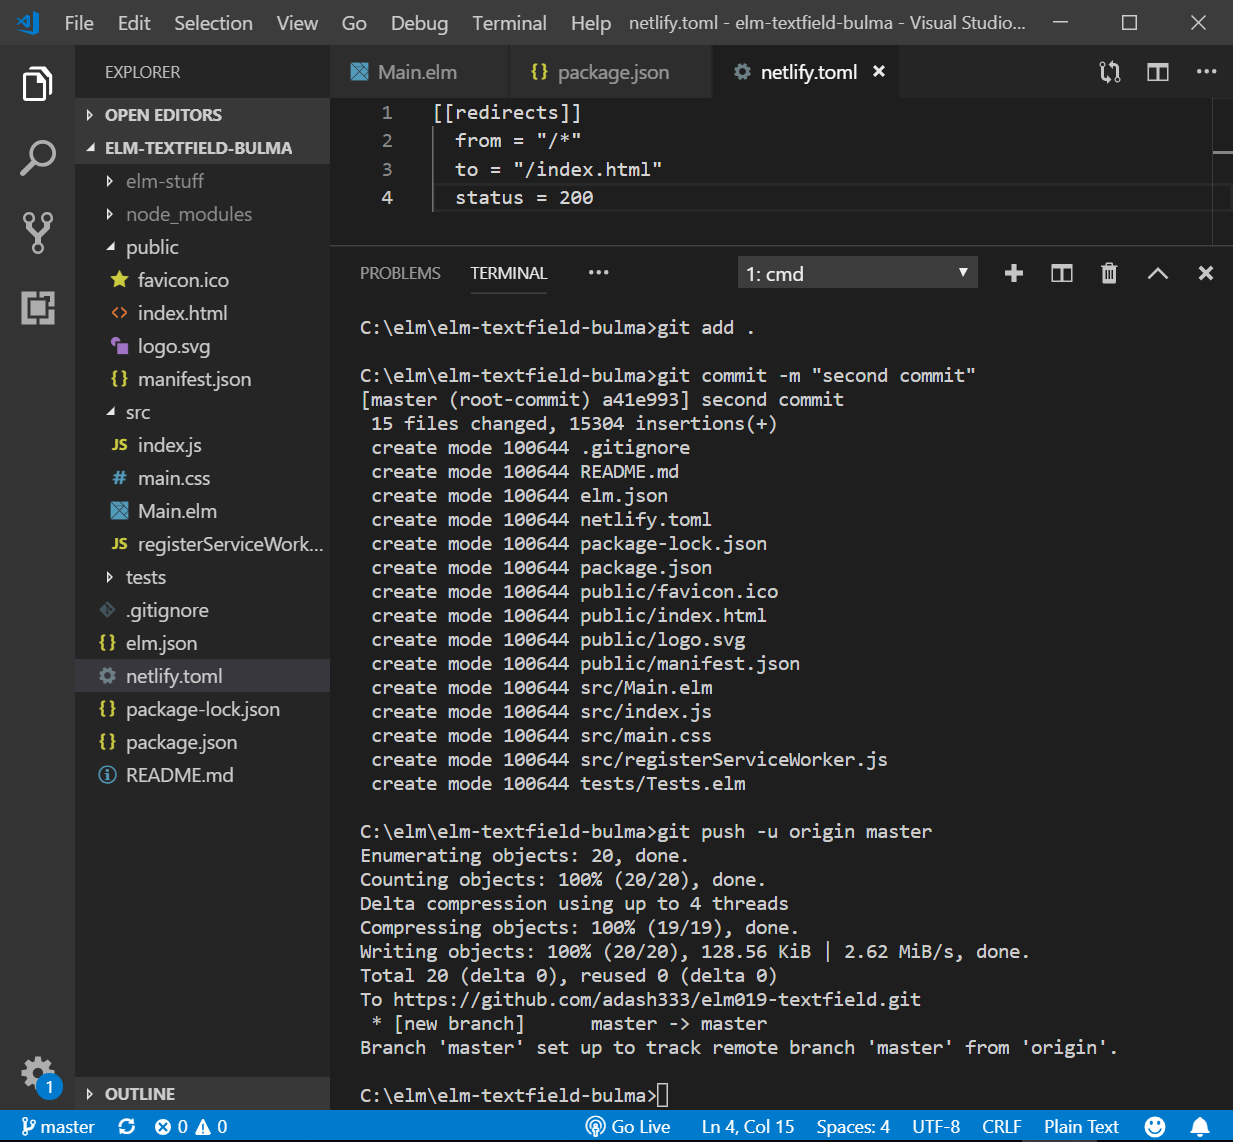
git init
git add.
git commit -m "add package.json and netlify.toml"
git remote add origin https://github.com/adash333/elm019-textfield.git
// gitのアドレスは、それぞれのものを入力してください
git push -u origin master
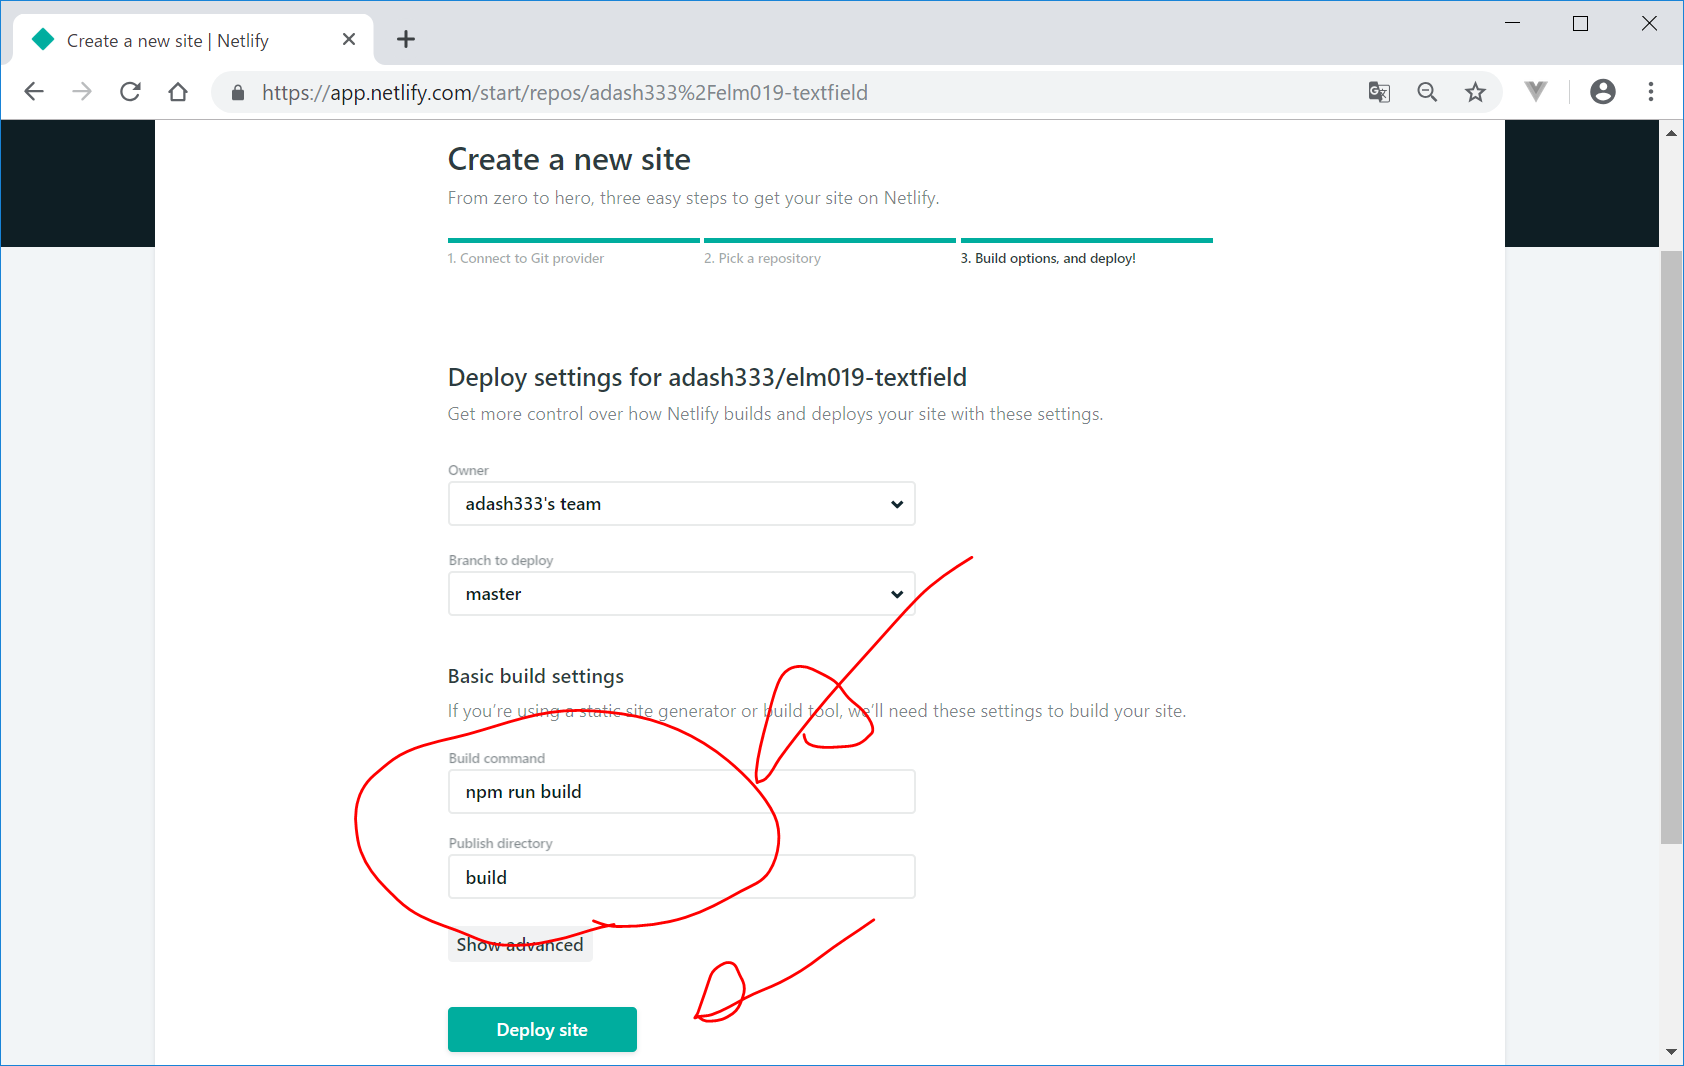
// https://www.netlify.com/ にログインしで、"npm run build", "build"の設定でデプロイ
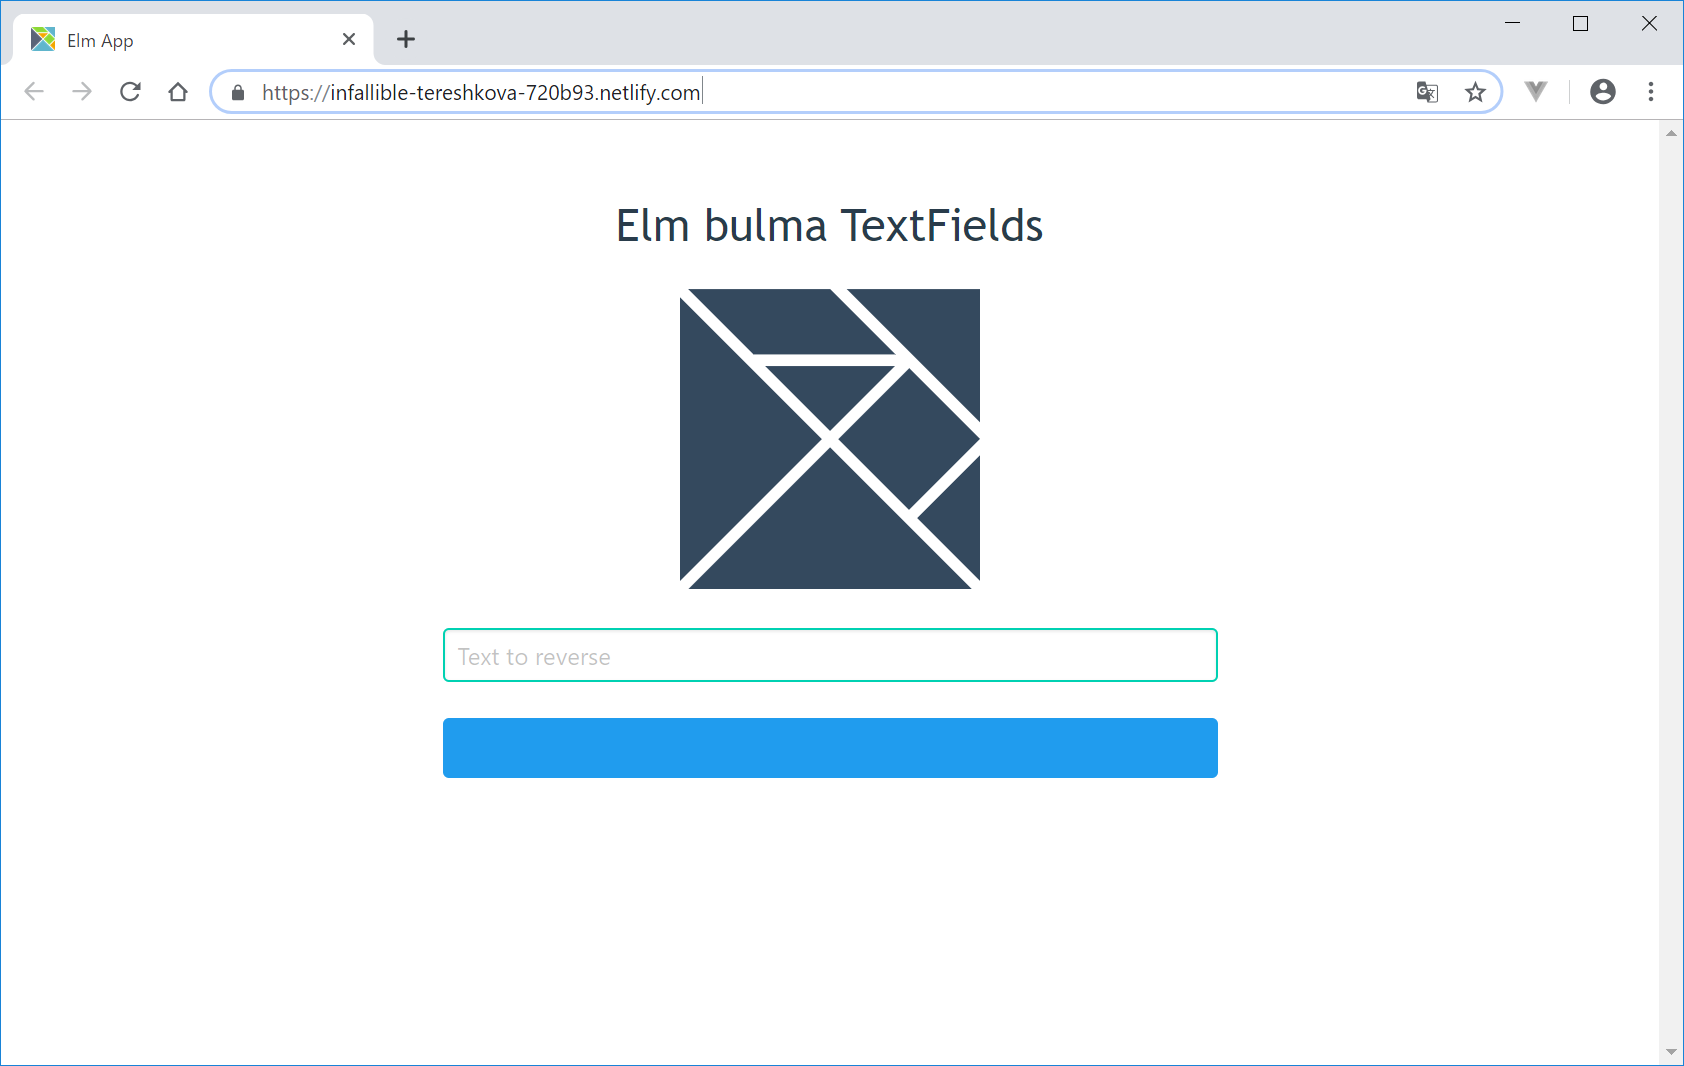
DEMOサイト
https://infallible-tereshkova-720b93.netlify.com/