An Introduction to Elm日本語訳を写経してみる(2)フォーム
Elm公式ガイドの日本語訳を読んでいます。前回はText Fieldsを写経しました。
今回は、フォーム
https://guide.elm-lang.jp/architecture/forms.html を写経してみたいと思います。
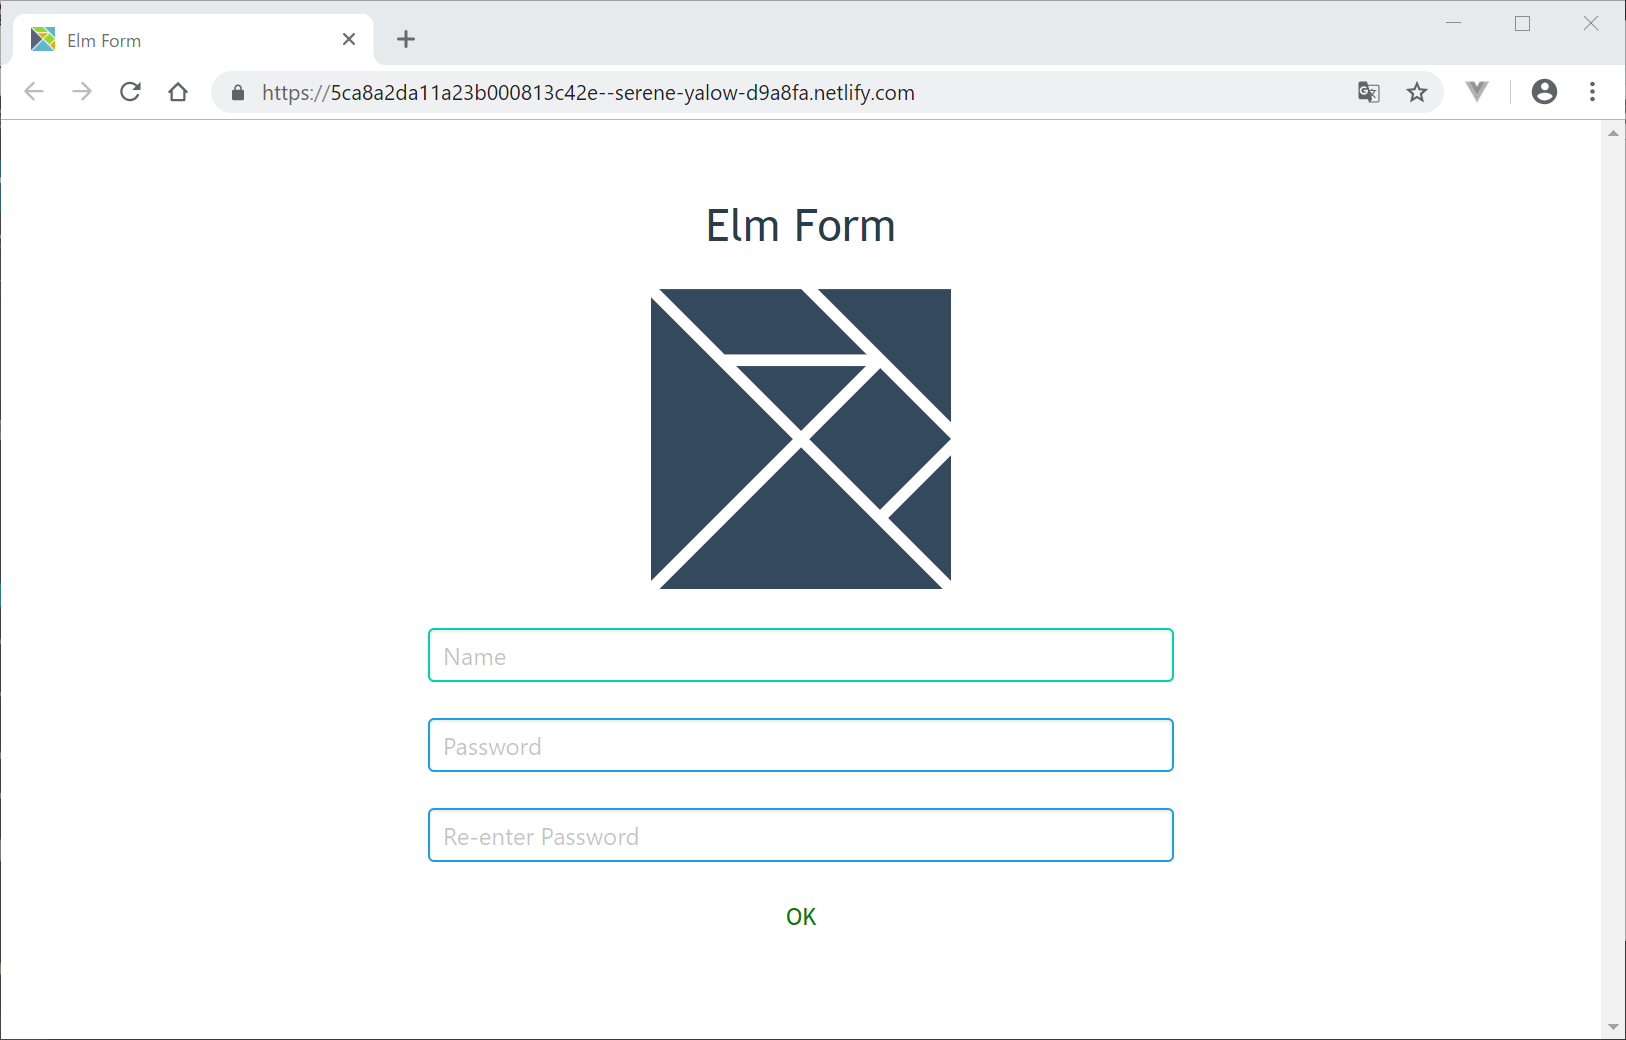
『名前、パスワード、パスワード(確認用)のフィールドを持ったフォーム』を作成します。入力するだけで、特に新しいページにログインする機能などはありません。
写経元サイトのコード
https://github.com/evancz/elm-architecture-tutorial/blob/master/examples/03-form.elm
開発環境
Windows 10 Pro
Chrome
VisualStudioCode 1.32.3
git version 2.20.1.windows.1
nvm 1.1.7
node 10.2.0
npm 6.4.1
elm 0.19.0-bugfix6
elm-format 0.8.1
VisualStudioCodeの拡張機能でelmをインストールして、settings.jsonに以下のようにelmを設定。
(『Alt + Shift + F』と『Ctrl + S』を使用。)
    "[elm]": {
        "editor.formatOnSave": true
    },
create-elm-app 3.0.6
写経中は、VisualStudioCode上で、Ctrl+S で保存してエラーを確認しては訂正し、また、Shift+Alt+F でフォーマットをし直しながらやっています。
新規create-elm-appの作成
C:/elm/ をVisualStudioCodeで開き、Ctrl+@ でコマンドプロンプトを開き、以下を入力。
create-elm-app elm-form
cd elm-form
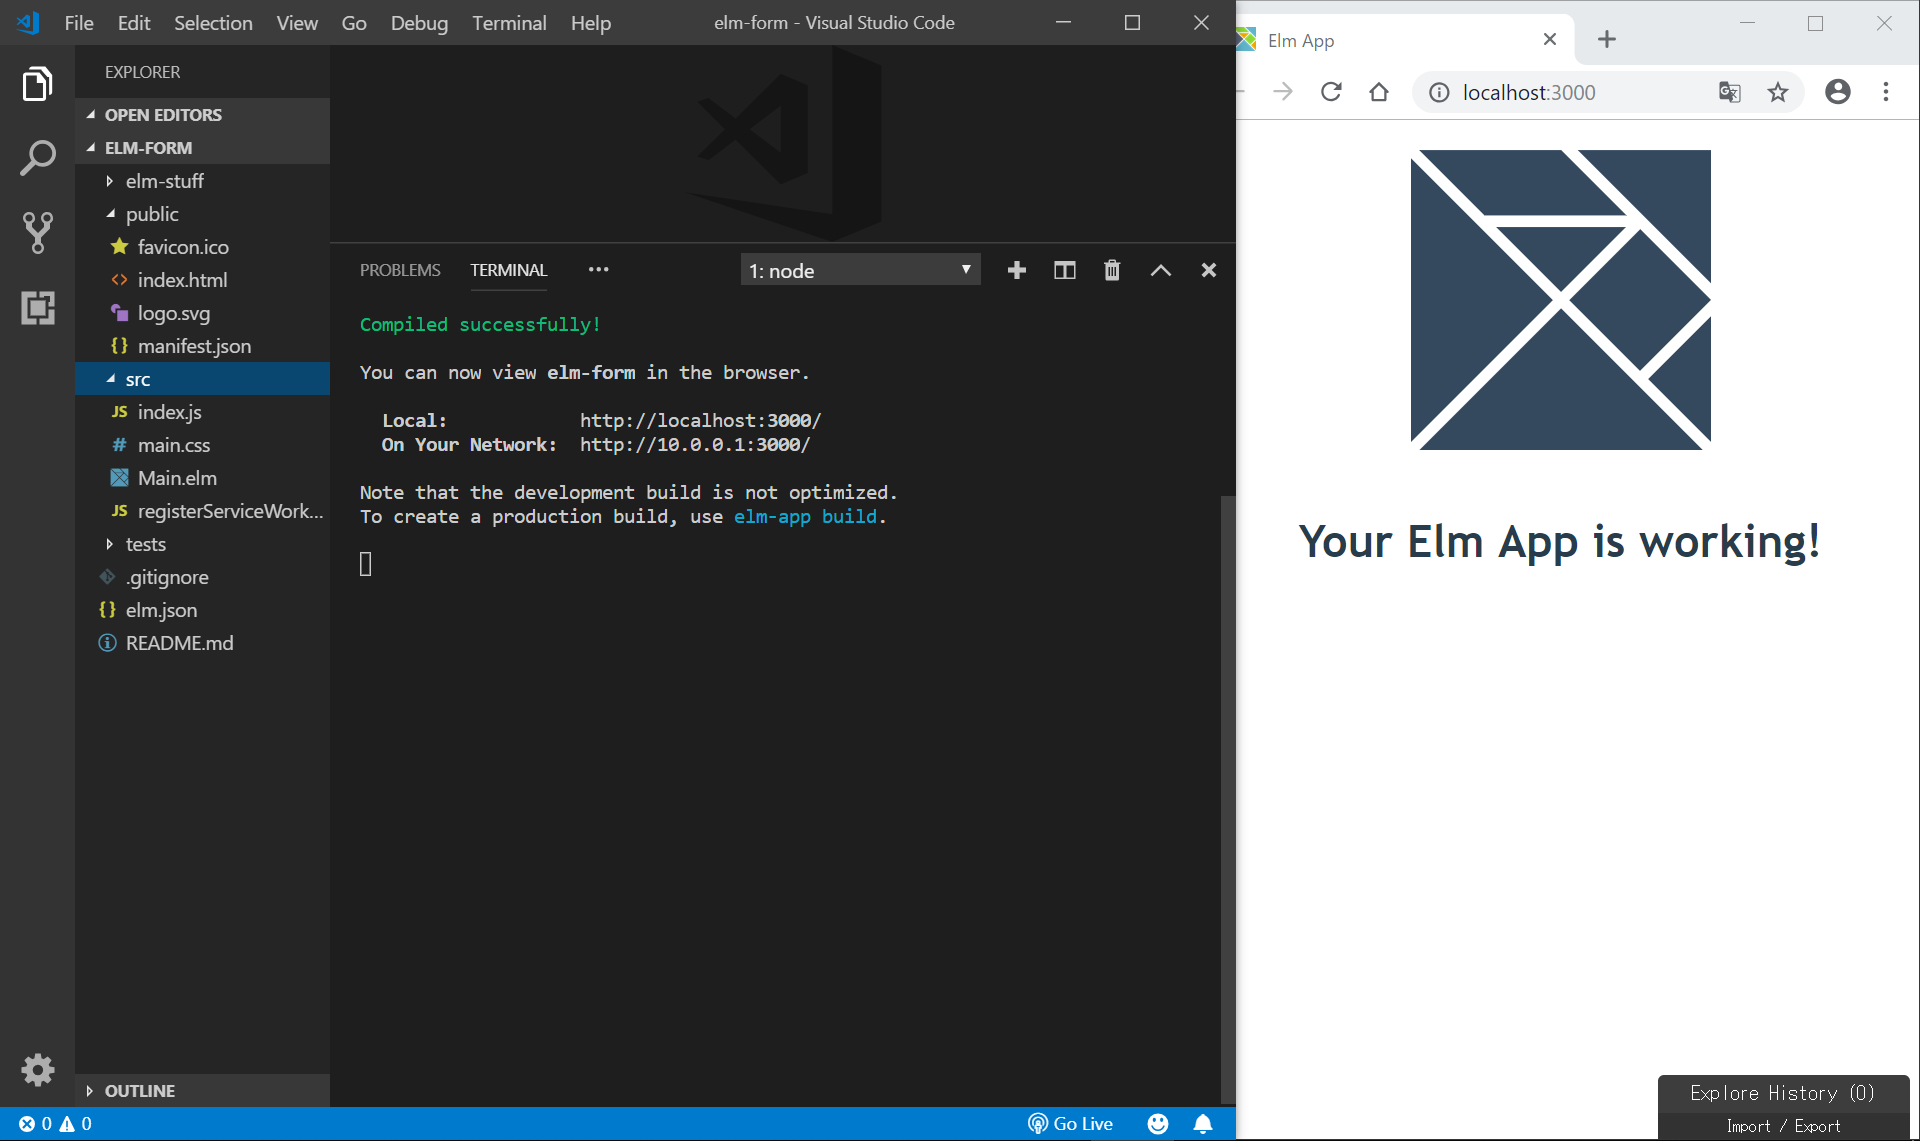
elm-app start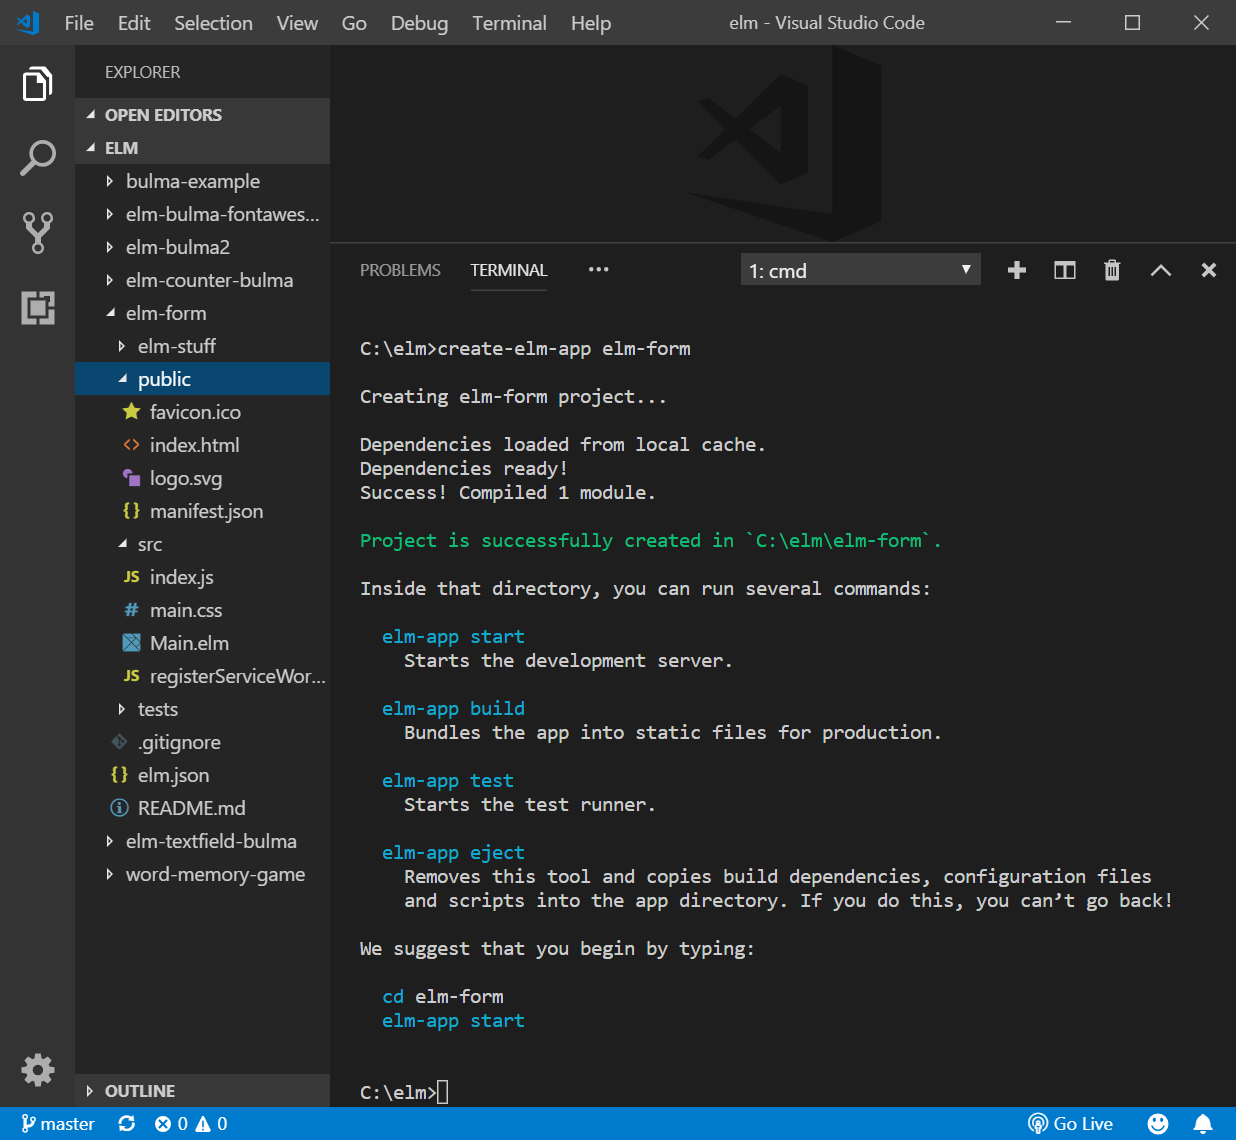
public/htmlの編集
public/index.htmlの<head></head>内に、bulmaとFontAwesome5のCDNを記載して、使用できるようにします。
<link rel="stylesheet" href="https://cdnjs.cloudflare.com/ajax/libs/bulma/0.7.4/css/bulma.min.css">
<script defer src="https://use.fontawesome.com/releases/v5.3.1/js/all.js"></script>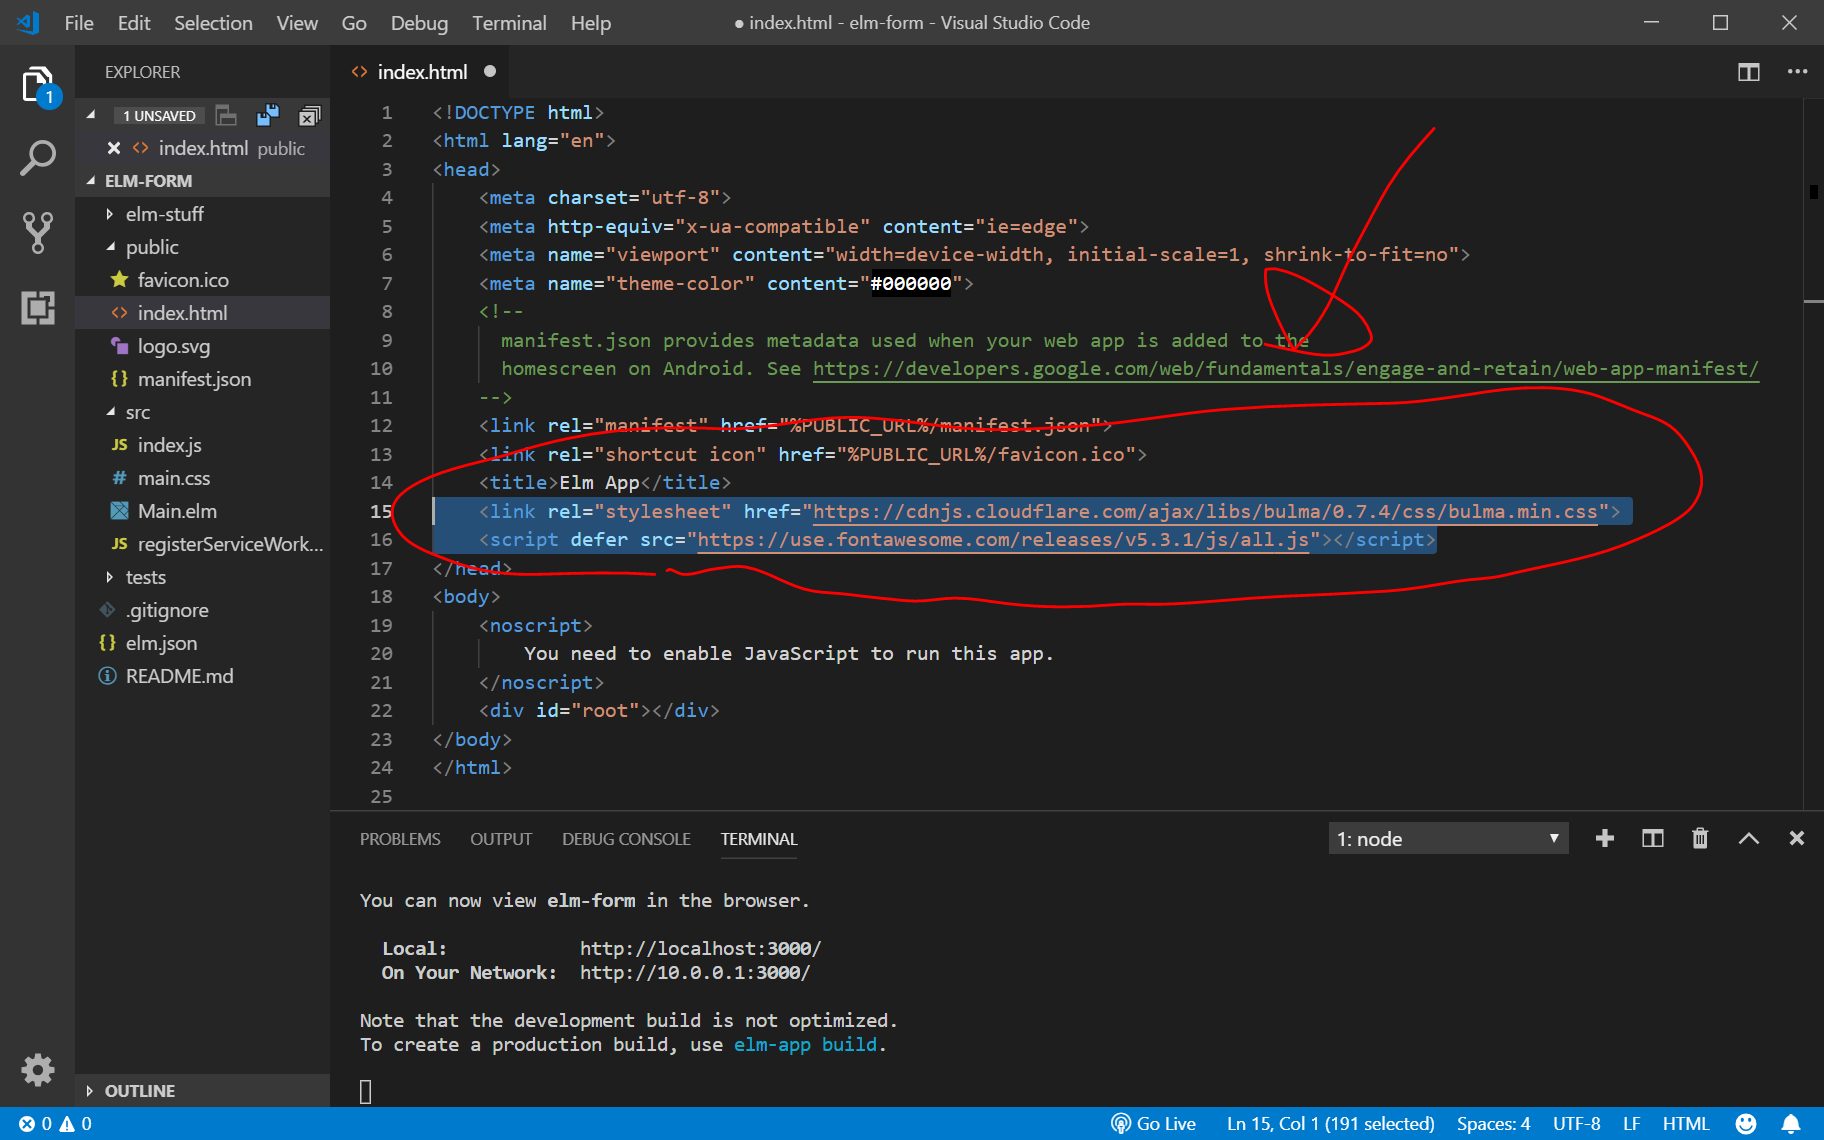
src/Main.elmの編集
以下の コードの一部を写経します。
https://guide.elm-lang.jp/architecture/forms.html
import文
module Main exposing (Model, Msg(..), init, main, update, view)

import Browser
import Html exposing (Html, br, div, h1, img, input, text)
import Html.Attributes exposing (class, placeholder, src, style, type_, value)
import Html.Events exposing (onInput)
MODEL
---- MODEL ----


type alias Model =
    { name : String
    , password : String
    , passwordAgain : String
    }


init : ( Model, Cmd Msg )
init =
    ( Model "" "" "", Cmd.none )
UPDATE
---- UPDATE ----


type Msg
    = Name String
    | Password String
    | PasswordAgain String


update : Msg -> Model -> ( Model, Cmd Msg )
update msg model =
    case msg of
        Name name ->
            ( { model | name = name }, Cmd.none )

        Password password ->
            ( { model | password = password }, Cmd.none )

        PasswordAgain password ->
            ( { model | passwordAgain = password }, Cmd.none )
VIEW
絶対にリファクタリング(コードを簡潔に書き直すこと)ができるはずですが、とりあえず、今のコードを掲載します。
---- VIEW ----


view : Model -> Html Msg
view model =
    div [ class "section" ]
        [ h1 [] [ text "Elm Form" ]
        , img [ src "/logo.svg" ] []
        , br [] []
        , div [ class "columns is-mobile" ]
            [ div [ class "column is-half is-offset-one-quarter" ]
                [ div [ class "field" ]
                    [ div [ class "control" ]
                        [ viewInput "text" "Name" "input is-primary" model.name Name
                        ]
                    ]
                ]
            ]
        , div [ class "columns is-mobile" ]
            [ div [ class "column is-half is-offset-one-quarter" ]
                [ div [ class "field" ]
                    [ div [ class "control" ]
                        [ viewInput "password" "Password" "input is-info" model.password Password
                        ]
                    ]
                ]
            ]
        , div [ class "columns is-mobile" ]
            [ div [ class "column is-half is-offset-one-quarter" ]
                [ div [ class "field" ]
                    [ div [ class "control" ]
                        [ viewInput "password" "Re-enter Password" "input is-info" model.passwordAgain PasswordAgain
                        ]
                    ]
                ]
            ]
        , viewValidation model
        ]


viewInput : String -> String -> String -> String -> (String -> msg) -> Html msg
viewInput t p c v toMsg =
    input [ type_ t, placeholder p, class c, value v, onInput toMsg ] []


viewValidation : Model -> Html msg
viewValidation model =
    if model.password == model.passwordAgain then
        div [ style "color" "green" ] [ text "OK" ]

    else
        div [ style "color" "red" ] [ text "Passwords do not match!" ]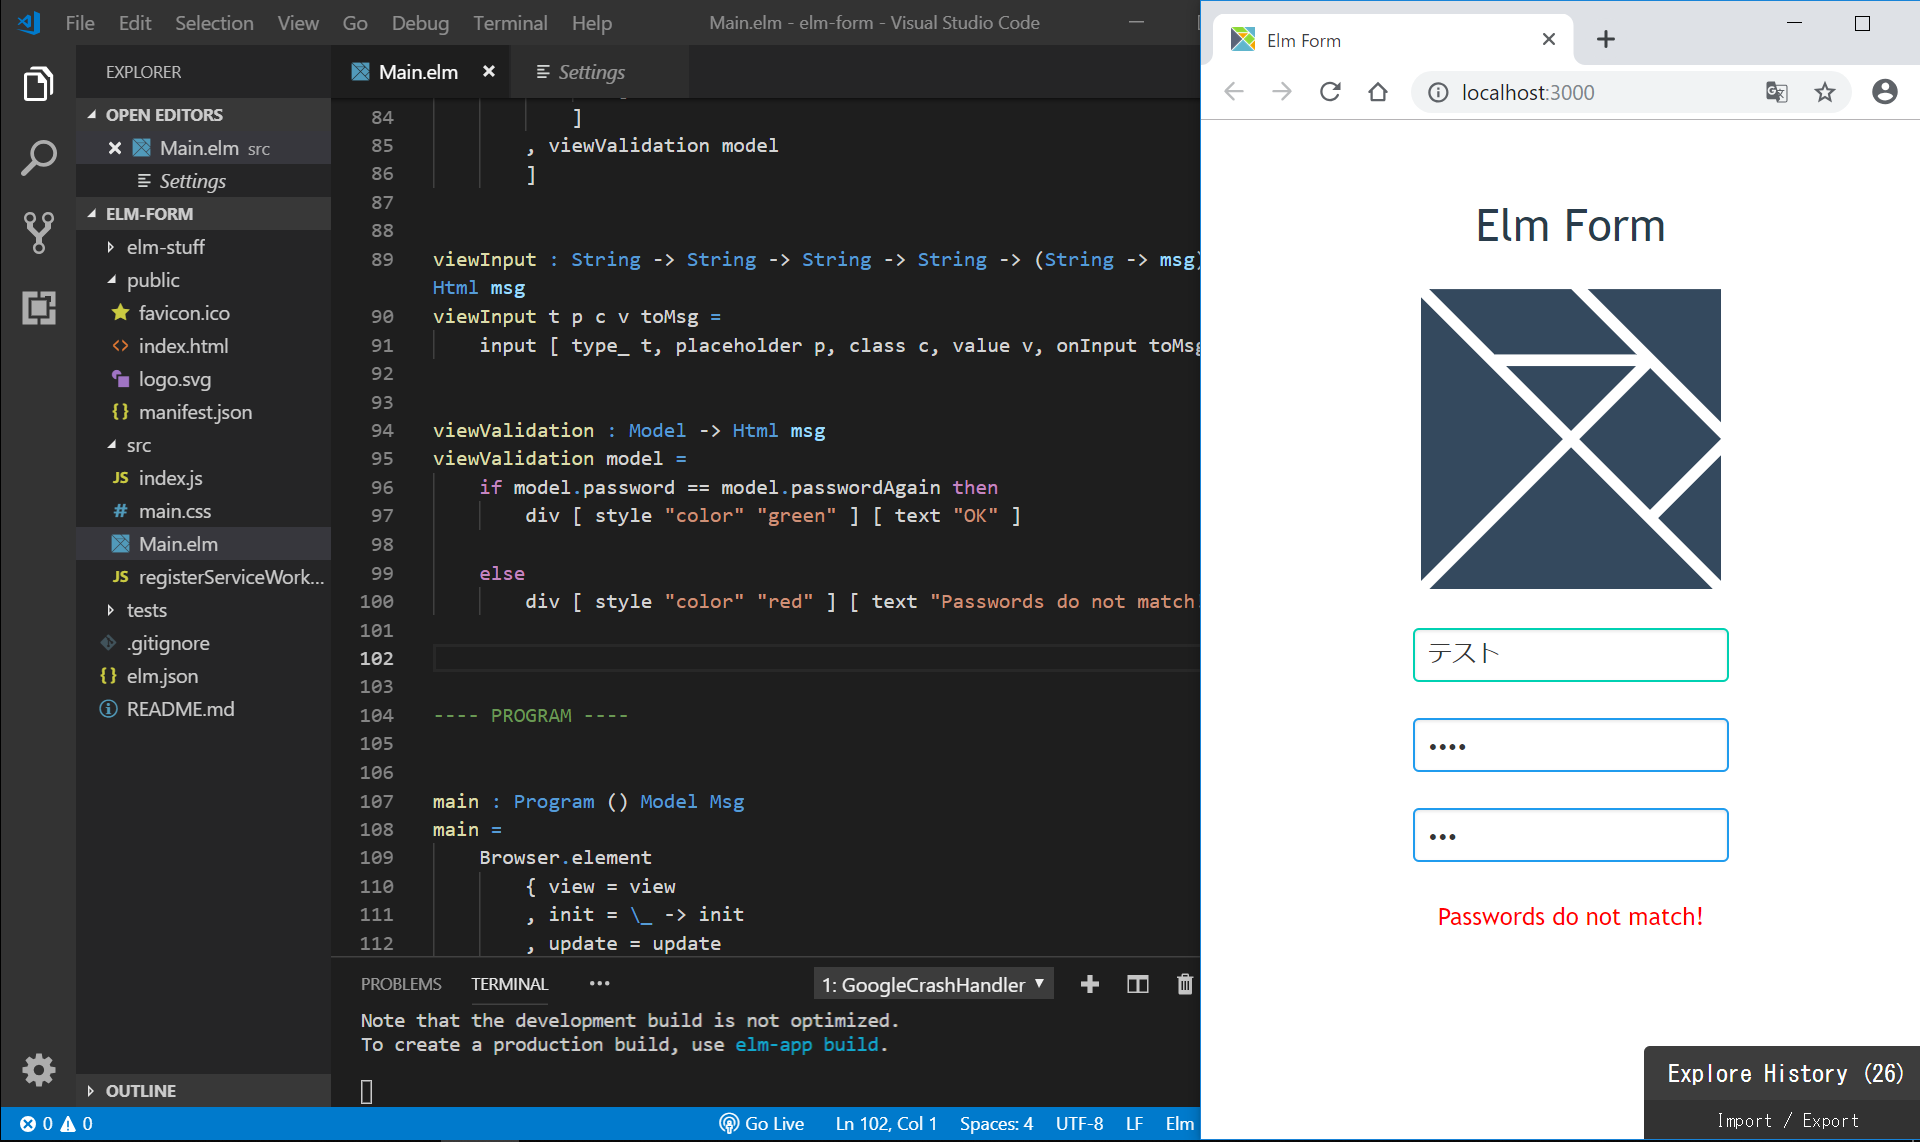
Netlifyにデプロイ
https://i-doctor.sakura.ne.jp/font/?p=36506 と同様の手順で、Netlifyにデプロイします。
npm init -y
npm install --save-dev create-elm-app
// package.json の修正 ("build": "elm-app build")
// netlify.toml の新規作成
// https://github.com/ にログインして新規リポジトリ作成
git init
git add .
git commit -m "add package.json and netlify.toml"
git remote add origin https://github.com/adash333/elm019-form.git
// gitのアドレスは、それぞれのものを入力してください
git push -u origin master
// https://www.netlify.com/ にログインしで、"npm run build", "build"の設定でデプロイ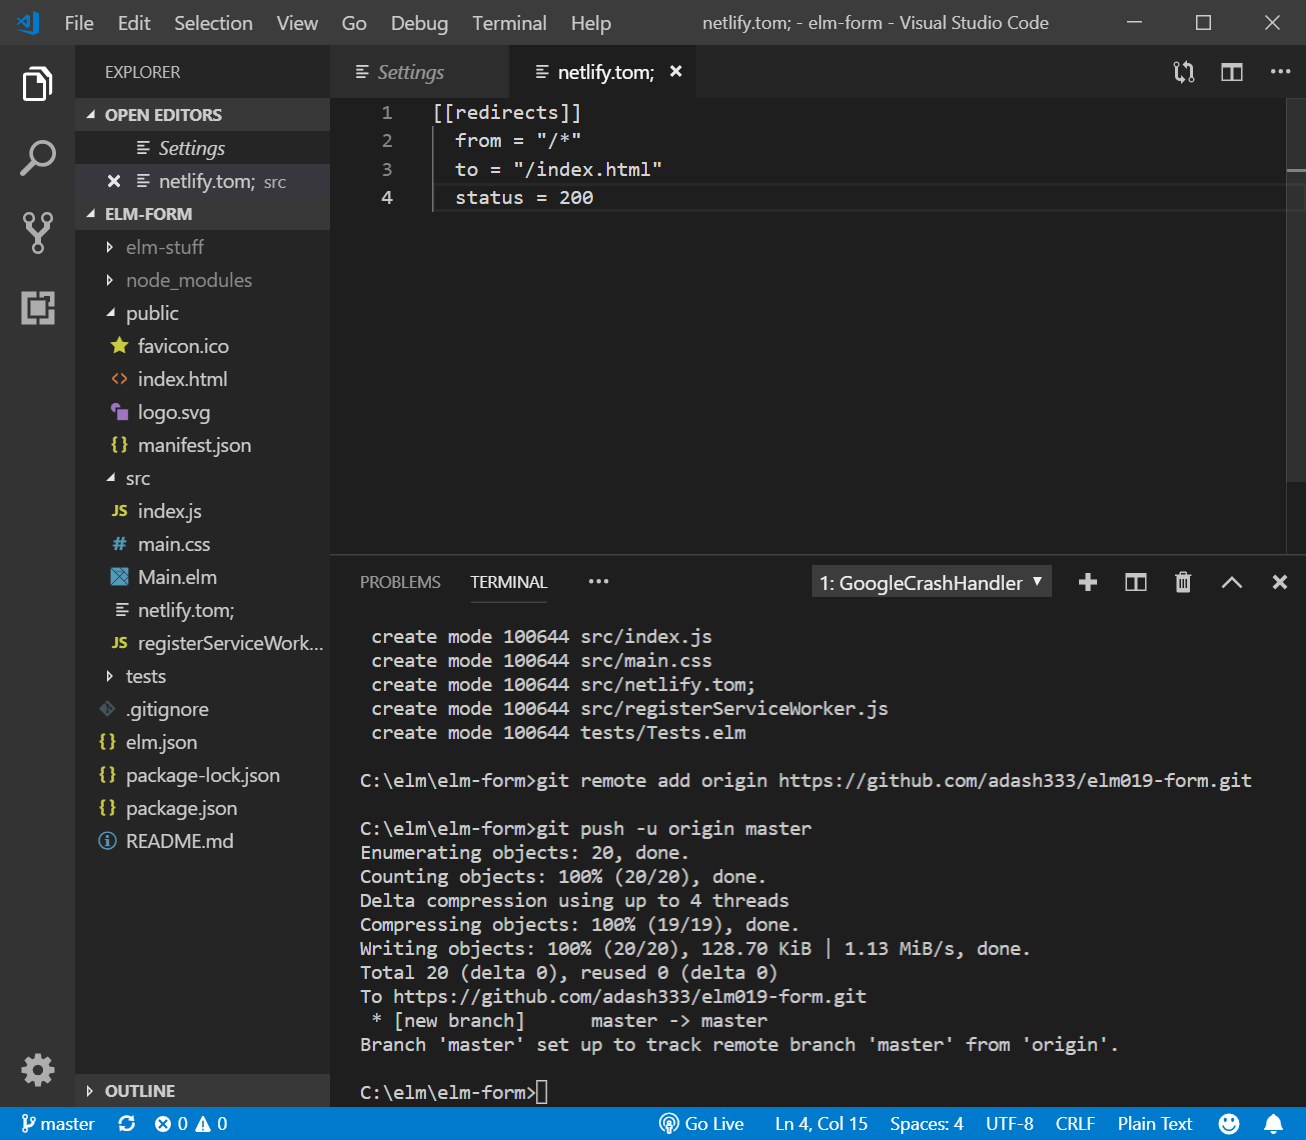
DEMOサイト
https://5ca8a2da11a23b000813c42e–serene-yalow-d9a8fa.netlify.com/