VisualStudioCodeでRStudioライクな環境構築+RMarkdownのライブレンダリング(2021年7月時点)→うまくいかずRStudioでやることにしました
統計をするときは、まずは「初心者でもすぐにできるフリー統計ソフトEZR(Easy R)で誰でも簡単統計解析 」を読みながら、EZR が超お勧めです。
でも、慣れてくると、データが追加されたり、修正が出たり、Reviseのときなどに同じ操作を何回もやっていると、Rを使いたくなっちゃう。
Rを使う場合は、まずは「初心者でもすぐにできるフリー統計ソフトEZR(Easy R)で誰でも簡単統計解析 」を読みながら、RStudioでコーディングする(ときどきEZRでチェックしながら)のがお勧めです。
が超お勧めです。RStudioはかなり便利なのですが
RMarkdownをライブビューできない
という唯一の問題点があります。これを解決する方法として、VisualStudioCodeでvscode-rを使用するという方法があるらしいので、やってみたいと思います。
- 1. 今回写経するページ
- 2. 開発環境
- 3. Rのインストール
- 4. VisualStudioCodeのインストール
- 5. VSCodeの拡張機能vscode-Rのインストール
- 6. VisualStudioCodeにRのPATHを設定
- 7. Rを起動して、Rのパッケージであるlanuageserverとhttpgdをインストール
- 8. VisualStudioCodeの拡張機能vscode-r-lspのインストール
- 9. radianのインストール
- 10. VisualStudioCodeの拡張機能R Debuggerをインストール
- 11. Rのパッケージhttpgdをインストール
- 12. VS Code の拡張機能「markdown-pdf」をインストール
- 13. keybinding の設定
- 14. Rmdファイルを作成してPreviewしてみる
- 15. 結局うまくいかず、RStudioでやることにしました
- 16. 参考リンク
今回写経するページ
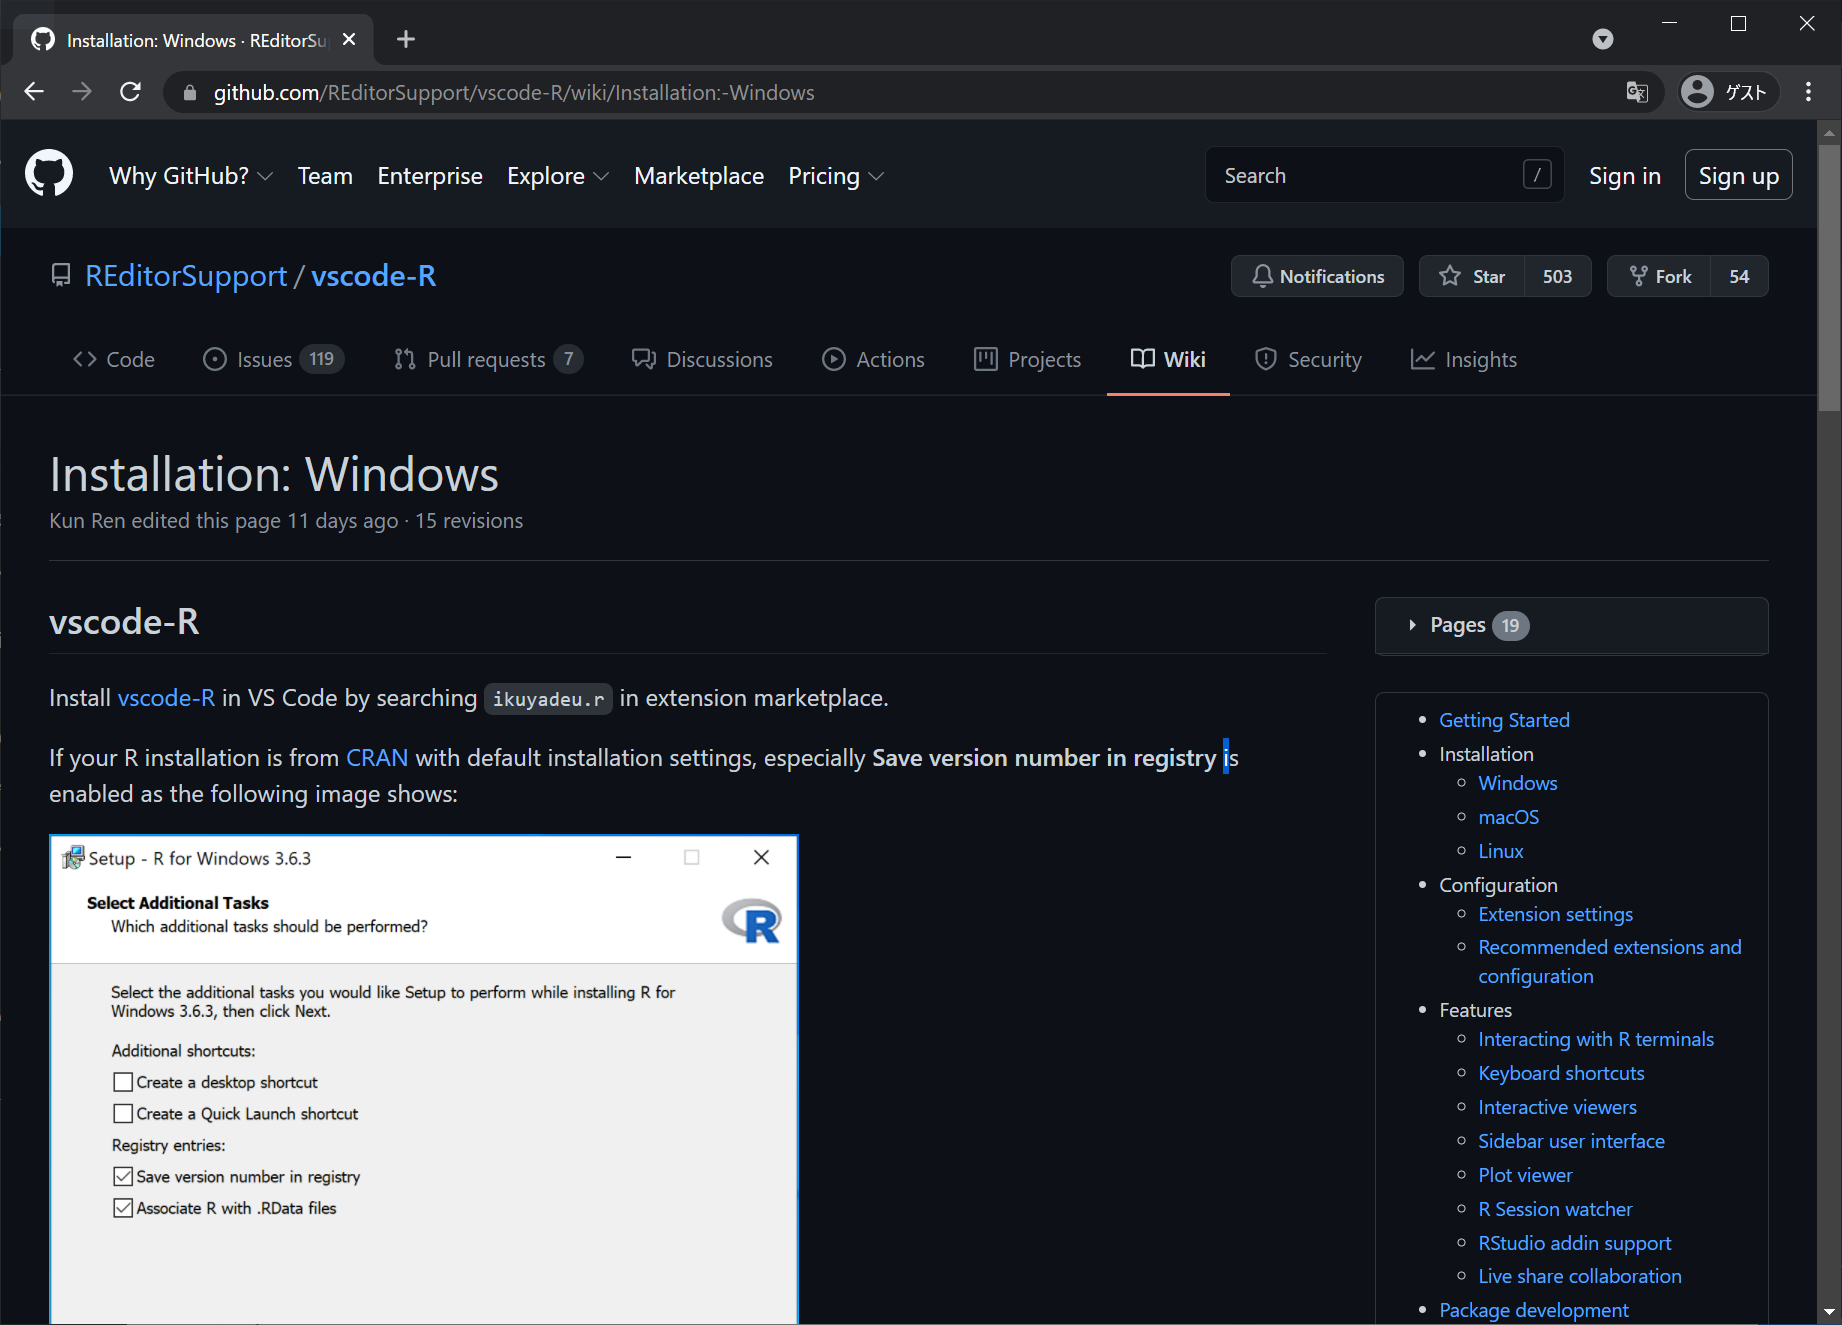
https://github.com/REditorSupport/vscode-R/wiki/Installation:-Windowsに従って、VisualStudioCodeにvscode-rをインストールし、他の環境もセッティングします。
開発環境
Windows 10今回構築した環境
Windows10
VisualStudioCode 1.57.1
R 4.1.0
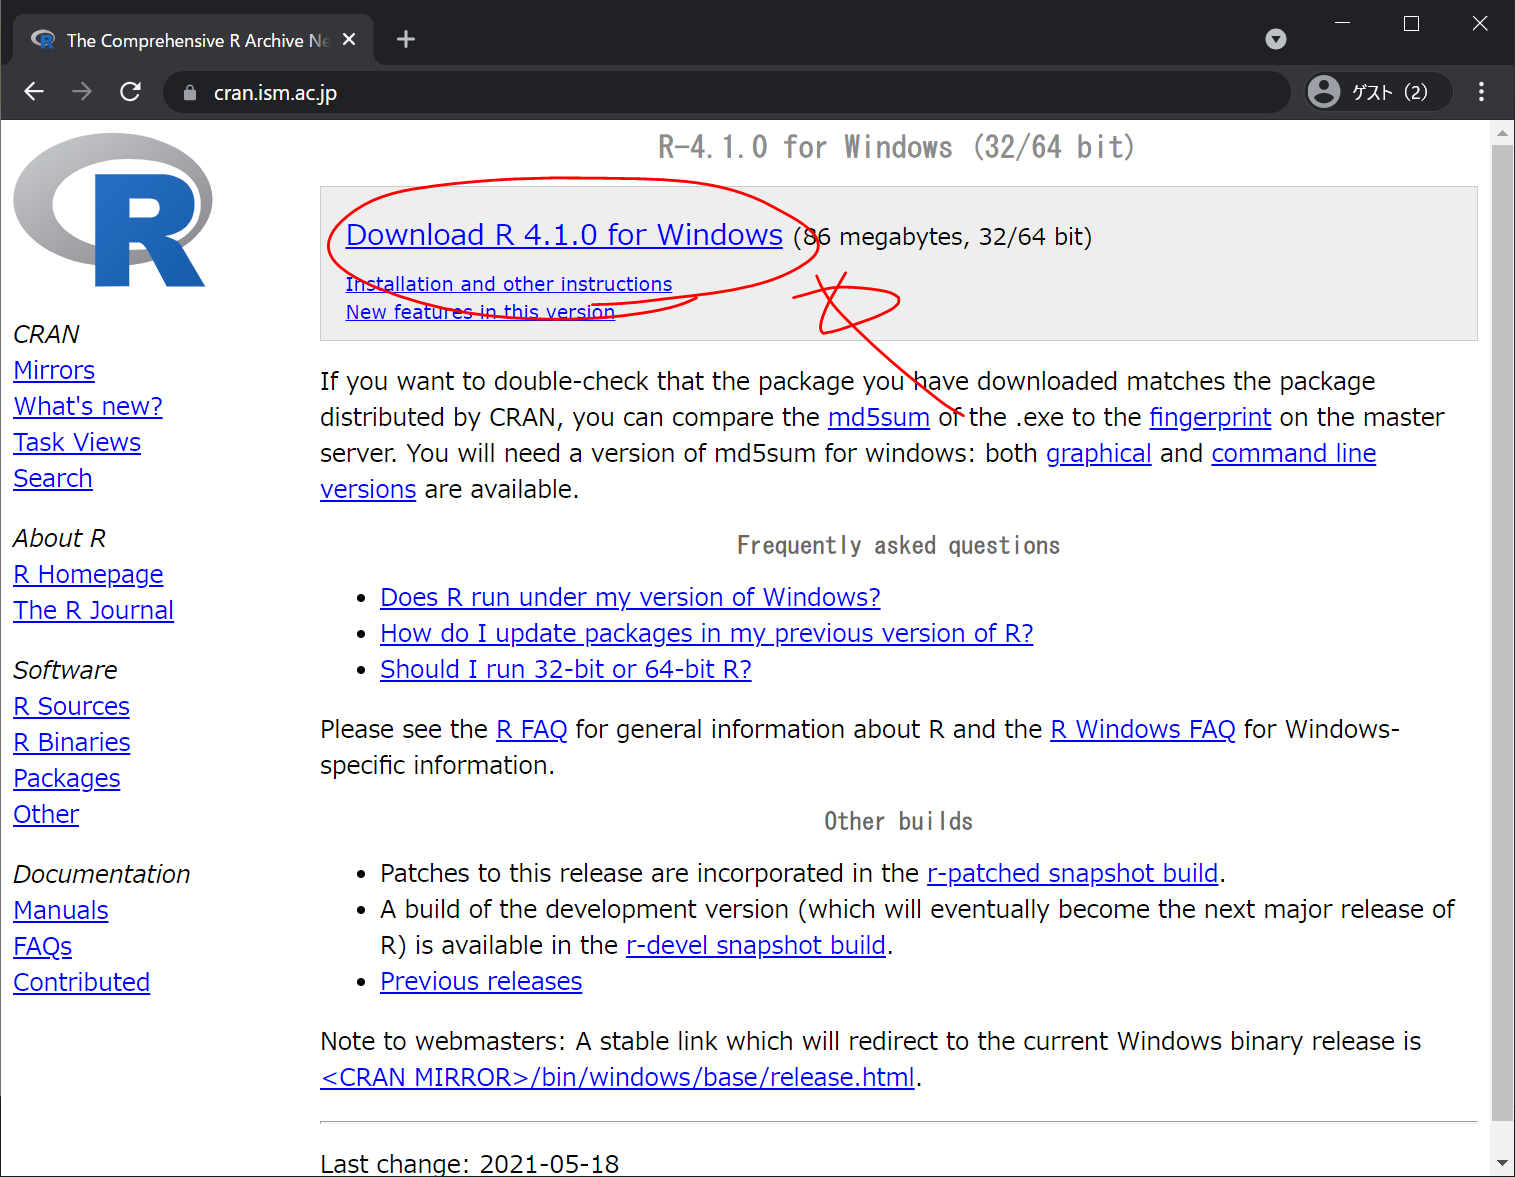
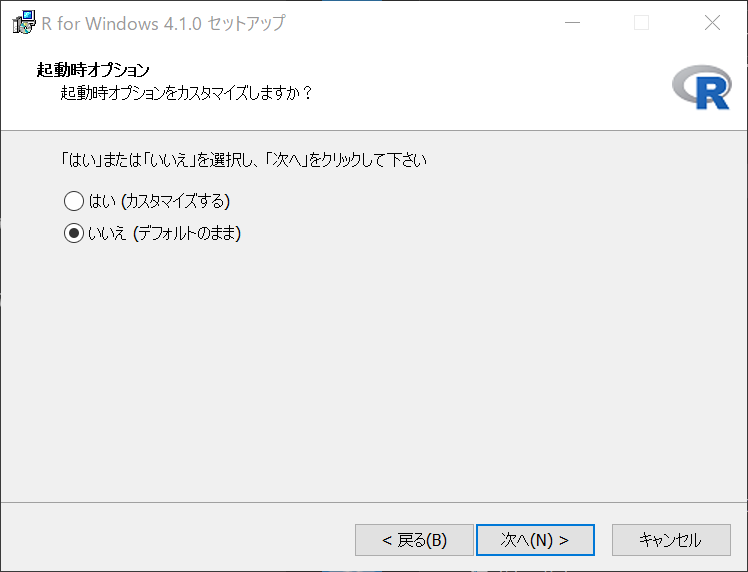
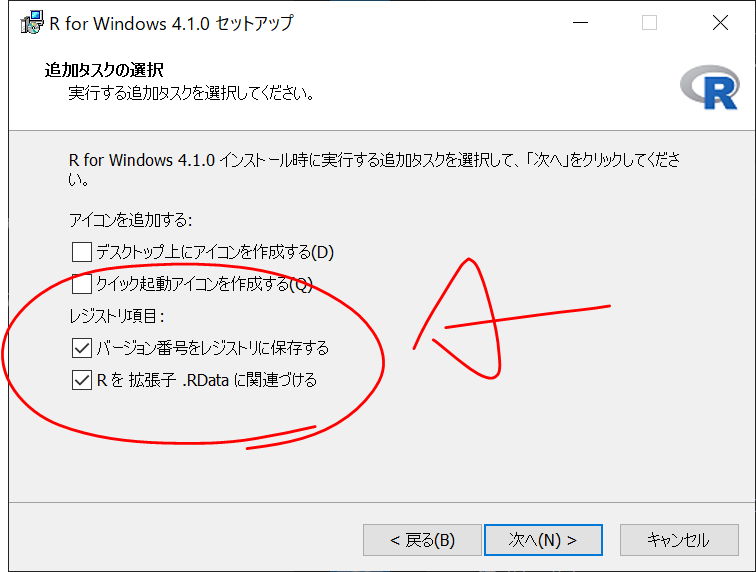
Rのインストール
https://cran.ism.ac.jp/ からダウンロードしてインストールします。私のときは、R 4.1.0でした。
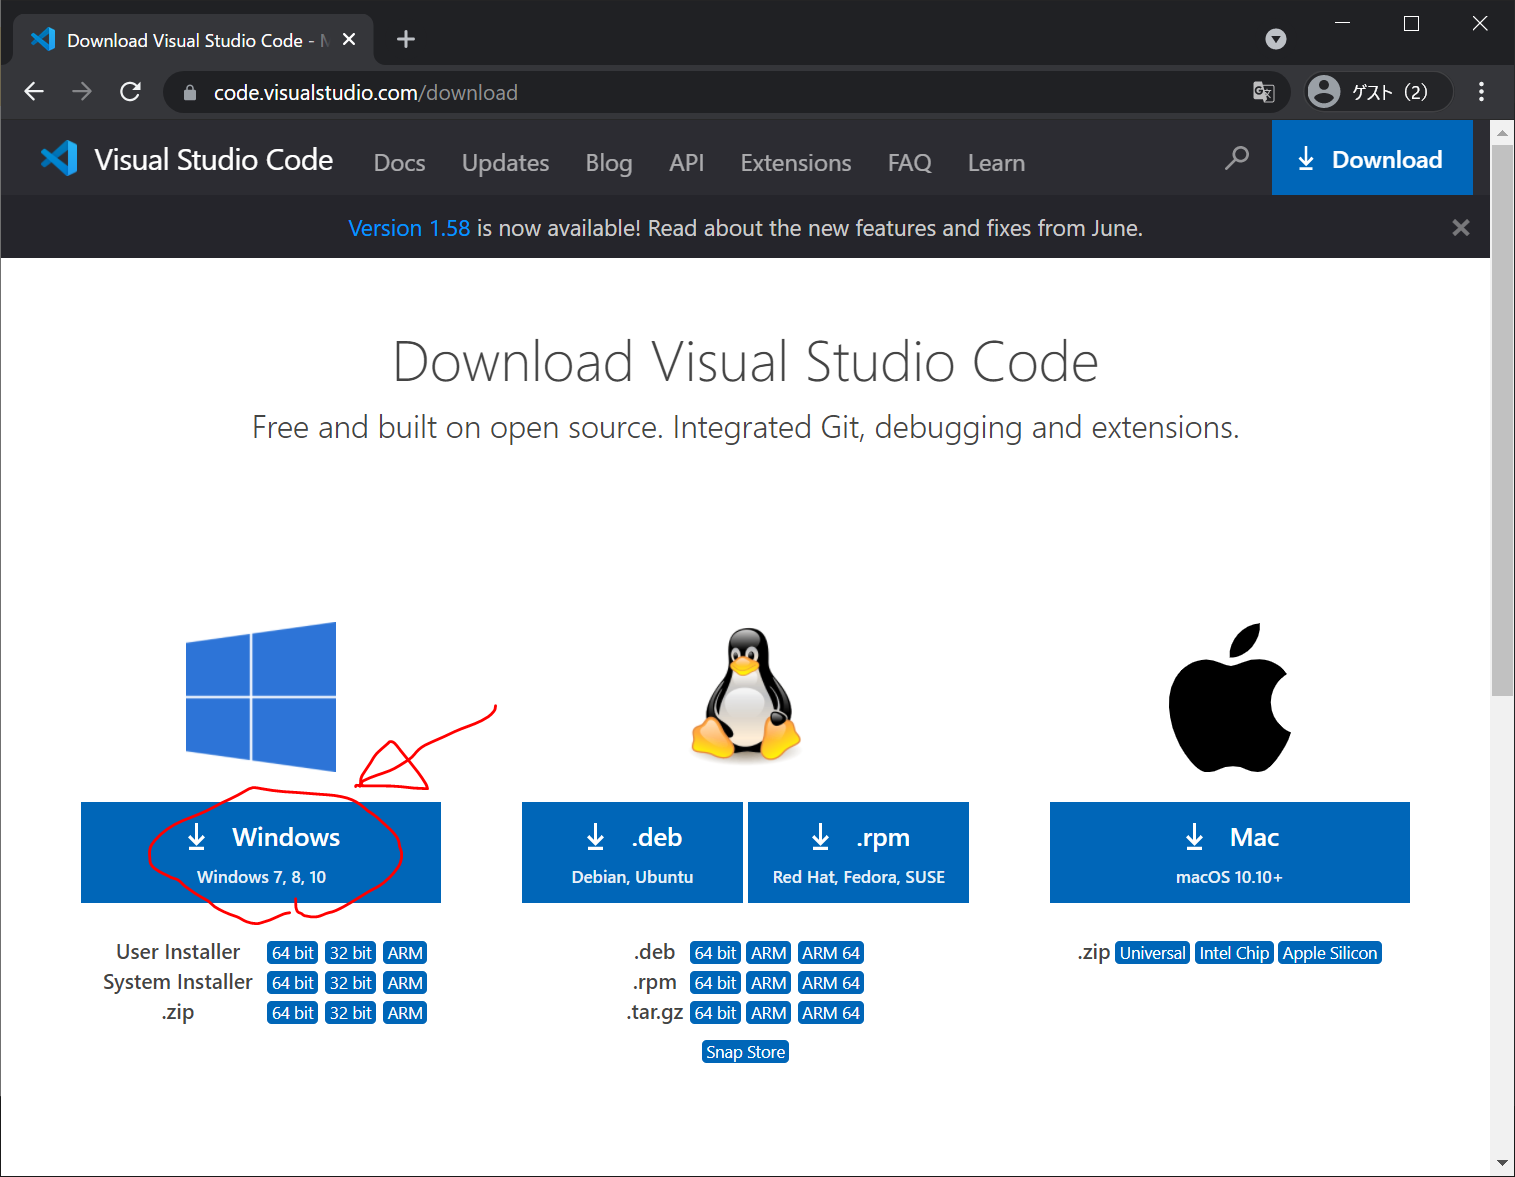
VisualStudioCodeのインストール
https://code.visualstudio.com/download からダウンロードしてインストールします。
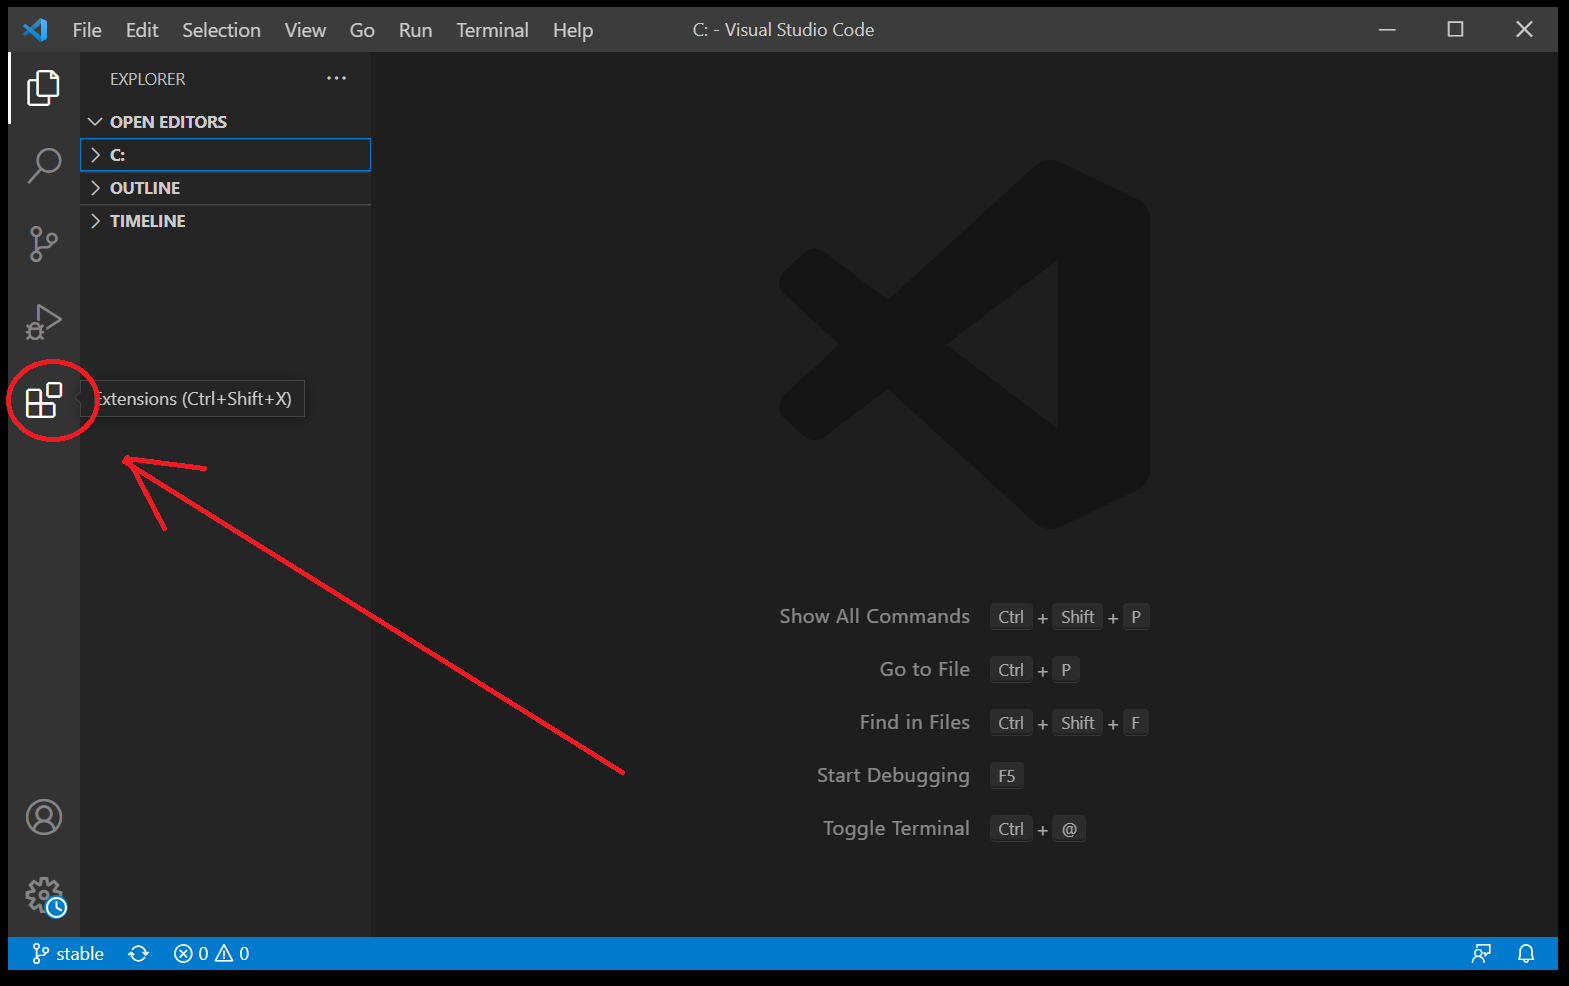
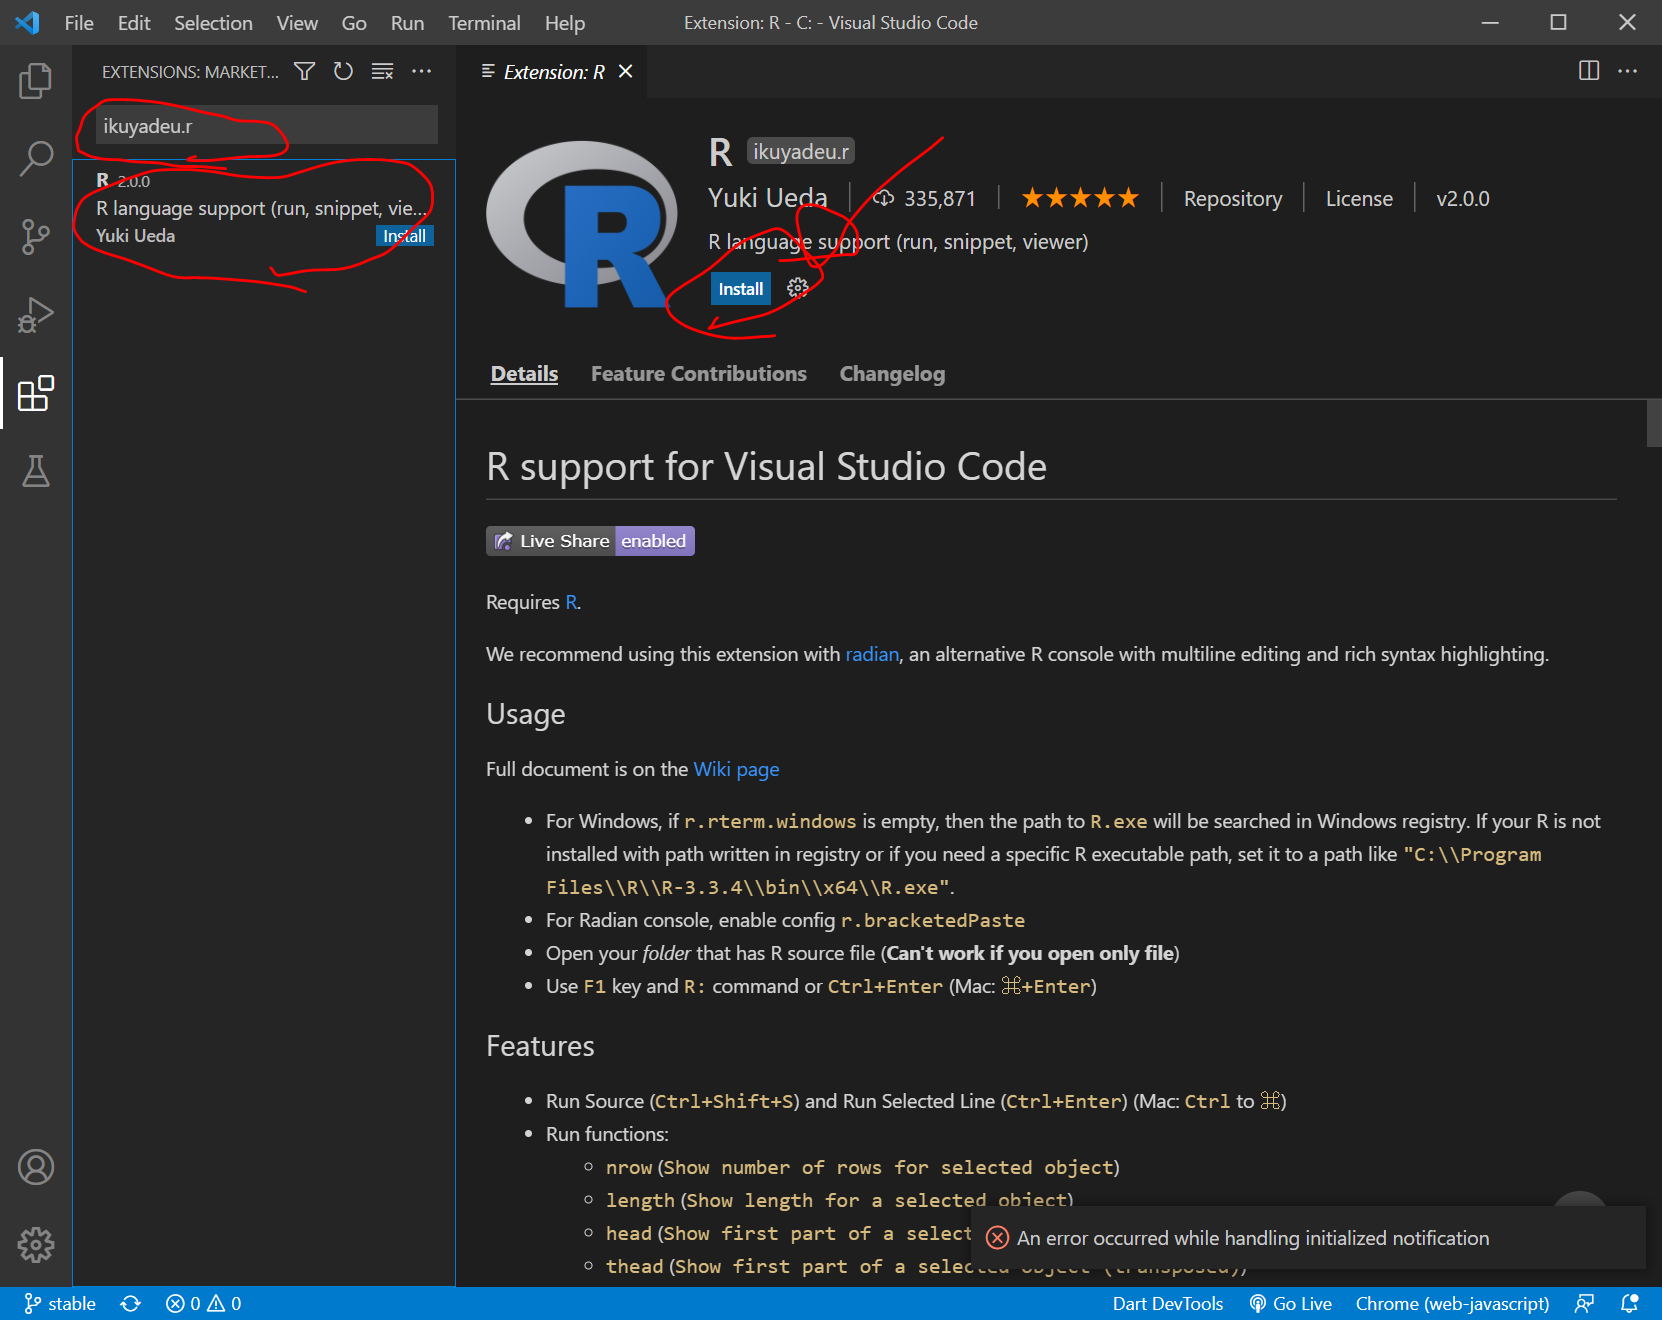
VSCodeの拡張機能vscode-Rのインストール
今回のキモです。
VisualStudioCodeを開き、画面左側の上から4番目の、「Extensions」をクリックします。
図のように、EXTENSIONS:MARKET…のすぐ下の欄に、
ikuyadeu.rと入力して、拡張機能R(ikuyadeu.r)をインストールします。
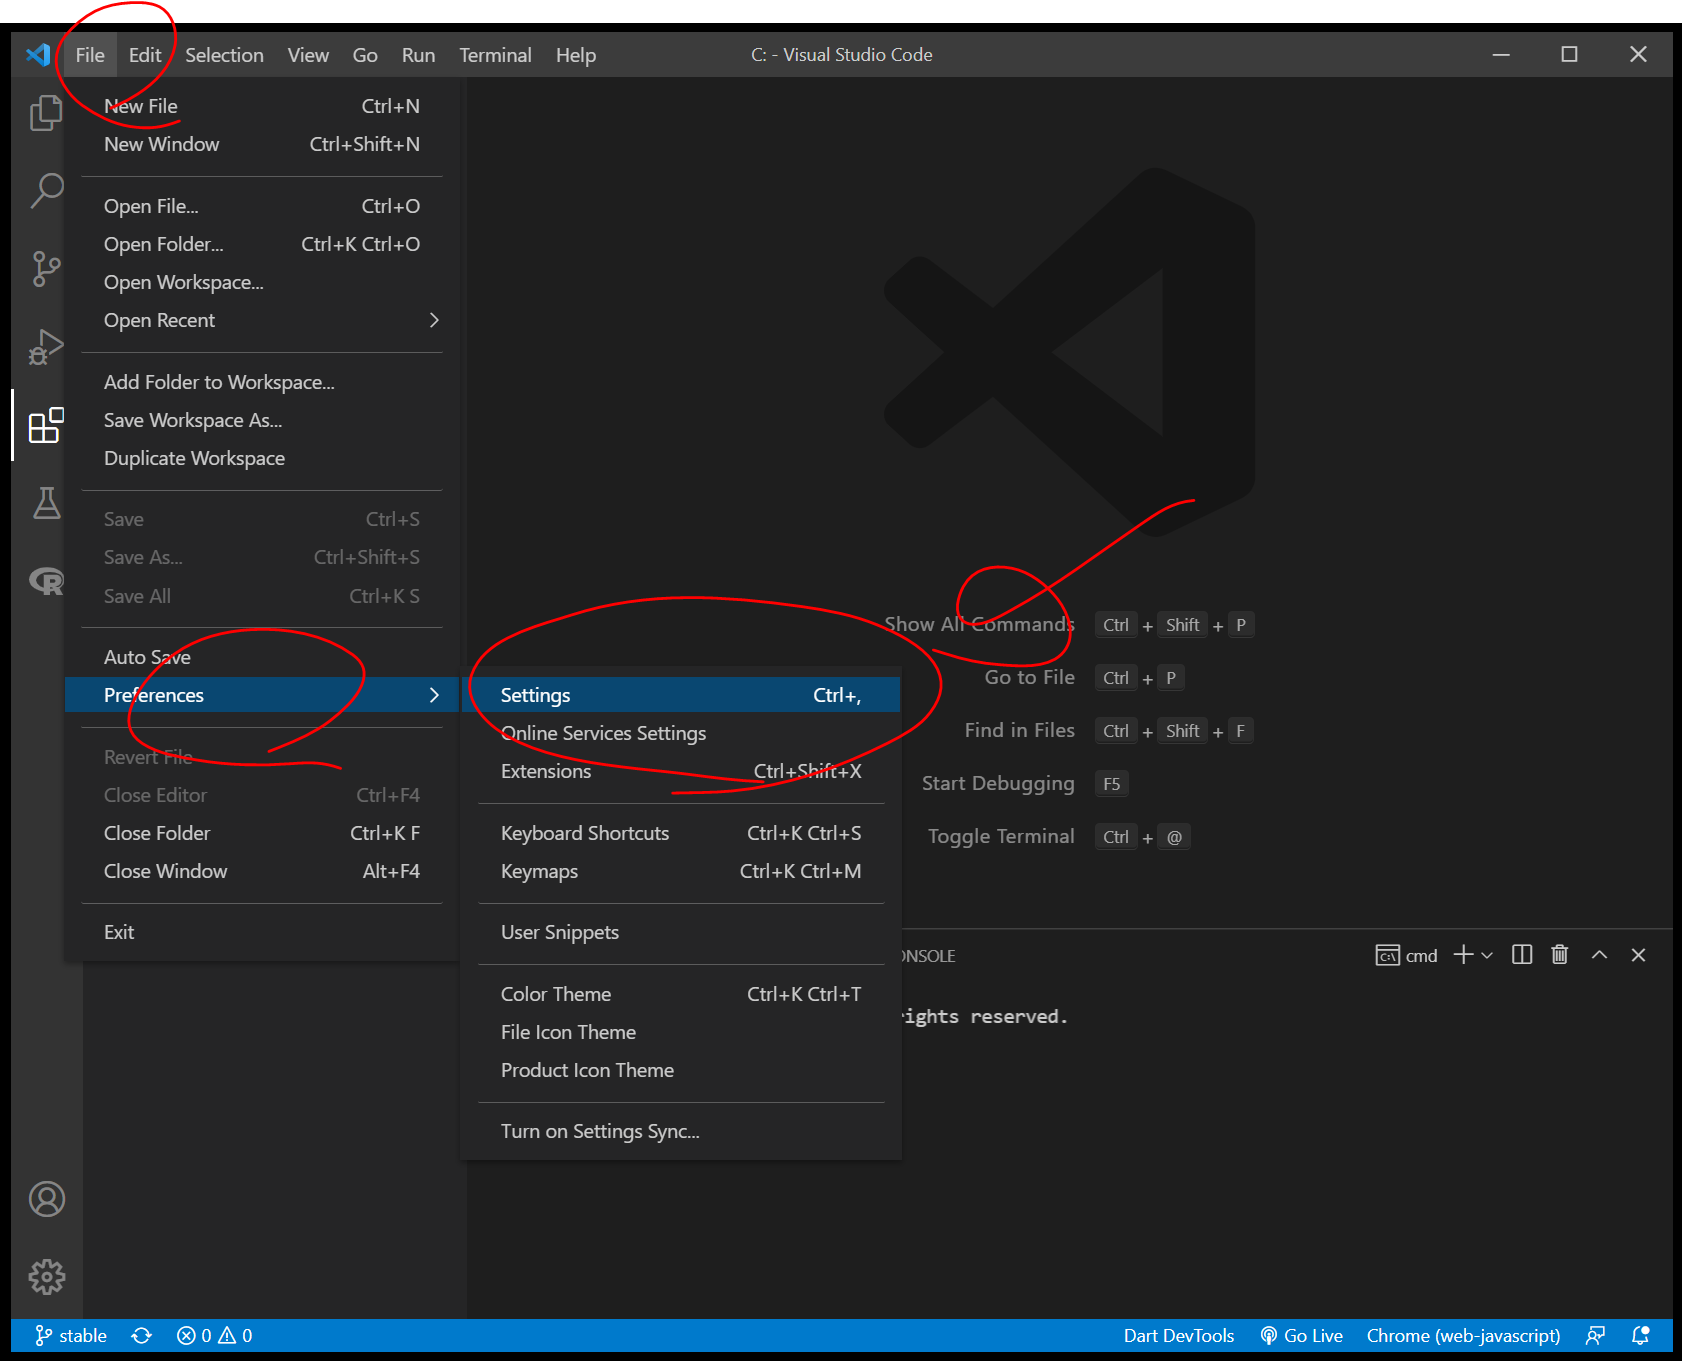
VisualStudioCodeにRのPATHを設定
File > Preferences > Settings の順にクリックして、Settings画面を出します。
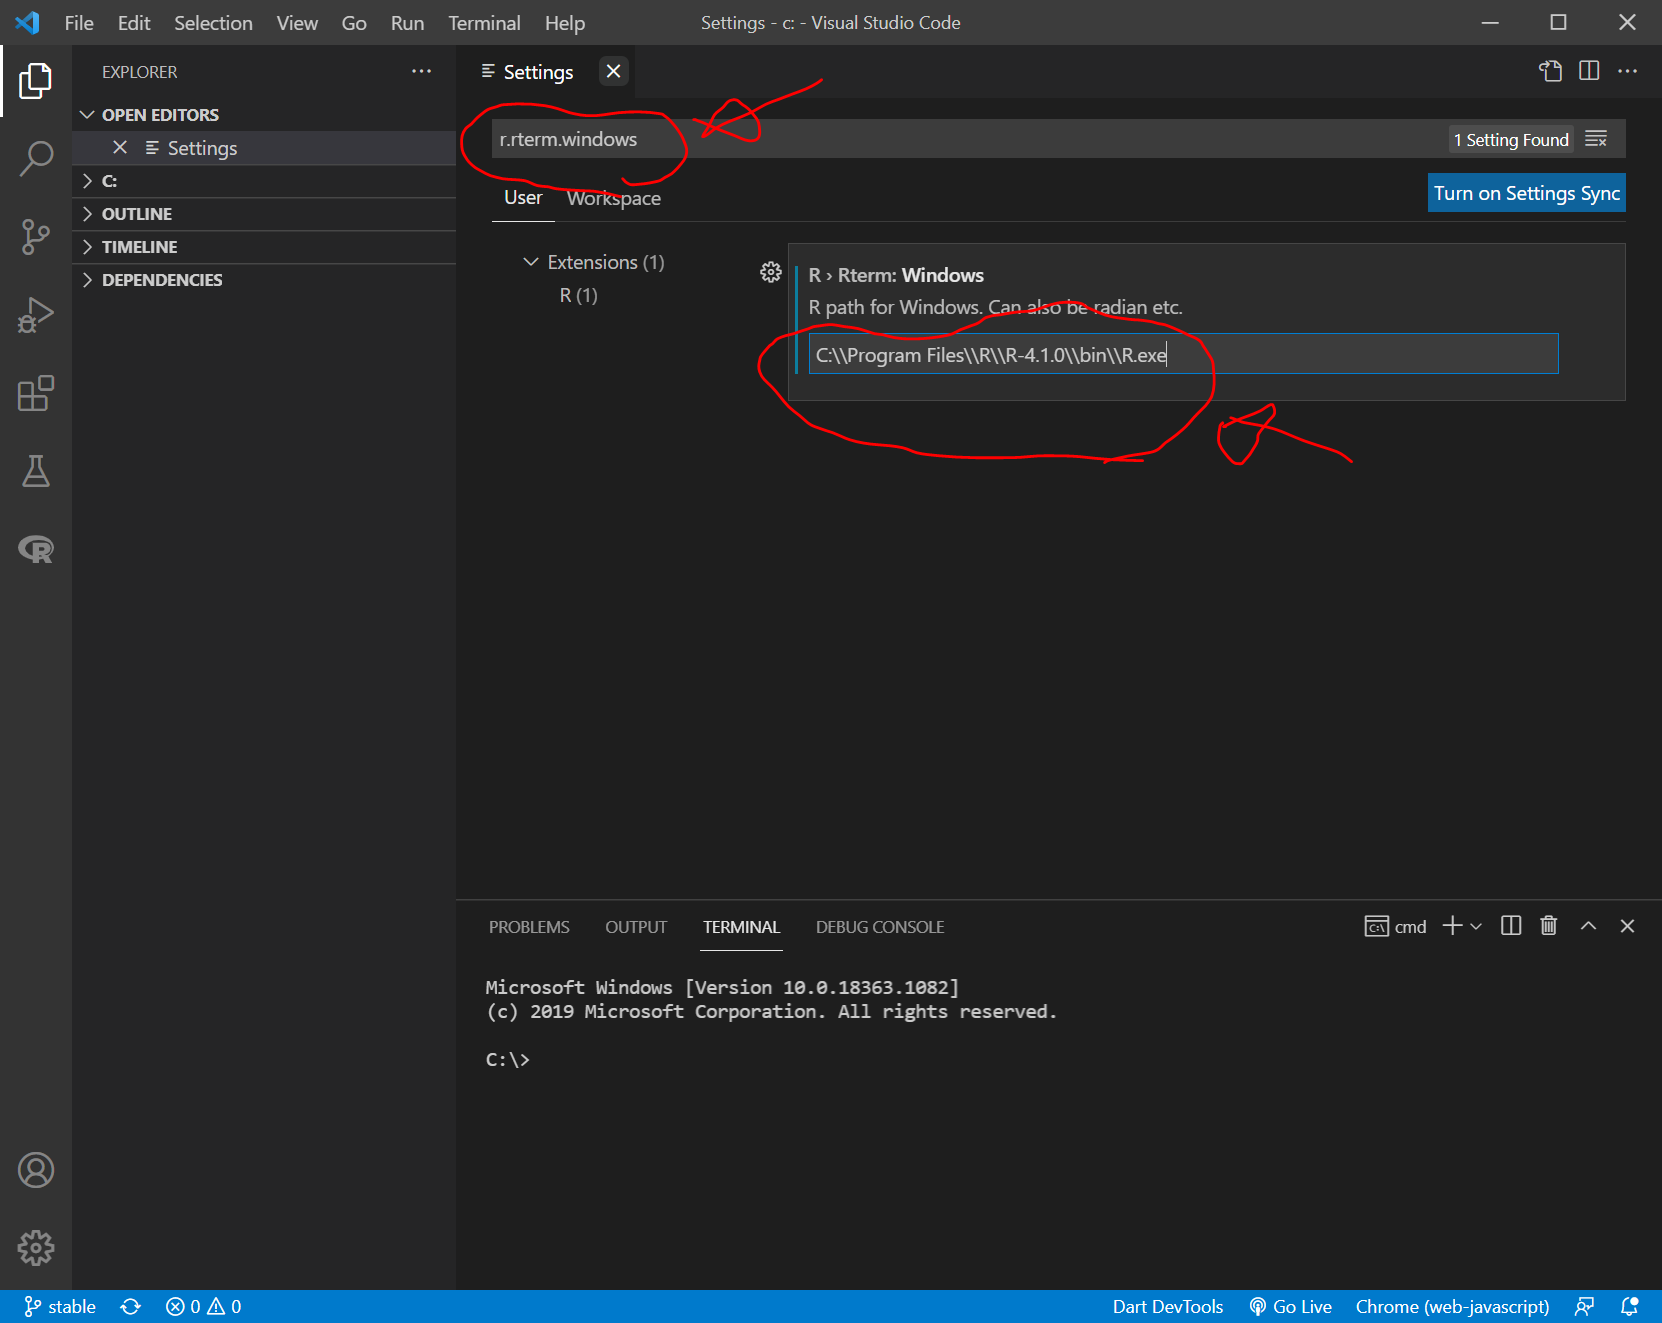
上の欄に、r.rterm.windows と入力して、R .Rterm:Windowsを出します
そこに、
C:\\Program Files\\R\\R-4.1.0\\bin\\R.exeと記載してから、Settingsを閉じます(自動で保存されます)。(R-4.1.0や、C:\\ のところは、異なる可能性があるので、ご自身の環境に直してください。)
参考:研究用に使うRの開発環境(Rstudio vs. VSCode)(2020-09-19)
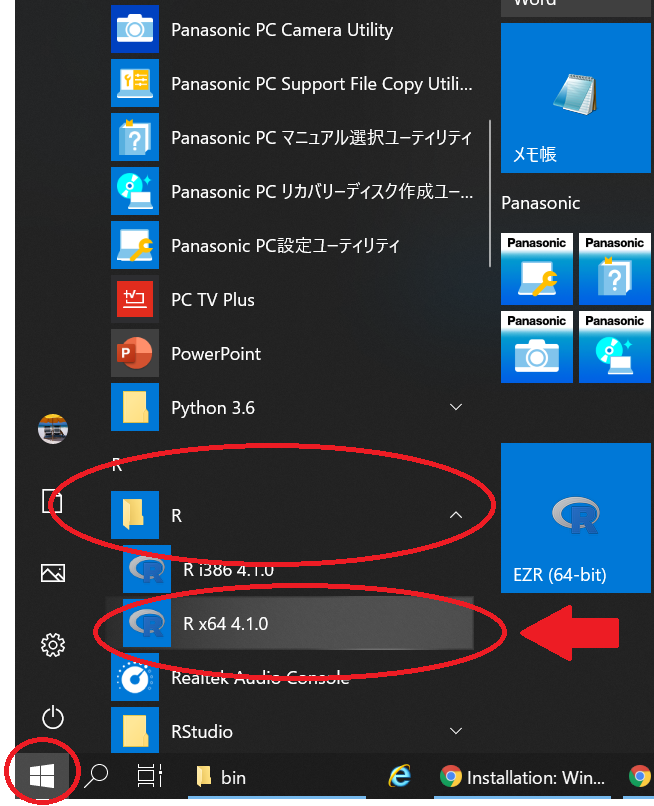
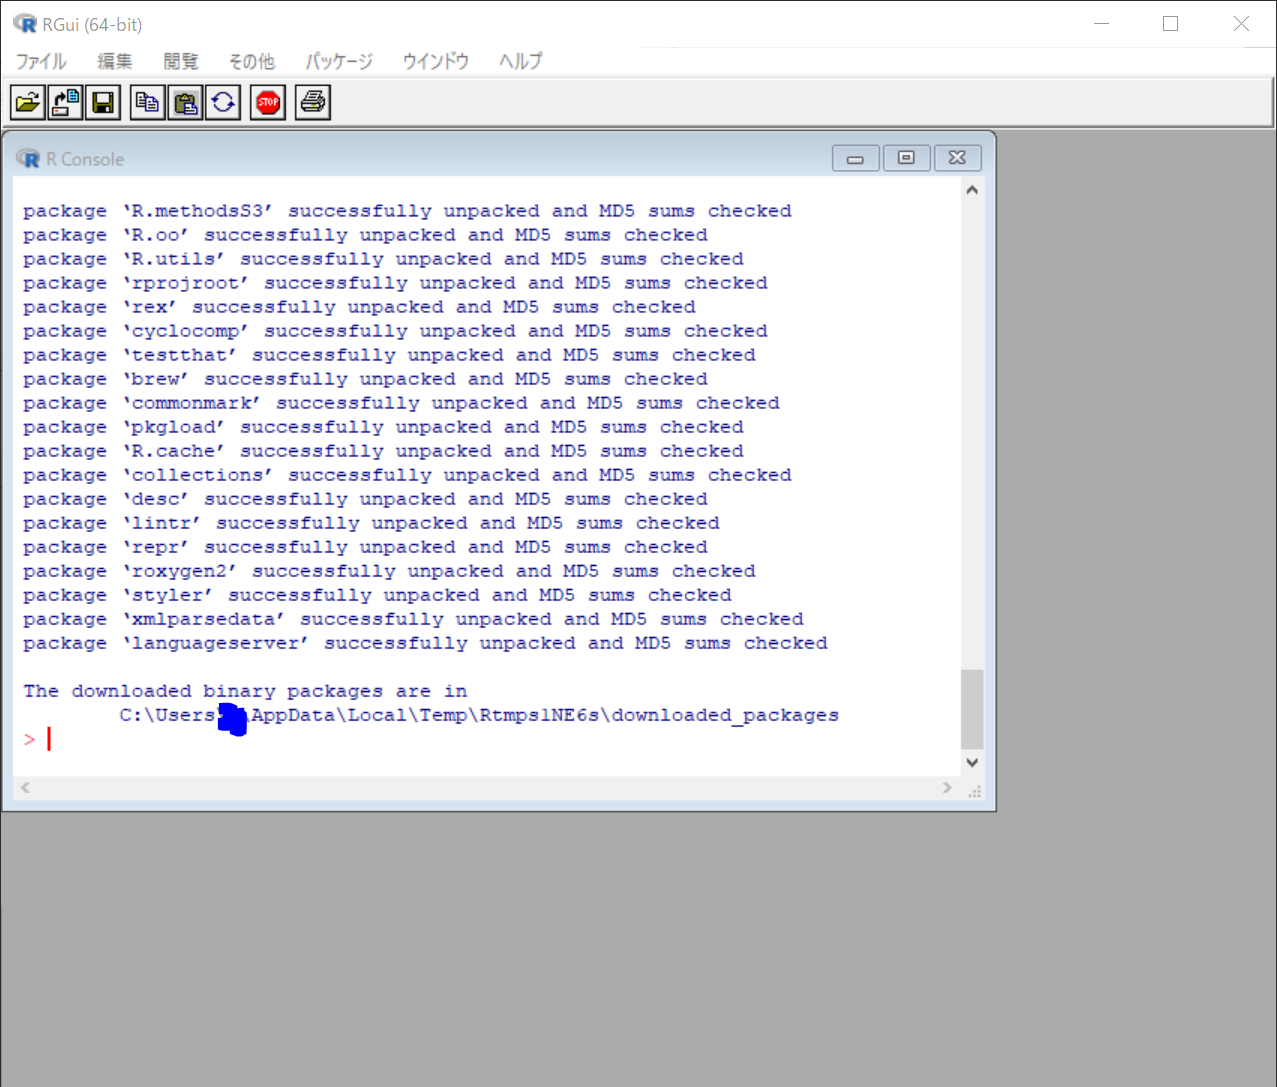
Rを起動して、Rのパッケージであるlanuageserverとhttpgdをインストール
Windowsボタンから、Rを起動します。
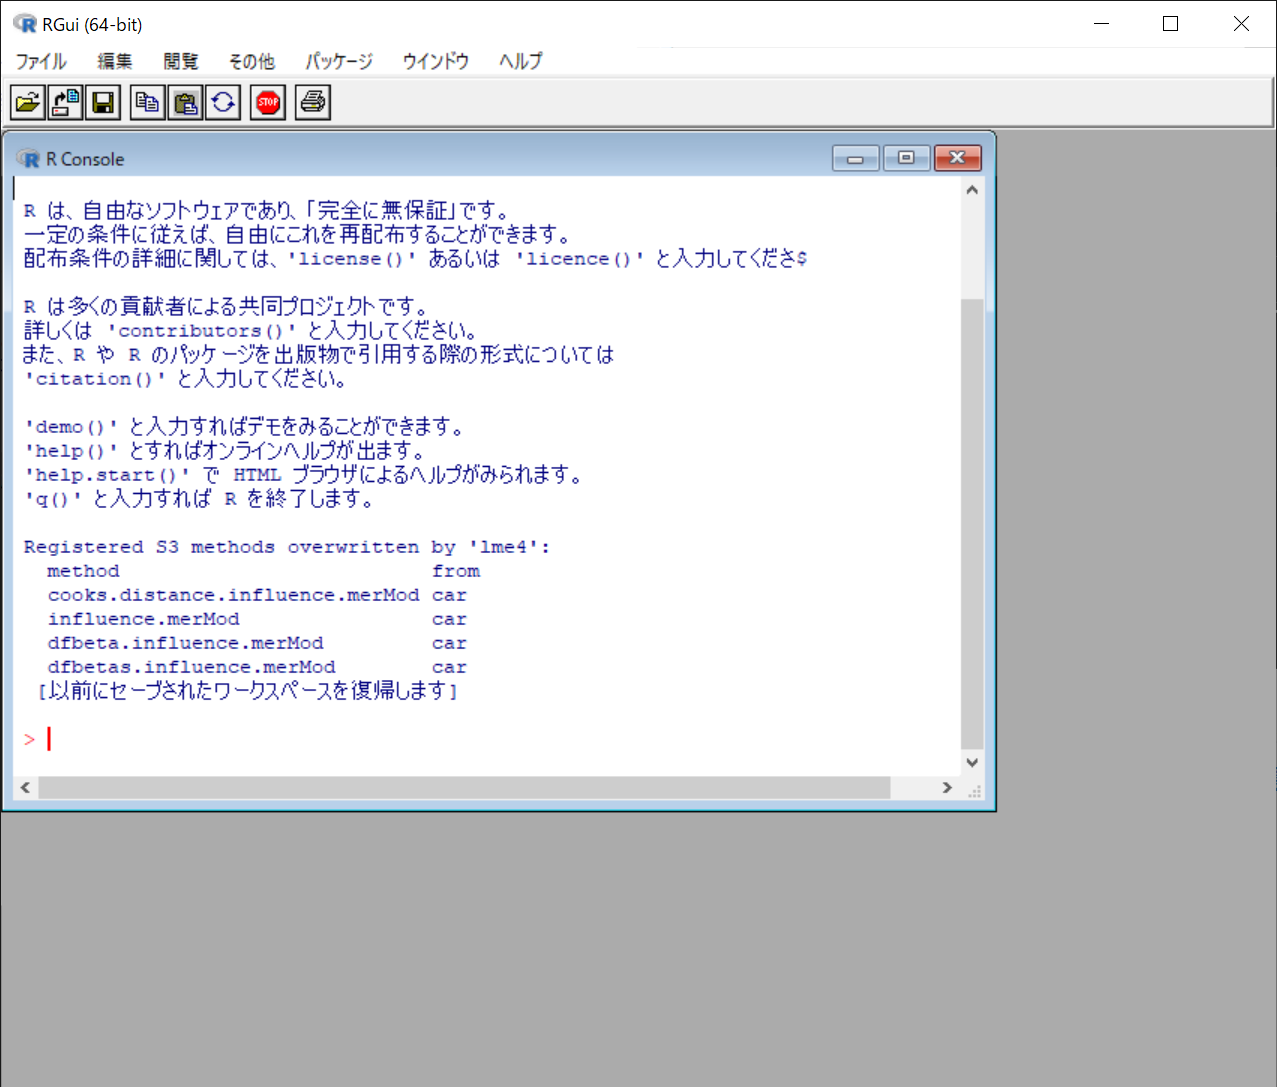
R Consoleに以下を入力して実行します。
install.packages("languageserver")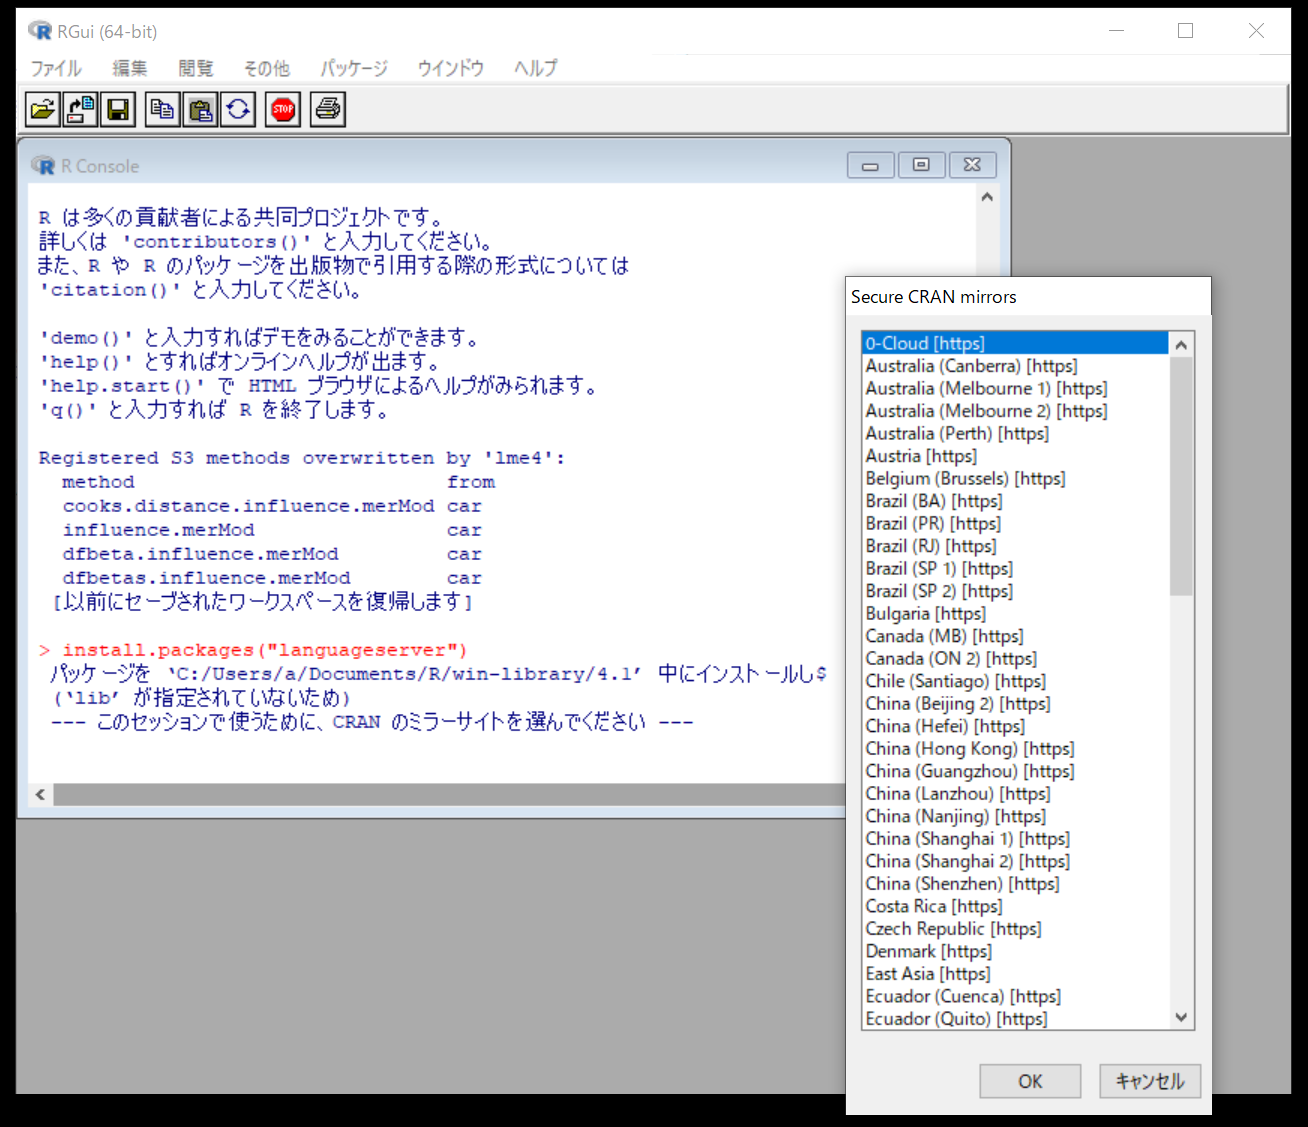
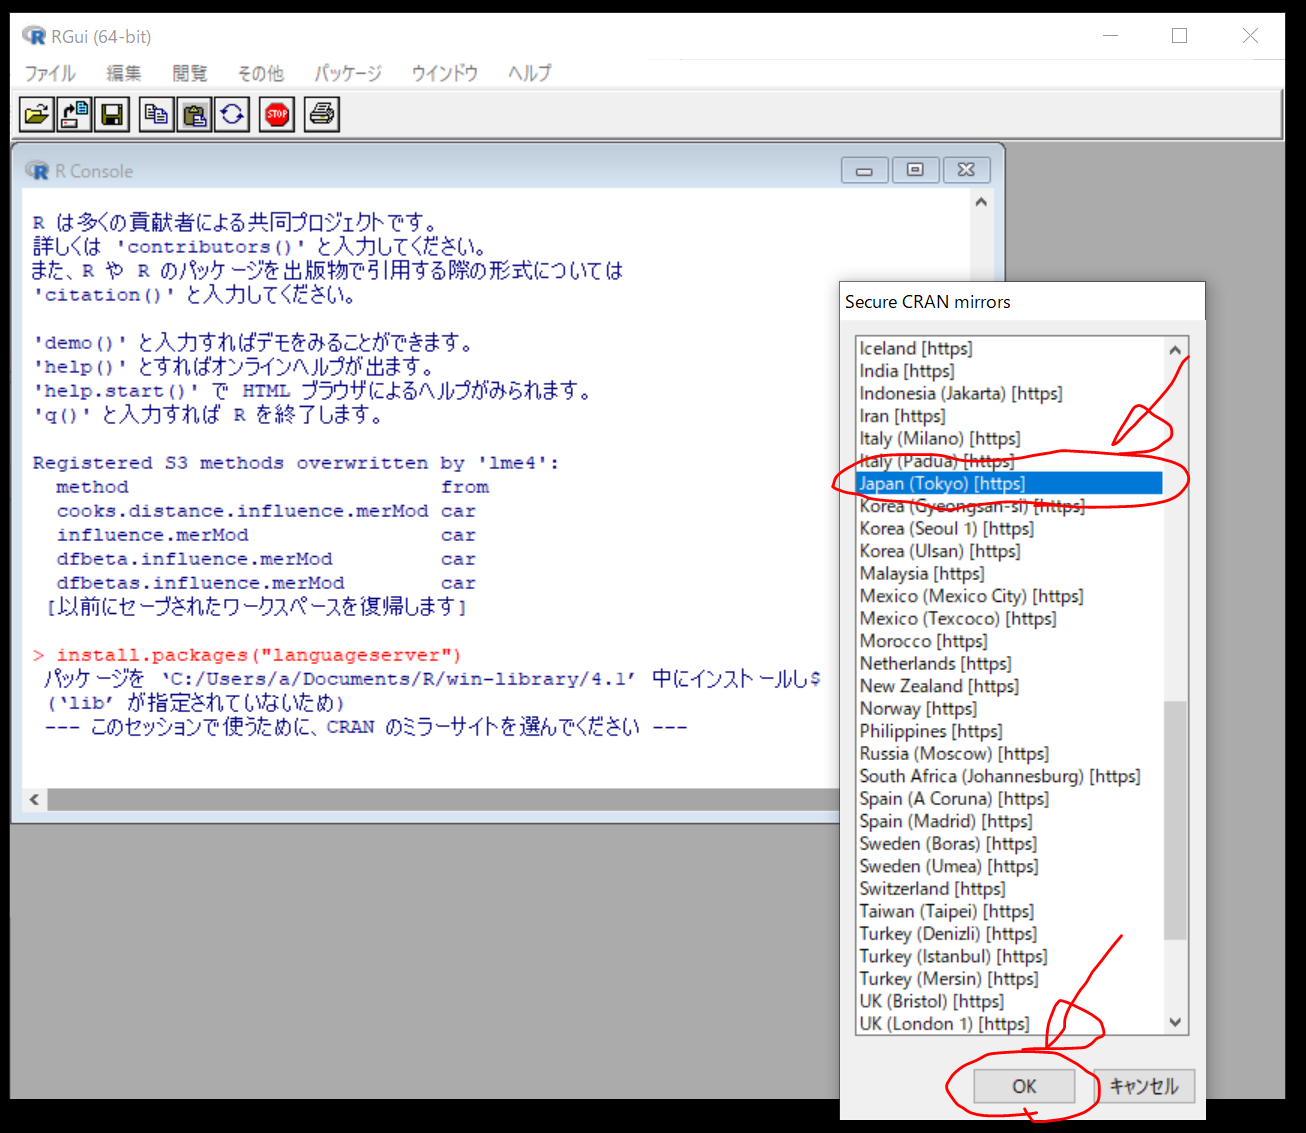
CRAN mirrorsの選択画面が出てくるので、適当に選んでOKを押します。
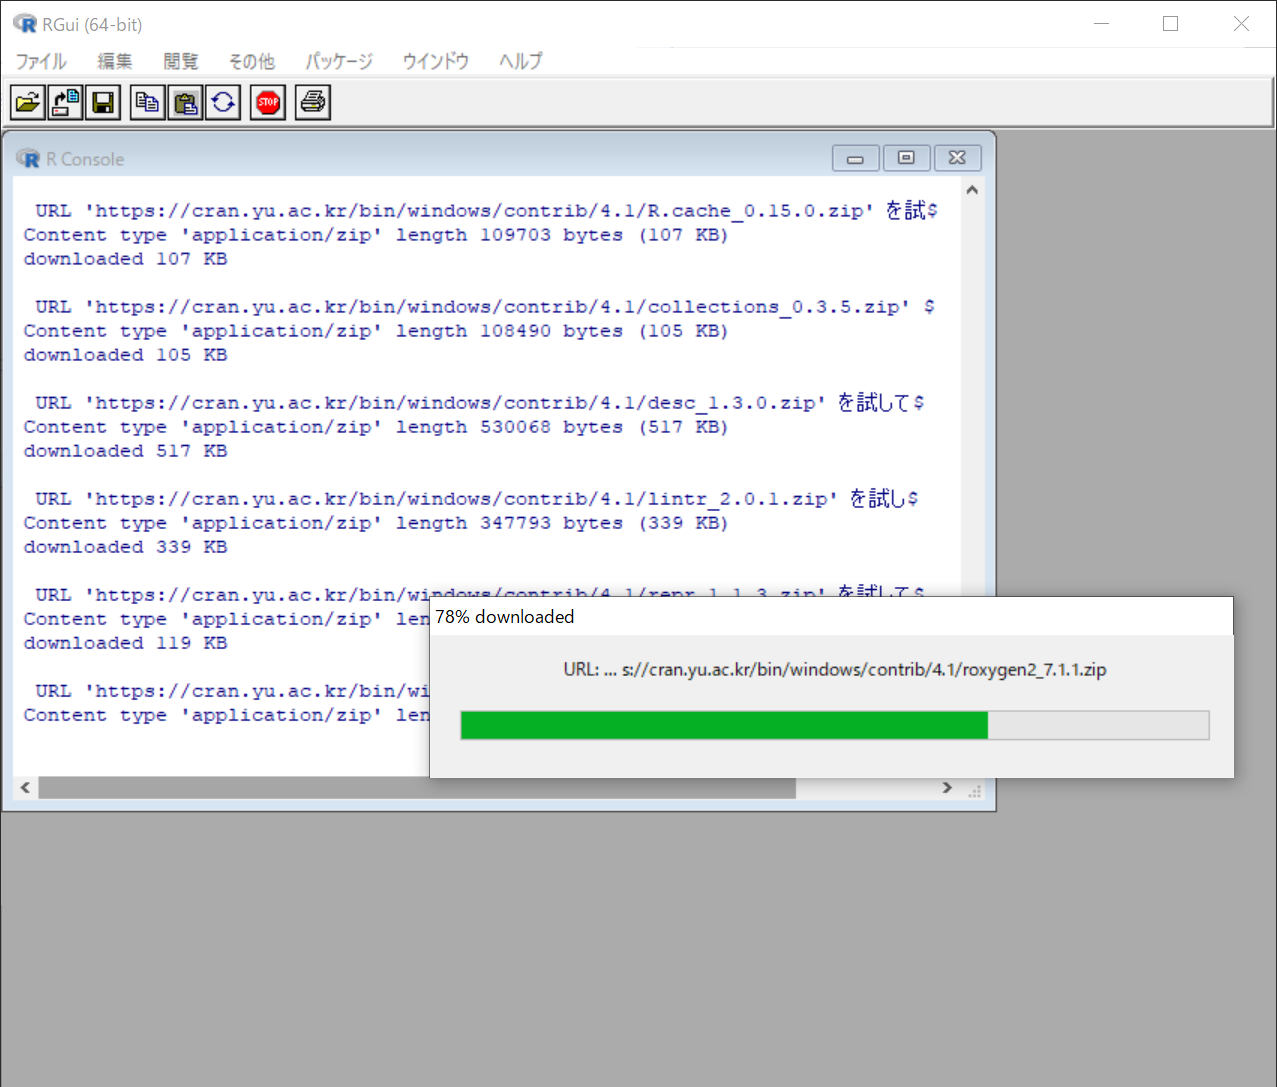
数分待ちます。
インストールが終わったら、
続いて、以下を入力して、httpgdパッケージをインストールします。
install.packages("httpgd")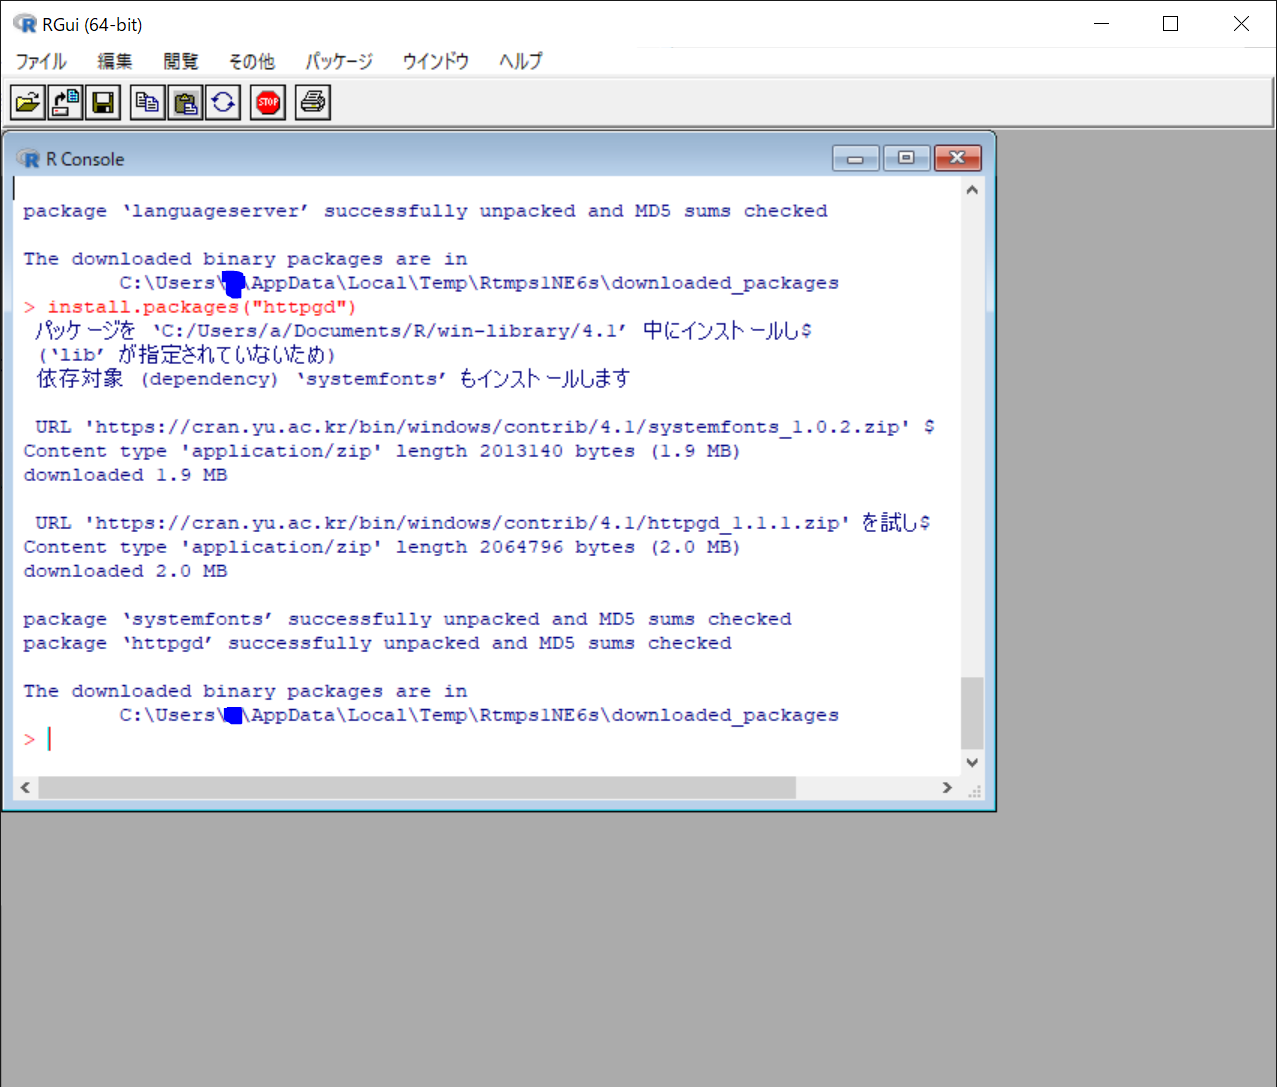
いったん、Rを閉じます。(作業スペースは保存しません。)
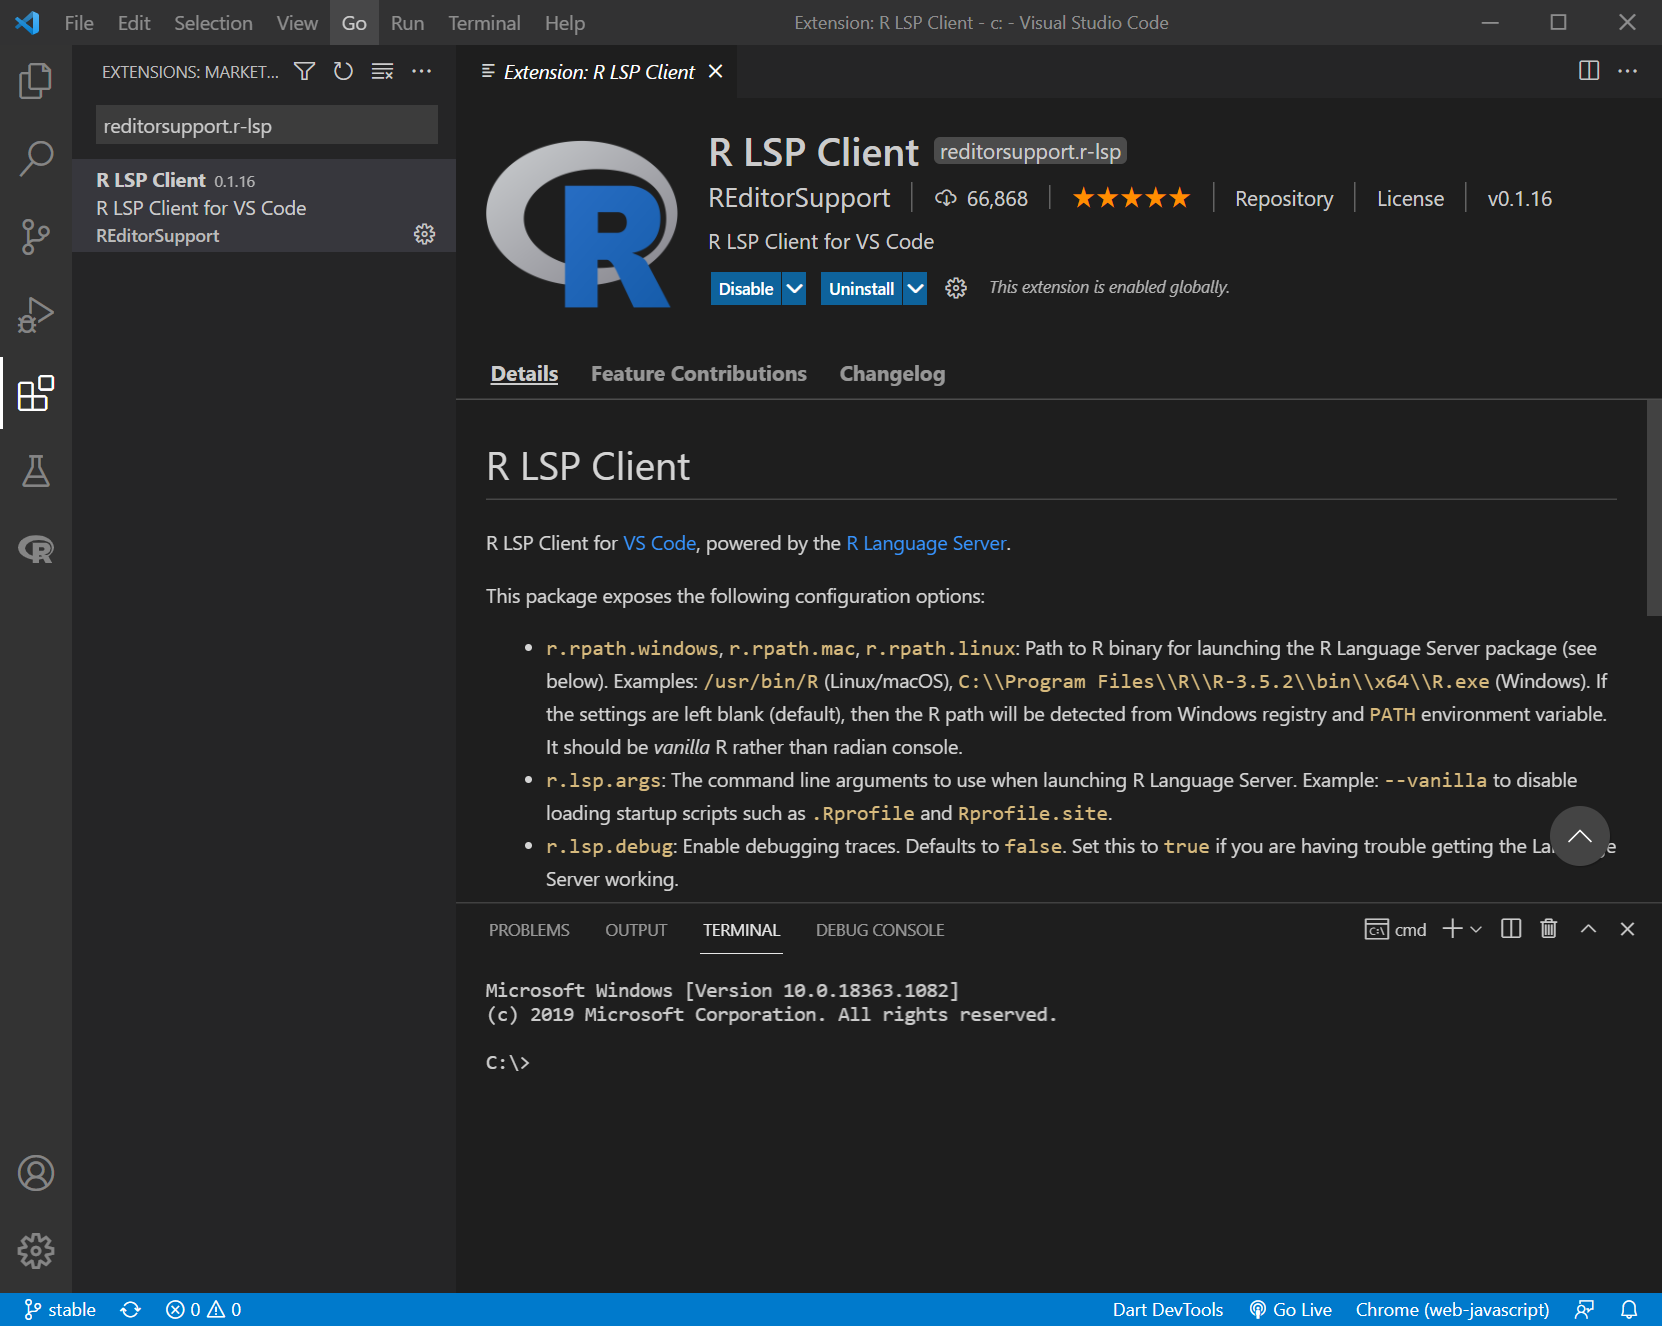
VisualStudioCodeの拡張機能vscode-r-lspのインストール
VisualStudioCodeの拡張機能の画面で、以下を入力して、vscode-r-lspをインストールします。
reditorsupport.r-lsp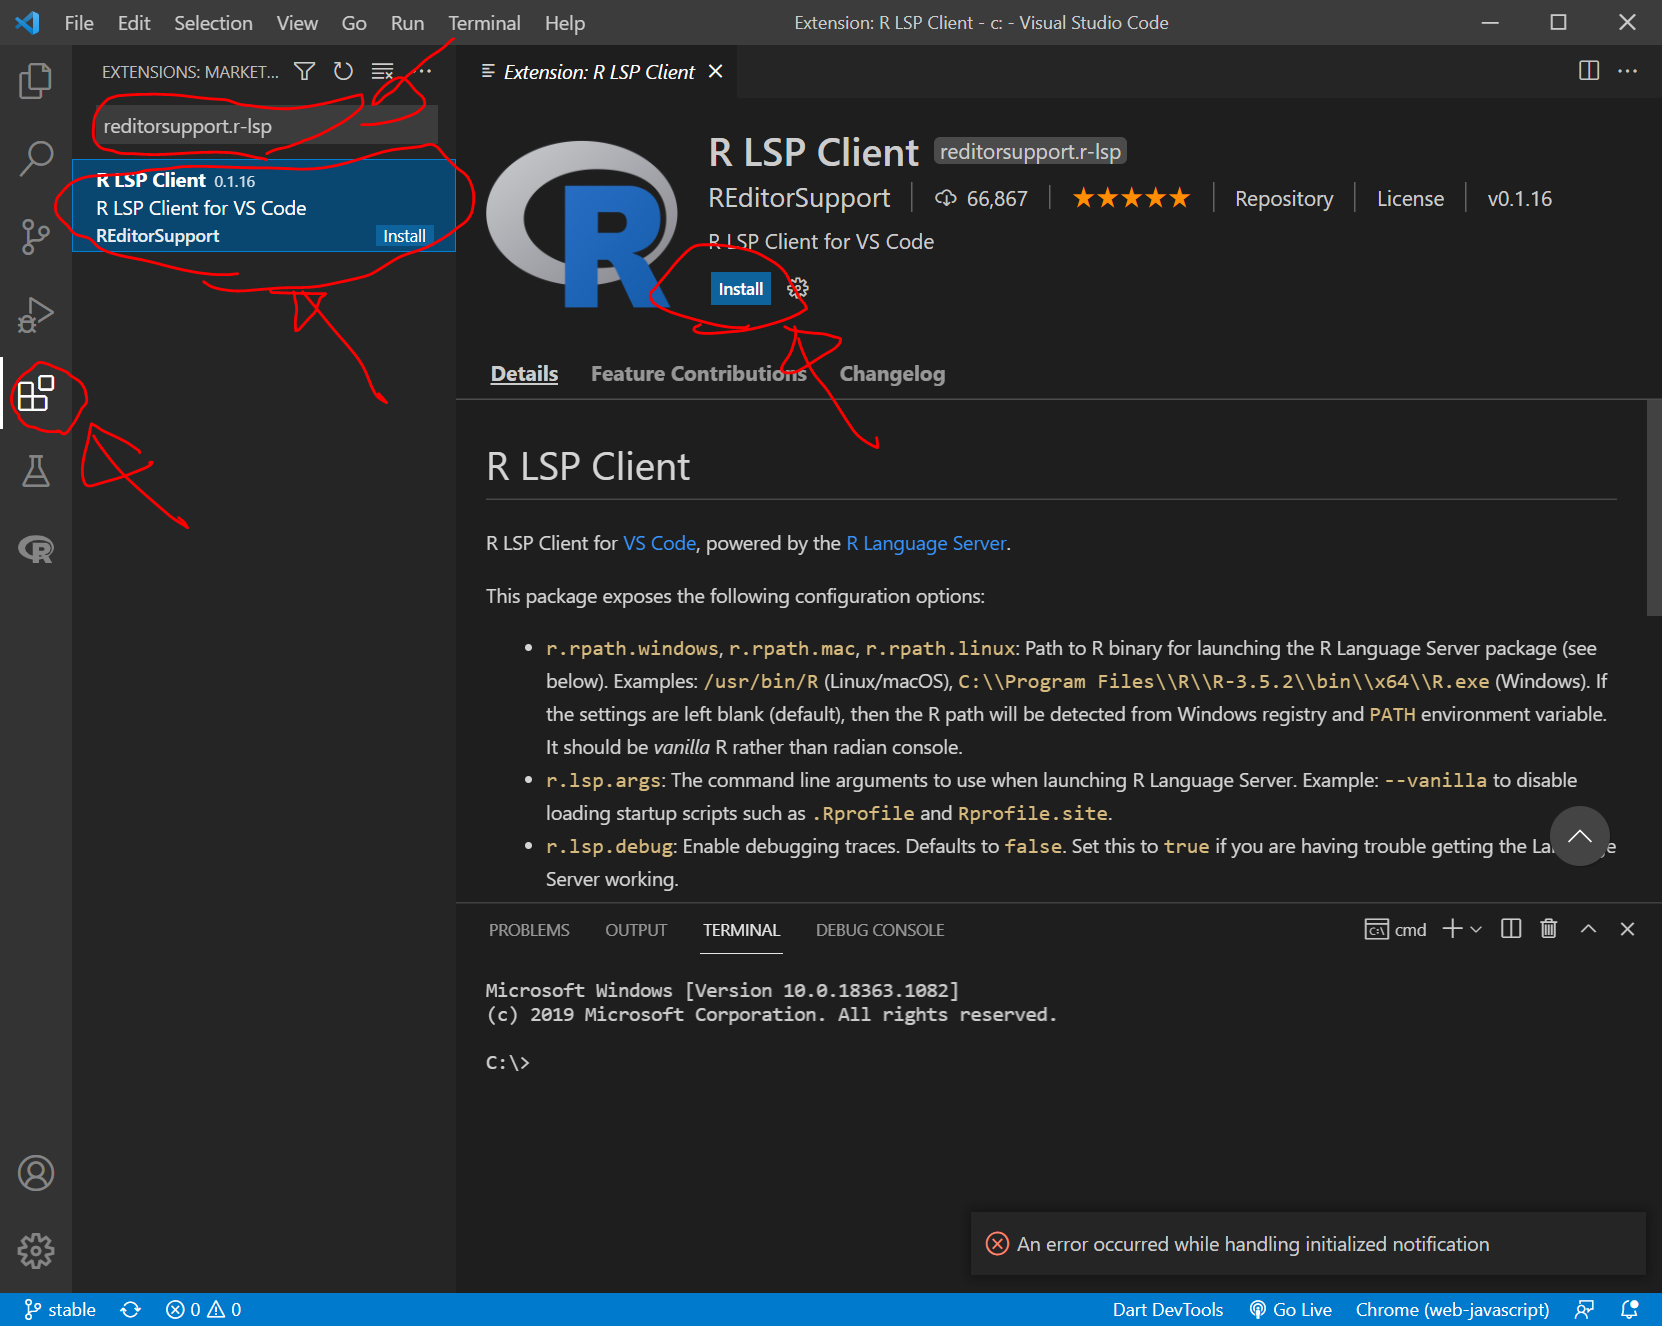
radianのインストール
radianが何者なのかはわかりませんが、とりあえず、radianをインストールするために、Pythonをインストールしなければならないそうです。
https://www.python.org/downloads/windows/ からダウンロードしてインストールします。
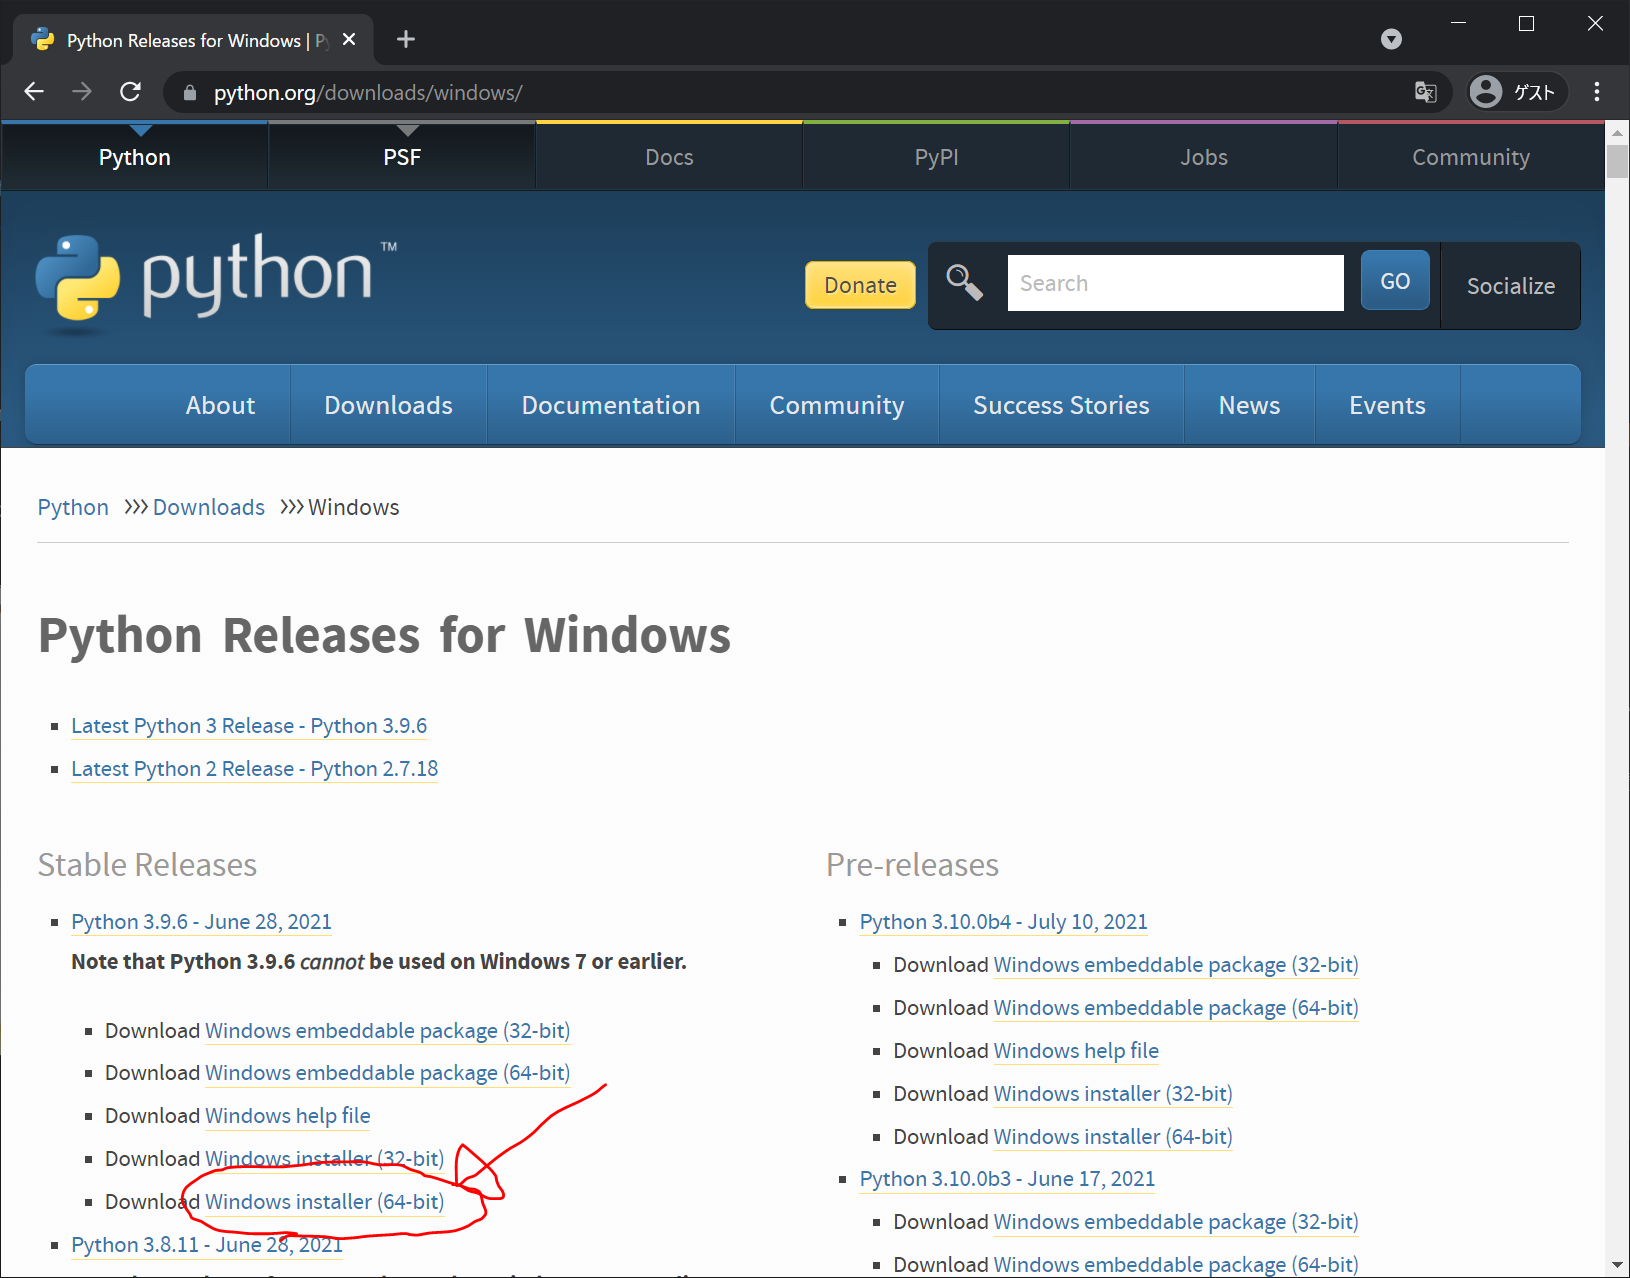
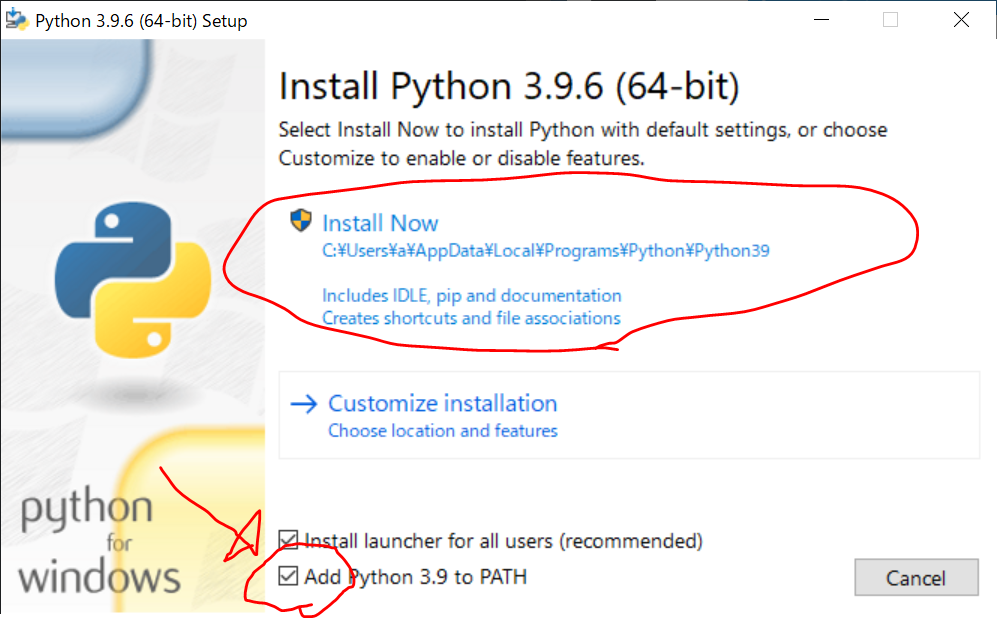
インストールの最初の画面で、下の方の、
Add Python 3.9 to PATHのチェックボックスをONにしてから、Install NOW をクリックして、Pythonのインストールを開始します。
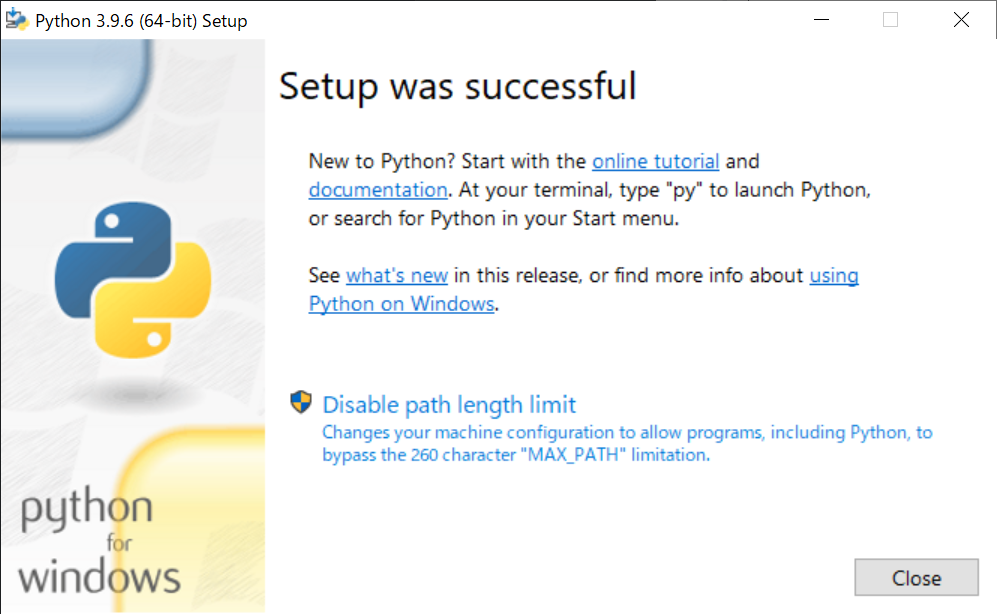
1分くらいでインストールが終わるので、closeします。
“Ctrl+@"を押して、ターミナル画面を出し、以下を入力して、radianをインストールします。
pip install -U radian
引き続きターミナル画面に以下を入力して、radian.exeがインストールした場所を確認します。
where.exe radian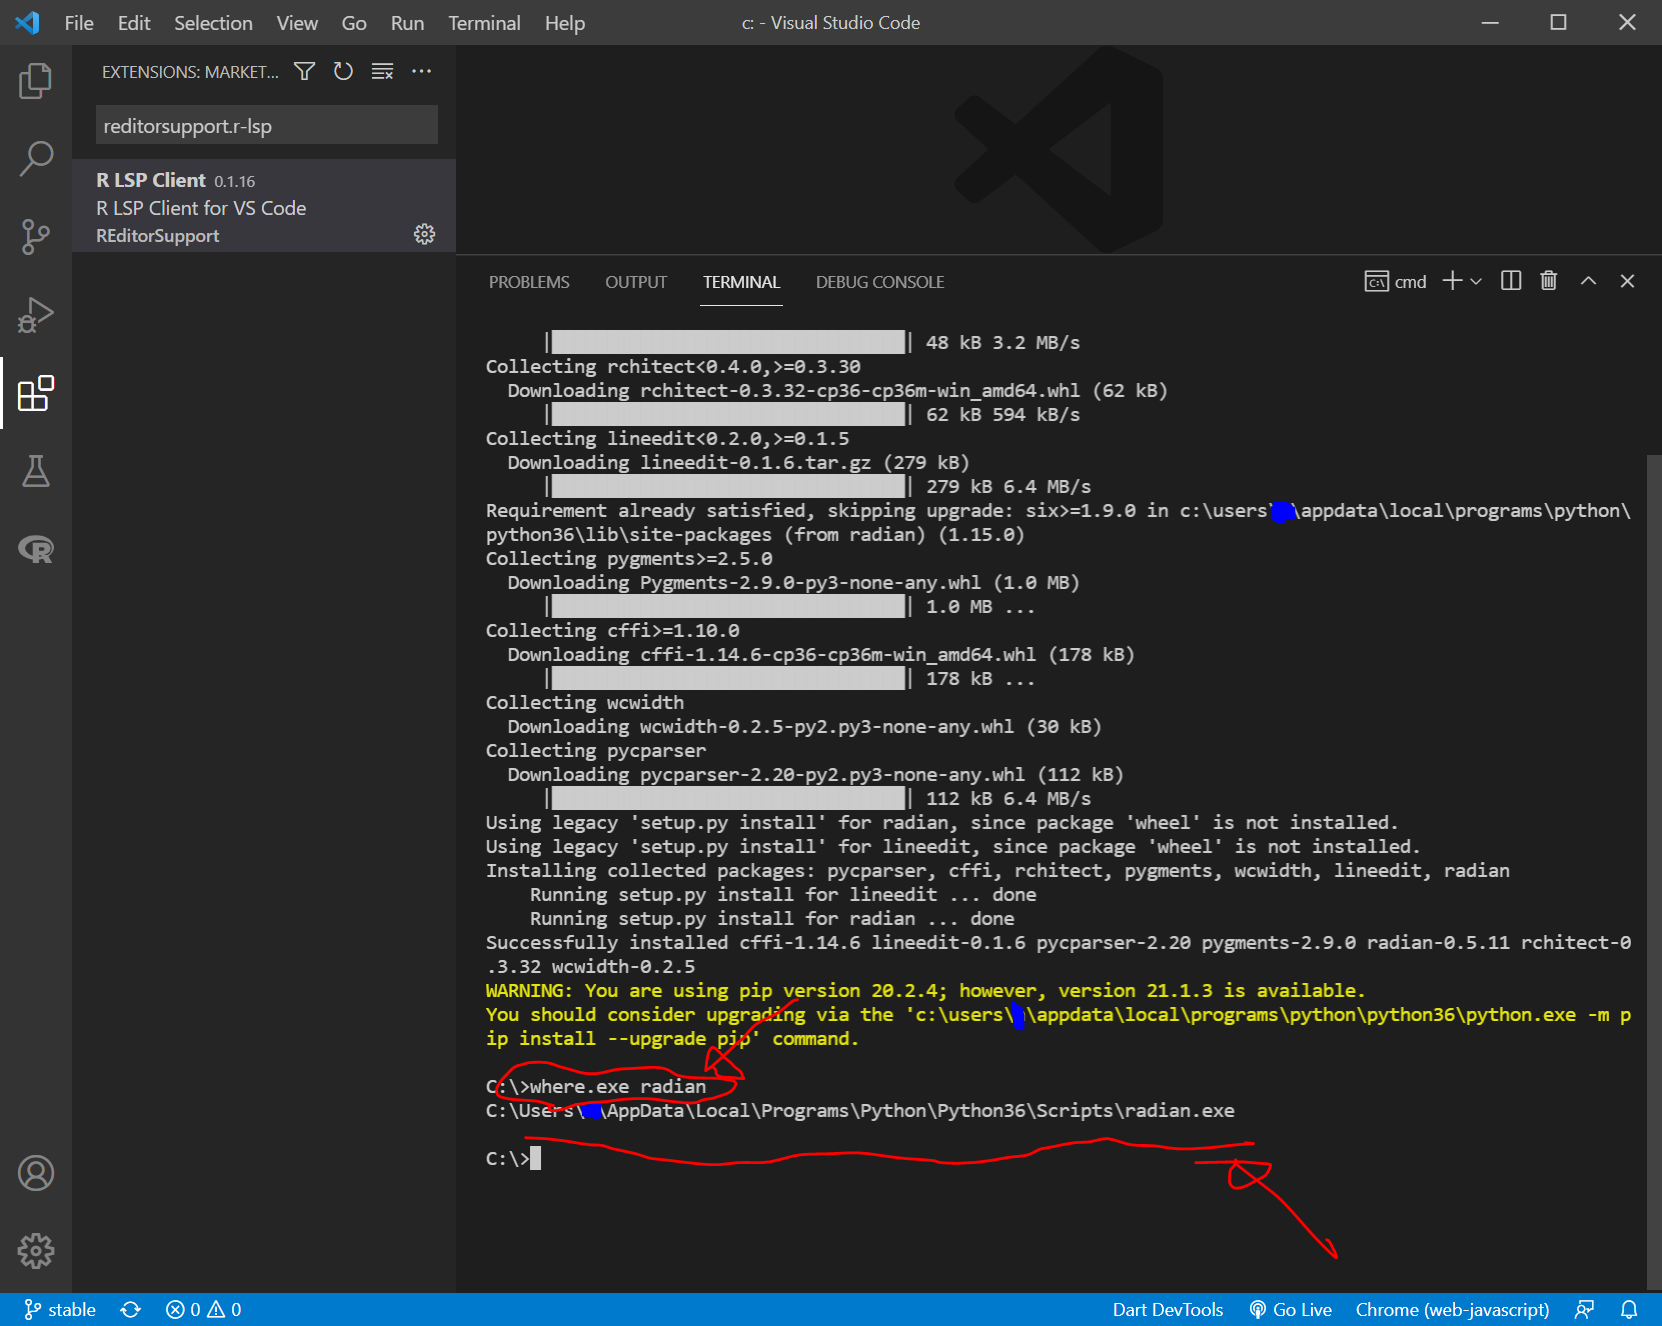
このとき出てくる
C:\Users\(ユーザ名)\AppData\Local\Programs\Python\Python36\Scripts\radian.exeといった感じの文字列を、メモ帳などにいったんコピーしておきます。
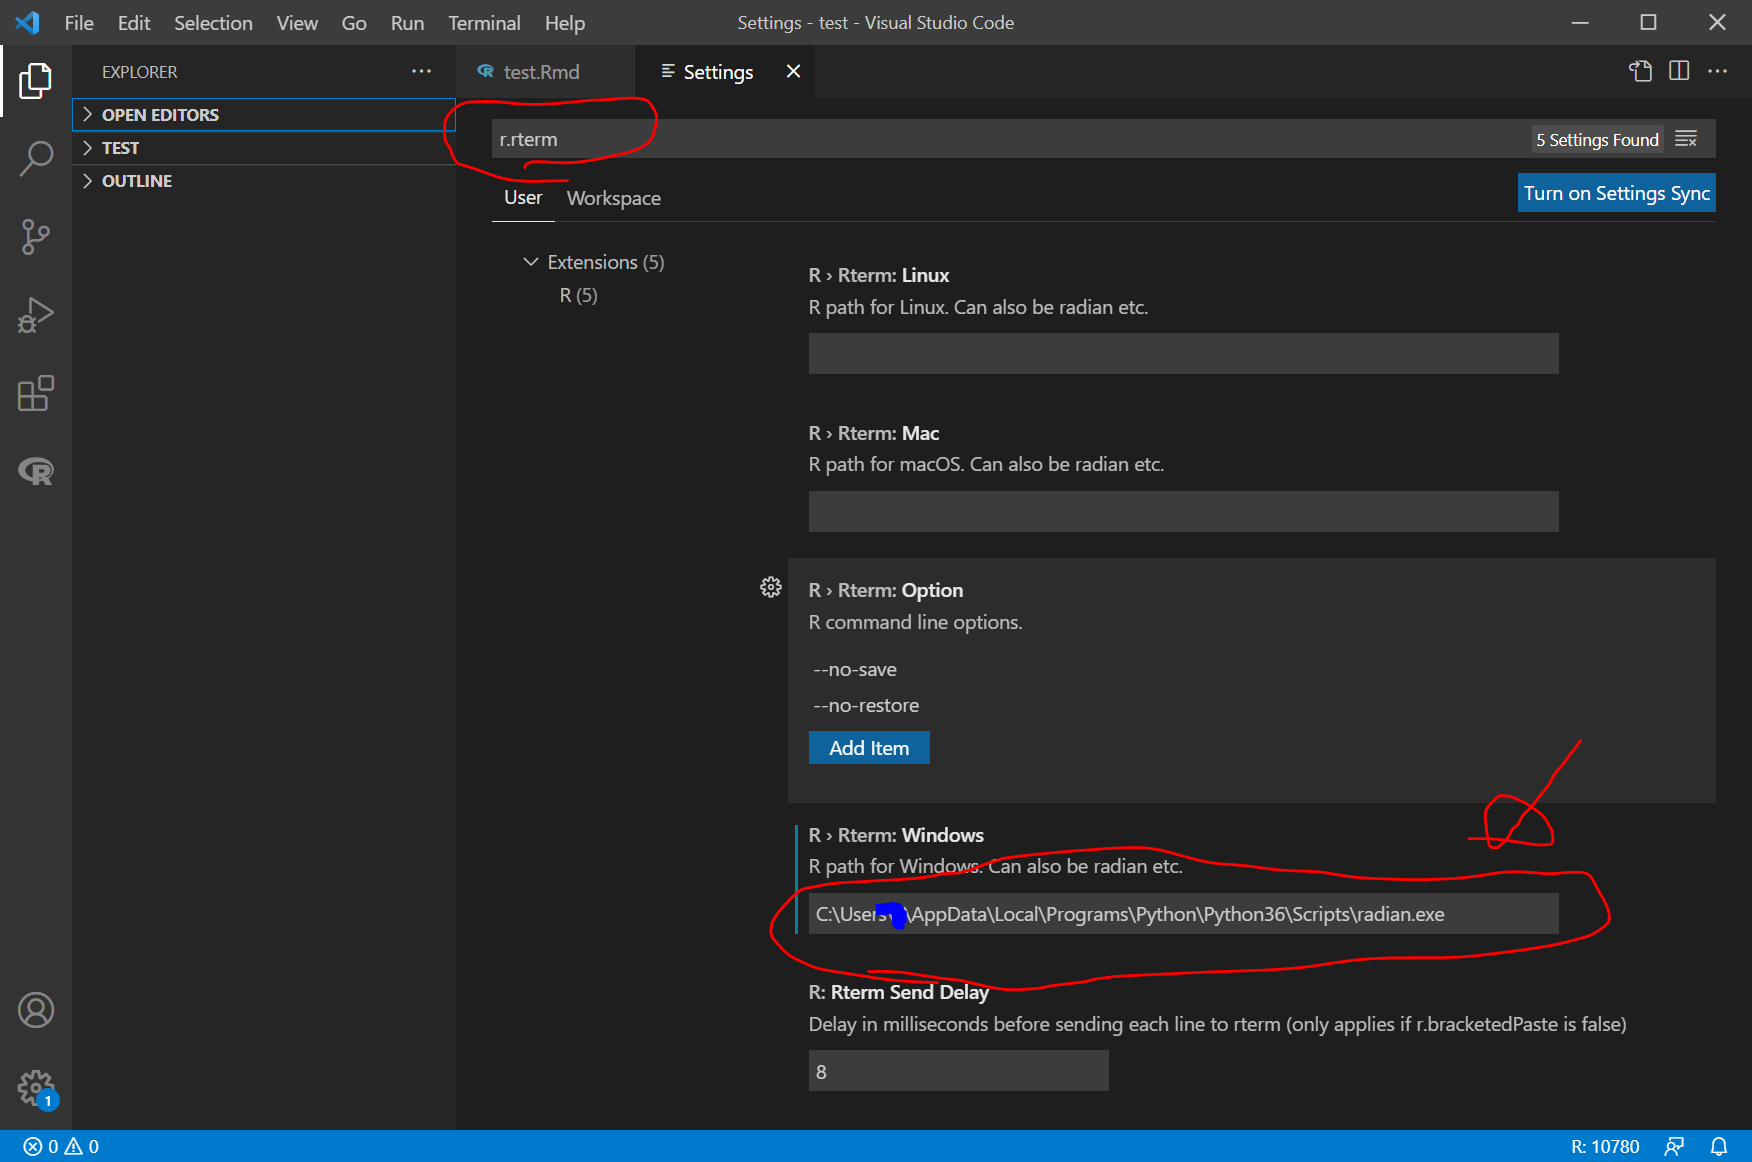
File > Preferences > Settings の順にクリックして、Settings画面を出します。
Settings画面が出てくるので、上の欄に、 r.rterm.windows と入力して R > Rterm: Windowsの画面を出して、その欄に、先ほどコピーしたradian.exeの場所をペーストします。
(ここらへんがよくわからないのですが、私の環境では、C:\\Users\\ にしないで、 C:\Users\… のまま、 ペーストすると、後でうまくいきました。)
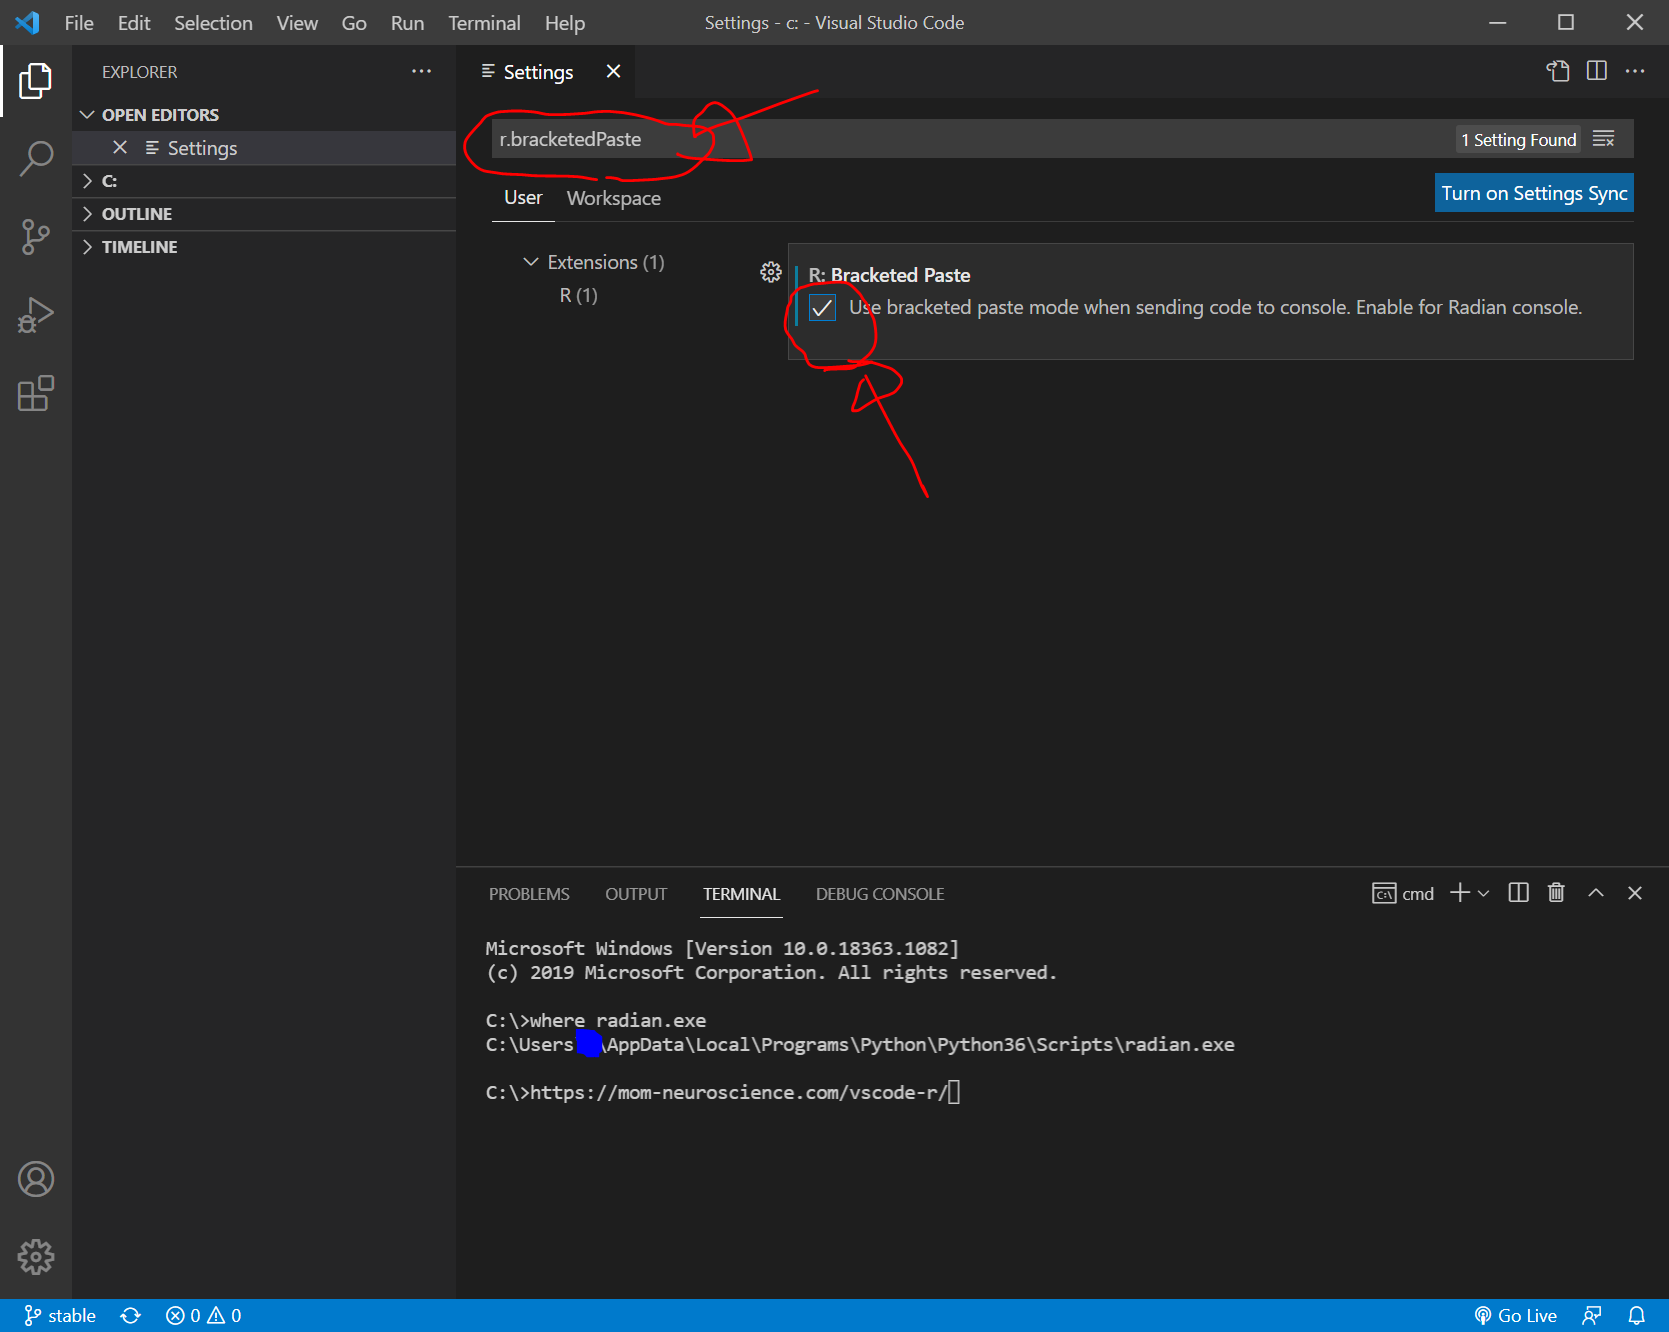
さらに、Settingsの上の欄に、r.bracketedPaste と入力して、R: Bracketed PasteのところのチェックボックスをONにします。
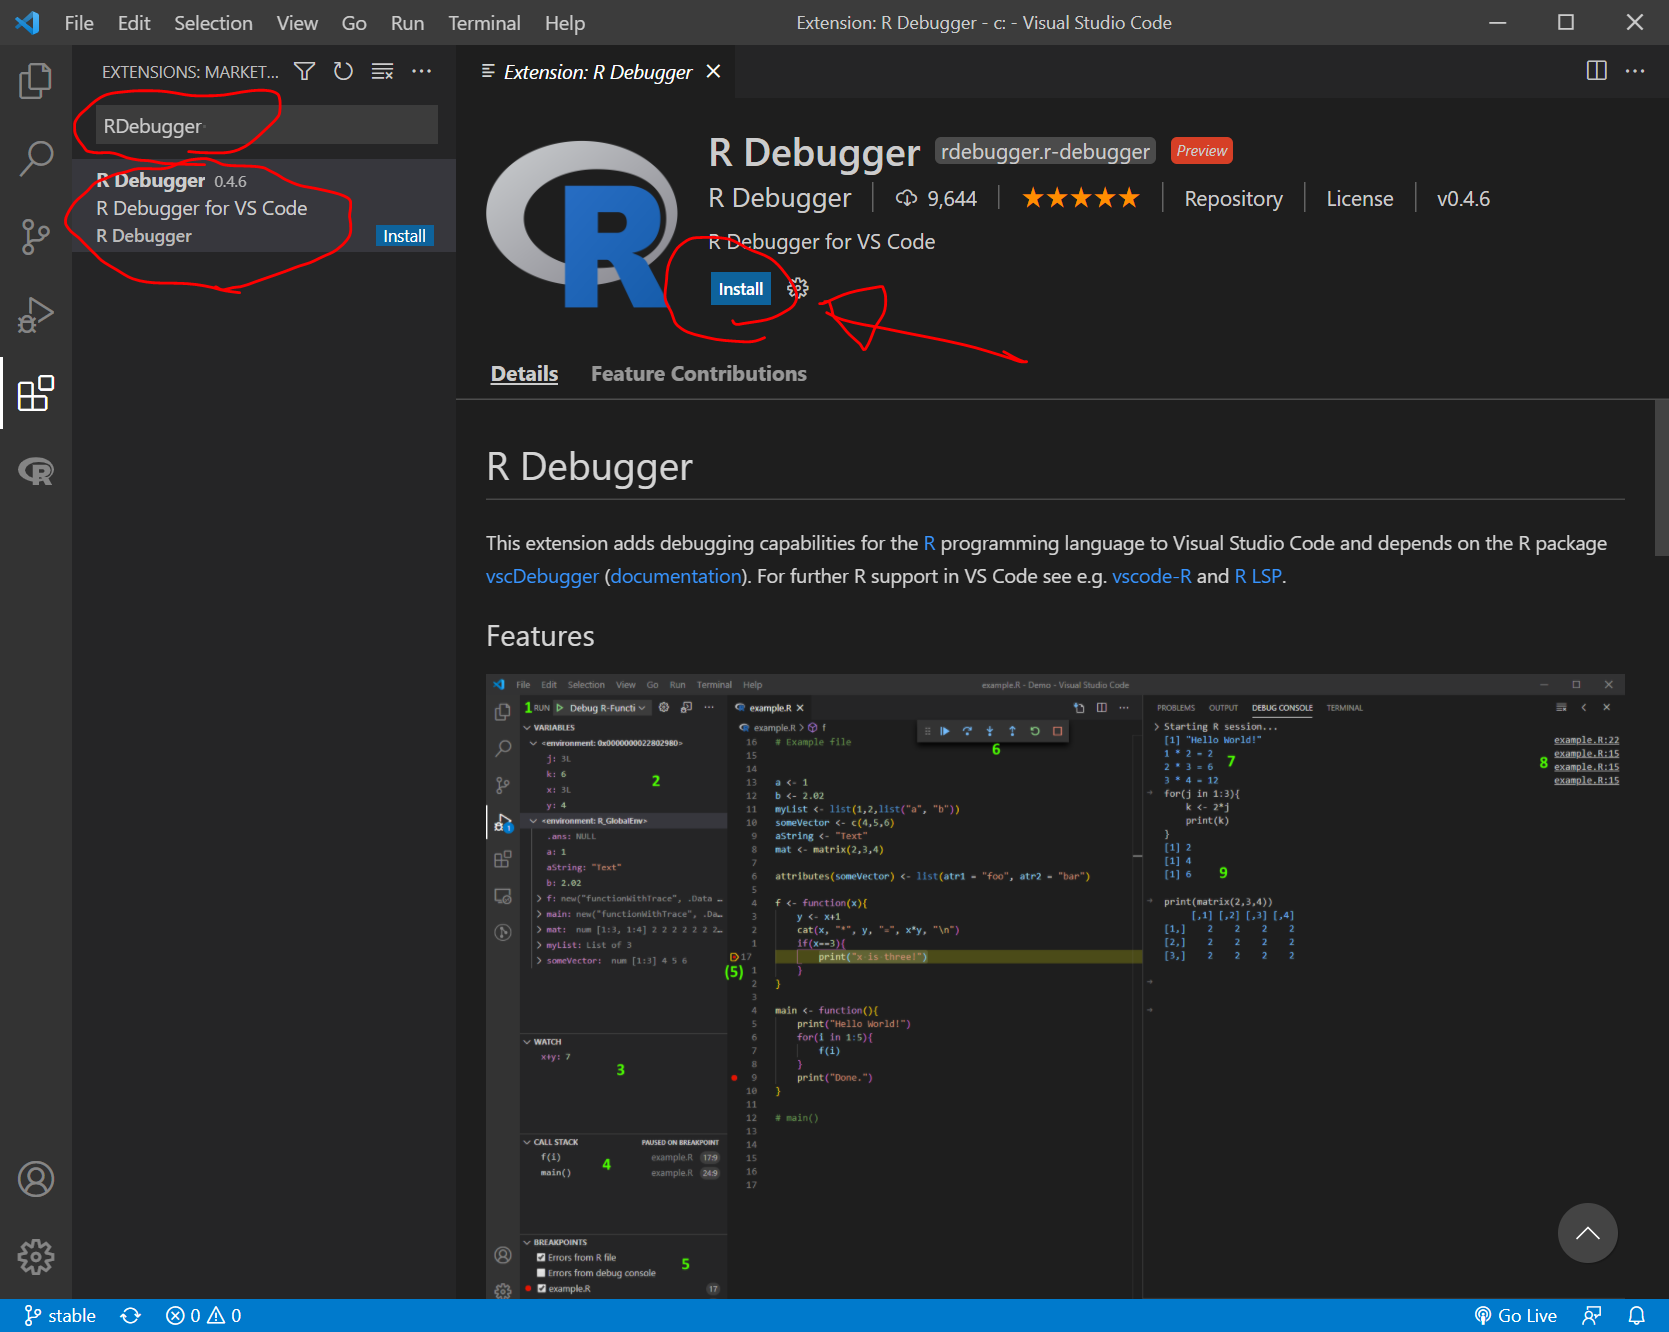
VisualStudioCodeの拡張機能R Debuggerをインストール
VisualStudioCodeの画面左側の拡張機能のアイコンをクリックして、上の欄に、
RDebugger と入力して、R Debuggerをインストールします。
Rのパッケージhttpgdをインストール
Windowsボタンから、Rを起動します。
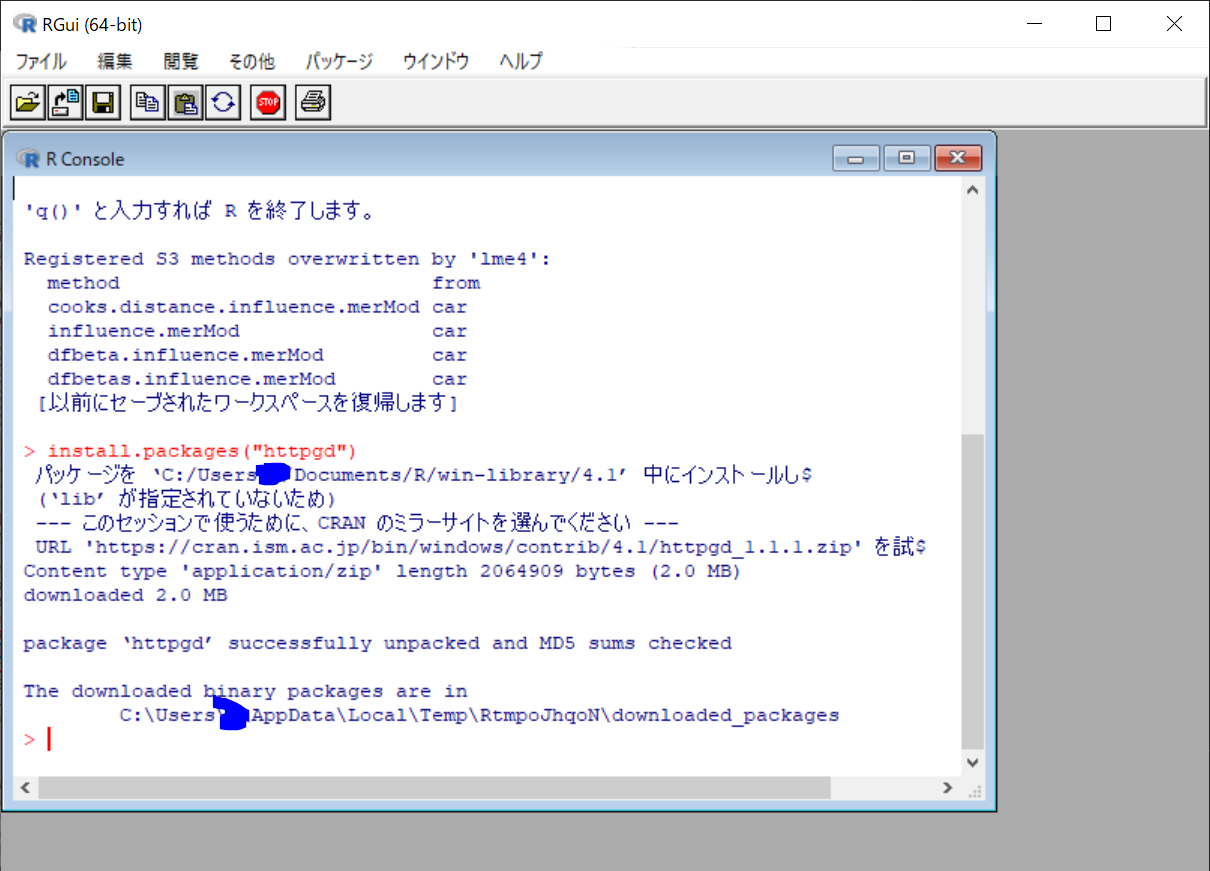
R Consoleに以下を入力して、httpgdパッケージをインストールします。
install.packages("httpgd")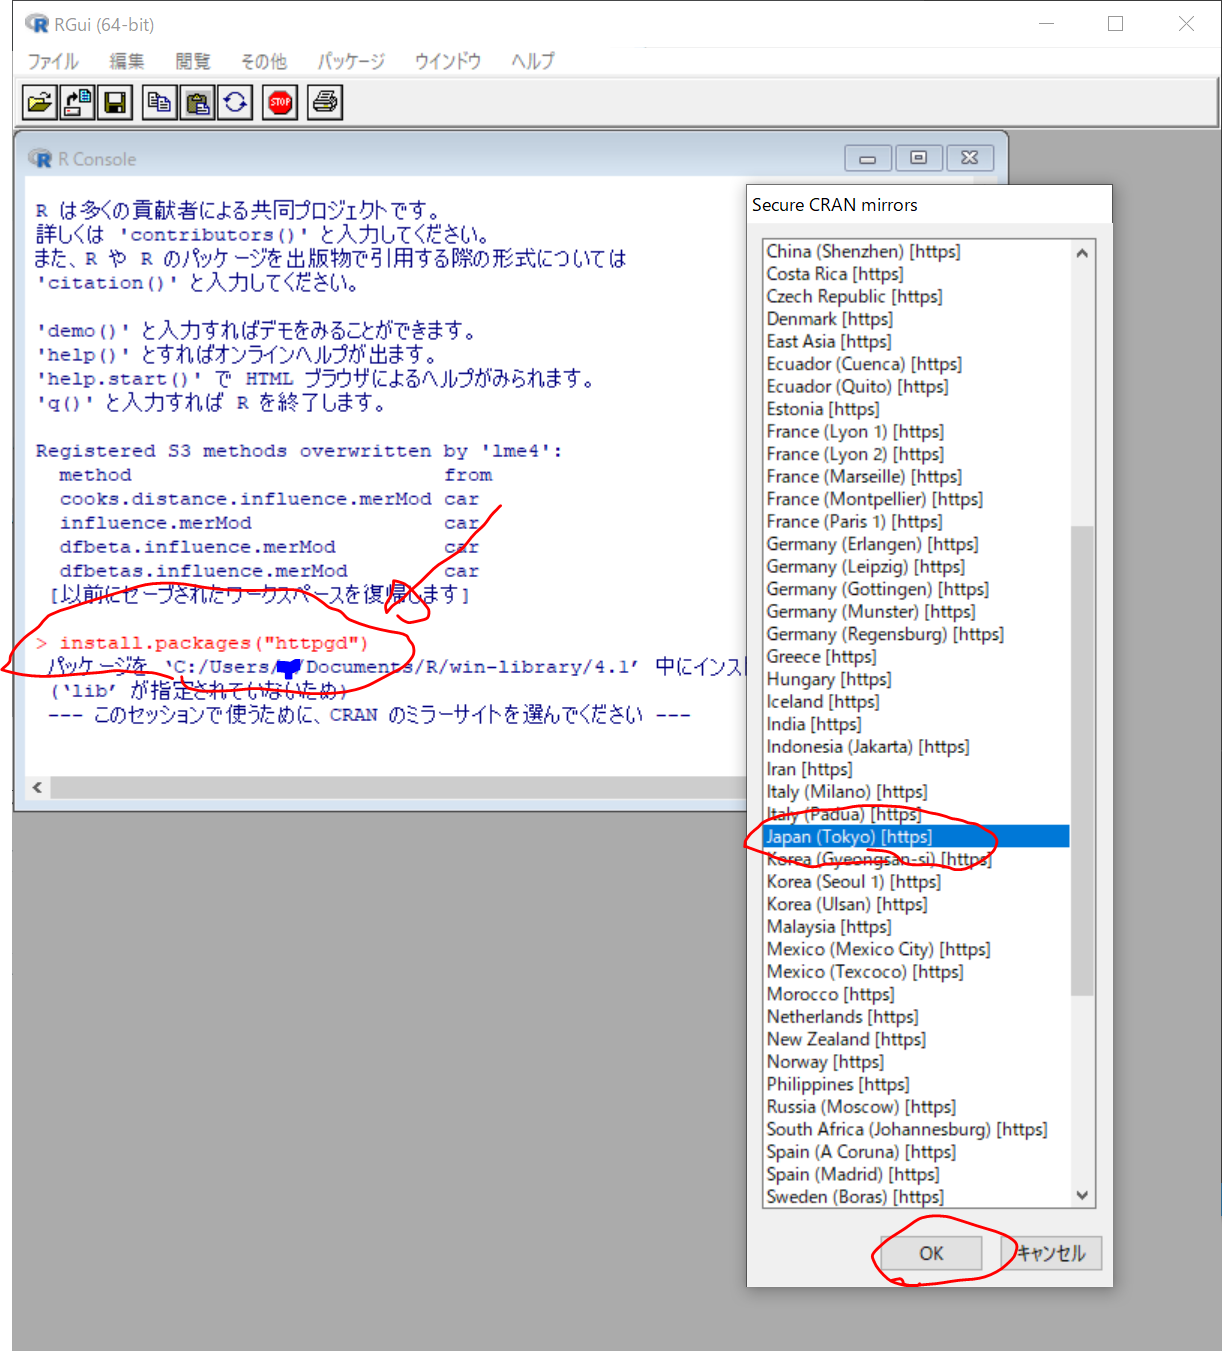
すぐにインストールが終了します。
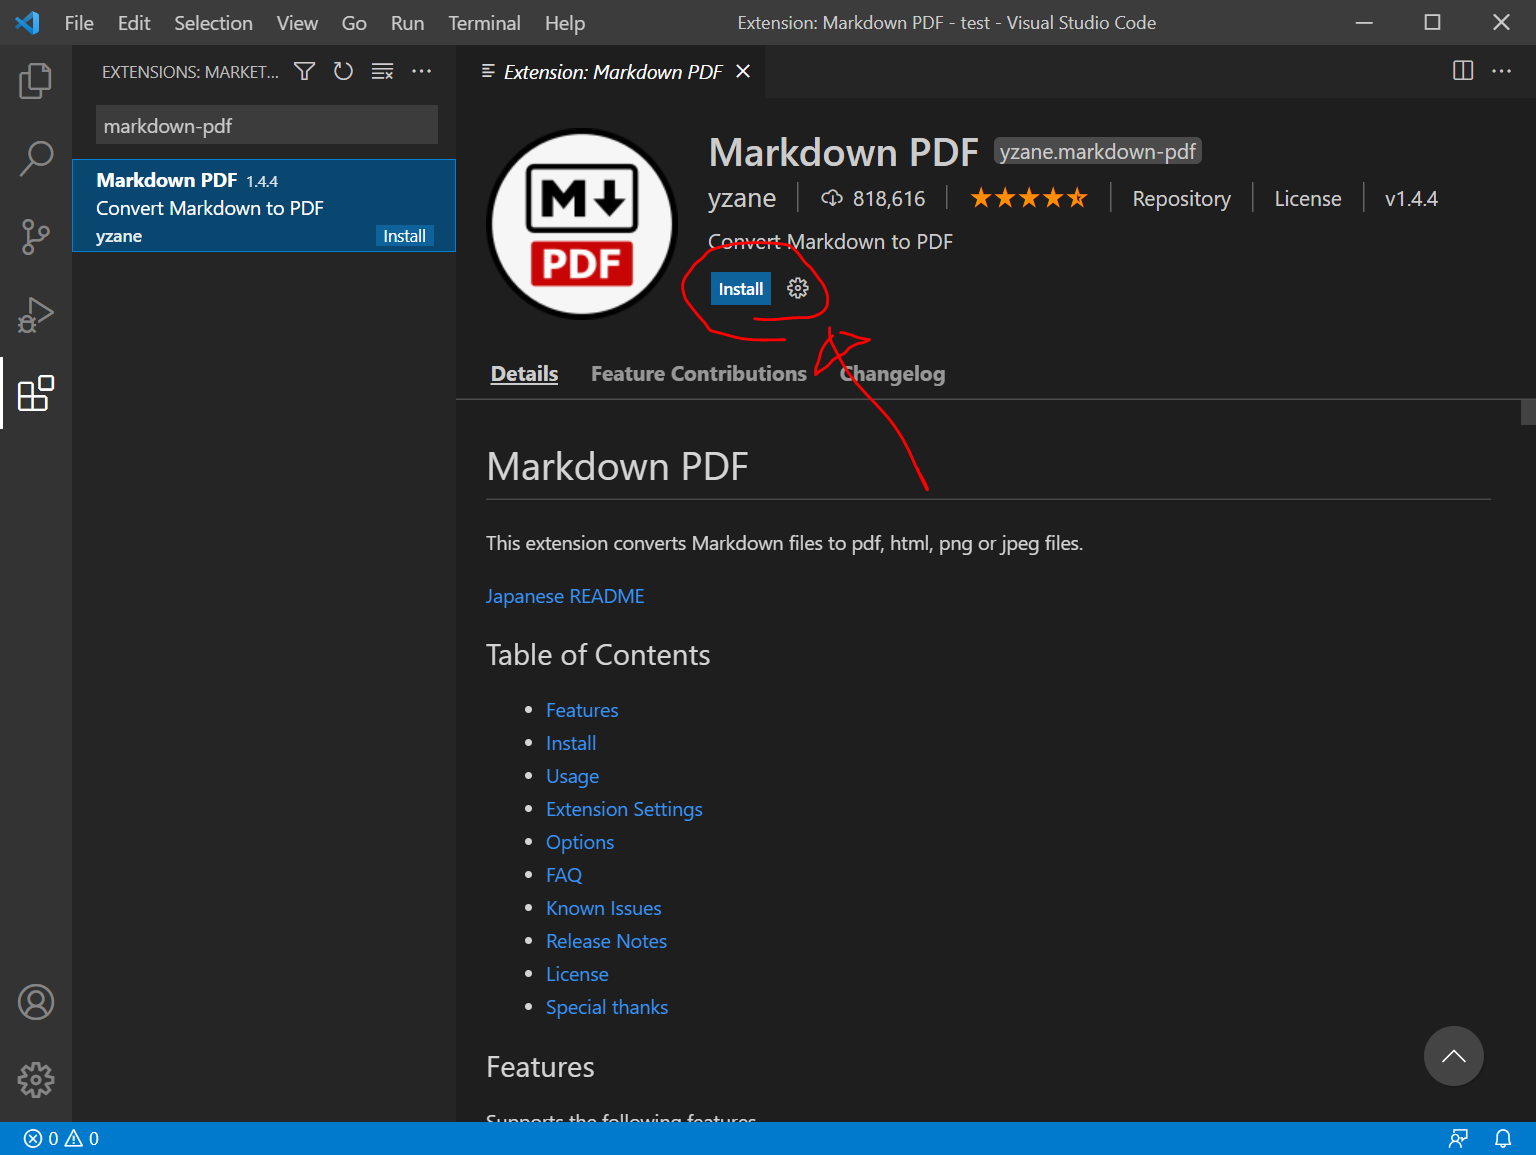
VS Code の拡張機能「markdown-pdf」をインストール
VisualStudioCodeの拡張機能で、markdown-pdf をインストールします。
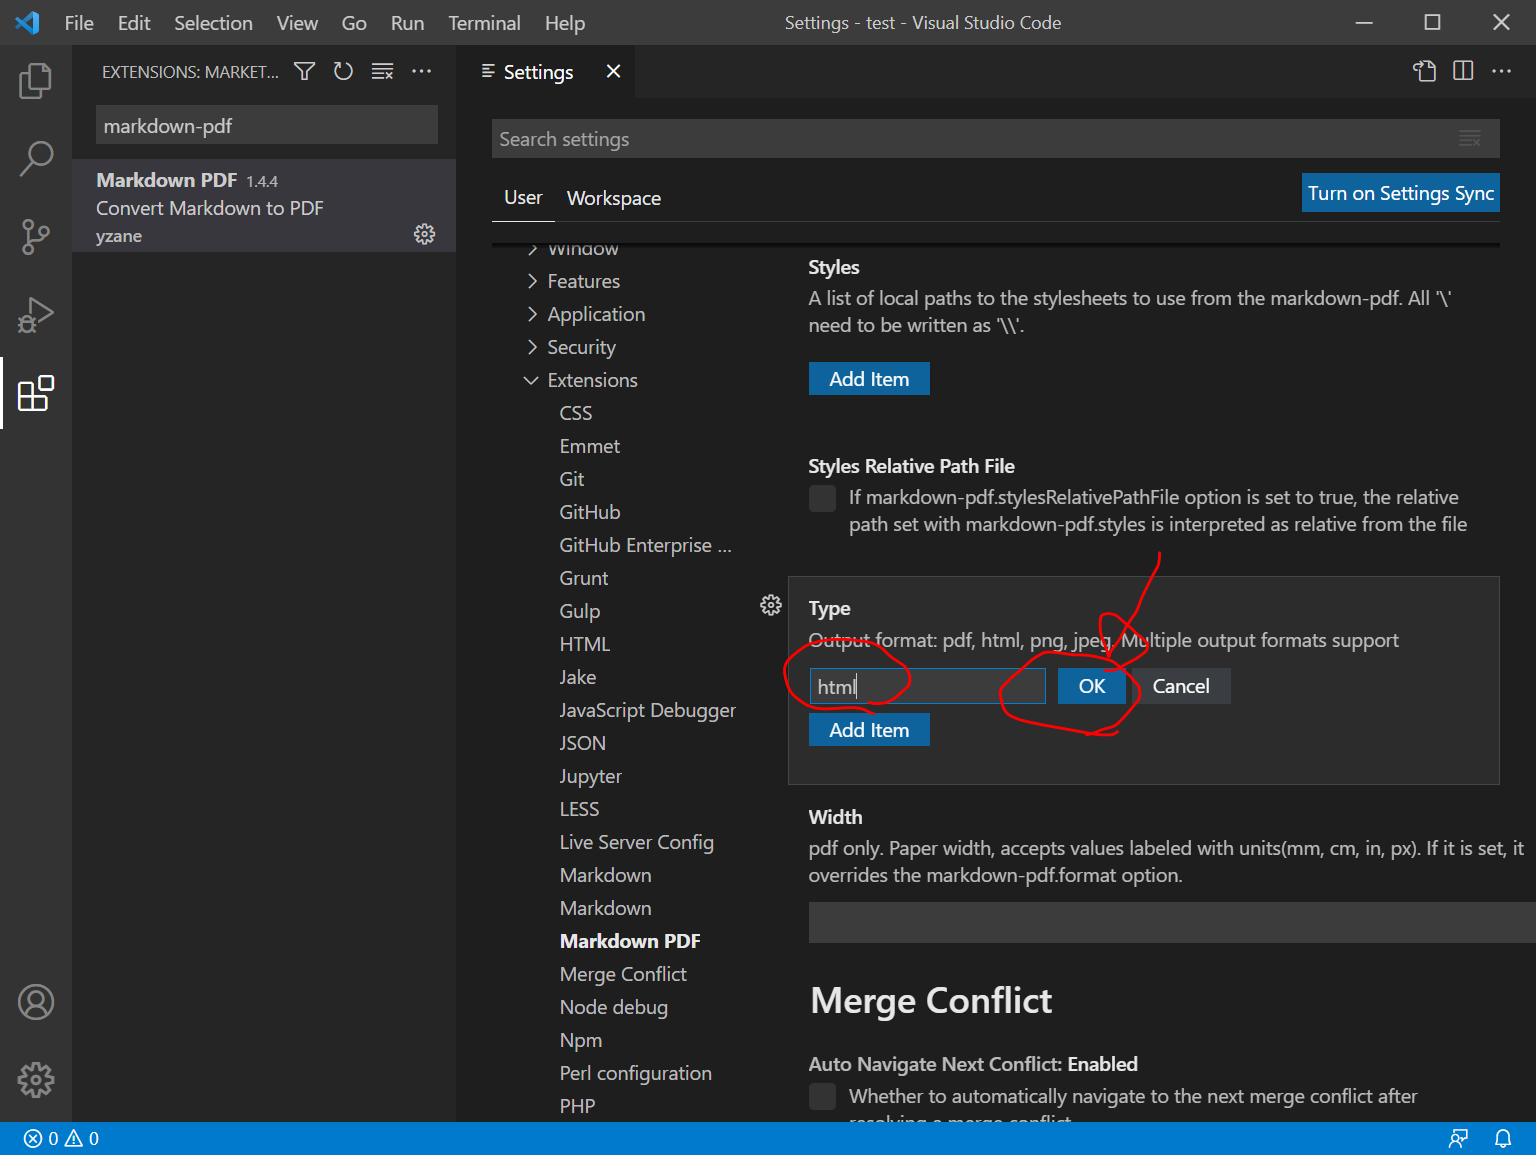
File > Preferences > Settings でSettings画面を開き、Extensions > Markdown PDF > Type のところの pdf の右側の鉛筆アイコンをクリックして、
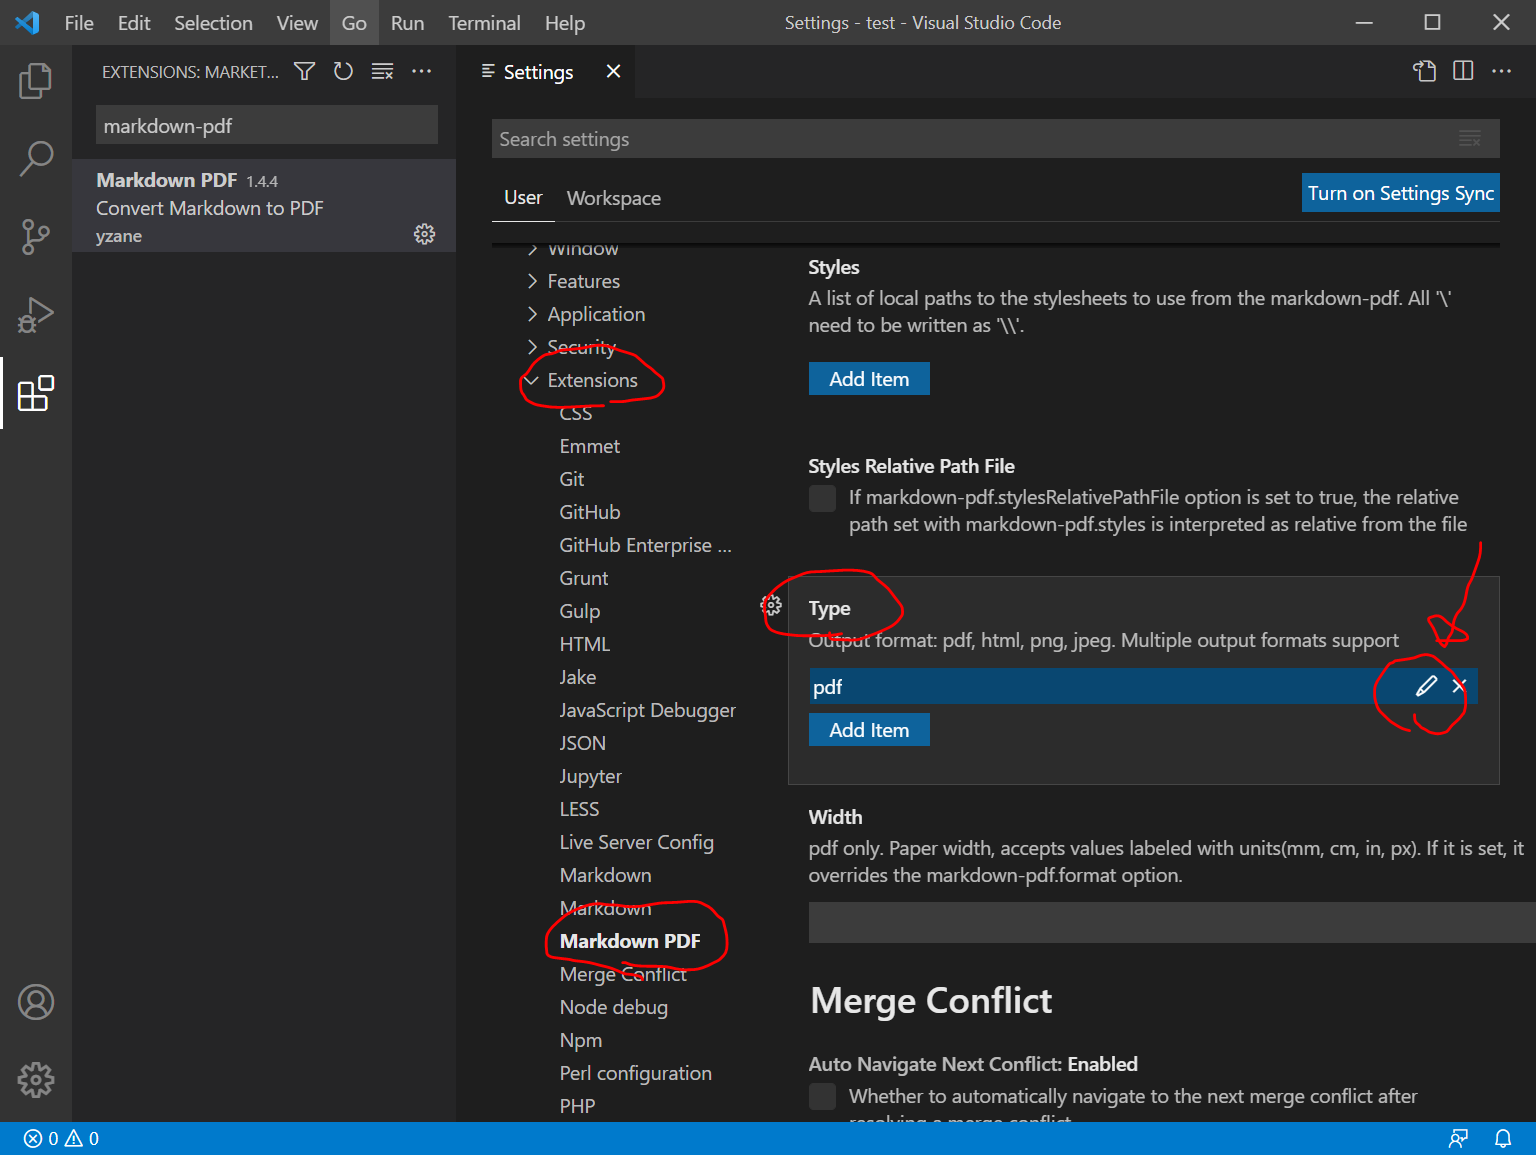
pdf を html に変更します。
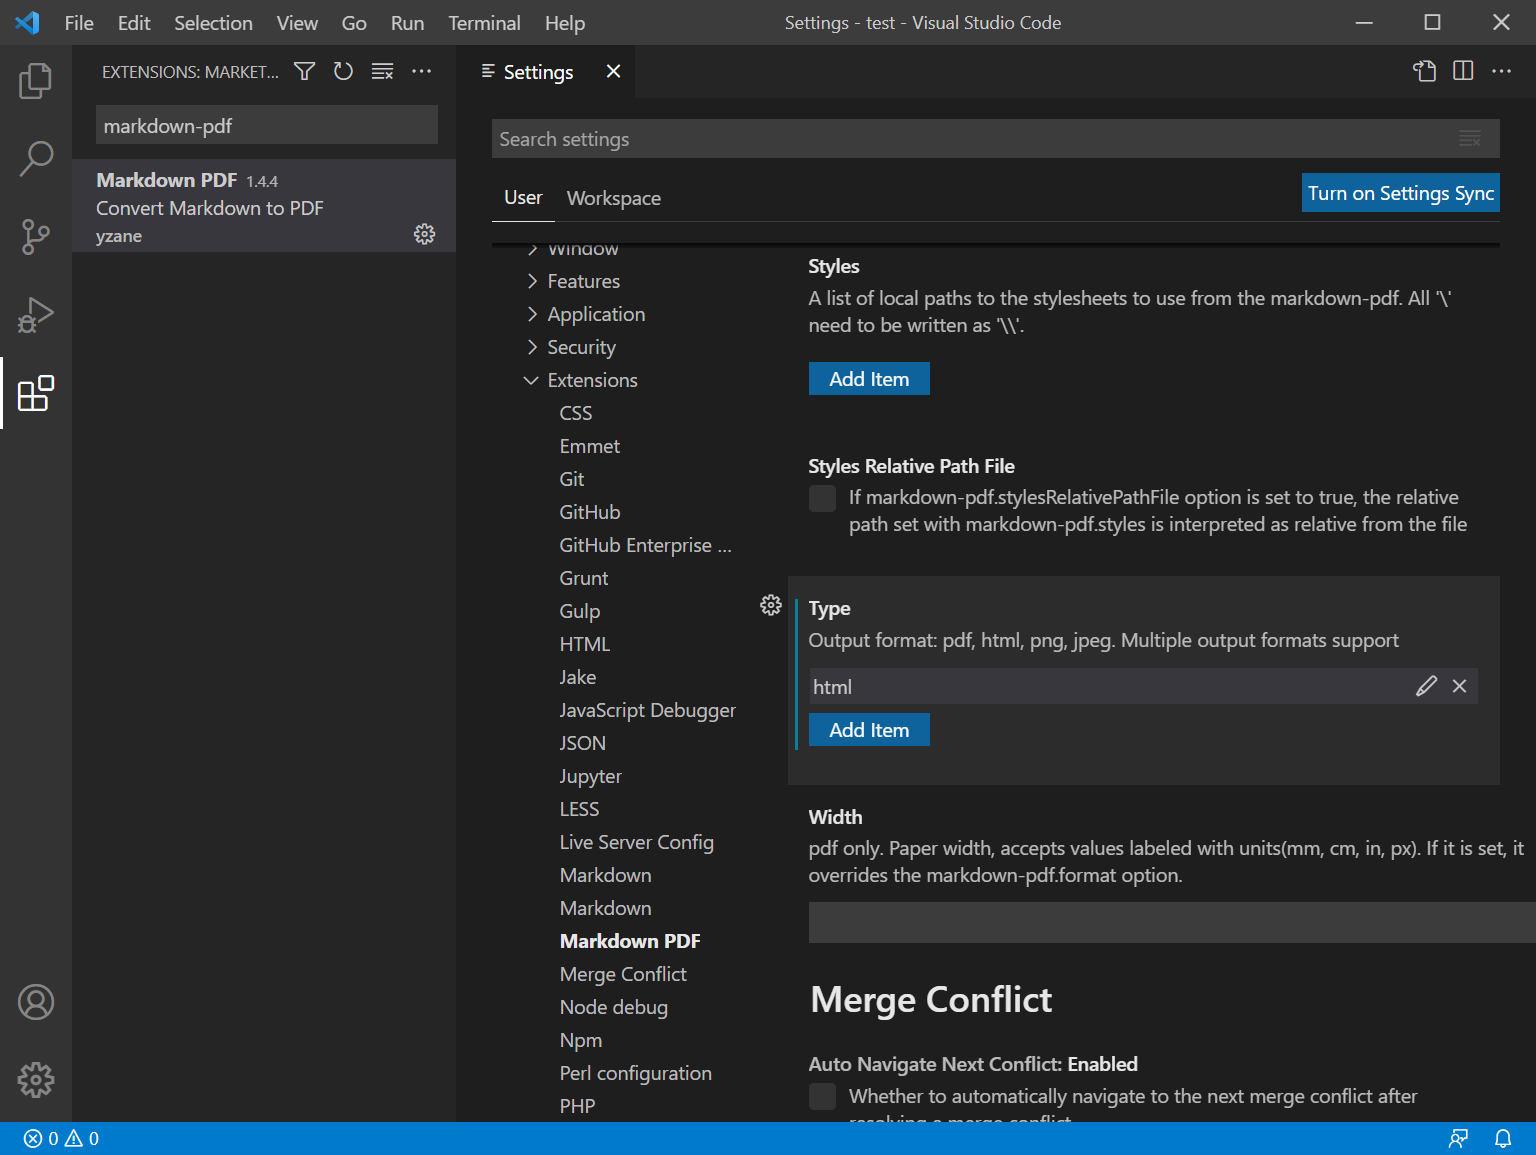
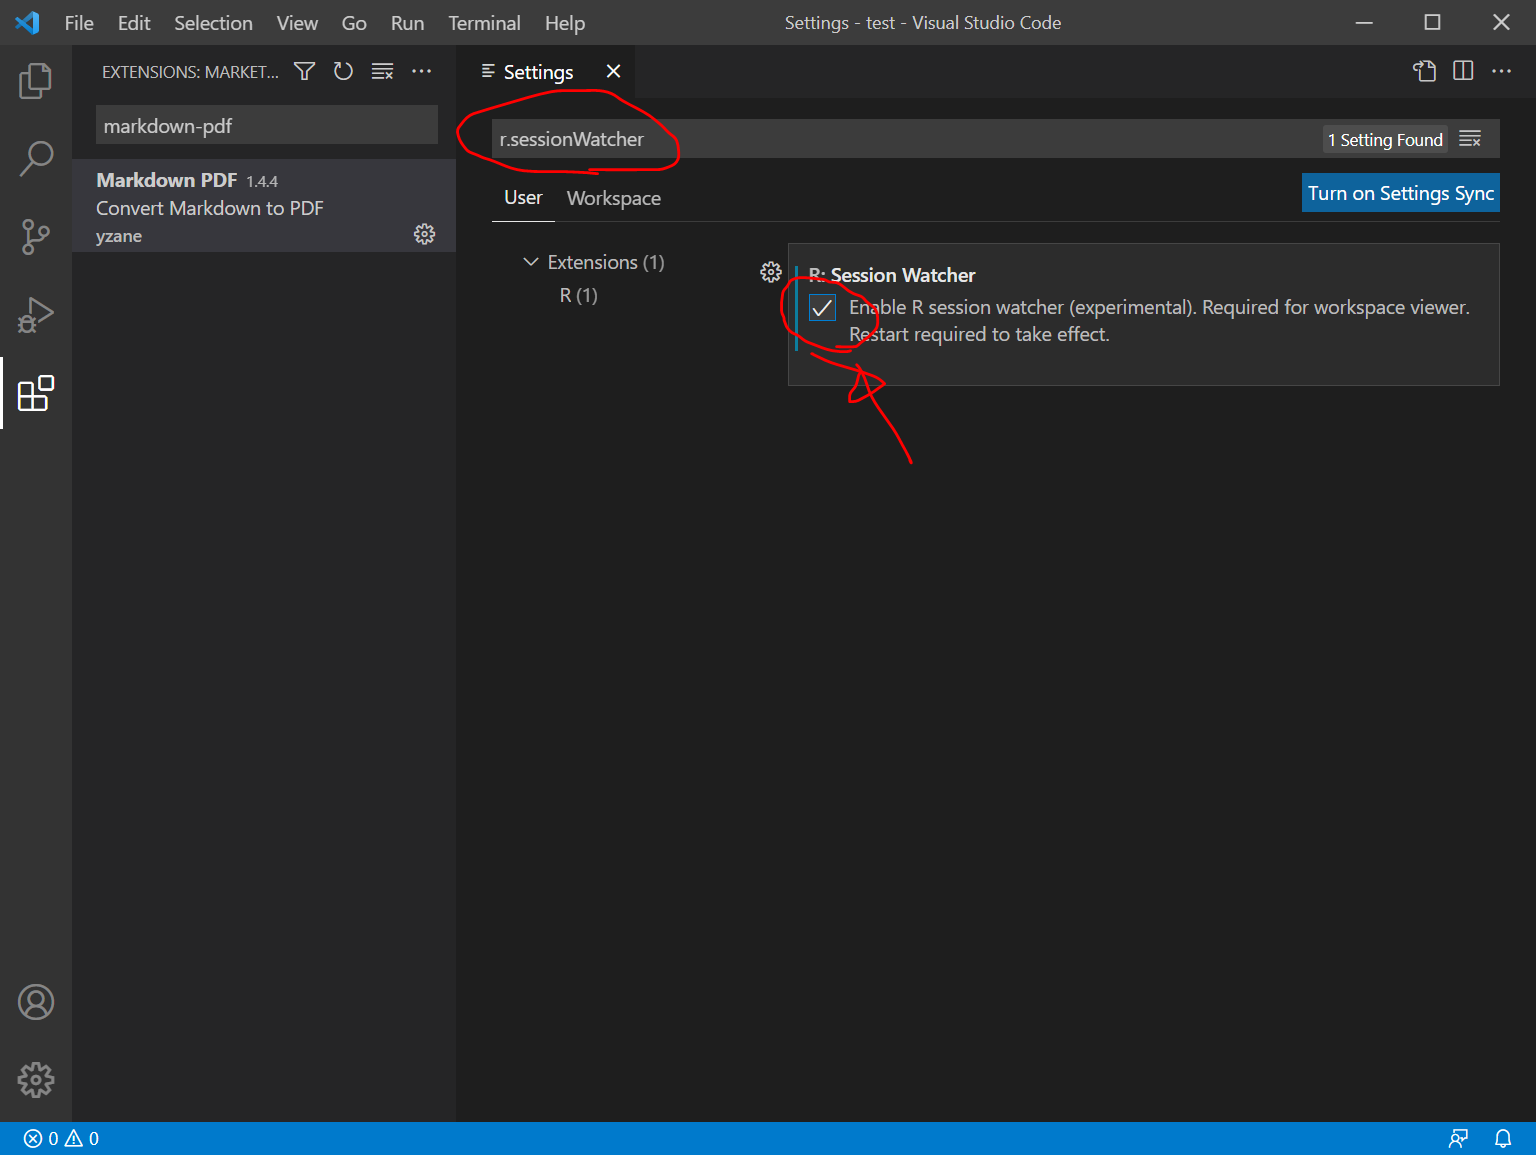
さらに、Settingsの上の欄に、 r.sessionWatcher と入力して R: Session Watcher のチェックボックスをONにします。
keybinding の設定
“Ctrl + i"で、Rmdファイルと同じフォルダにhtmlファイルを作成するように設定します。
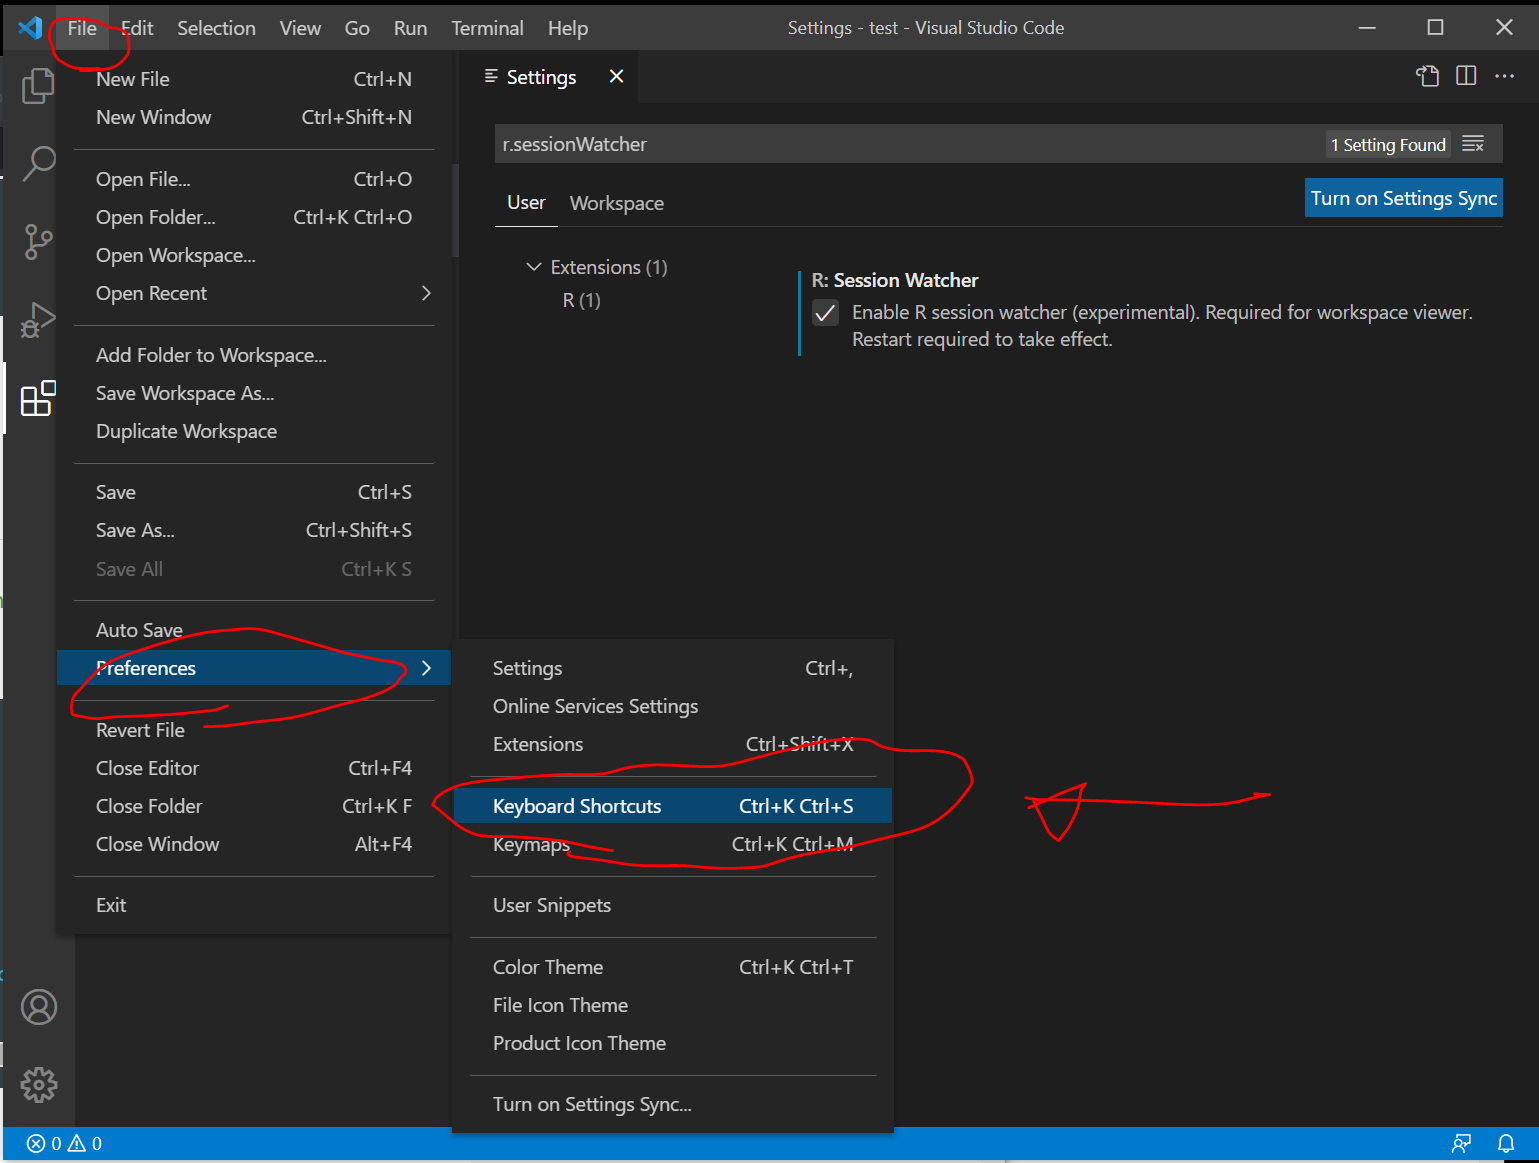
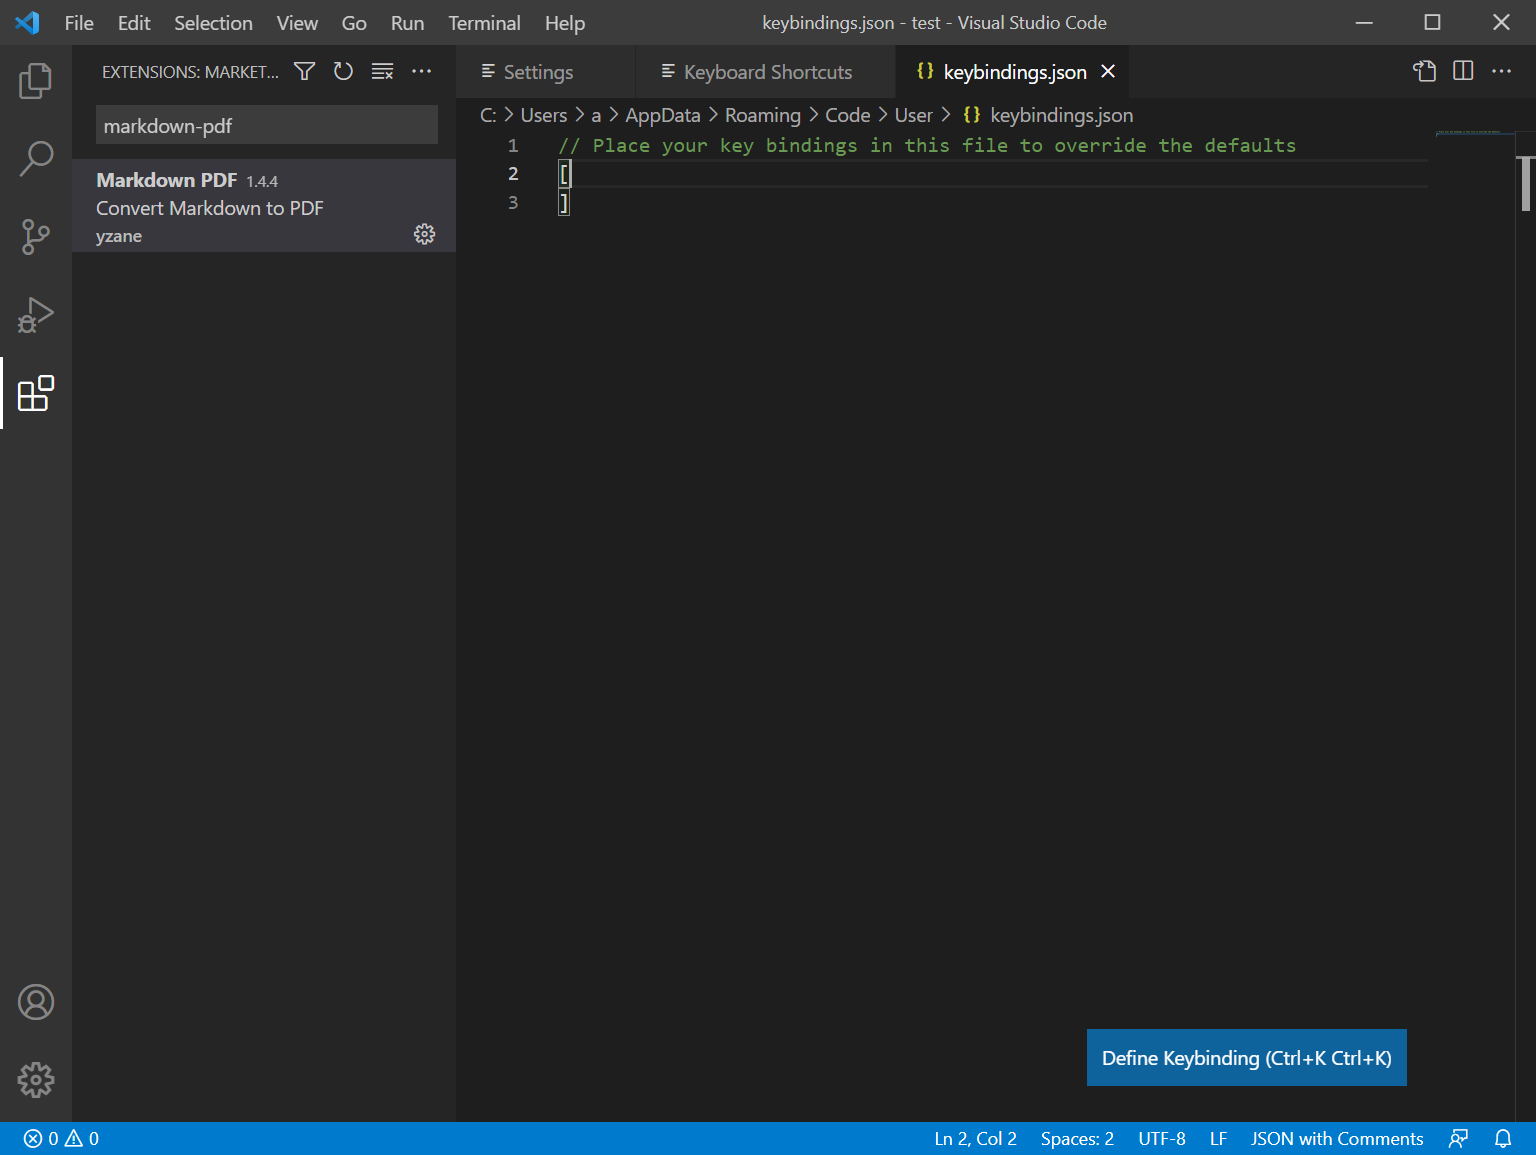
File > Preferences > Keyboard Shortcuts の順にクリックします。
画面右上の図のようなアイコンをクリック。
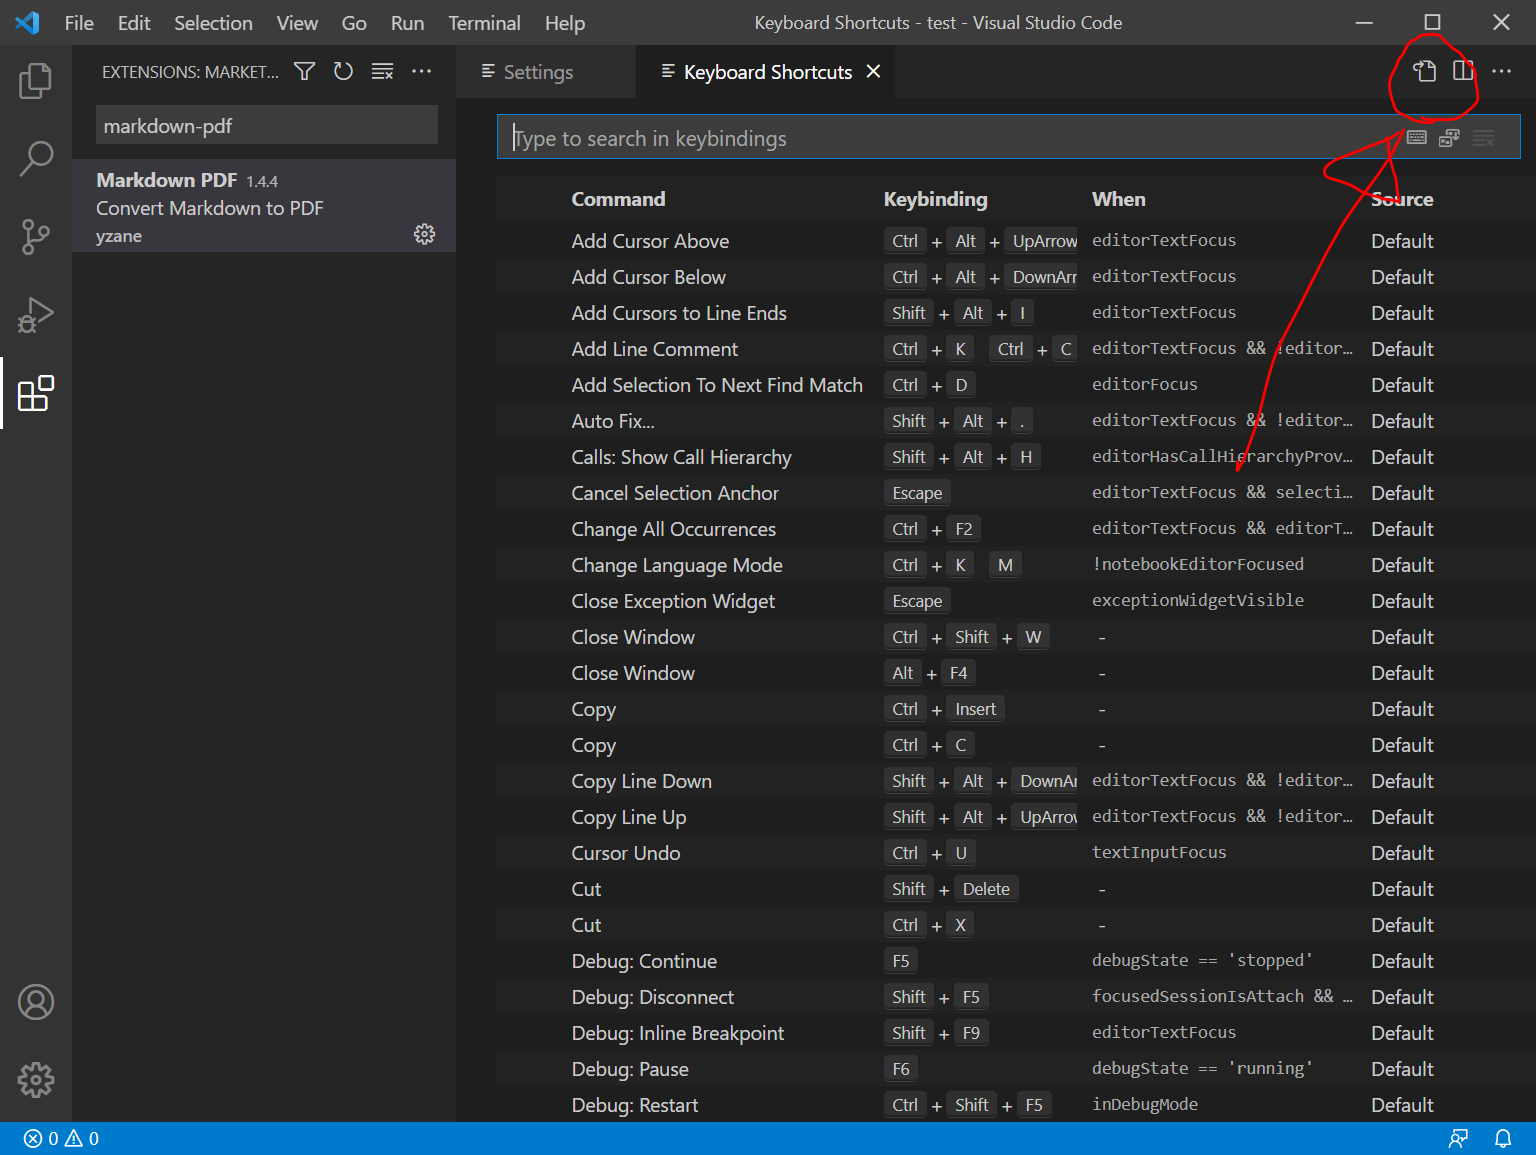
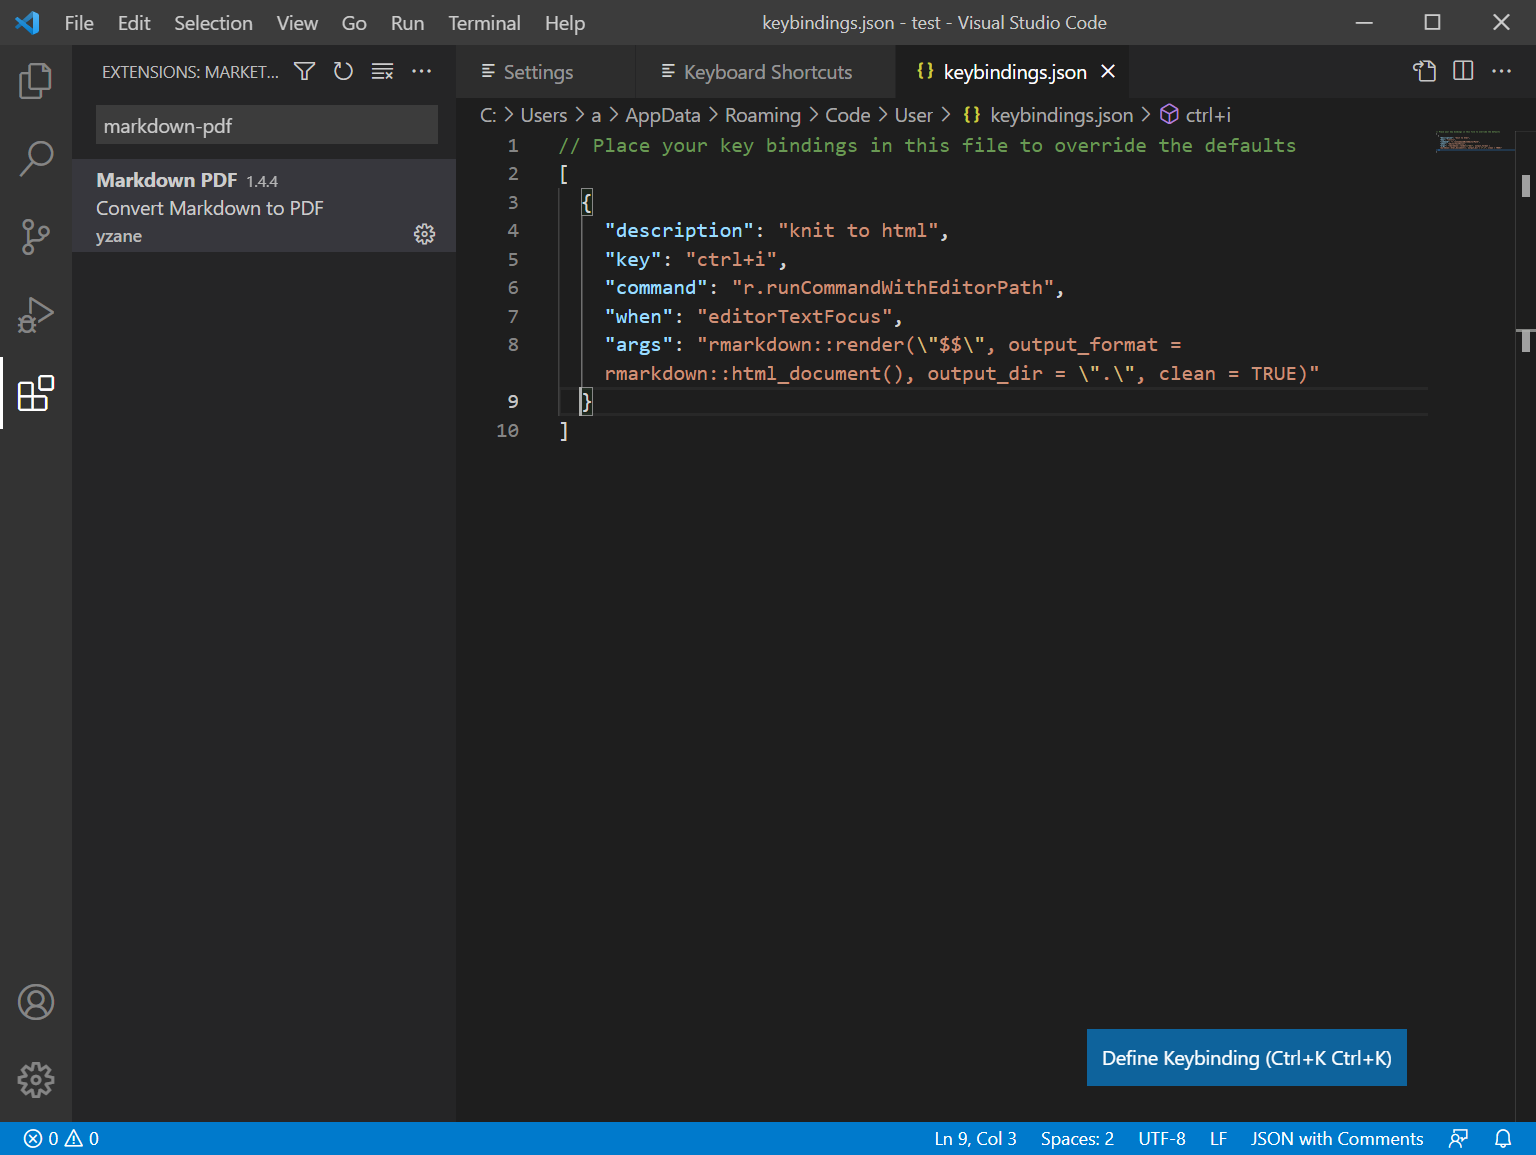
[] の中に、以下のコードを追記します。
    {
        "description": "knit to html",
        "key": "ctrl+i",
        "command": "r.runCommandWithEditorPath",
        "when": "editorTextFocus",
        "args": "rmarkdown::render(\"$$\", output_format = rmarkdown::html_document(), output_dir = \".\", clean = TRUE)"
    }
(変更前)
(変更後)
参考1:Visual Studio Code で R の実行環境を整える 公開日:2021年6月26日
参考2:VSCodeでRMarkdownを使う @hakos が2021年01月17日に作成
Rmdファイルを作成してPreviewしてみる
例えば、C:/r/test/ フォルダ内に、test.Rmdファイルを新規作成し、以下のコードを保存してみます。
---
title: "R Notebook"
output: html_notebook
---

This is an [R Markdown](http://rmarkdown.rstudio.com) Notebook. When you execute code within the notebook, the results appear beneath the code.

Try executing this chunk by clicking the *Run* button within the chunk or by placing your cursor inside it and pressing *Ctrl+Shift+Enter*.

```{r}
plot(cars)
```

Add a new chunk by clicking the *Insert Chunk* button on the toolbar or by pressing *Ctrl+Alt+I*.

When you save the notebook, an HTML file containing the code and output will be saved alongside it (click the *Preview* button or press *Ctrl+Shift+K* to preview the HTML file).

The preview shows you a rendered HTML copy of the contents of the editor. Consequently, unlike *Knit*, *Preview* does not run any R code chunks. Instead, the output of the chunk when it was last run in the editor is displayed.
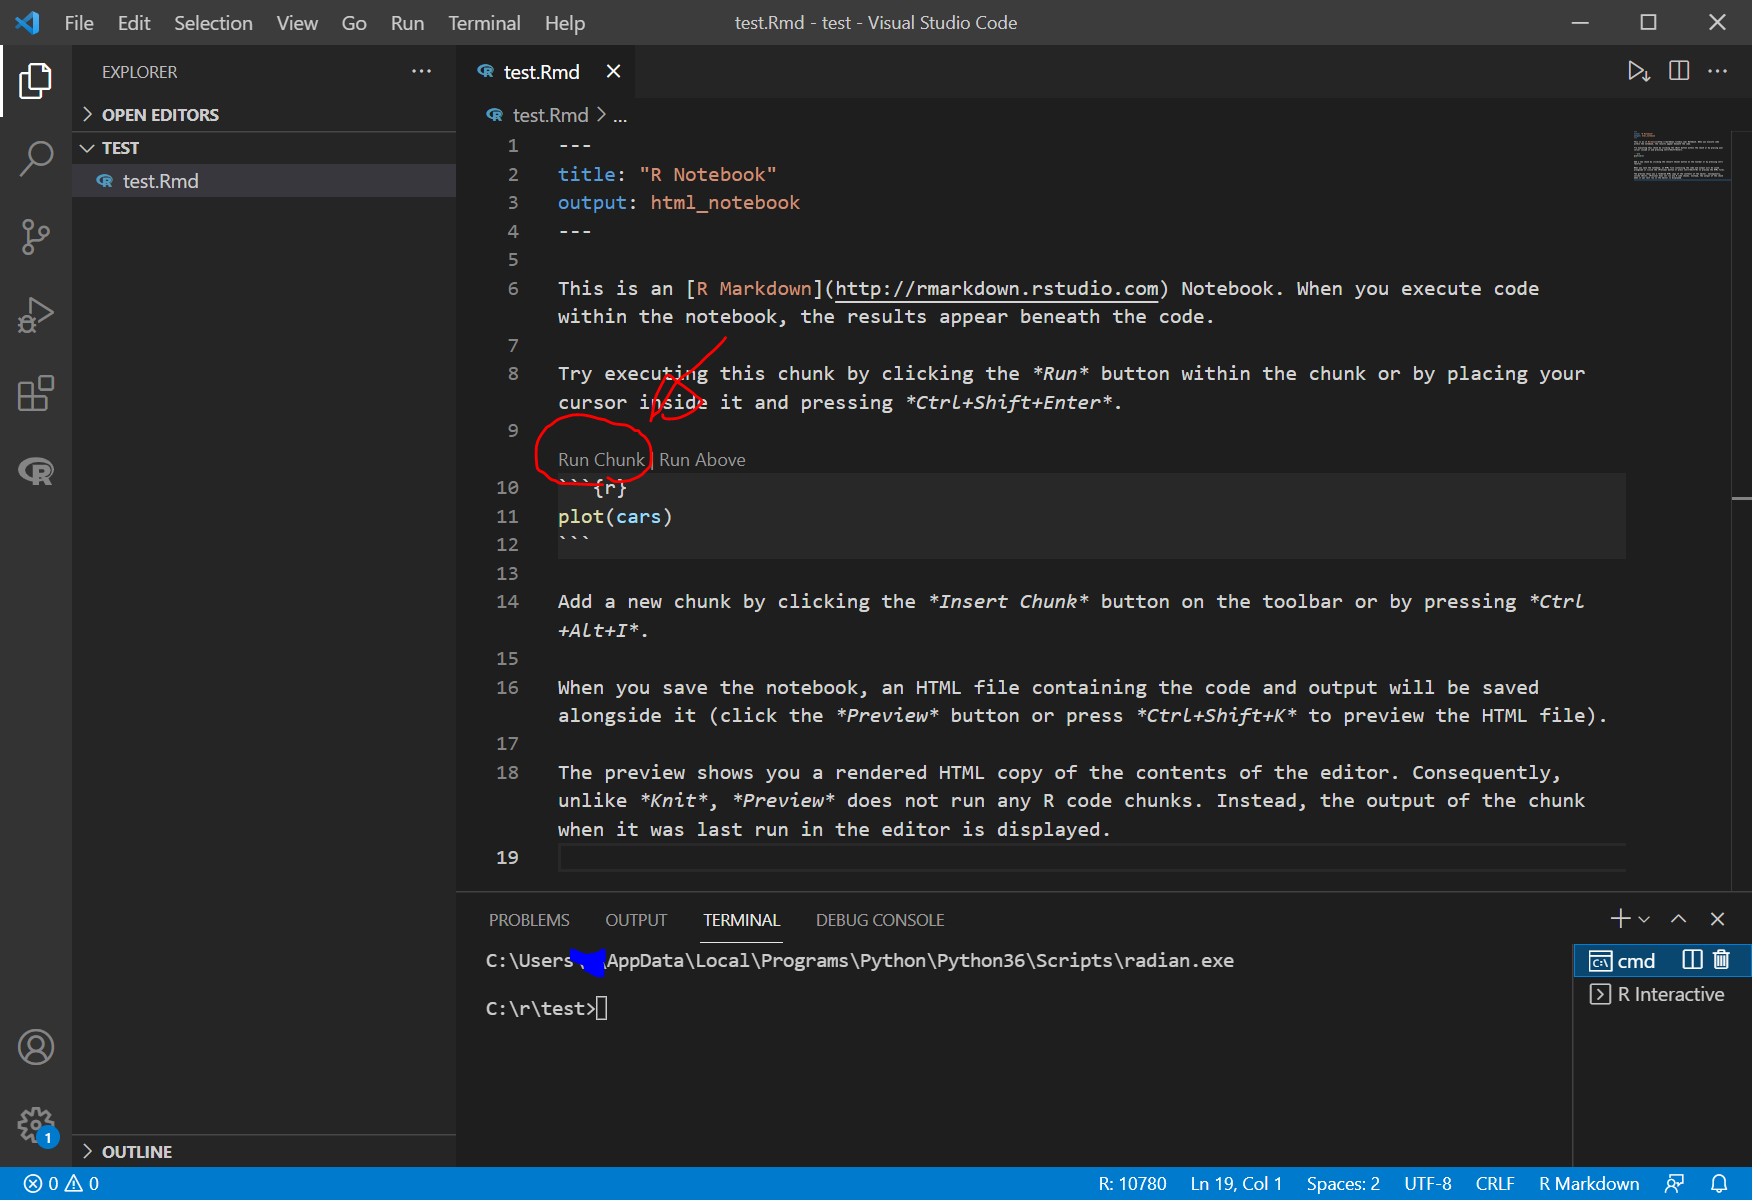
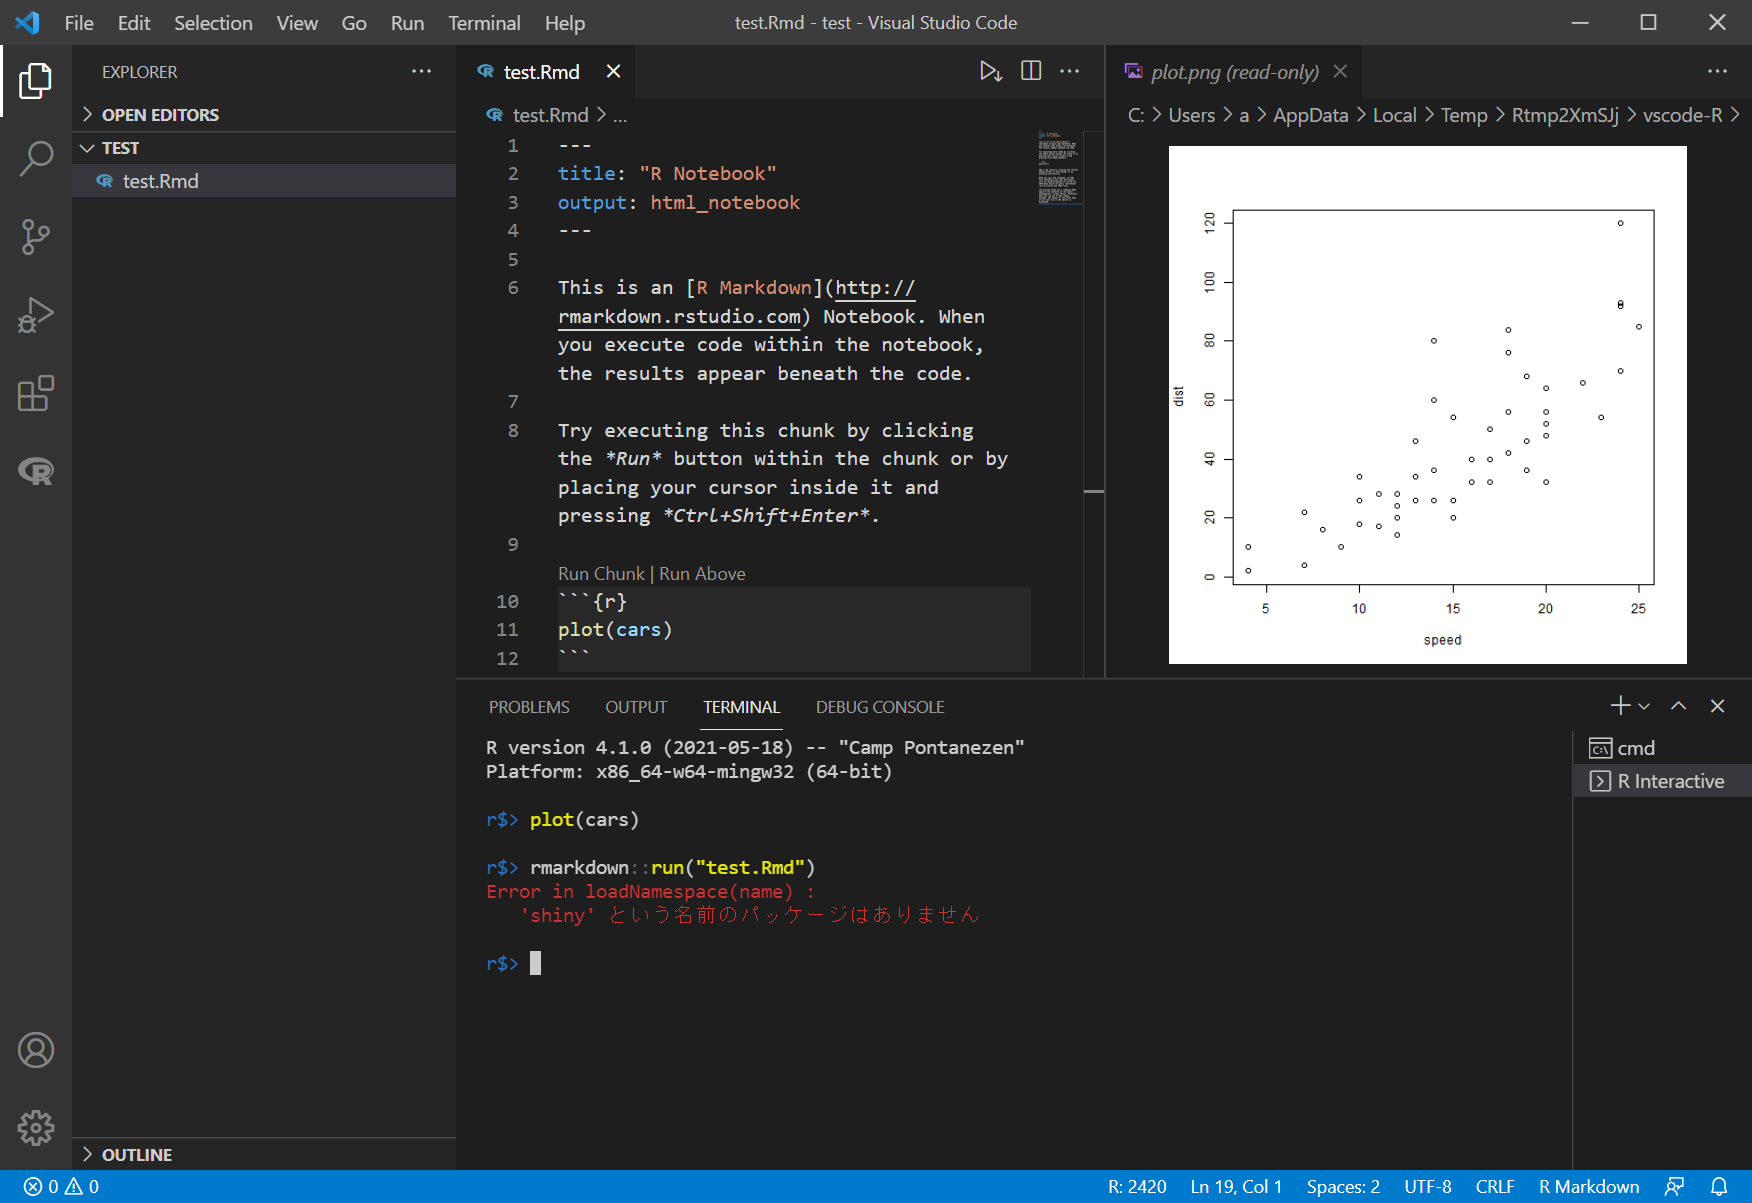
図の、”Run Chunk”のところをクリックしてみます。
すると、図のように、グラフが表示されました。
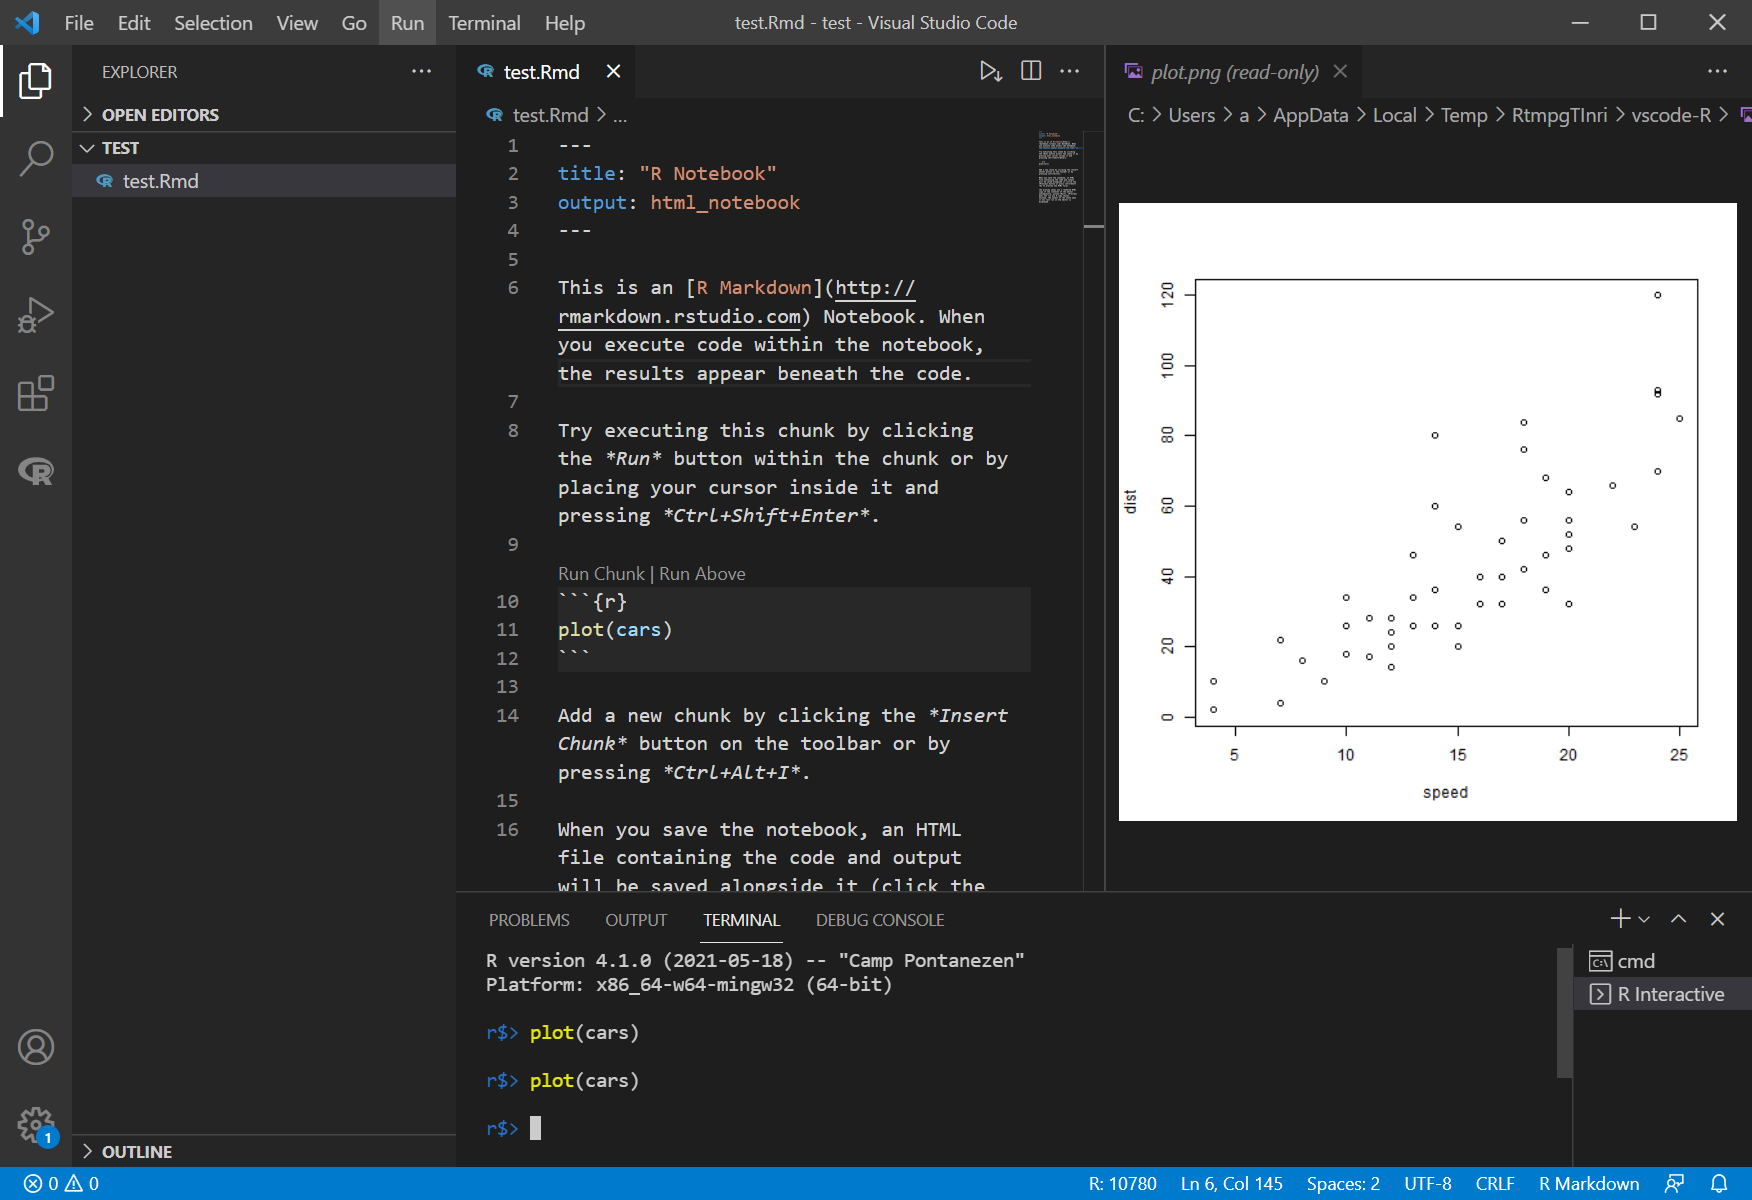
画像のみ保存したい場合は、画像を特定のフォルダにドラッグします。
次に、html化をtry
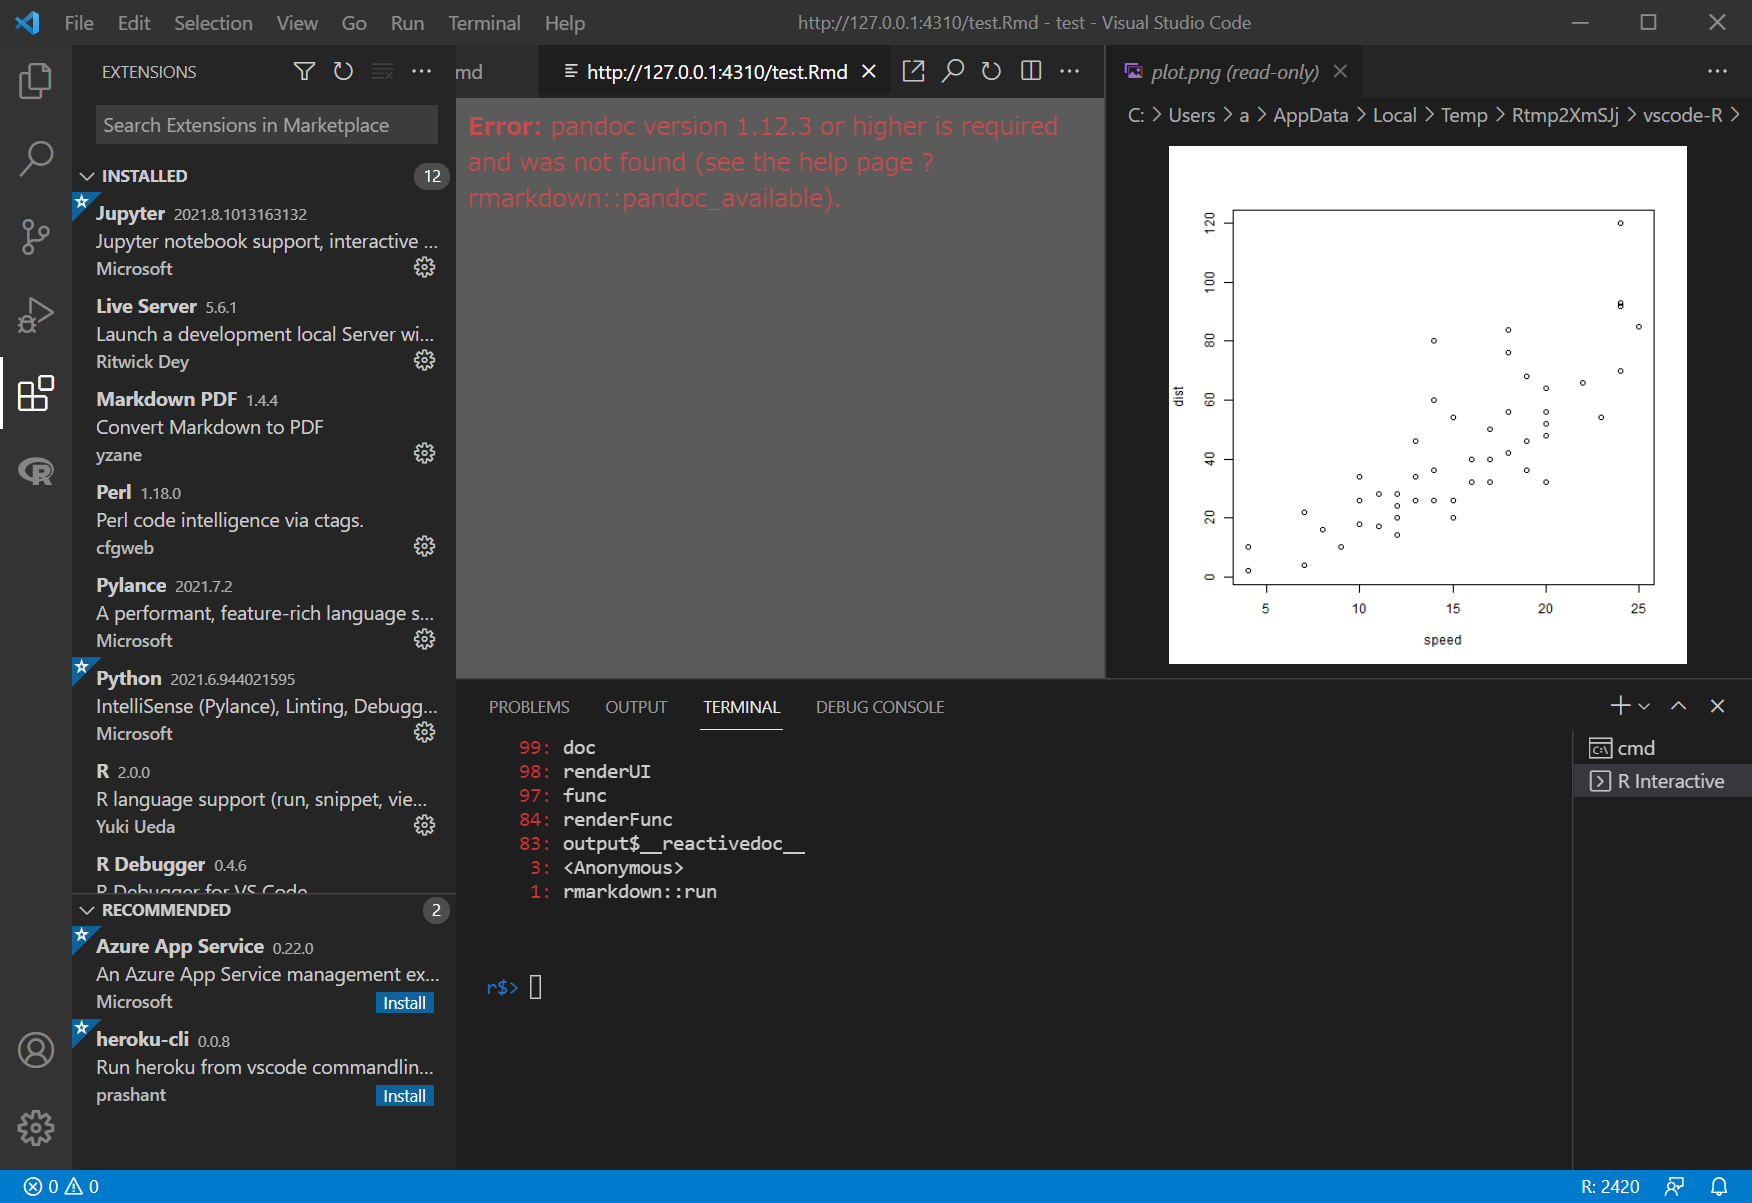
“Ctrl + i"を押してみると、ダメだった。
rmarkdown::run("test.Rmd") その他もうまくいかず。まだ難しそう
install.packages("shiny")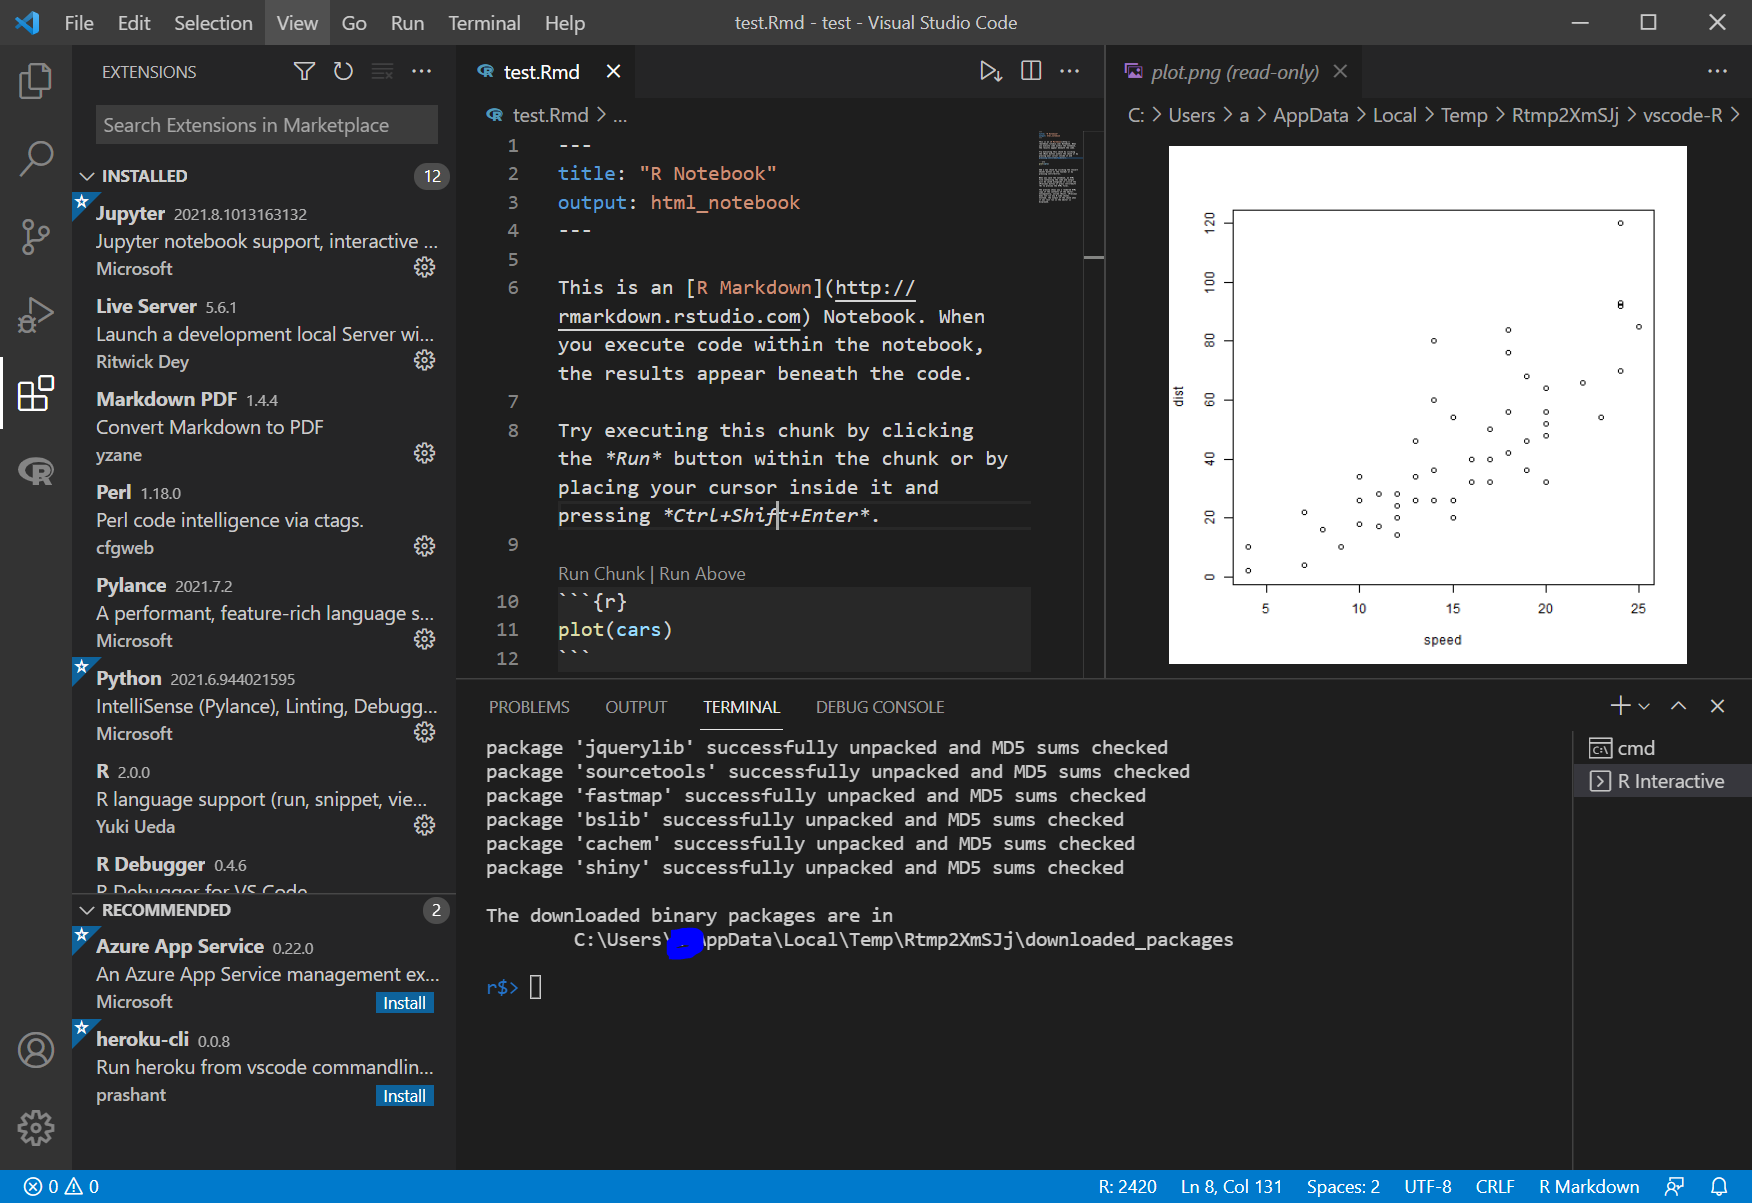
これをやってもダメ
結局うまくいかず、RStudioでやることにしました
結局、
- R 4.1.0
- RStudio 1.4
で、R Notebookを用いて統計をすることにしました。計算結果の確認には、
- EZR
また、テキストエディタ(文字列の一括変換がほとんどです)としては、
- VisualStudioCode
を用いることにしました。
参考リンク
- https://github.com/REditorSupport/vscode-R/wiki/Installation:-Windows
- 2020-09-19 研究用に使うRの開発環境(Rstudio vs. VSCode)
- VS Code でRを動かしたら文字化けした… @sureiが2020年06月21日に更新
- Visual Studio CodeでRの快適な実行環境 2017-12-05
- Visual Studio Code で R の実行環境を整える 公開日:2021年6月26日
- VSCodeでRMarkdownを使う @hakos が2021年01月17日に作成
- https://github.com/REditorSupport/vscode-R/issues/103#issuecomment-567054476