文書の過去の版を表示しています。
目次
16.vue.jsのvuexでパスワード制限
状態管理システムvuexが難しすぎて理解できないので、わかりやすいサイトをひたすら写経して理解しようと努力していくシリーズの3回目。
今回は、Vue.js上でVuexを用いて、FirebaseのGoogle認証にtryします。
認証システムを実装するのは本当に面倒です。これでも、Firebaseを利用しているので、かなり簡単になっている方であることは理解しているつもりなのですが、、、
初めてのVuex目次
すること
- Vuexを用いて、FirebaseへのGoogleログイン認証機能を実装する
- ページは、HomeとAboutの2ページ、vue-routerで振り分ける
- Googleログインした状態では、Aboutページに、ログインした人の名前を表示する
- ログインする前は、ログインボタン、ログインした状態では、ログアウトボタンを、ナビゲーションバー(ヘッダー)に表示する
今回は、https://qiita.com/ErgoFriend/items/bd1bb445e185bf45e272を写経させていてだきました。
ソースコード
https://github.com/adash333/Vue_Vuex_Firebase_Auth
https://codesandbox.io/s/54n9575y44
開発環境
作成中
Chrome
Codesandbox

Vue 2.5.2
vuetify 1.4.3
Vuex 3.1.0
vue-router 3.0.2

@firebase/app 0.3.8
@firebase/auth 0.9.2
babel-polyfill 6.26.0
CodeSandboxで新規Vue.jsアプリを作成
最初に、CodeSandbox上で、新規Vue.jsアプリを作成し、CSSフレームワークVuetifyが利用できるように設定します。
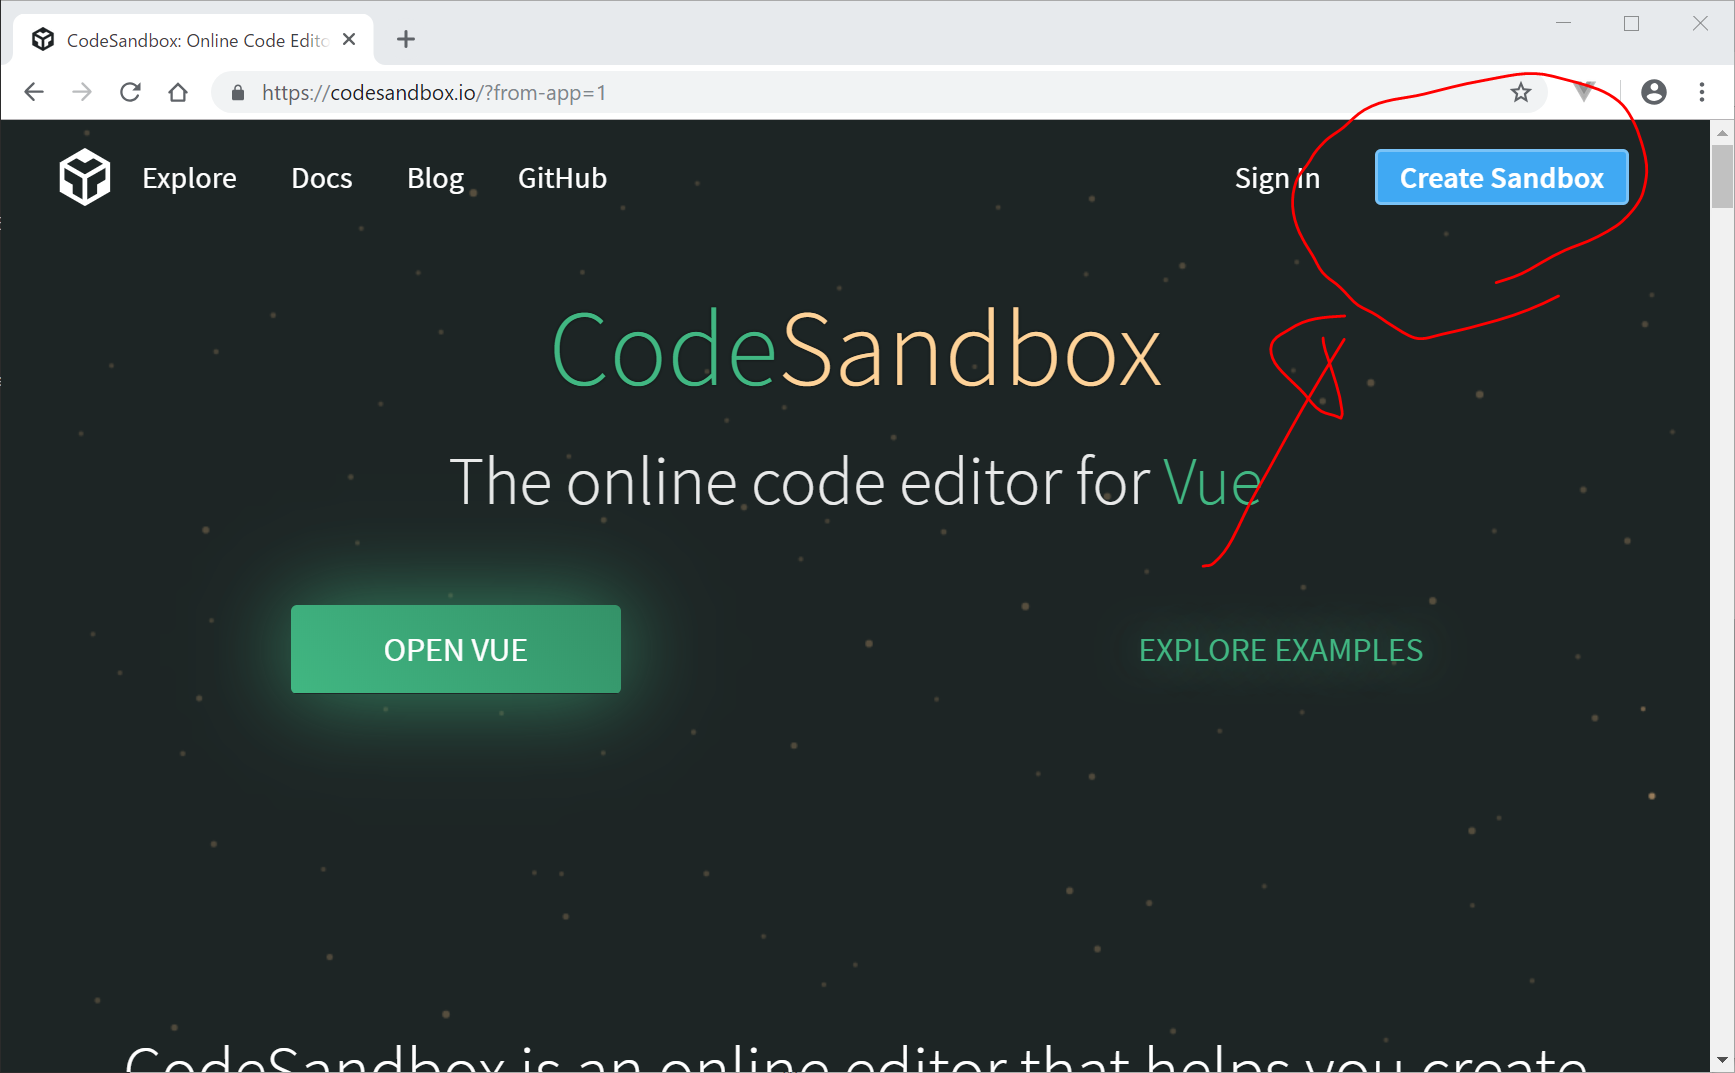
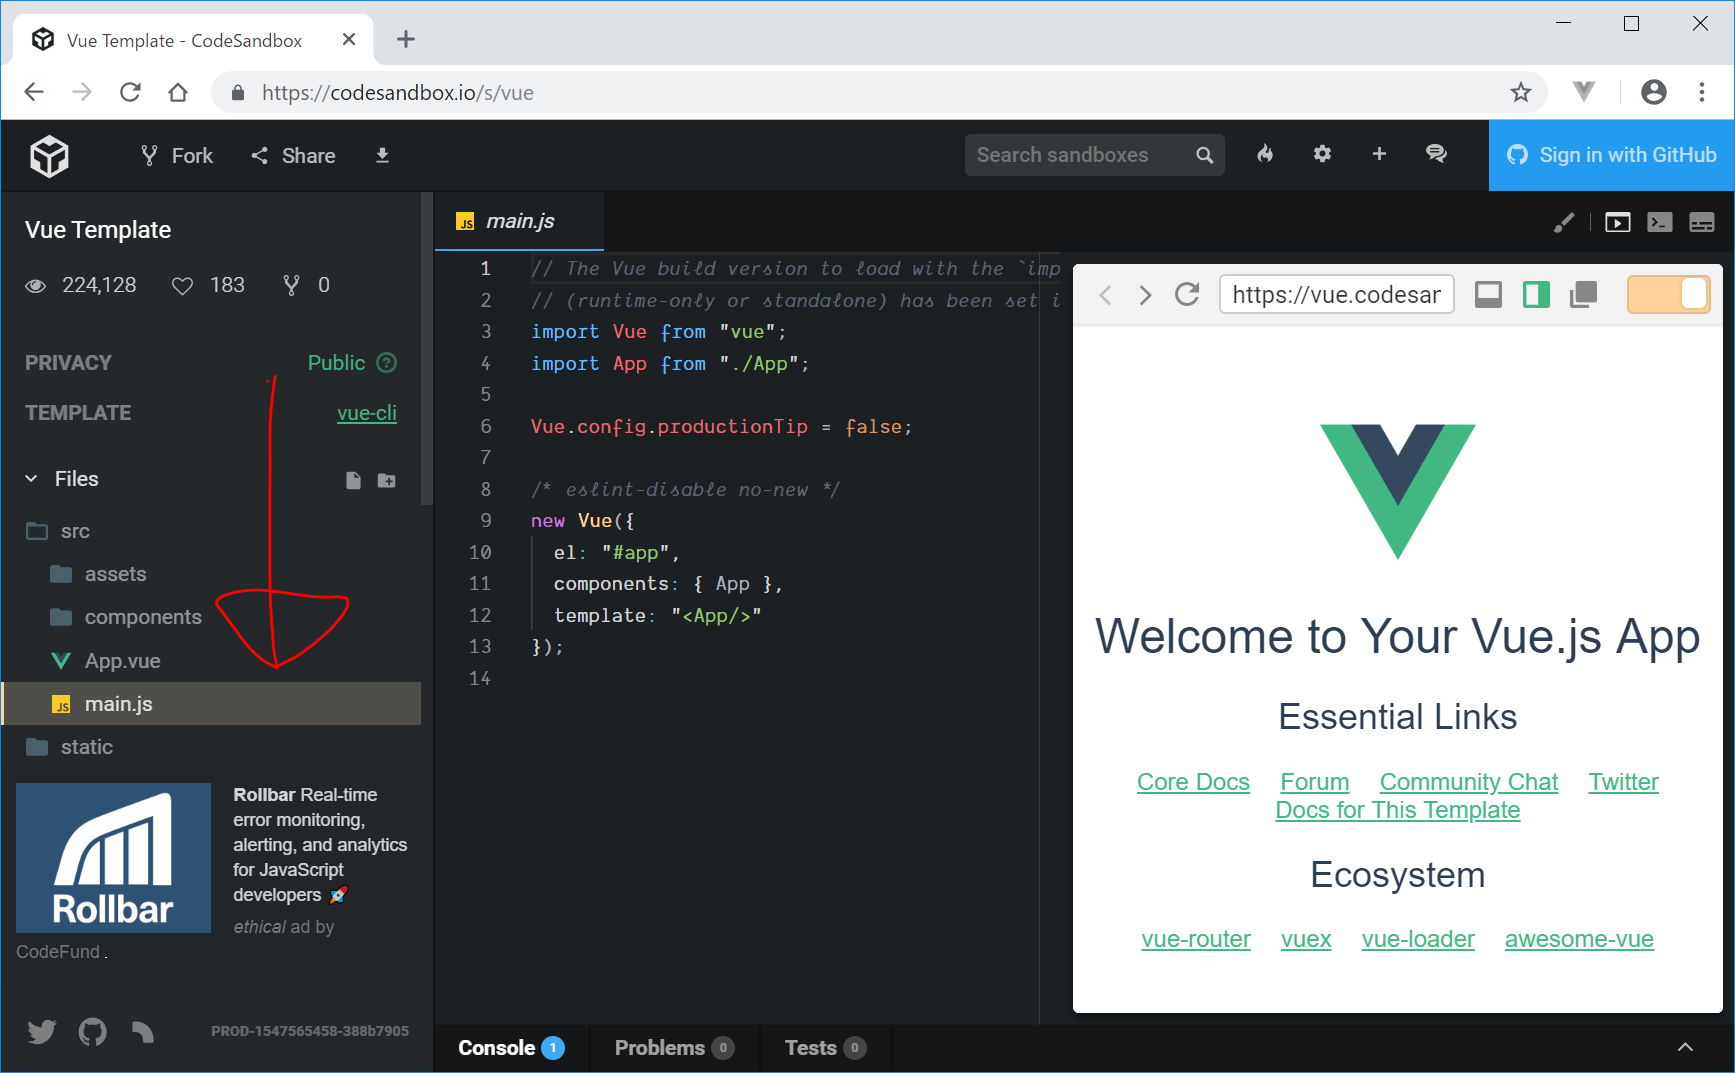
- https://codesandbox.io/へ行き、画面右上の、『Create Sandbox』をクリック
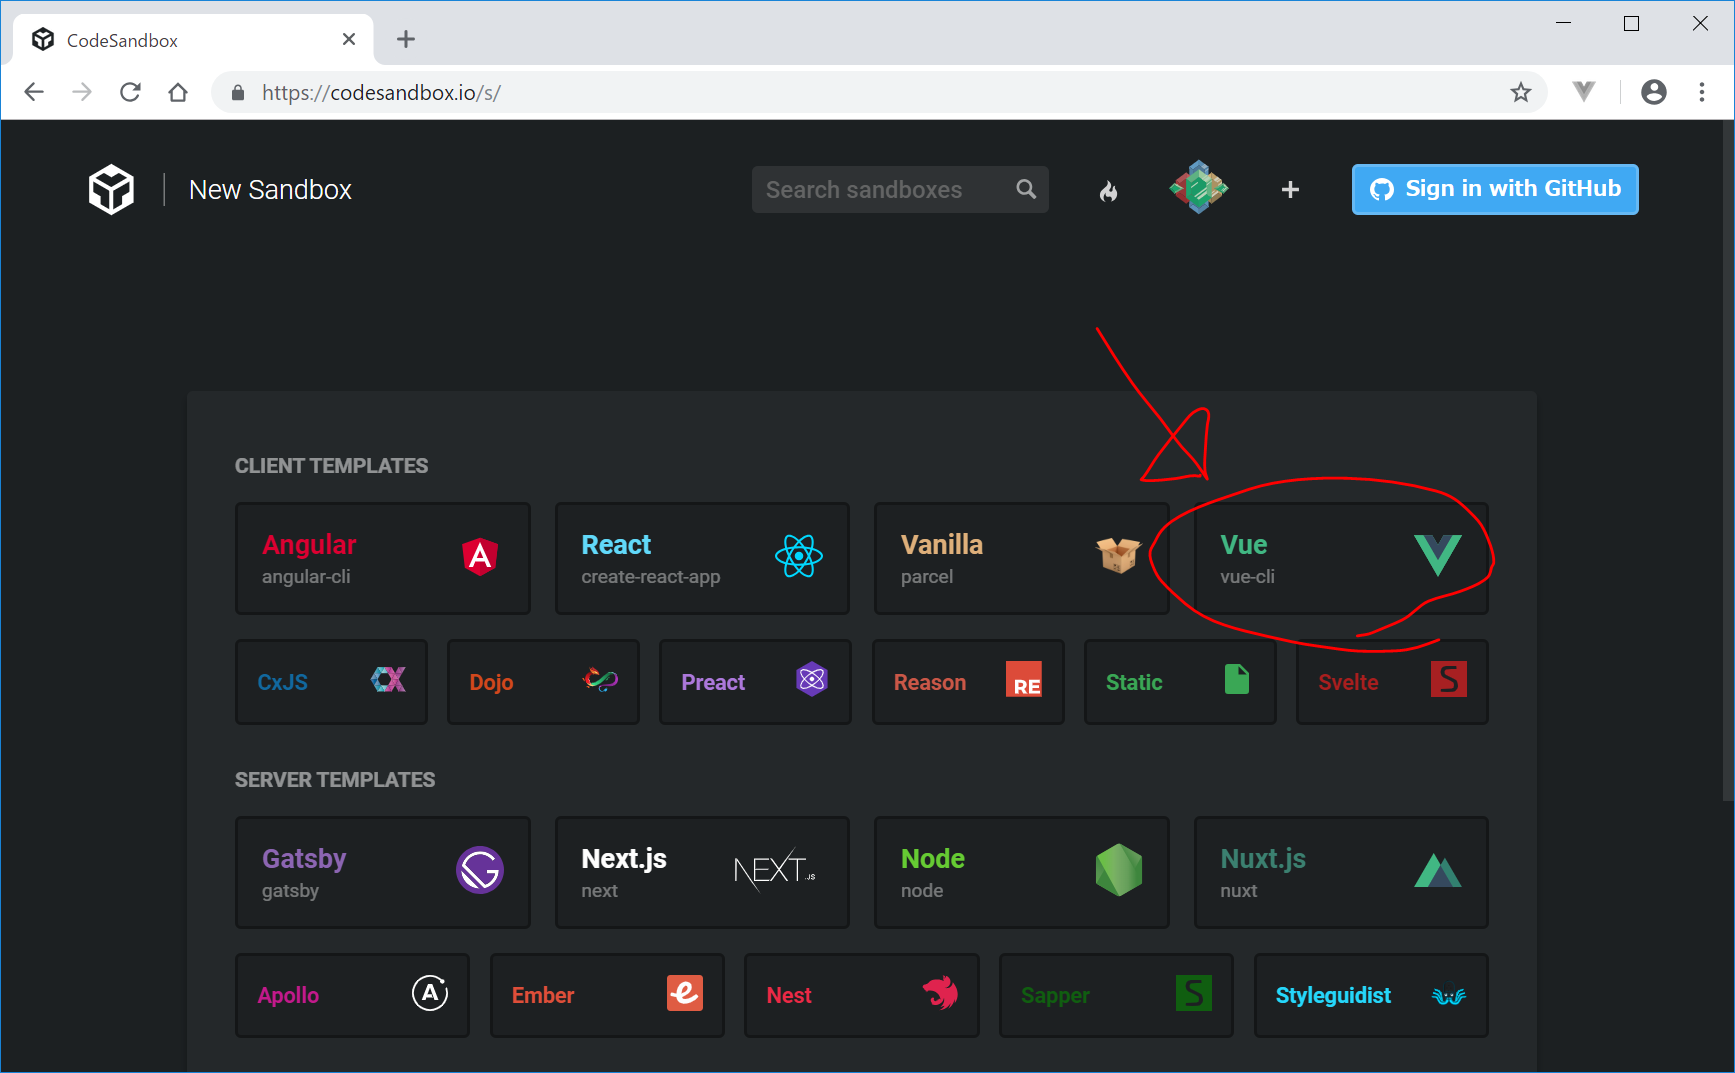
- Vue をクリック
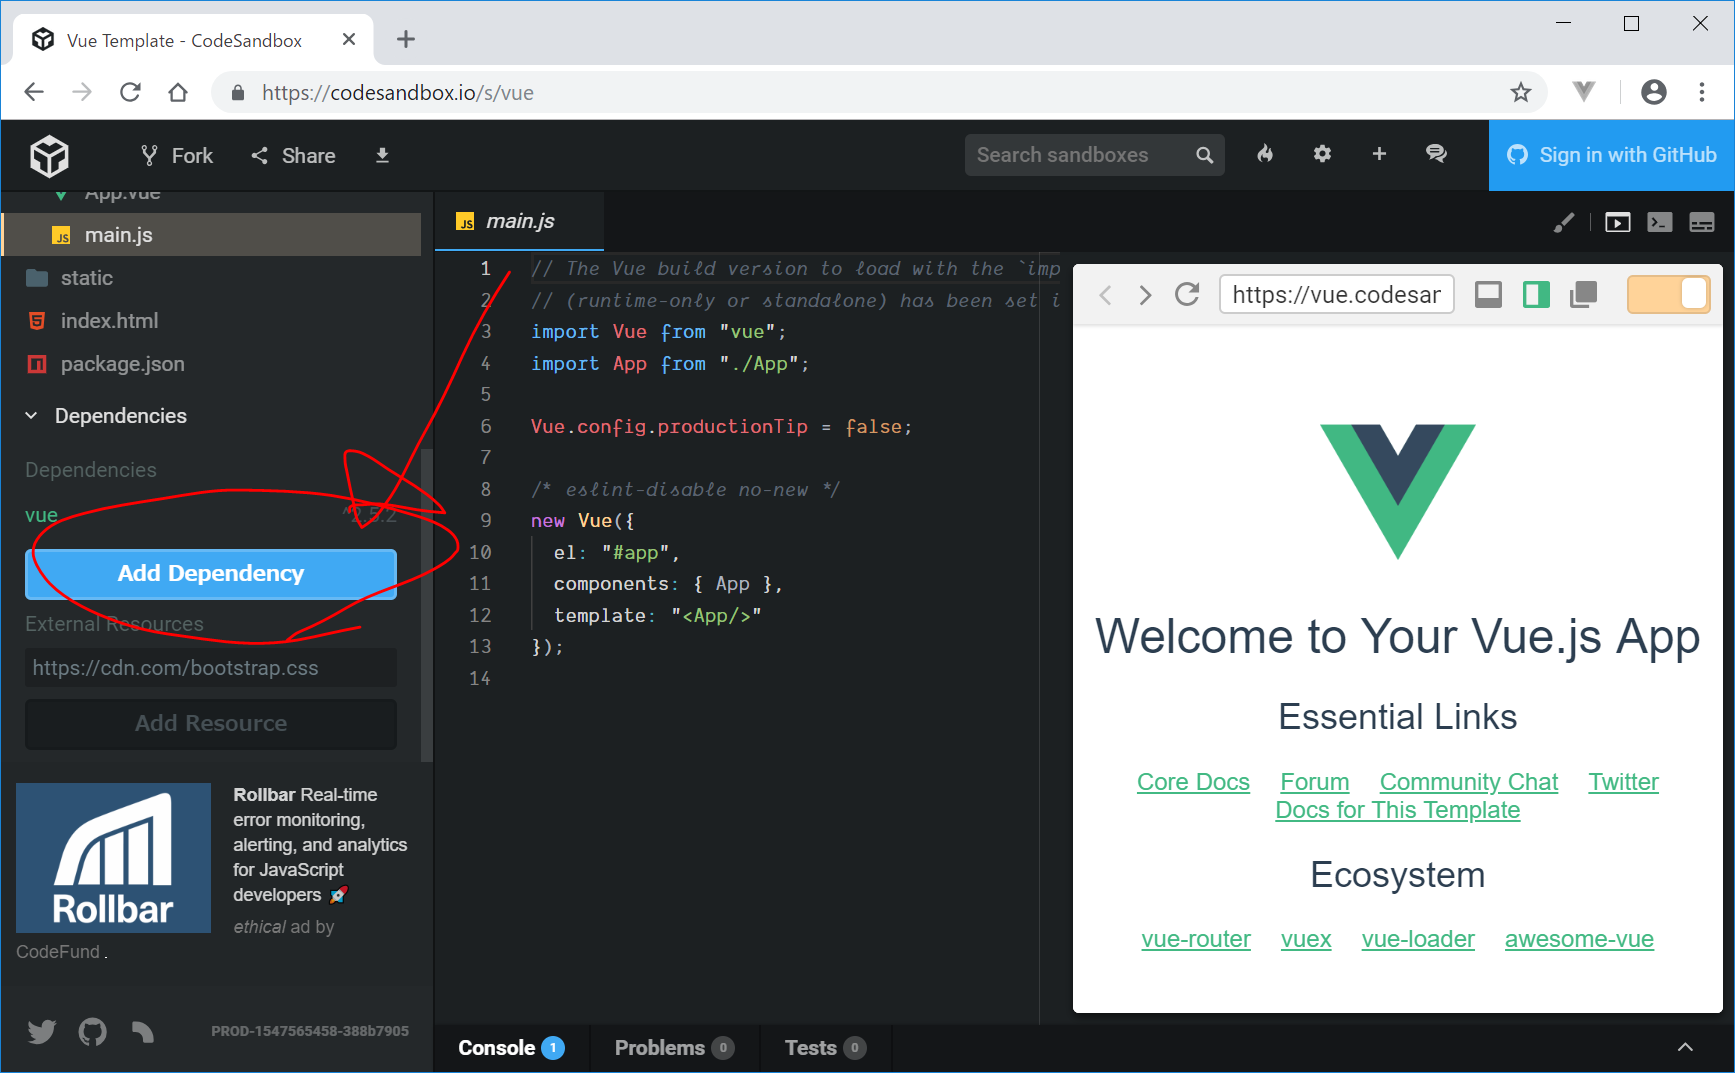
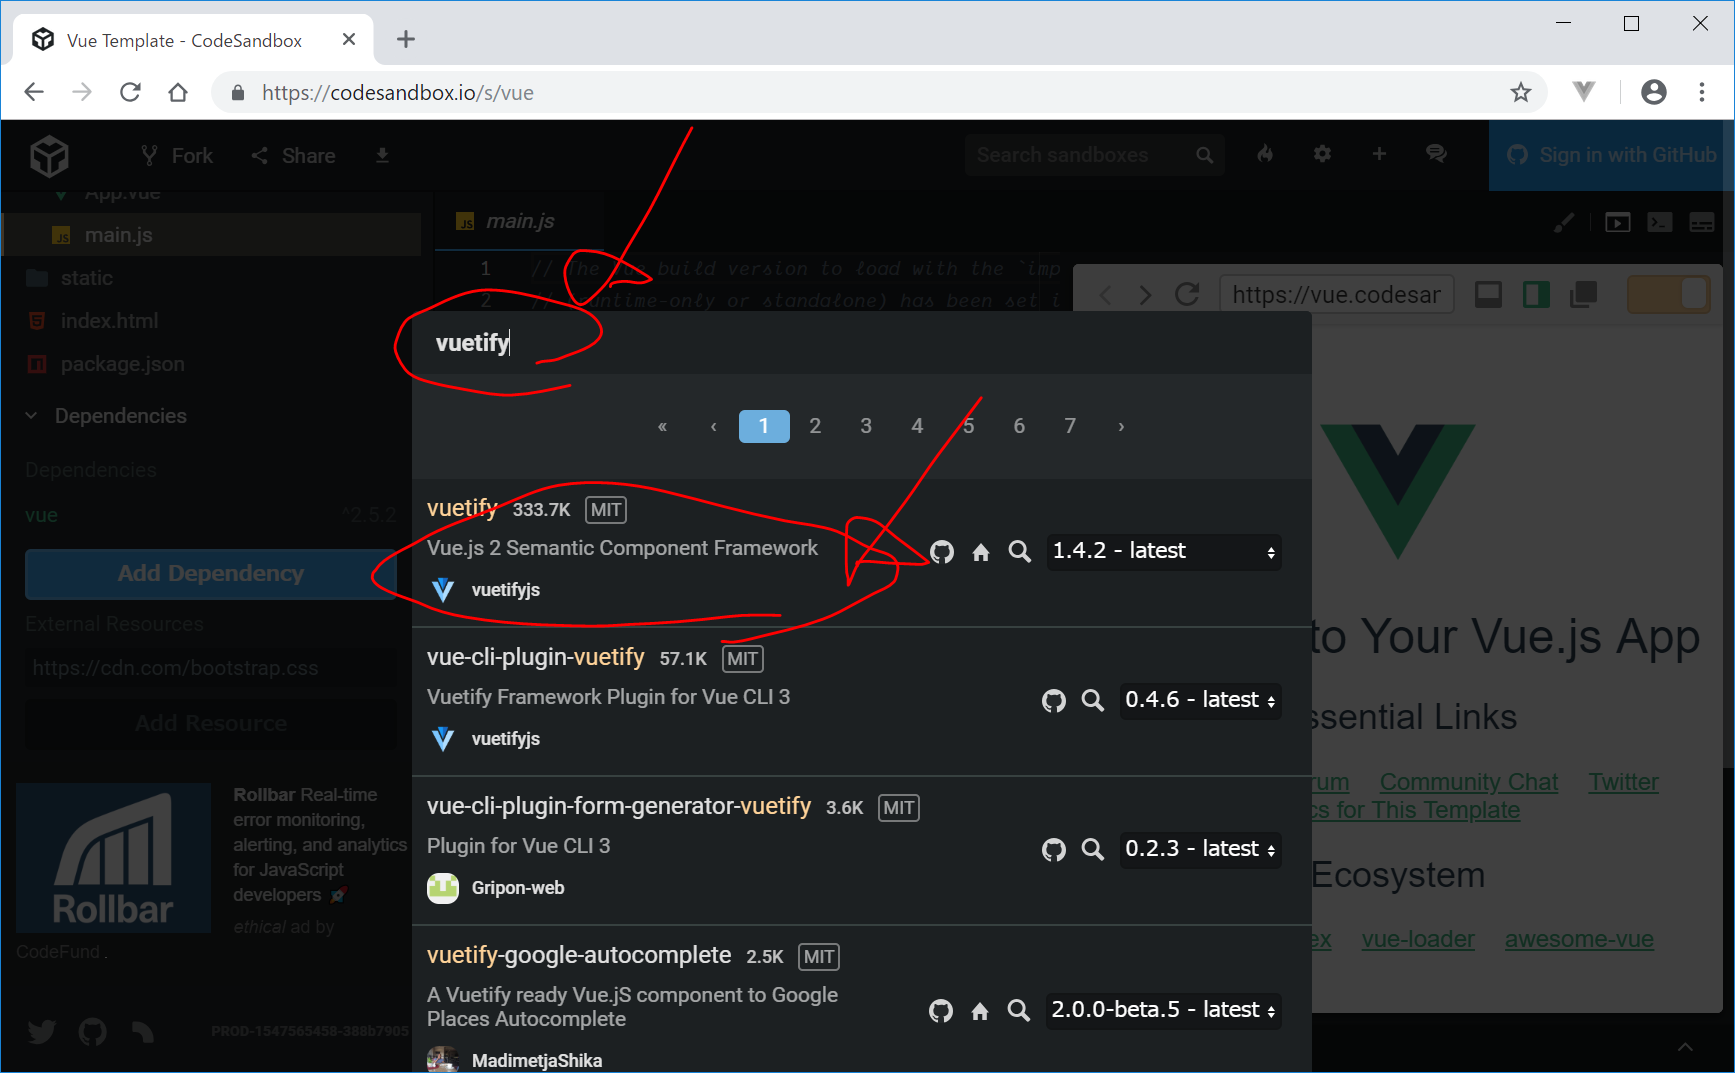
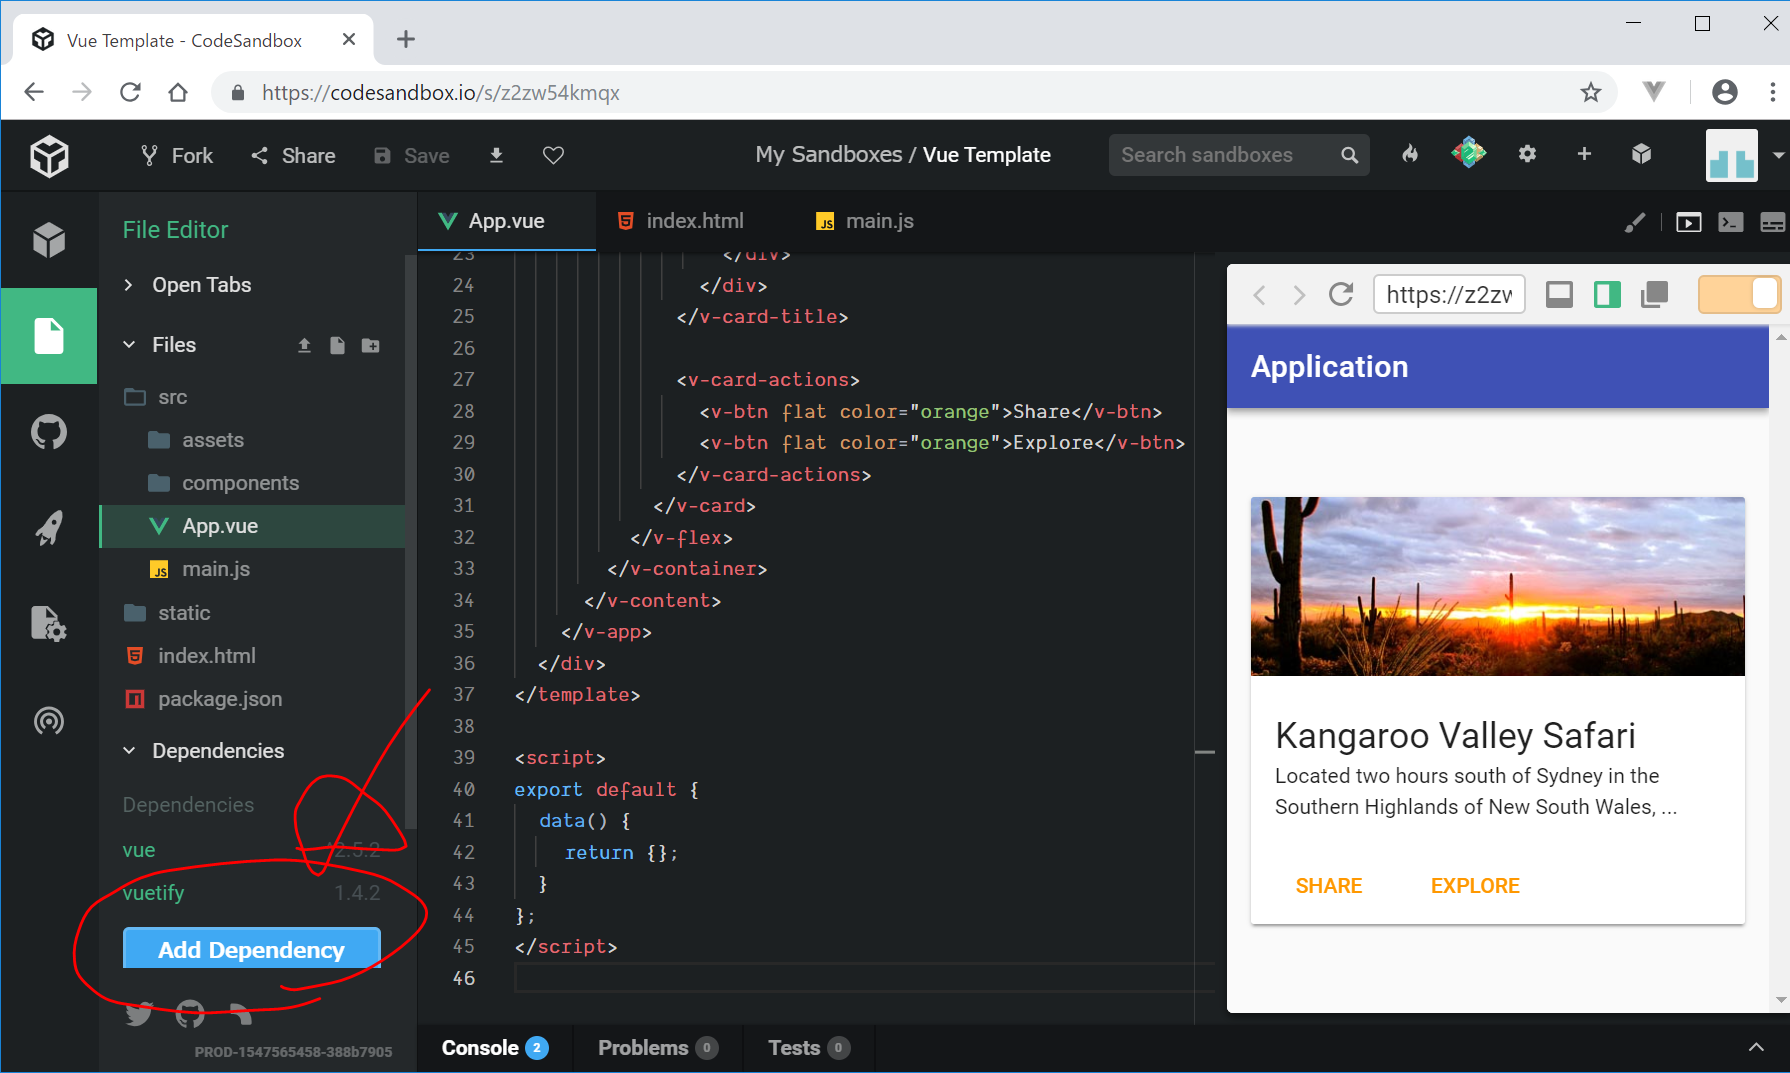
- Add Dependencyから、Vuetifyをインストール
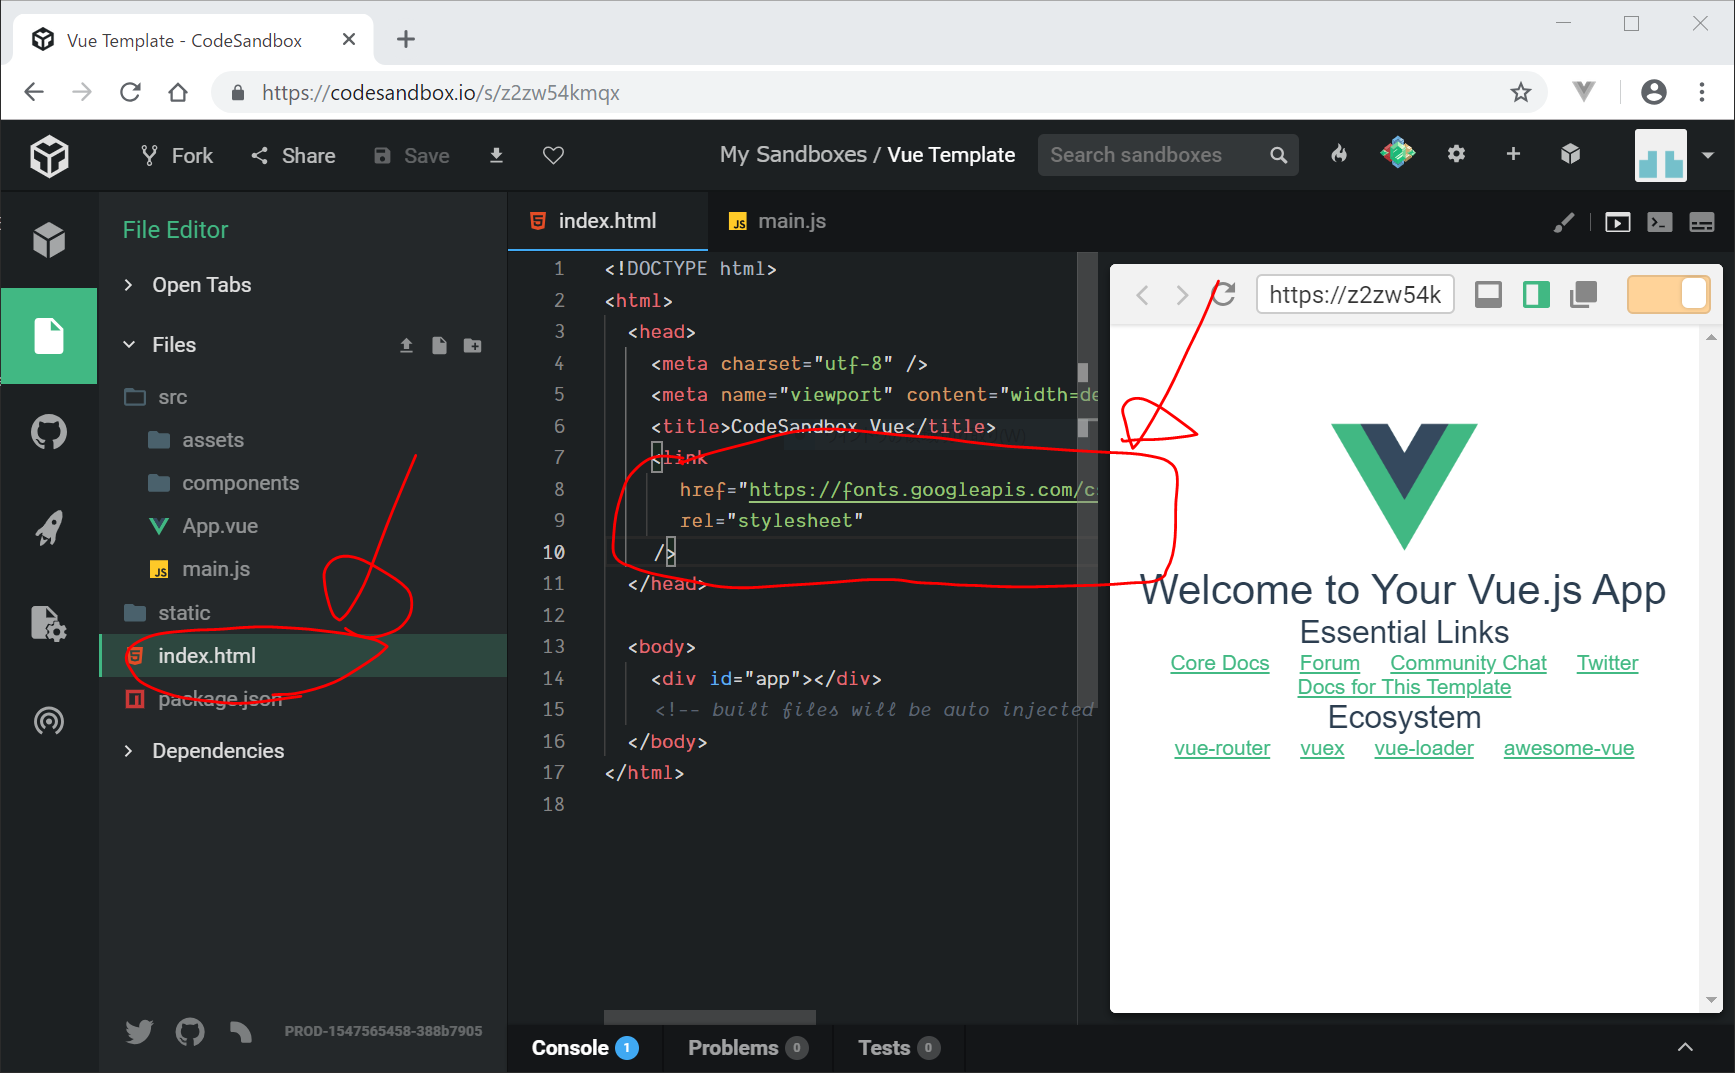
- index.htmlの編集
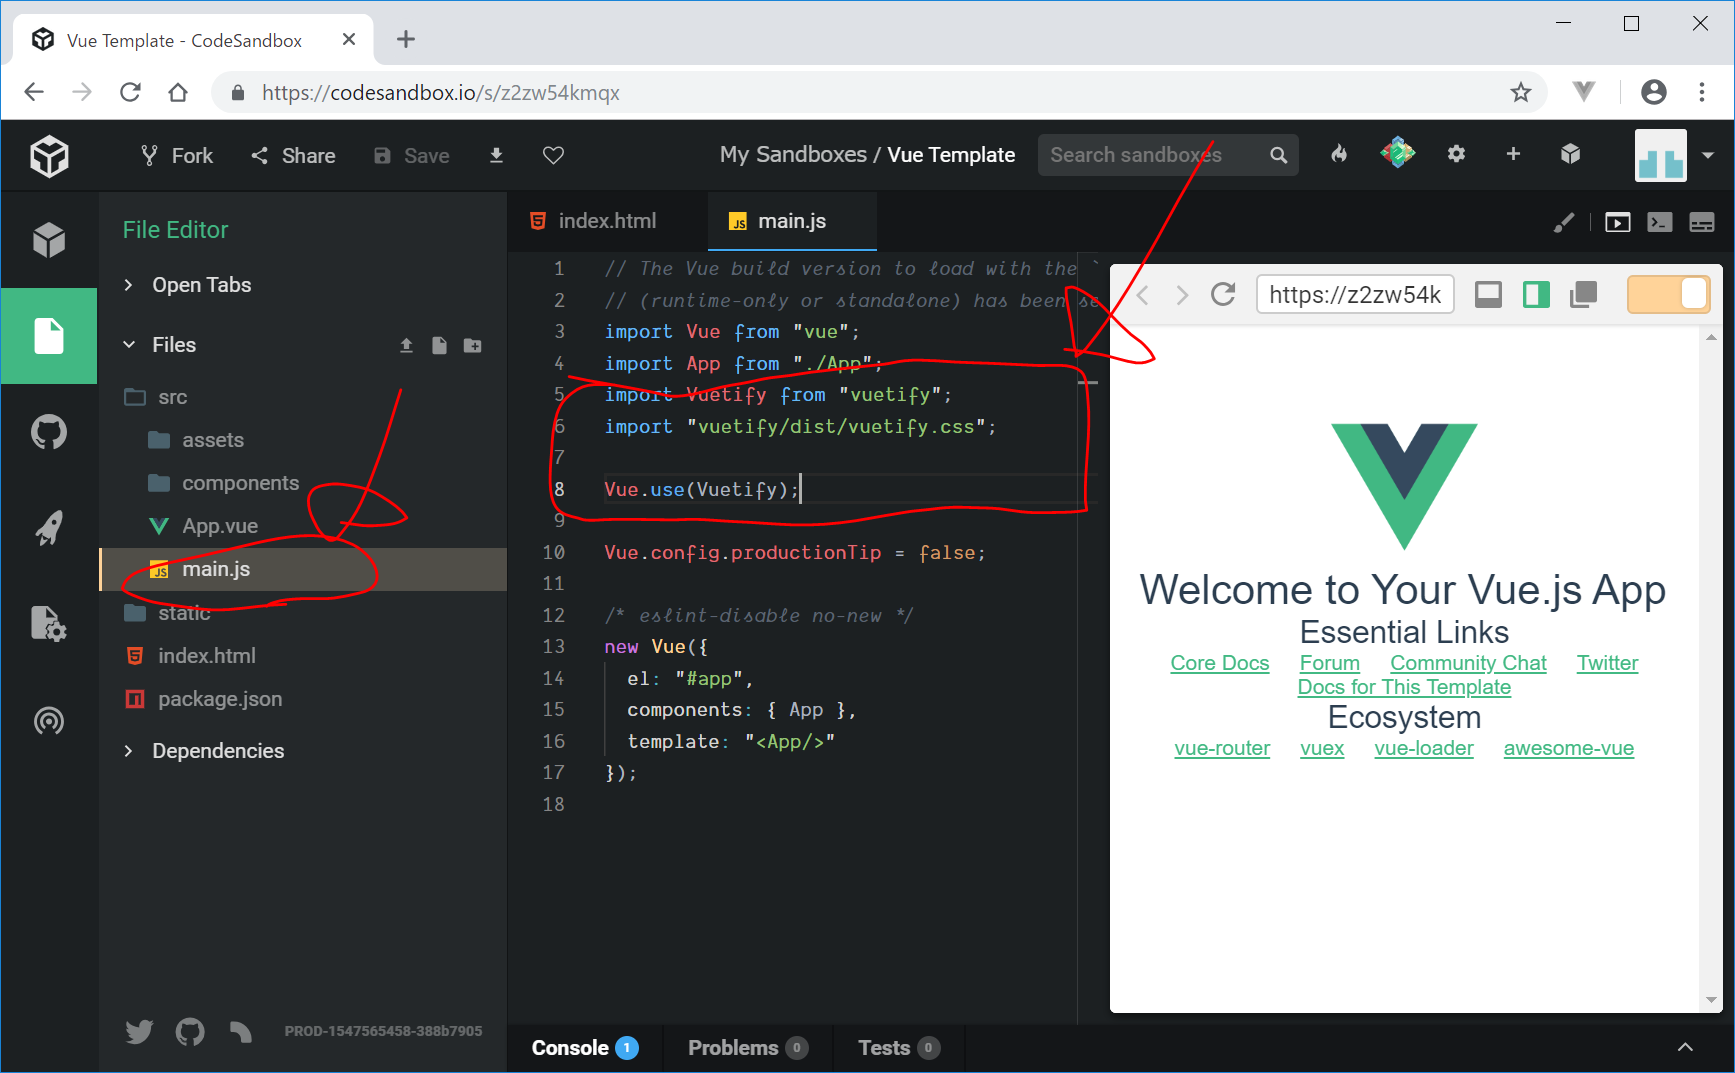
- src/main.jsの編集
index.htmlと、src/main.jsは、以下をコピペします。
以上で、Vue.jsで、Vuetifyを利用する準備ができました。
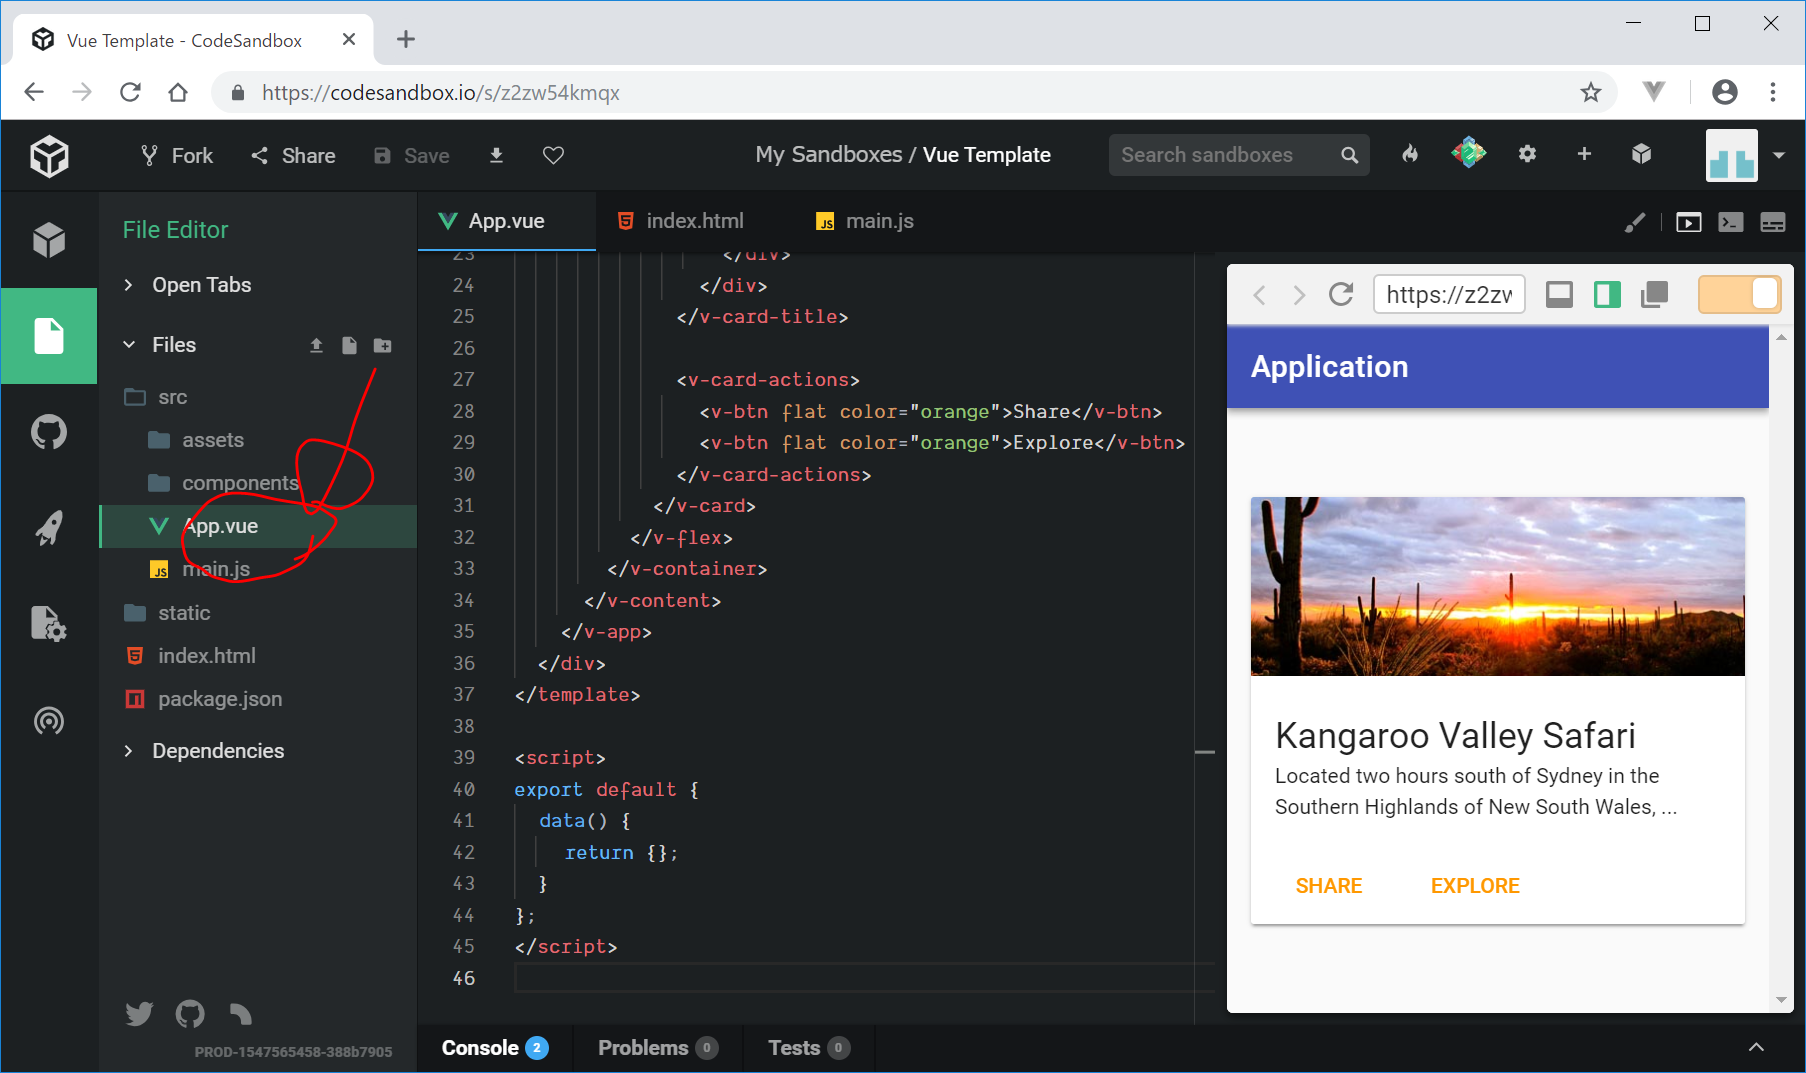
Vuetifyのテンプレートを適用
Vue.jsにVuexをインストール
Vuexを利用するための準備を行います。
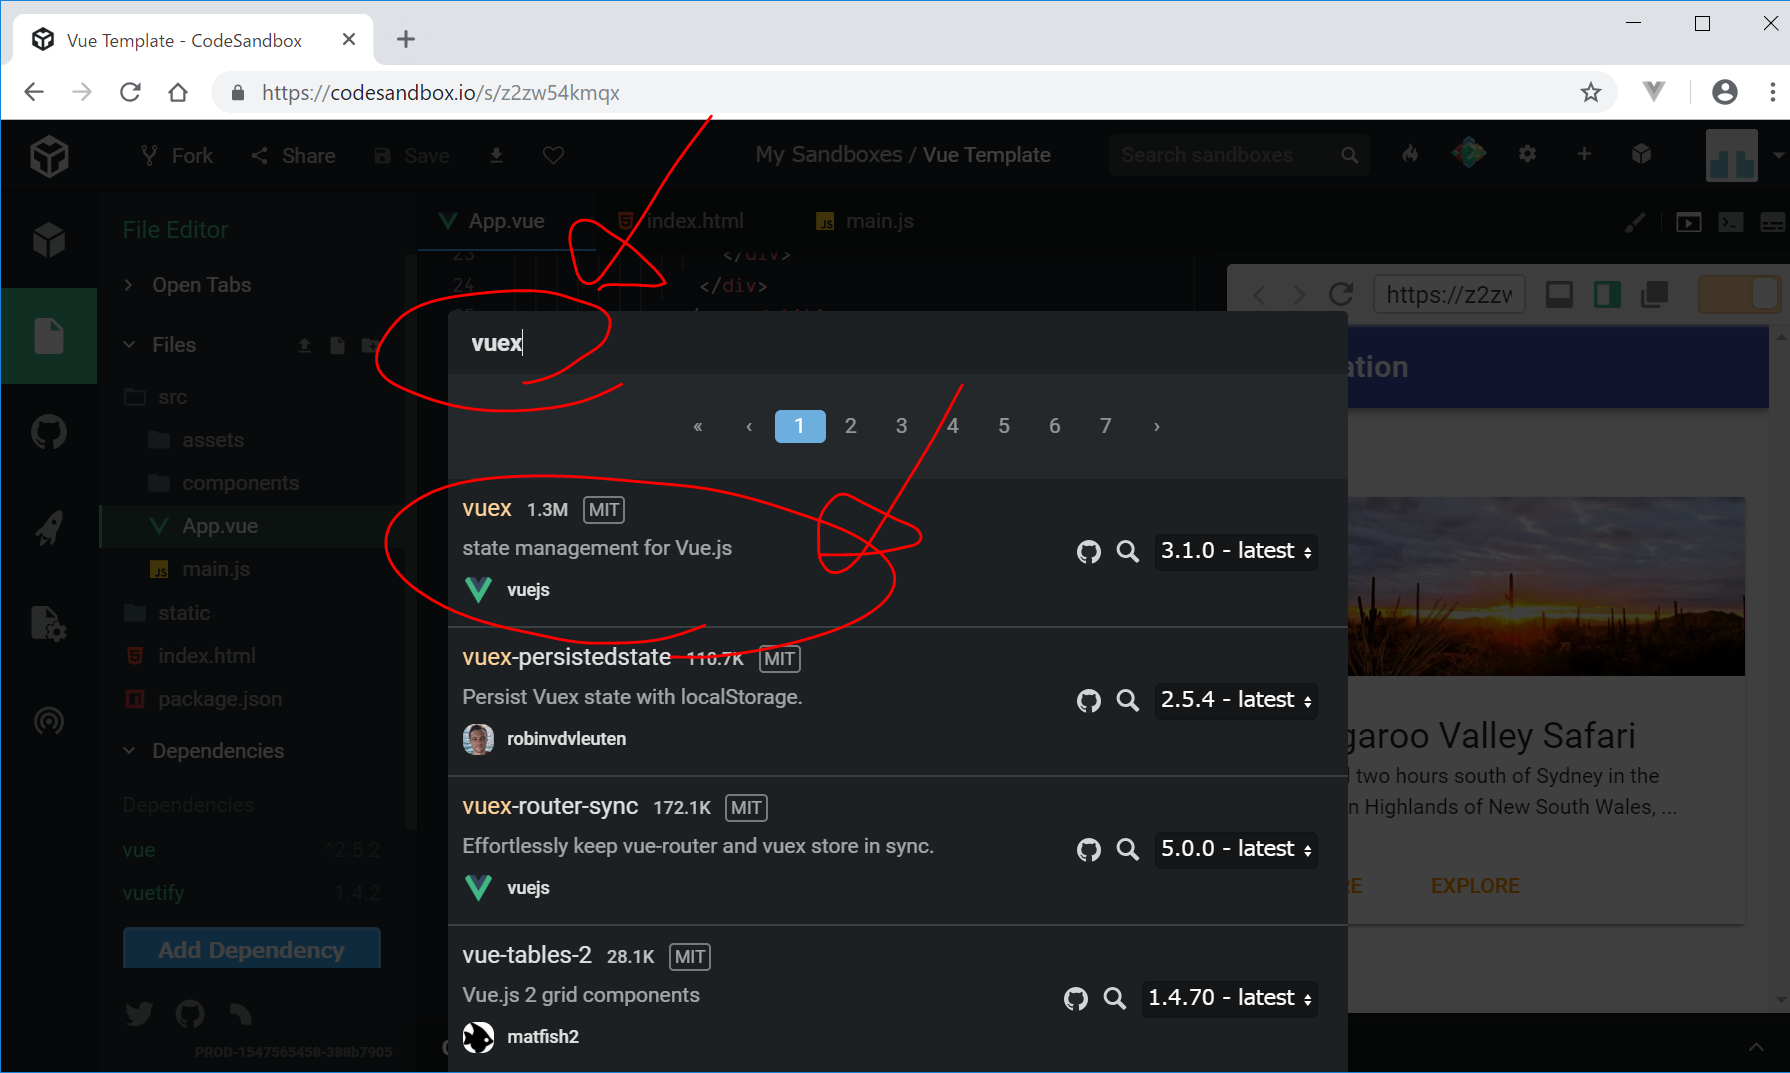
- Add Dependencyから、Vuexをインストール
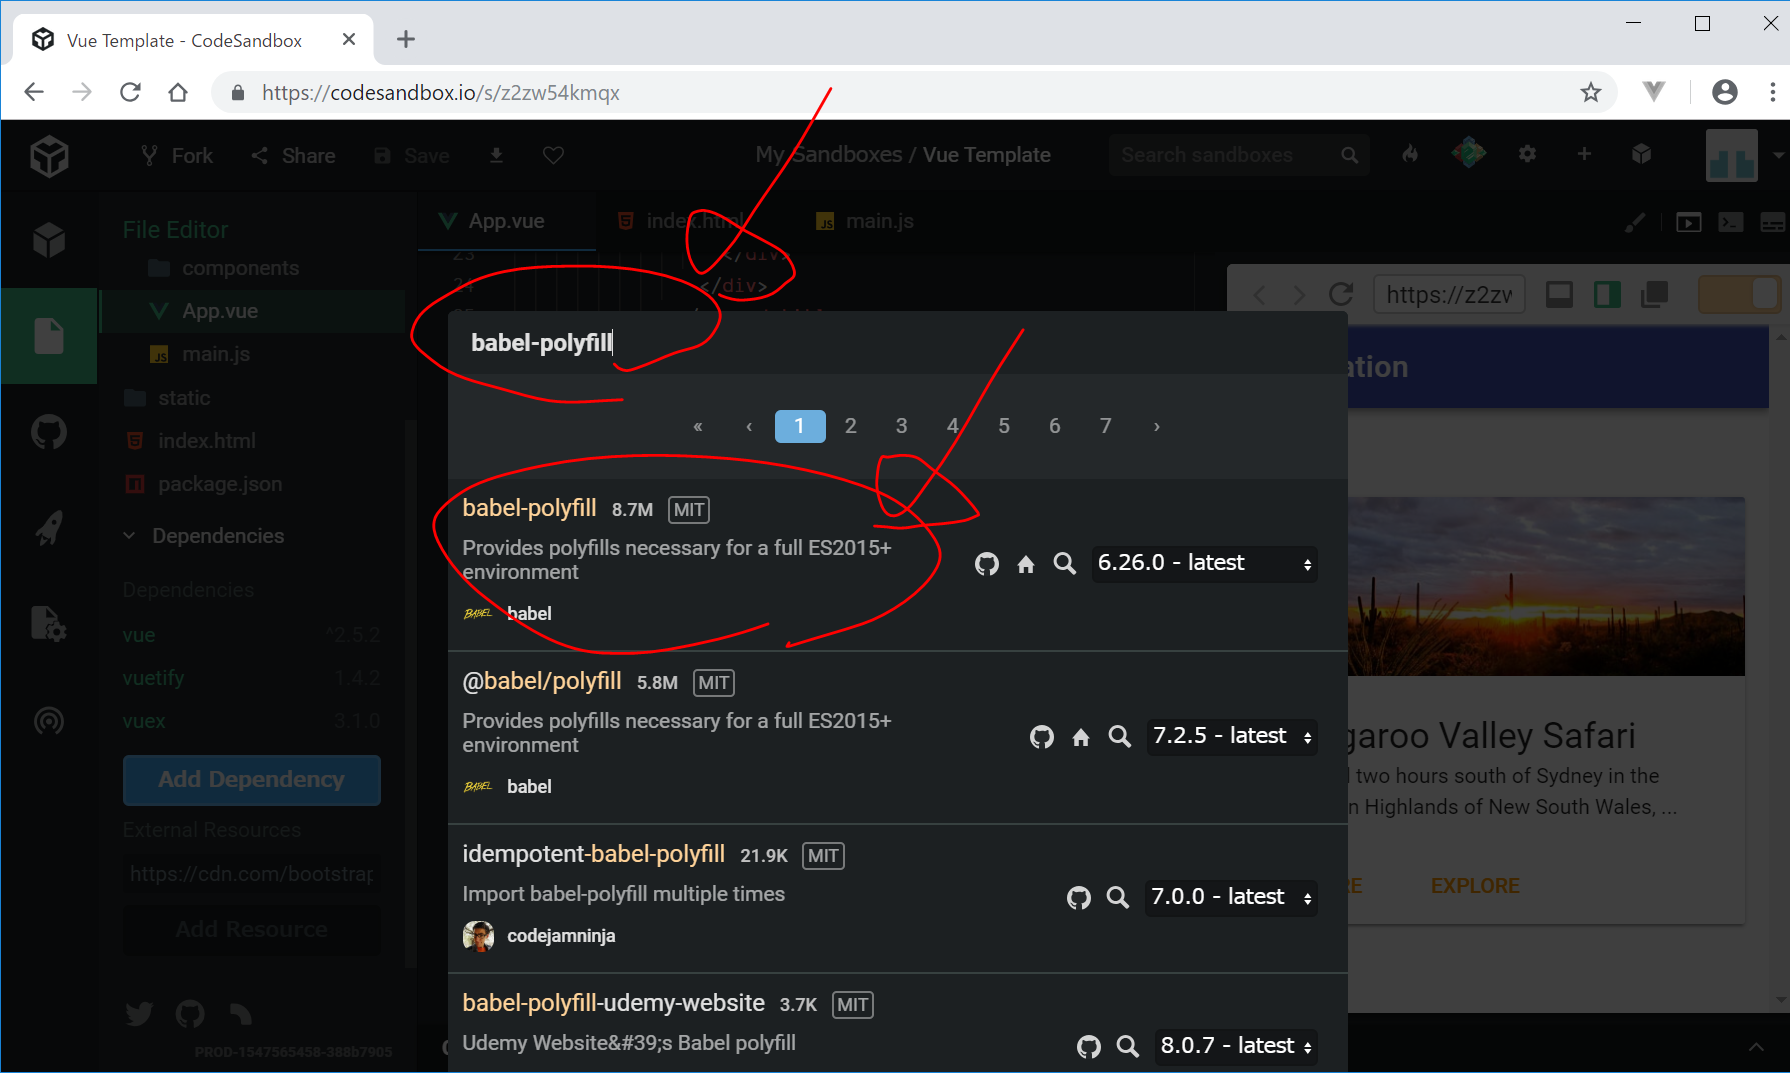
- Add Dependencyから、babel-polyfillをインストール
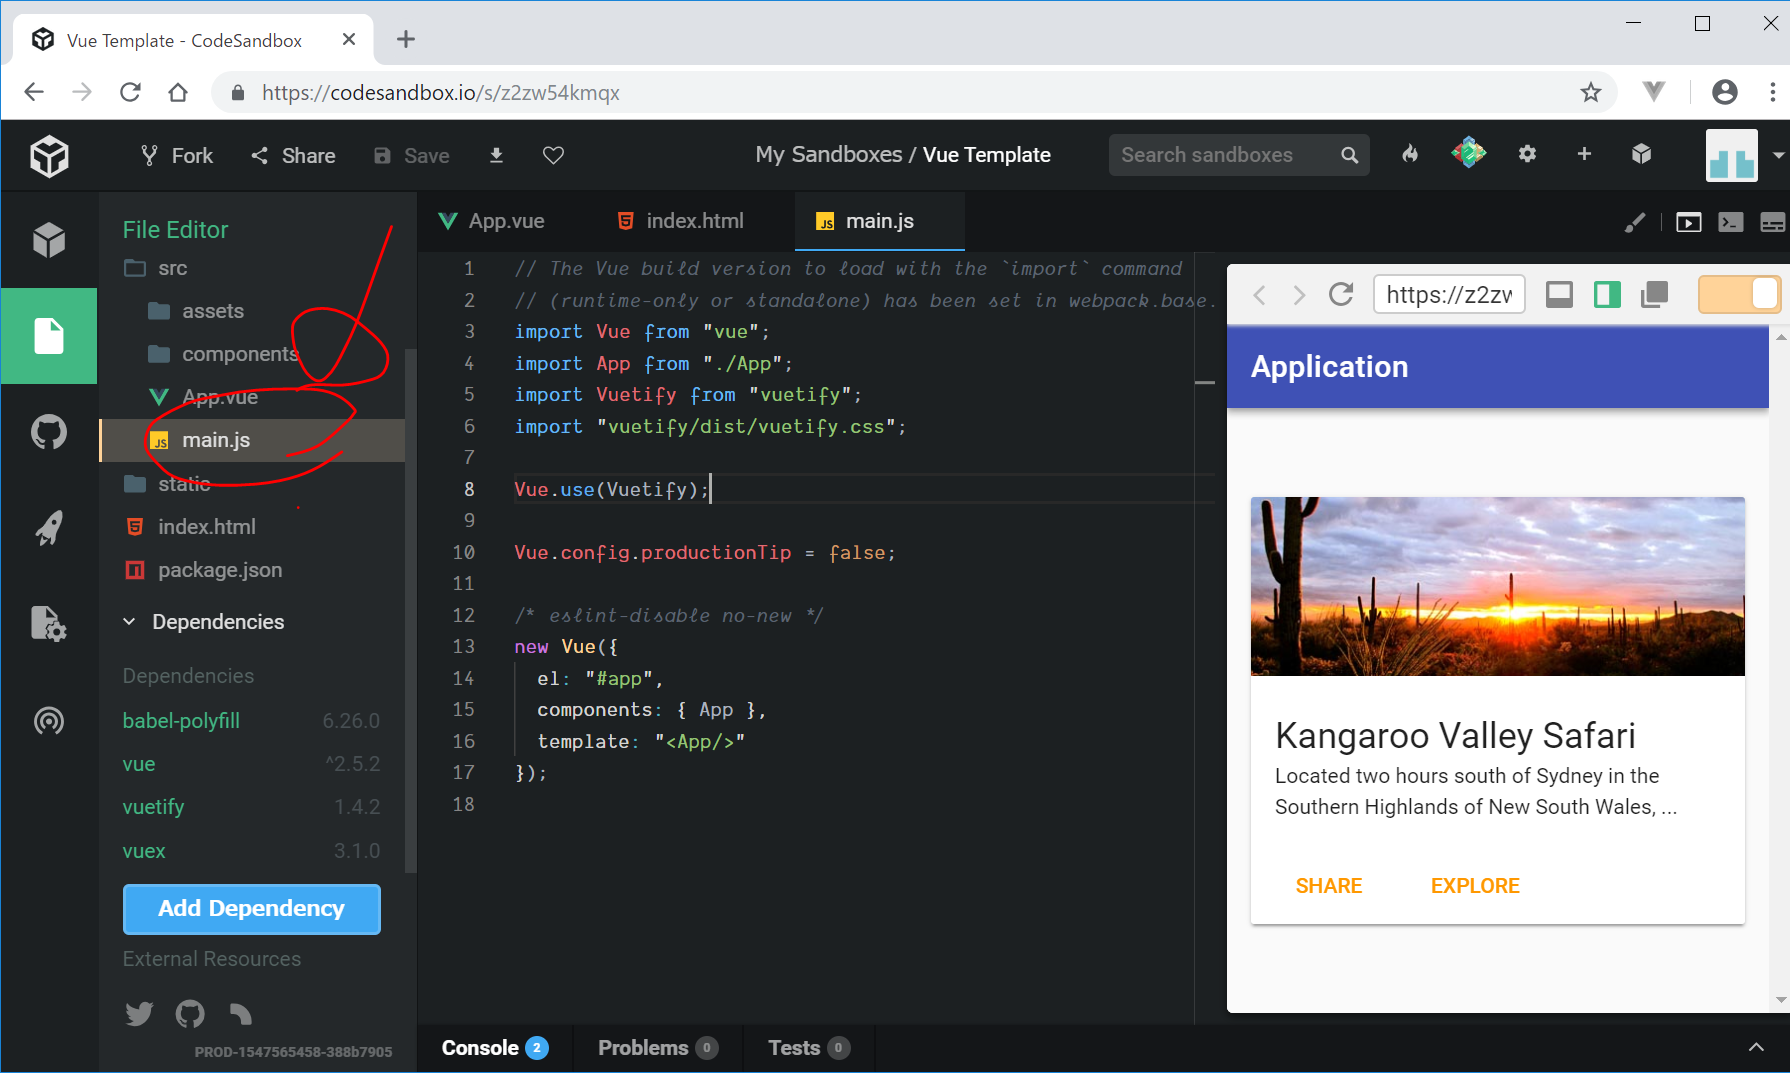
- src/main.jsの編集
- src/store.jsの新規作成
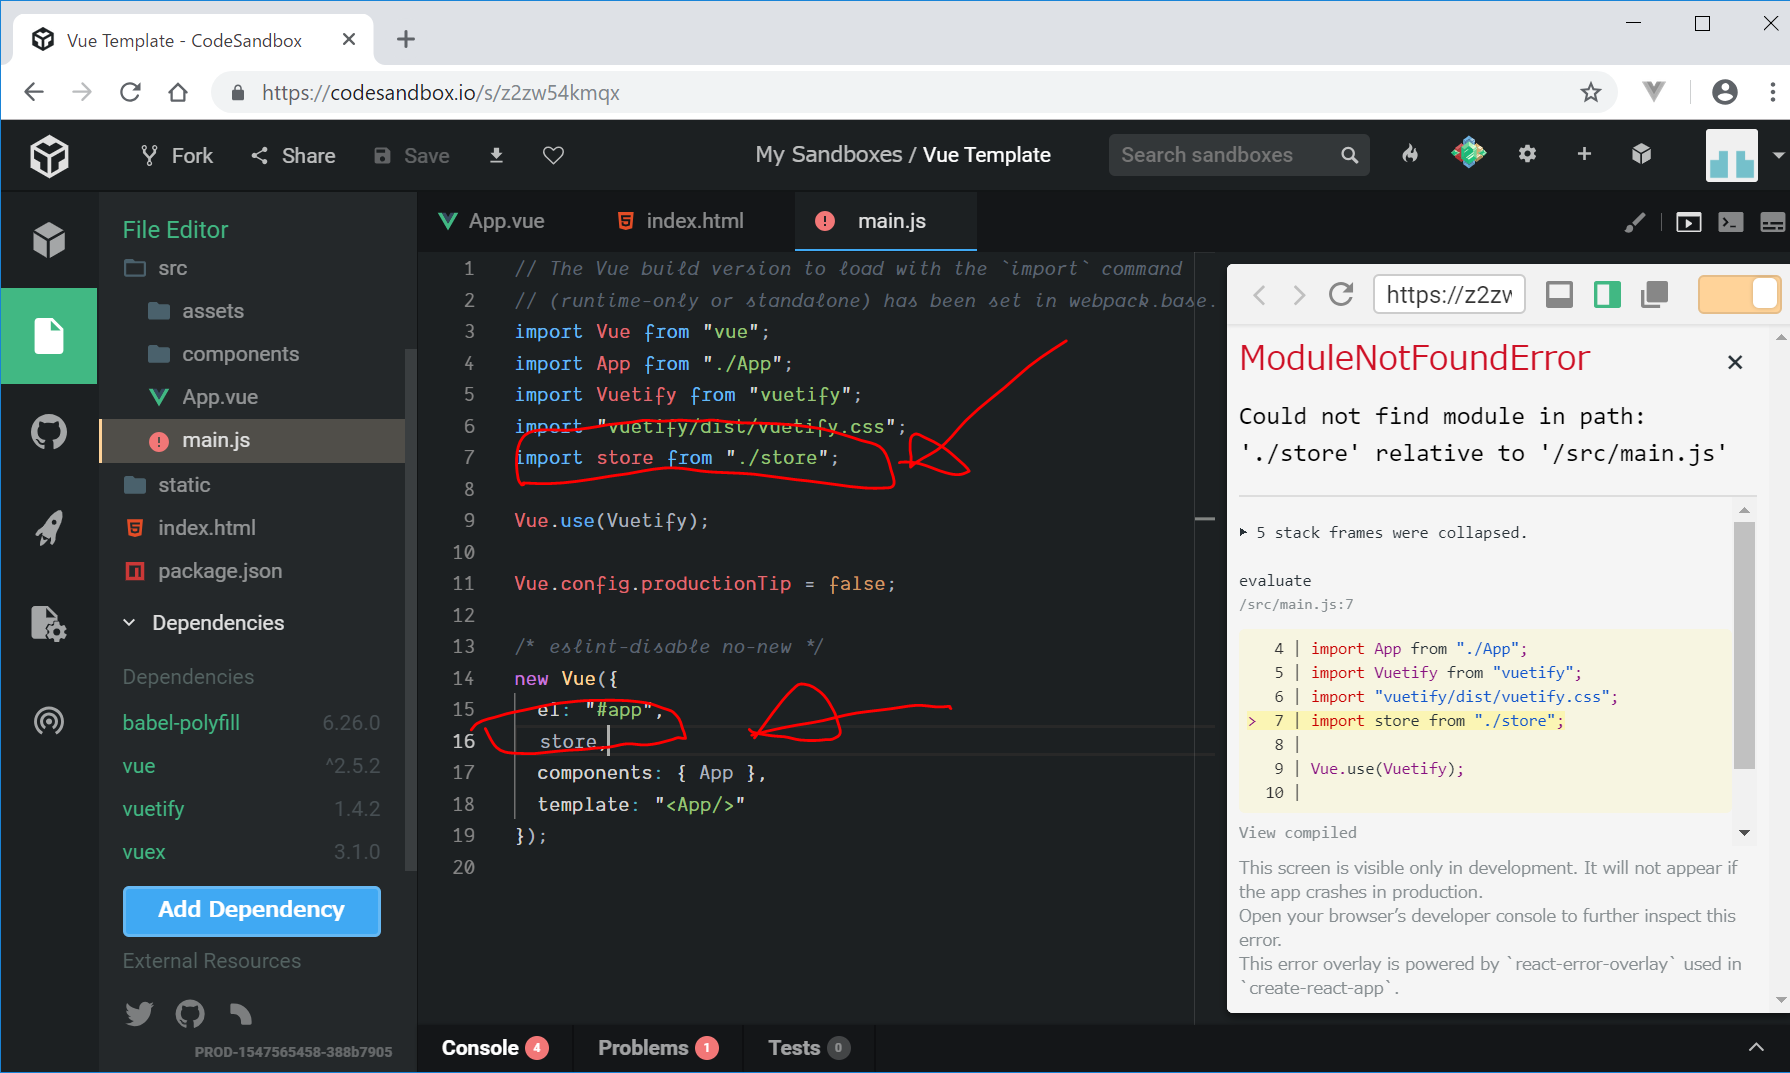
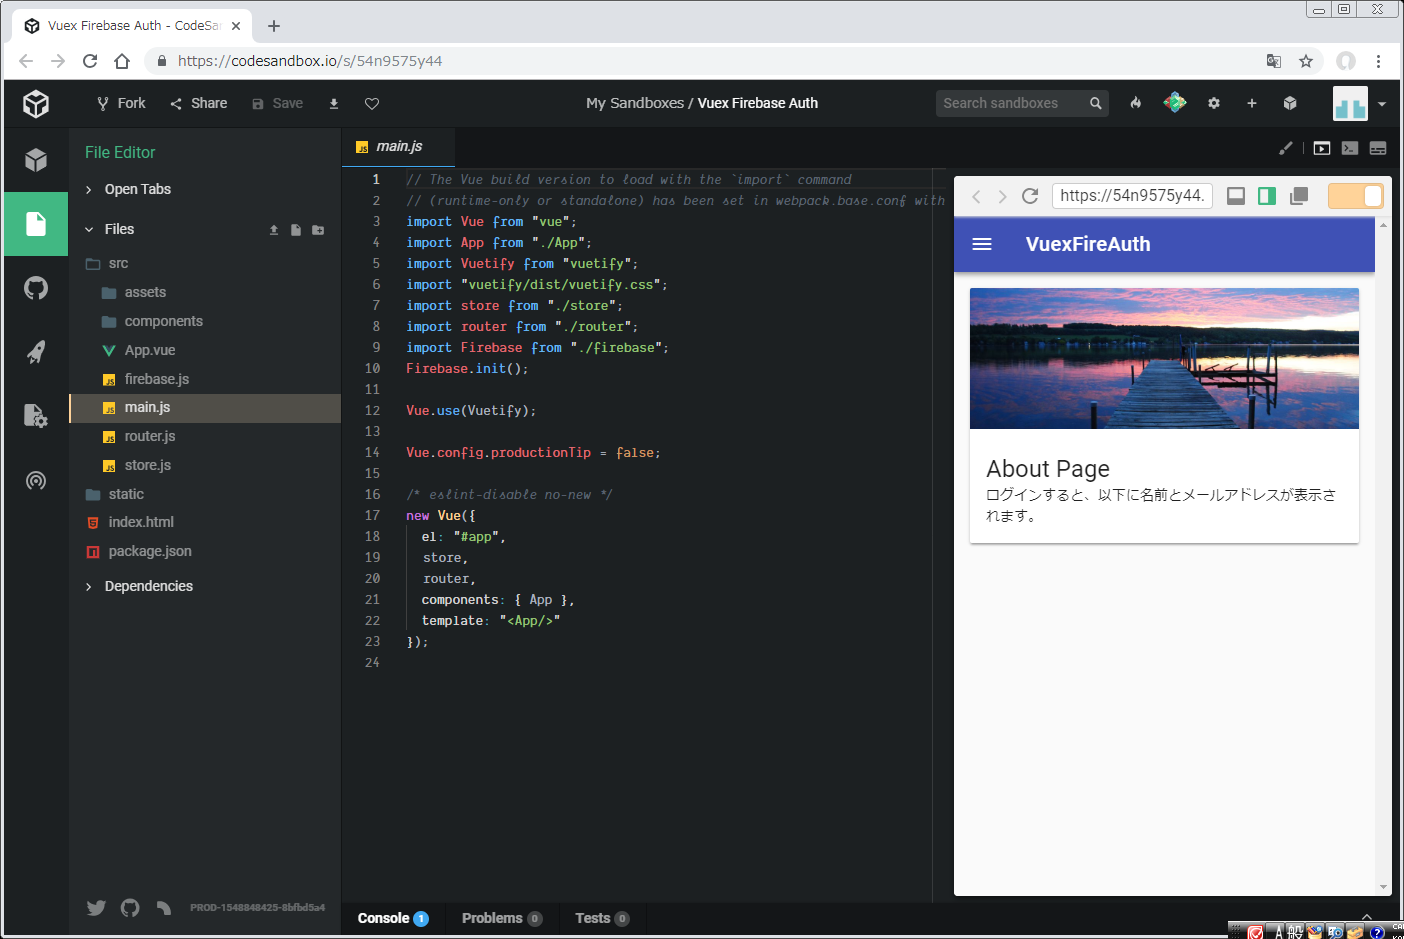
src/main.jsは、以下の2行を追加します。(追加する位置には注意する必要があります。)
import store from './store'

store,
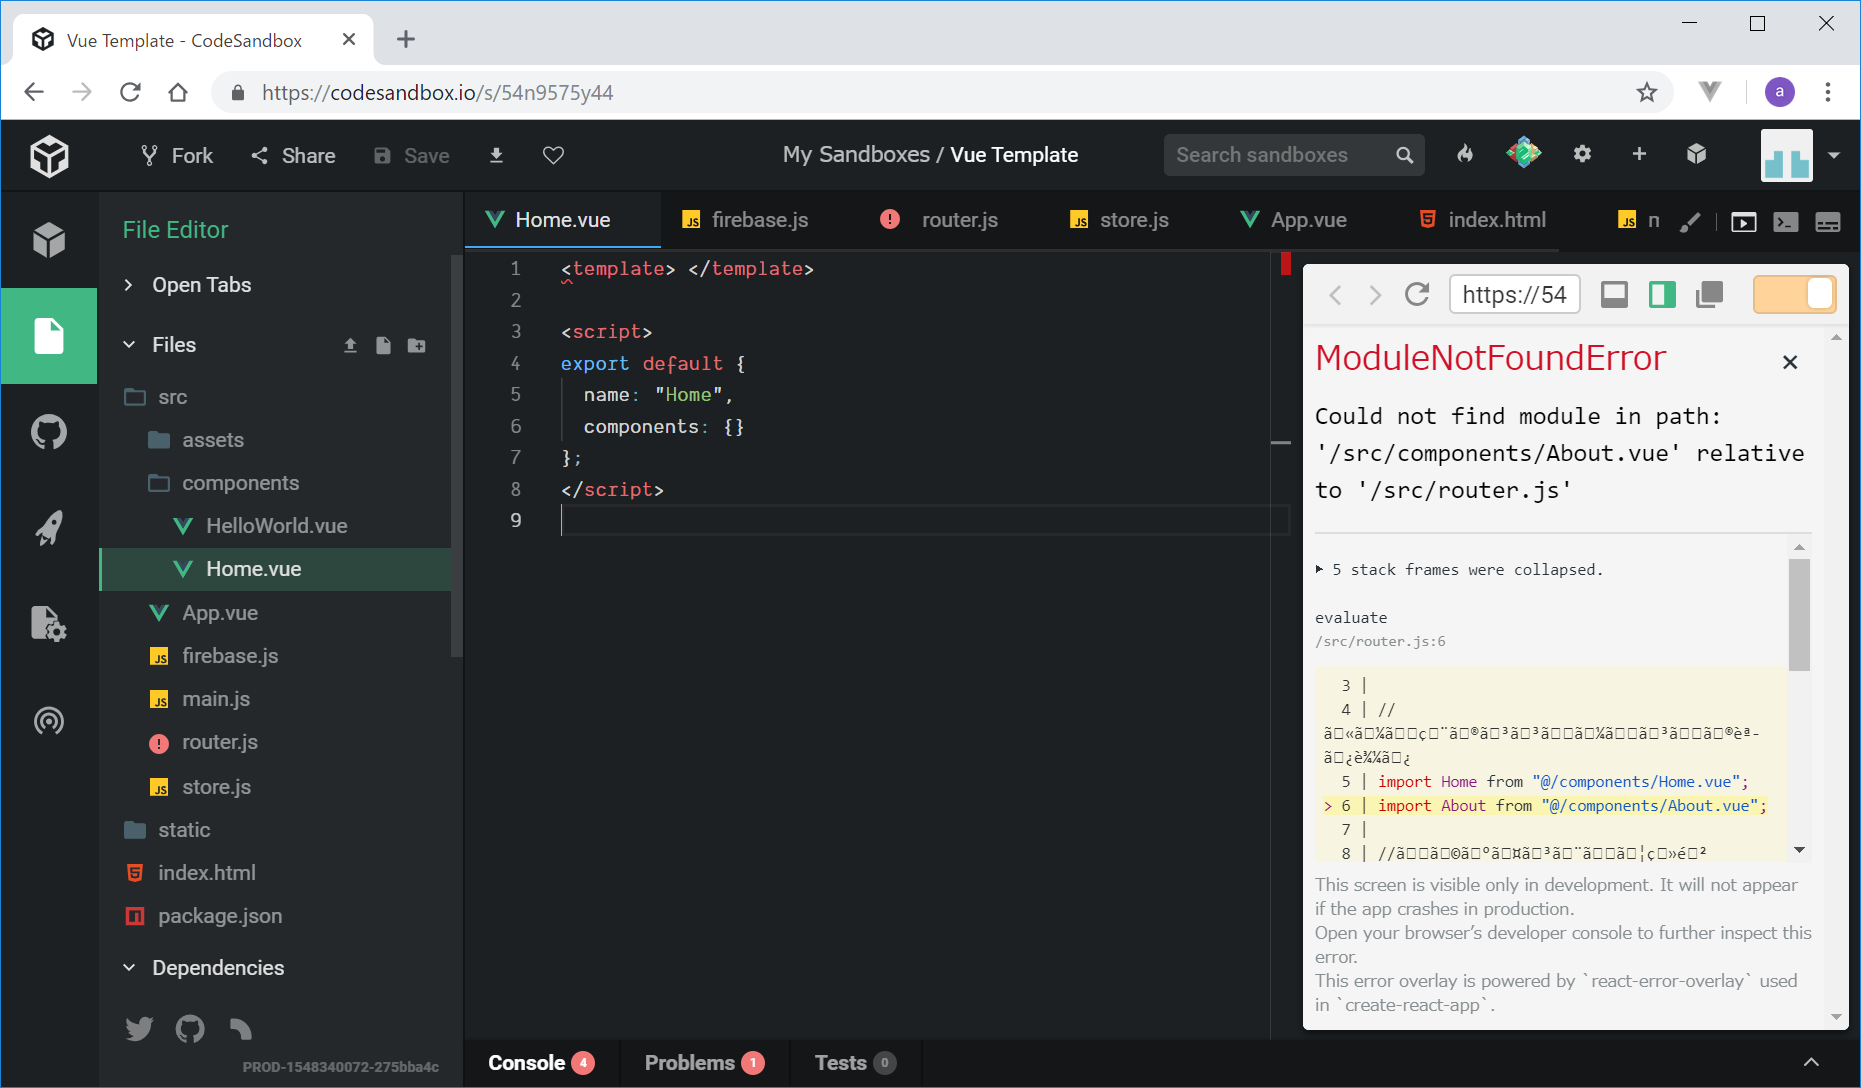
この時点では、store.jsを作成していないので、エラーが出ます。
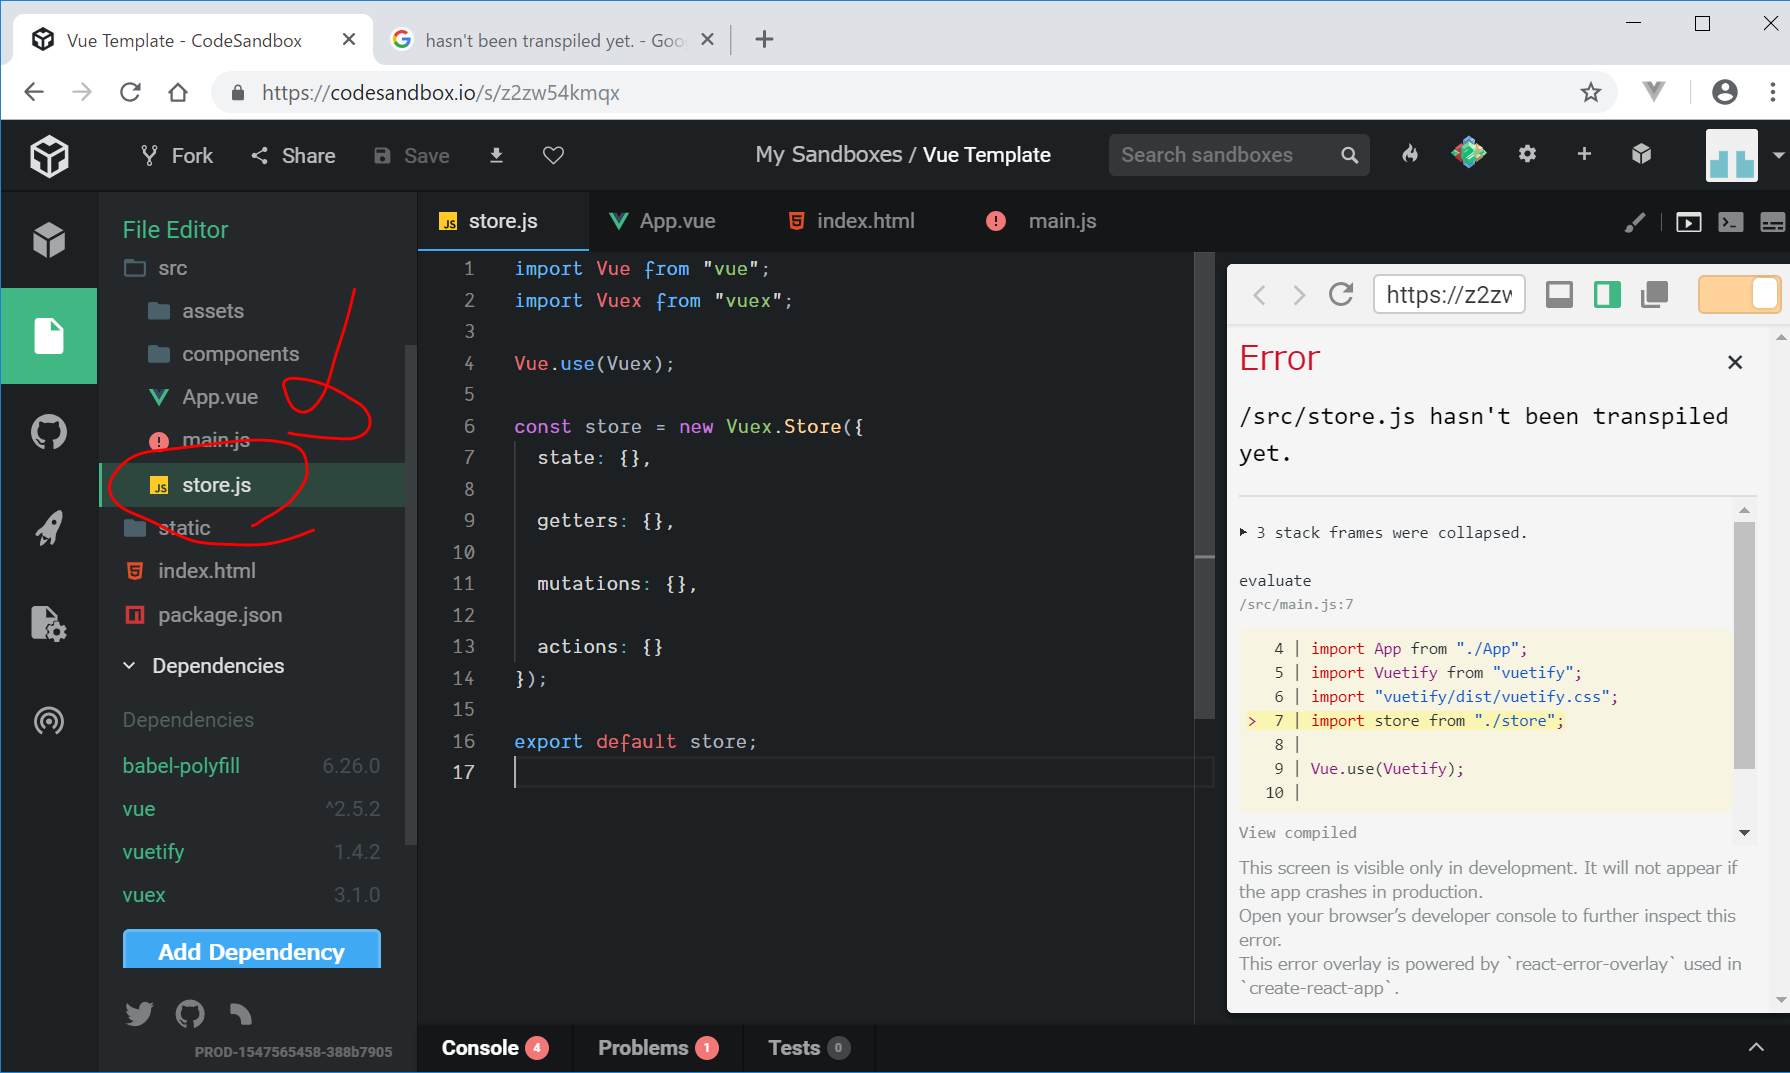
- src/store.jsのテンプレートの作成
src/store.jsを新規作成し、以下をコピペします。
import Vue from "vue";
import Vuex from "vuex";

Vue.use(Vuex);

const store = new Vuex.Store({
  state: {},

  getters: {},

  mutations: {},

  actions: {}
});

export default store;
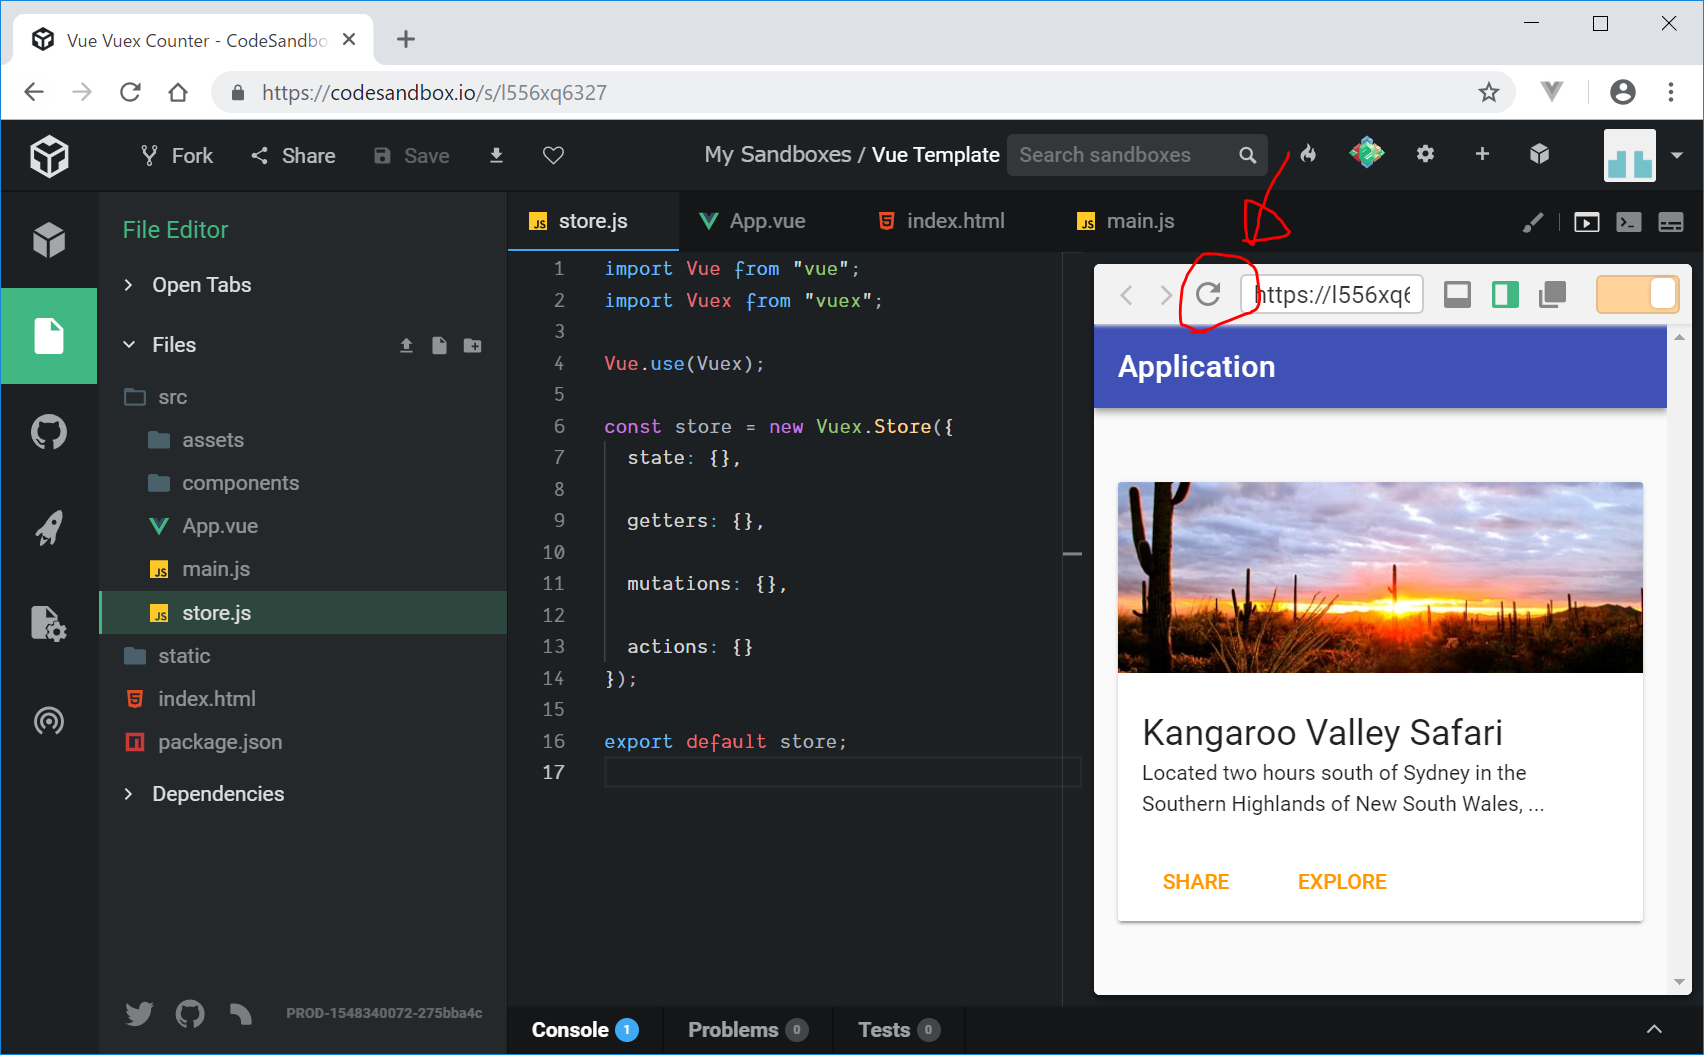
これでも、まだエラーが出ています。。。
右側の画面の更新画面を押すと、以下のように、vuexが動く準備ができたようです。
Vue-Routerのインストール
Vue-Routerを利用するための準備を行います。
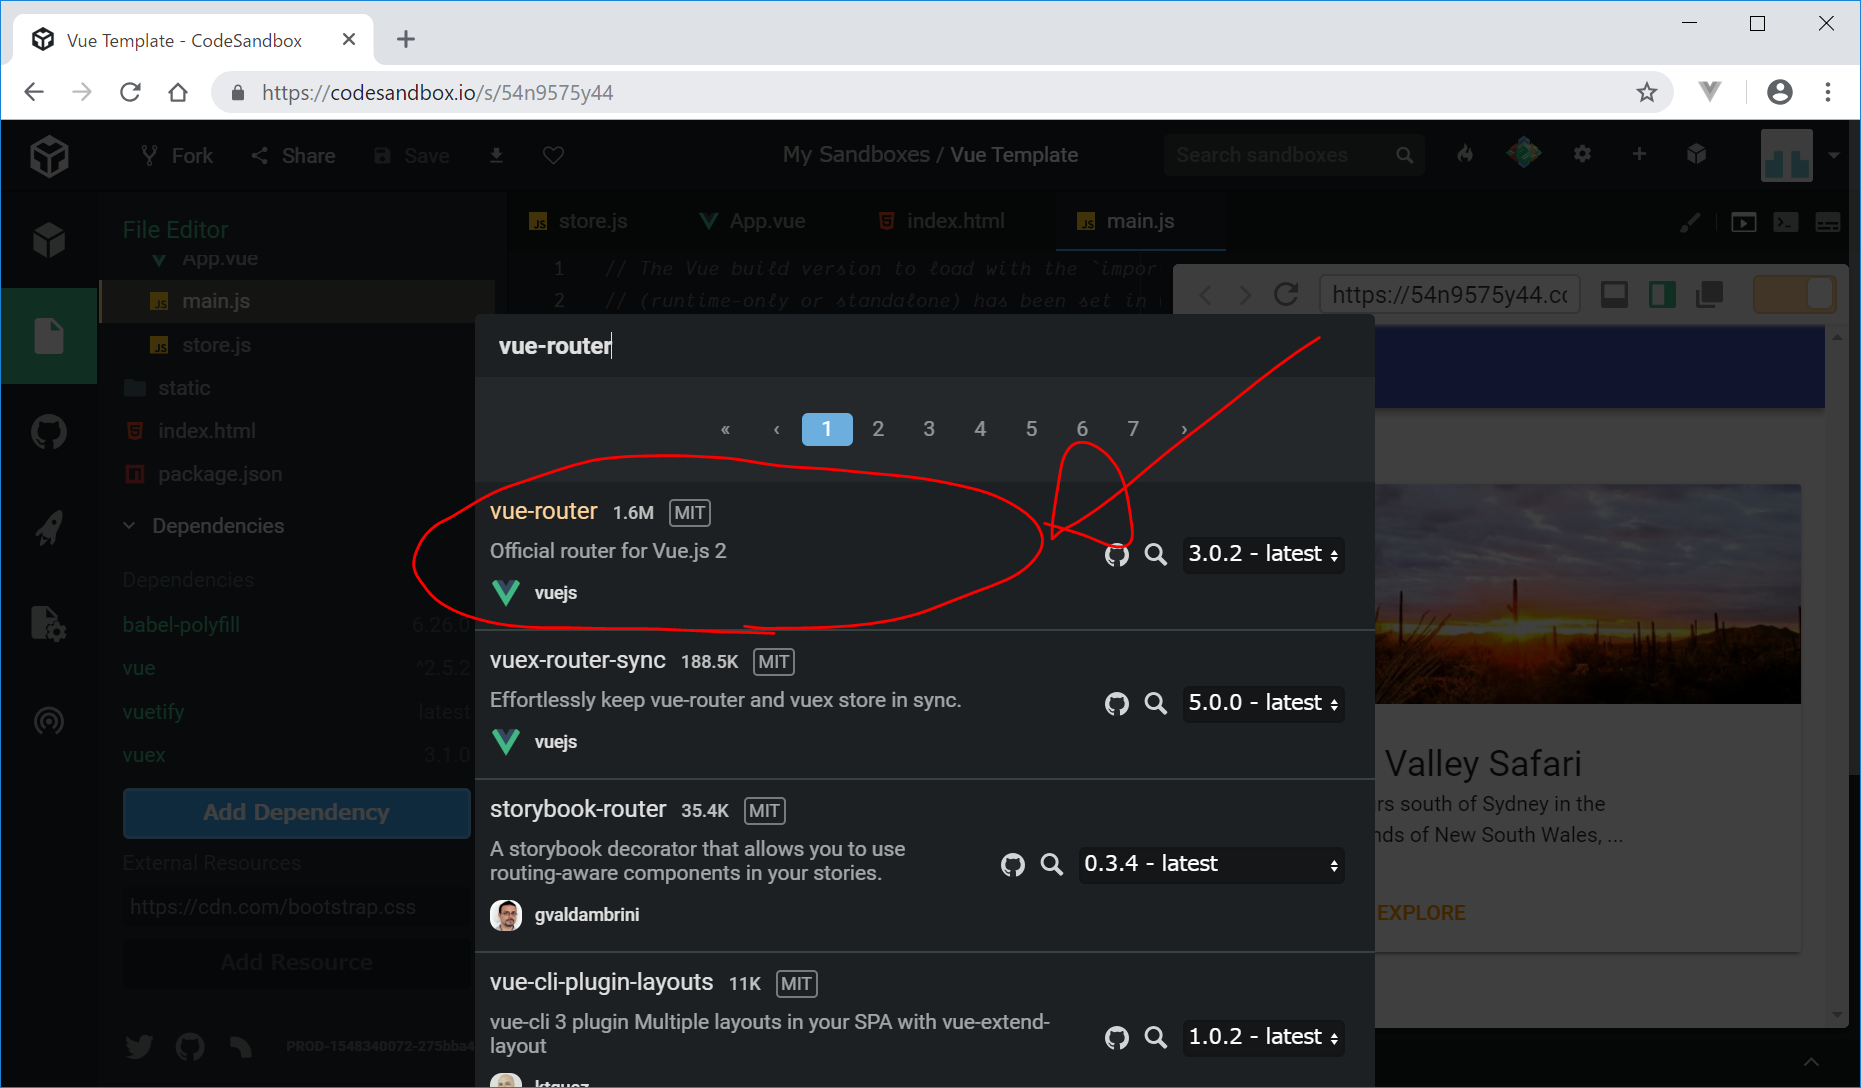
- Add Dependencyからvue-routerをインストール
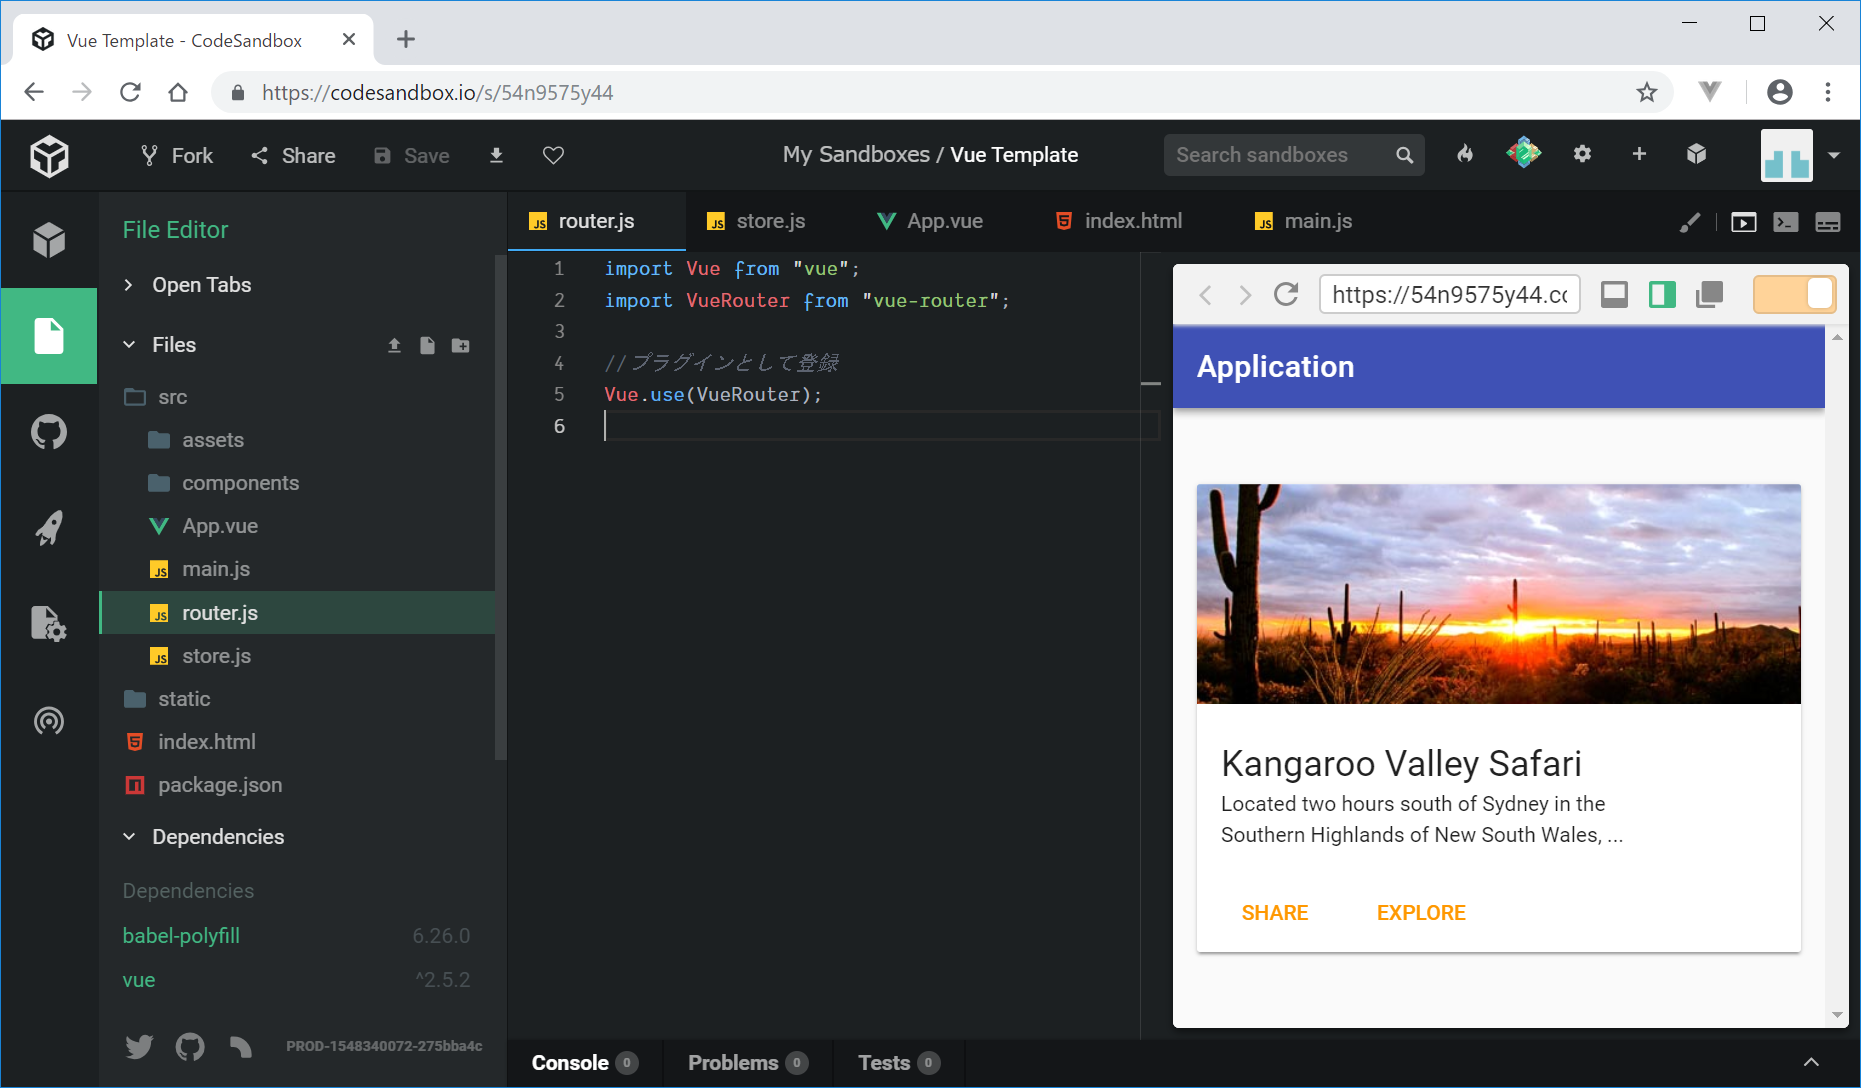
- src/router.jsの新規作成
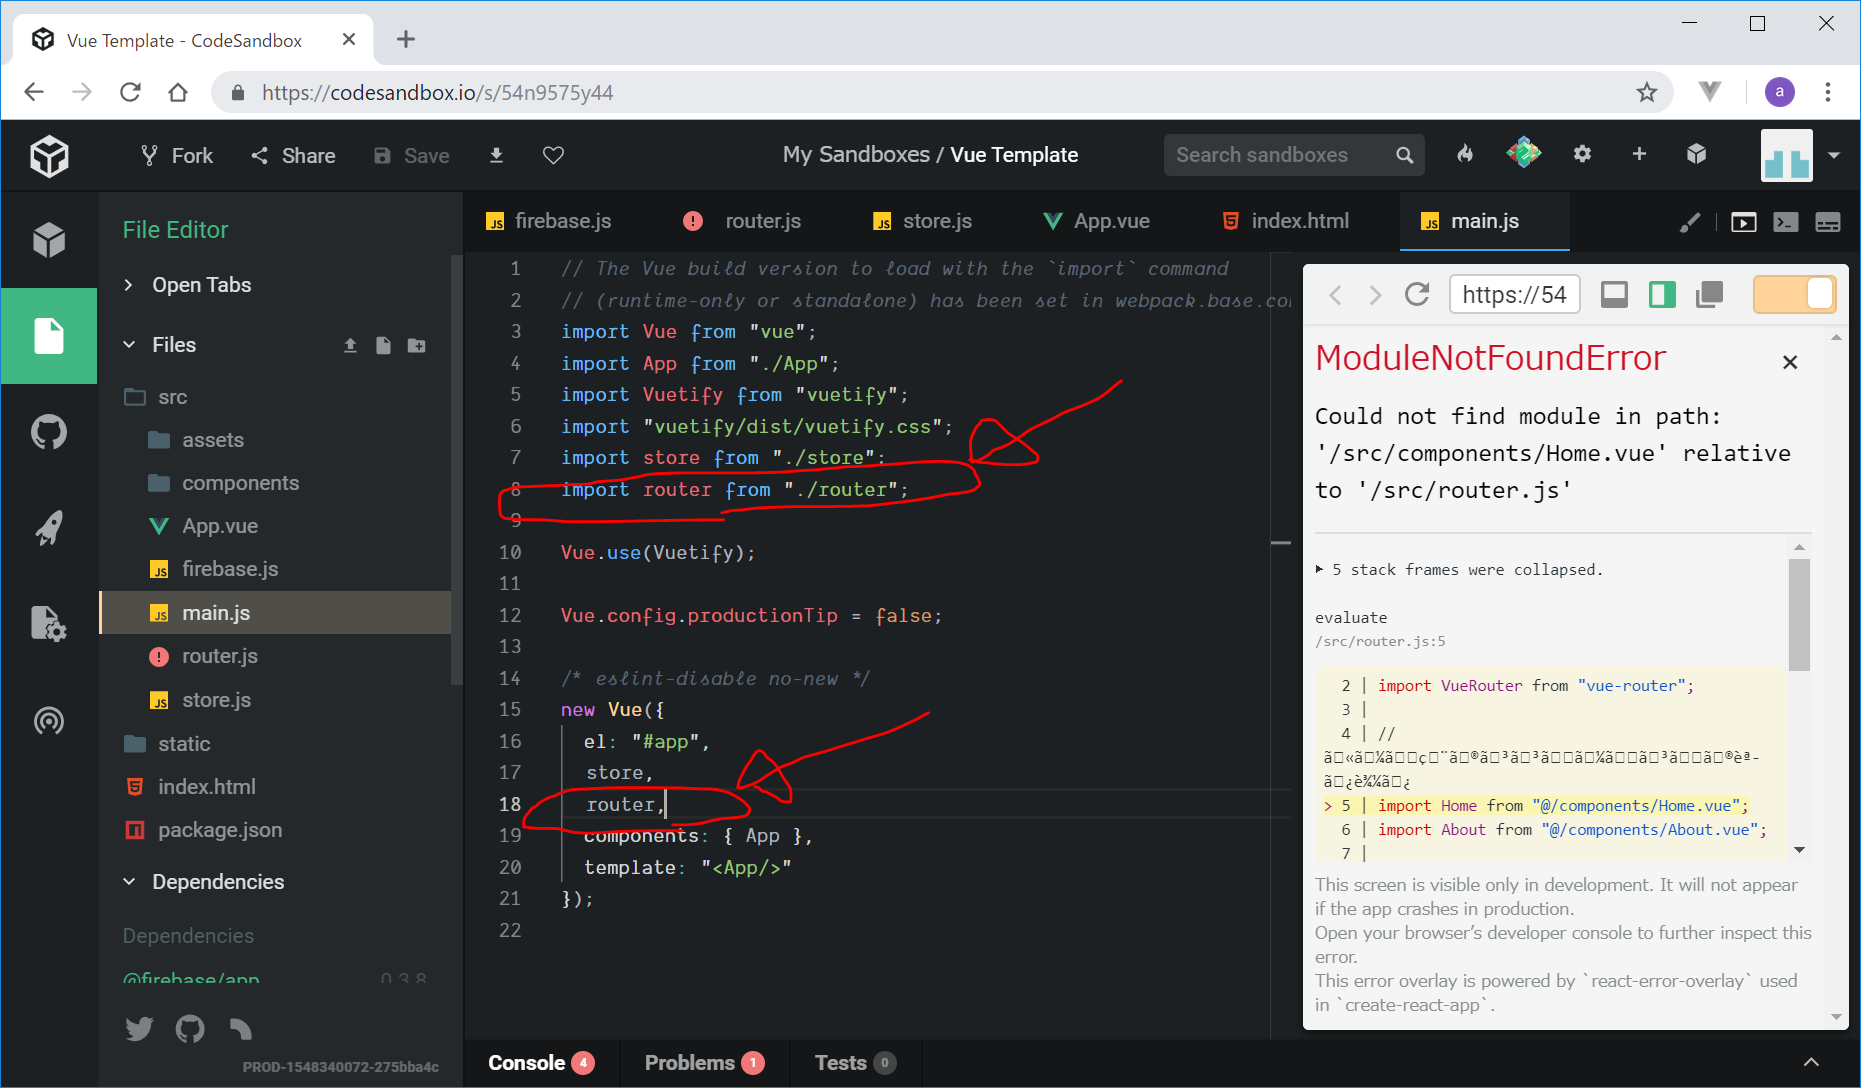
- src/main.jsでrouter.jsを設定
src/router.js
import Vue from 'vue'
import VueRouter from 'vue-router'

//プラグインとして登録
Vue.use(VueRouter)
src/main.jsに追加するコード
import router from './router'

// new Vueの中に記載
router,
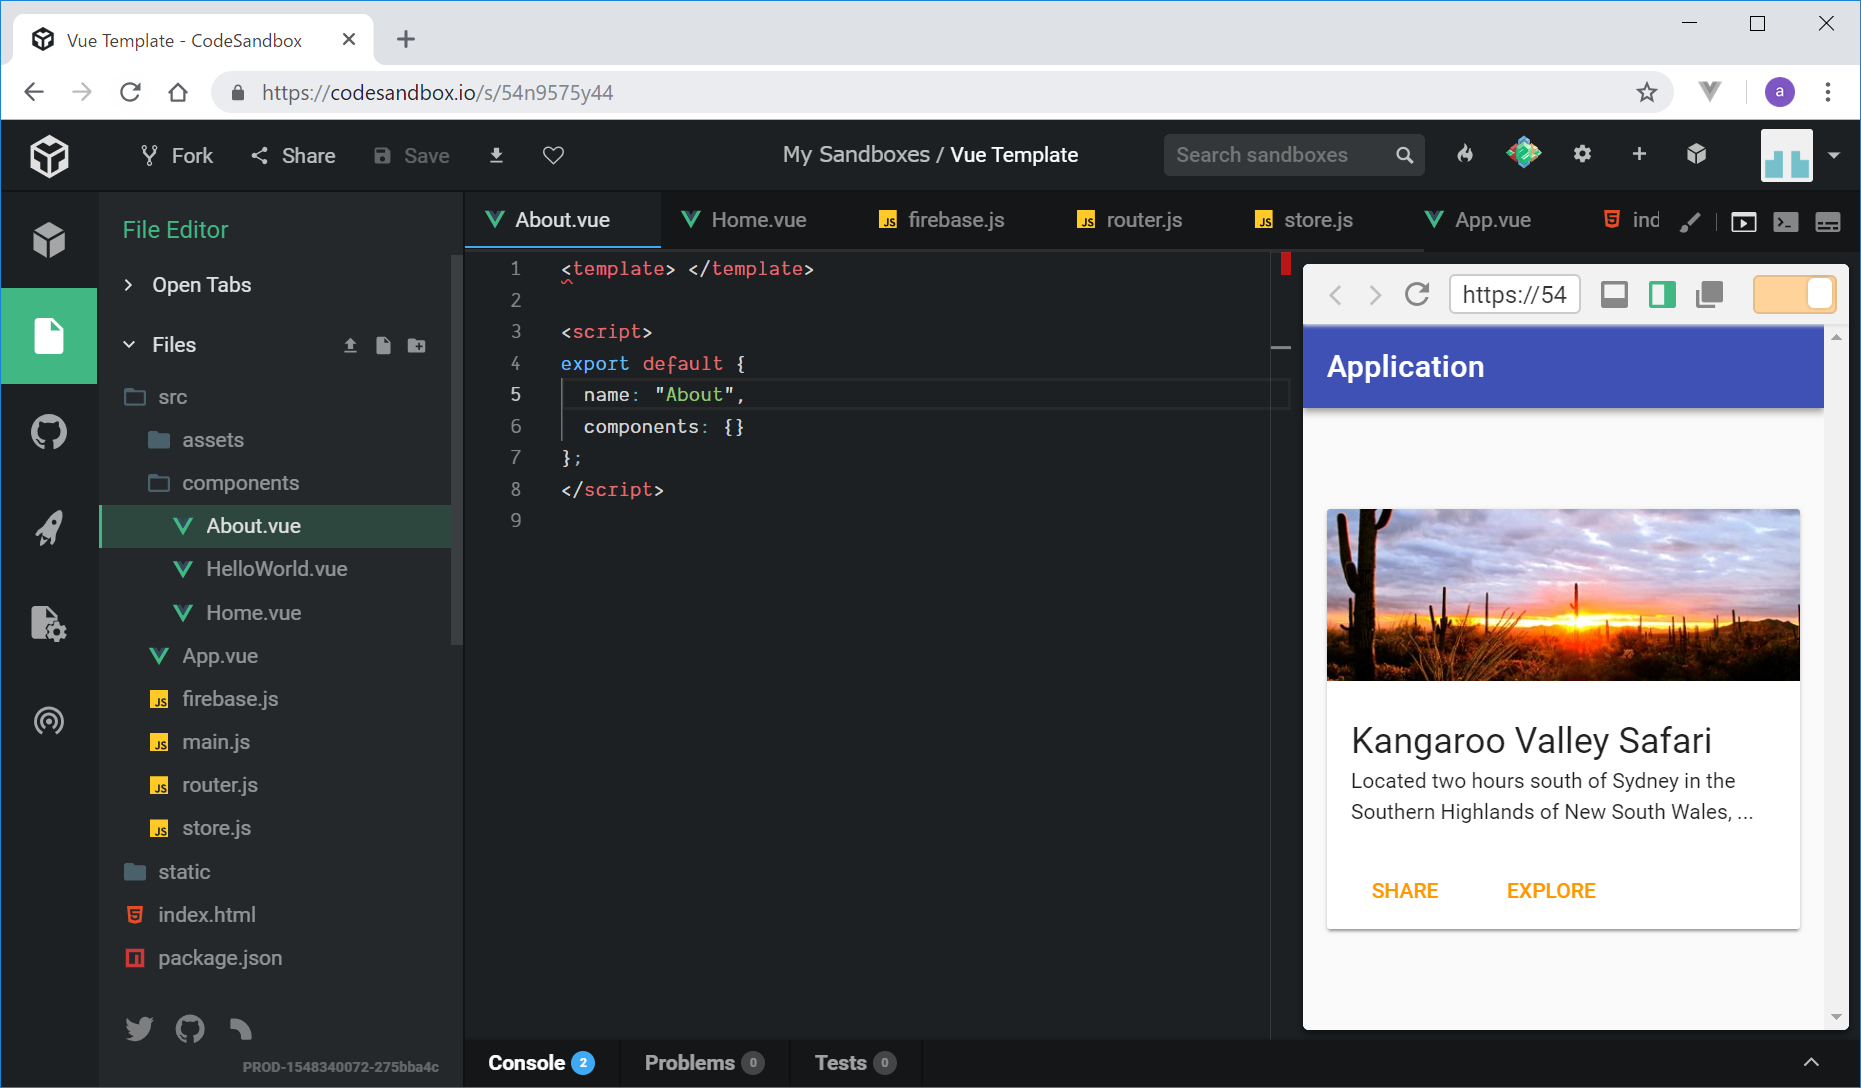
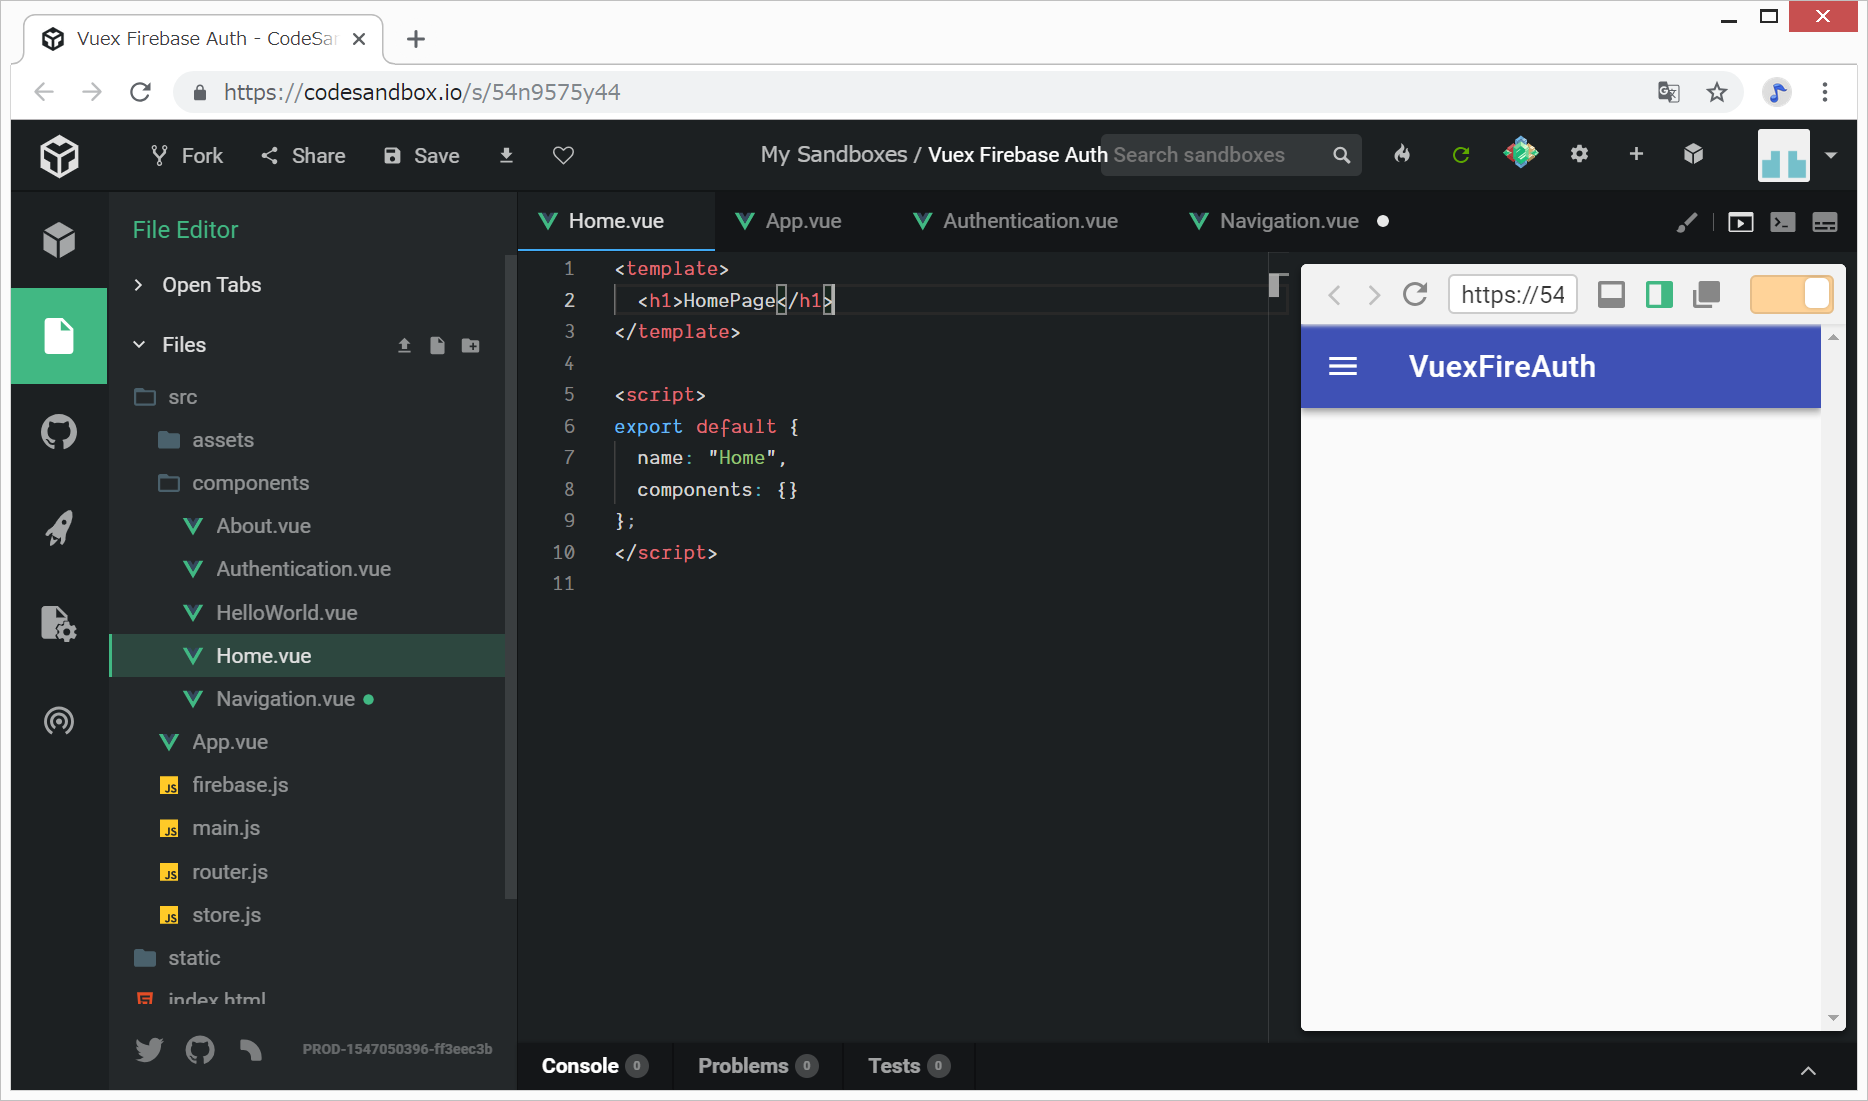
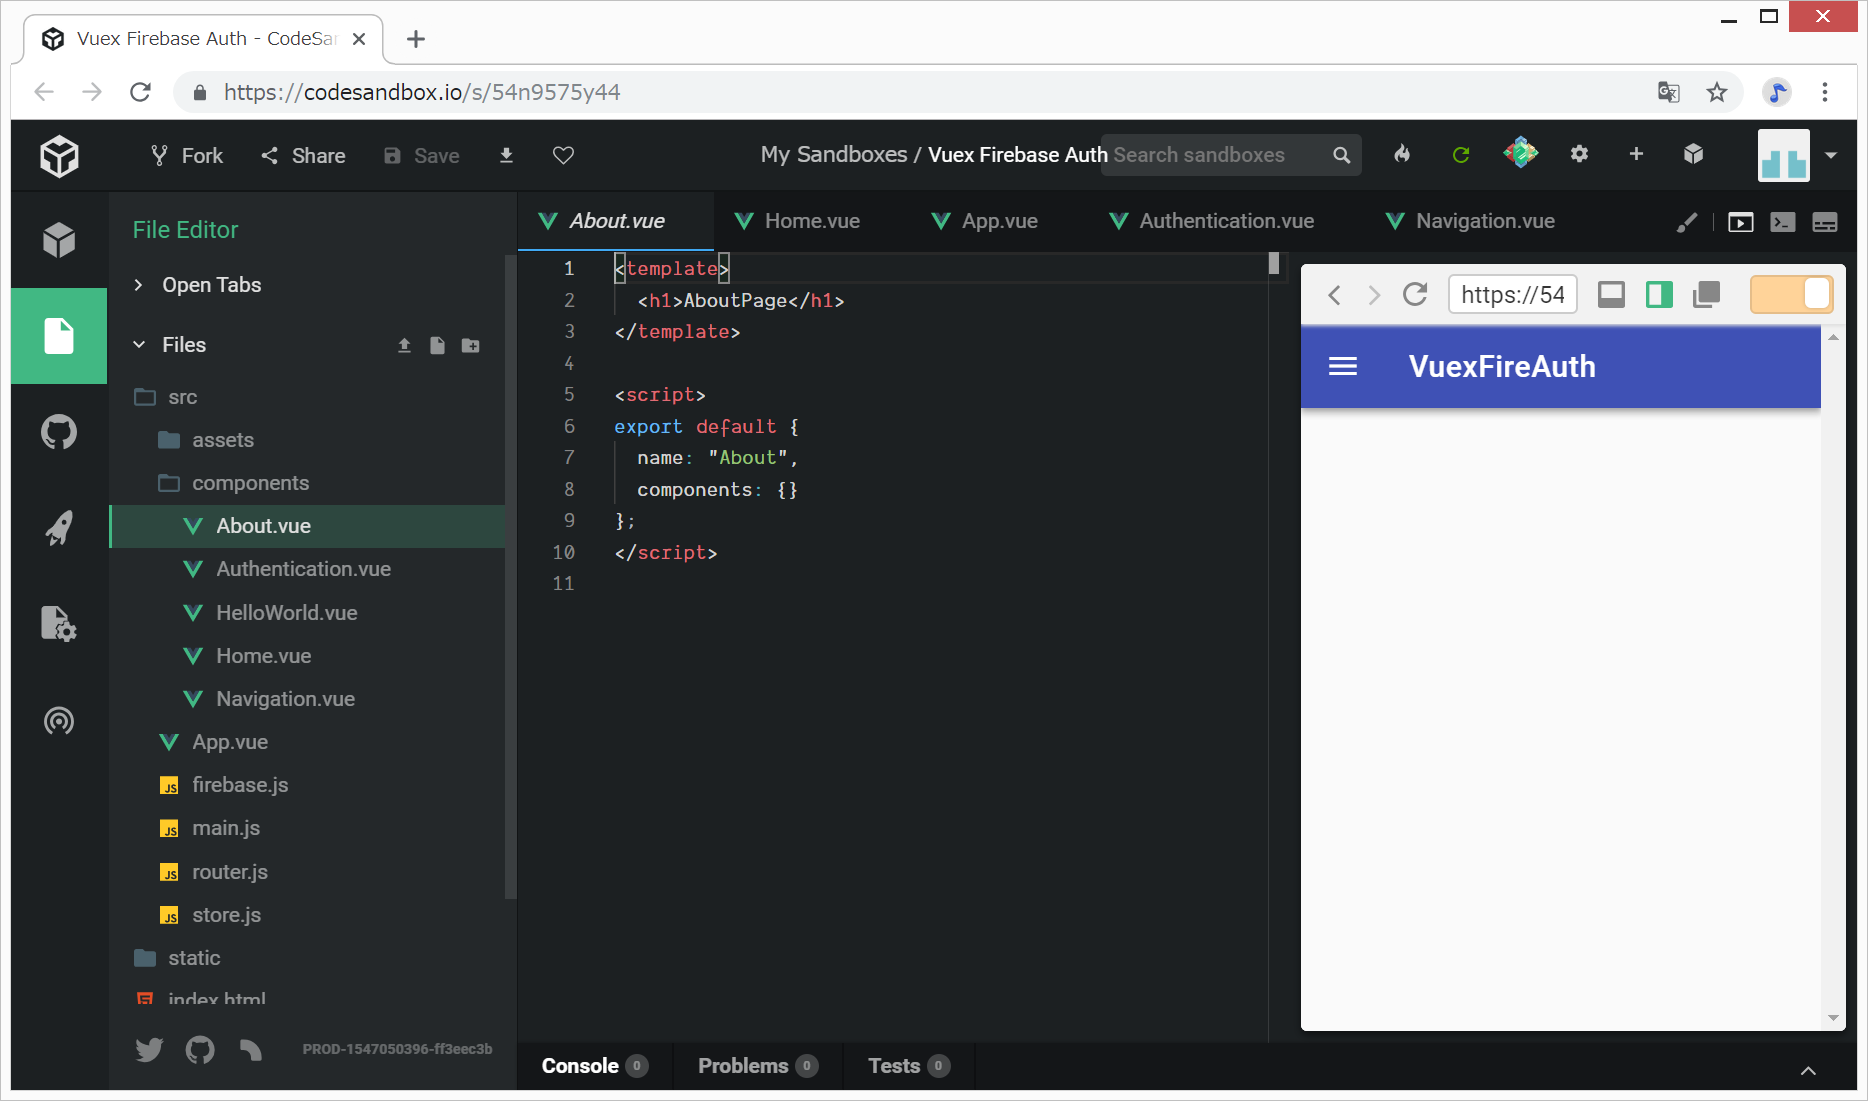
- Home.vueとAbout.vueが無いとエラーが出てしまうので、src/components/Home.vueとAbout.vueを新規作成し、以下のテンプレートだけ記載しておく。
<template>
</template>

<script>
export default {
  name: "Home",
  components: {}
};
</script>
Vue Routerの組み込みコンポーネント
Vue Routerをインストールすると、次のコンポーネントが使用可能になります。
(参考:基礎から学ぶ Vue.js)
| カスタムタグ | 役割 |
|---|---|
| <router-view> | ルートとマッチしたコンポーネントを描画 |
| <router-link> | ルートのリンクを作成 |
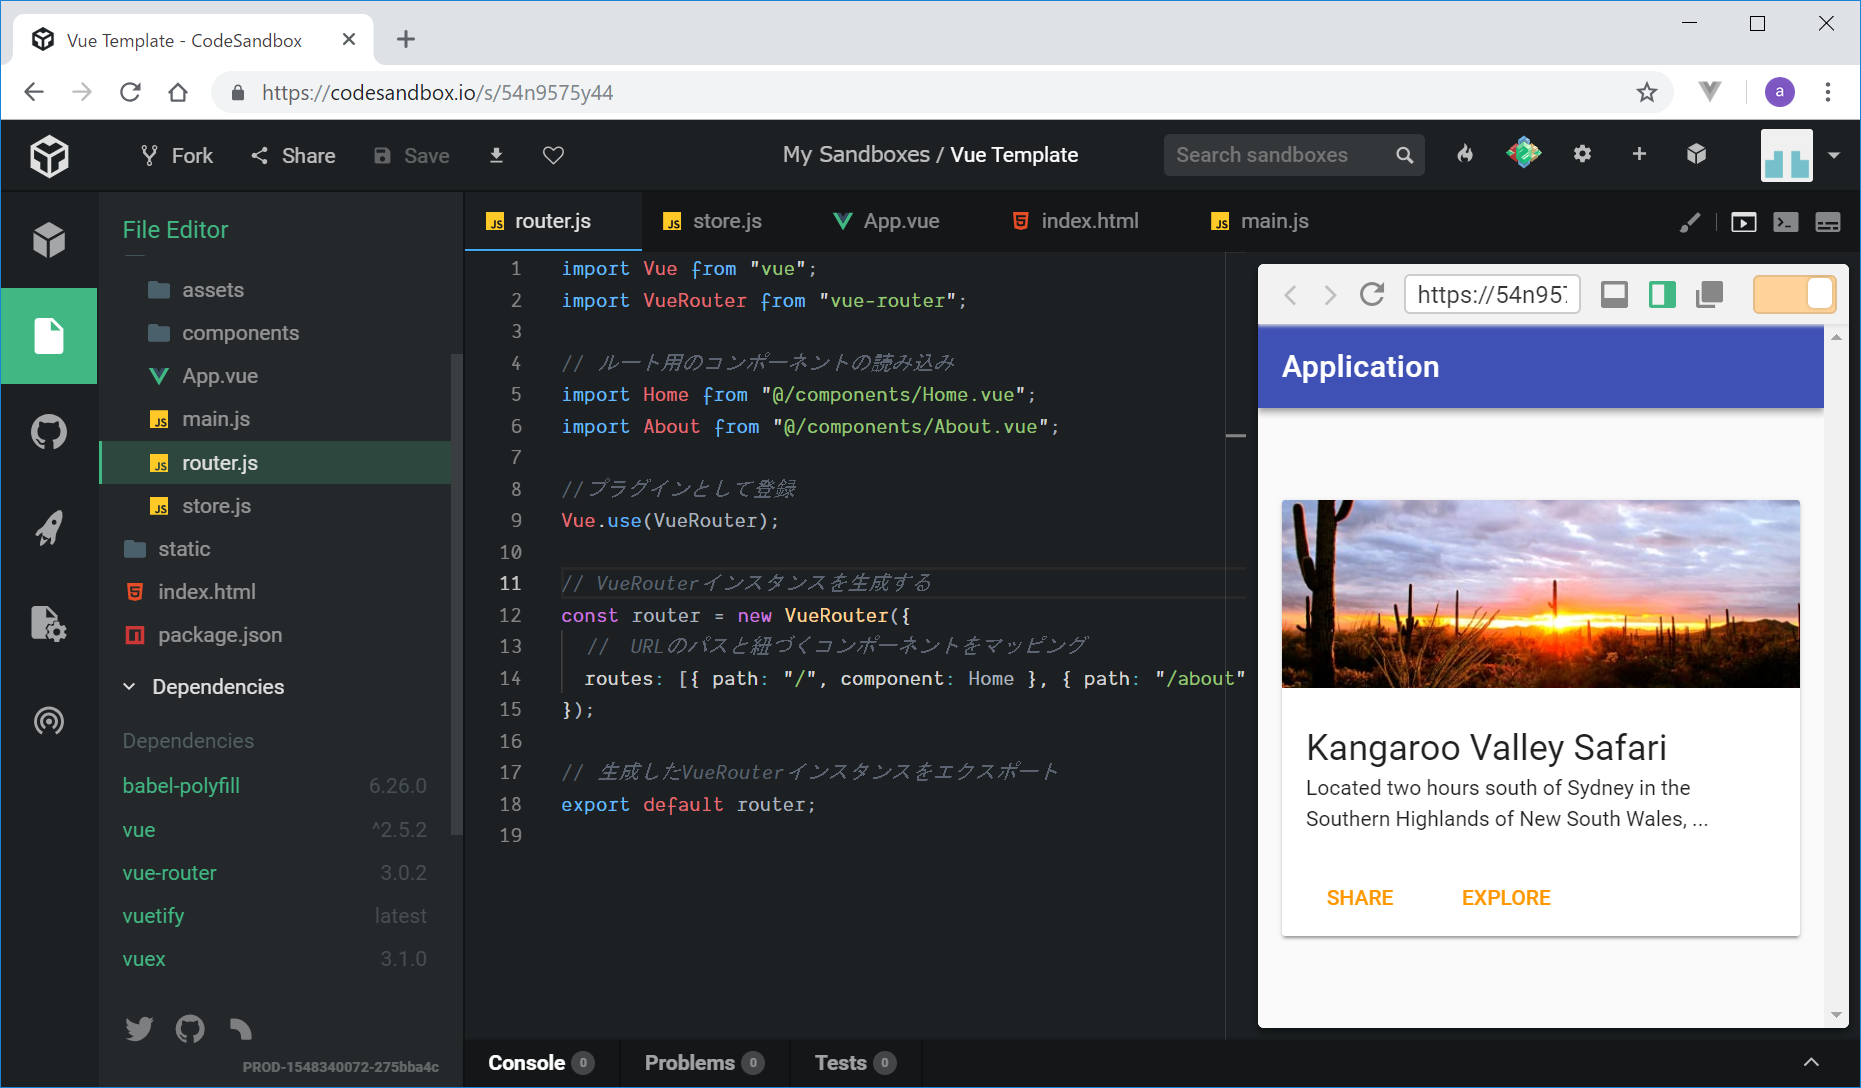
Home.vueとAbout.vueをrouter.jsに設定する
新規Firebaseアプリの作成とsrc/firebase.jsの新規作成
準備ばかりでうんざりですが、やります。
- https://console.firebase.google.com にGoogleアカウントでログイン
- 新規プロジェクト作成
- Project Overview > 「開始するにはアプリを追加してください」のすぐ上の、「</>」をクリック
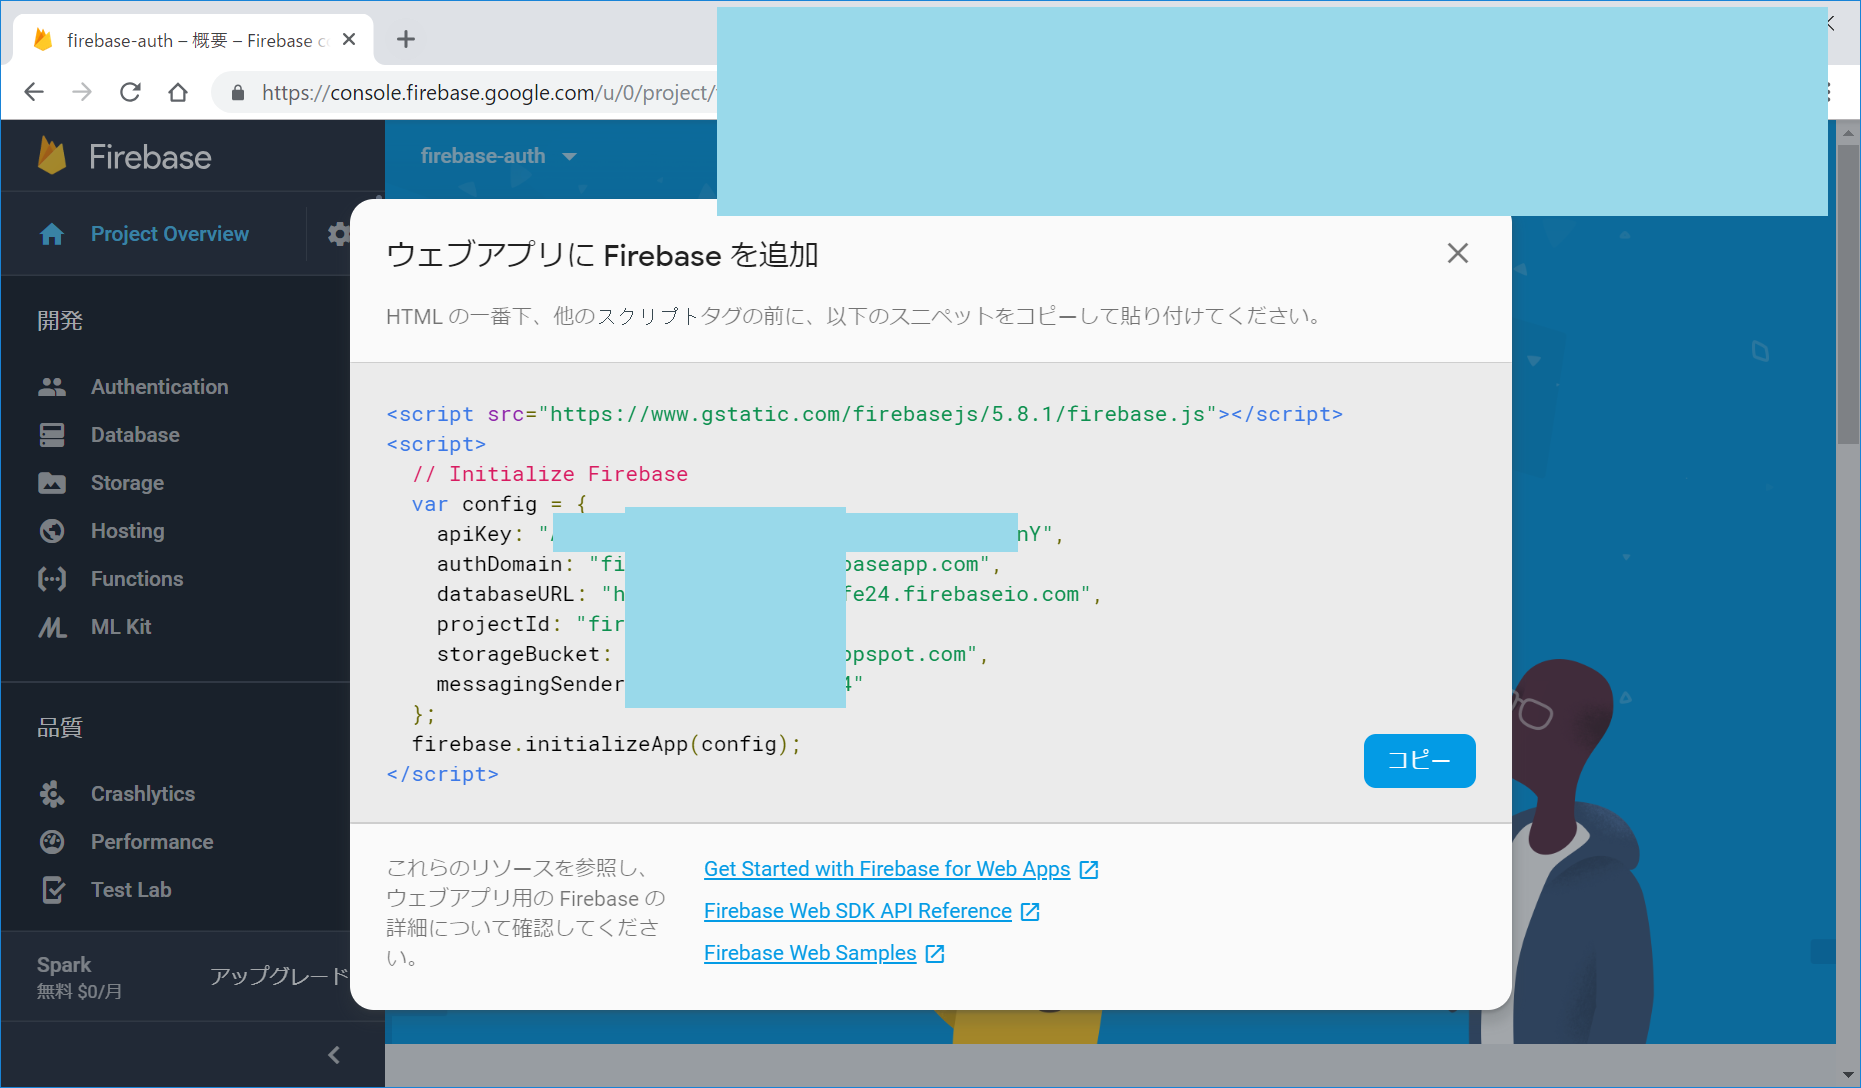
- 「ウェブアプリに Firebase を追加」画面が出てくるので、中身をメモ帳などにコピーしておく(後で、src/firebse.jsにペーストします)
- Authentication > ログイン方法 > Google をクリックして、Google認証を「有効にする」をONにして保存
- Authentication > ログイン方法 の画面の下の方へ行き、承認済みドメイン > ドメインの追加 で、codesandbox.io を追加する。(本当は、サブドメインまで記入することが望ましい。)
参考:https://liginc.co.jp/378463
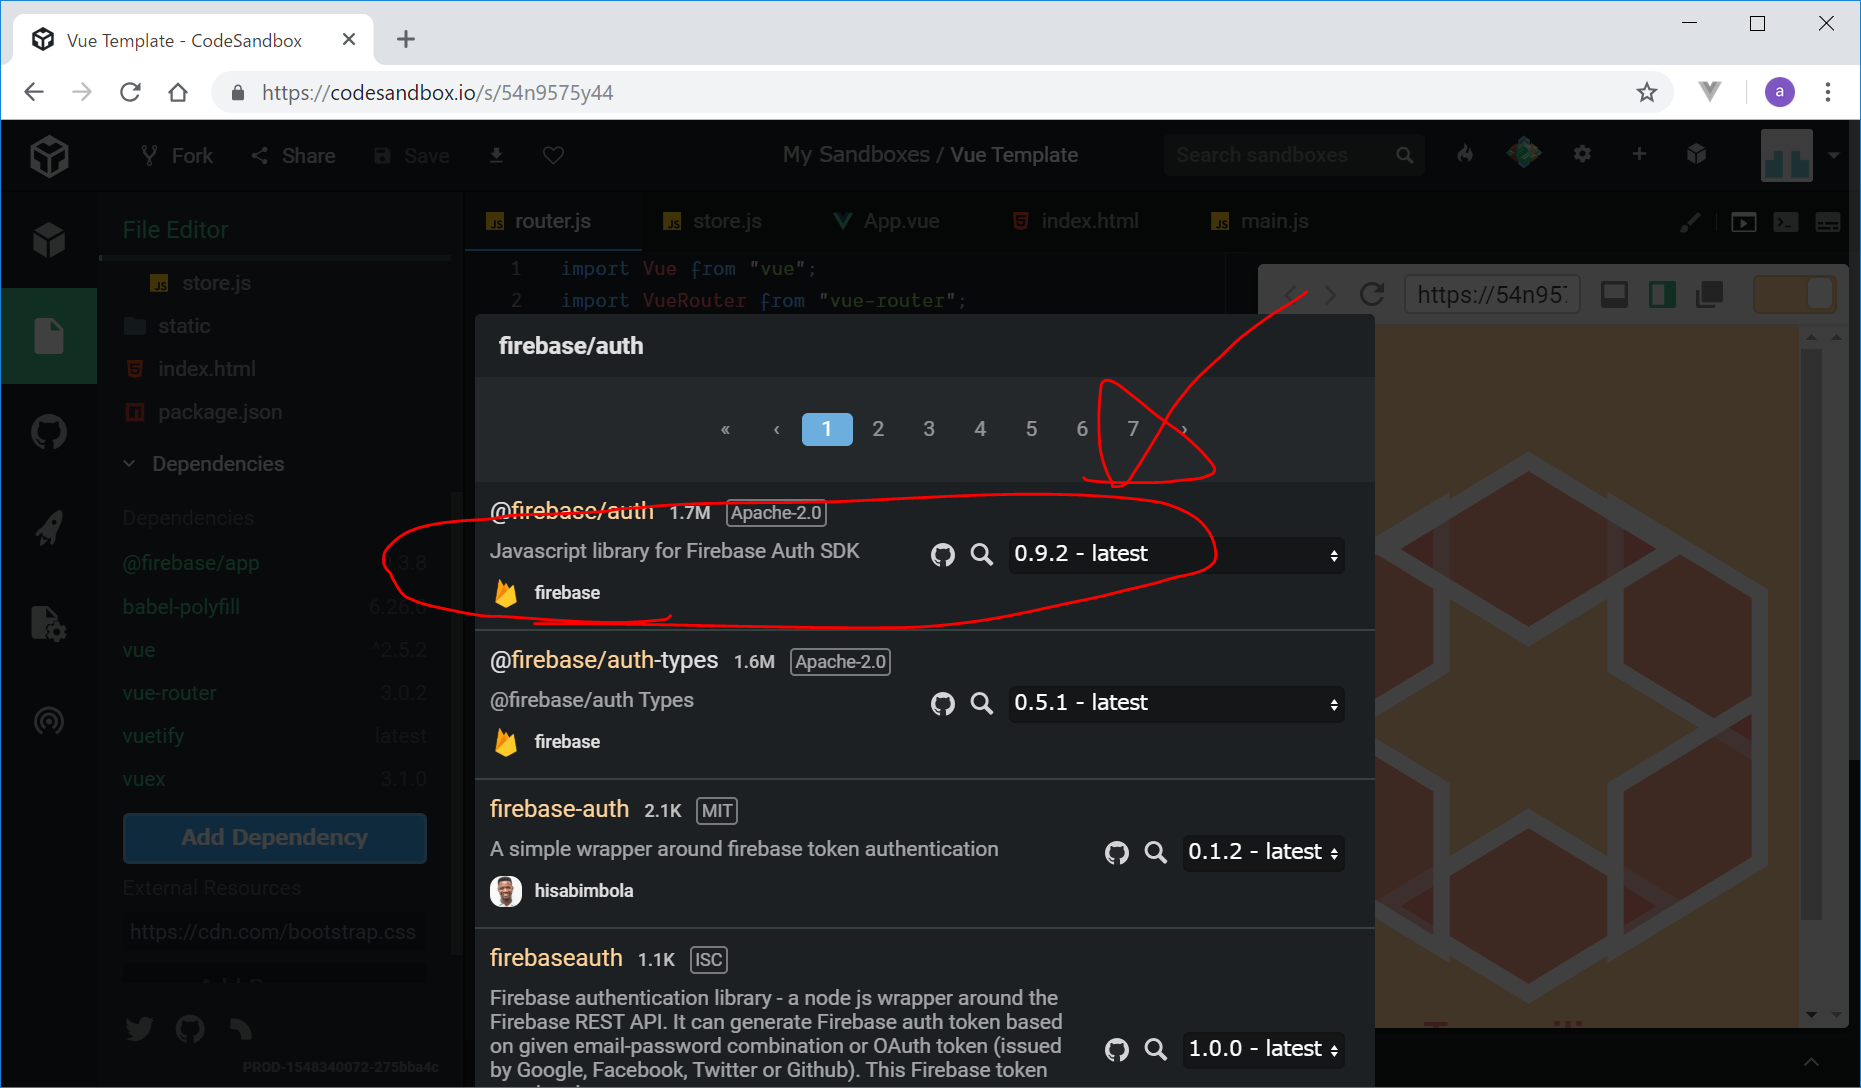
- Add Dependencyから、@firebase/app, @firebase/authをインストール
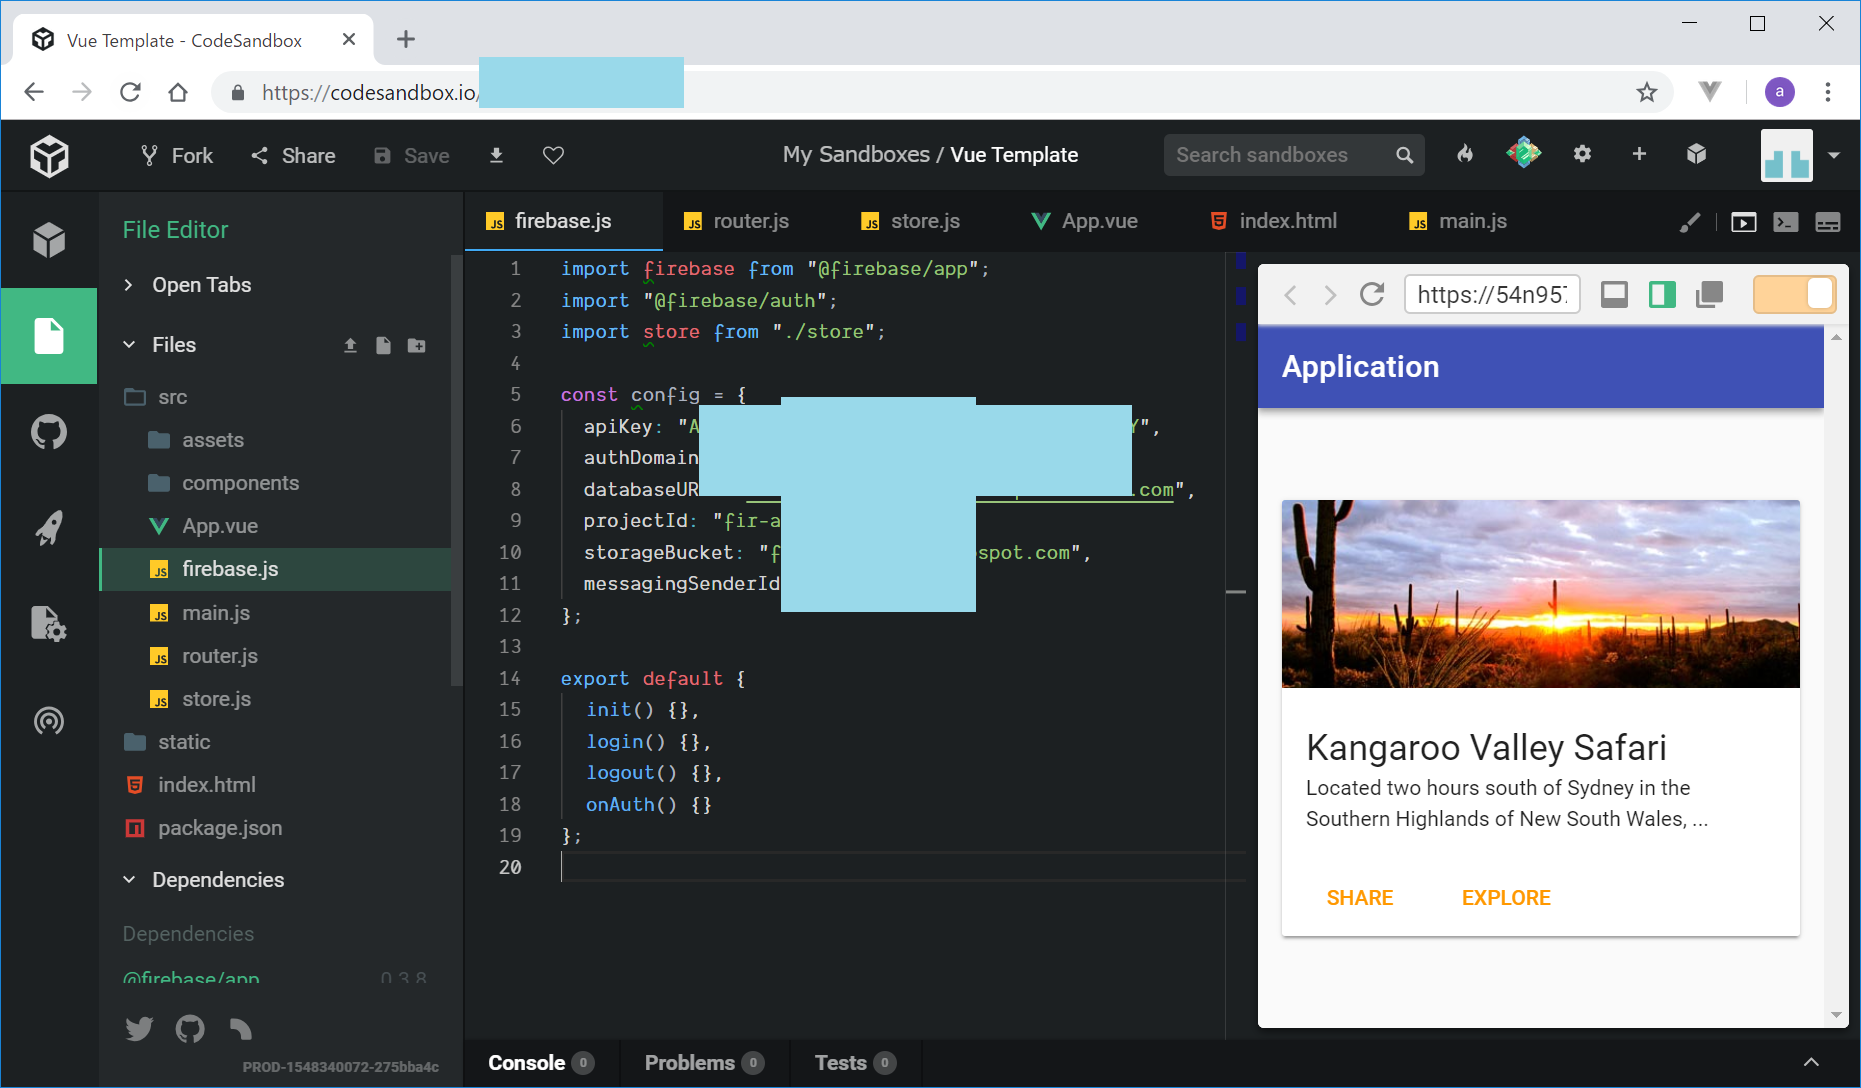
- src/firebase.jsを新規作成
import firebase from "@firebase/app";
import "@firebase/auth";
import store from "./store";

// こちらは、ご自身のFirebaseアプリの「ウェブアプリに Firebase を追加」の中の設定をコピーしてください
const config = {
  apiKey: "xxxxxxxxxxx",
  authDomain: "xxxxxxxxxxx.firebaseapp.com",
  databaseURL: "https://xxxxxxxxxxx.firebaseio.com",
  projectId: "xxxxxxxxxxx",
  storageBucket: "xxxxxxxxxxx.appspot.com",
  messagingSenderId: "xxxxxxxxxxx"
};

export default {
  init() {},
  login() {},
  logout() {},
  onAuth() {}
};
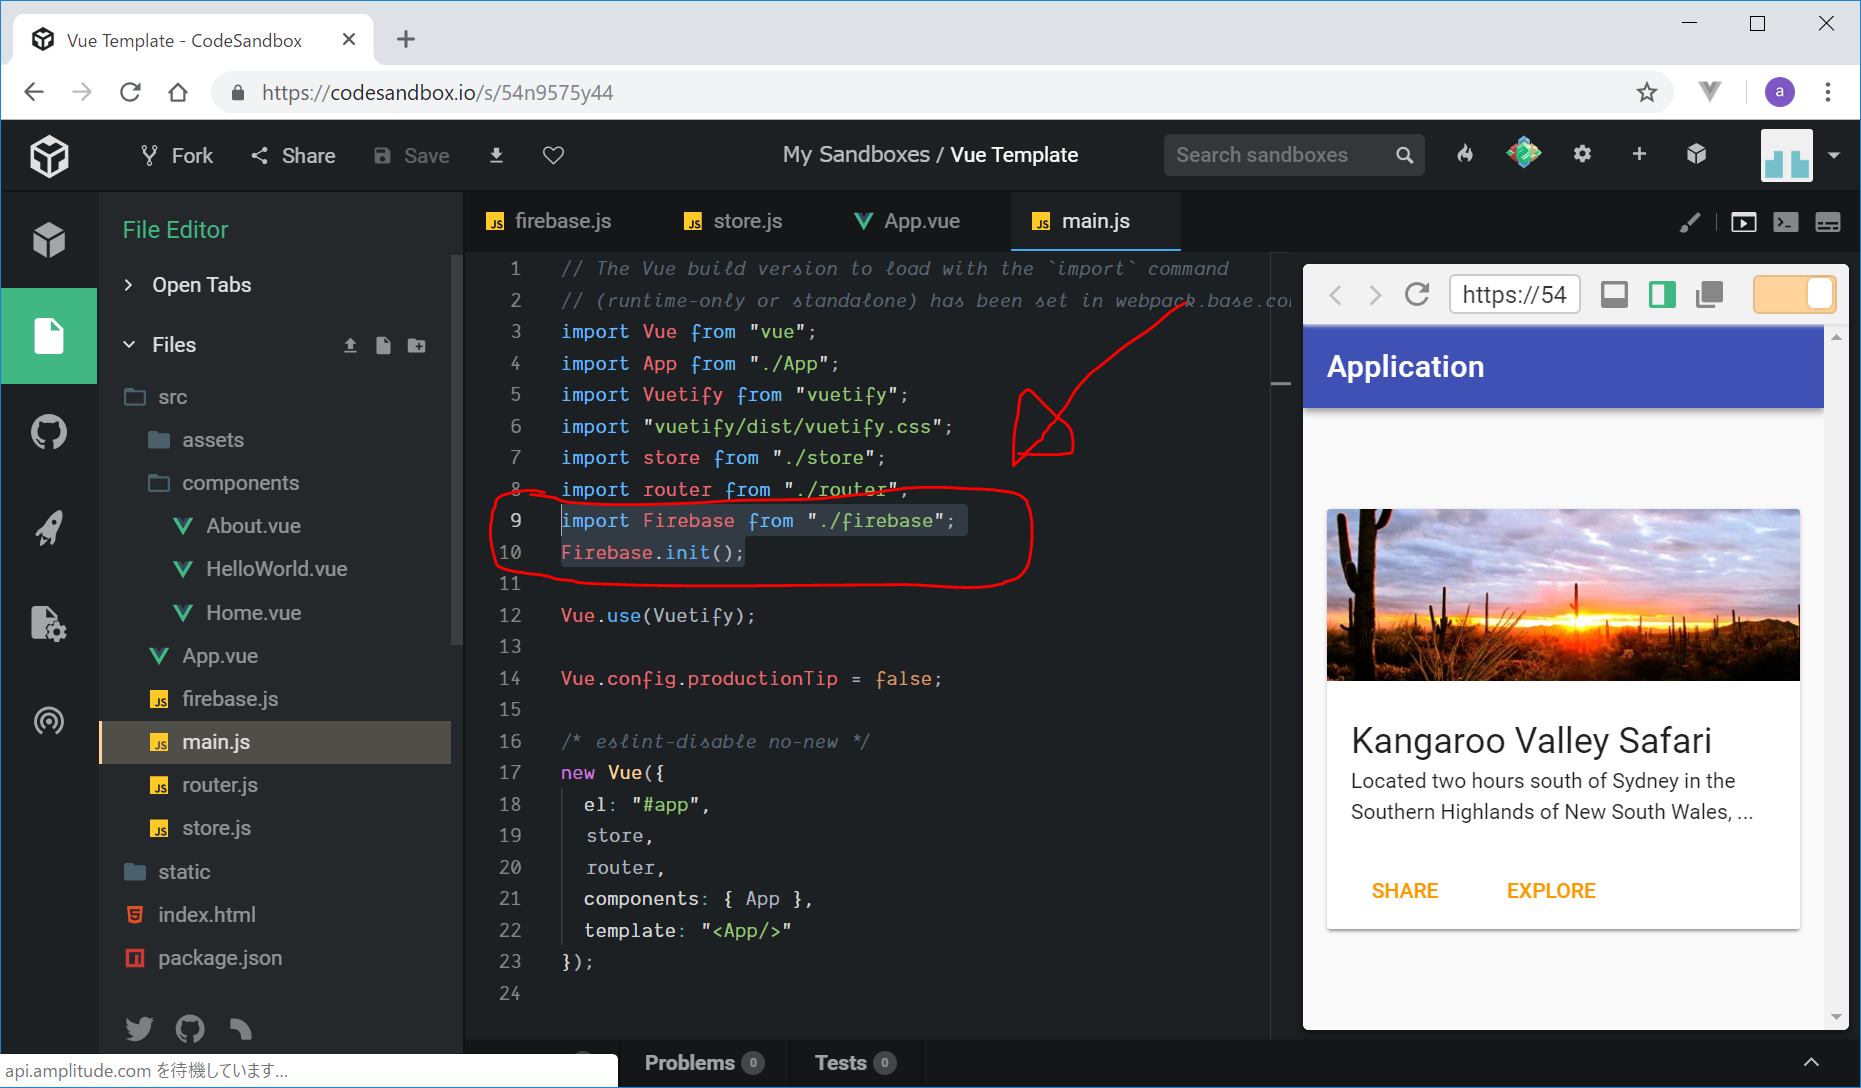
- src/main.jsにfirebaseを設定
import Firebase from "./firebase";
Firebase.init();
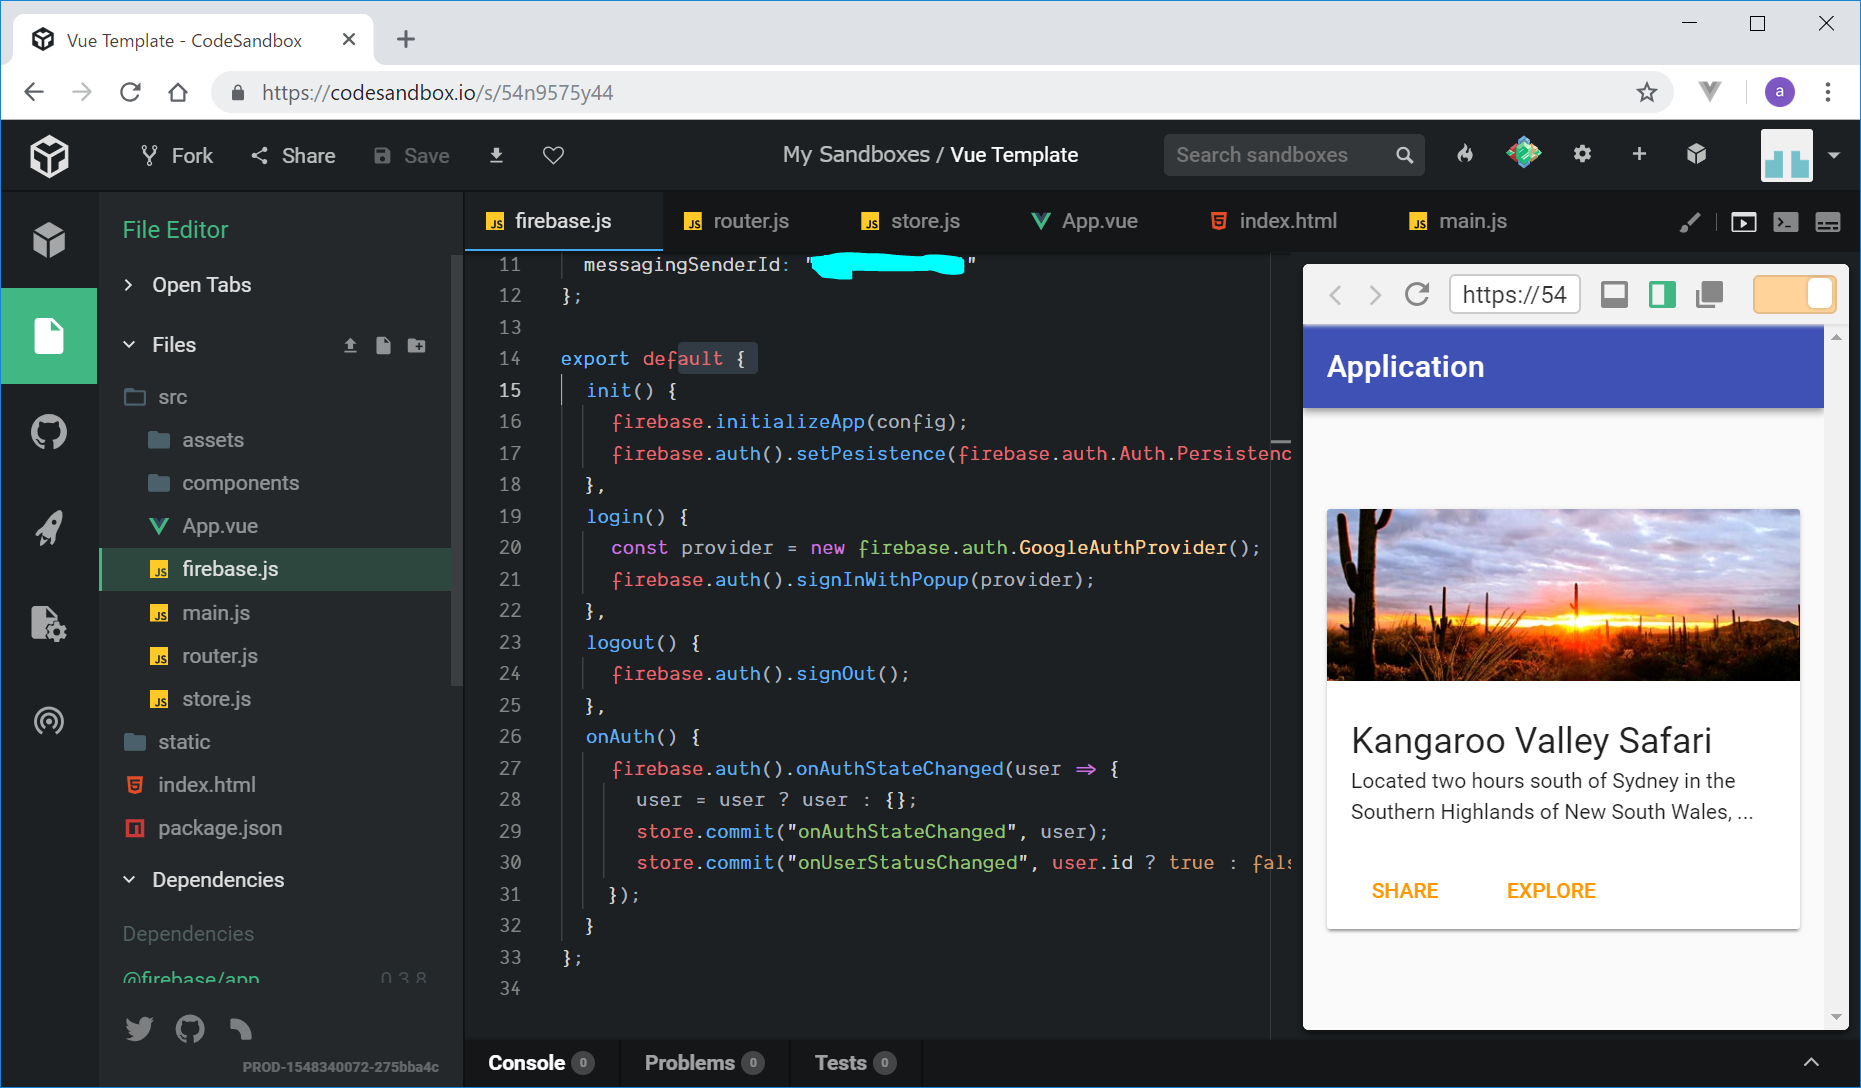
firebase.jsに、Google認証のコードを記載
src/firebase.jsに、Google認証を実装します。引き続き、Vue vuexでfirebaseのログイン保持のコードをコピペします。
user = user ? user : {};
のところは、『三項演算子』を利用しているようです。
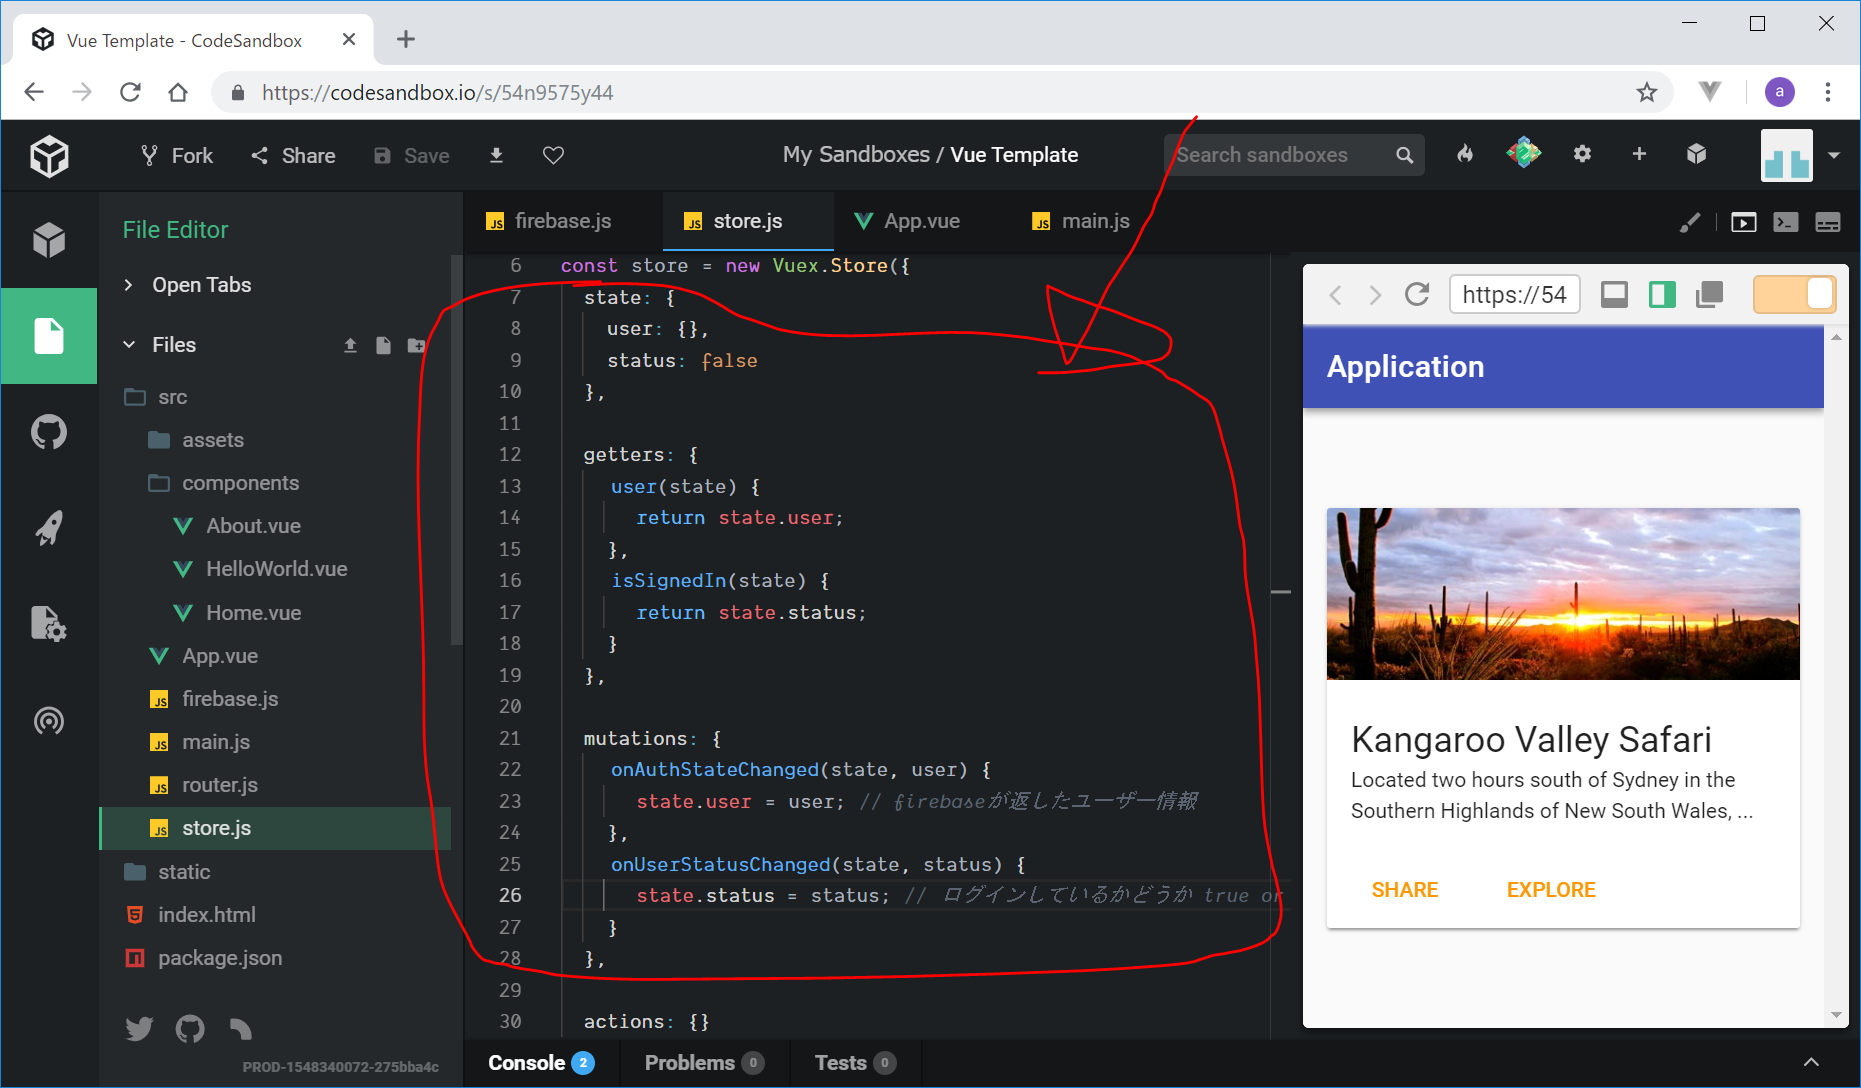
src/store.jsにログイン情報、ログイン状態の2つを保持する場所を作成する
今回のコードの肝です。https://qiita.com/ErgoFriend/items/bd1bb445e185bf45e272#vuex-storejsをコピペします。写経してから中身を考えます!(爆)
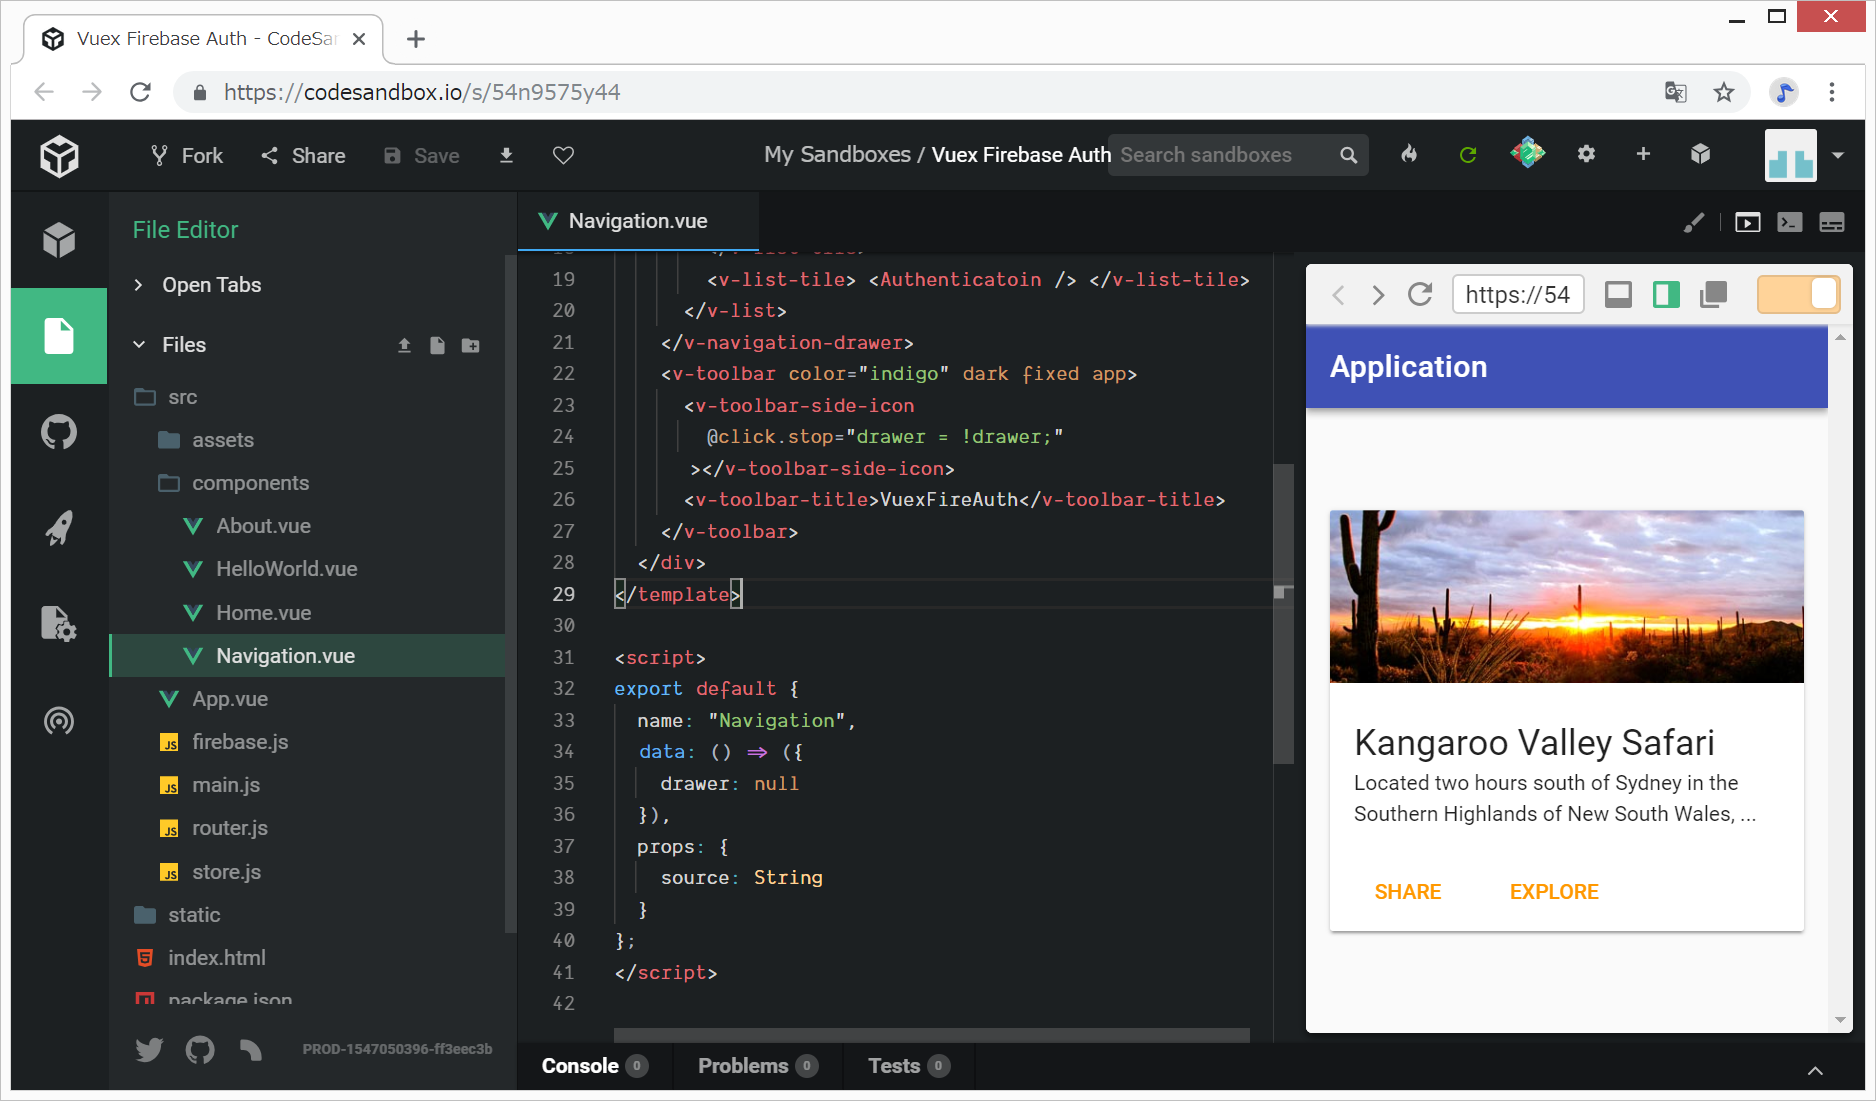
Navigation.vueとAuthentication.vueのテンプレートを作成
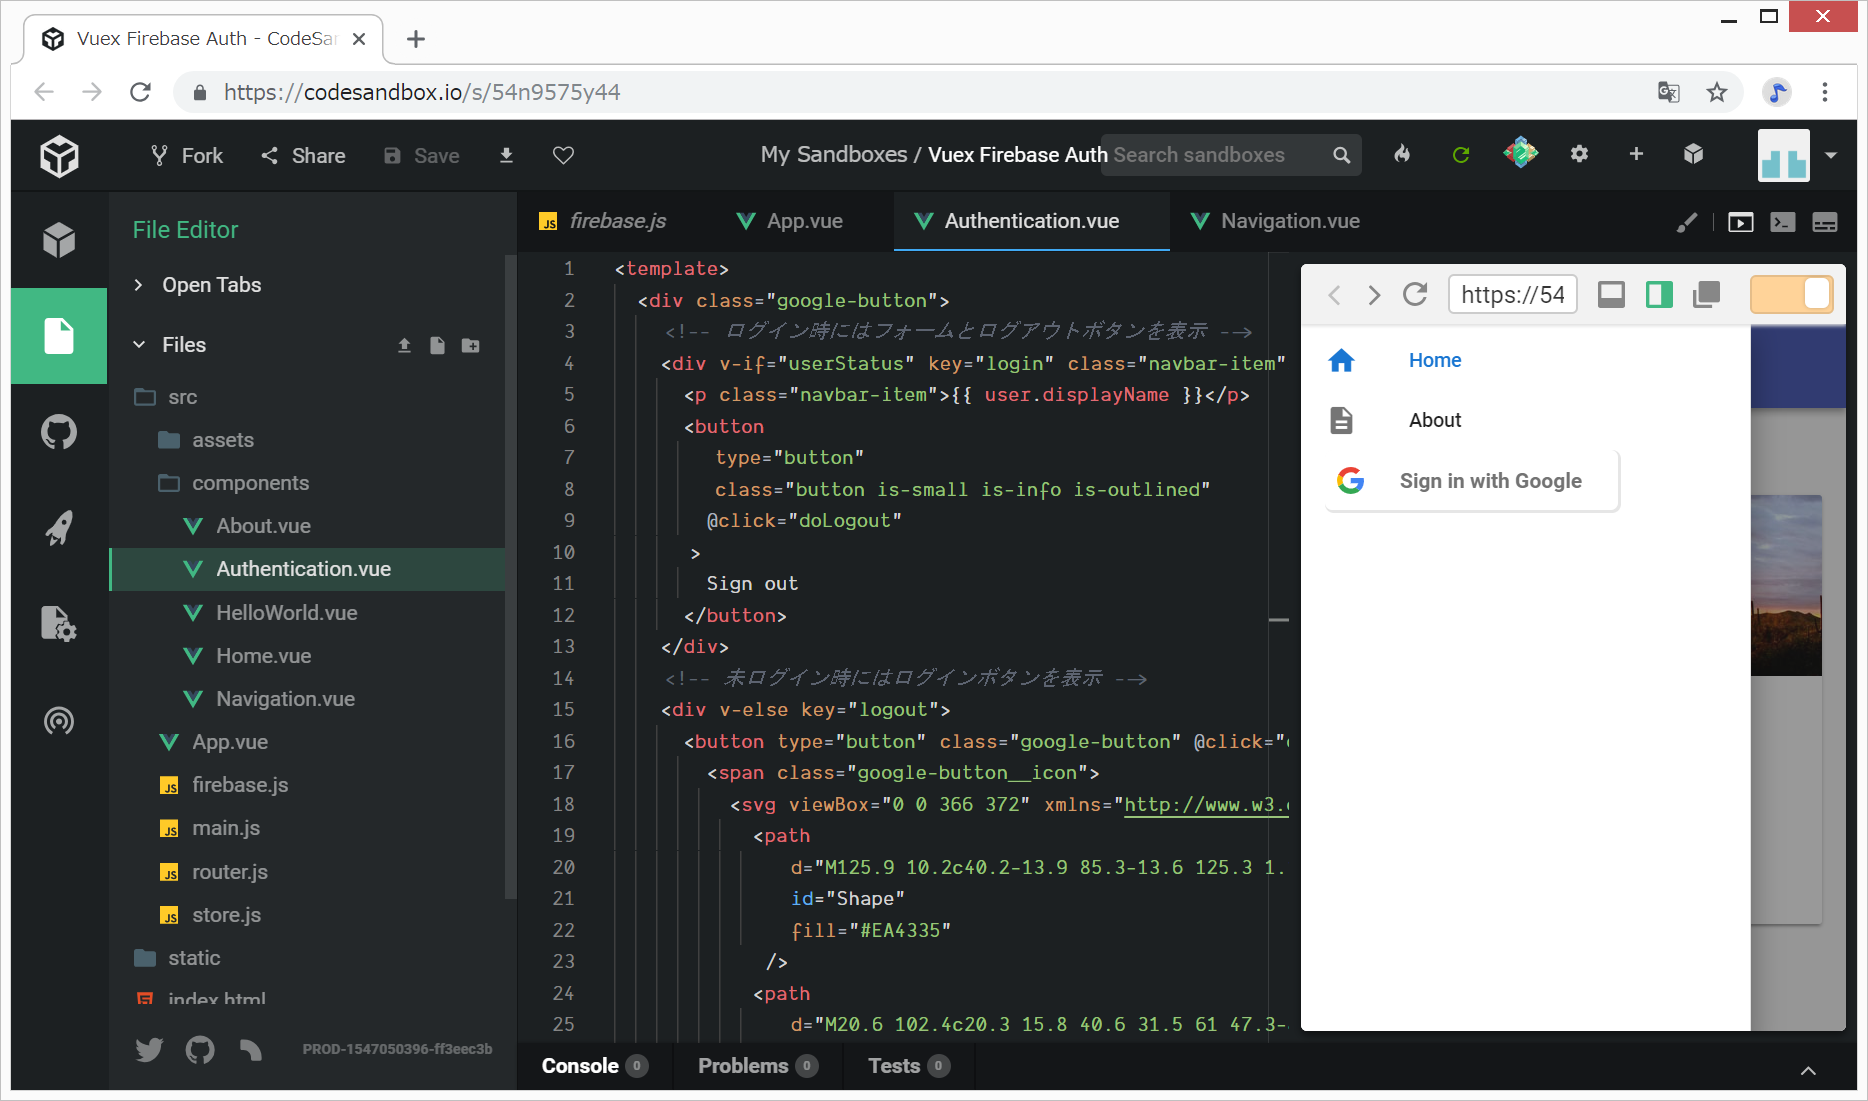
ナビゲーションバーのNavigation.vueと、その中に設置する、ログインボタン(未認証時)+ログアウトボタン(認証時)をまとめたAuthenticatoin.vueを新規作成し、とりあえず、テンプレートで埋めておきます。
src/components/Authentication.vue
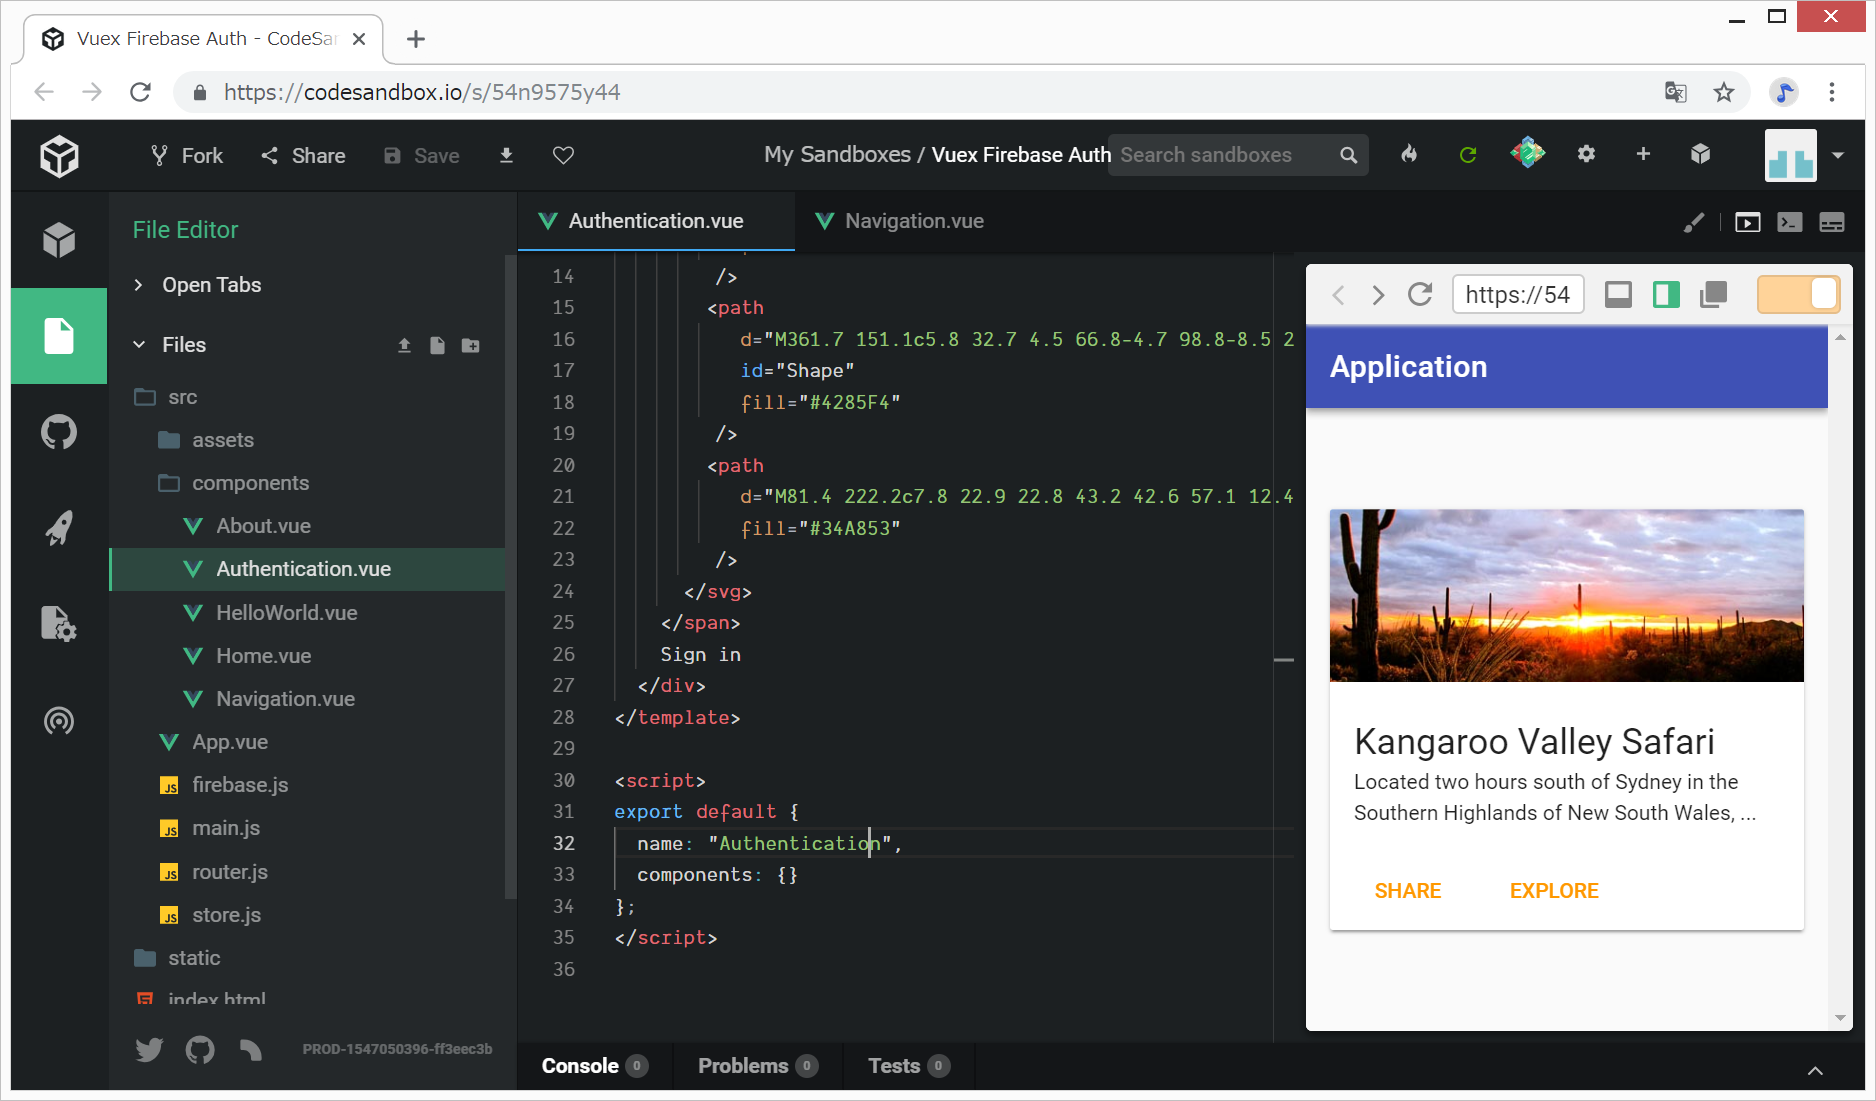
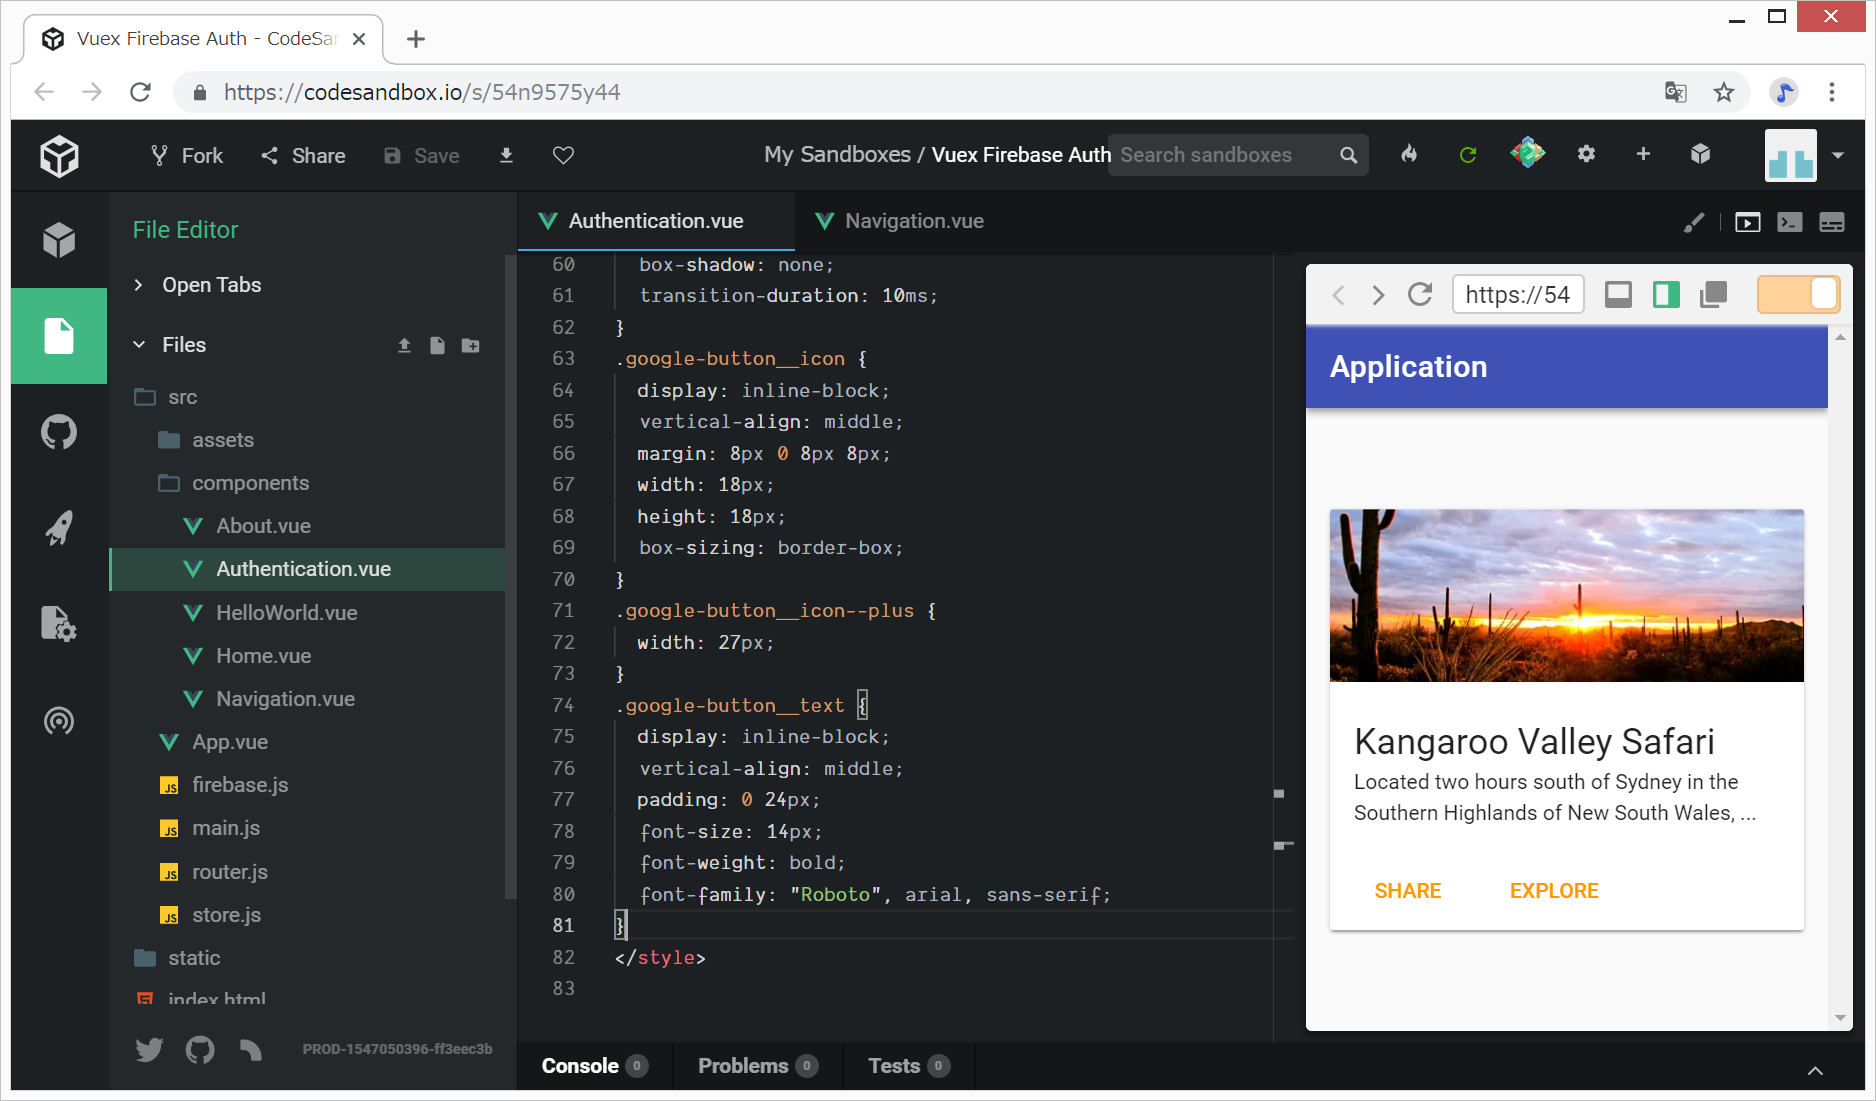
ログイン機能は、Authentication.vueに実装予定ですが、この時点では、まだ見栄えのみです。また、個人的に、<style scoped></style>は極力書きたくないのですが、Googleのボタンだけは、https://qiita.com/ErgoFriend/items/bd1bb445e185bf45e272のコピペをさせていただくことにしました。
参考
https://codepen.io/atgarbett/pen/QOZoyg
Vuetify.js Responsive v-toolbar not triggering open/close event
https://stackoverflow.com/questions/47536881/vuetify-js-responsive-v-toolbar-not-triggering-open-close-event
router.jsを編集してコンポーネントにルートを定義する
src/components/Navigation.vueの<v-navigation-drawer></v-navigation-drawer>の中の、
<v-list-tile :to="{ path: '/' }">

<v-list-tile :to="{ path: '/About' }">
の部分のリンクを定義するために、src/router.jsを編集します。
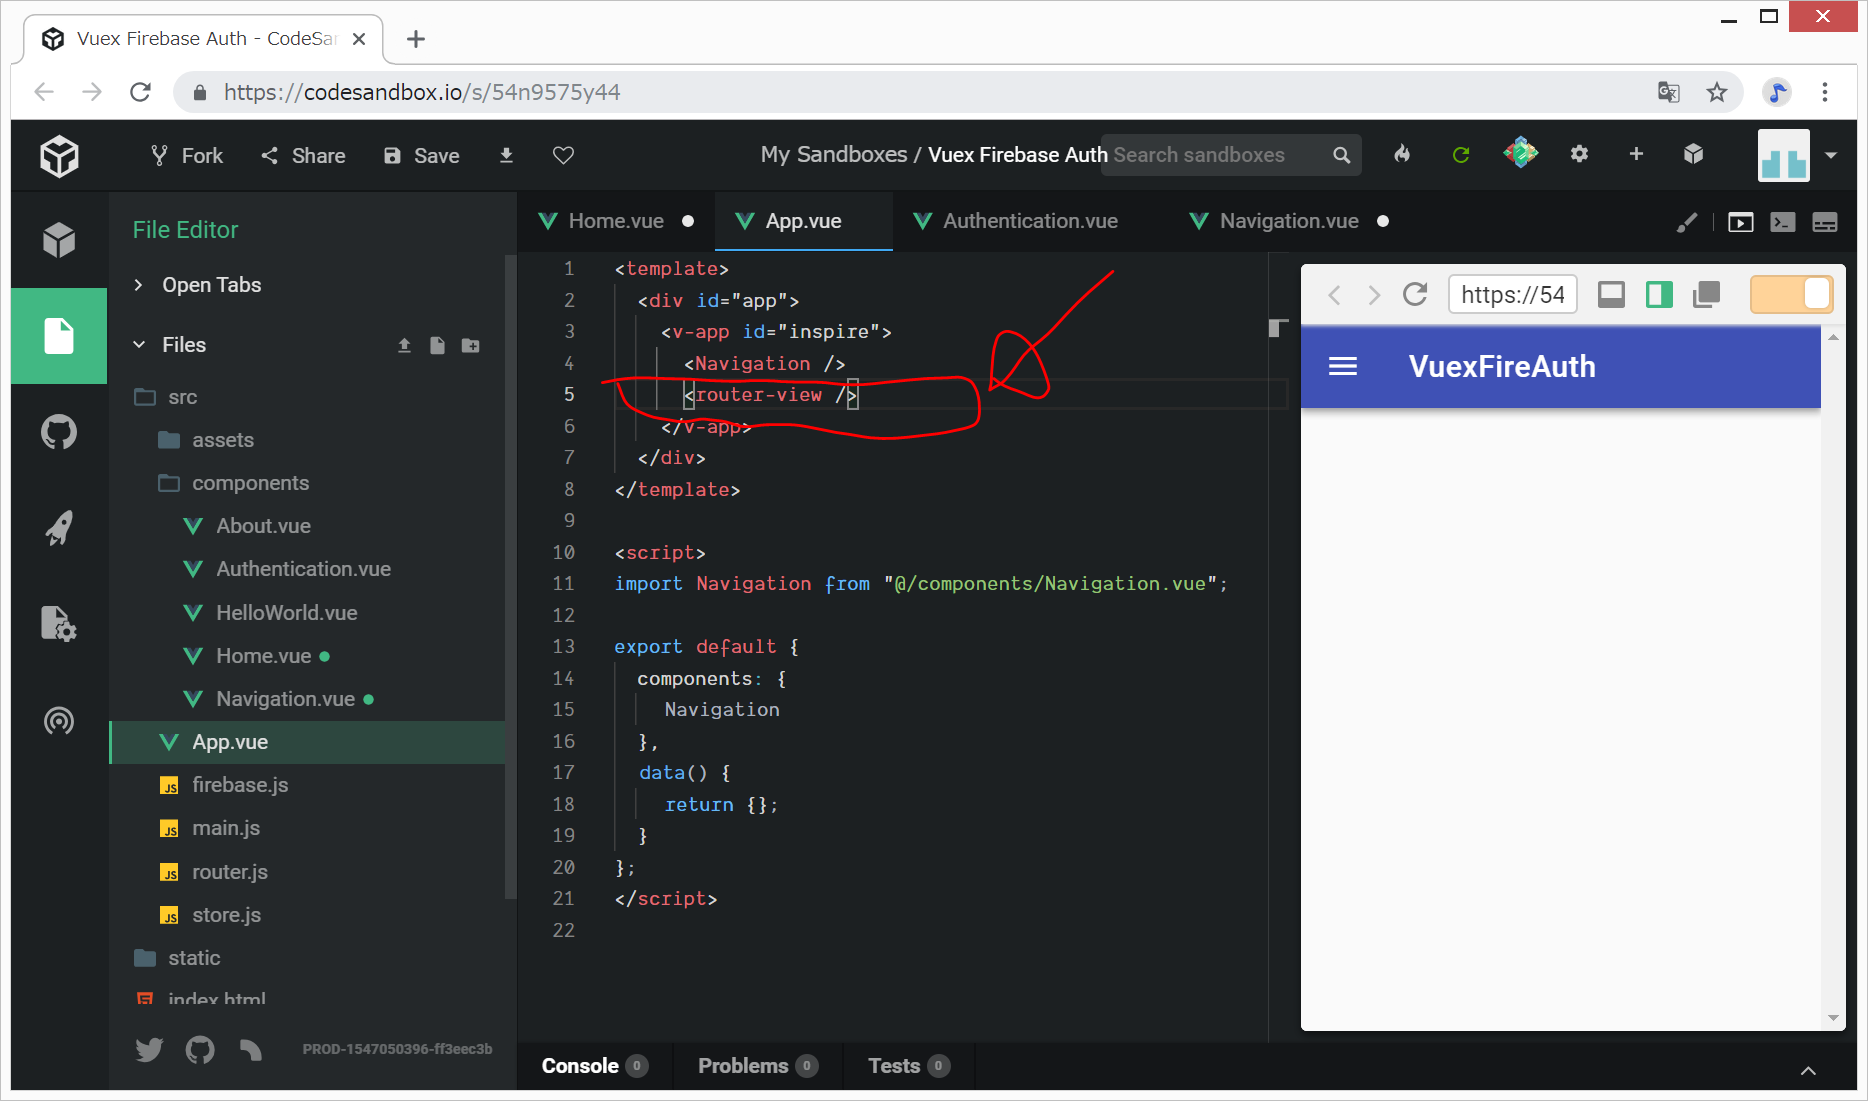
また、このルーティングの定義により、<router-view/>と記載することにより、コンポーネントを表示することができるようになります。
src/router.js
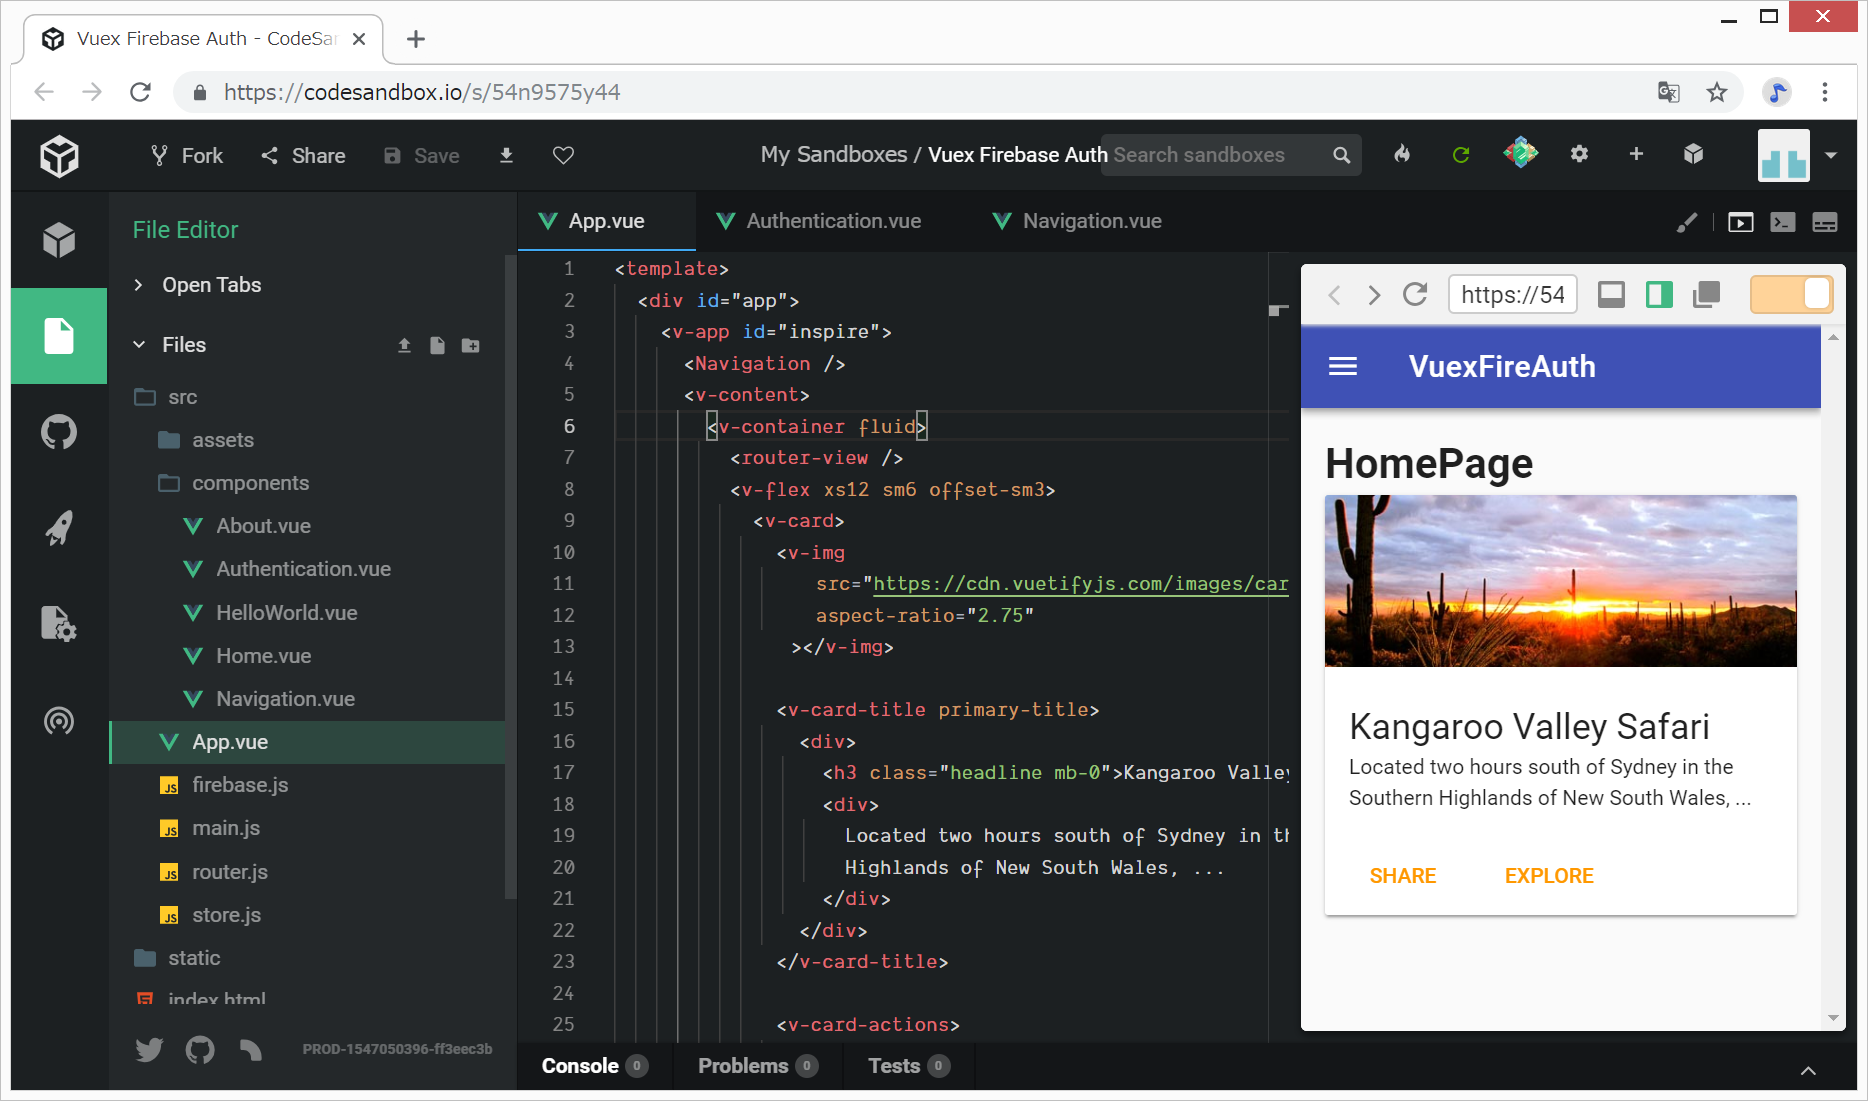
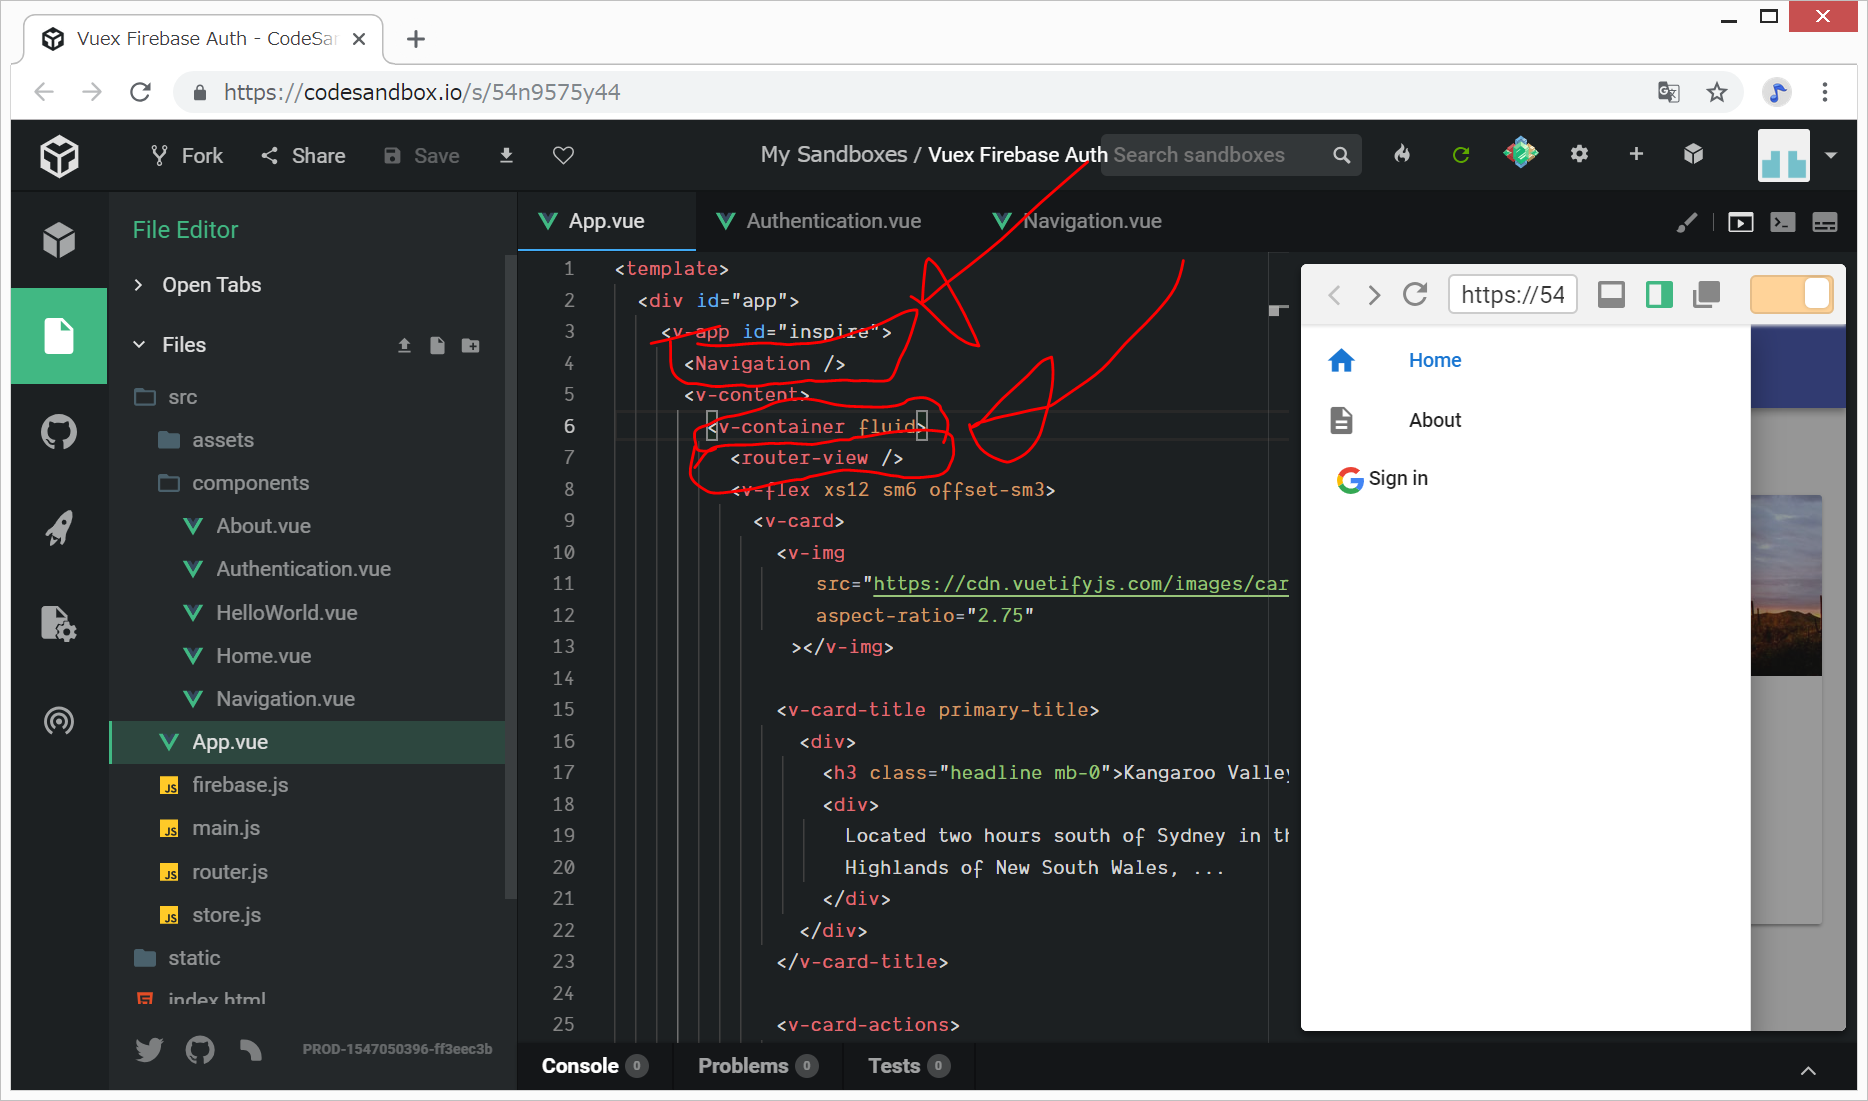
App.vueの中にNavigation.vueとHome.vue(/About.vue)を表示する
- Navigation.vueは、importしてから、<Navigation/>と記載することにより表示します。
- Home.vue(/About.vue)は、router.jsにルーティングを記載しているので、<router-view/>と記載することにより、コンポーネントを表示します。
src/App.vueの編集
// <template>の中に記載
<Navigation/>
<router-view/>

// <script>の中に記載
import Navigation from "@/components/Navigation.vue";

export default {
  components: {
    Navigation
  },
}
Googleサインインのところが変ですが、今回はこのままで、、、
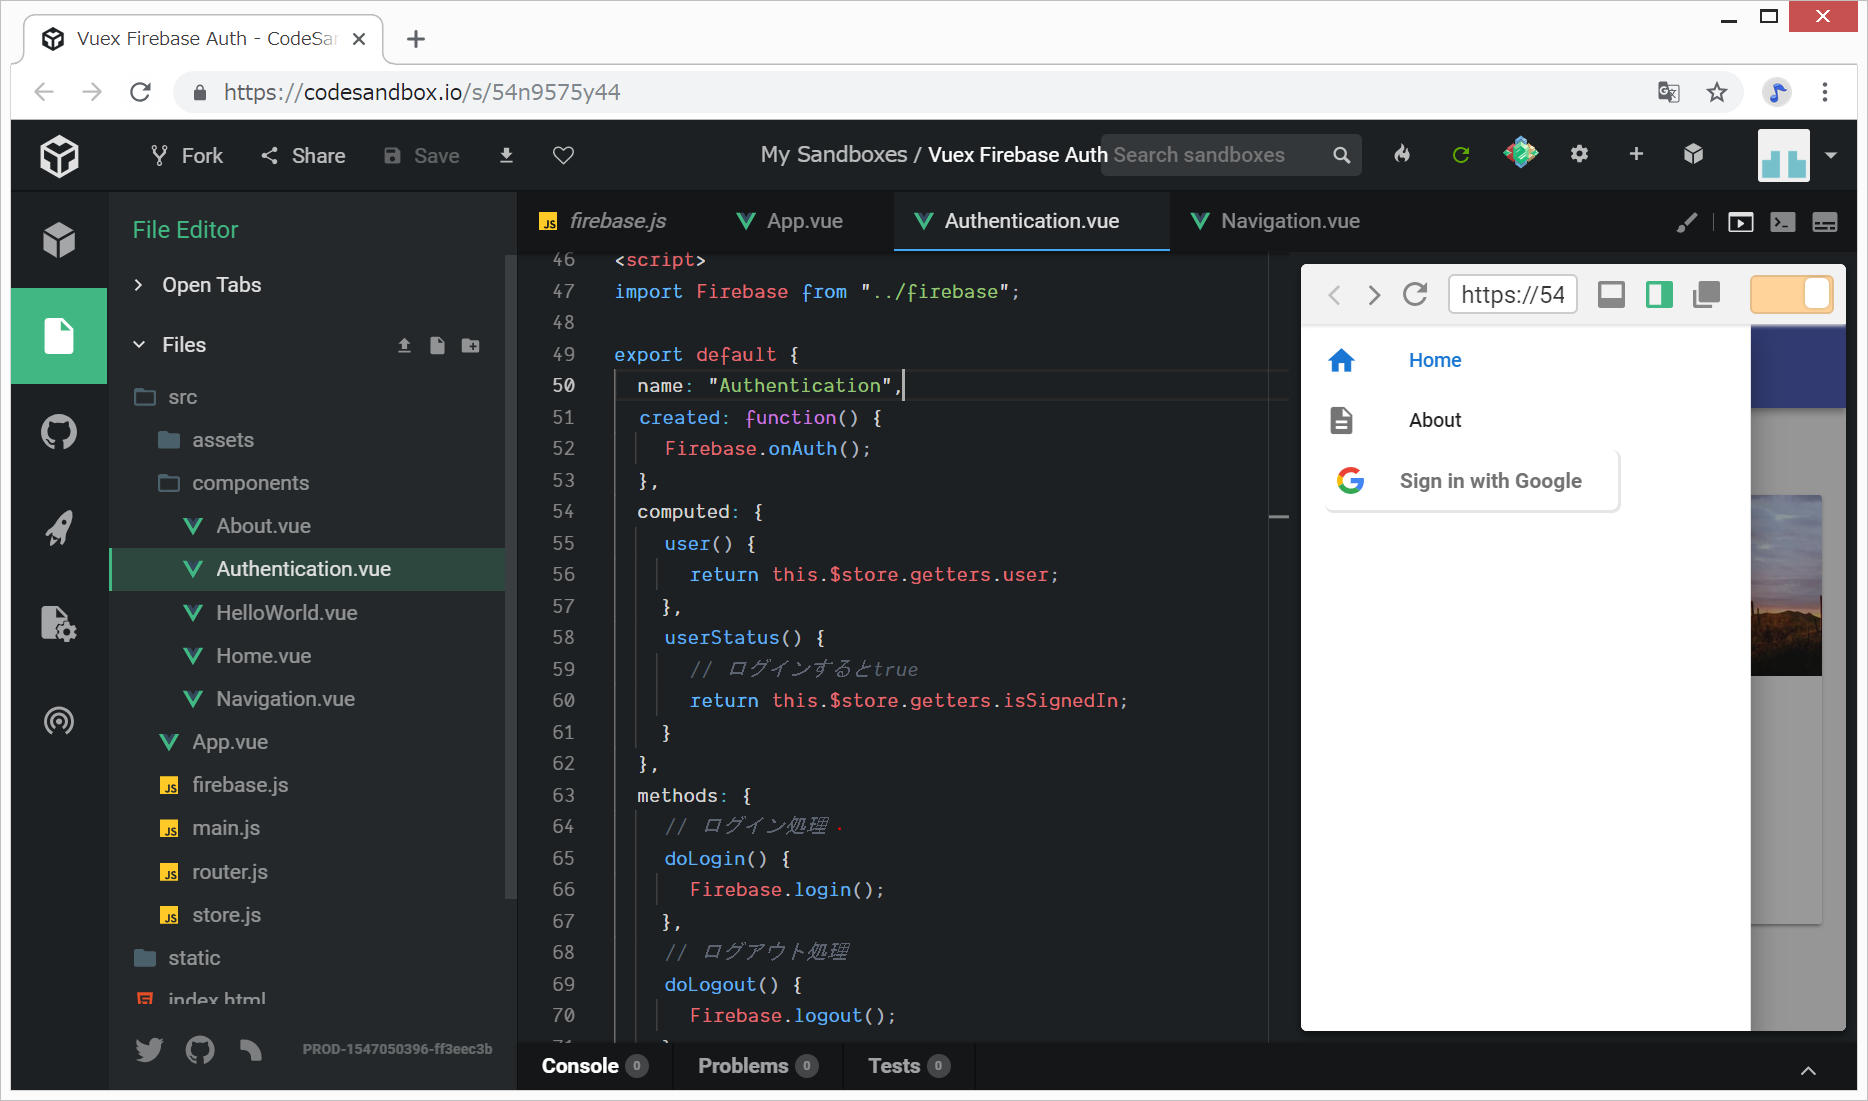
src/components/Authentication.vueにGoogleログインを実装
https://qiita.com/ErgoFriend/items/bd1bb445e185bf45e272#authenticationvueのコードをコピペします。
- createdでインスタンス作成後に認証状態の監視を開始します。
- computedでvuexのstatusにログインしているかどうかを保持し、v-ifで分岐できるようにしています。
- methods: { func() } : @clickに登録した関数(doLogin()関数と、doLogout()関数)を実行します。

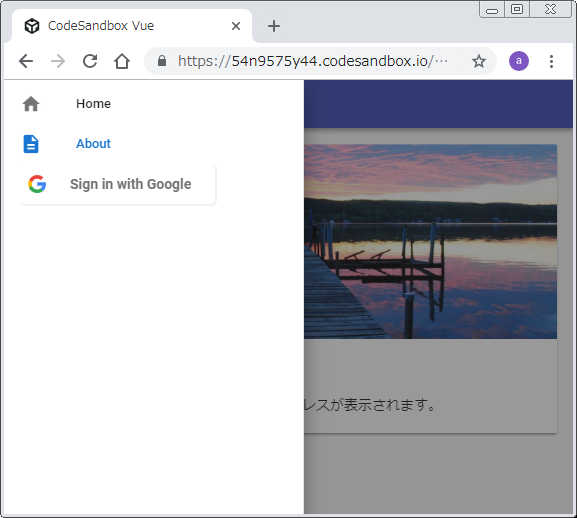
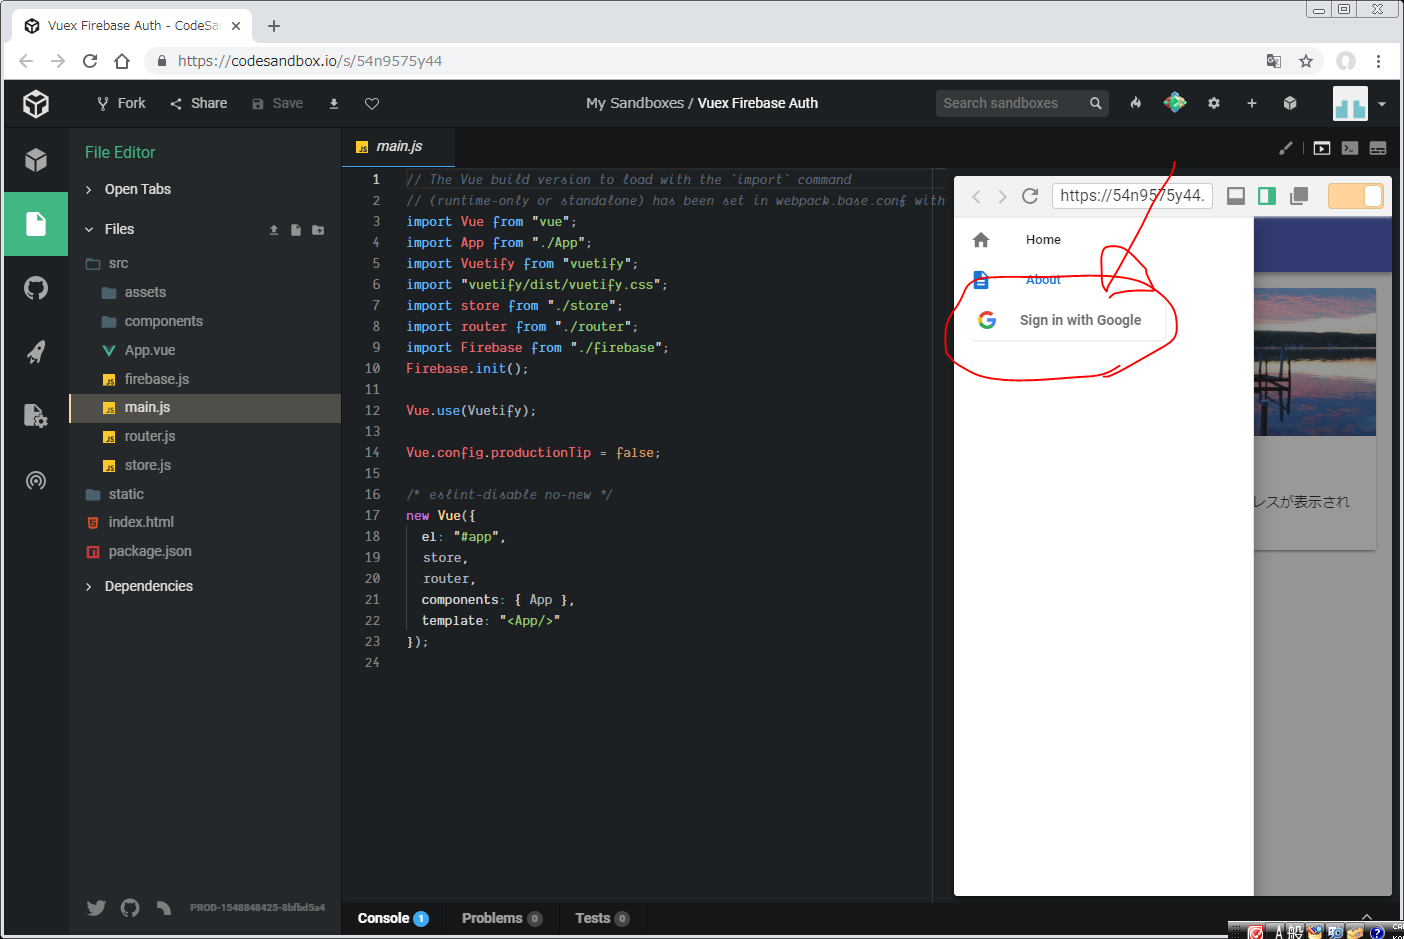
残念ながら、ログインした後も、Sign in With Googleのボタンのままでした。。。
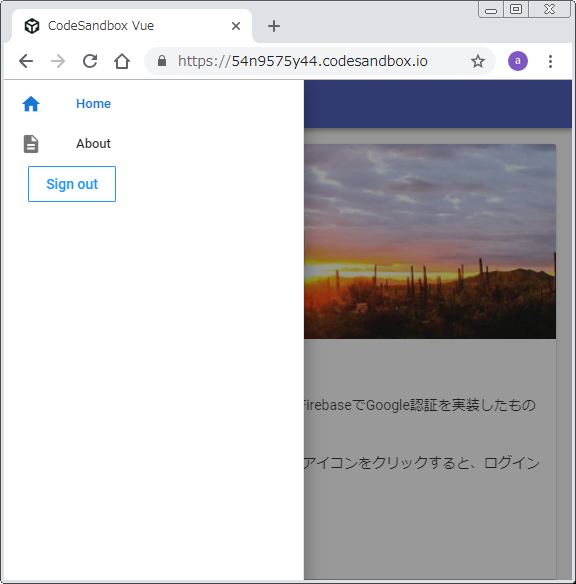
firebase.jsの写経をするときに、どこかでタイプミスしたことが原因であったらしく、https://qiita.com/ErgoFriend/items/bd1bb445e185bf45e272#firebase-firebasejsのコードをコピペしたら、動くようになりました。
(見栄えは変えないと、、、)
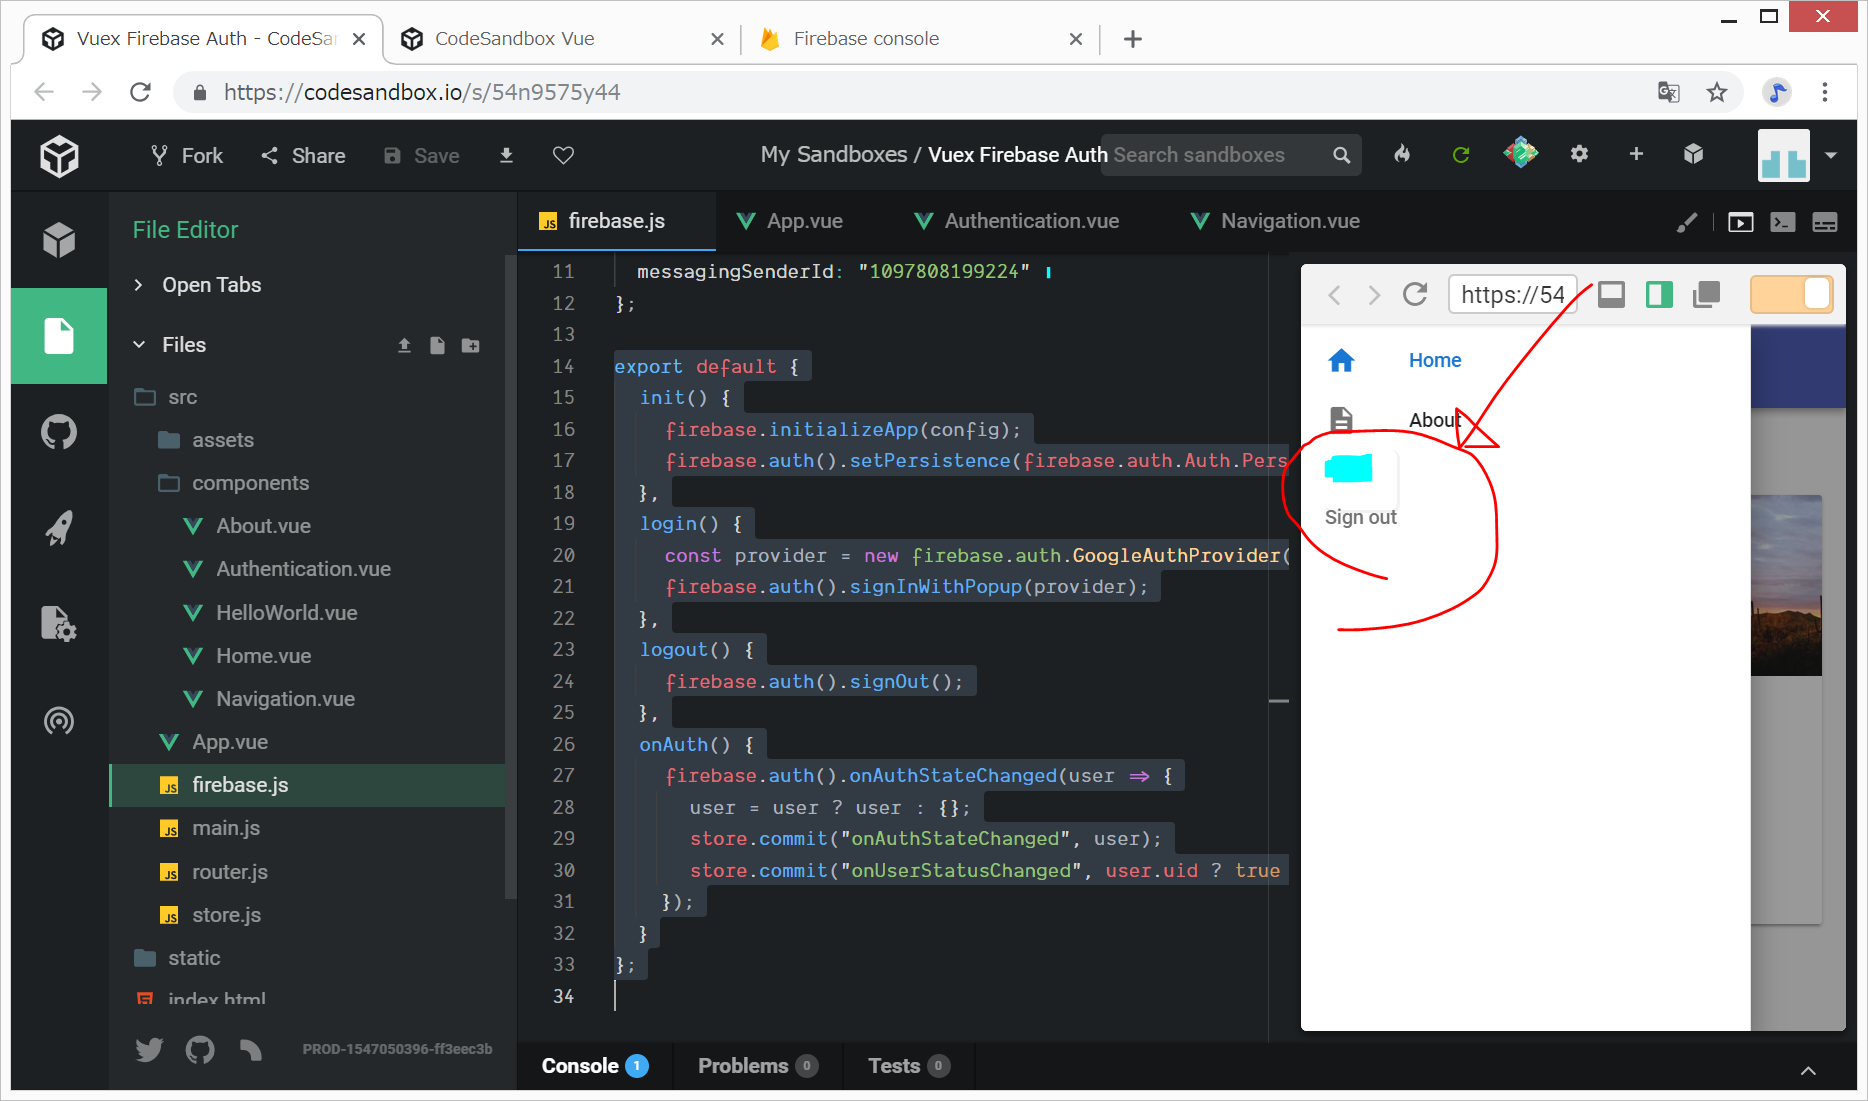
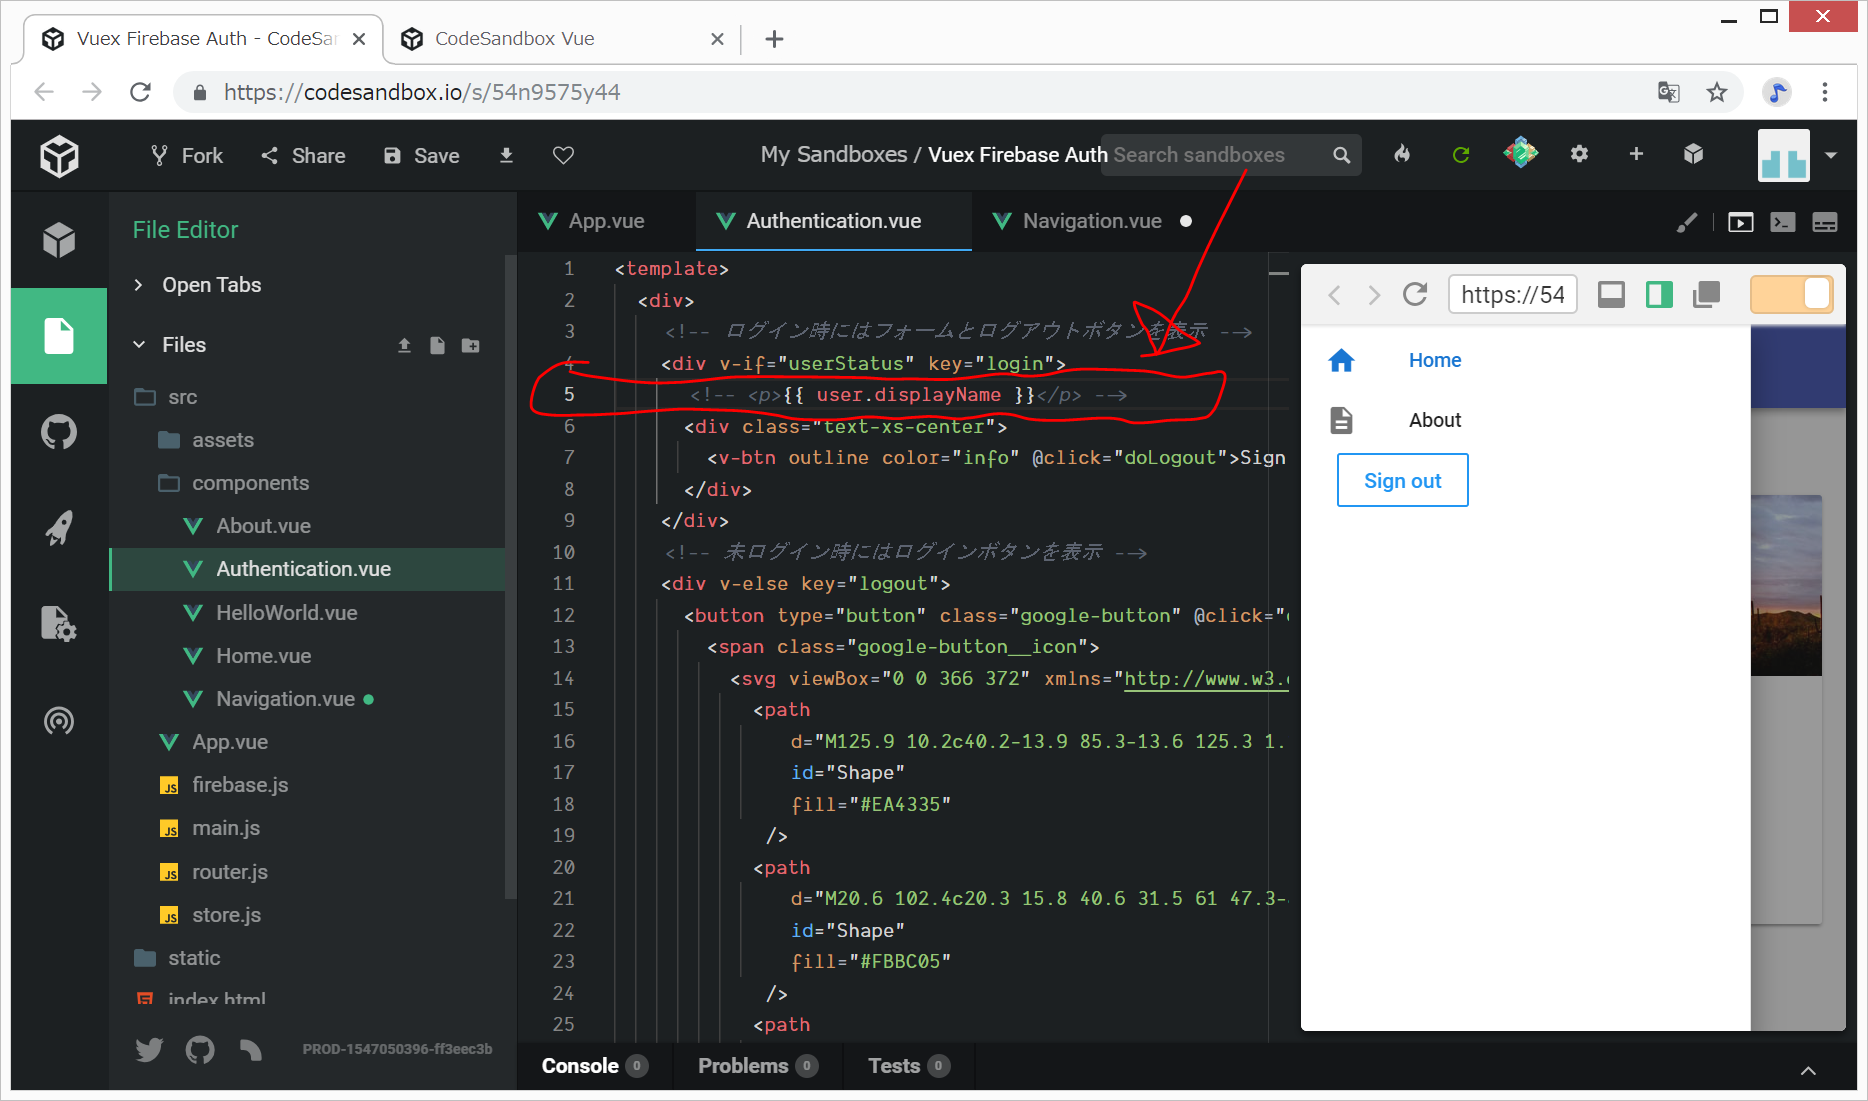
ログイン/ログアウトボタンの見た目の調整
かなり厳しい。。。名前を表示するのはあきらめようかと思います。
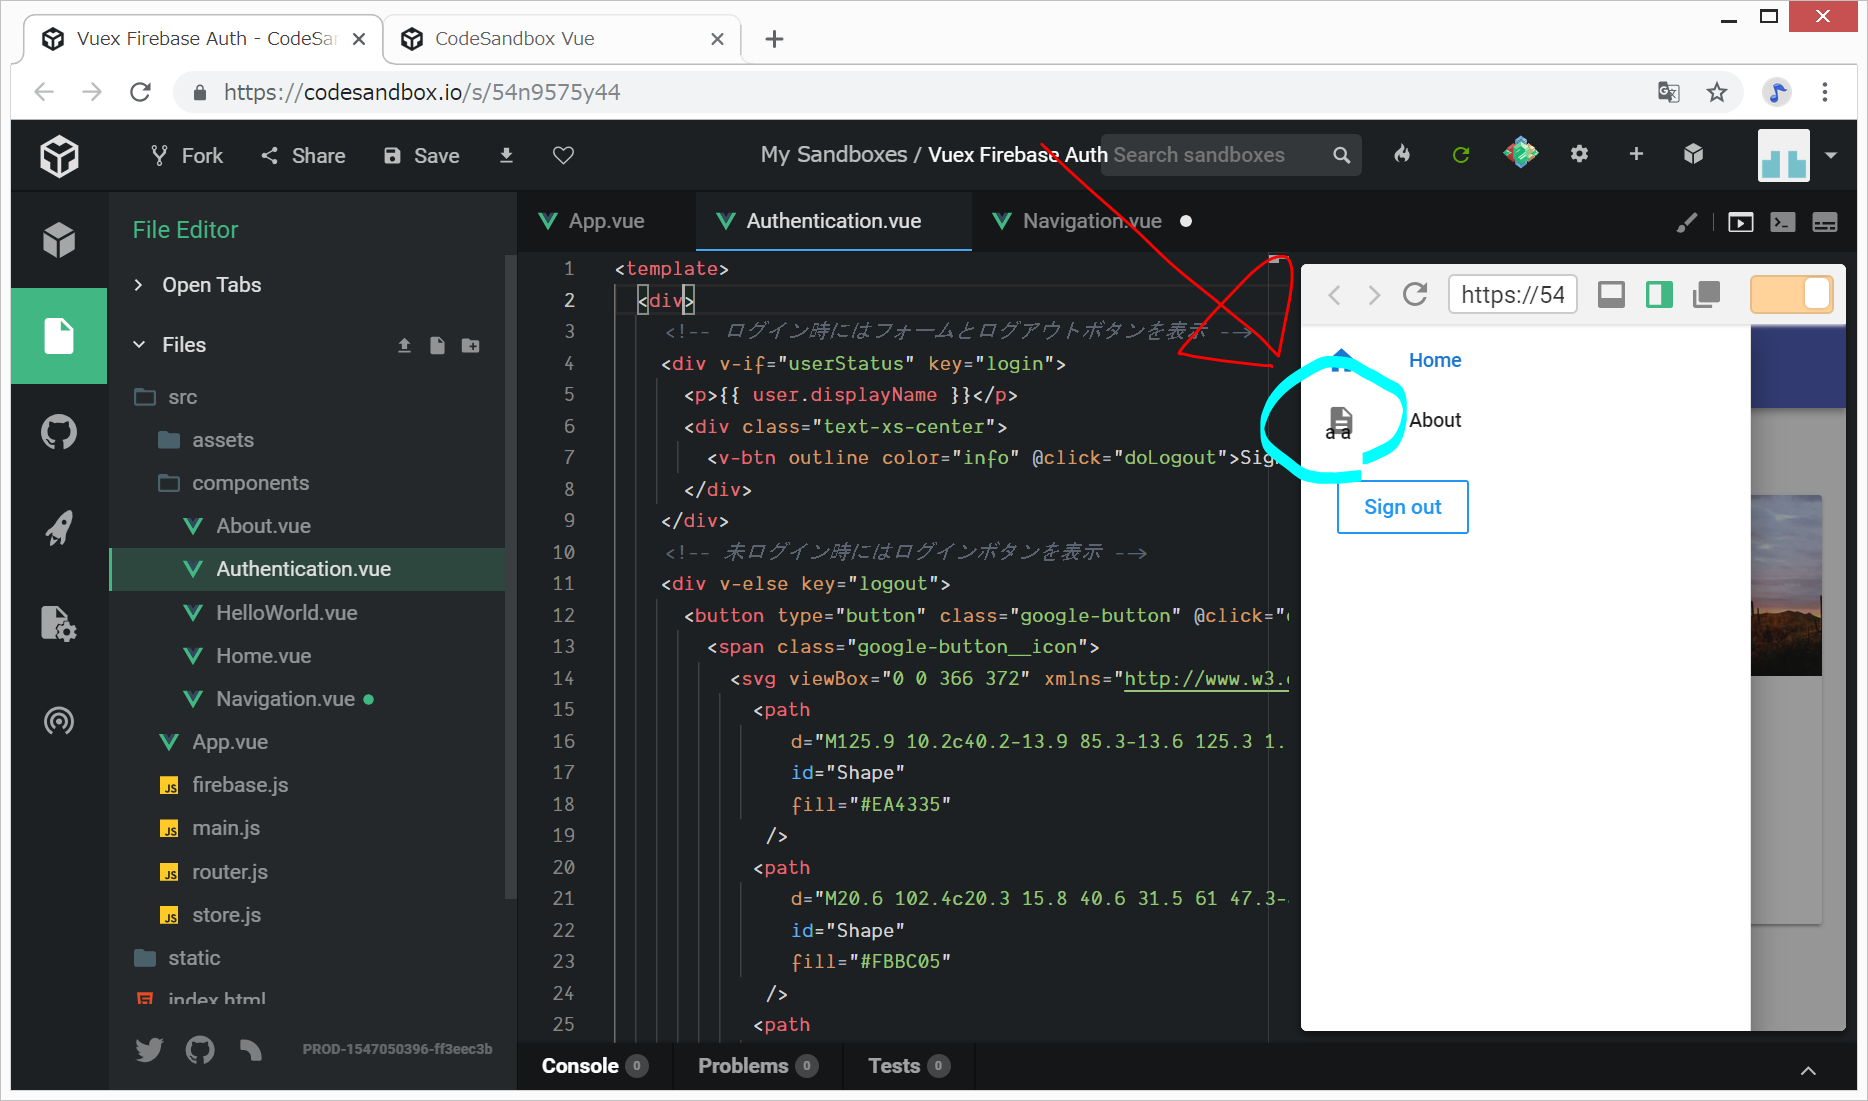
Vuetifyの<v-list-tile>の使い方がいまいちわからず、思った通りにならない。
とりあえず、<v-navigation-drawer>のところに名前を表示するのはあきらめて、Sign outボタンのみにしました。
ちなみに、<v-button>の中身のテキストがすべて大文字になってしまうため、<style>のところに、以下のように記載しています。
<style scoped>
* {
  text-transform: none !important;
}
</style>
参考:https://github.com/vuetifyjs/vuetify/issues/1443
[Help]How to make the global text not uppercase/capitalize #1443
Closed alterhu2020 opened this issue on 22 Aug 2017
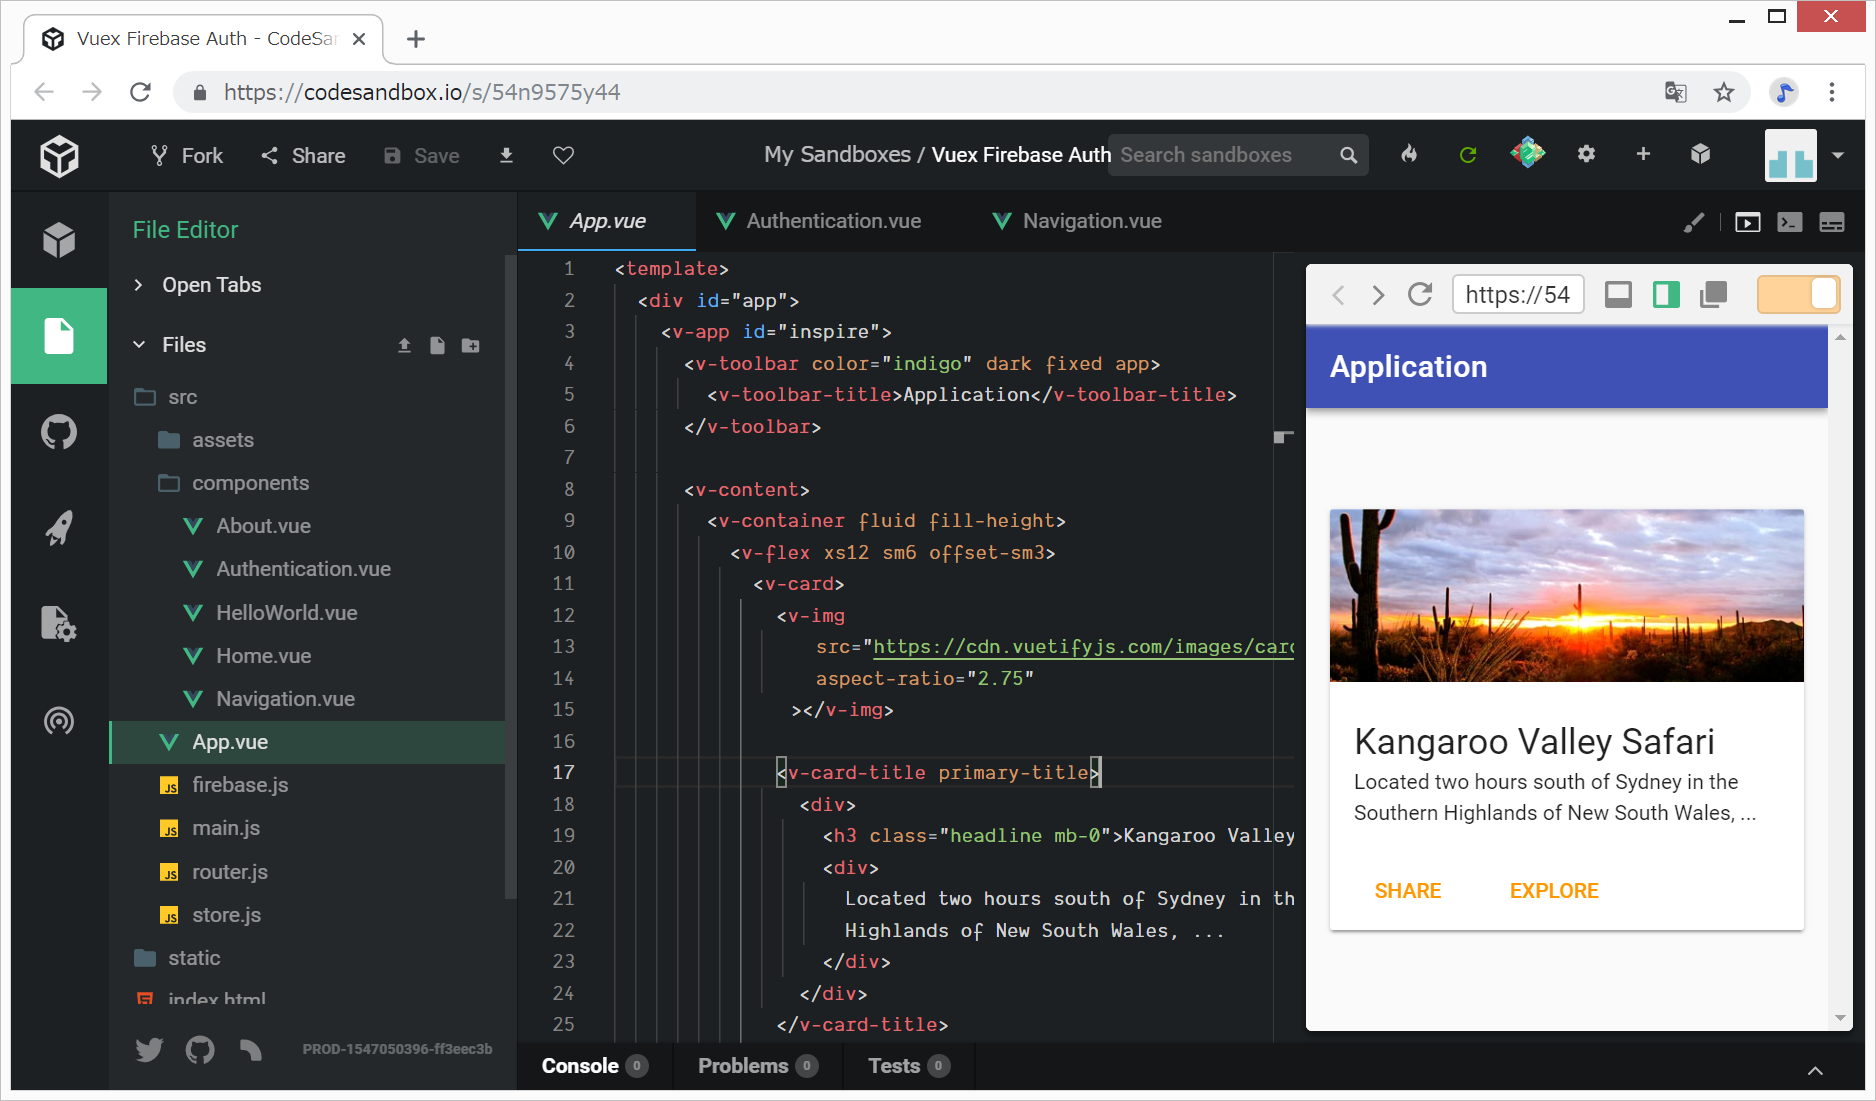
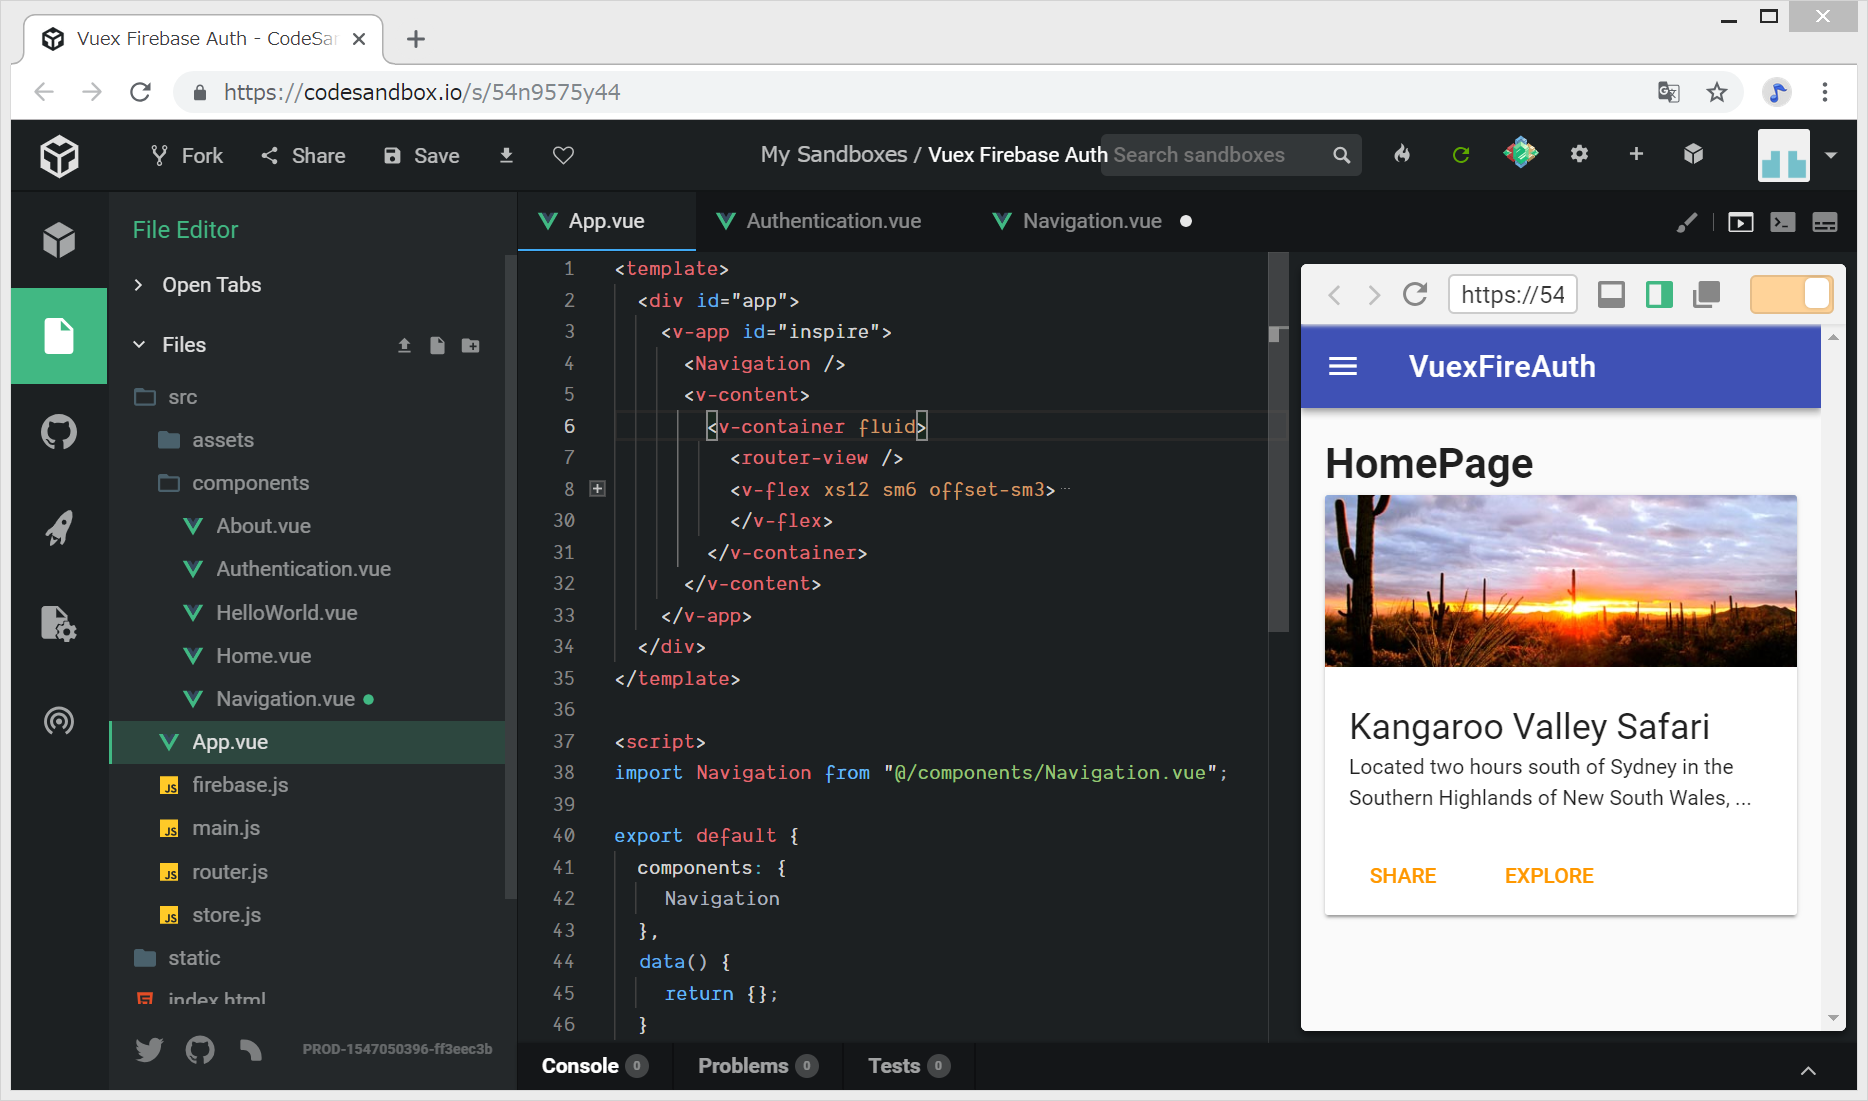
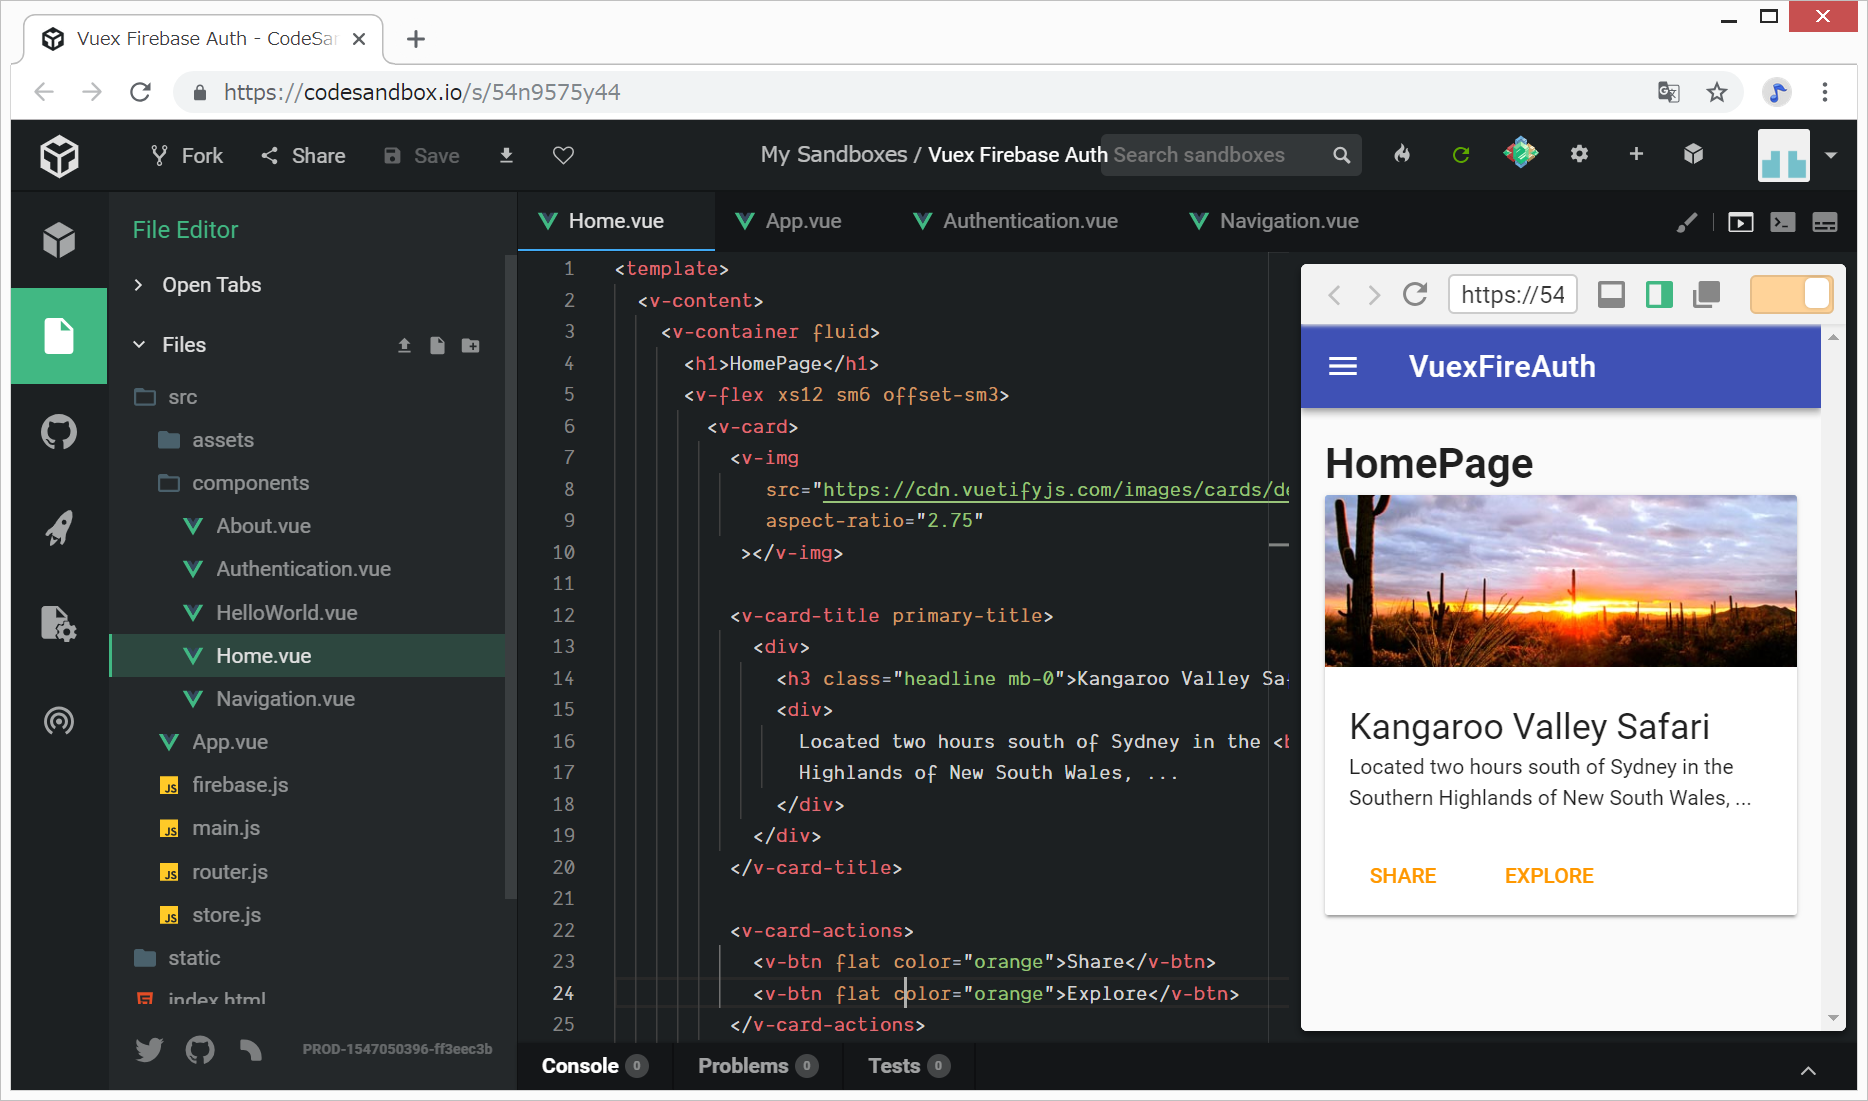
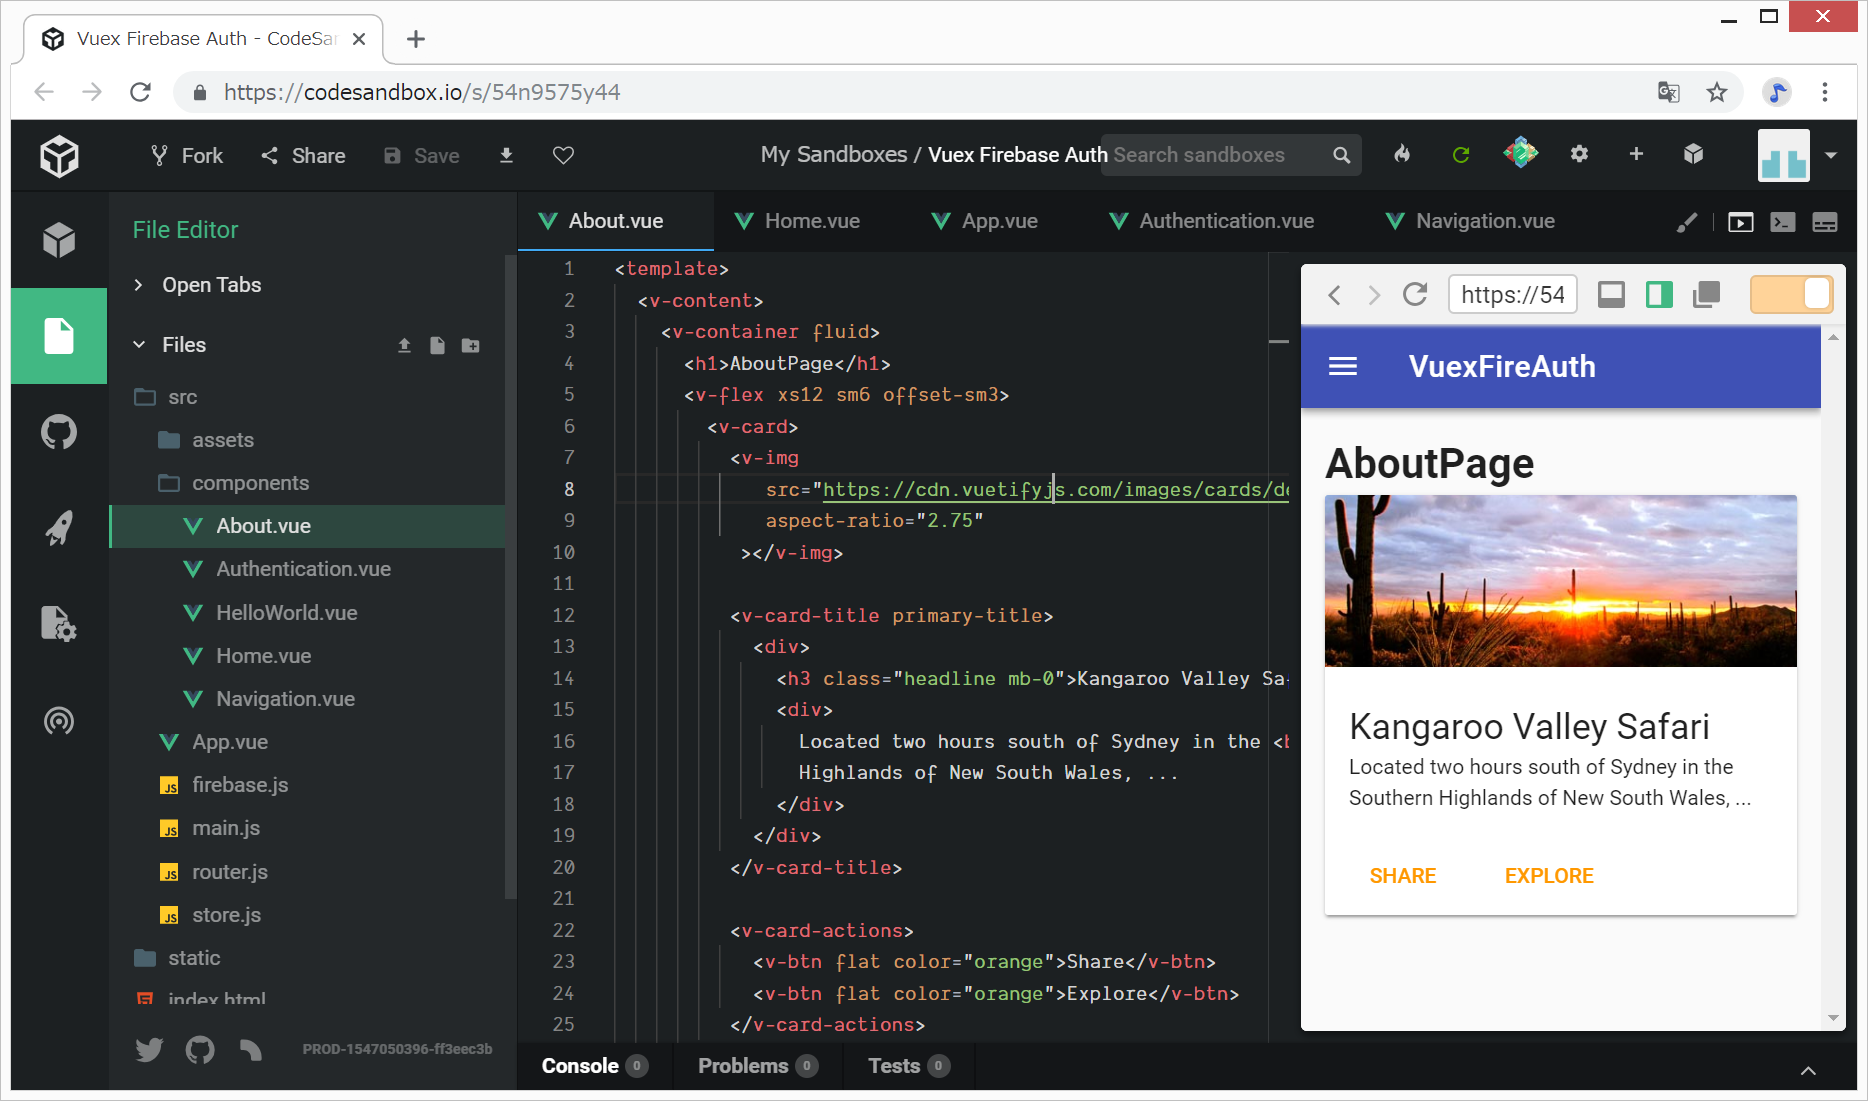
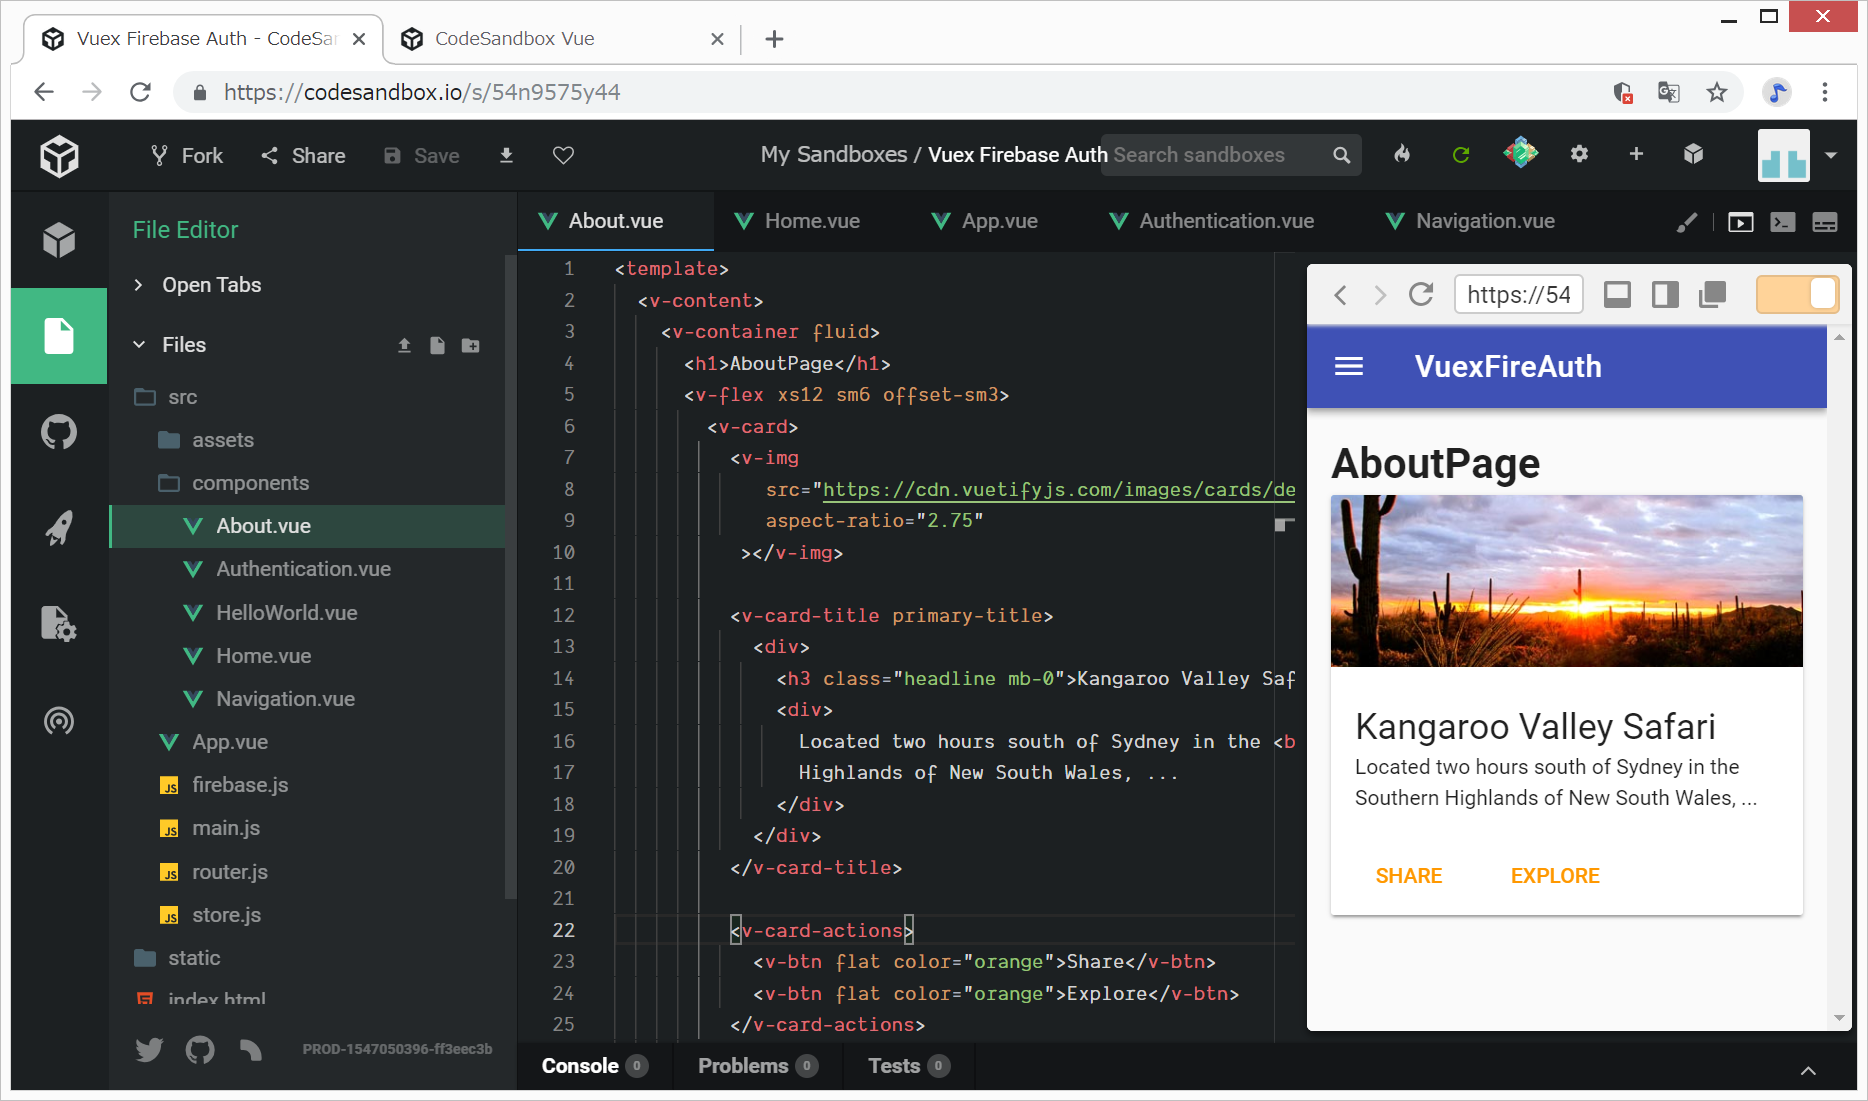
App.vueの<content>の中身のcardを、Home.vueとAbout.vueにそれぞれ移動
Home.vueの編集
中身を変えます。Home.vueはログイン前後で変化なしにしようと思います。
(変更前)
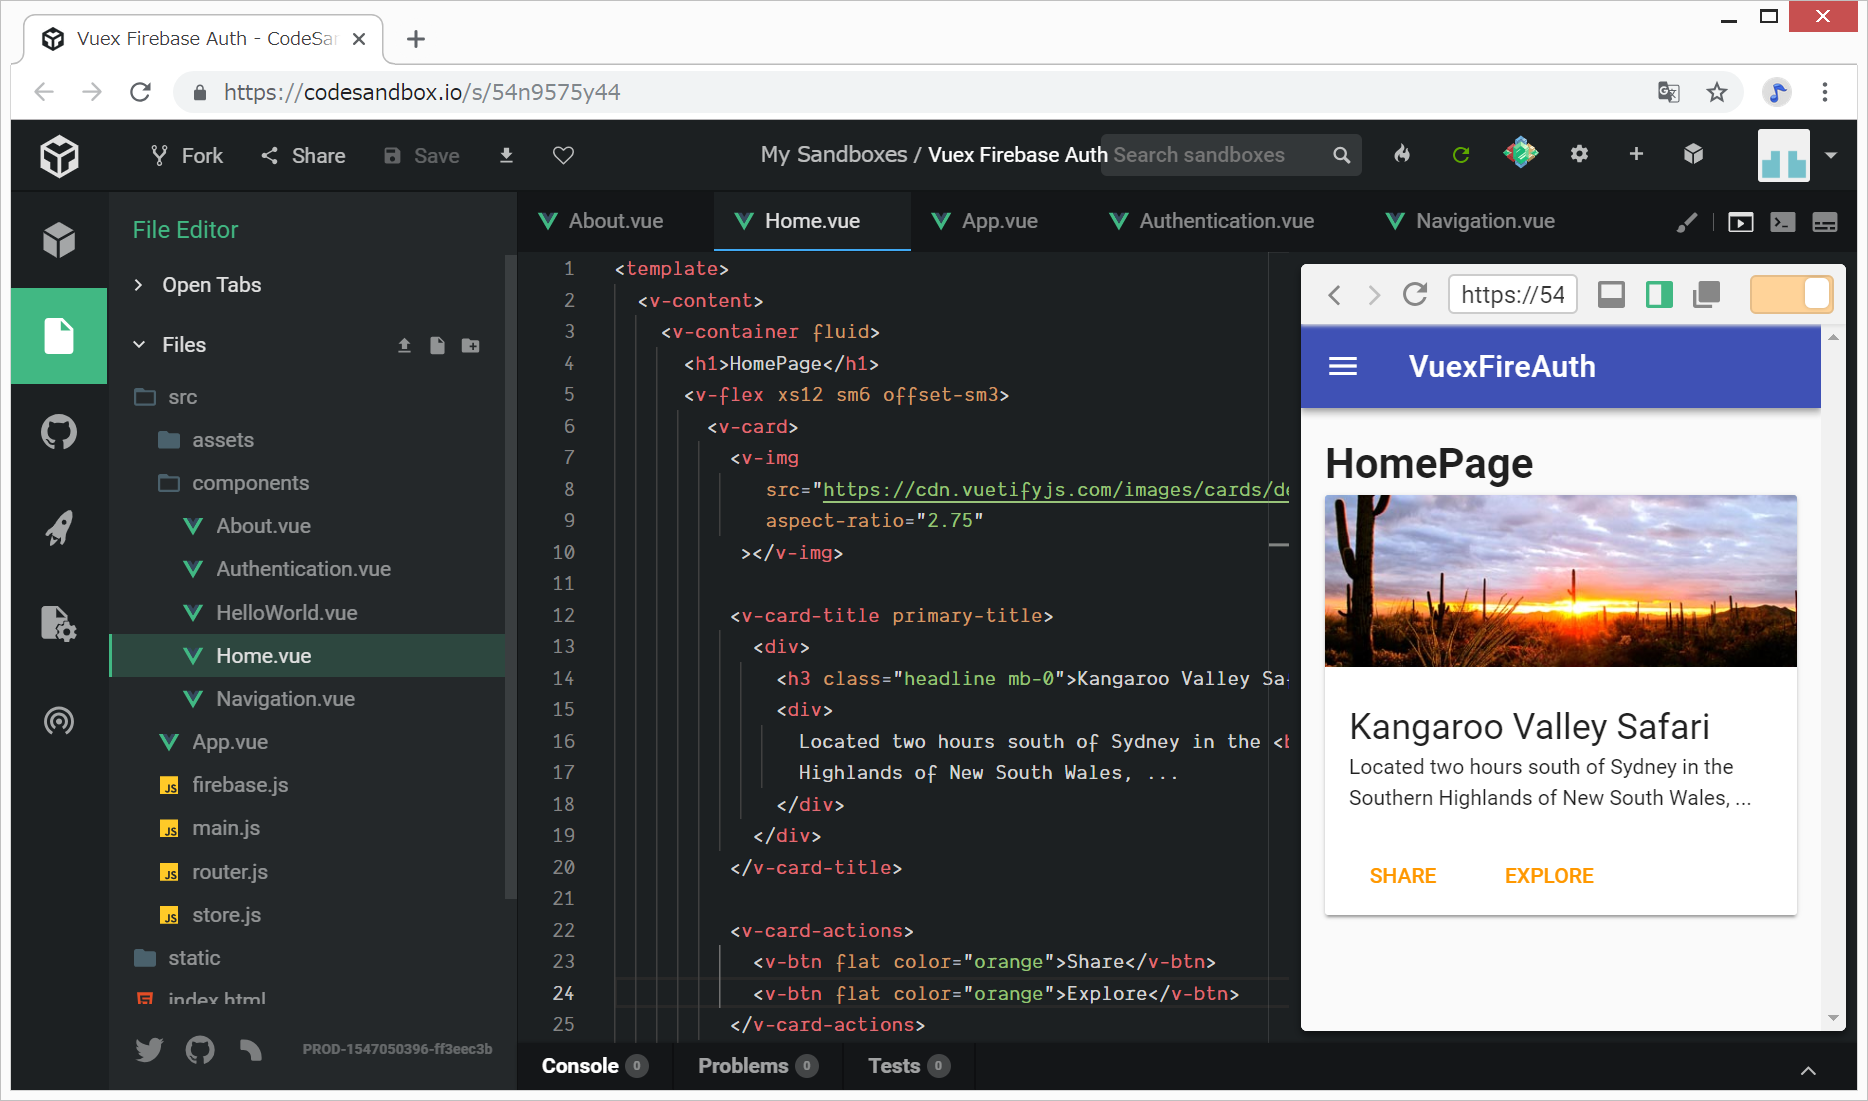
(変更後)
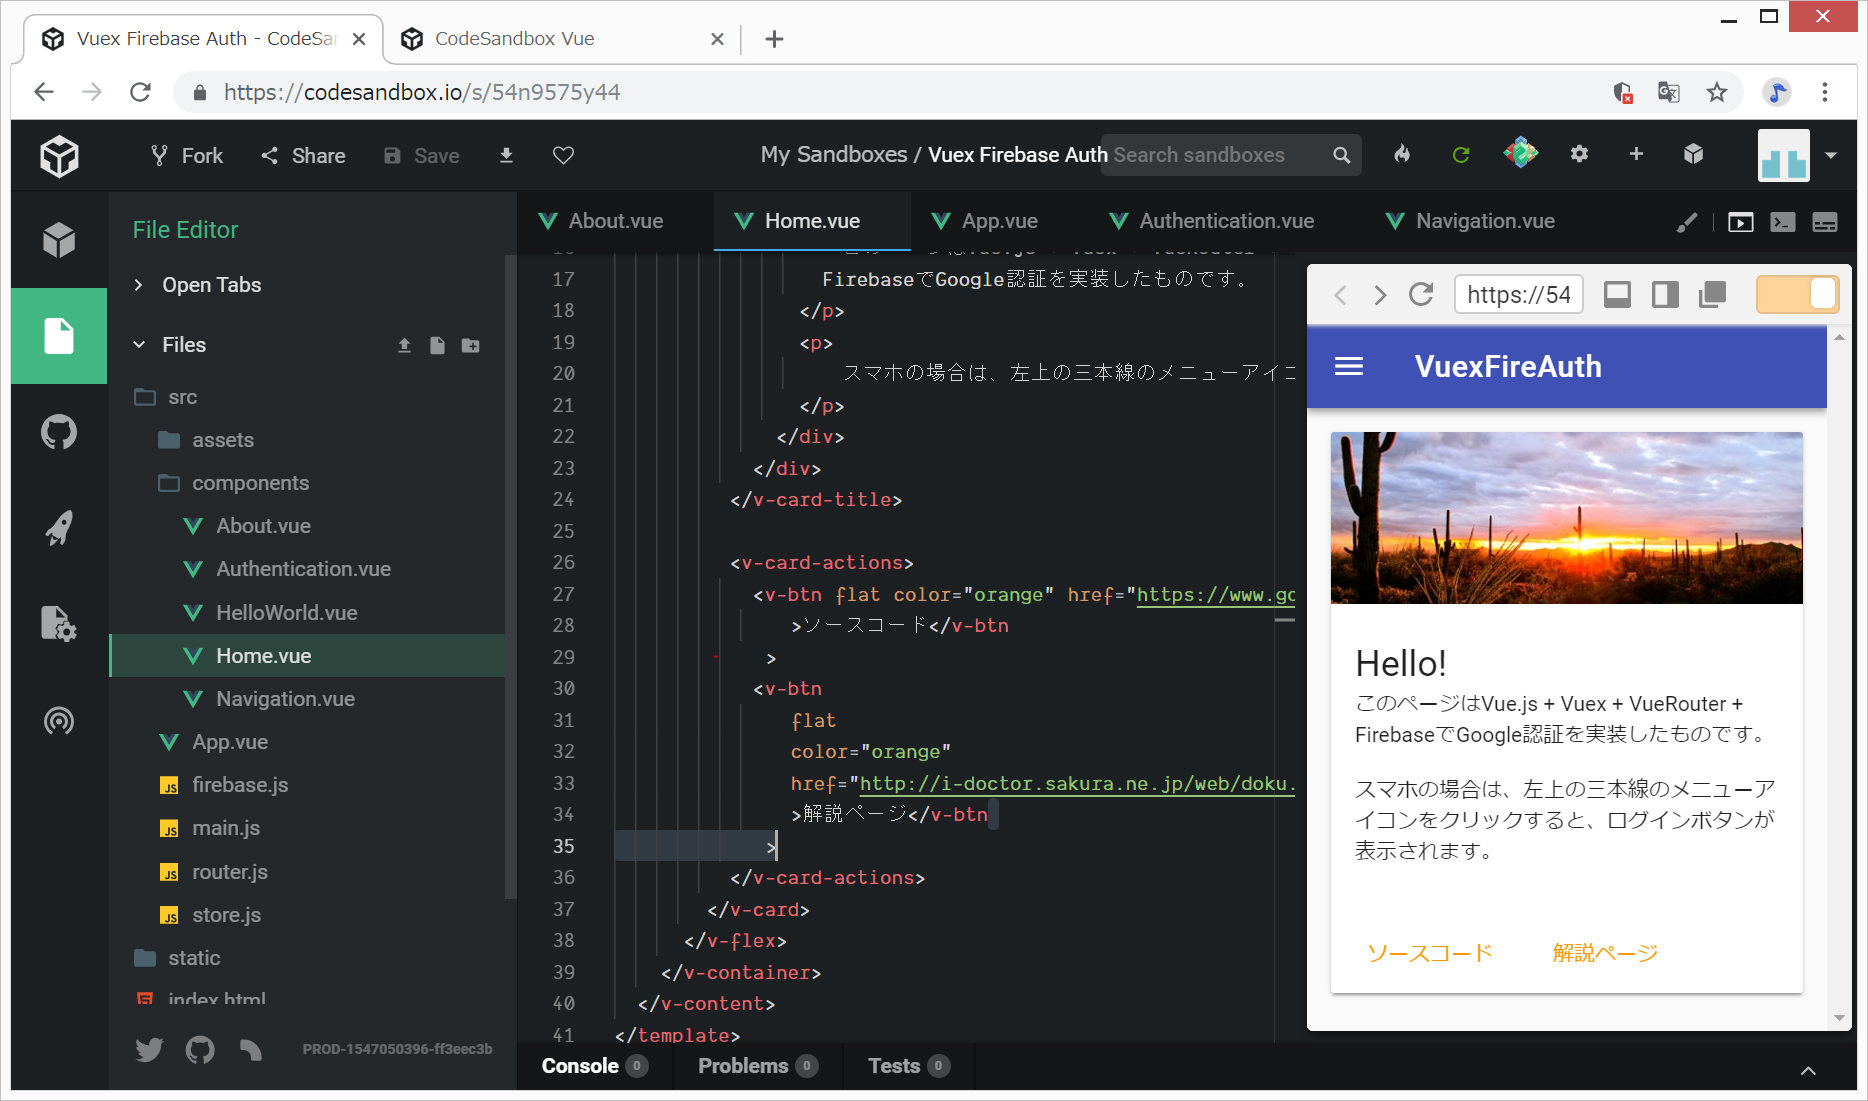
途中ですが、ここまでのソースコード
vuex-firebase-auth.zip
About.vueの編集
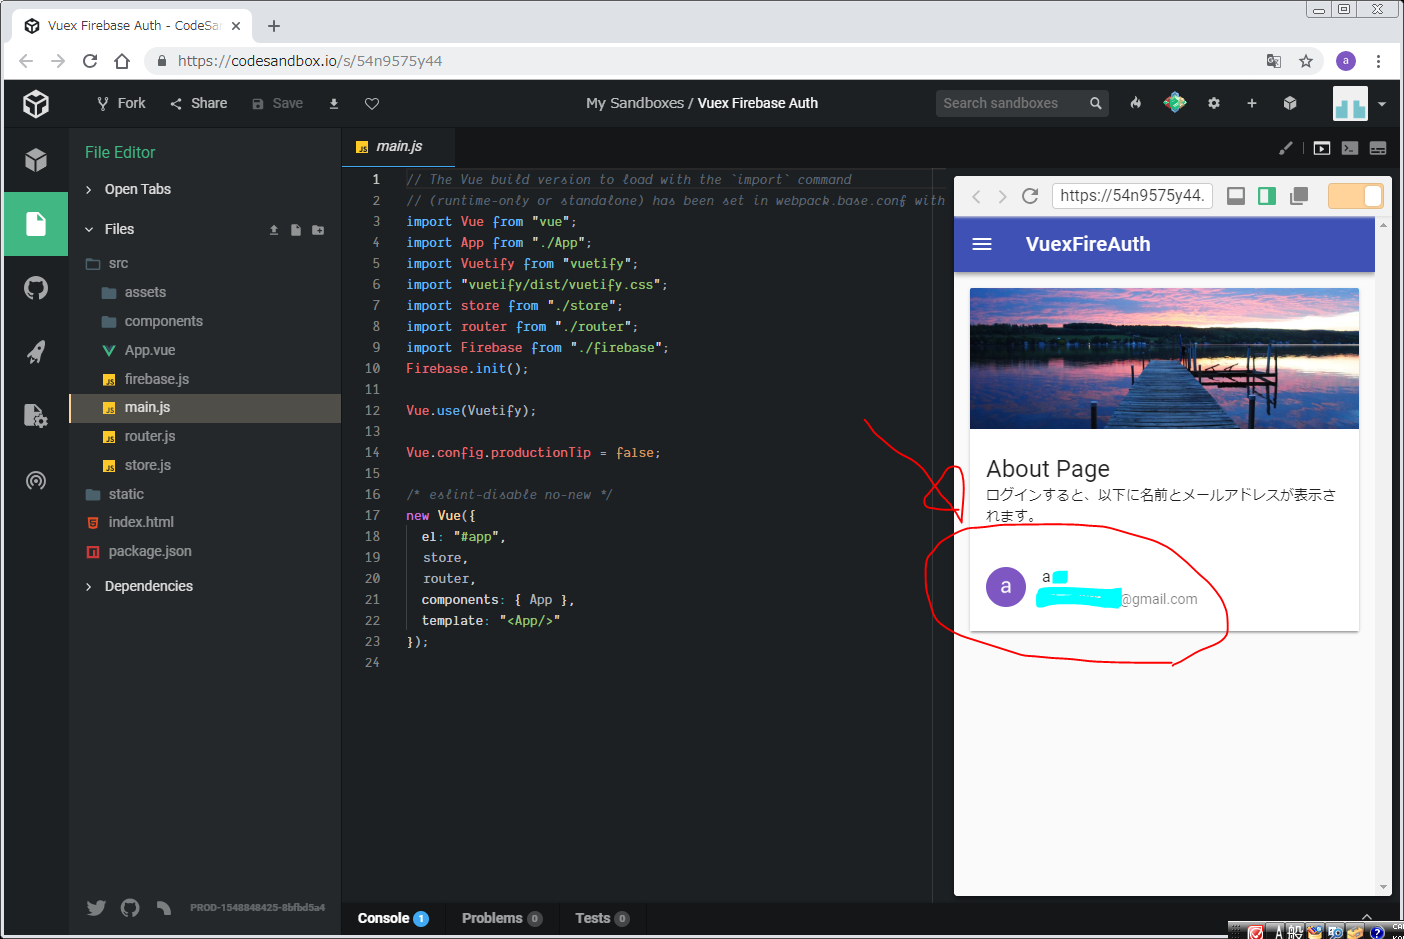
ログインした状態で、ログインした人の名前を表示しようと思います。
https://qiita.com/ErgoFriend/items/bd1bb445e185bf45e272#aboutvueを参考に、変えてみます。
今回はここまでとなります。
ソースコード
Vuexとログイン機能に関するリンク
https://qiita.com/ErgoFriend/items/bd1bb445e185bf45e272
@ErgoFriend
2018年10月27日に更新
Vue vuexでfirebaseのログイン保持
→firebaseのGoogle認証を作成します。
https://mabui.org/firebase-authentication-vuex-mail-verification/
Firebase AuthenticationとVuexでメール認証を実装する
投稿日:2018年9月13日
→firebaseのメール認証を作成します。
https://www.hypertextcandy.com/vue-laravel-tutorial-authentication-part-3
2019.01.12
Vue + Vue Router + Vuex + Laravelで写真共有アプリを作ろう (6) 認証機能とVuex
Masahiro Harada
→https://www.hypertextcandy.com/vue-laravel-tutorial-authentication-part-2/からの続きで、Laravel+Vue+Vuexでメーリアドレス認証をバックエンドも含めて作成します。
https://qiita.com/k-okina/items/512b9e502f8db49981f3
@k-okina
2018年12月01日に更新
2018年Vue.jsとVuexを使ってる人には必ず知っていてほしいドキュメントに書かれていないコンポーネントやストア、メンテナンスの際に役立つTips
https://qiita.com/zaru/items/bc90b418dd18a97d8da5
@zaru
2018年10月20日に投稿
Firebase Authentication + Vue.js を SSR/SPA 両方に対応する方法
https://tomokazu-kozuma.com/implement-login-function-with-firebase-authentication-using-vuejs-and-vuex/
2019.01.19
Vue.jsとVuexを使ってFirebase Authenticationでログイン機能を実装する
https://qiita.com/sin_tanaka/items/ea149a33bd9e4b388241
@sin_tanaka
2018年08月03日に更新
Vue.js #4 Advent Calendar 201725日目
Vue.js + Firebase を使って爆速でユーザ認証を実装する
リンク


