Dialogflow(Googleのチャットボット)を試してみる(3)GoogleのSillyNameMakerチュートリアルを写経してみる
今回は、GoogleのMakeSillyNameのチュートリアルを写経してみたい。
https://developers.google.com/actions/dialogflow/first-app?hl=ja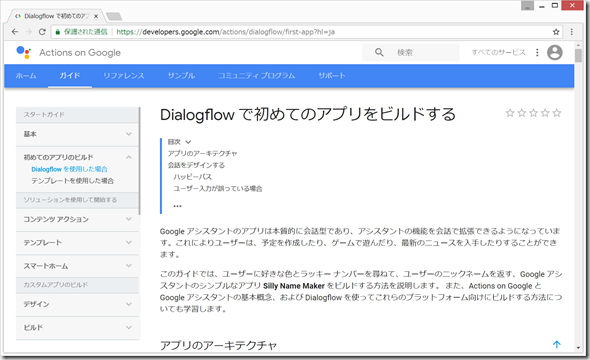
(開発環境)
Windows 8.1 Pro (MacでもLinuxでも同じです。)
Chrome
Googleアカウント(無料)
(0)内容
AI 「好きな数字は?」
ユーザー 「23」
AI 「好きな色は?」
ユーザー 「黄色」
AI 「あなたのあだ名は、"黄色23″です!」
て感じのものを作る。
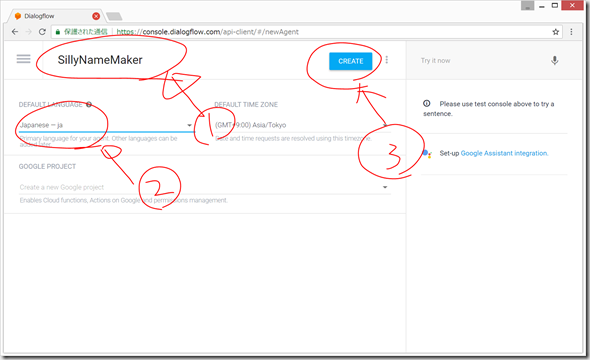
(1)Dialogflowにログインと、新規Agentの作成
以下のリンク先へ行き、Googleアカウントでログイン。
https://console.dialogflow.com/api-client/#/login
Create New Agent で、新しいAgentを作成。今回は、Helloという名前をつけた。
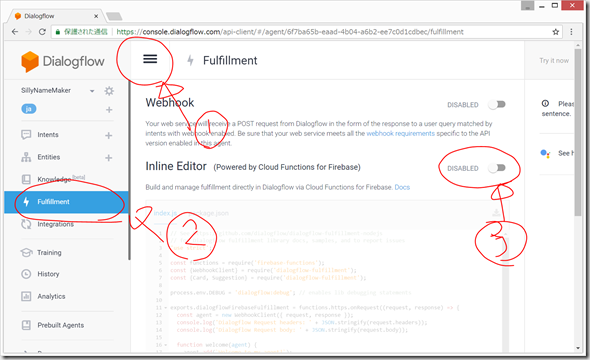
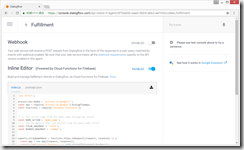
(2)メニュー > Fulfillment > Inline Editor をEnabled にする
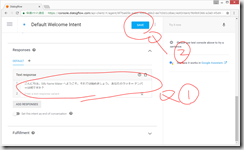
(3)Intents > Default Welcome Intent をクリック
Response の Text response のところを、ごみ箱ボタンをクリックして、削除して、代わりに以下のように入力して、SAVE
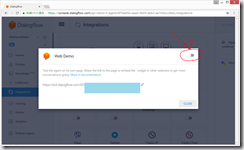
(4)IntegrationsからWebDemoを選択
<iflame… の中身をコピーして置いて、Wordpressその他に貼りつける。
以下に張り付けてみた。
(5)make_name インテントの作成
メニュー > Intents の右横の + ボタンをクリック
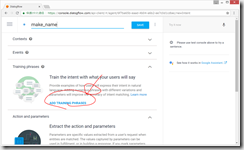
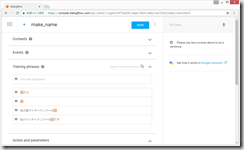
一番上のIntent name のところに、make_name と入力
Training phrases のところの、ADD TRAINING PHRASES をクリックして、
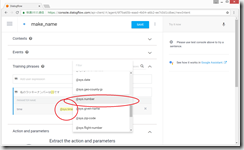
Training phrasesフィールドに「私のラッキーナンバーは23です」と入力して Enter キーを押します。
23 のところが自動的に黄色になり、@sys.time と表示されるので、@sys.time をクリックして、ドロップダウンリストが出てくるので、その中で、@sys.number をクリック。
Training phrases のところに、以下のように2つくらい文章を追加する。
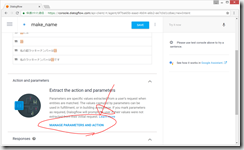
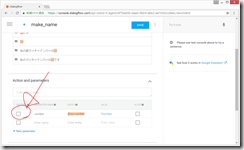
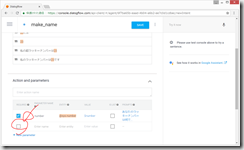
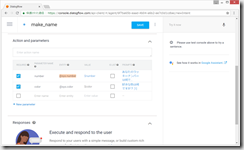
[Actions] セクションで、number パラメータの [REQUIRED] チェックボックスをオンにします。
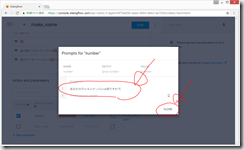
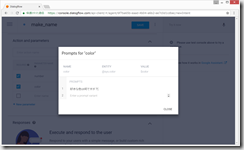
number の行の一番右の、[Define prompts] をクリックして、再確認のフレーズを入力します。このフレーズは、Dialogflow がユーザー入力から番号を検出するまで繰り返しユーザーに向けて発話されます。
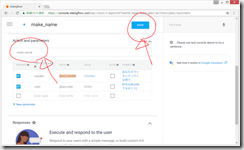
make_name という名前を入力し、[SAVE] をクリックします。
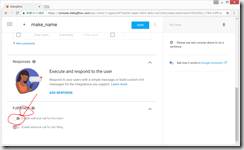
Fulfillment > ENABLE FULFILLMENT
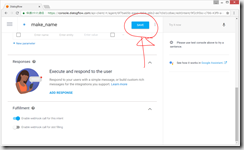
SAVE
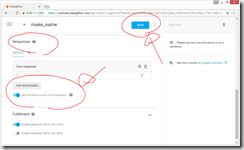
Responses で、 Set this intent as end of conversation をONにして、SAVE
(6)Fulfillmentの、Inline Editorを修正
以下のように修正
'use strict';

process.env.DEBUG = 'actions-on-google:*';
const App = require('actions-on-google').DialogflowApp;
const functions = require('firebase-functions');


// a. the action name from the make_name Dialogflow intent
const NAME_ACTION = 'make_name';
// b. the parameters that are parsed from the make_name intent
const COLOR_ARGUMENT = 'color';
const NUMBER_ARGUMENT = 'number';


exports.sillyNameMaker = functions.https.onRequest((request, response) => {
  const app = new App({request, response});
  console.log('Request headers: ' + JSON.stringify(request.headers));
  console.log('Request body: ' + JSON.stringify(request.body));


// c. The function that generates the silly name
  function makeName (app) {
    let number = app.getArgument(NUMBER_ARGUMENT);
    let color = app.getArgument(COLOR_ARGUMENT);
    app.tell('Alright, your silly name is ' +
      color + ' ' + number +
      '! I hope you like it. See you next time.');
  }
  // d. build an action map, which maps intent names to functions
  let actionMap = new Map();
  actionMap.set(NAME_ACTION, makeName);


app.handleRequest(actionMap);
});
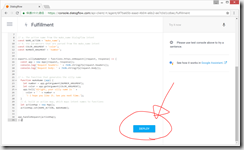
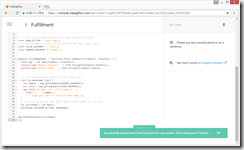
DEPLOY をクリック
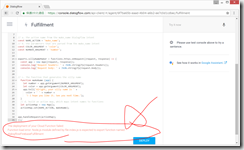
なんだかエラーが出ている。
The deployment of your Cloud Function failed: Function load error: Node.js module defined by file index.js is expected to export function named dialogflowFirebaseFulfillment
ググってみると、以下のようなページが出てきた。
https://stackoverflow.com/questions/49493654/silly-name-maker-tutorial?rq=1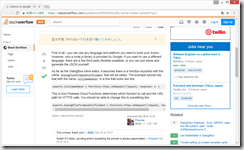
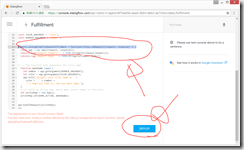
上記に言われた通り、1行だけ、訂正してから、DEPLOY
結果は以下の通り
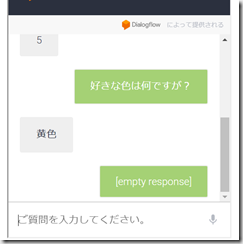
うまくいかず。。。。
2018/9/12 追記
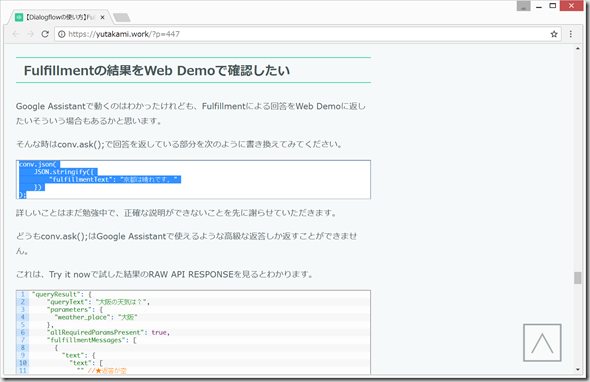
https://yutakami.work/?p=447 によると、
conv.ask(`Alright, your silly name is ${color} ${number} ! Are there any other numbers and colors you like?`);
のところを、
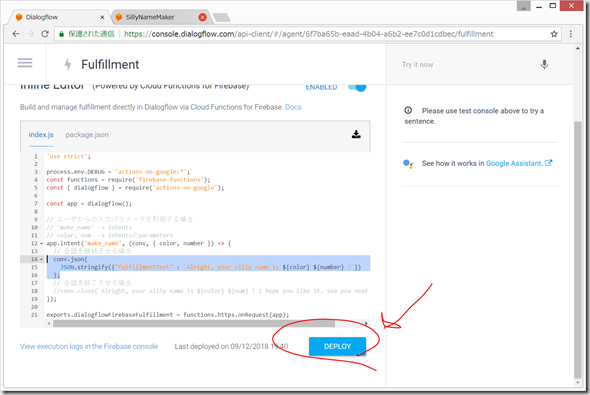
conv.json(
  JSON.stringify({"fulfillmentText" : `Alright, your silly name is ${color} ${number} !`})
);
に変更すると、うまくいきそうだったので、そのように変更してみました。
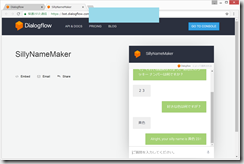
なんとかうまくいきました!うれしい!











ディスカッション
コメント一覧
まだ、コメントがありません