Microsoftの機械学習アプリLobe(beta版)でリンゴとみかんを分類するWEBアプリ作成を試してみる(1)LobeのインストールからTensorFlowモデルのエクスポートまで
2020年10月 Microsoftは、機械学習アプリLobeを公開しました。MacでもWindowsでも利用できるそうです。簡単な説明はこちらにあります。何ができるかは、以下の動画(英語で10分間)がわかりやすいです。Documentationはこちら。
これは、リンゴとオレンジを分類するしかない!と思いましたが、あいにく、家にオレンジがなかったので、リンゴとみかんでやってみたいと思います。
Microsoftの機械学習アプリLobe(beta版)でリンゴとみかんを分類するWEBアプリ作成を試してみる 目次(全5回)
- (1)LobeのインストールからTensorFlowモデルのエクスポートまで
- (2)Windows10でPython3.6+TensorFlow1.15をセットアップ
- (3)Windows10ローカル環境でtf_example.pyを実行
- (4)Windows10ローカル環境でFlaskを用いて画像判定
- (5)FlaskアプリをHerokuにデプロイ
ソースコード
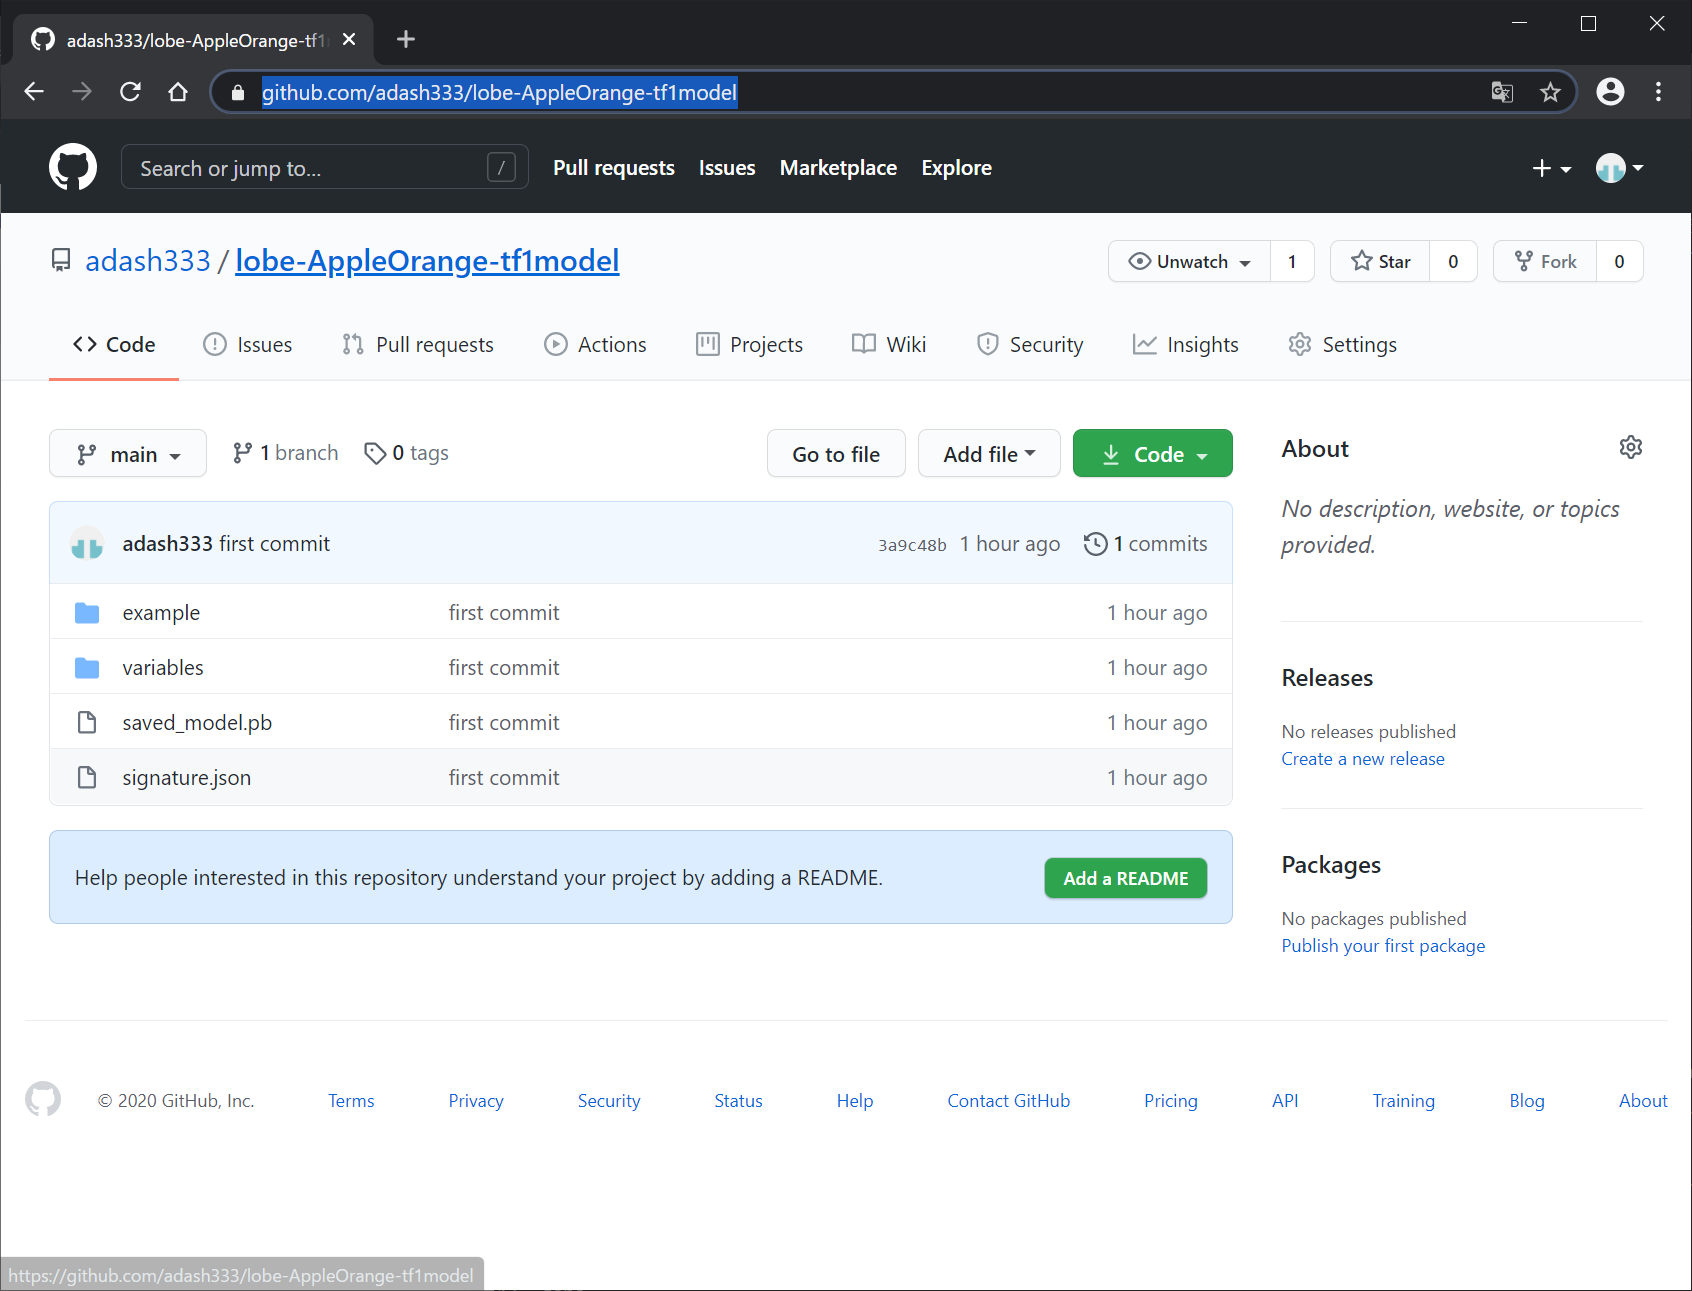
https://github.com/adash333/lobe-AppleOrange-tf1model
開発環境
Panasonic CF-QV
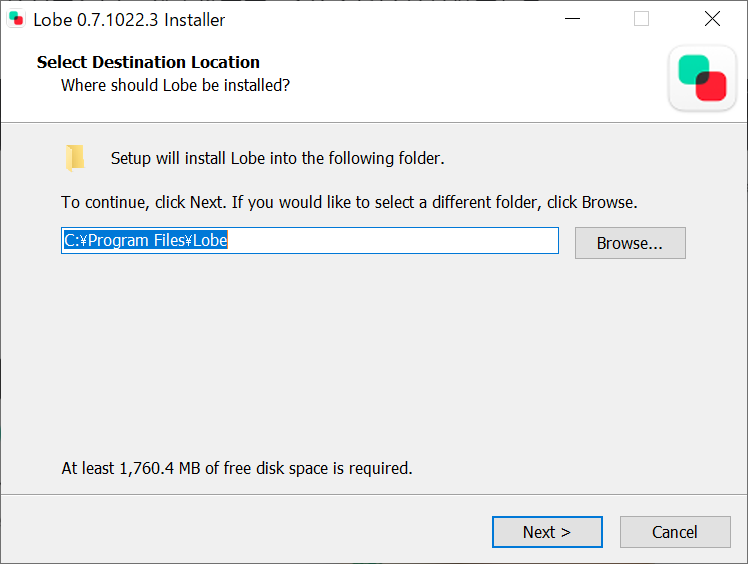
Windows10 ProLobeのインストール
https://lobe.ai/ へ行き、Download をクリックして、ダウンロードします。
メールアドレスなどを入力して、Download をクリック。

378MBのファイル Lobe.exe がダウンロードされます。1分くらいかかりました。
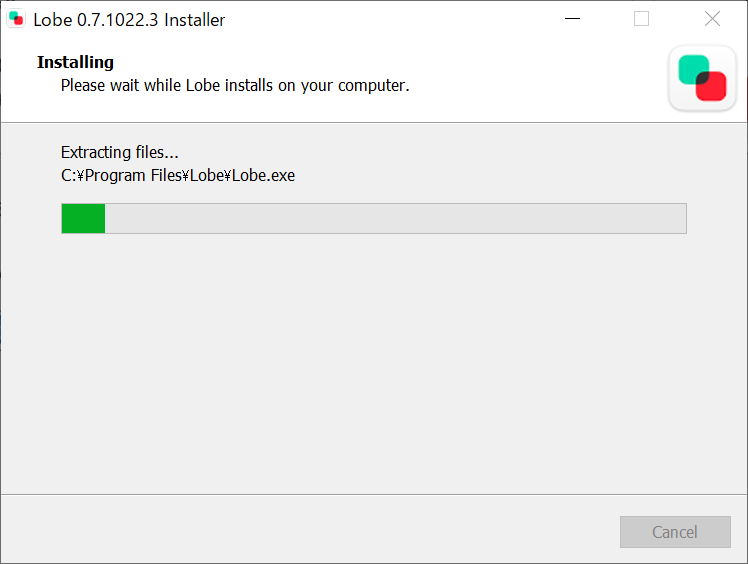
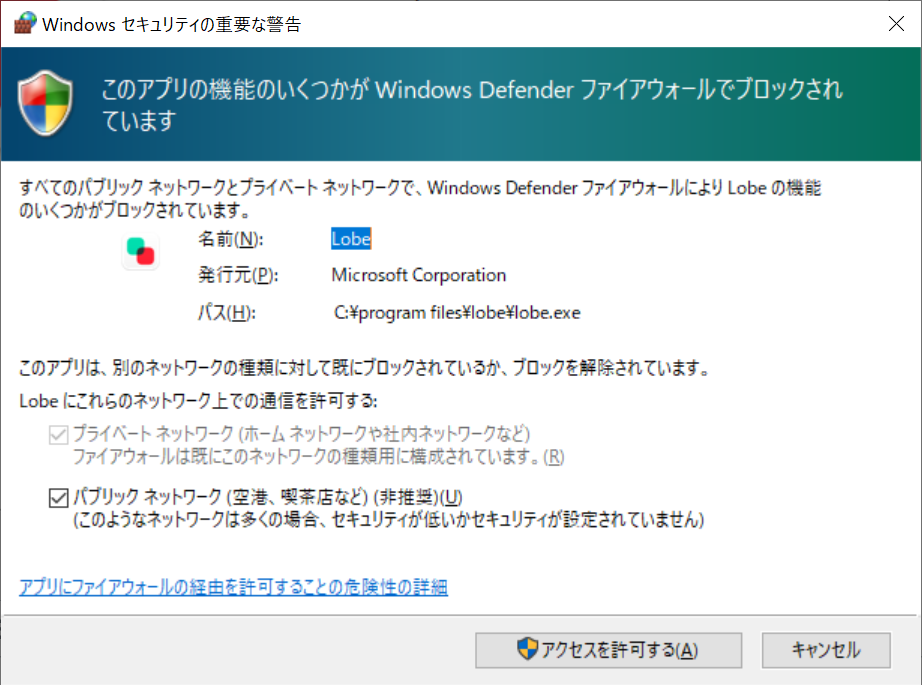
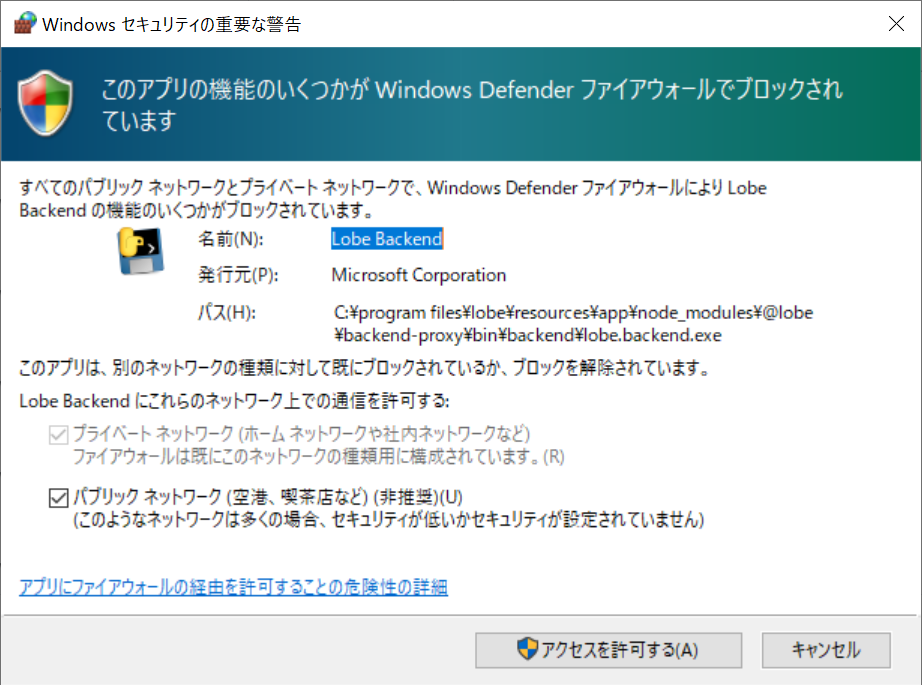
ダウンロードしたLobe.exeを実行し、Lobeをインストールします。
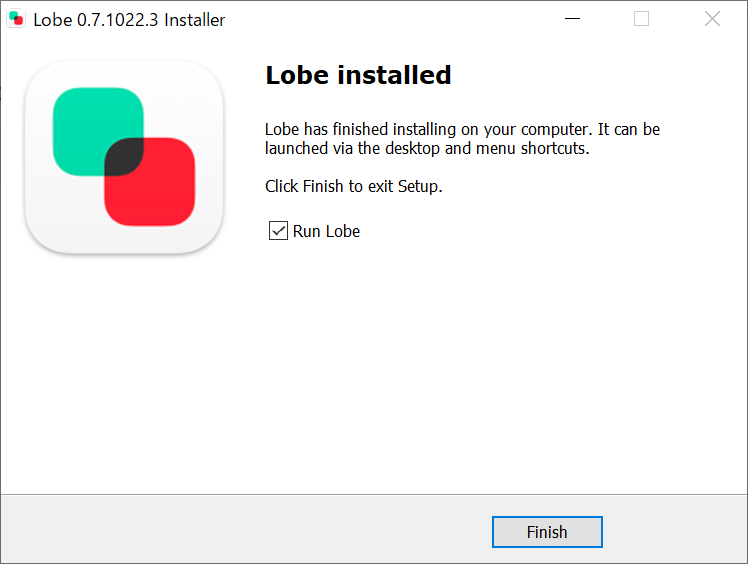
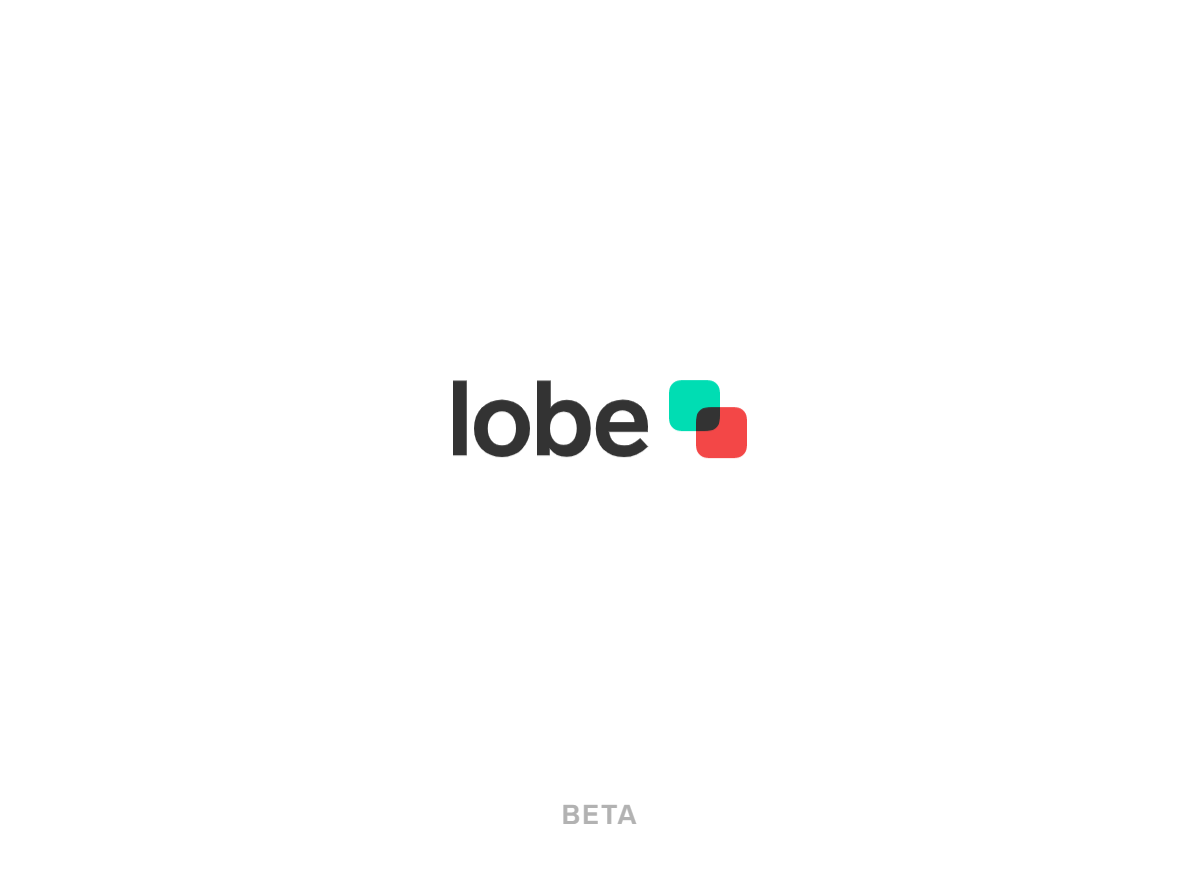
Lobeを起動
上記で、Finish をクリックしてLobeを起動します。
Yep, I Agree をクリック
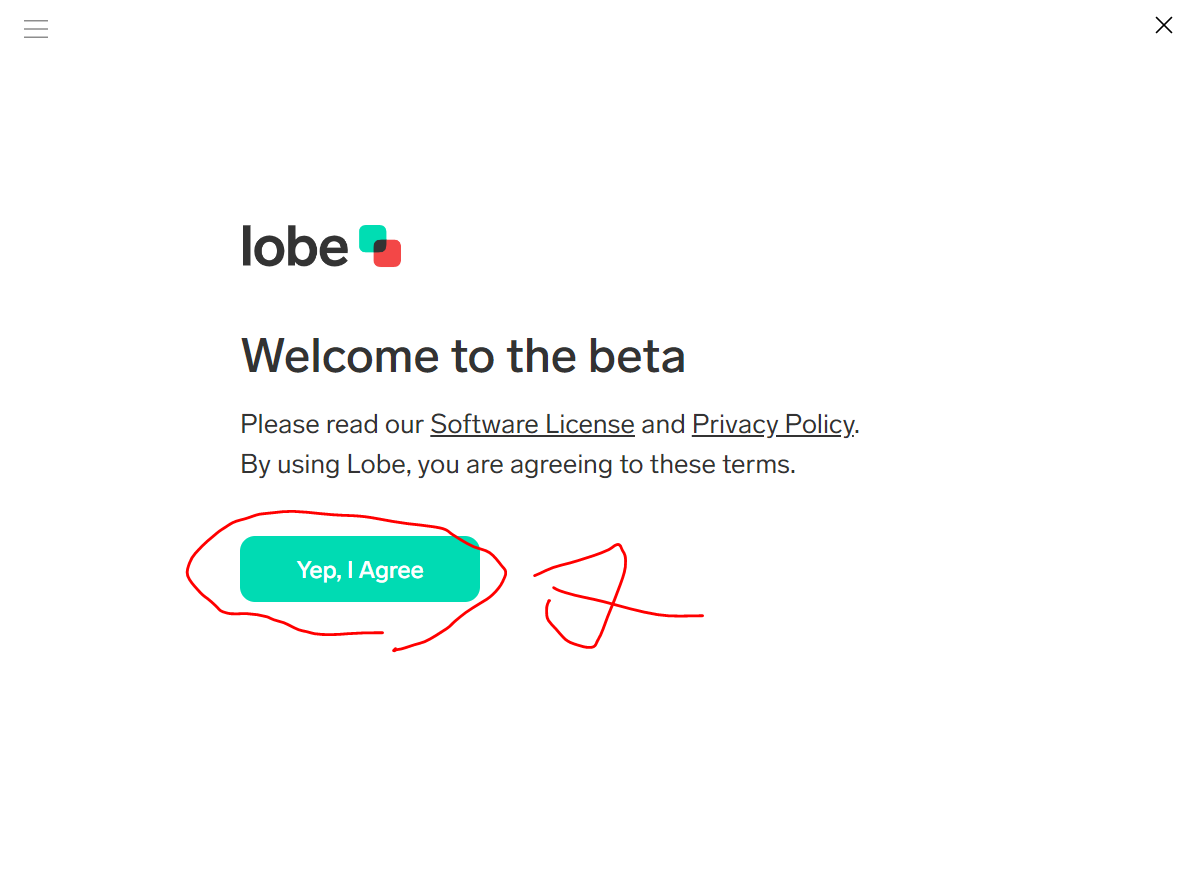
やっと出てきました!
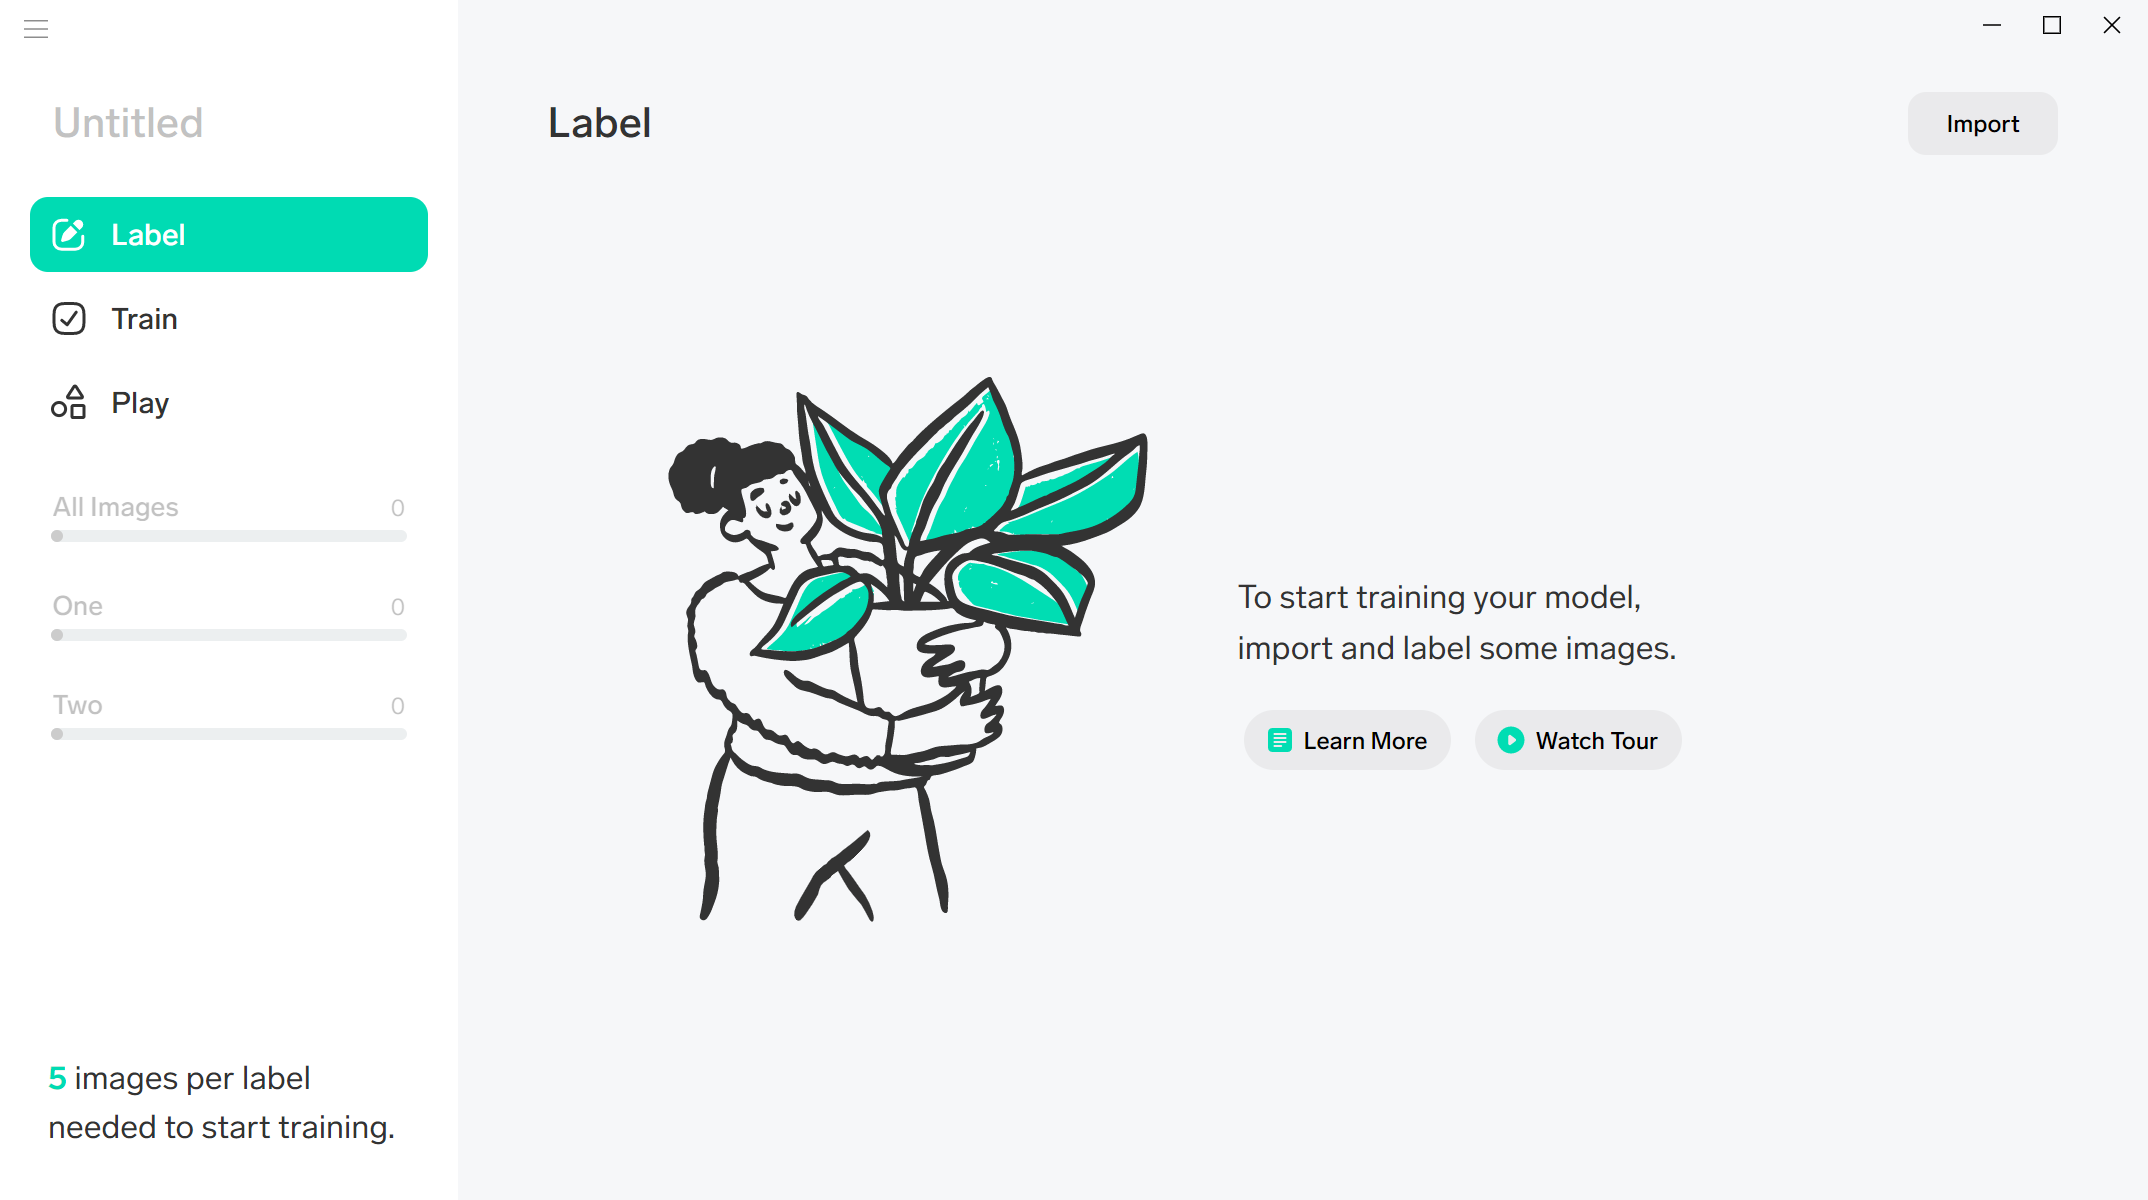
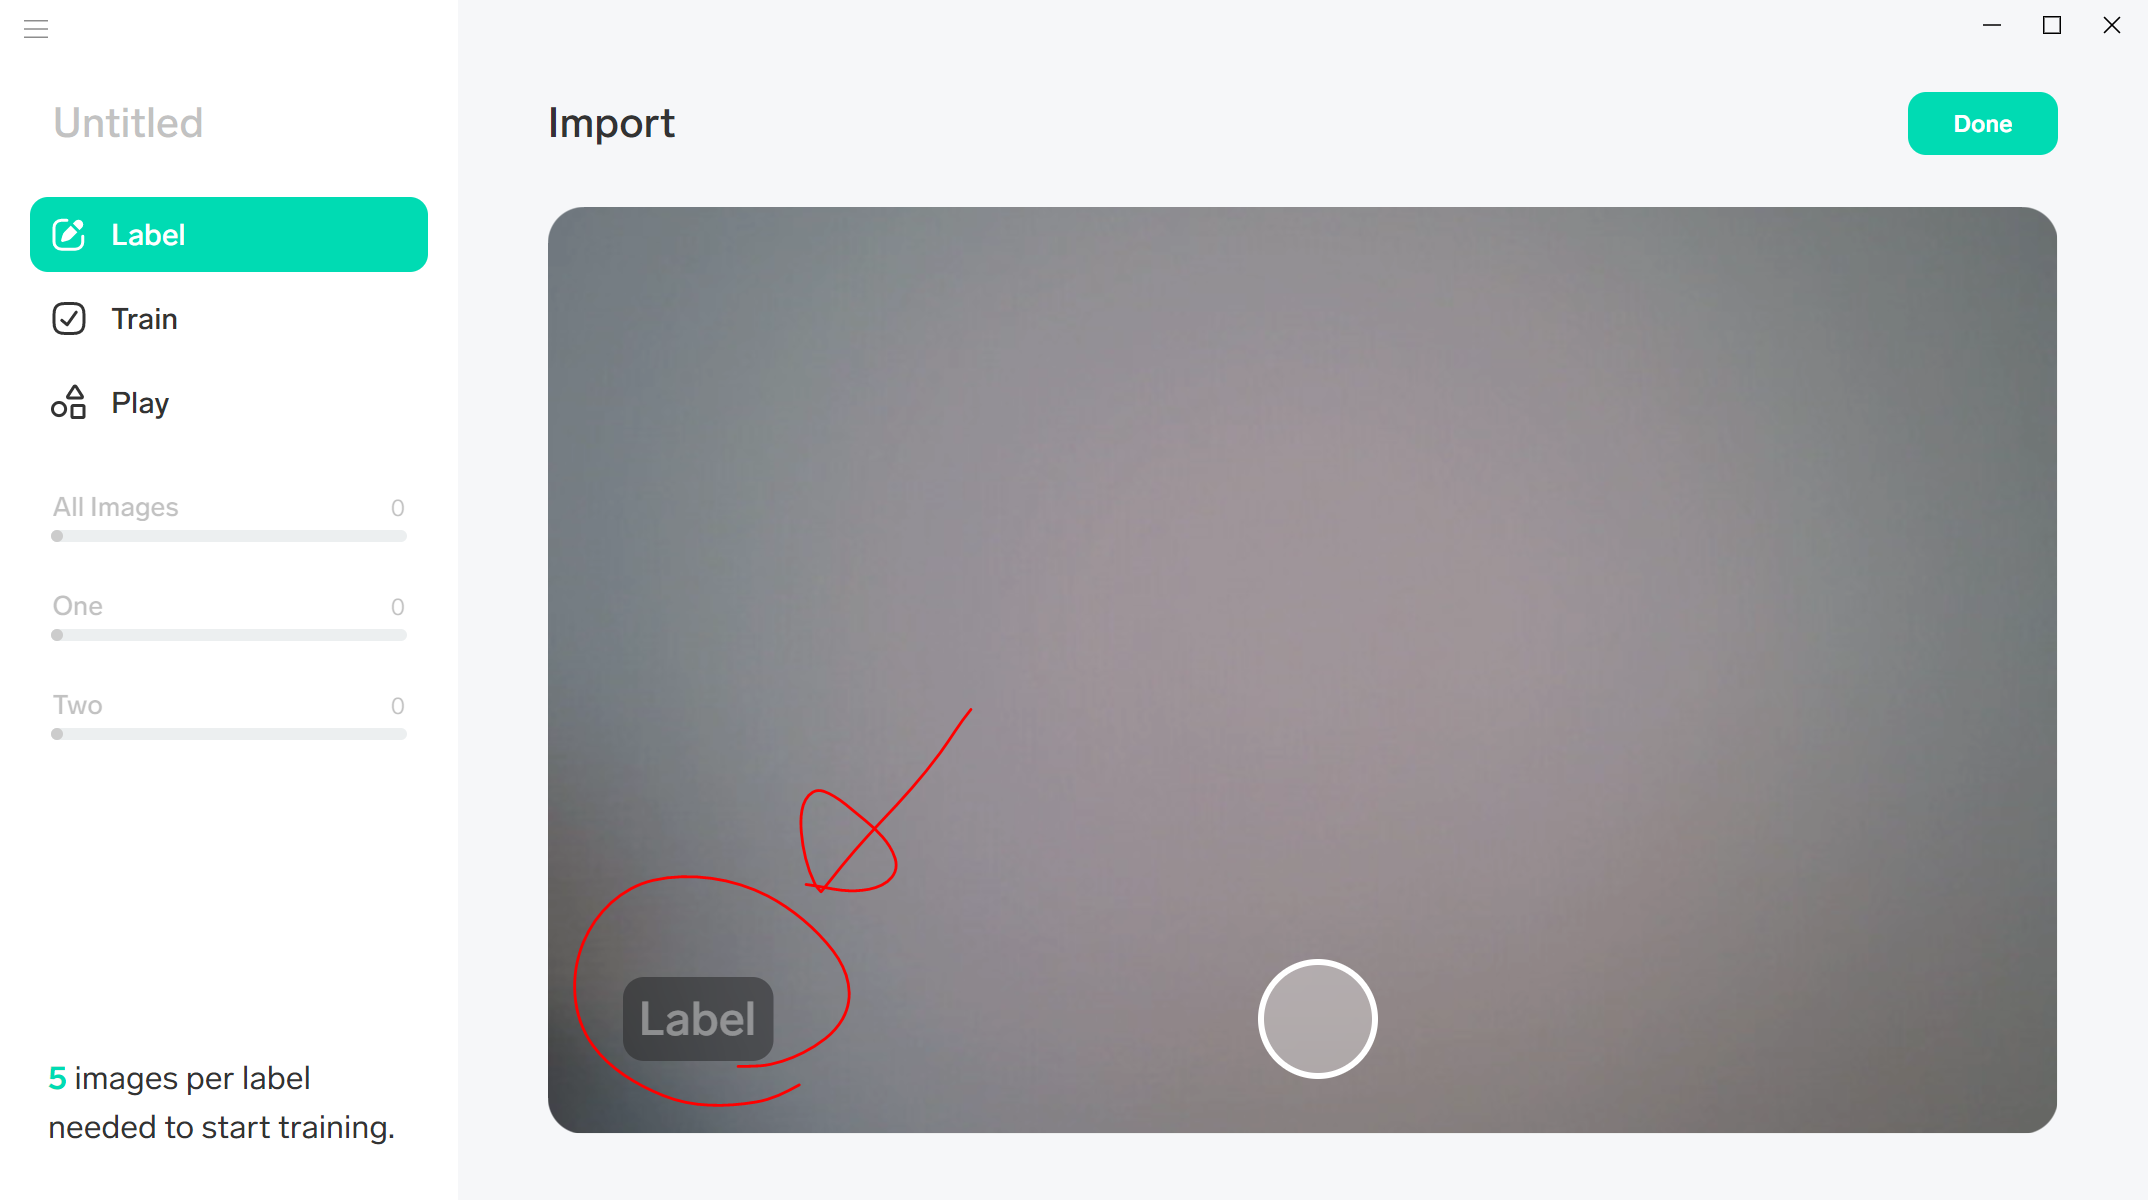
Training(学習)を始めるために、リンゴとミカンの画像を5枚ずつ作成してimport(インポート)する
“5 images per label needed to start training" と画面左下に記載してあるので、とりあえず、
- リンゴの画像を5枚撮影した写真
- ミカン の画像を5枚撮影した写真
を用意して、インポートします。
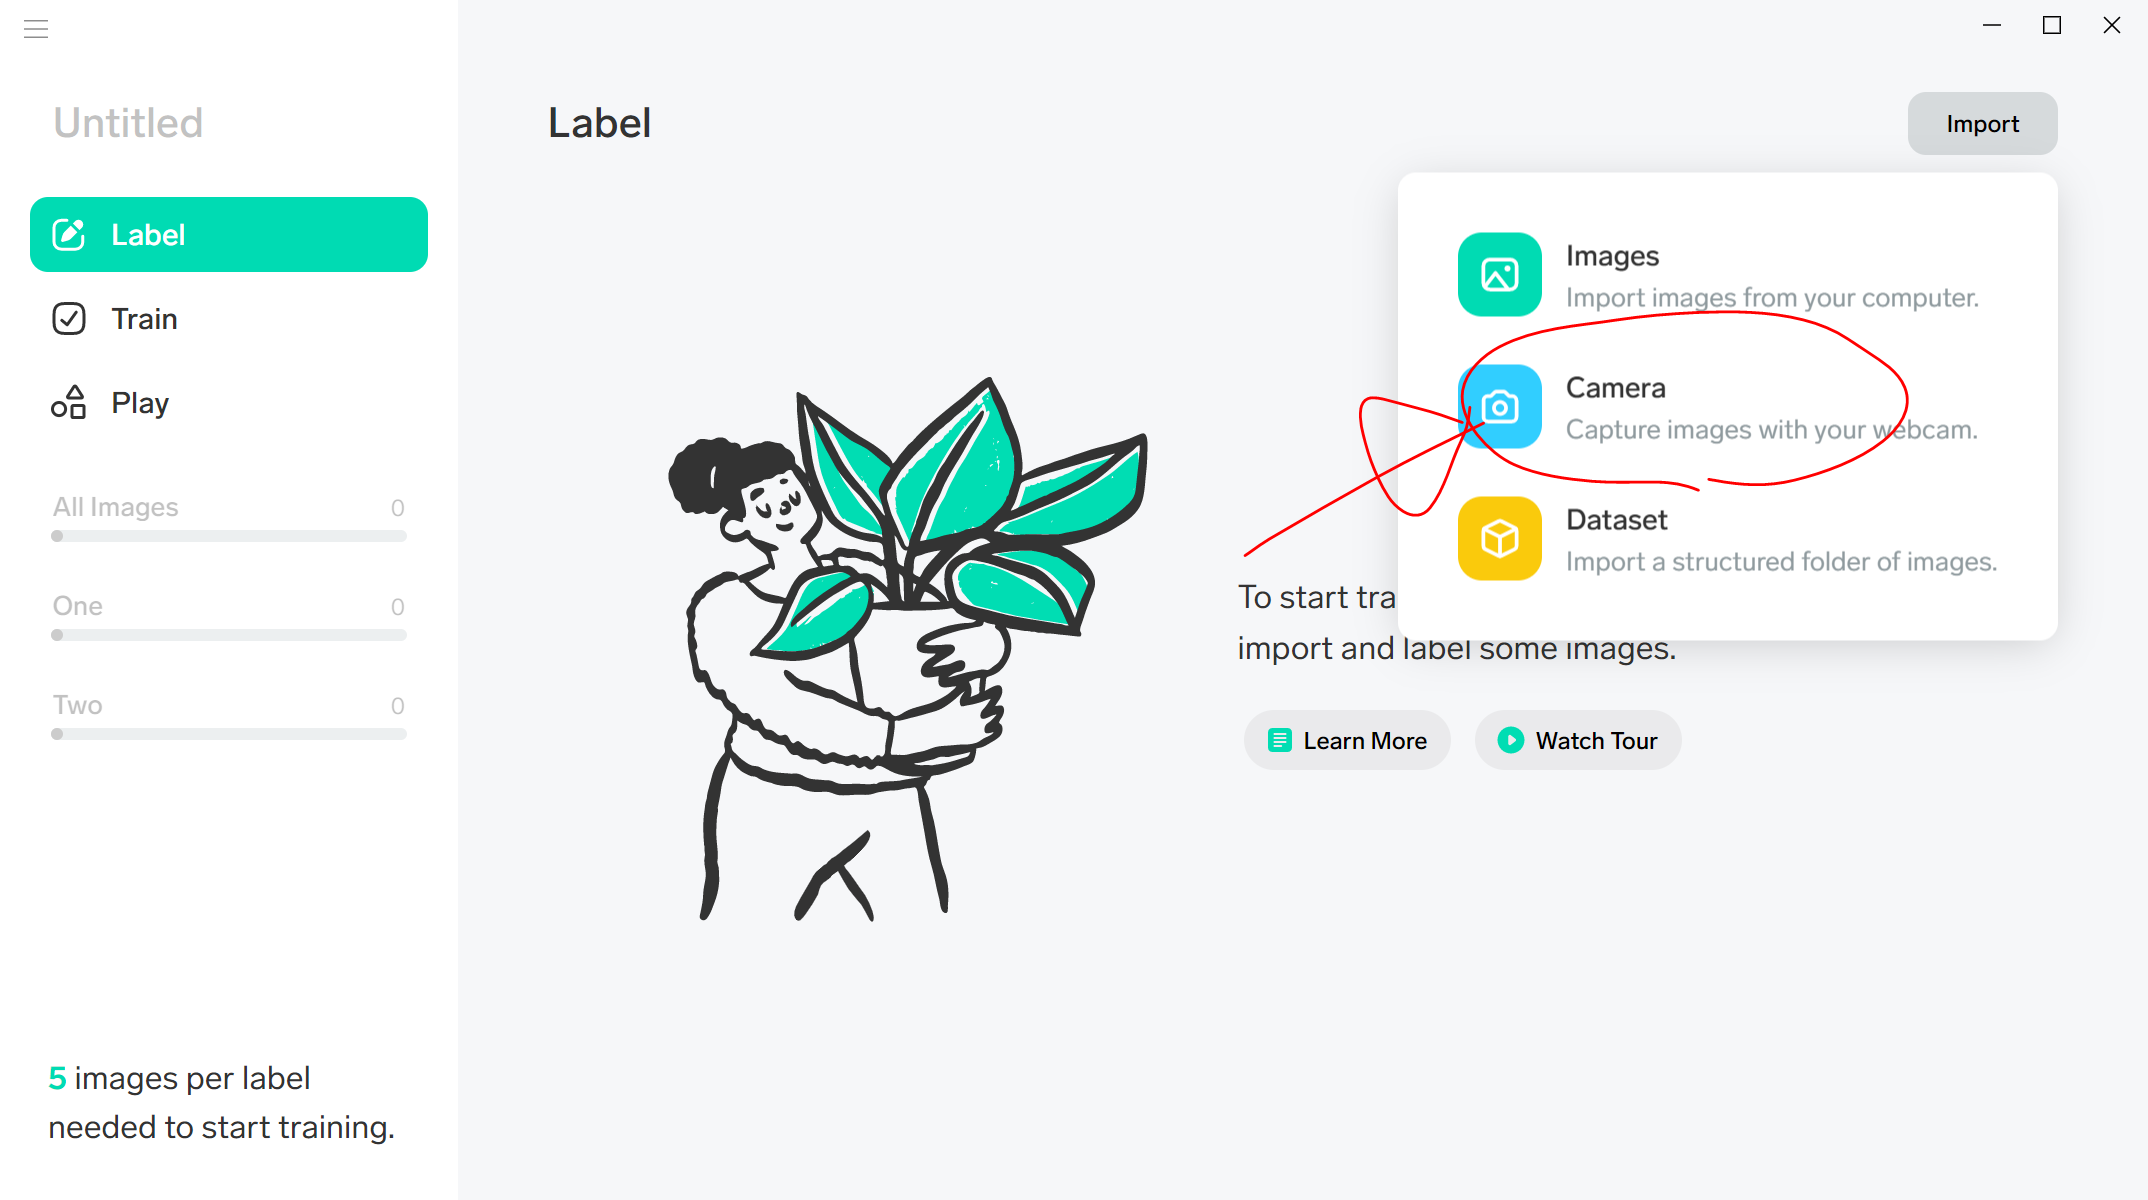
リンゴの写真5枚と、ミカンの写真5枚を撮影して、これをインポートしてもよいのですが、実は、そのまま、Lobeから入力できるようです。そちらの方でやってみます。
画面右上の『Import』をクリック

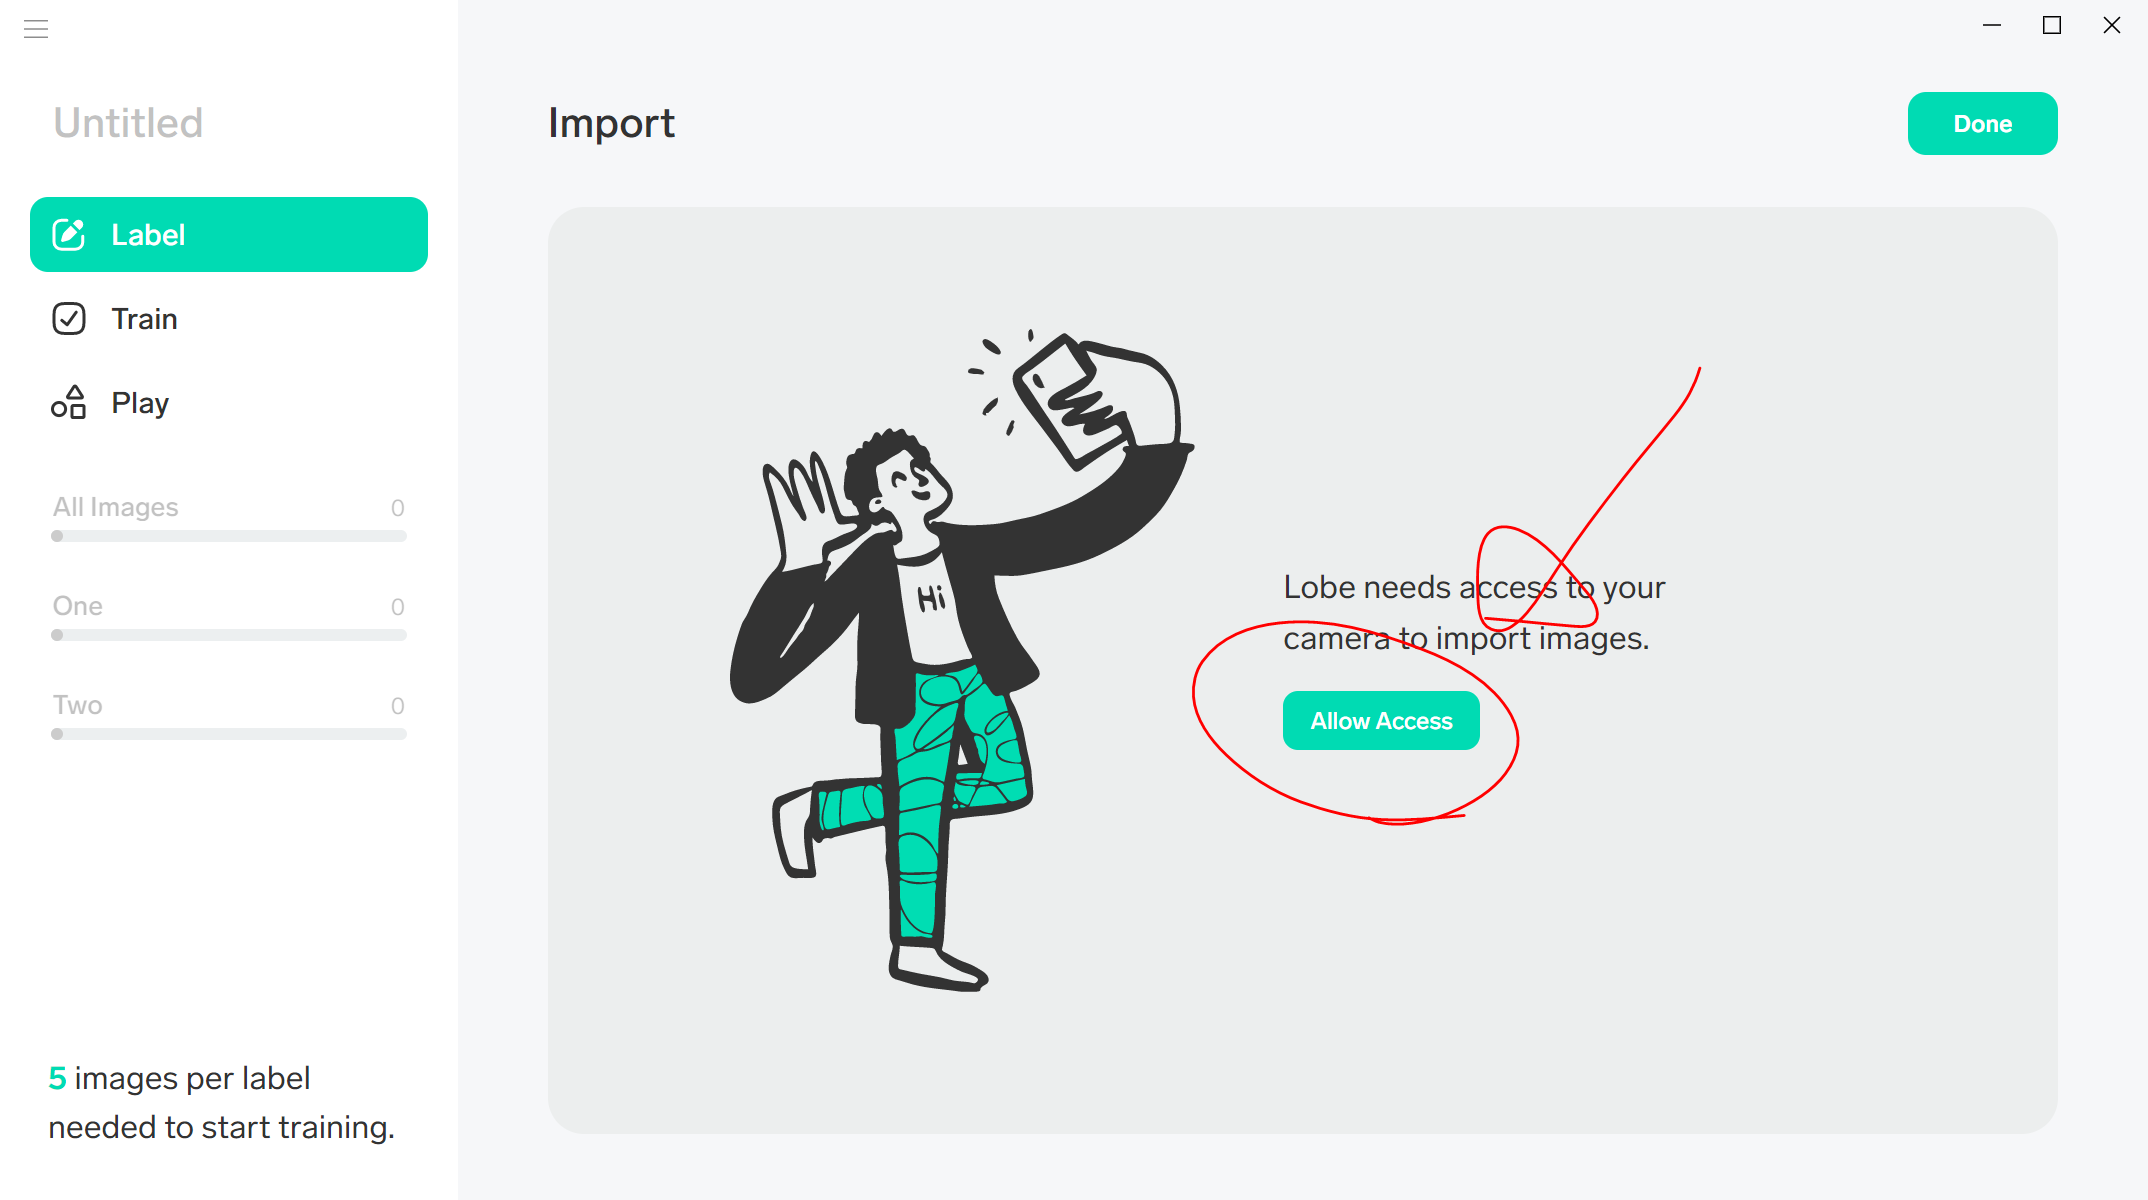
Camera をクリック
Allow Access をクリック
WEBカメラの映像がライブで出てくるので(多くの場合は自分の顔が映ります)、カメラ画像の左下の『Label』のところをクリックして、ラベルの名前を入力します。今回は、"Apple"と入力し、りんごの画像を5枚撮影します(真ん中下の〇をクリックします。)。
続いて、Appleのところを、MikanOrange にして、みかんの写真をとります。
最後に、画面右上の Done をクリックします。
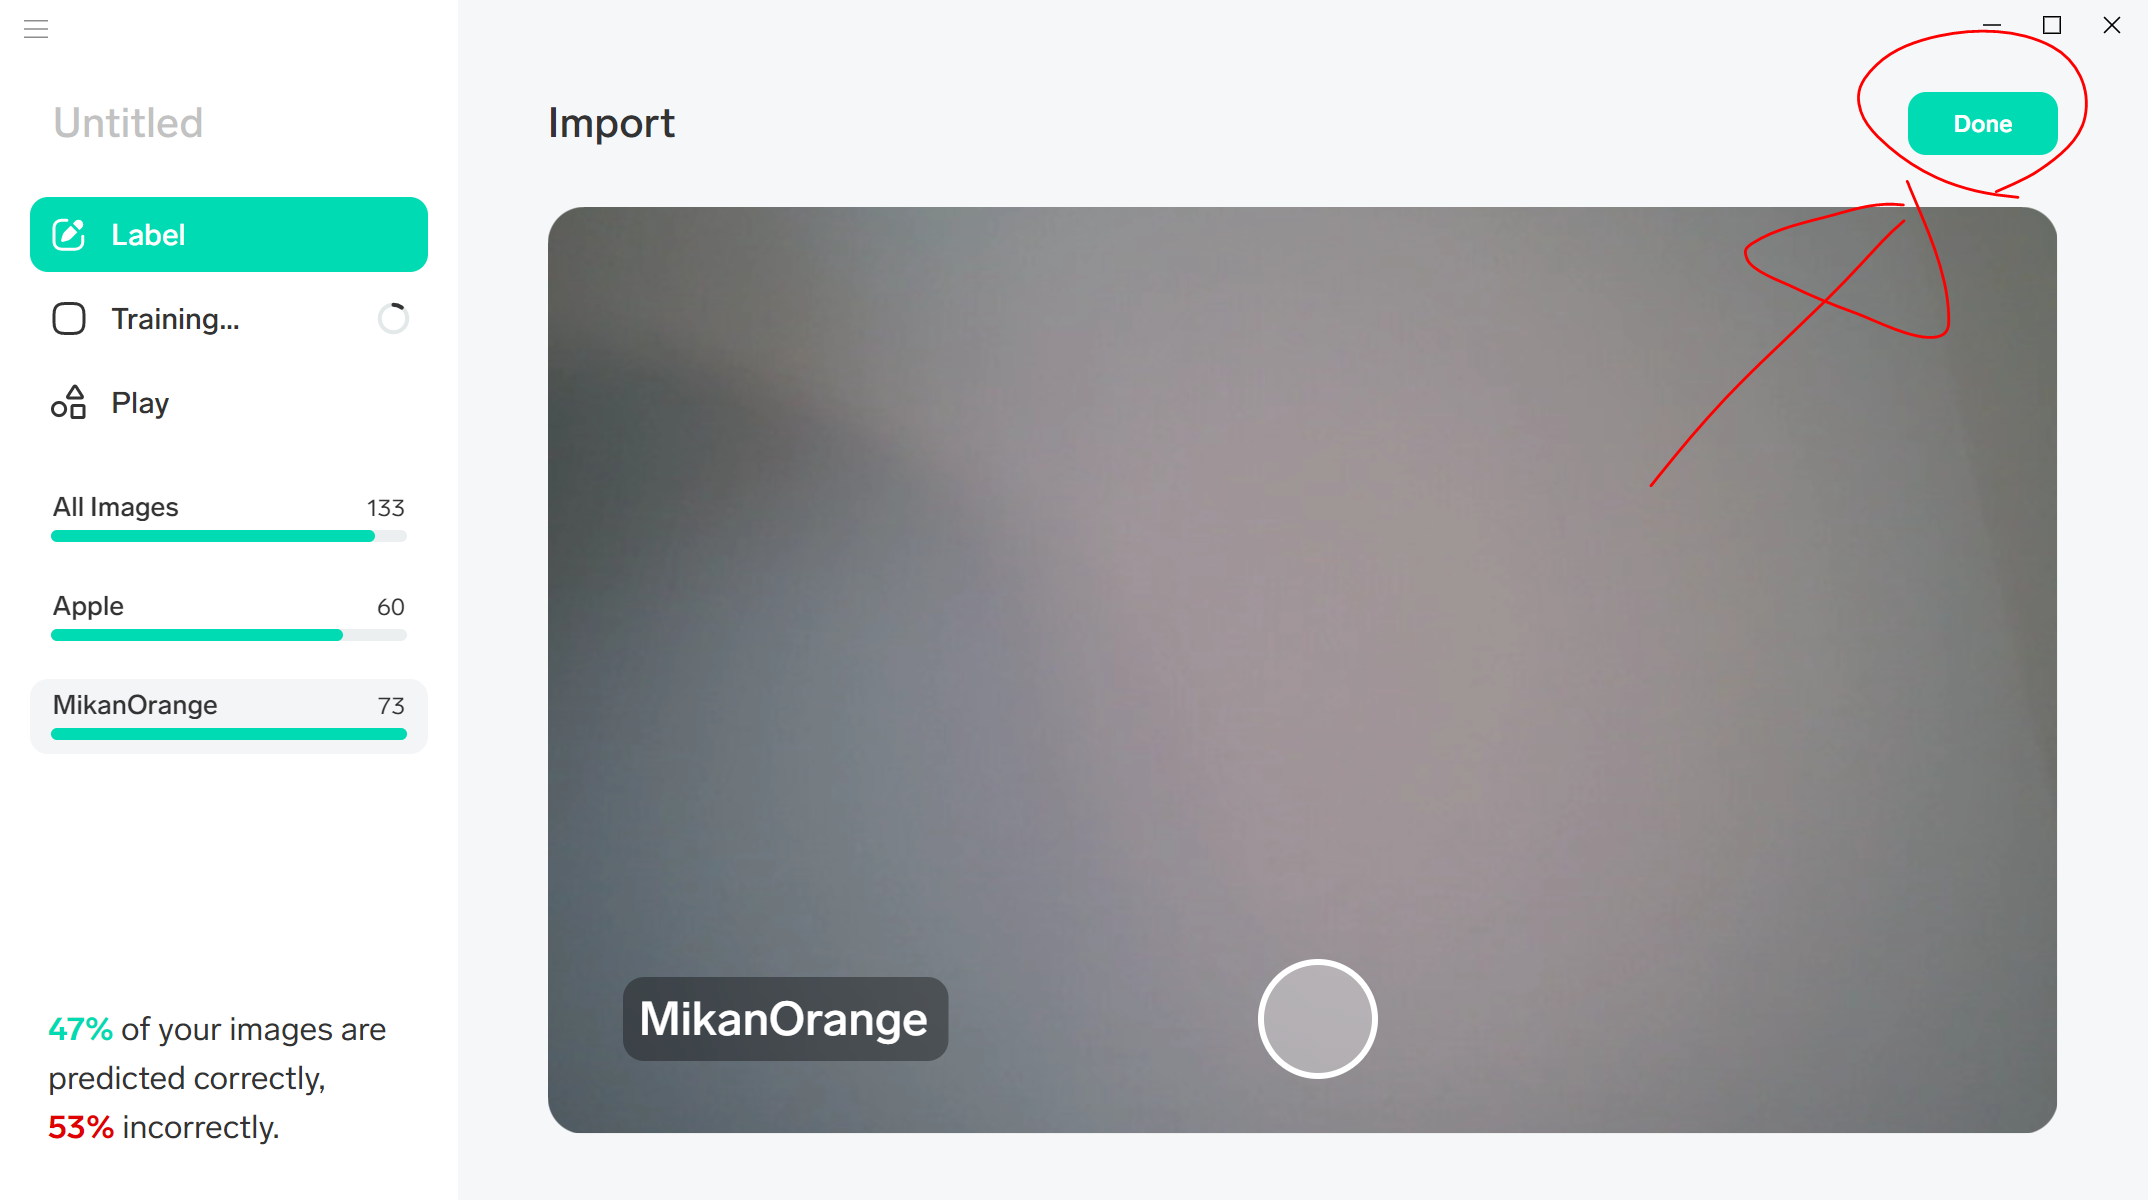
すると、あっという間にAppleとMikanOrangeの画像が60枚ほど撮影され、勝手にTrainingが始まりました。ノートパソコンが熱を吹いている感じです。
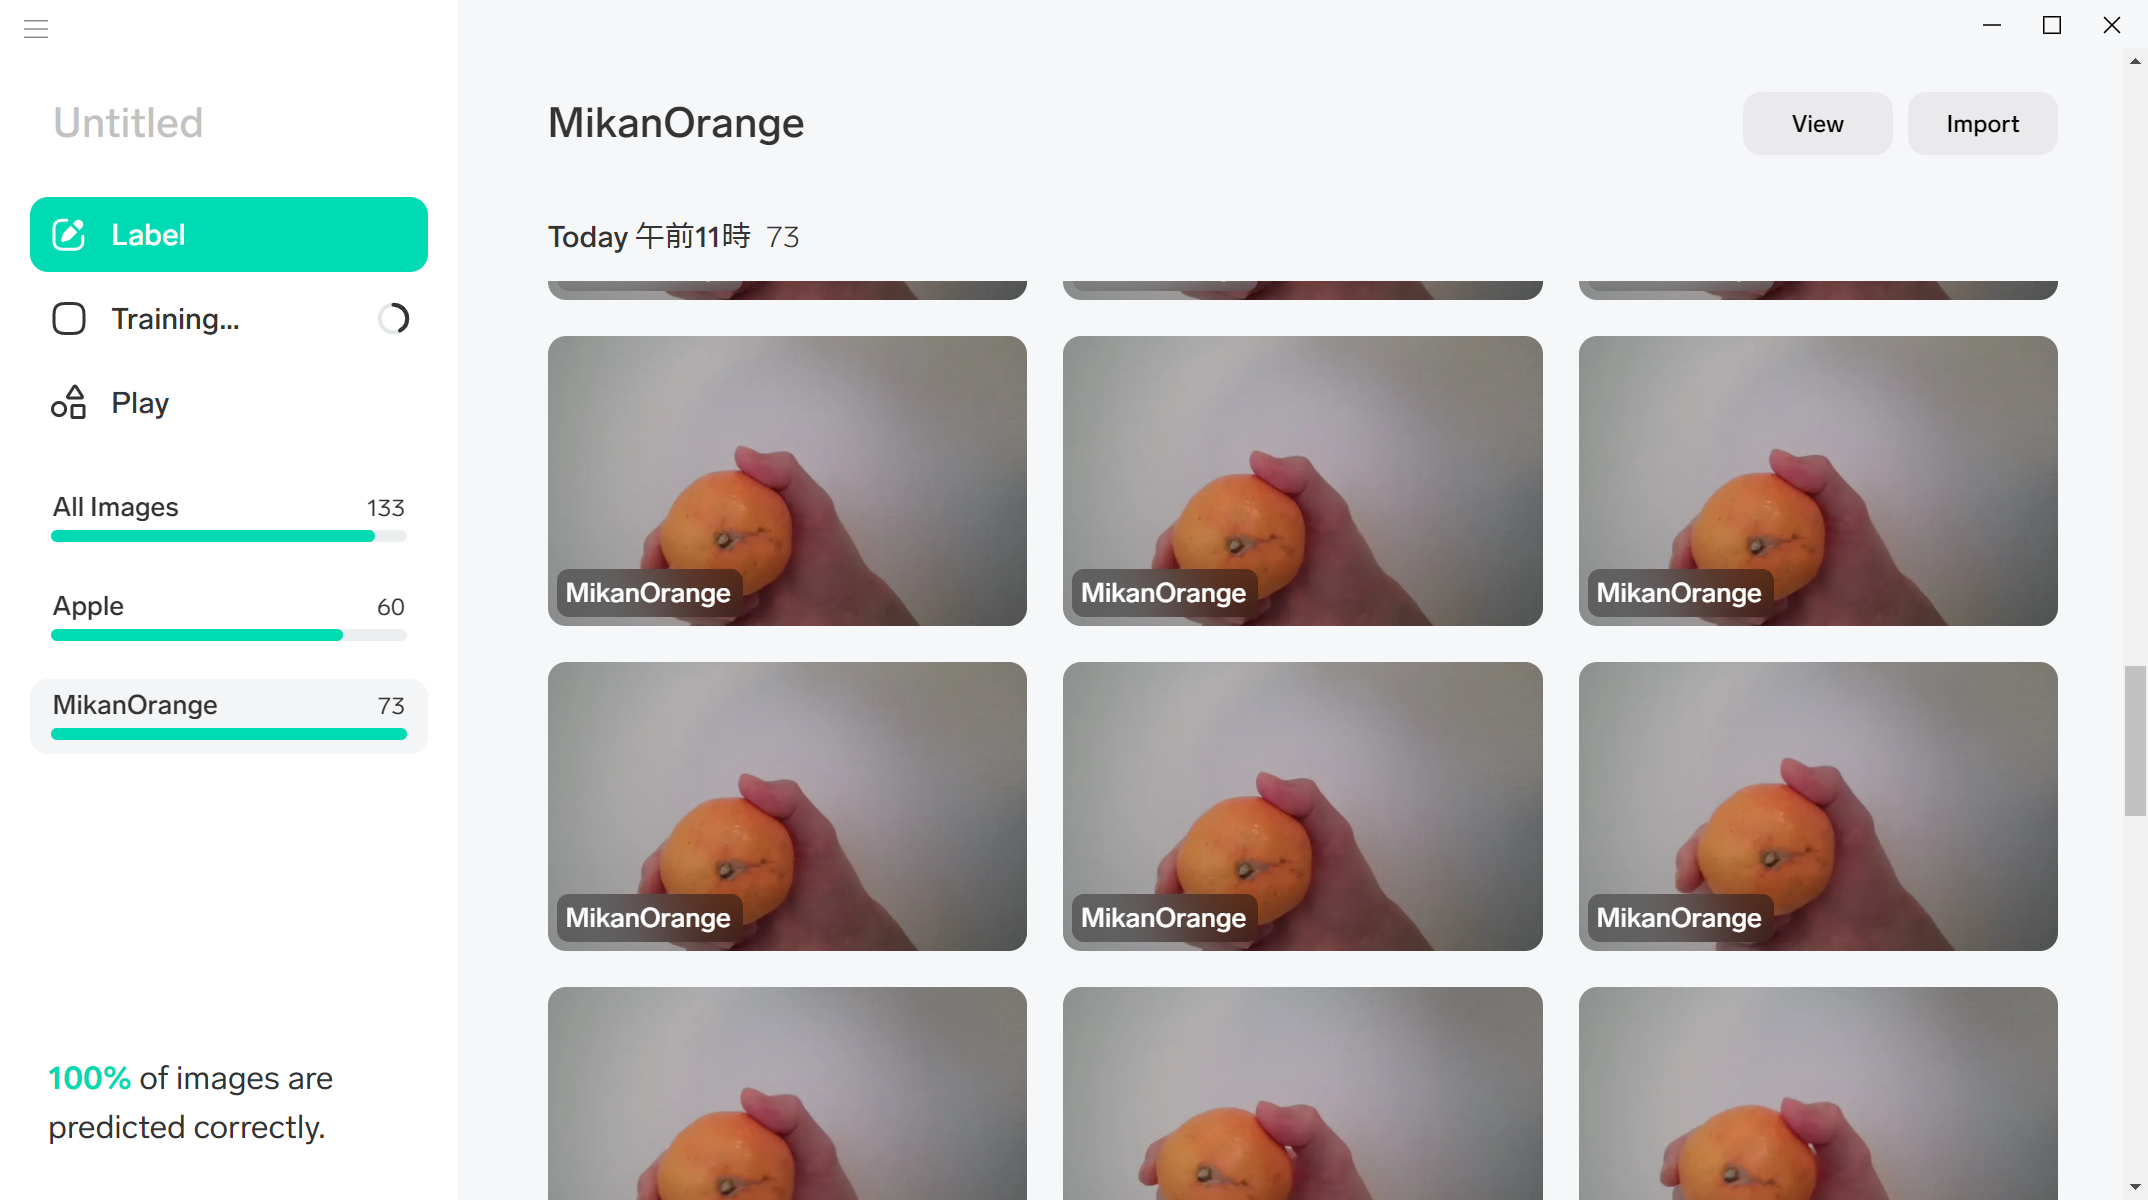
数分でTrainingが終わりました。画面左側のApple をクリックすると
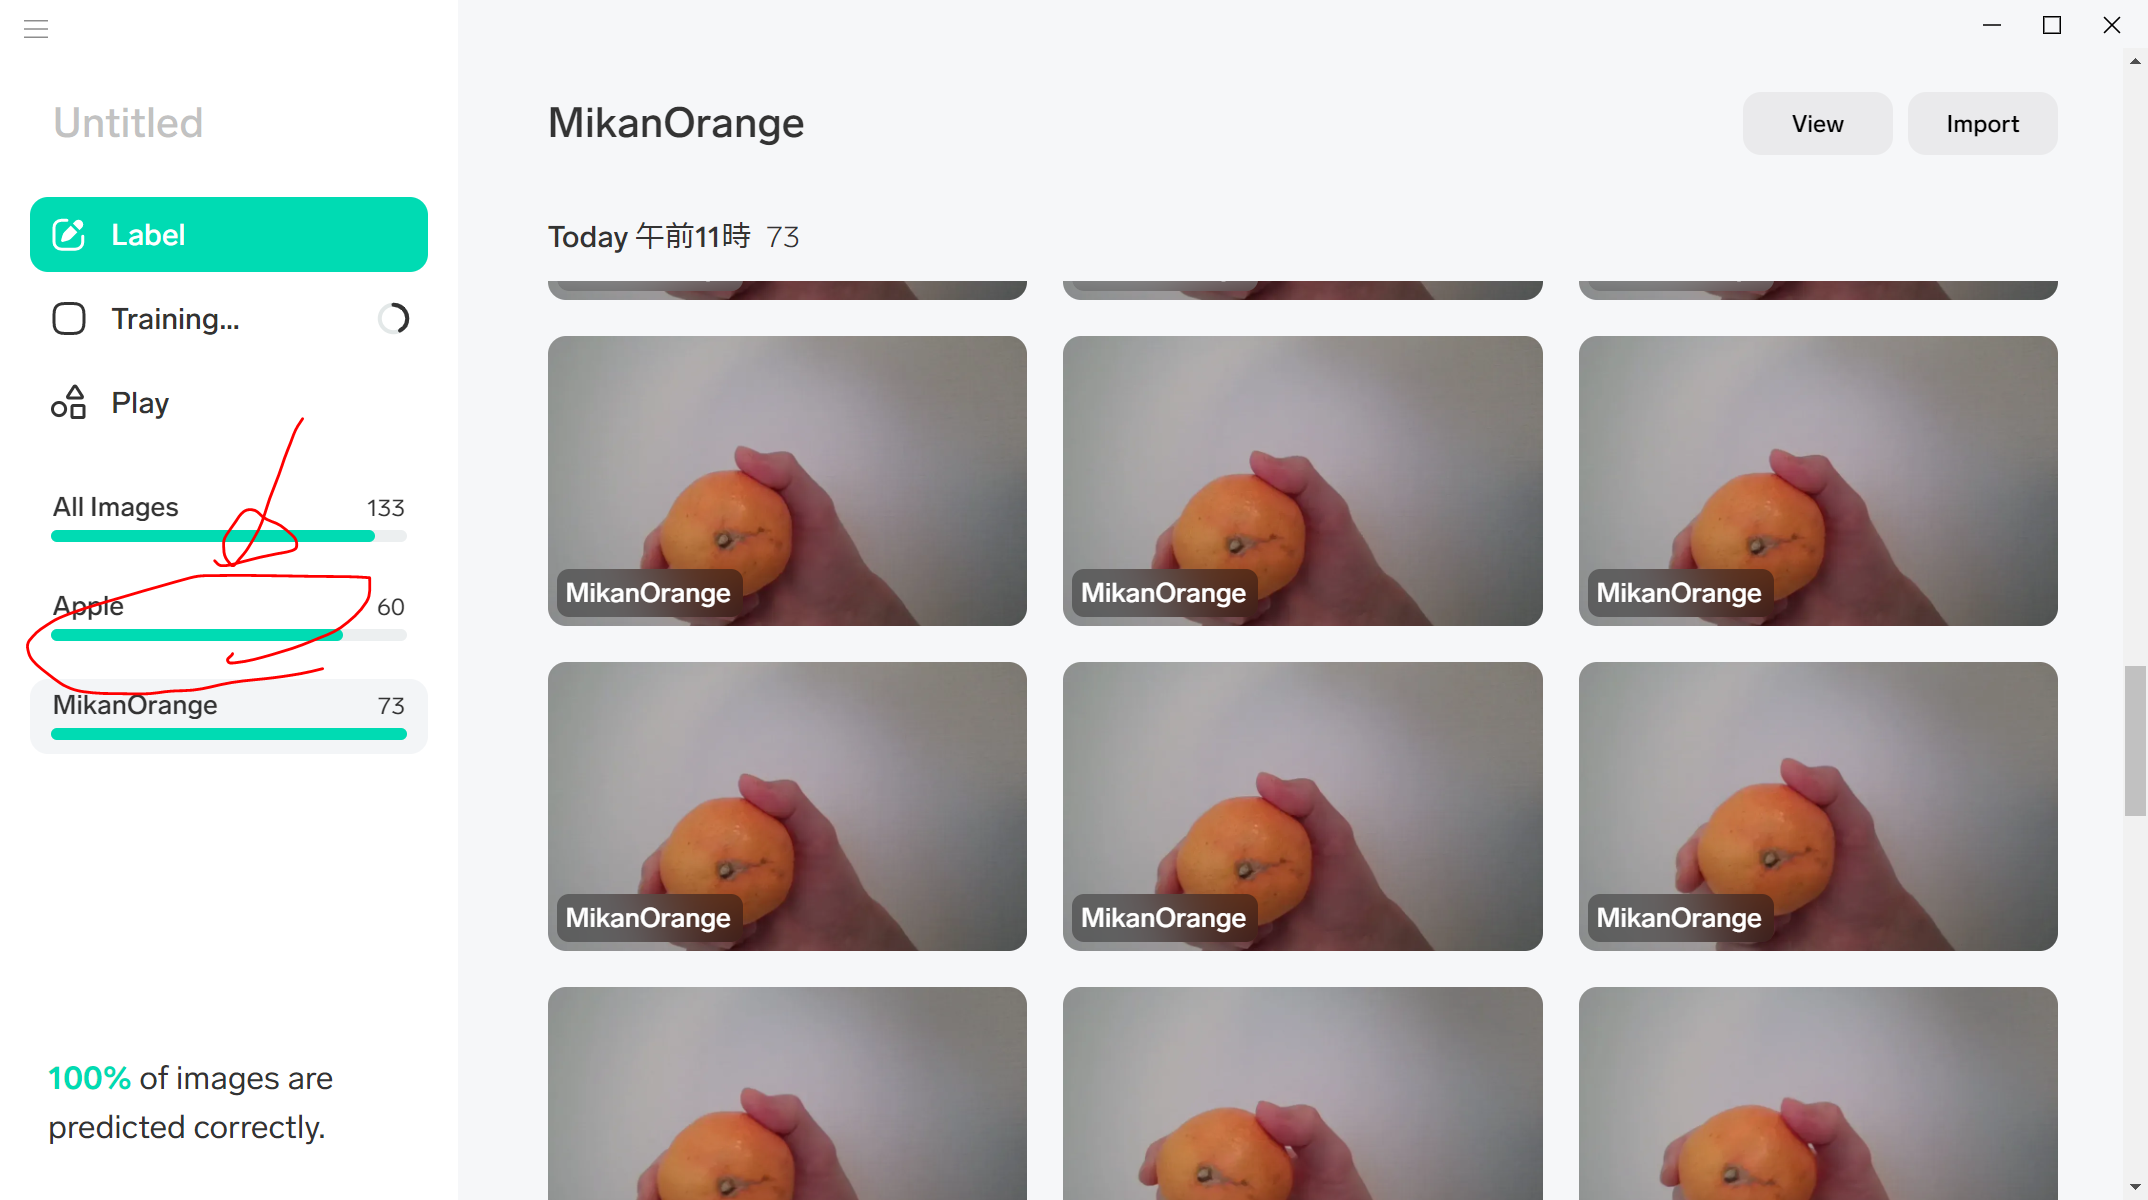
以下のようになっています。
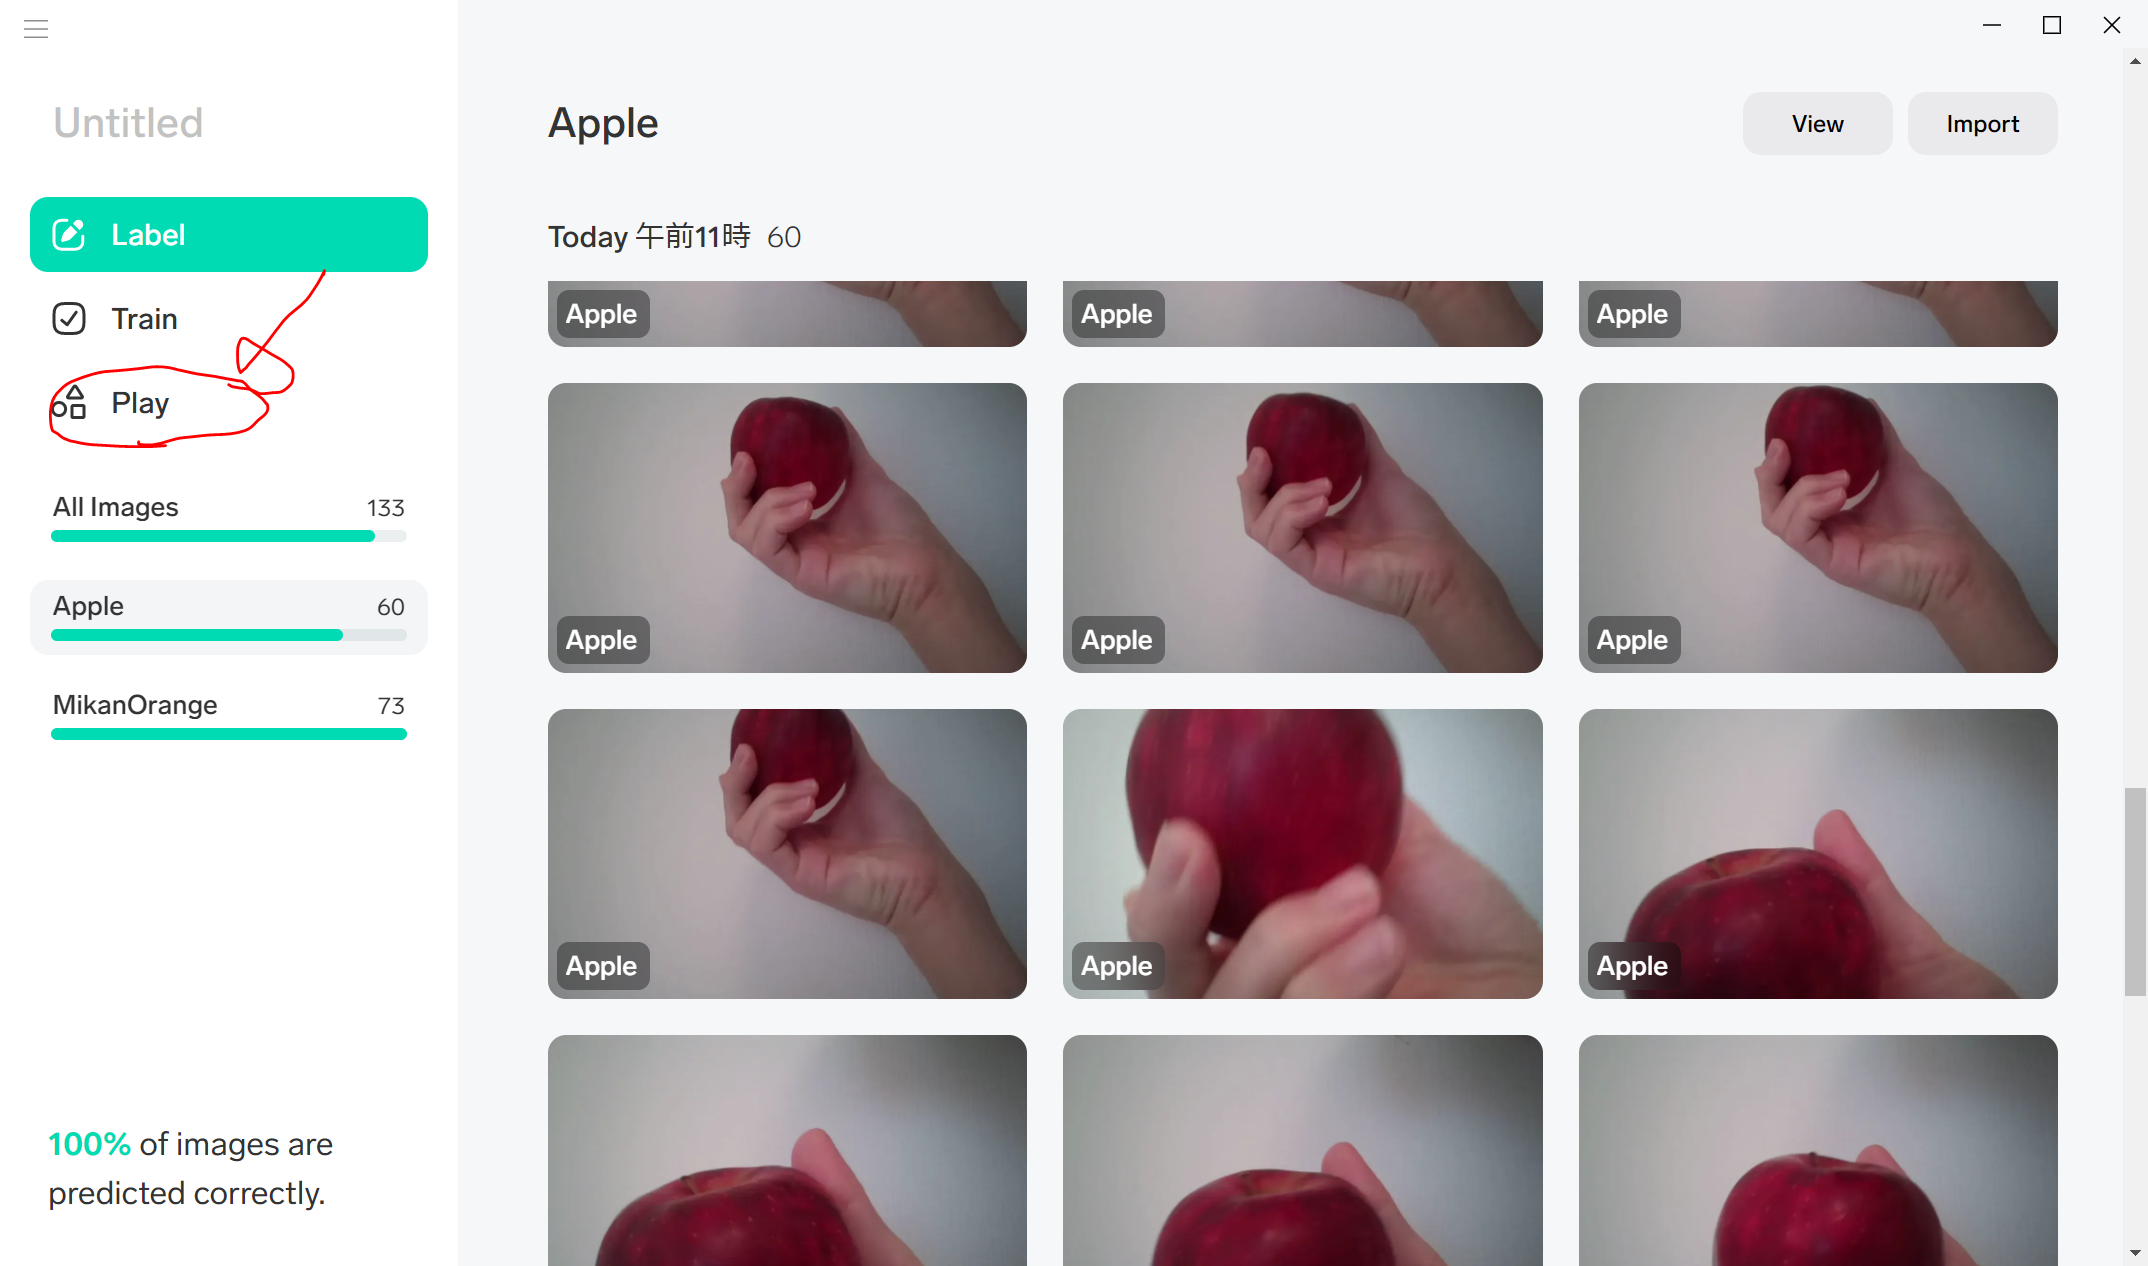
5枚どころか、数分で60枚ずつくらい撮影できて、自動的にTrainingが終わりました。
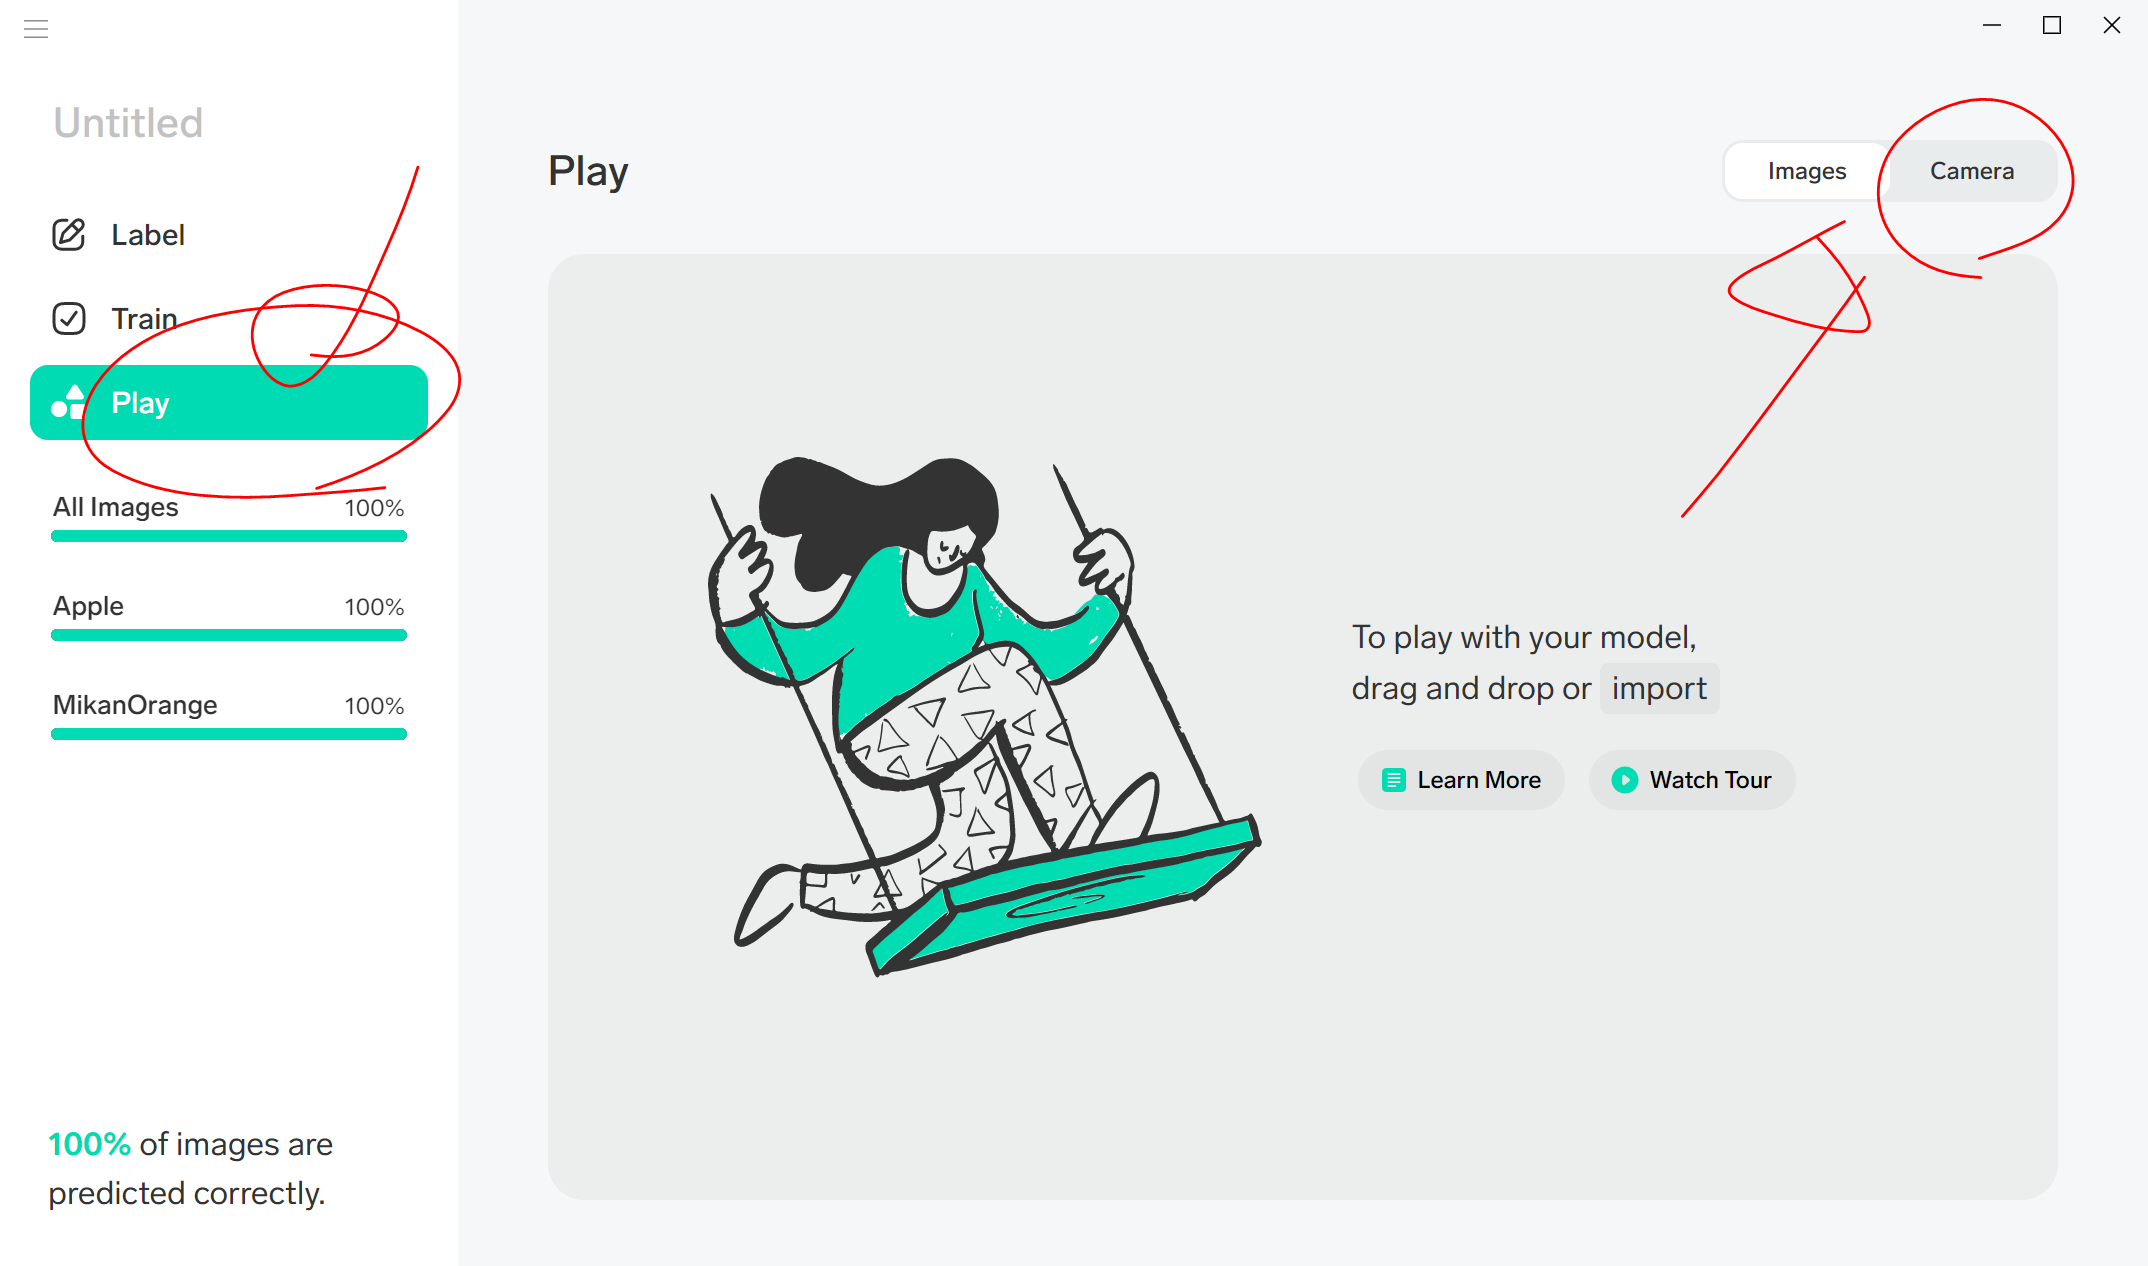
Playしてみる
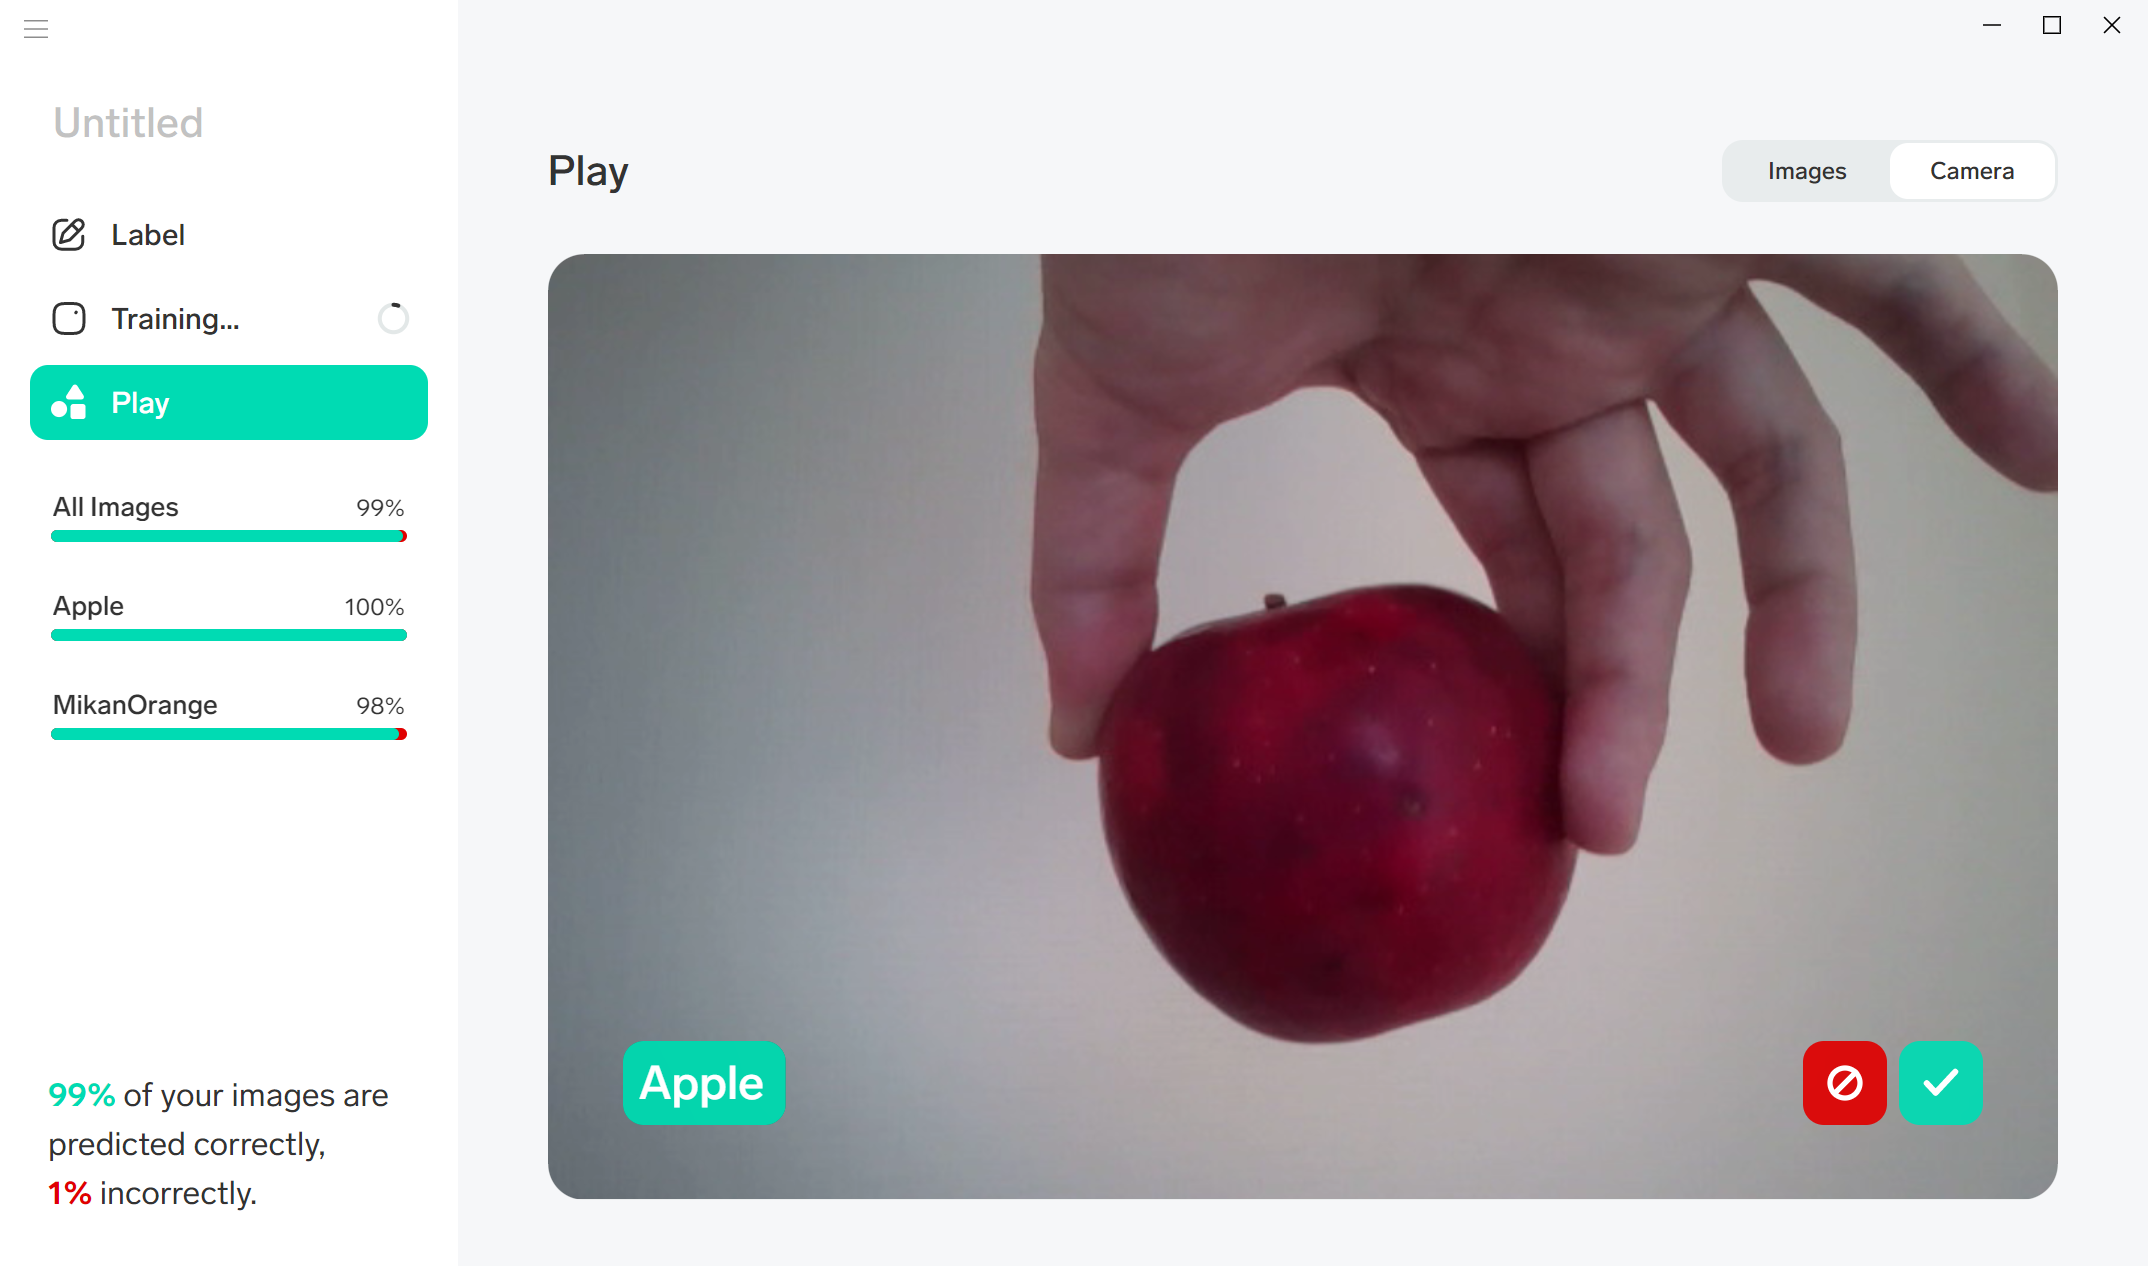
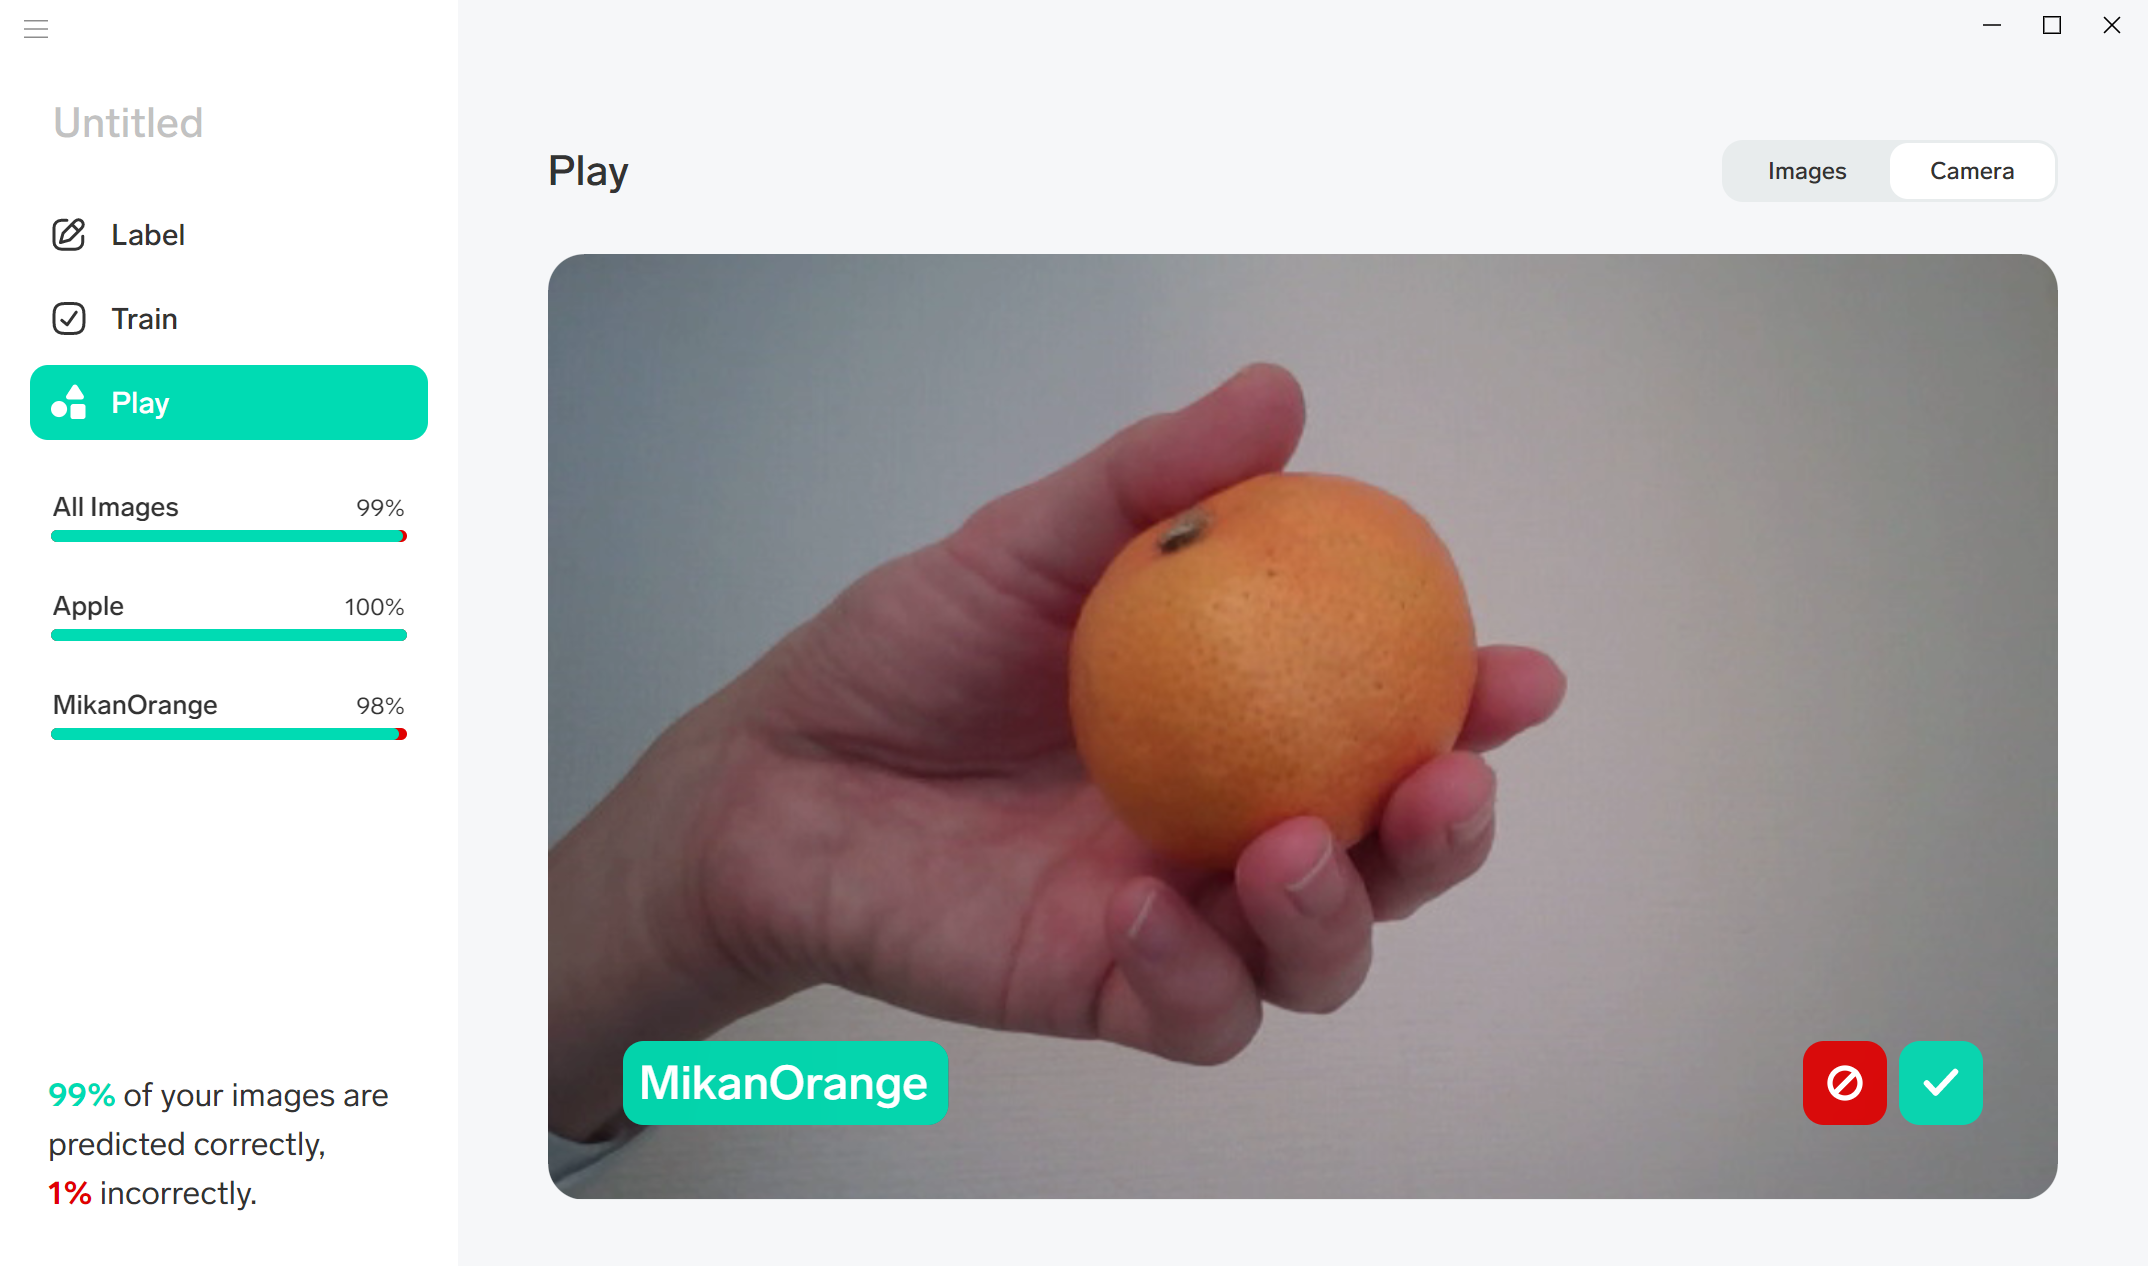
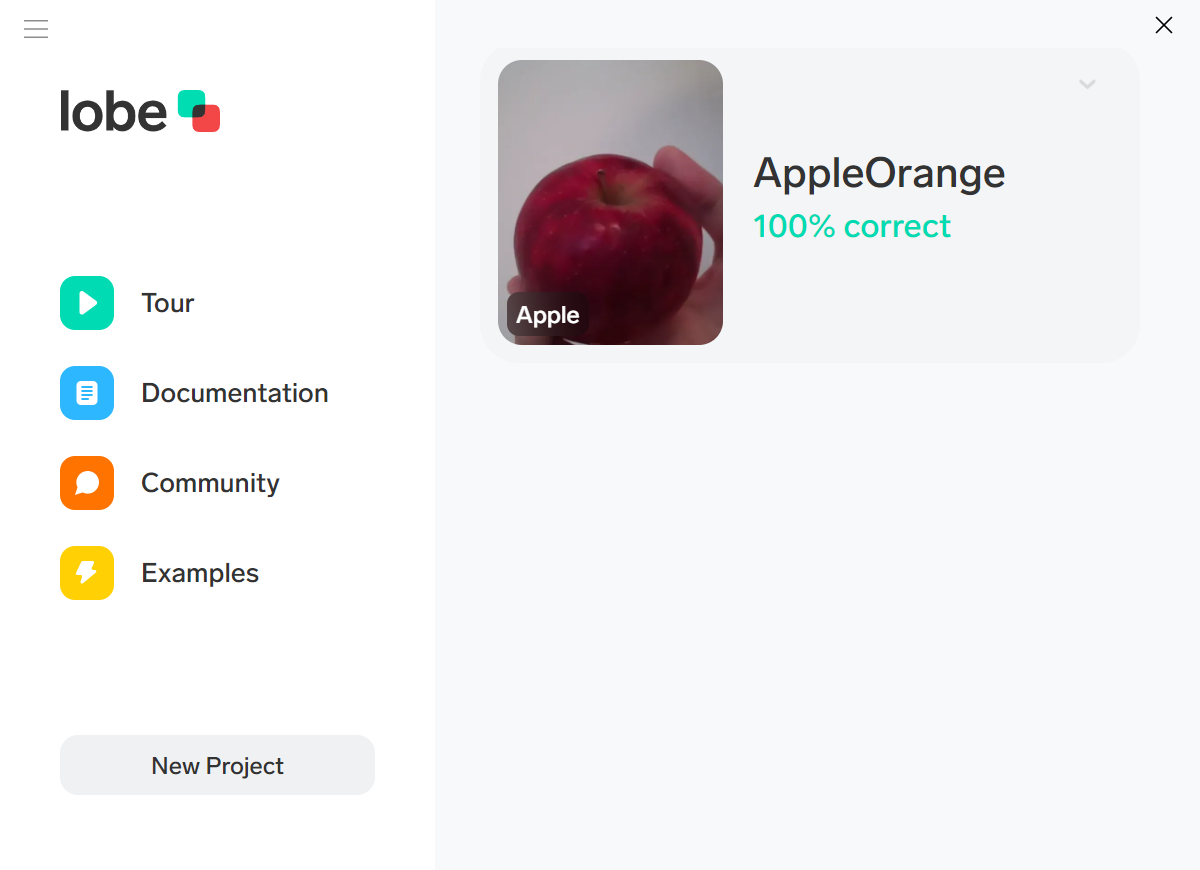
画面左側のPlay を押した後、右上の Camera をクリックします。
りんごを持ってきます。まあまあうまく認識できているようです。
みかんを持ってきます。こちらもまあまあうまく認識できているようです。
画面左上の、 Untiltled をクリックして、今回は、AppleOrange と入力して、あれ?
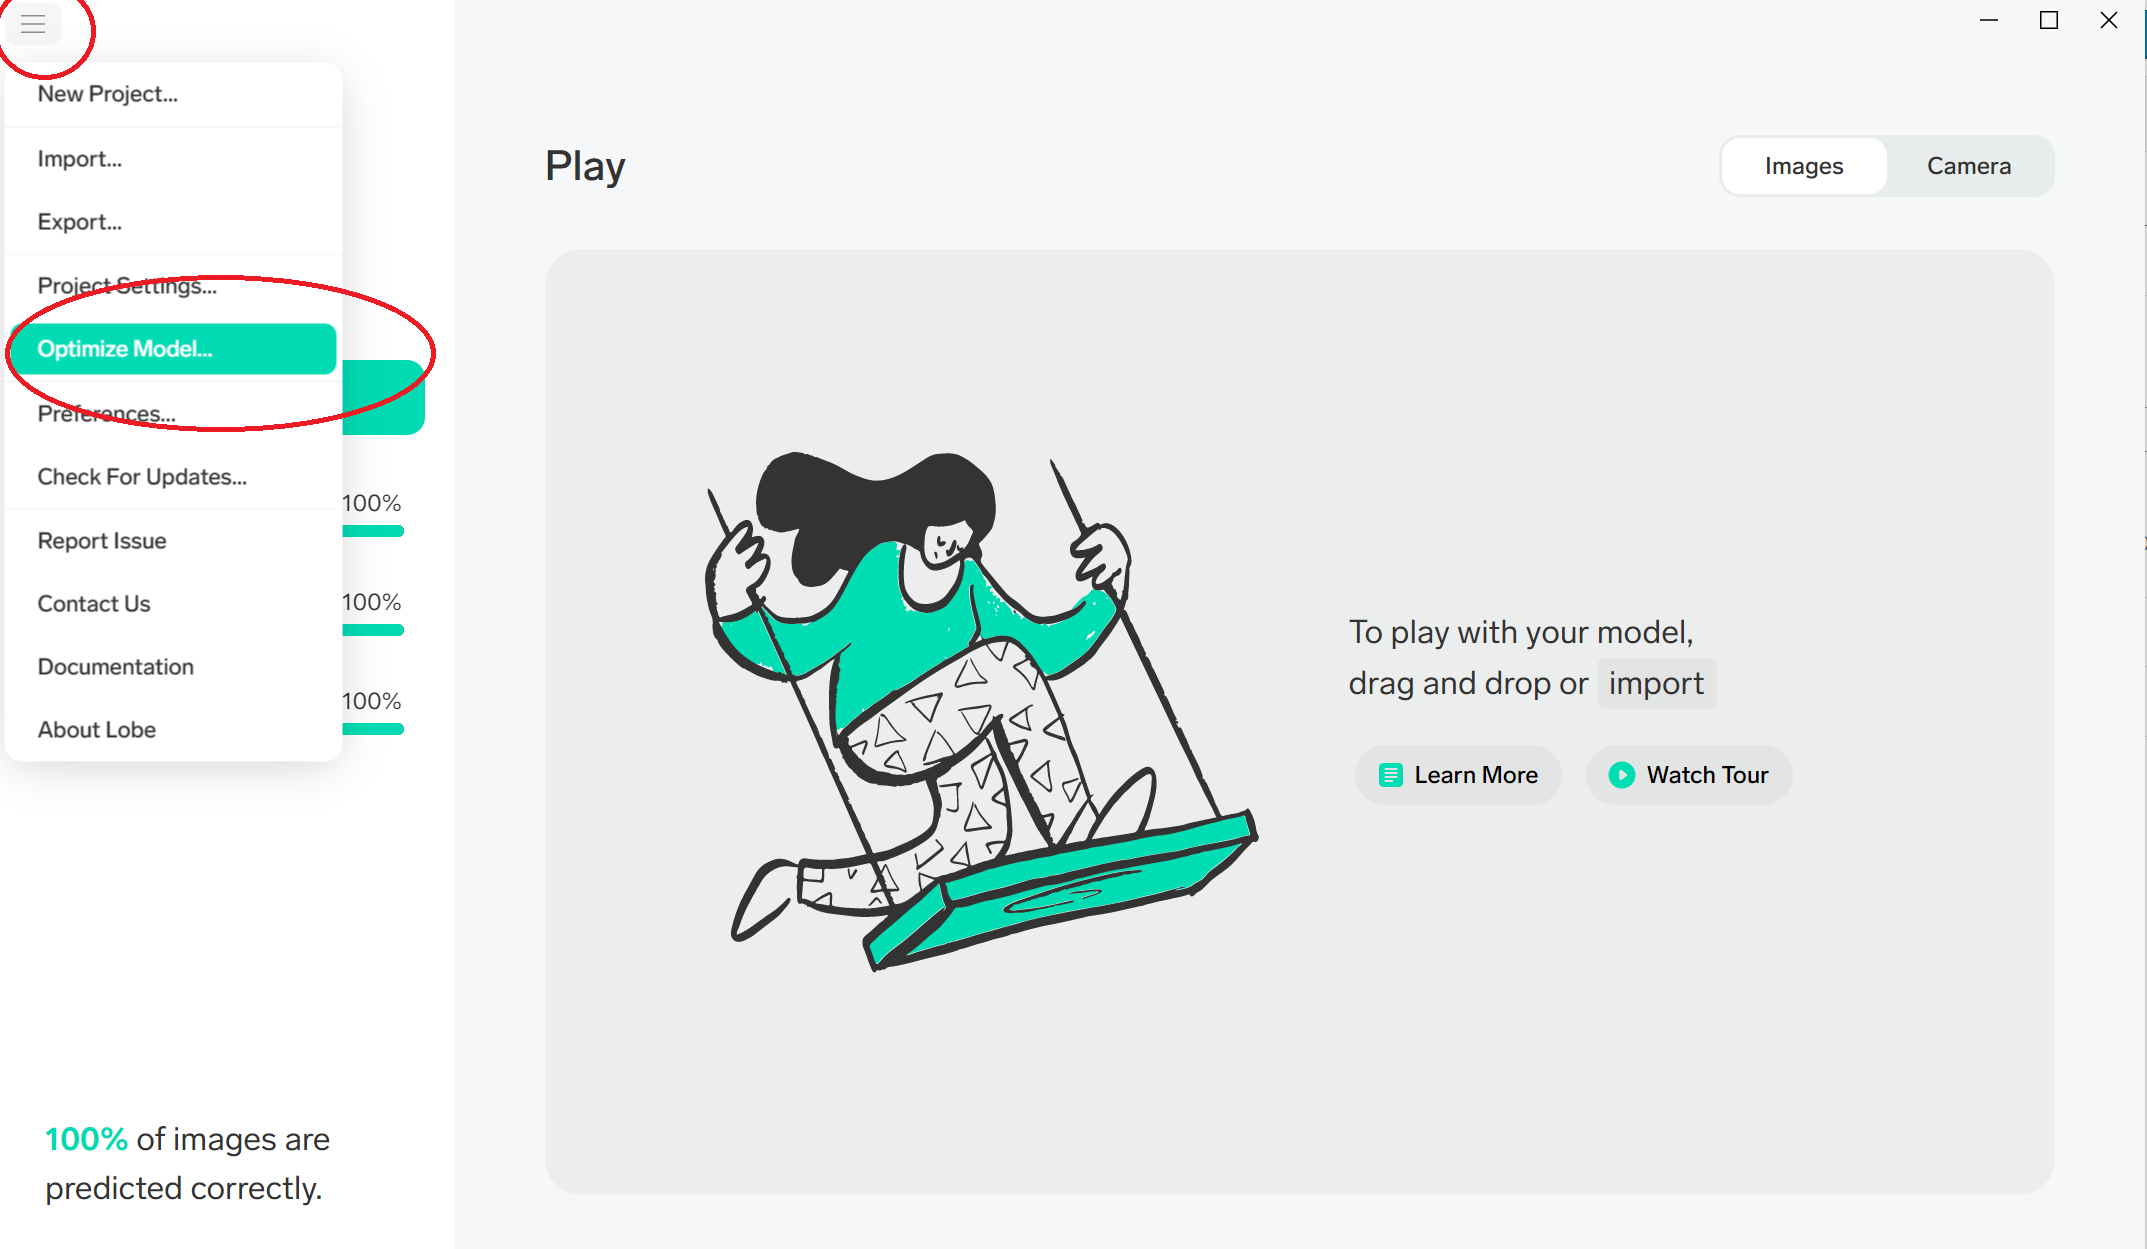
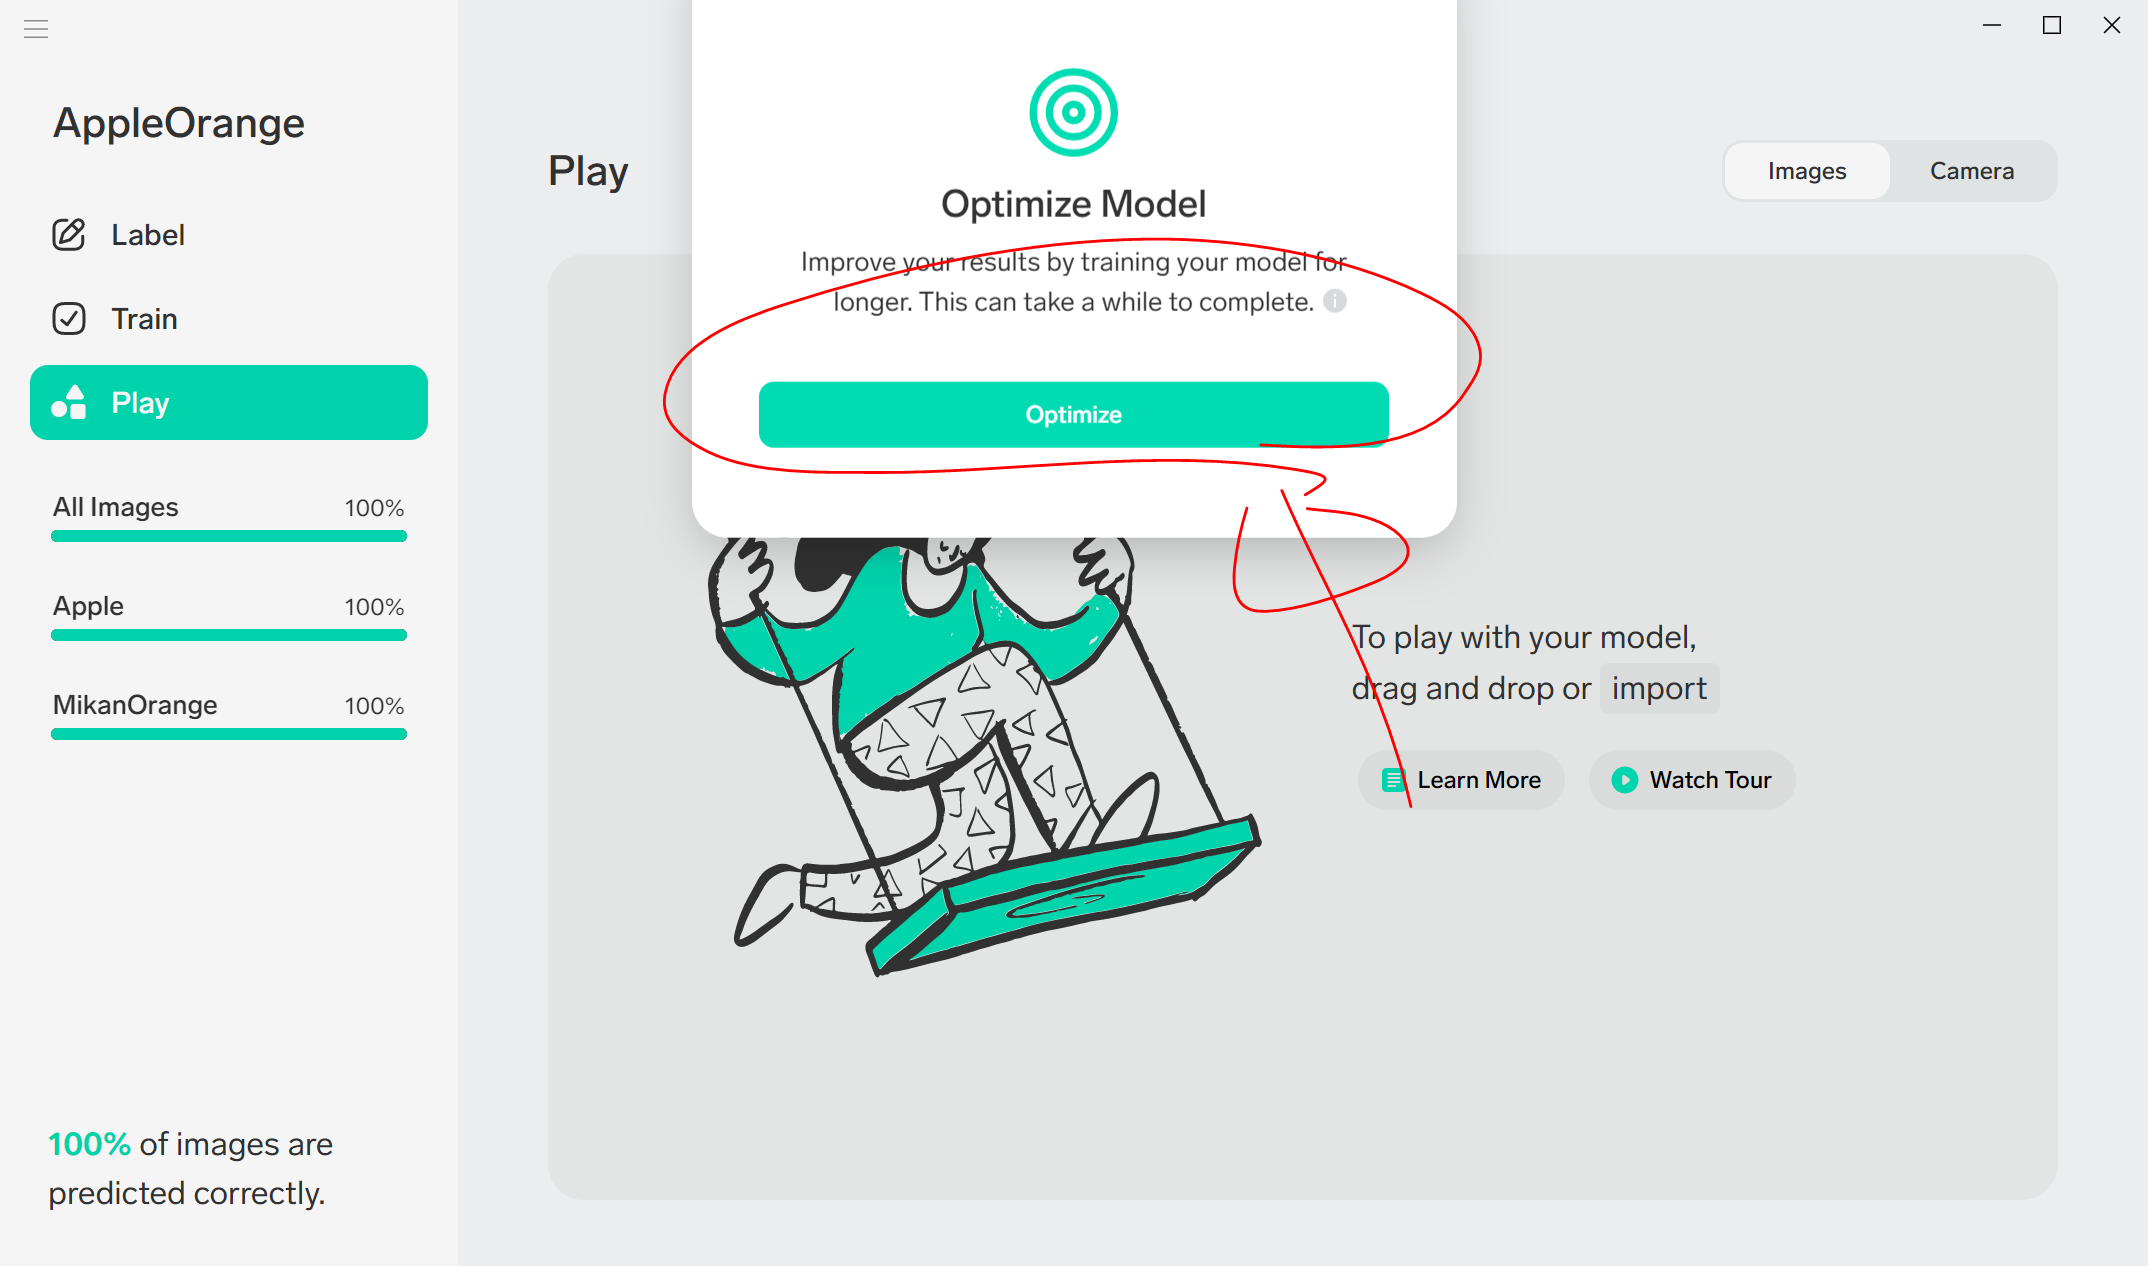
ModelをOptimizeする
よくわかりませんが、チュートリアル動画がやっていたので、やってみます。
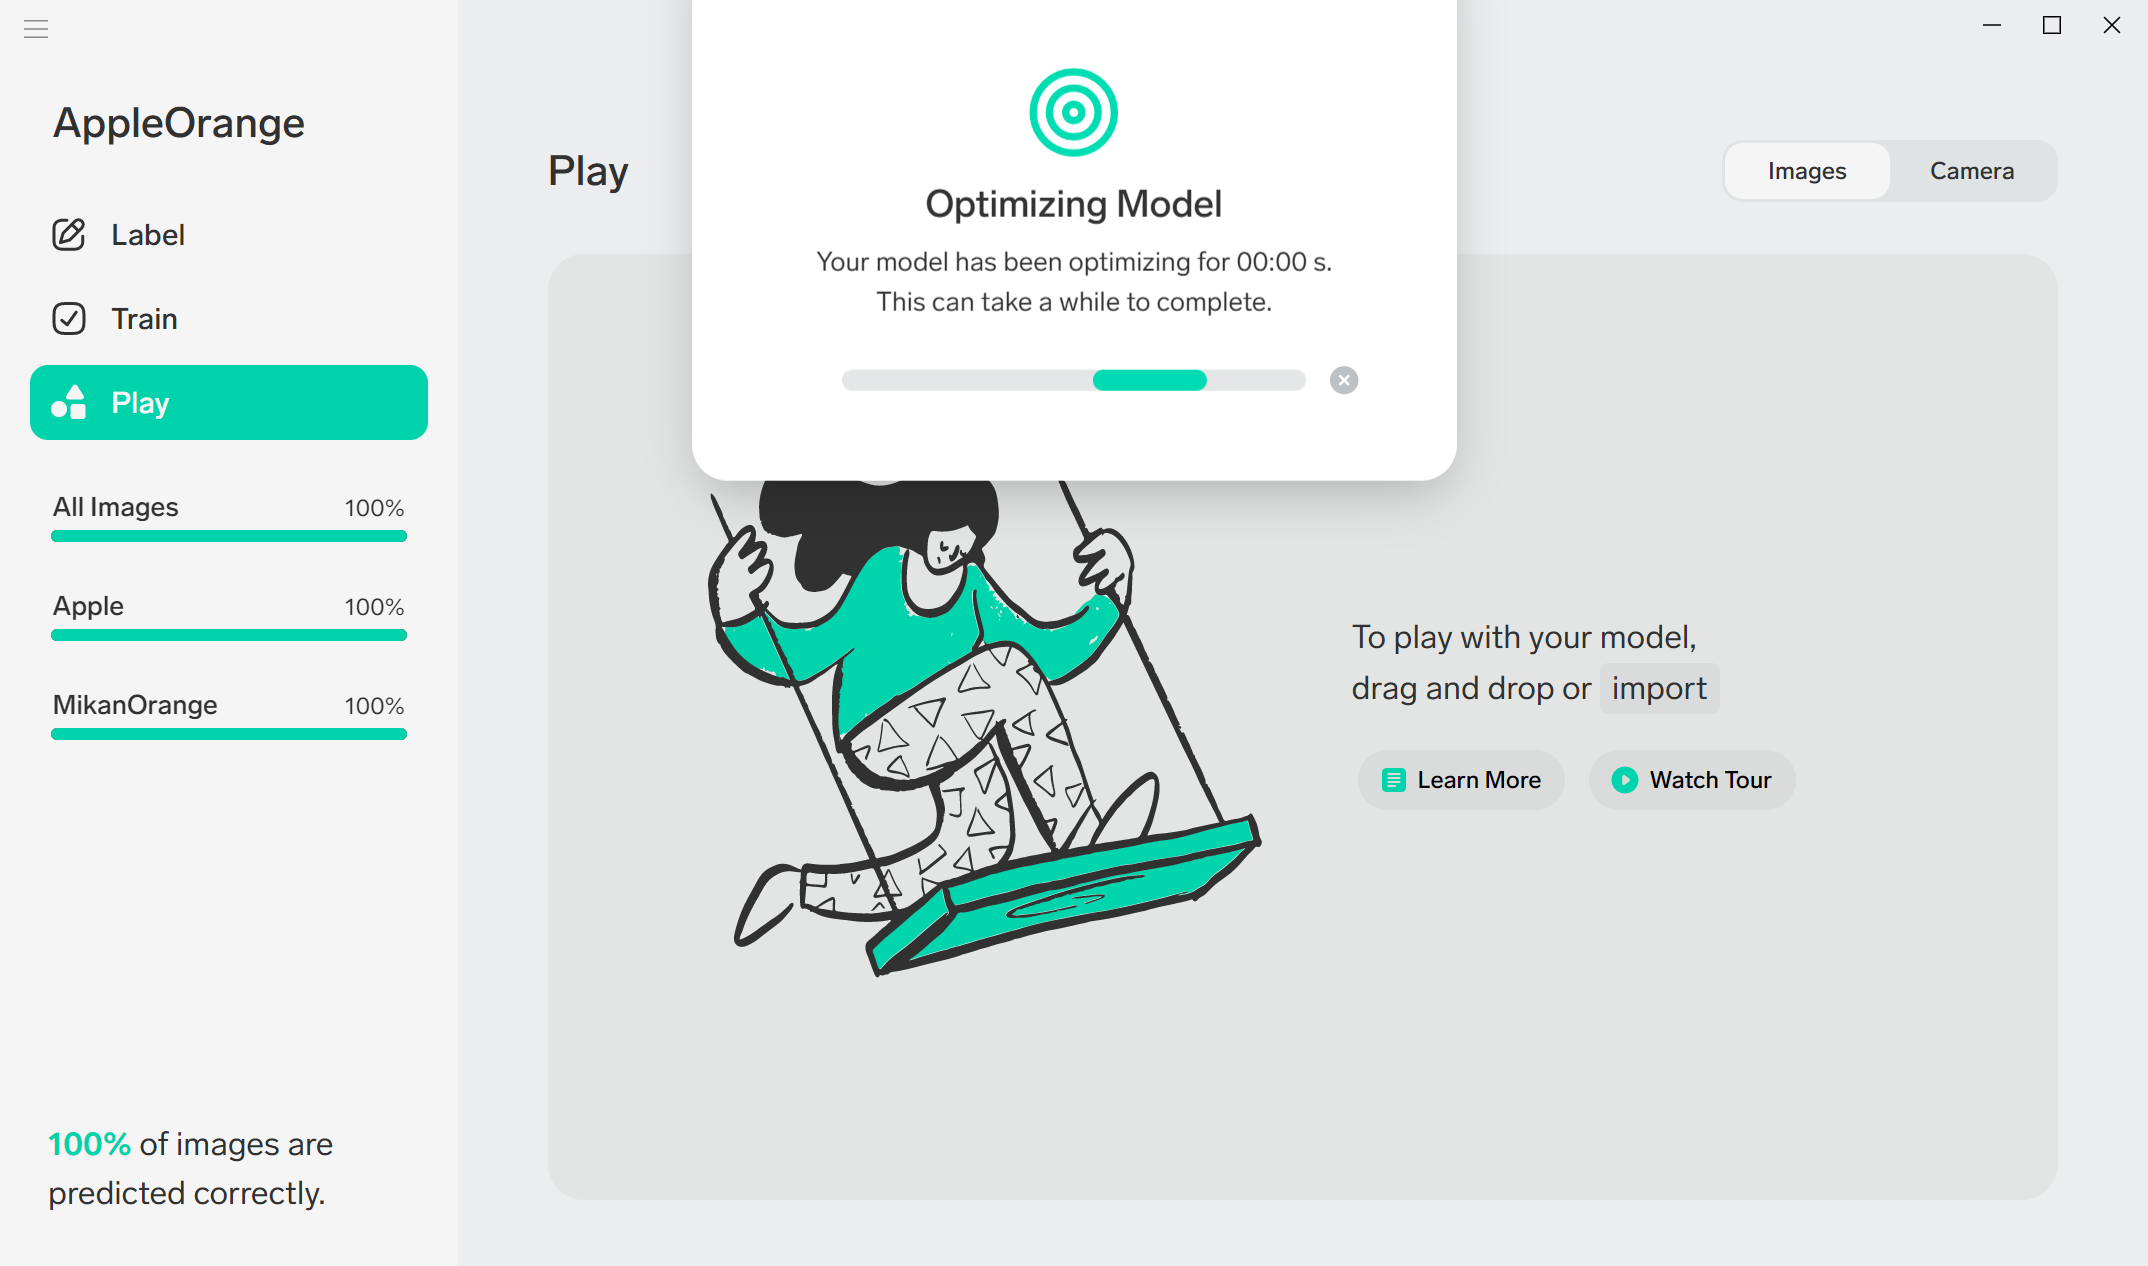
結構時間がかかった後、終了しました。
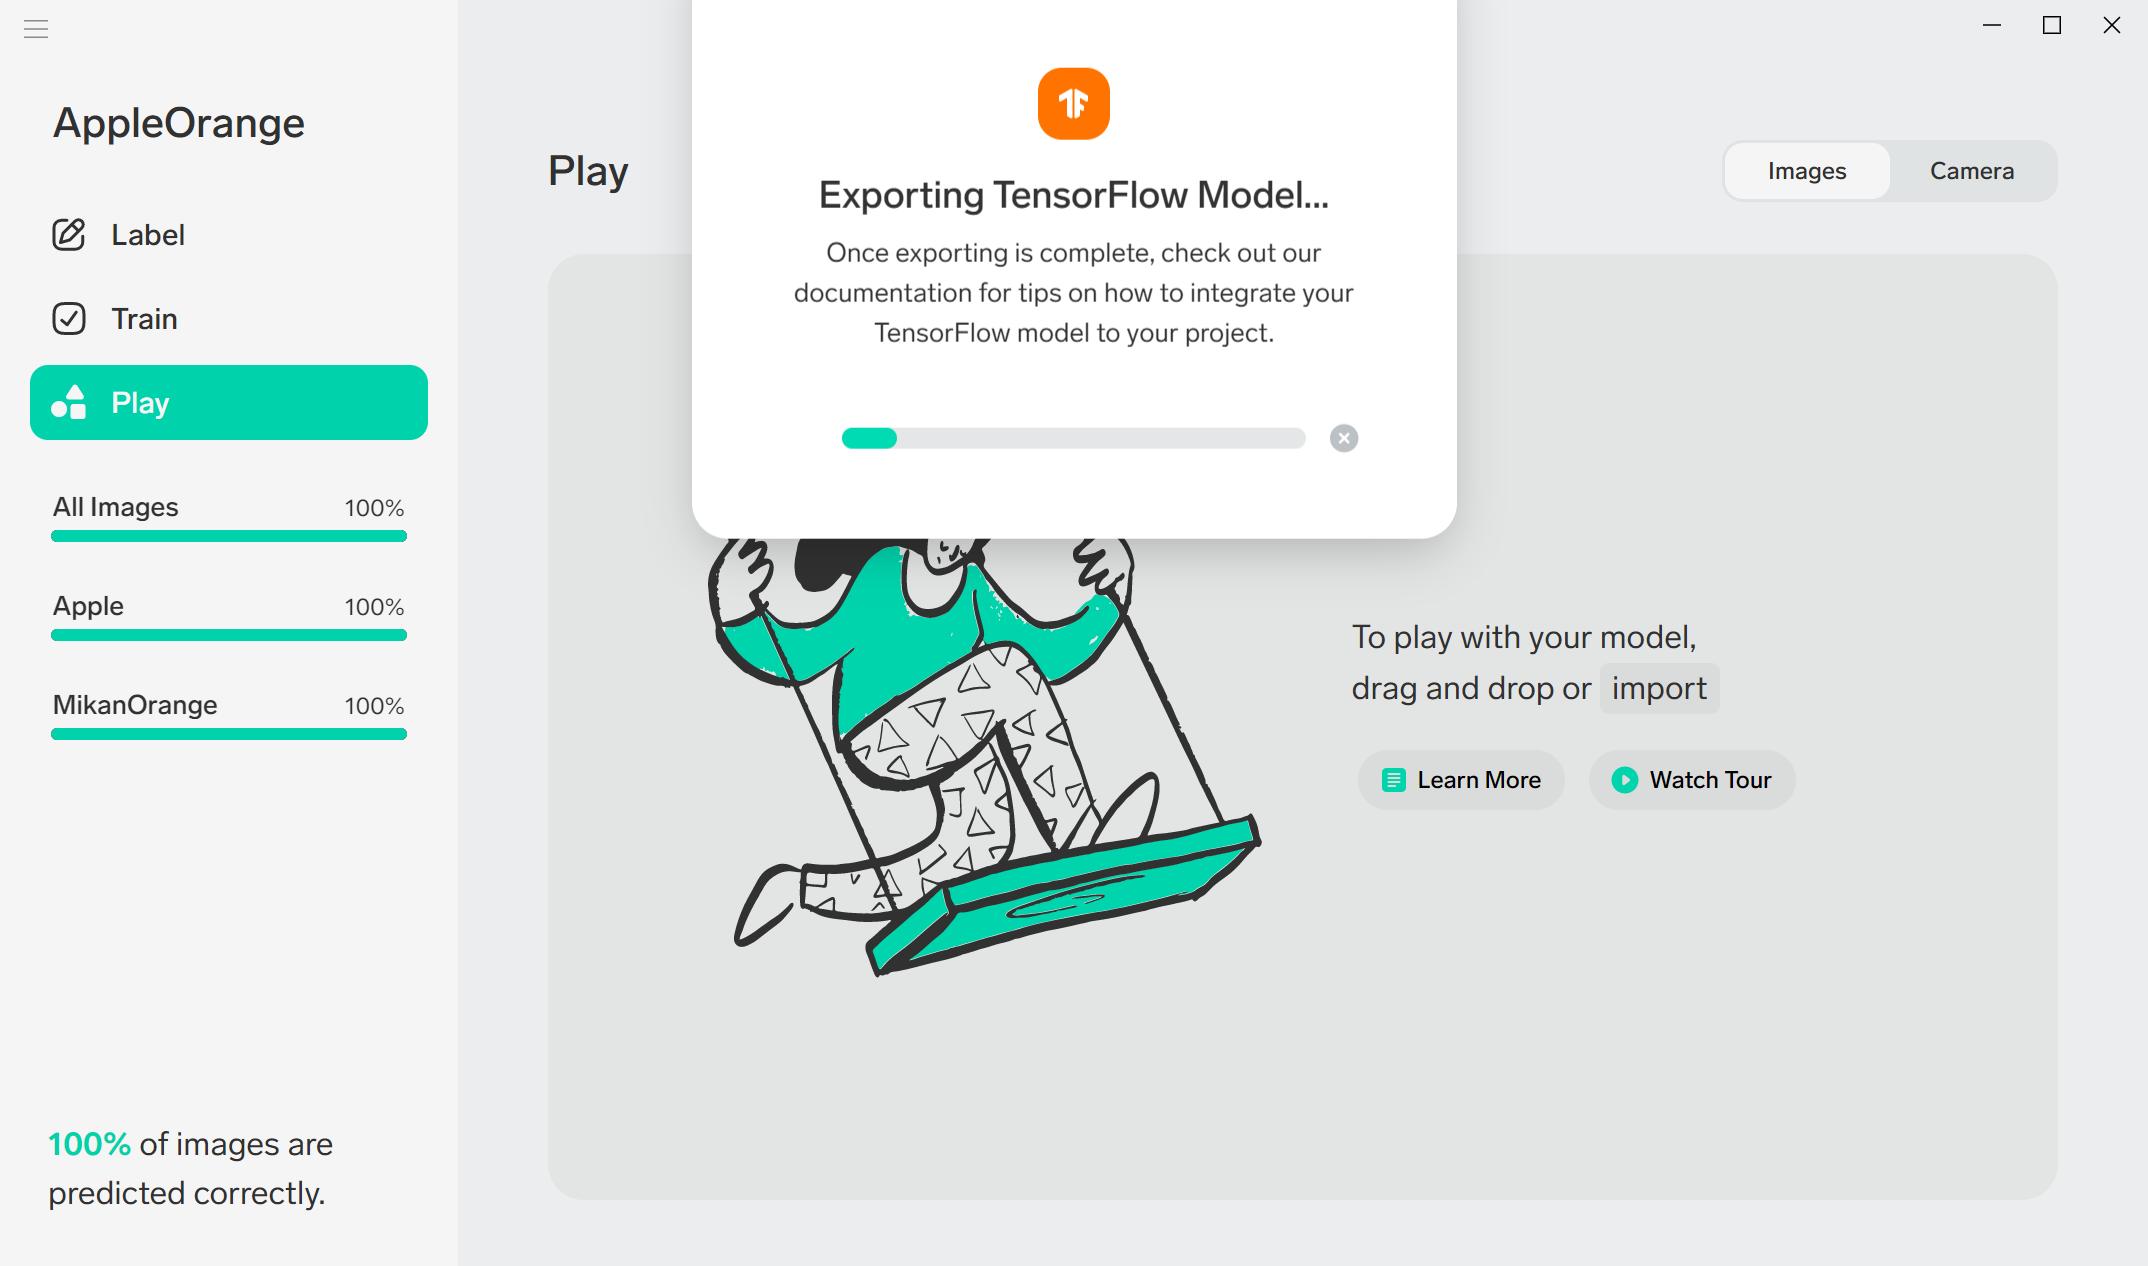
エクスポート
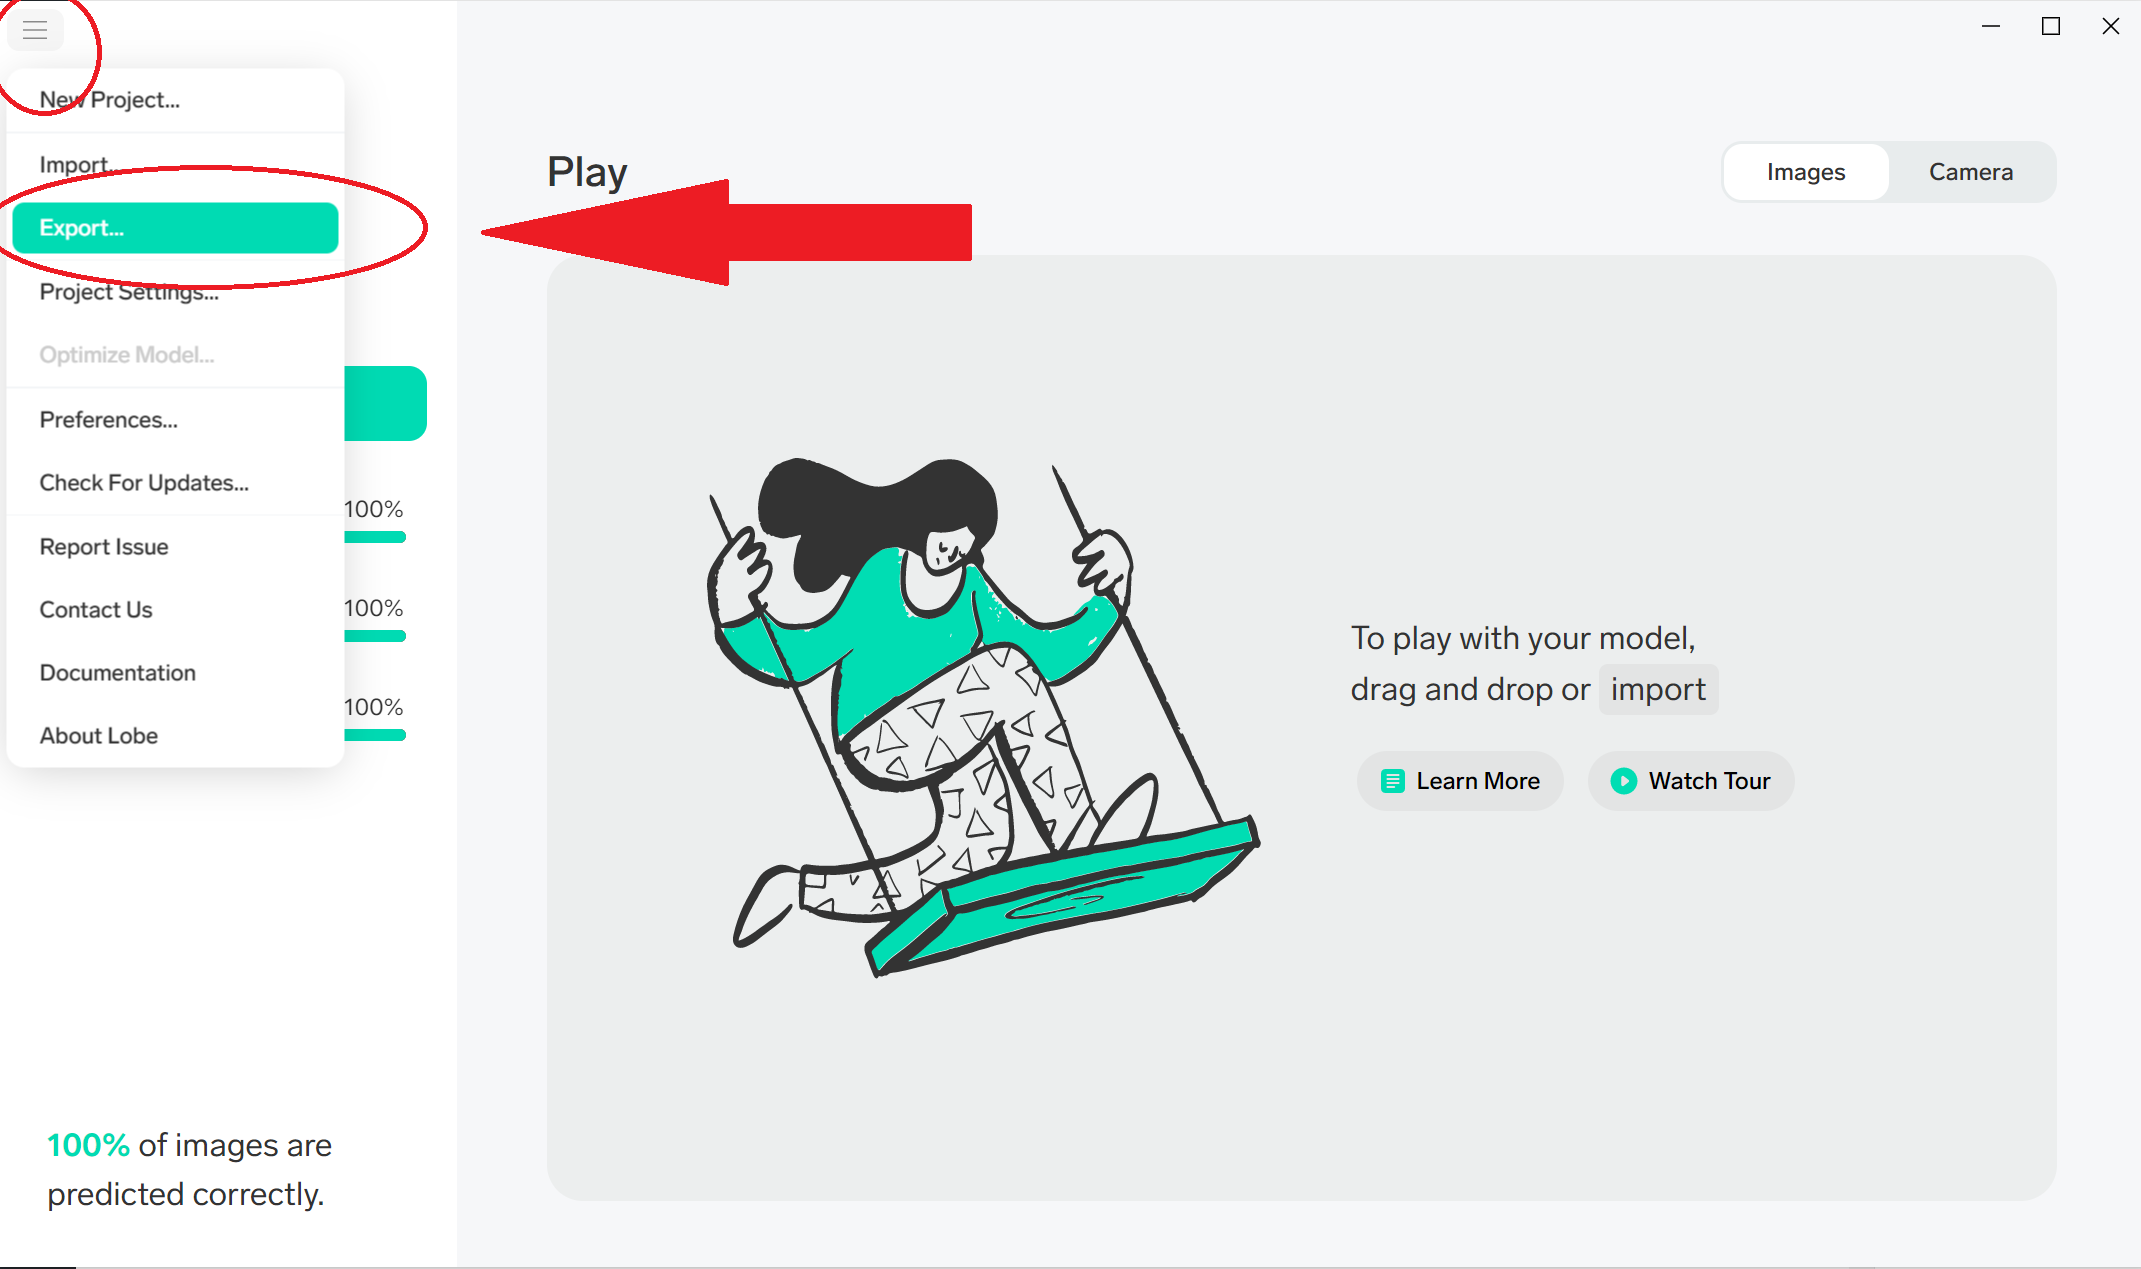
今回はTensorFlowを選択してみます。
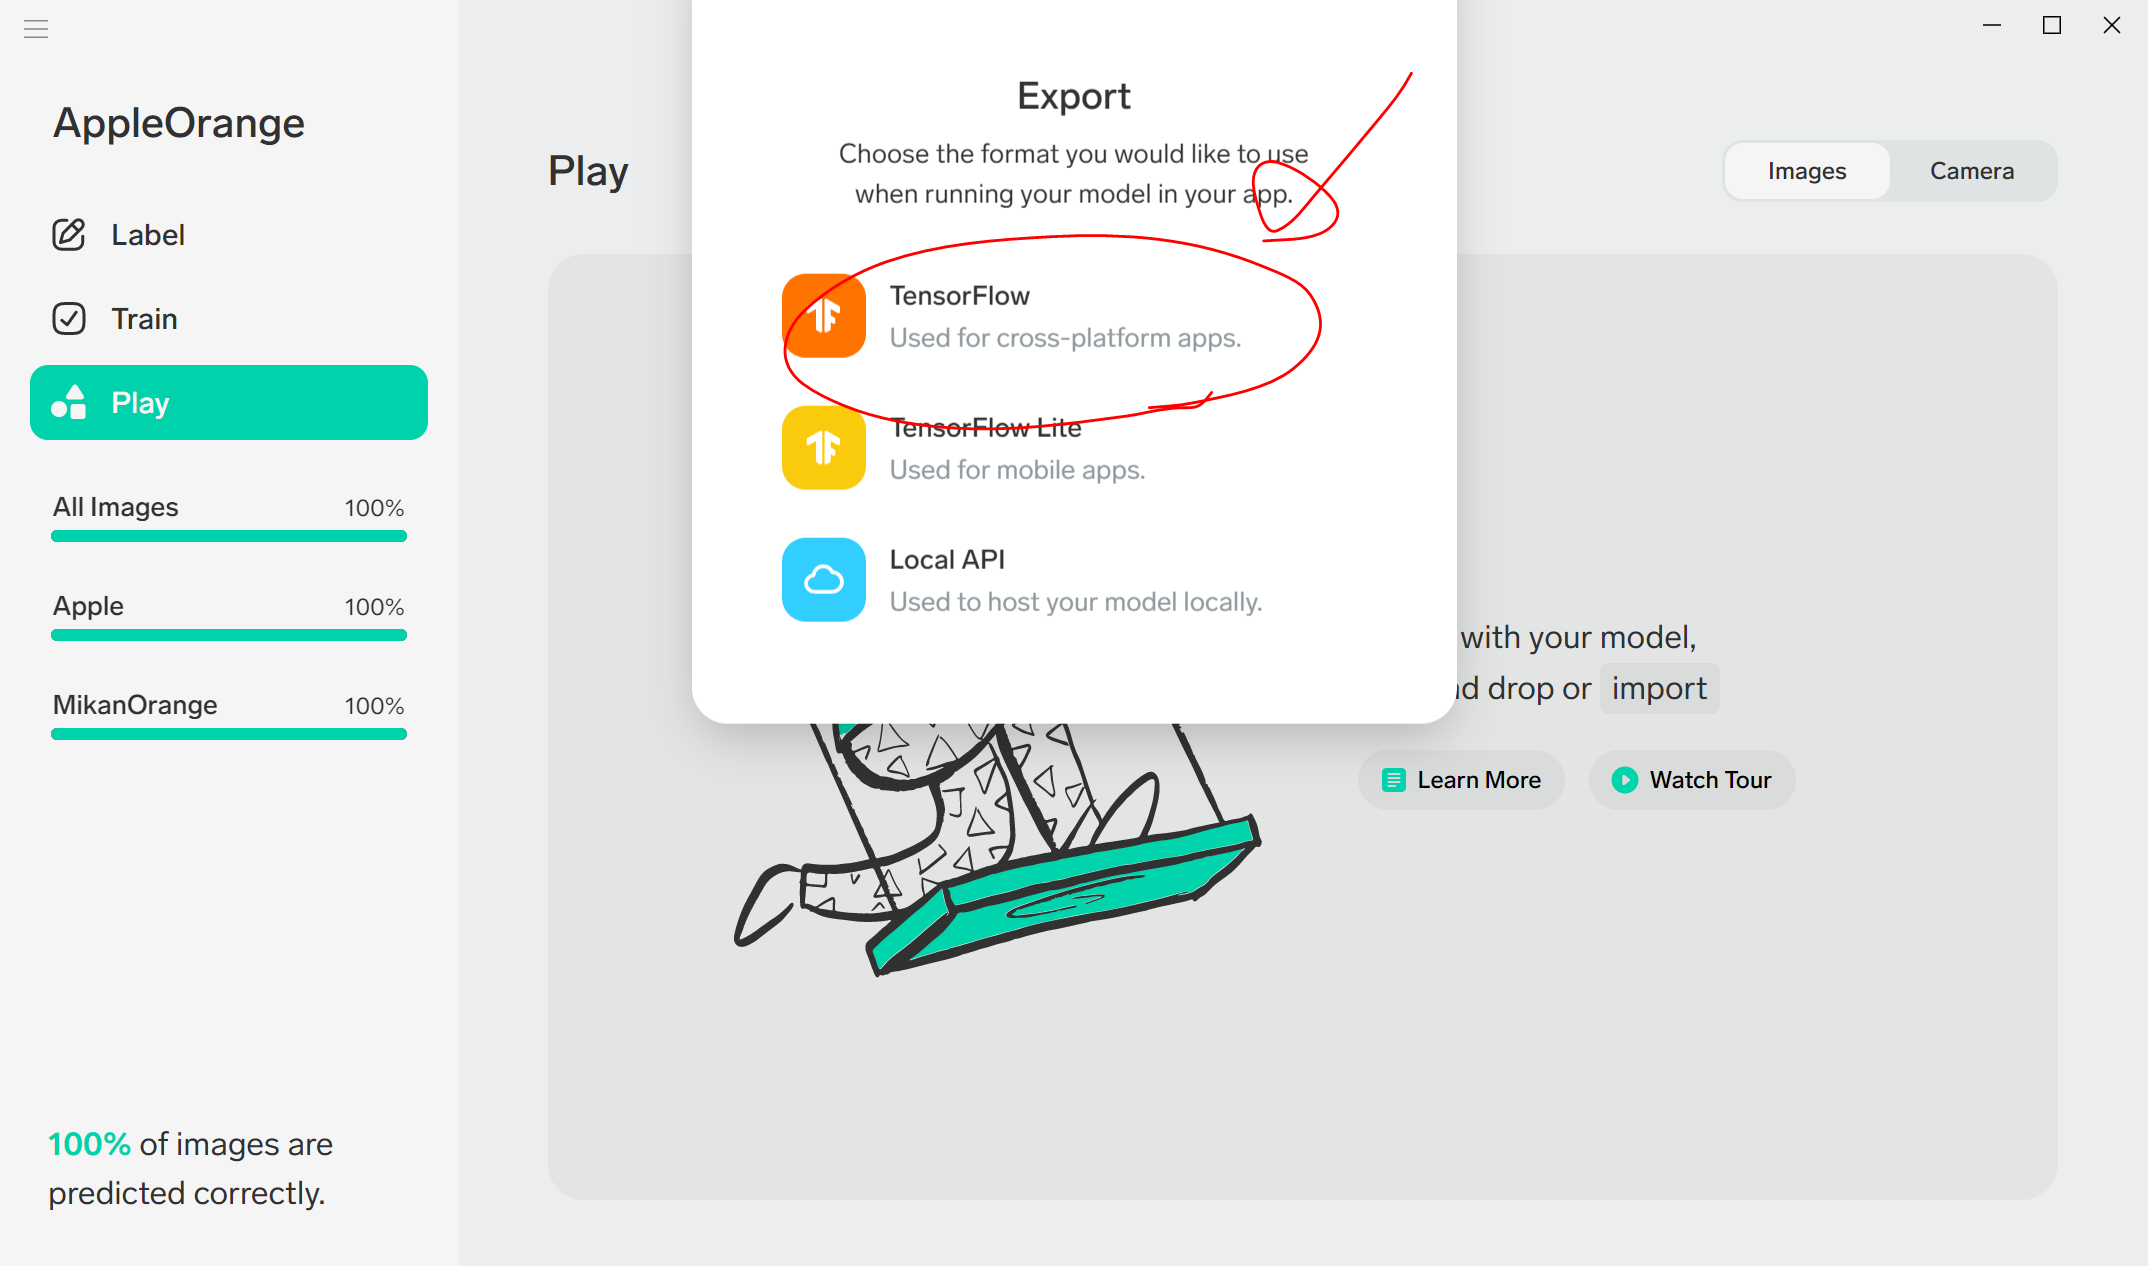
今回は、PC > ドキュメント > AppleOrange というフォルダにエスポートしてみます。

中身はこんな感じでした。全部で150MBくらいでした。
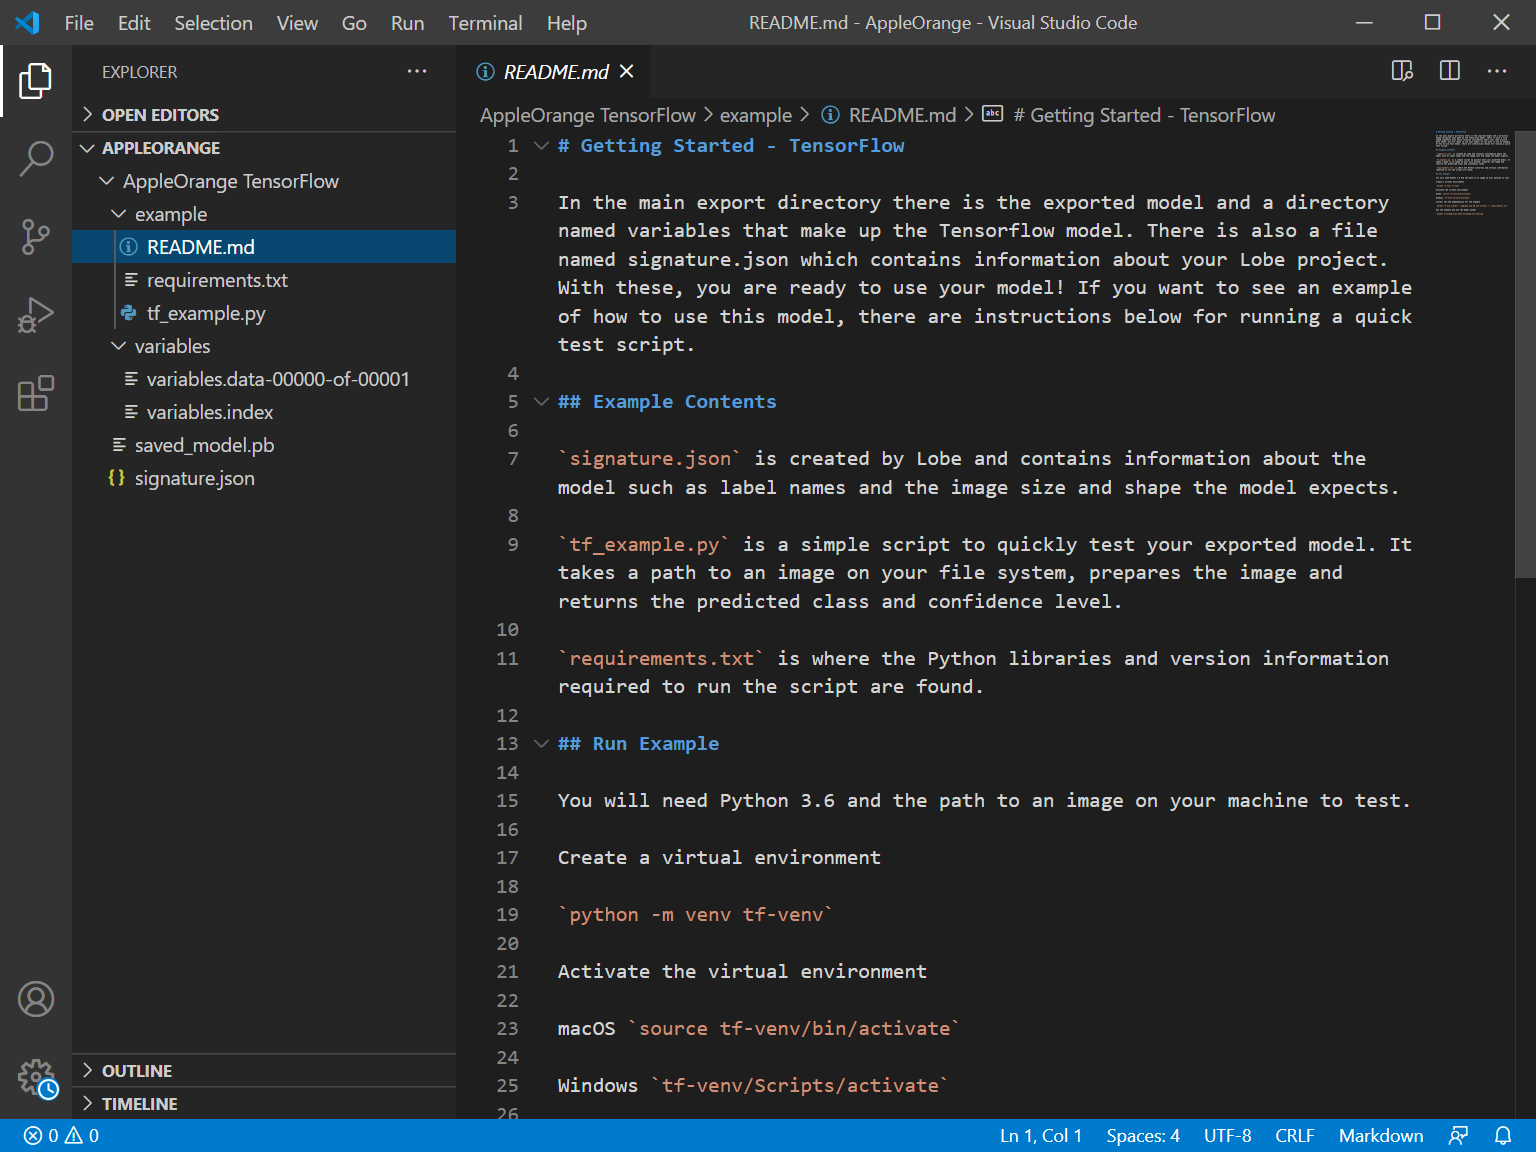
AppleOrange TensorFlow > example フォルダの中身を以下に記載しておきます。
この後は、lobeの画面右上の×ボタンをクリックすると、以下のような画面になり、終了することができます。
エクスポートしたLobeのモデルをGitHubに保存する
この操作は不要ですが、将来の自分のために、やっておきます。
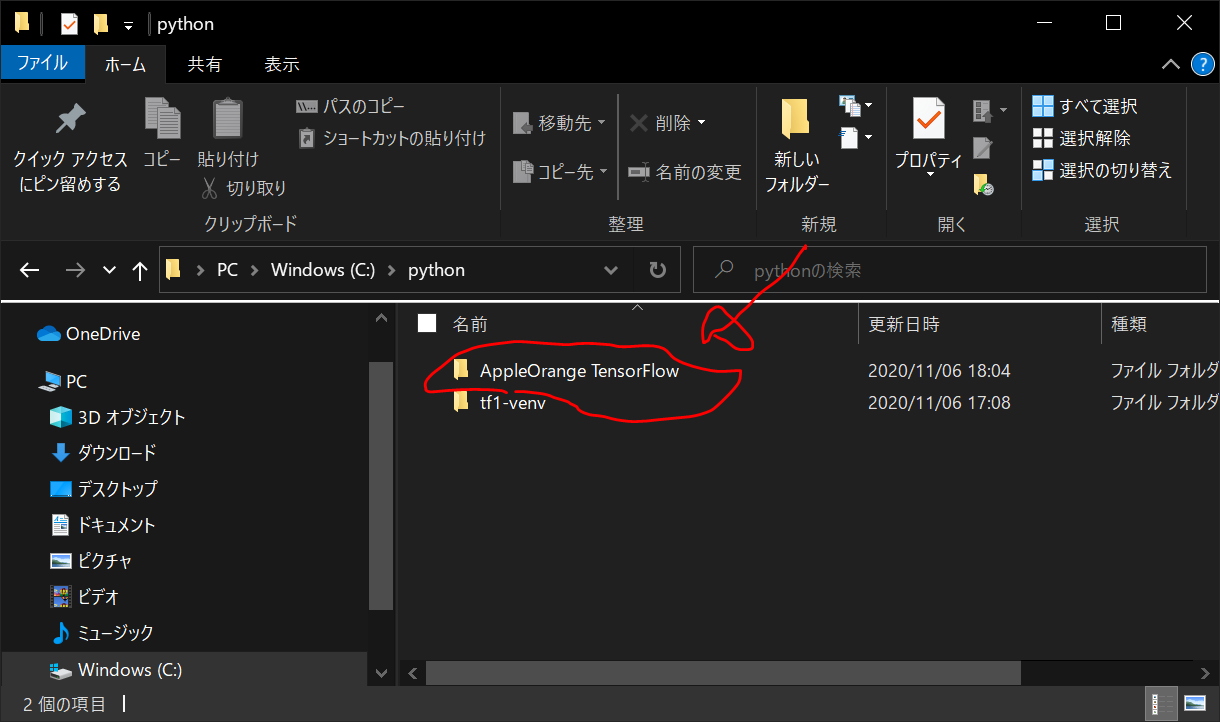
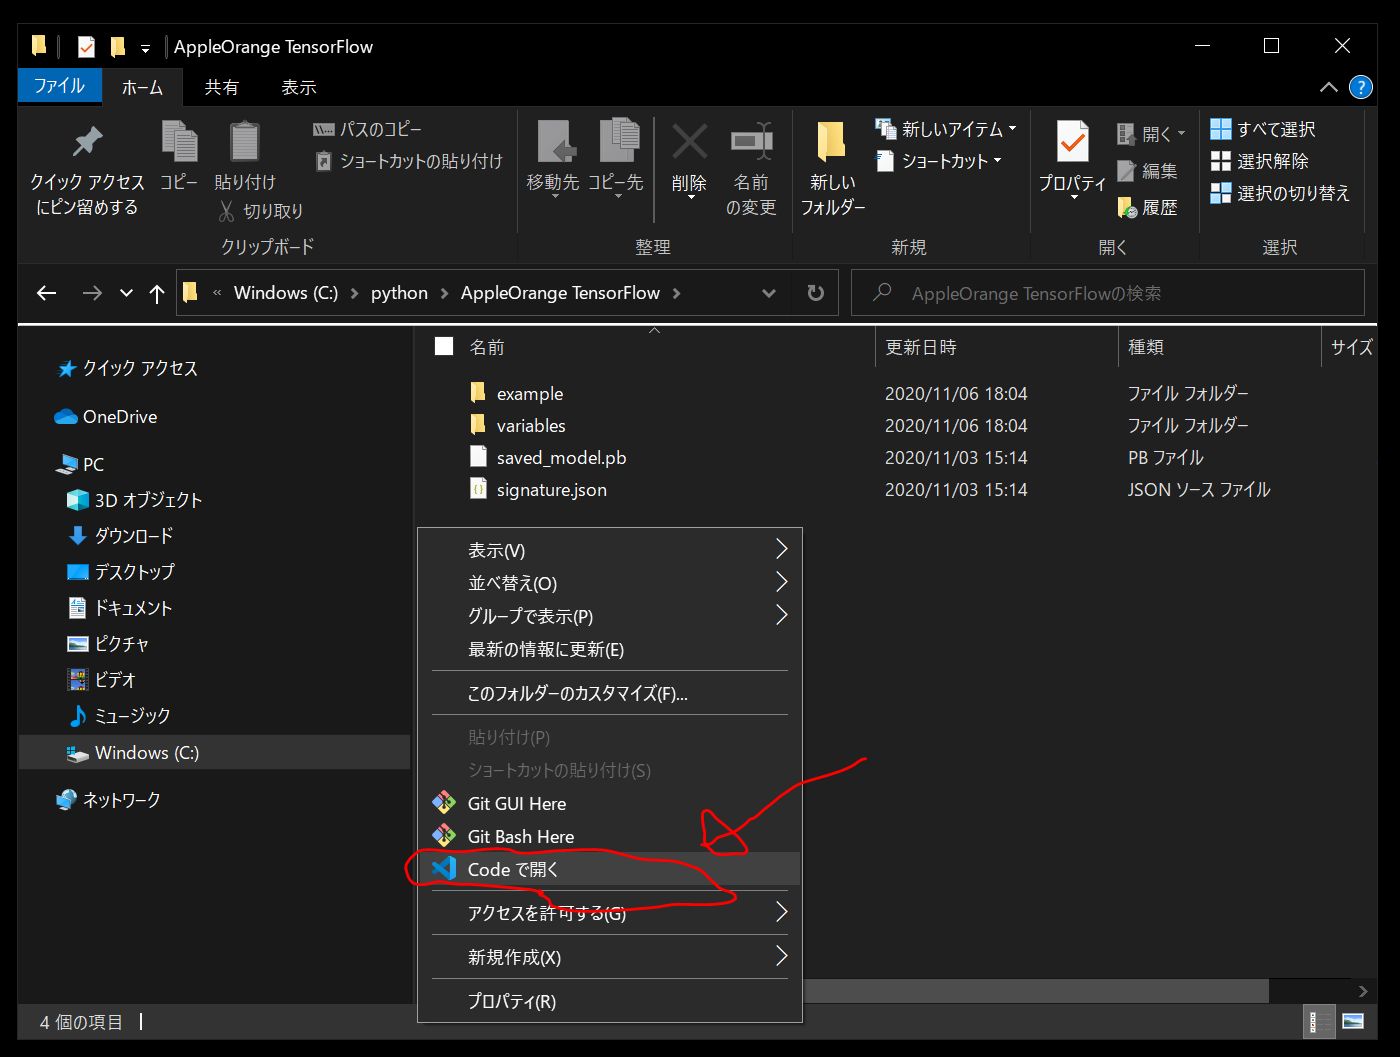
エクスポートしたLobeのモデルである、AppleOrange TensorFlow/フォルダ以下を、C:/python/ フォルダに保存します。
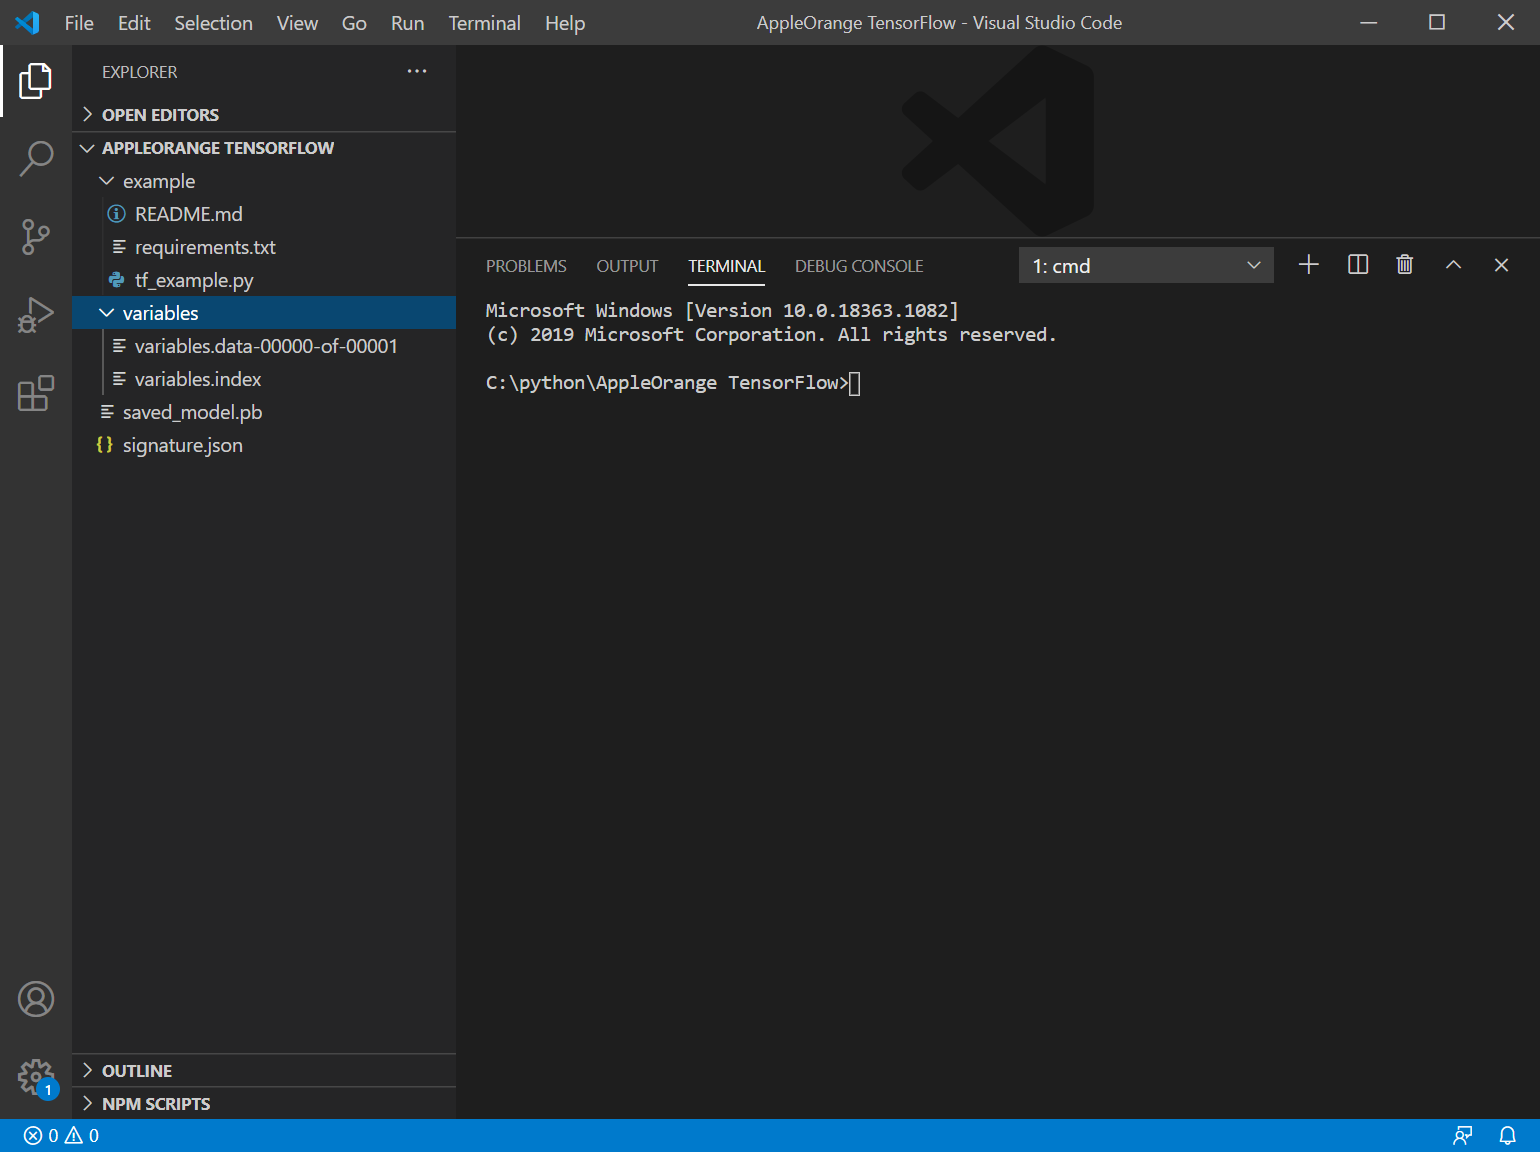
AppleOrange TensorFlow/フォルダ を開き、右クリック > Codeで開く で、VisualStudioCodeで開きます。
Ctrl+@ でターミナル画面を開きます。
以下を入力します。
git init
git add .
git commit -m "first commit"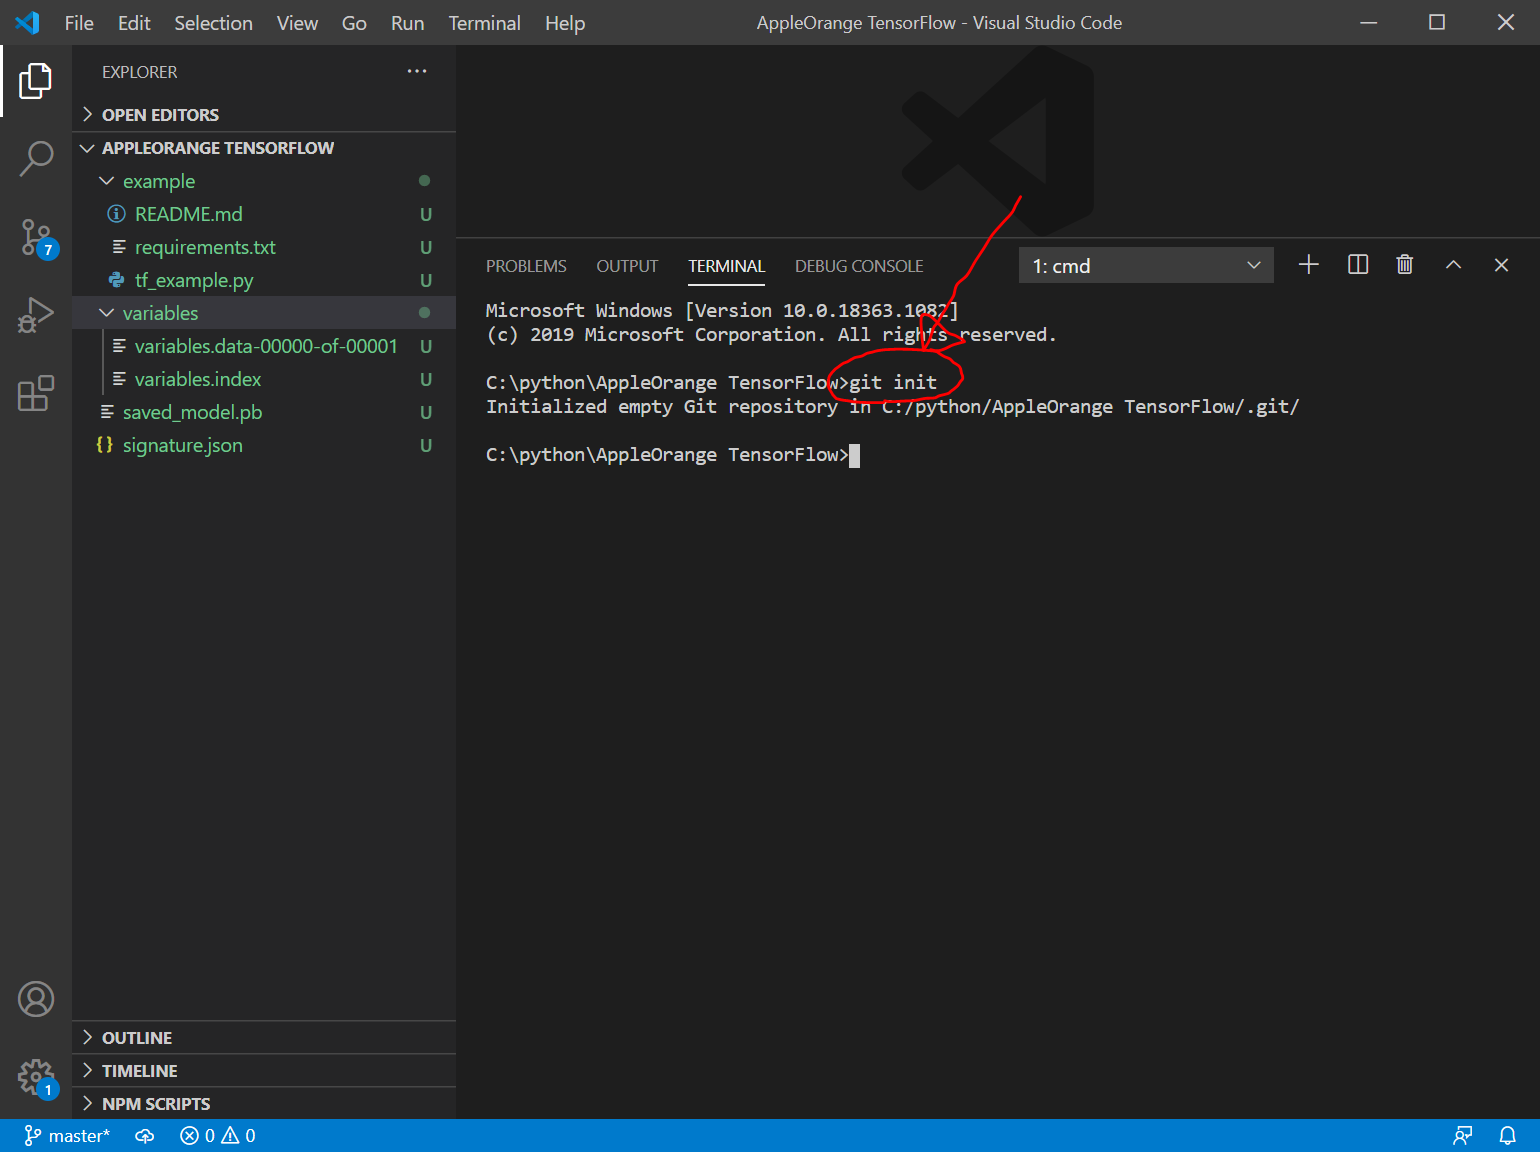
Git for Windowsをインストールしてから、まだGitを使用したことがない場合は、git commitすると、以下のような”Author identity unknown”の表示が出て、commitできません。
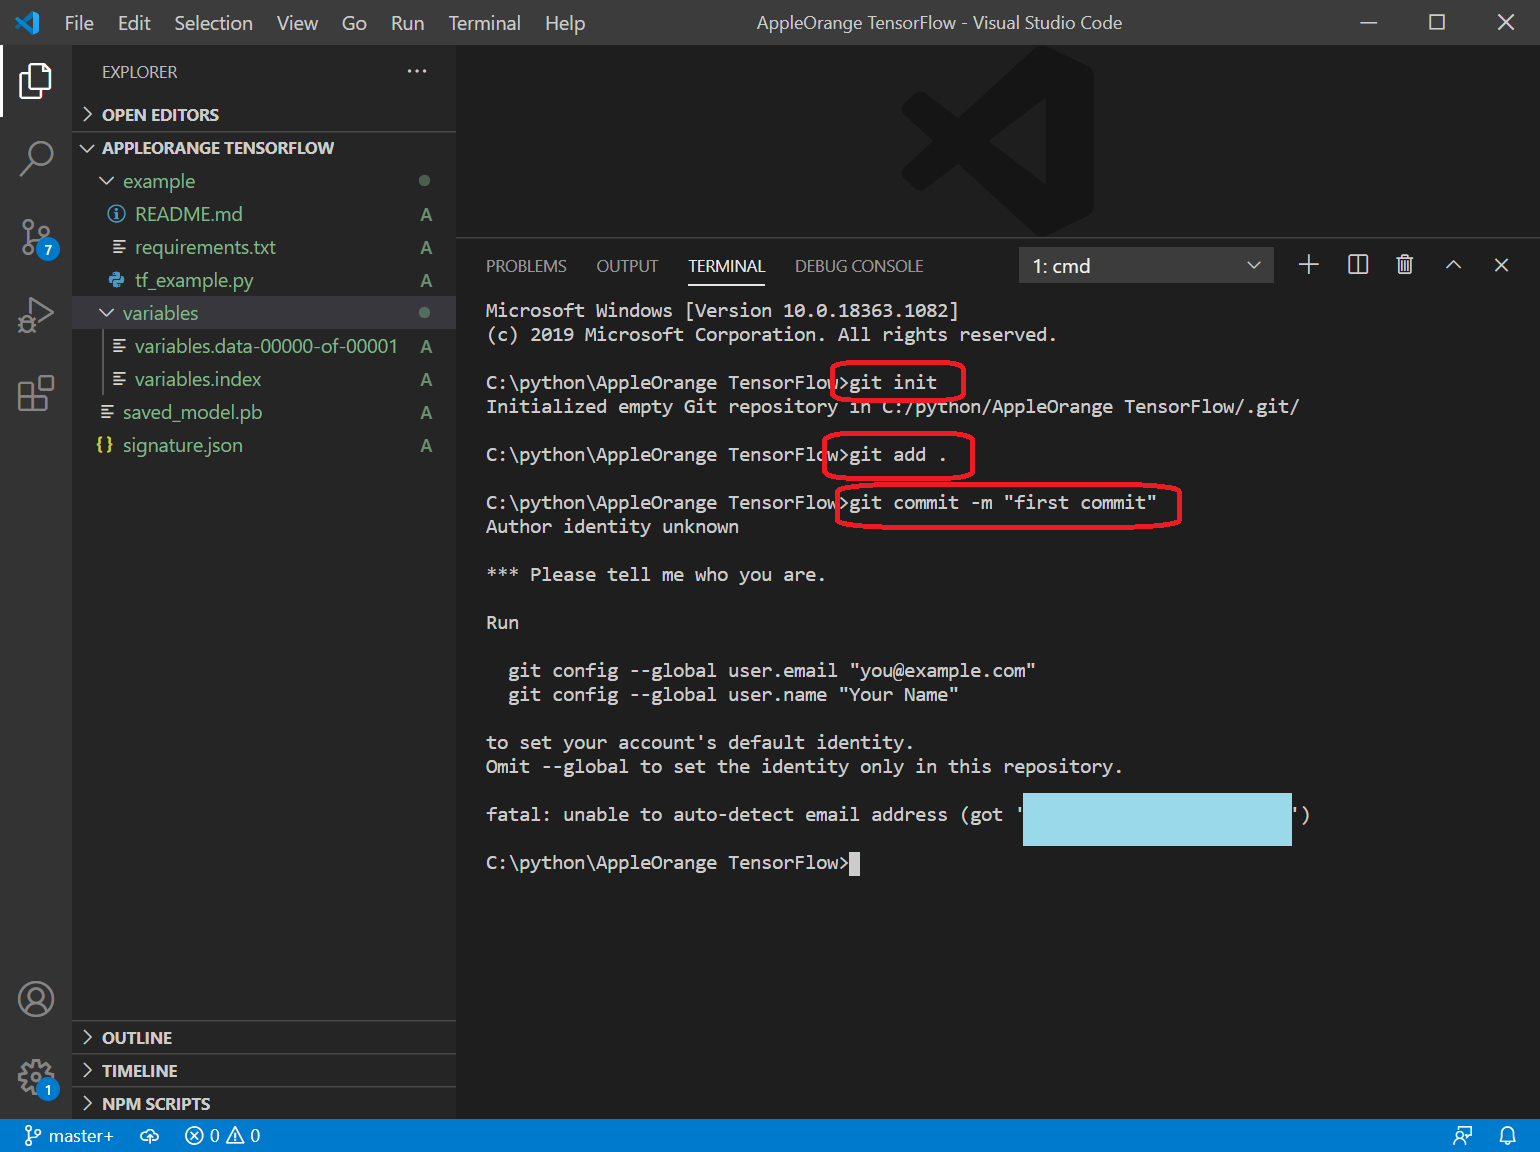
そのため、言われるがまま、以下のように入力します。
git config --global user.email "xxxxx@xxx.com(メールアドレス)"
git config --global user.name "adash333(ニックネームなど)"

git commit -m "first commit"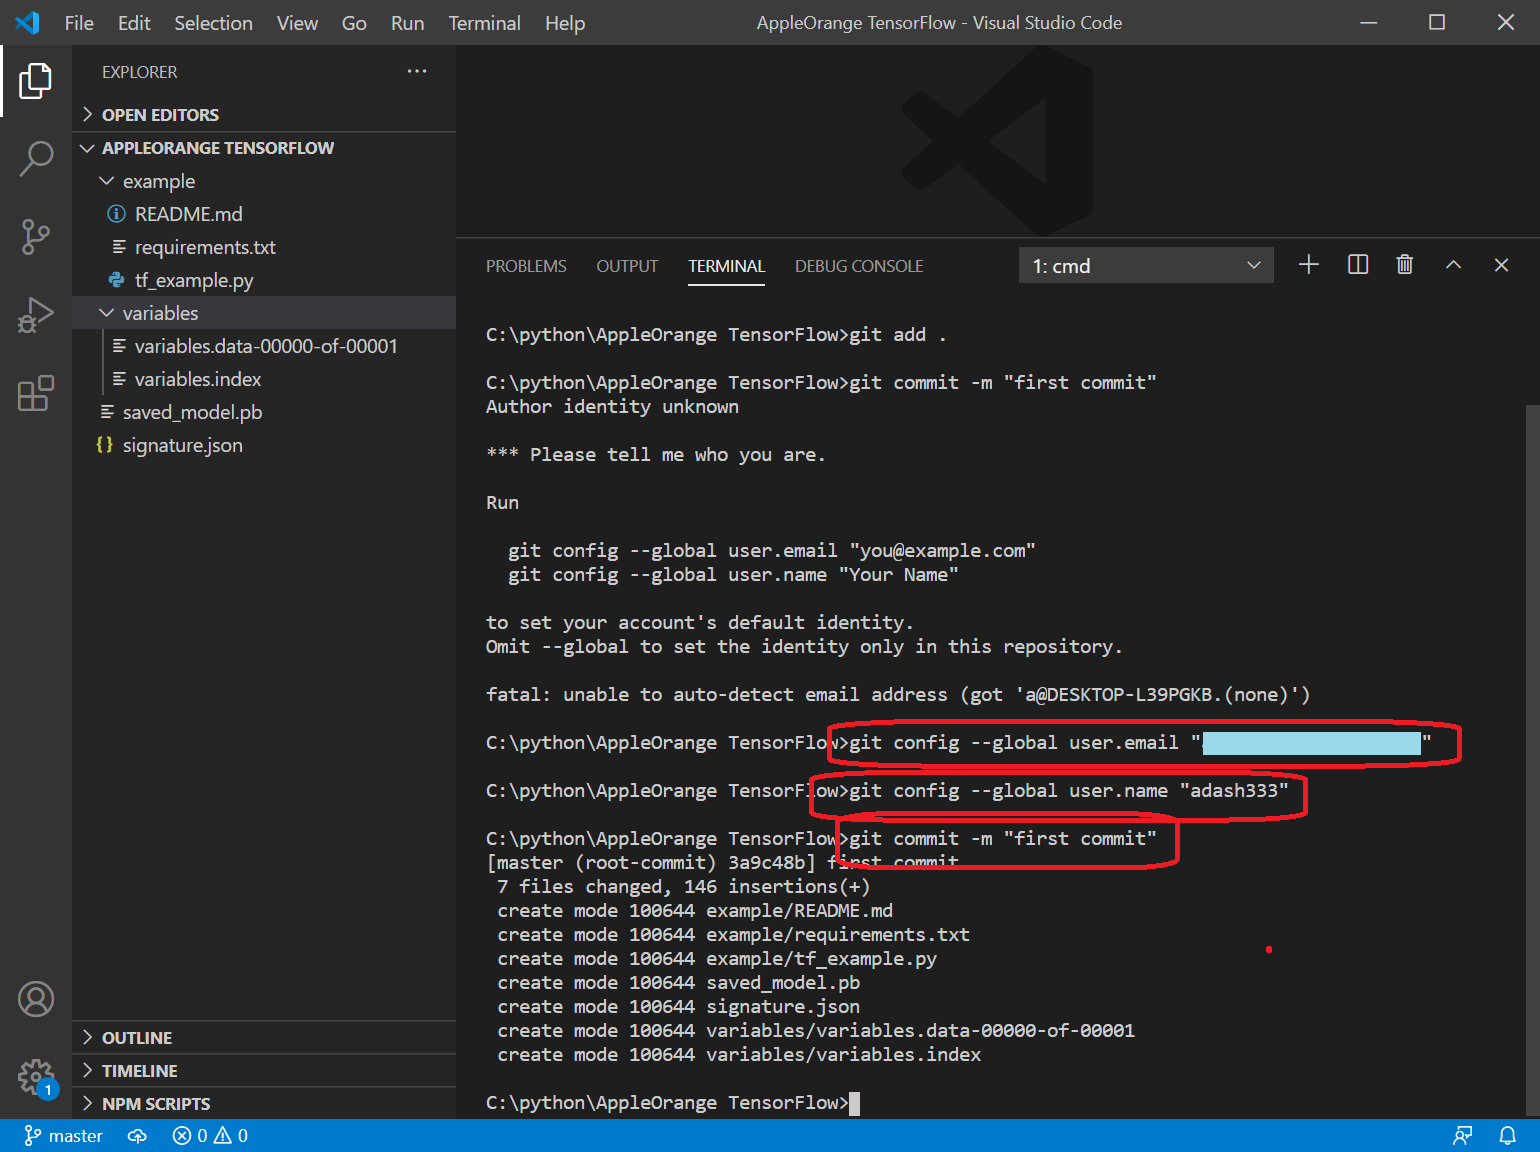
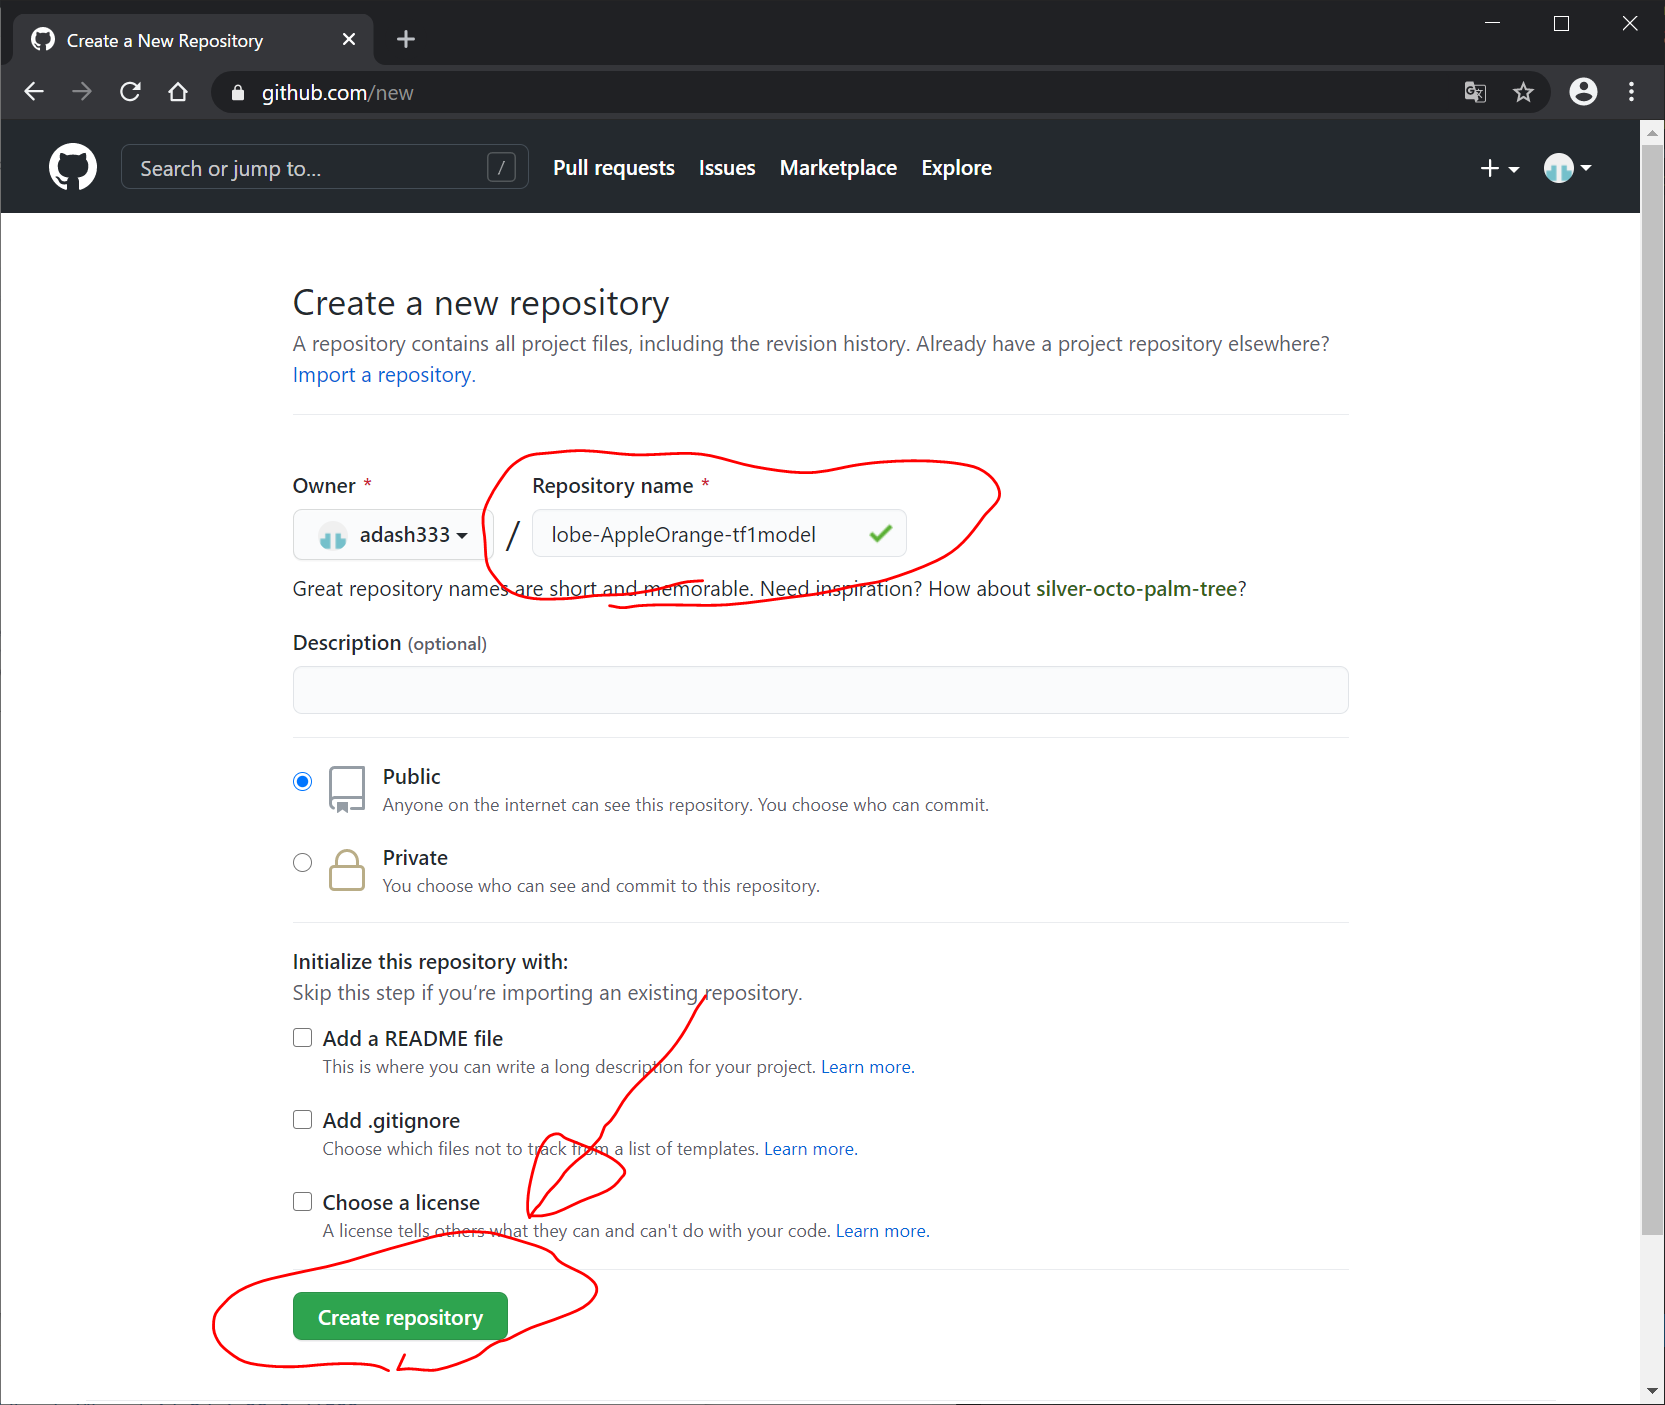
https://github.com/ にログイン(アカウントがなければ作成)して、新規リポジトリを作成します。

lobe-AppleOrange-tf1model という名前にしました。
以下のような画面になります。

上記に従い、VisualStudioCodeのターミナル画面で以下を入力します。
git remote add origin https://github.com/adash333/lobe-AppleOrange-tf1model.git
git branch -M main
git push -u origin main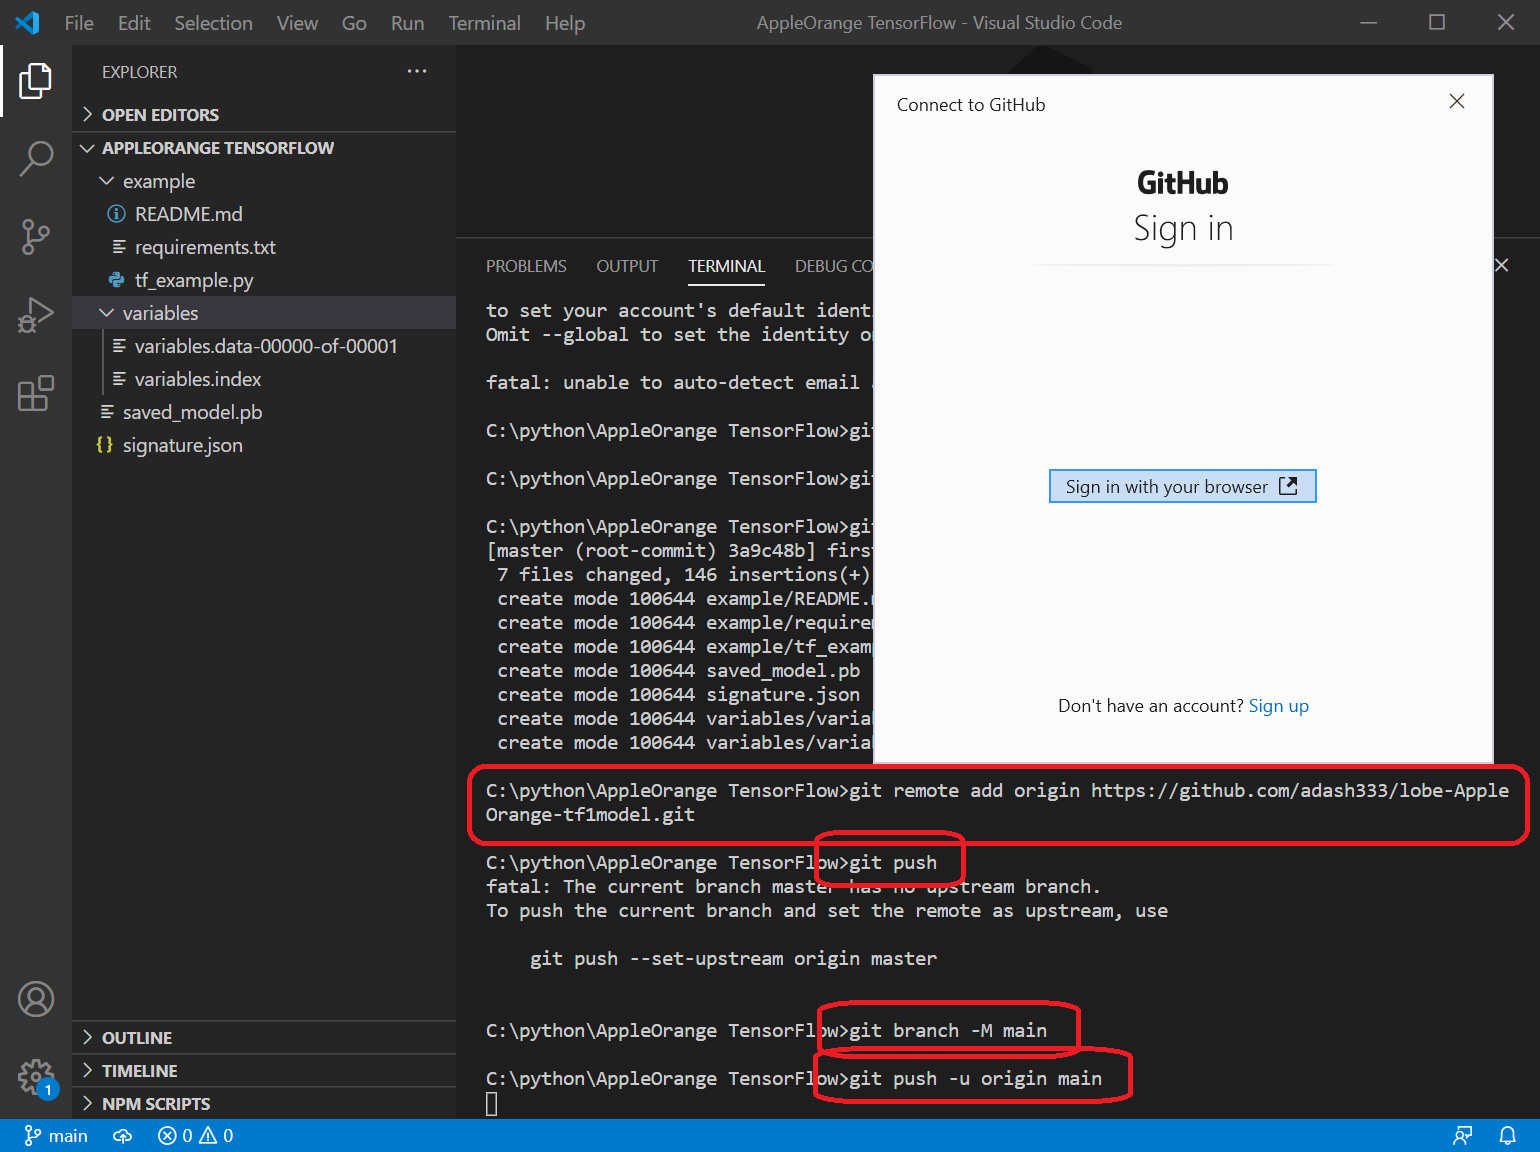
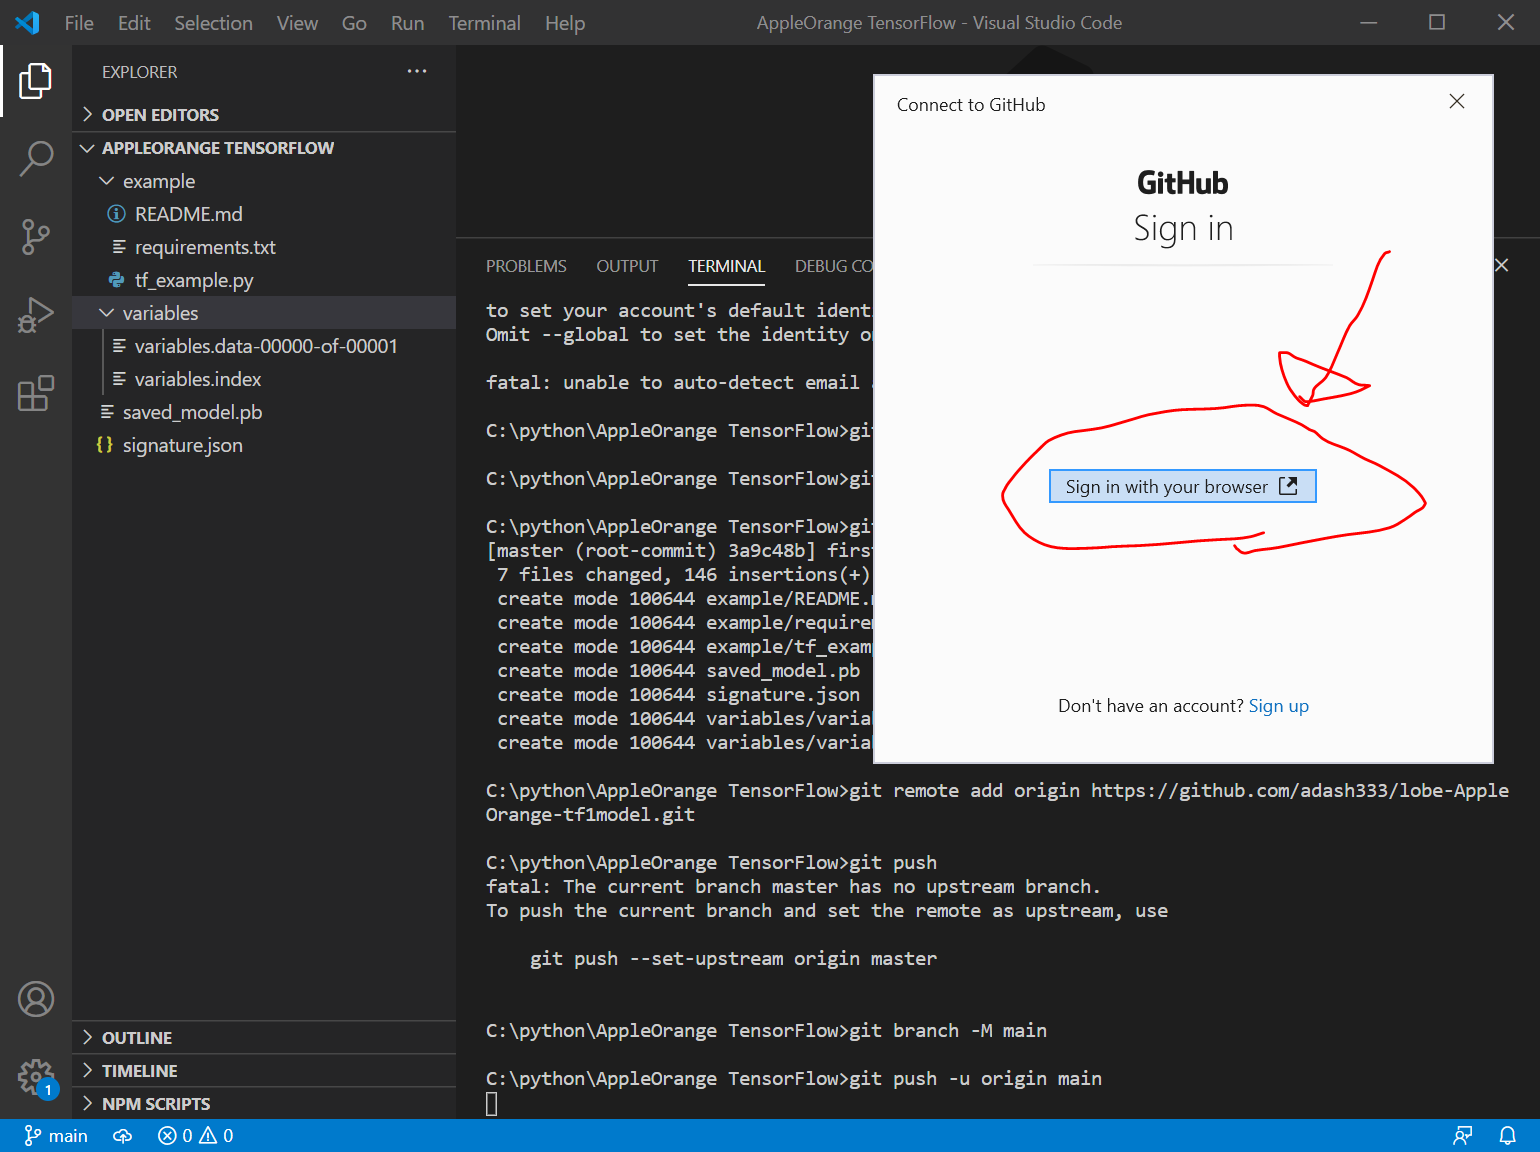
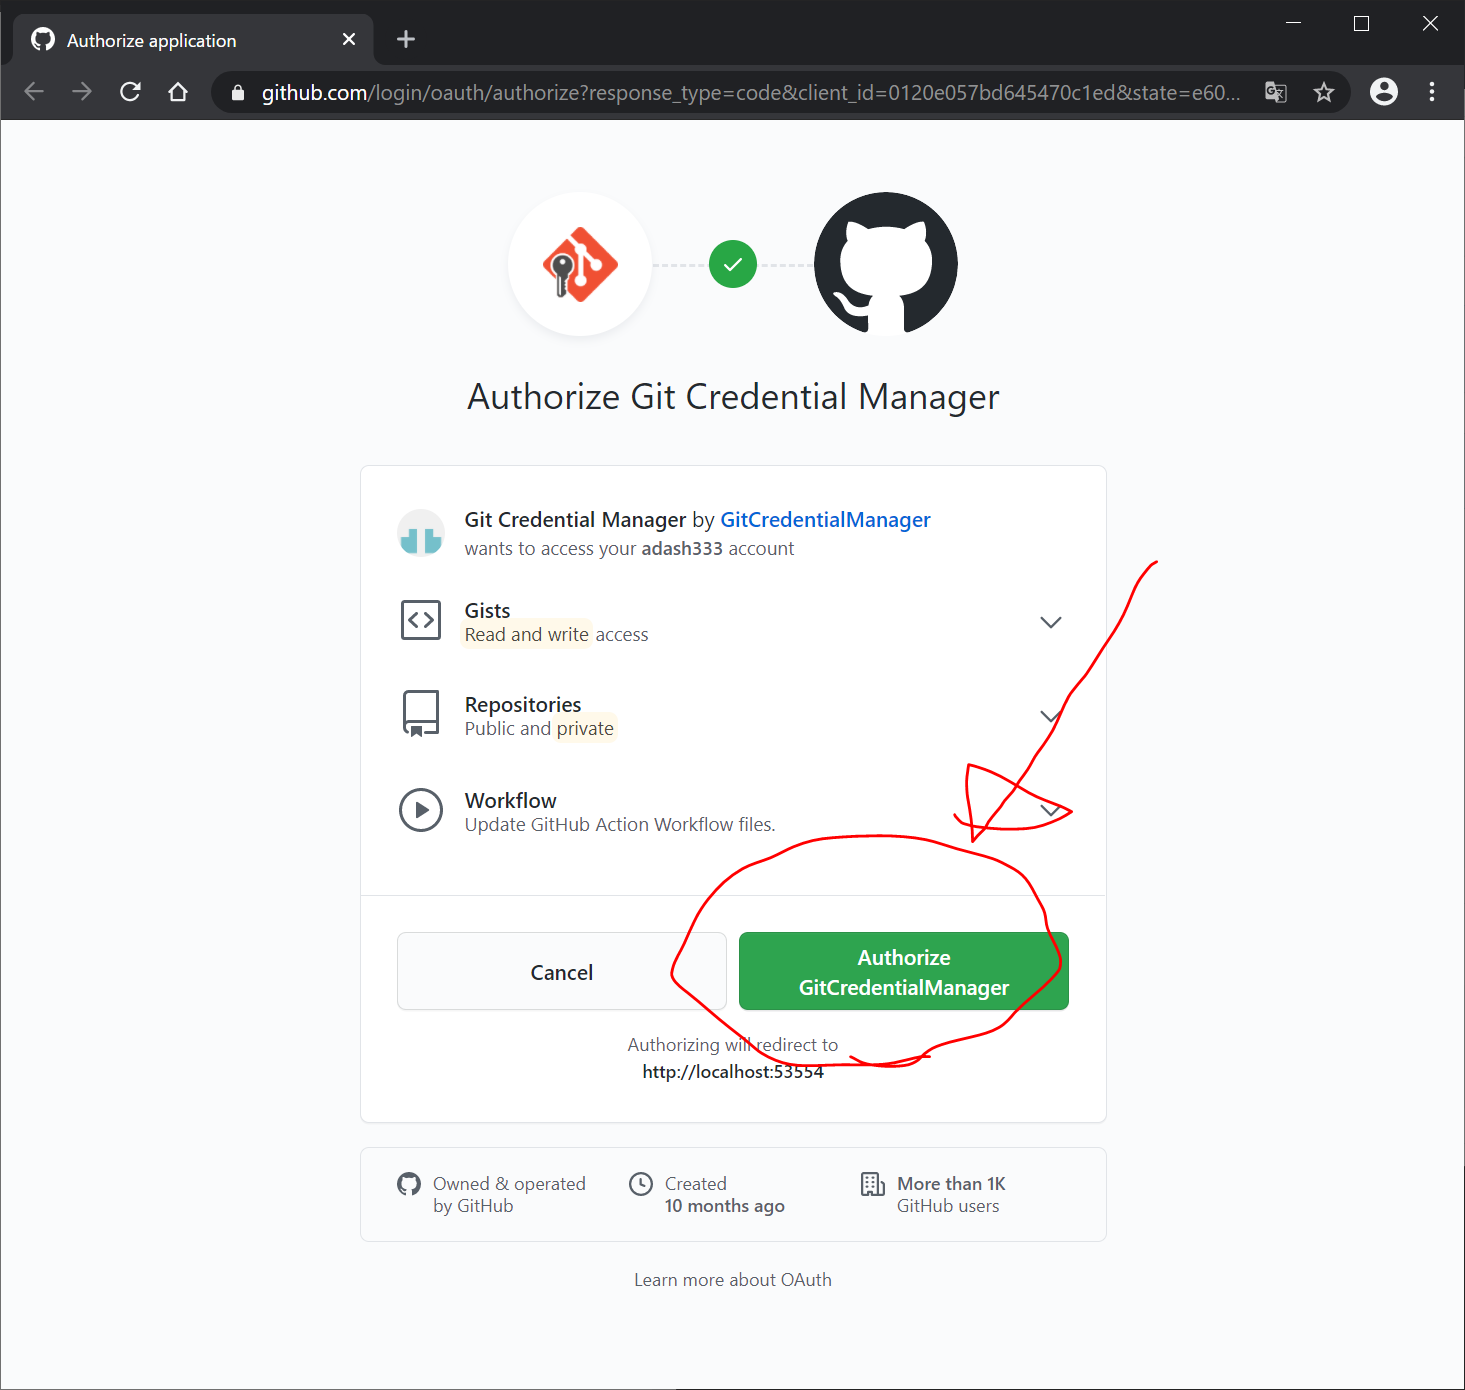
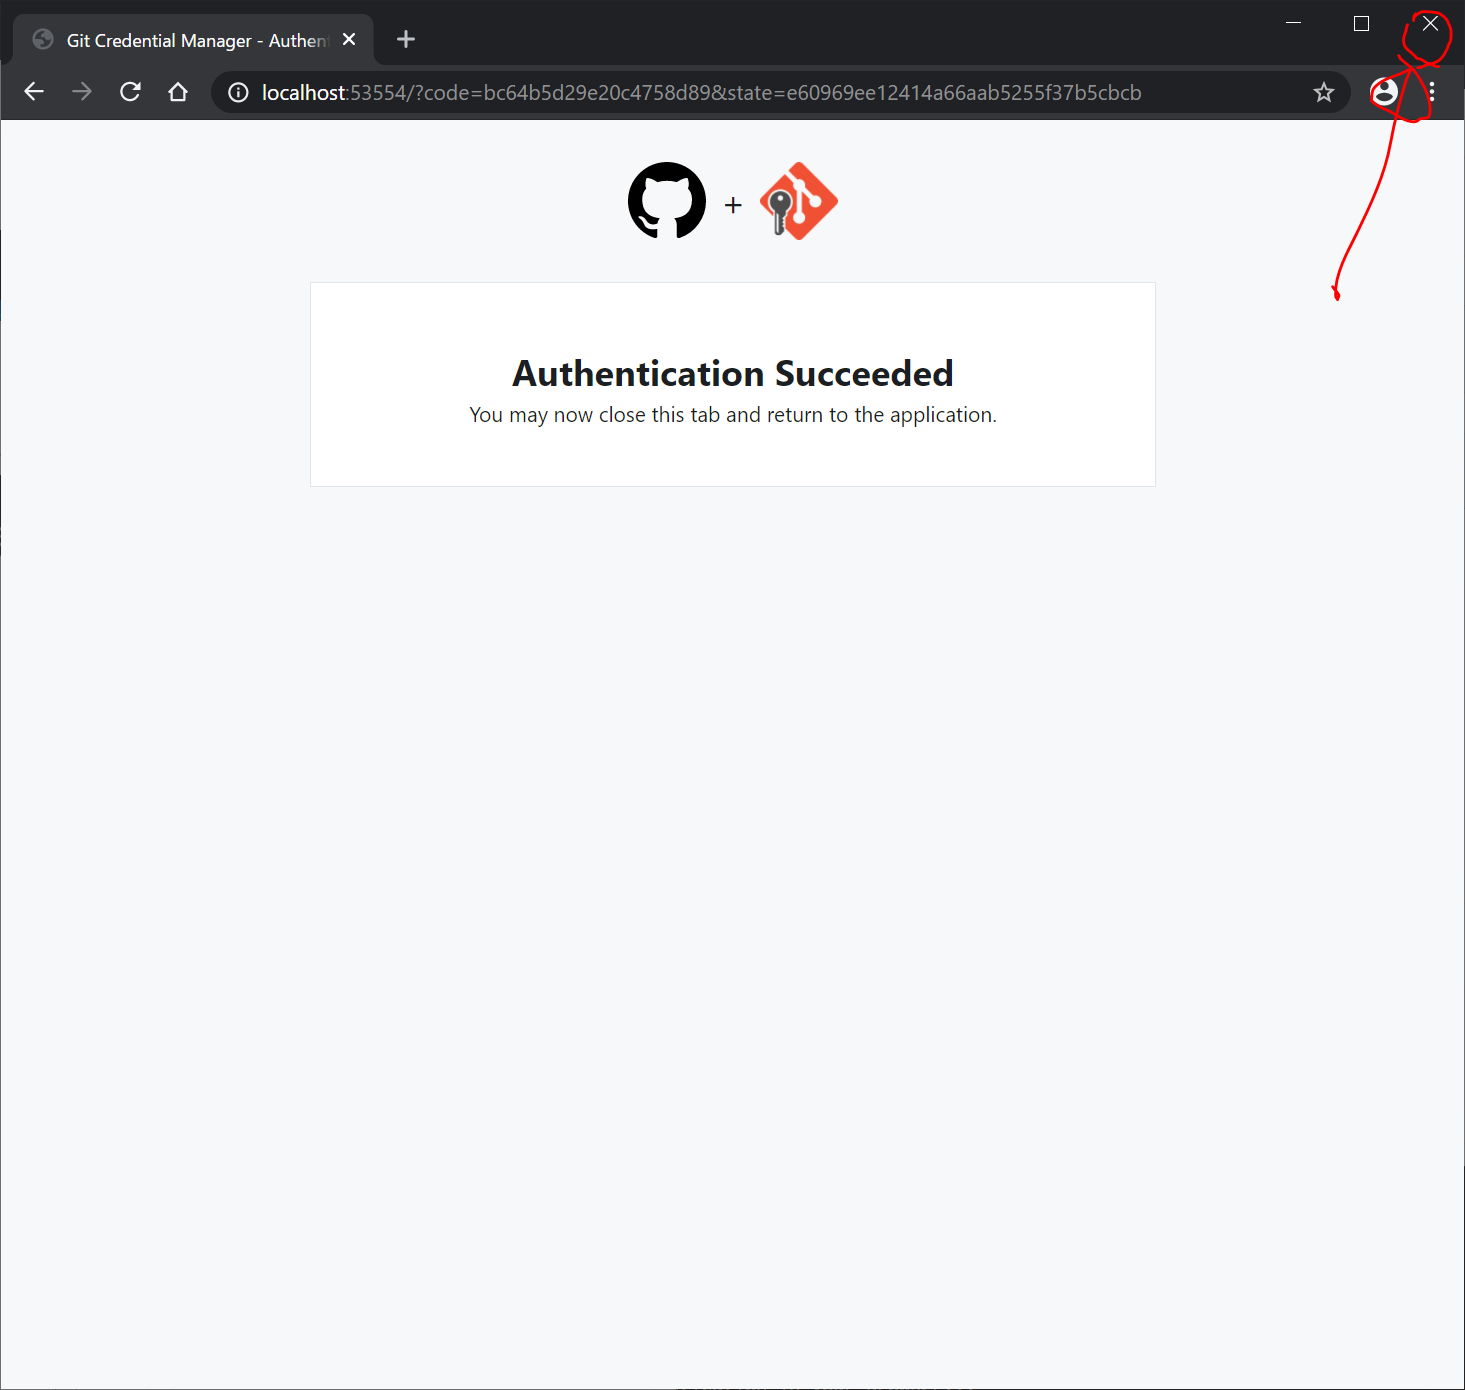
どうやら、これで、git for WindowsとGitHubの連携ができたようです。
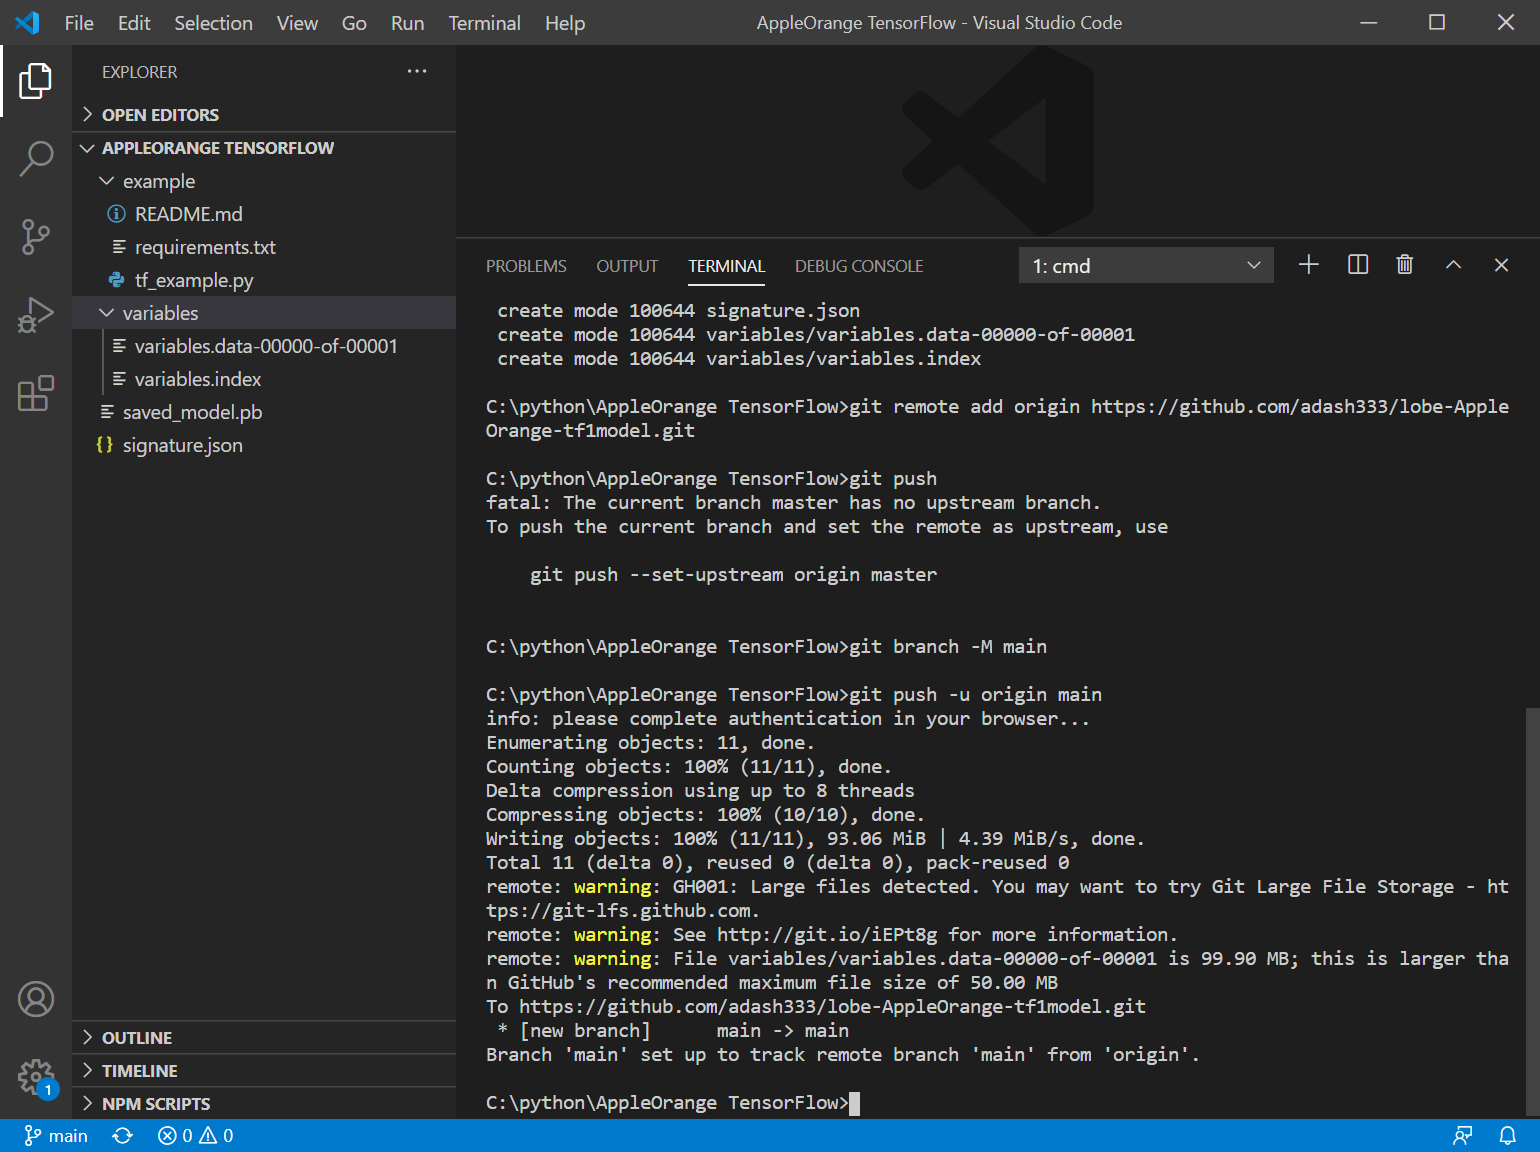
https://github.com/adash333/lobe-AppleOrange-tf1model を更新すると、以下のように、AppleOrange TensorFlow の中身がGitHubにアップロードされたことが確認できます。
さあ、これをどうやってWEBアプリにしたらよいものだろうか、、、調べてみます。。。
ソースコード
https://github.com/adash333/lobe-AppleOrange-tf1model
参考リンク
https://qiita.com/tkinjo1/items/bbcb77fb0f4b8fe79a81
https://qiita.com/h-takauma/items/cd51dc1d8590538765f0
https://note.com/syo_chang/n/n3ec6a7d6b6d1