WindowsユーザーがMacBookAirを購入してみた(4)HomebrewのインストールとAppleWatchアプリをGitHubへpush
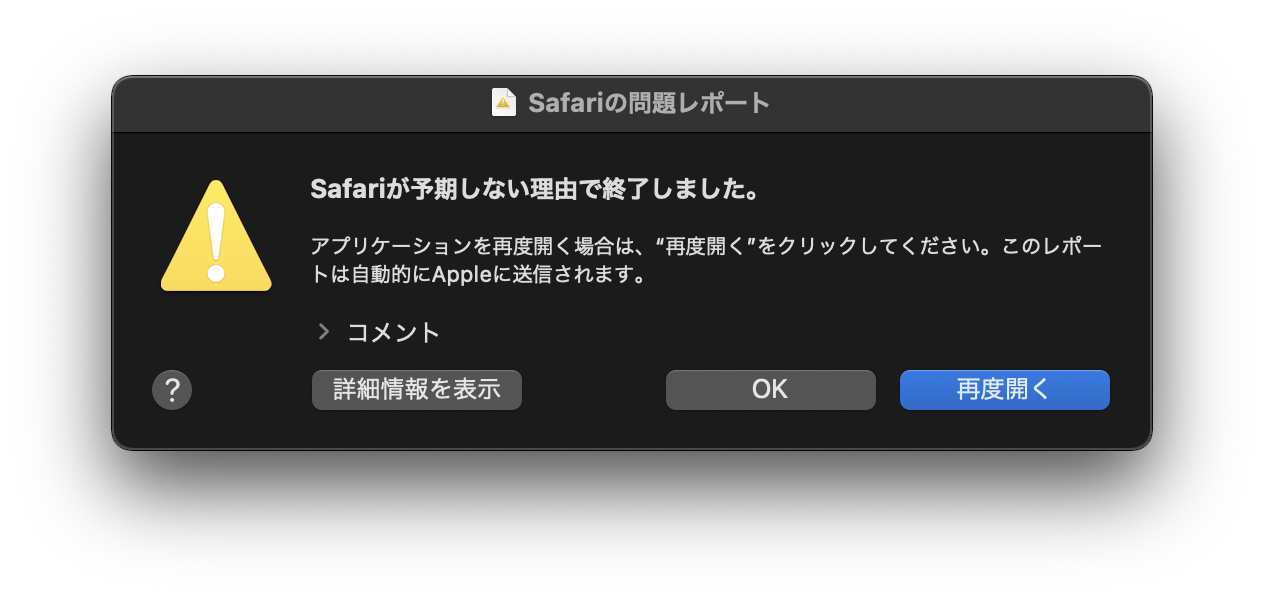
Safariでこのブログを書いていたら、いきなり上記のようになって終了しました。Macは結構こういうことが多いのでしょうか、、、よくわかりません。
で、AppleWatch実機でHelloWorldすることができたので、このソースコードをGitHubにpushしたいと思います。
なるべく、M1(Apple Silicon)用のアプリを使っていきたいと思います。(参考:絶対にRosetta 2を入れてはいけないM1 Mac開発環境構築 2021-2-1版)
WindowsユーザーがMacBookAirを購入してみた 目次
- (1)調子に乗ってUSキーボードにしたら日本語入力切り替えがしんどい!
- (2)XcodeインストールとiOSとwatchOSのアップデートに合計10時間かけてAppleWatch実機で”HelloWorld”
- (3)追加購入したUSB-HDMIアダプタが熱くて壊れそう/iPhoneの写真をMacにAirDropできて便利
- (4)HomebrewのインストールとAppleWatchアプリをGitHubへpush
開発環境
MacBookAir (M1, 2020)
macOS Big Sur 11.6
git version 2.30.1 (Apple Git-130) (最初から入っていたもの)

iPhone12mini, iOS 15.0
AppleWatch Series 6, watchOS 8.0
今回構築した環境
xcode-select version 2384.
Homebrew 3.2.13
VisualStudioCode 1.60.2
Homebrew(M1用)をインストール
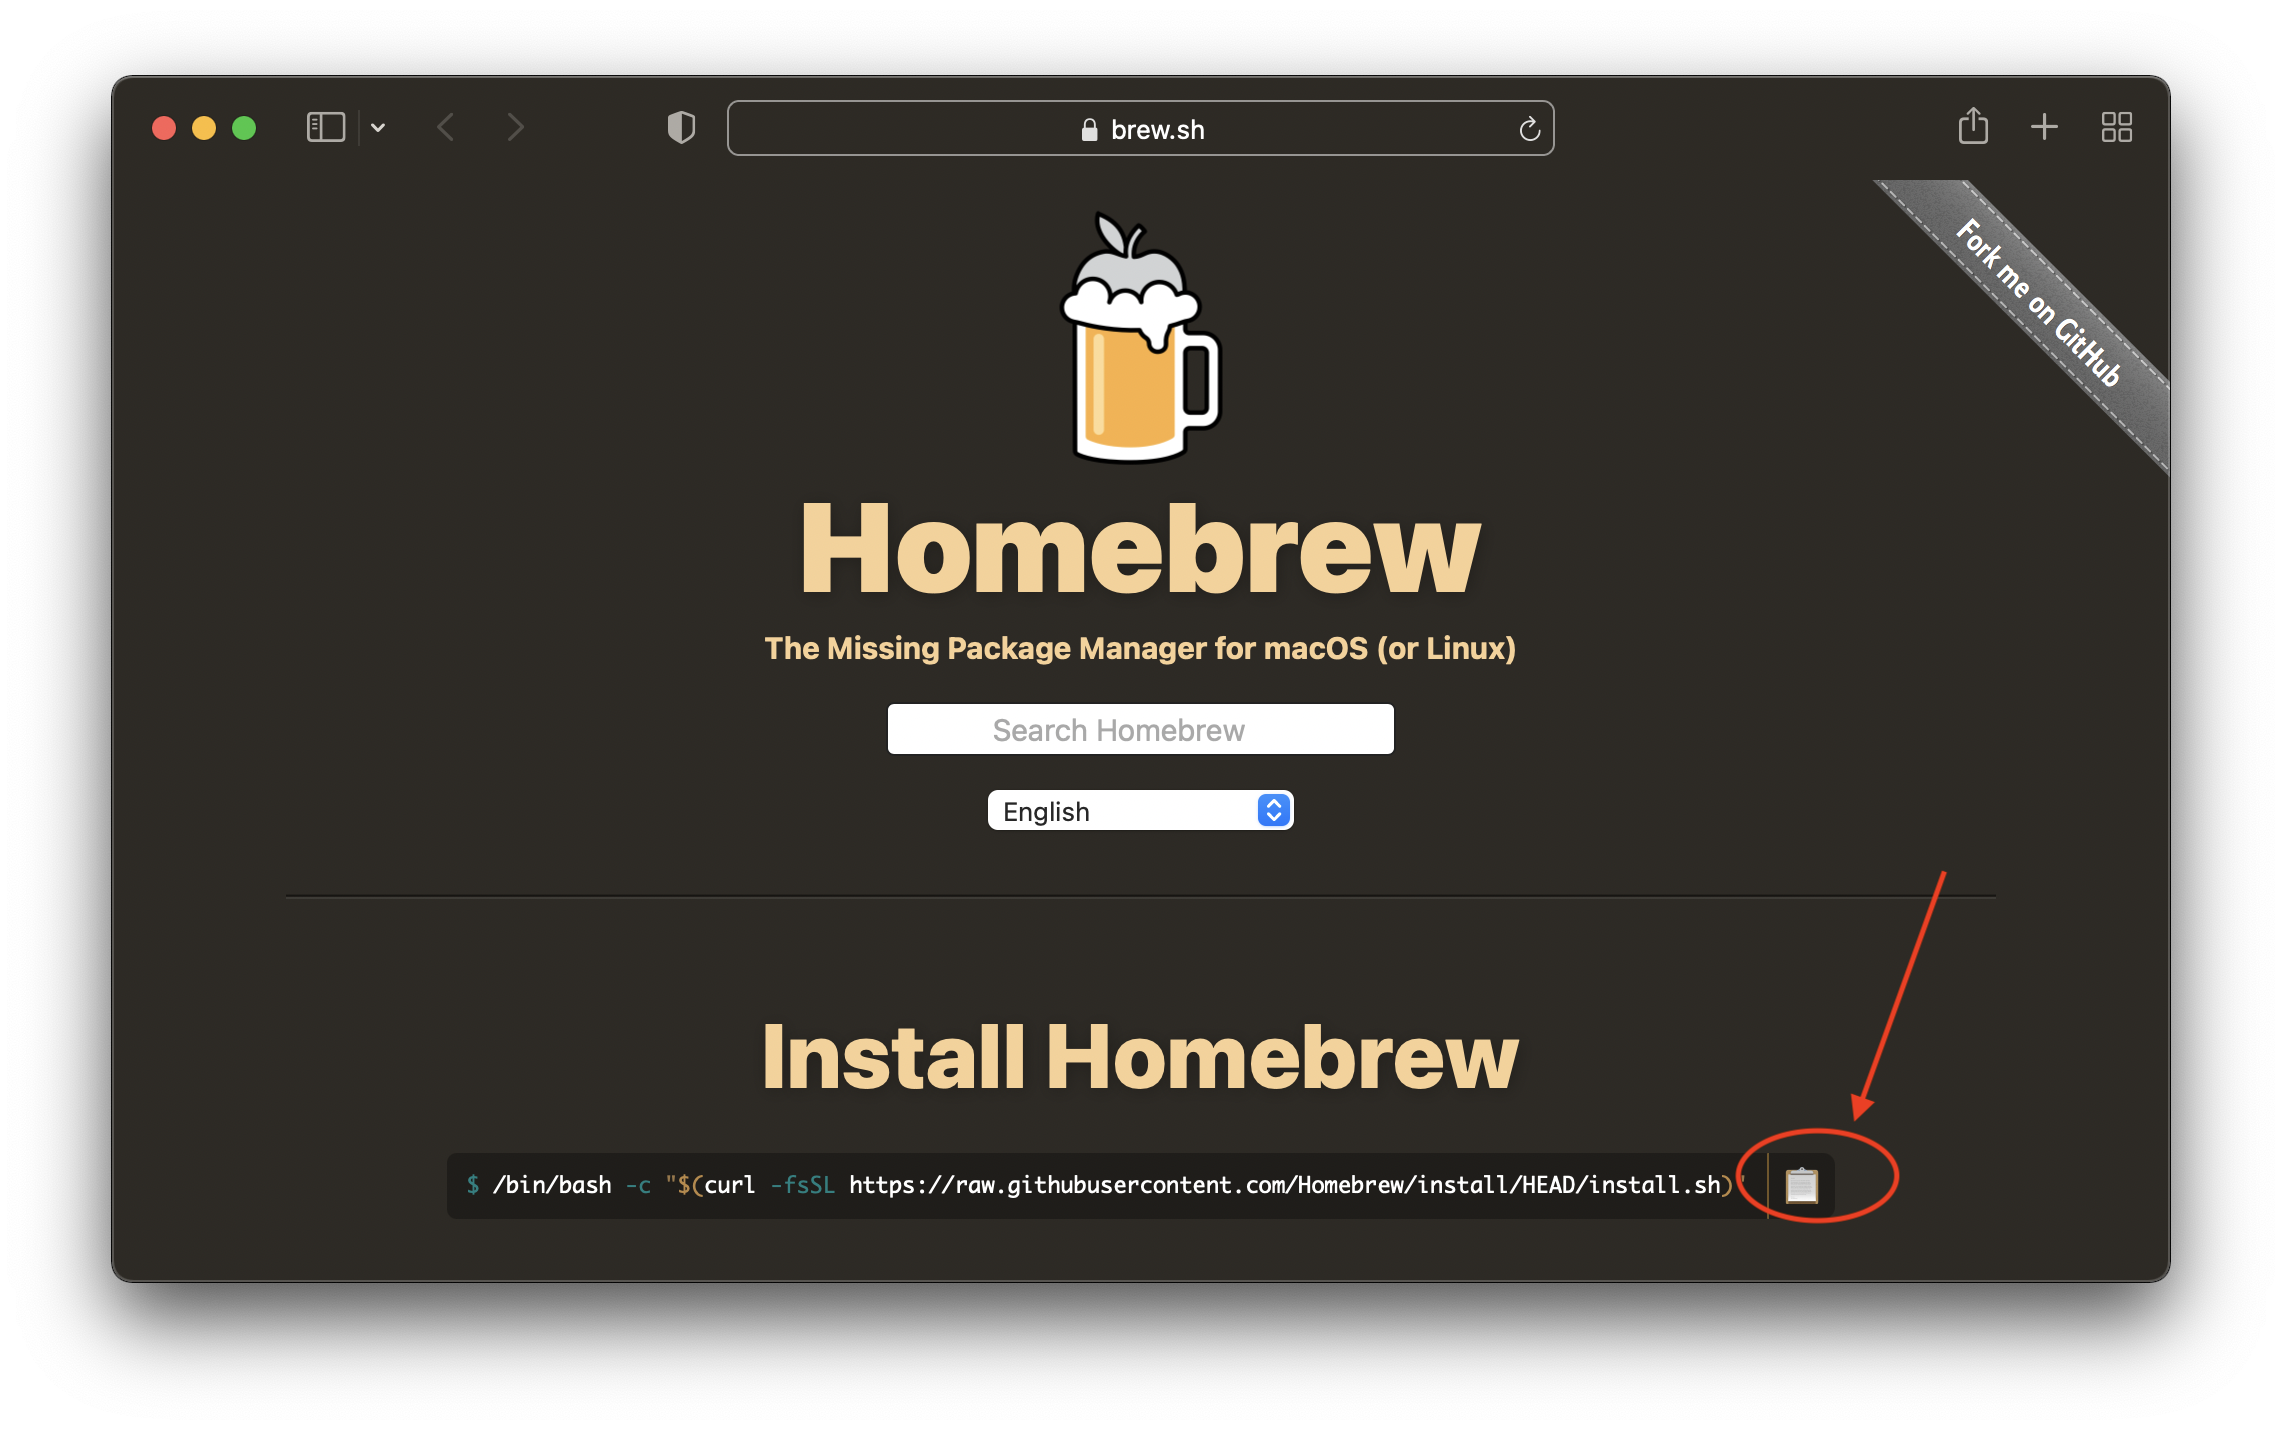
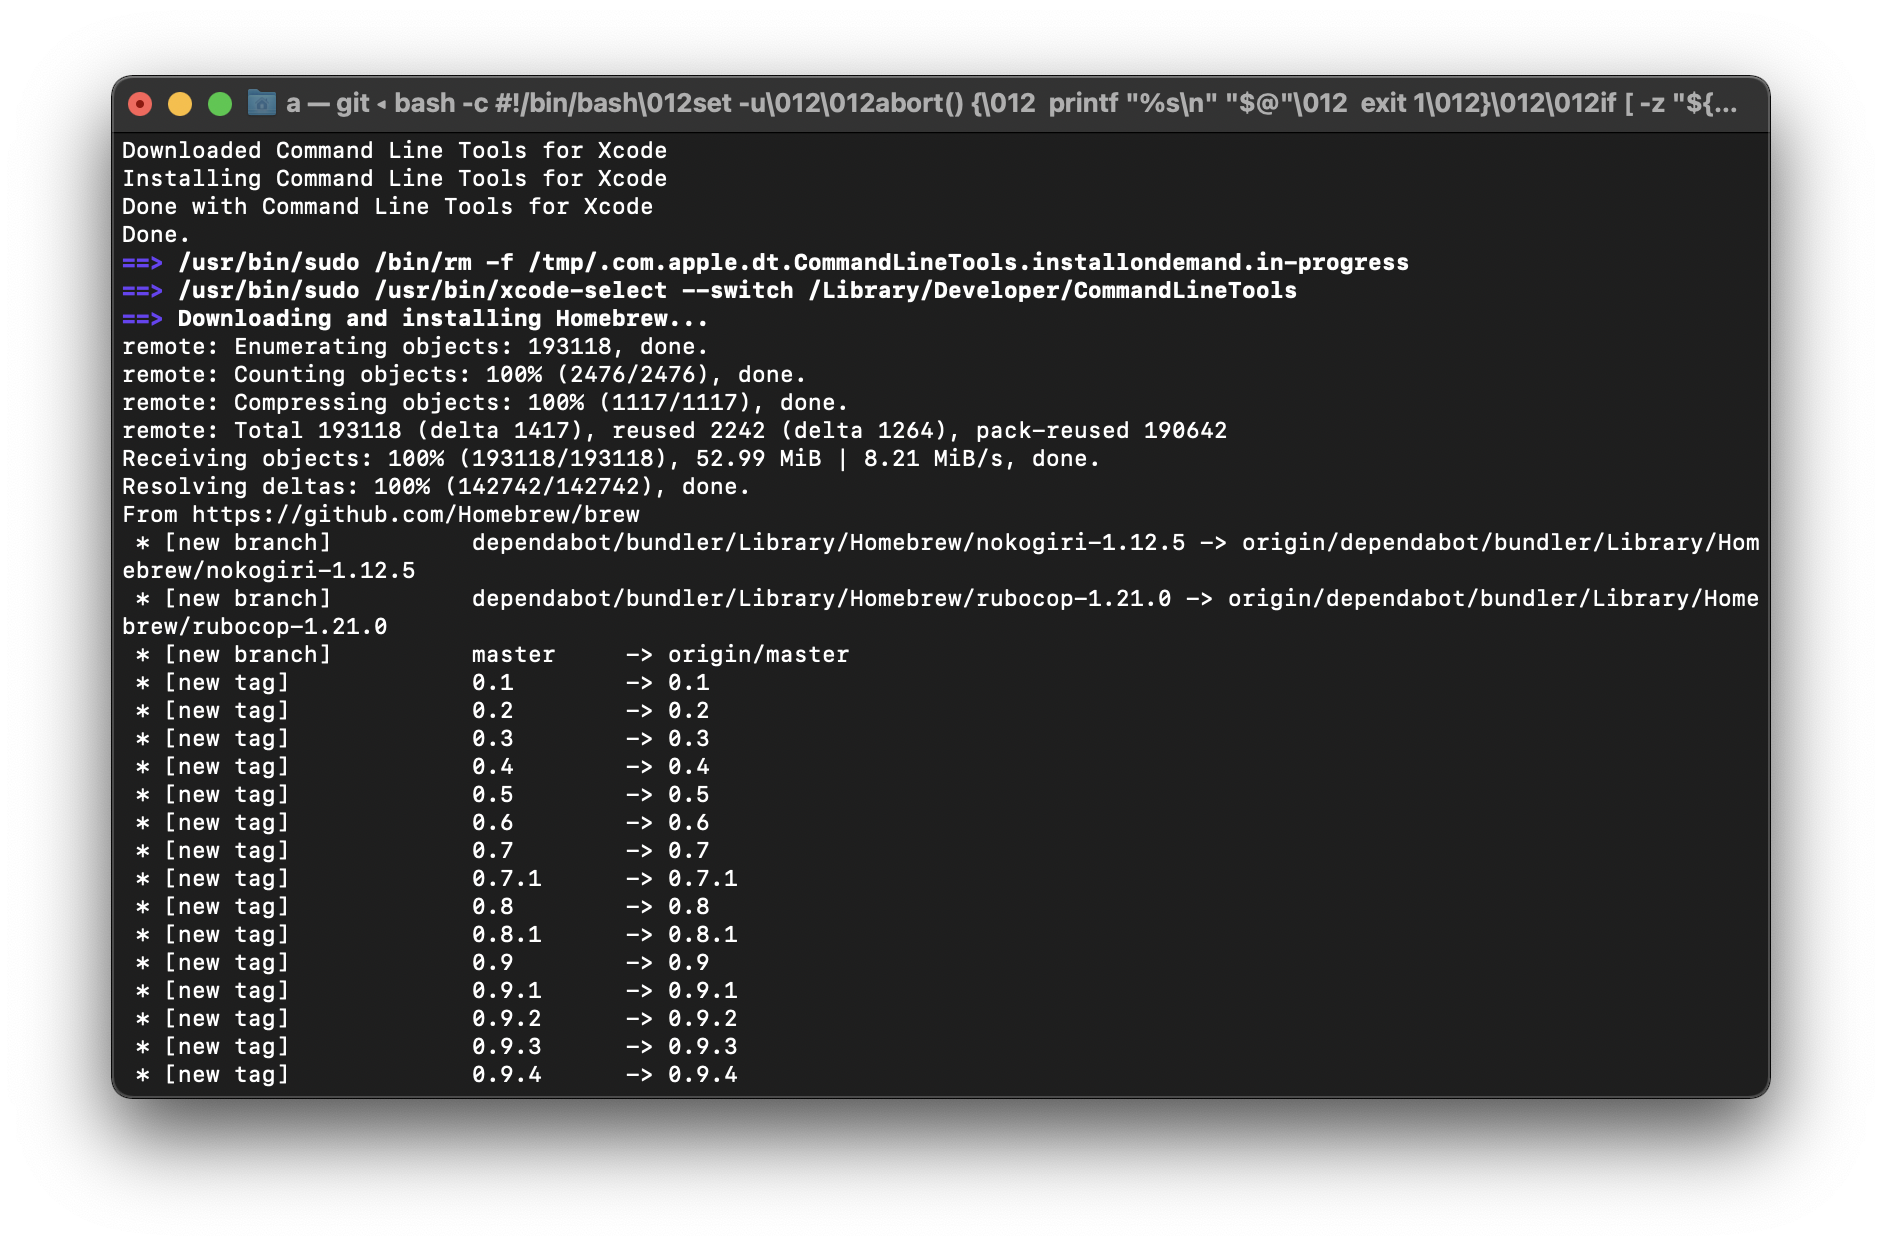
2021/2月頃に、HomebrewもM1に対応したそうです。やってみます。
上記サイトの赤の丸で囲んだところをクリックして、中身を「メモ」などに貼り付けておきます。
/bin/bash -c "$(curl -fsSL https://raw.githubusercontent.com/Homebrew/install/HEAD/install.sh)"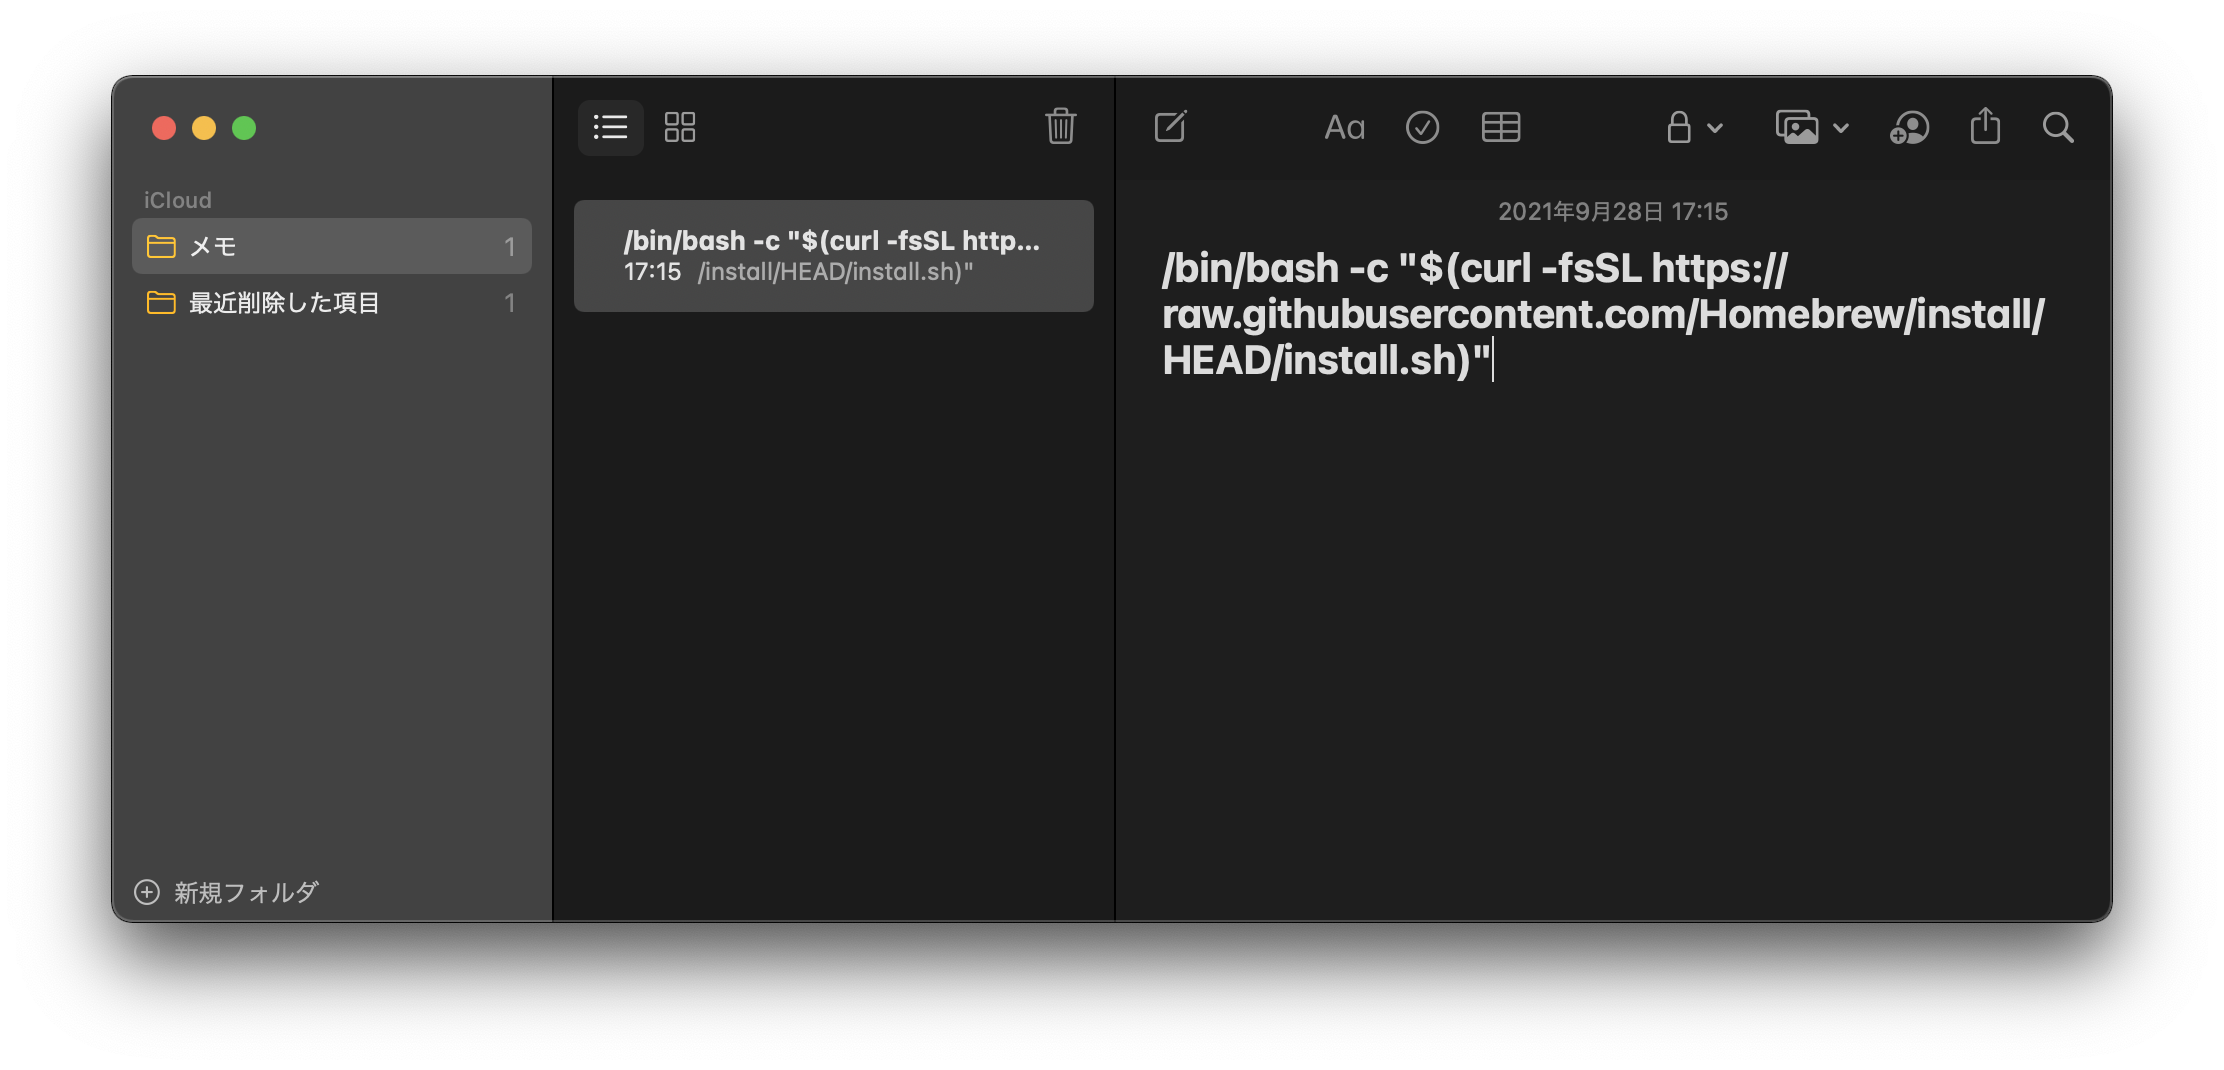
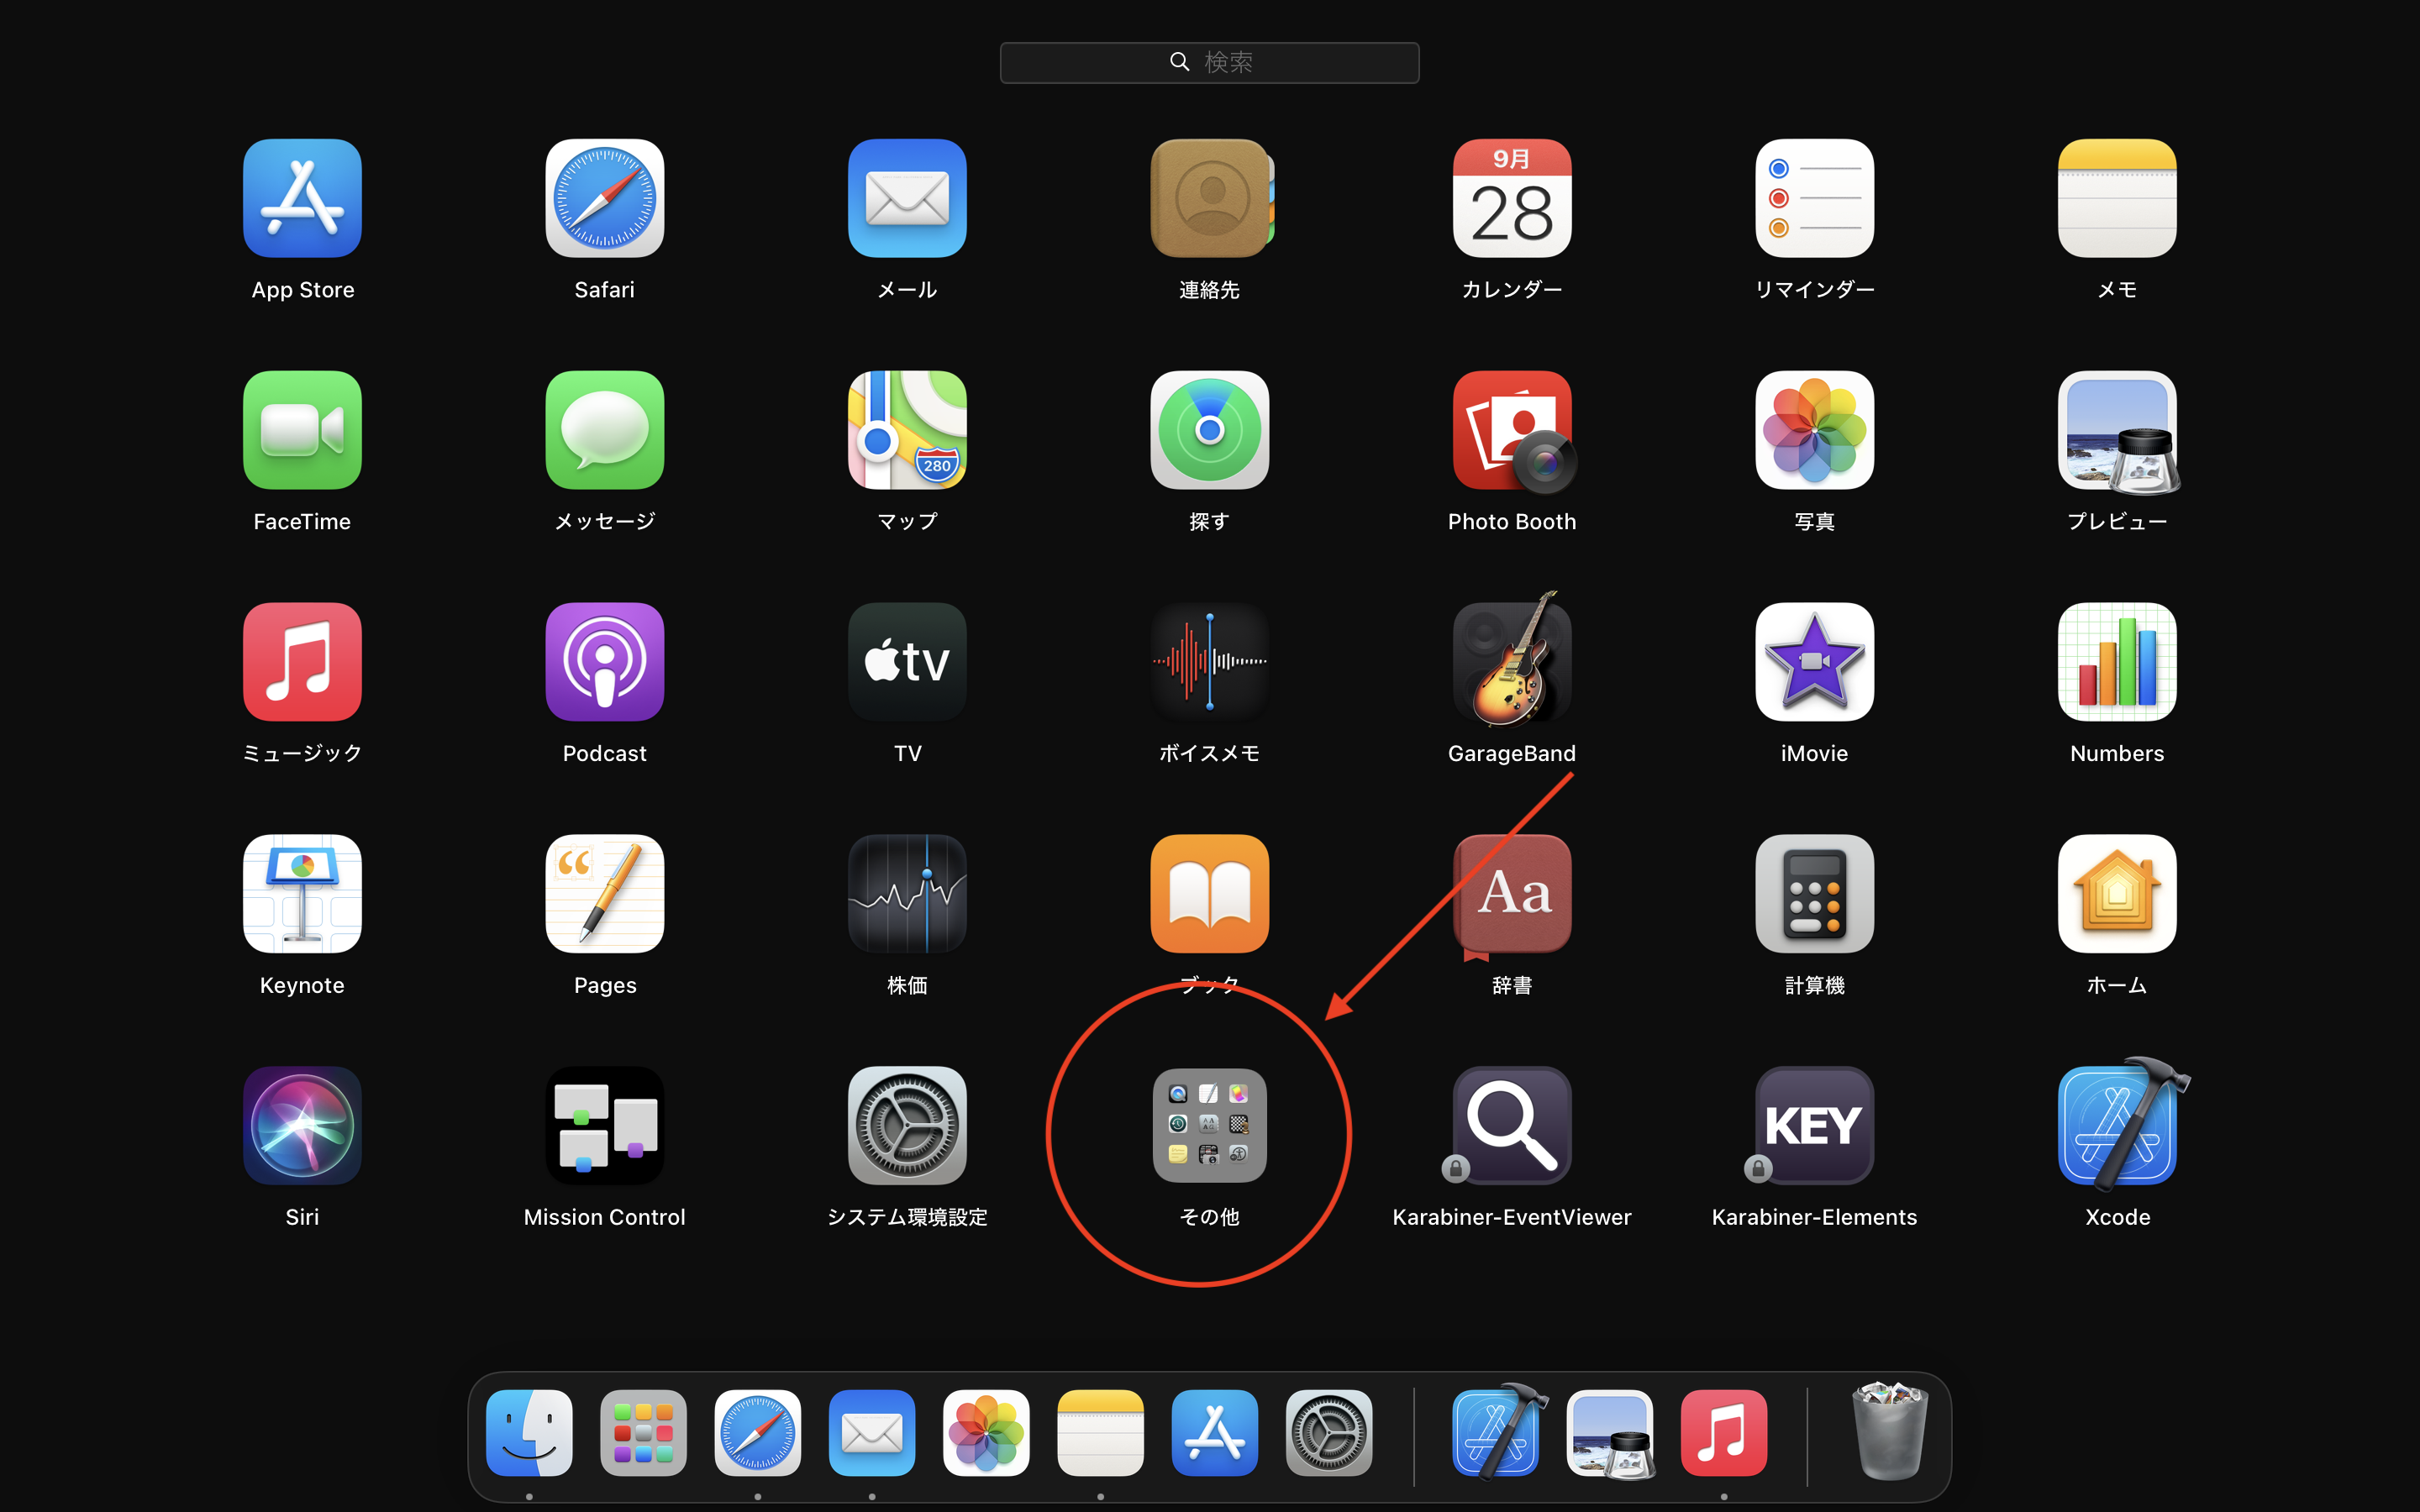
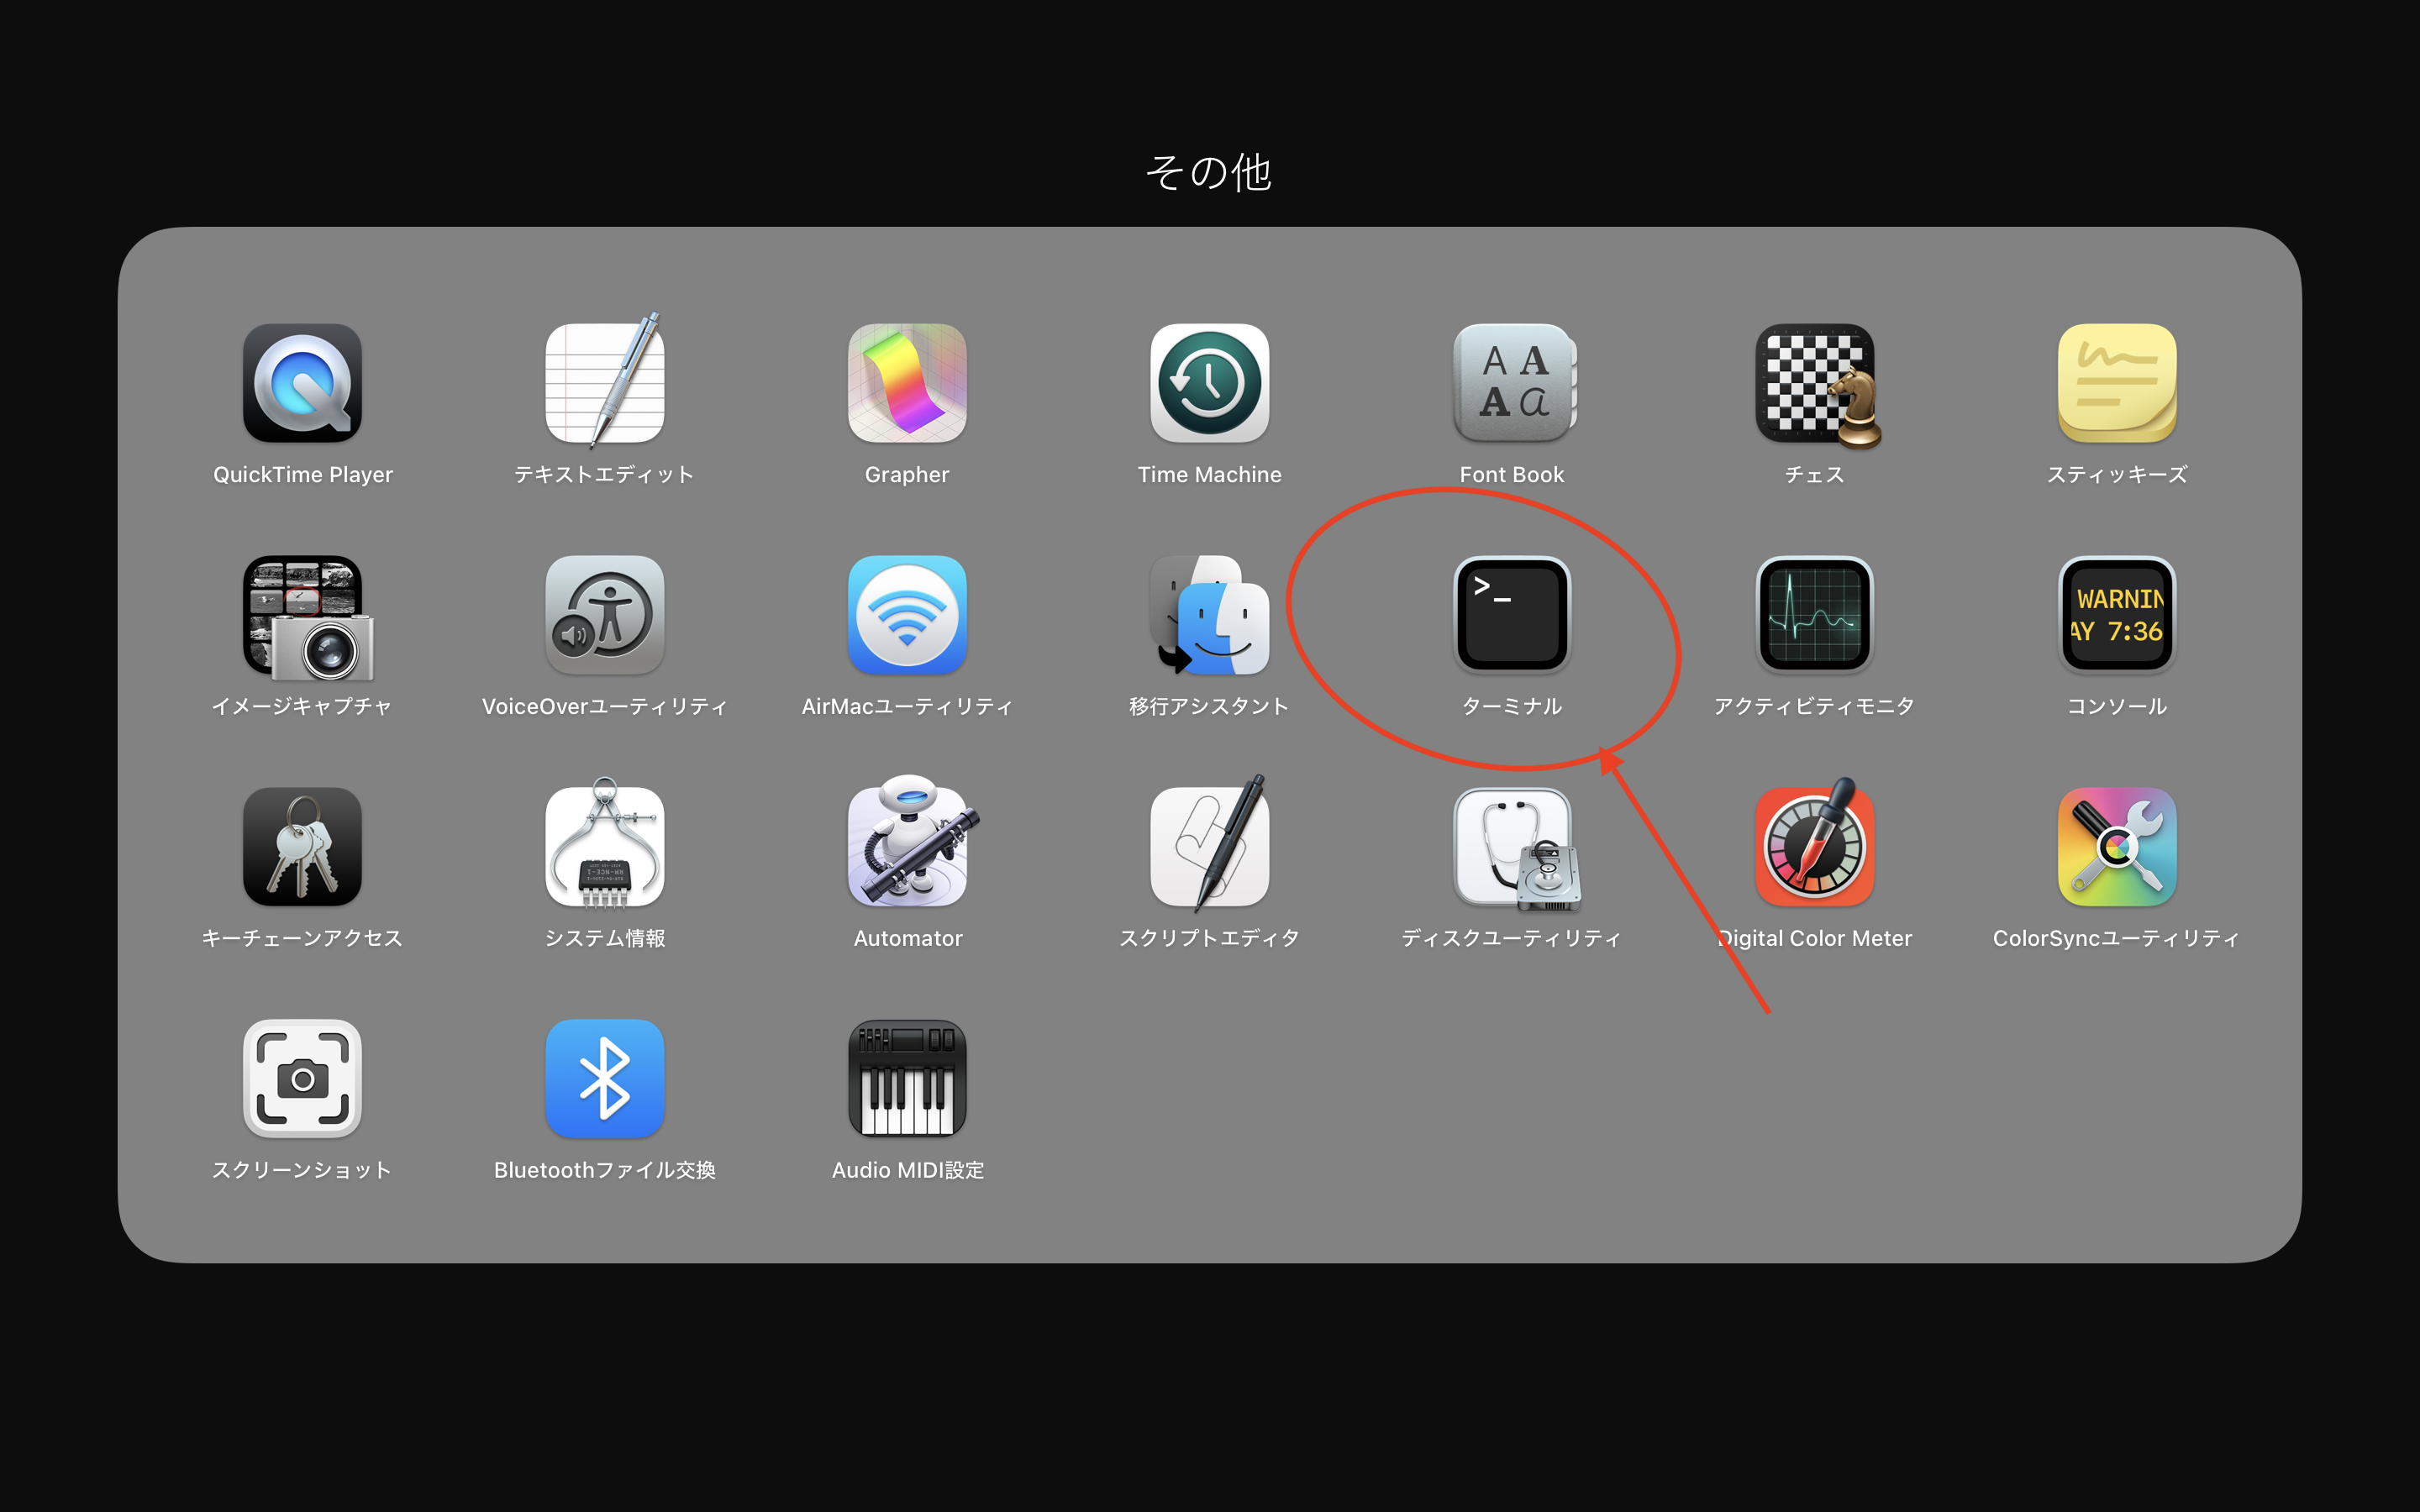
Dockから、Launchpad > その他 > ターミナル の順にクリックすると、ターミナルが起動します。

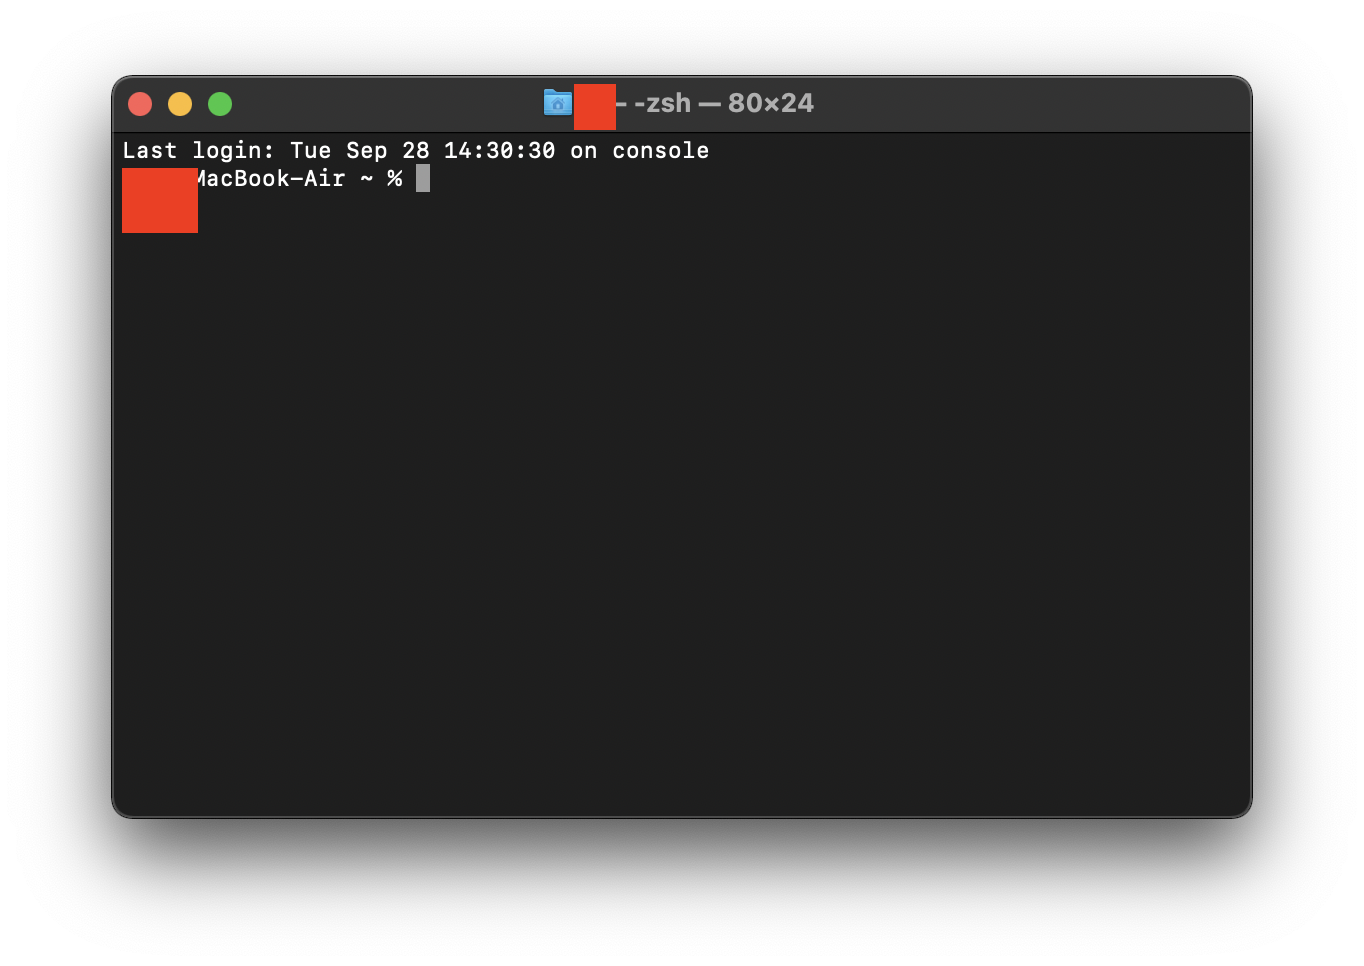
出ました!黒いがめん!2021年時点では、macのデフォルトシェルは"zsh"だそうです。
ここに、上記でコピーした物を入力し、returnを押します。すると、パソコンログイン時のパスワード入力が求められるので、入力して、return
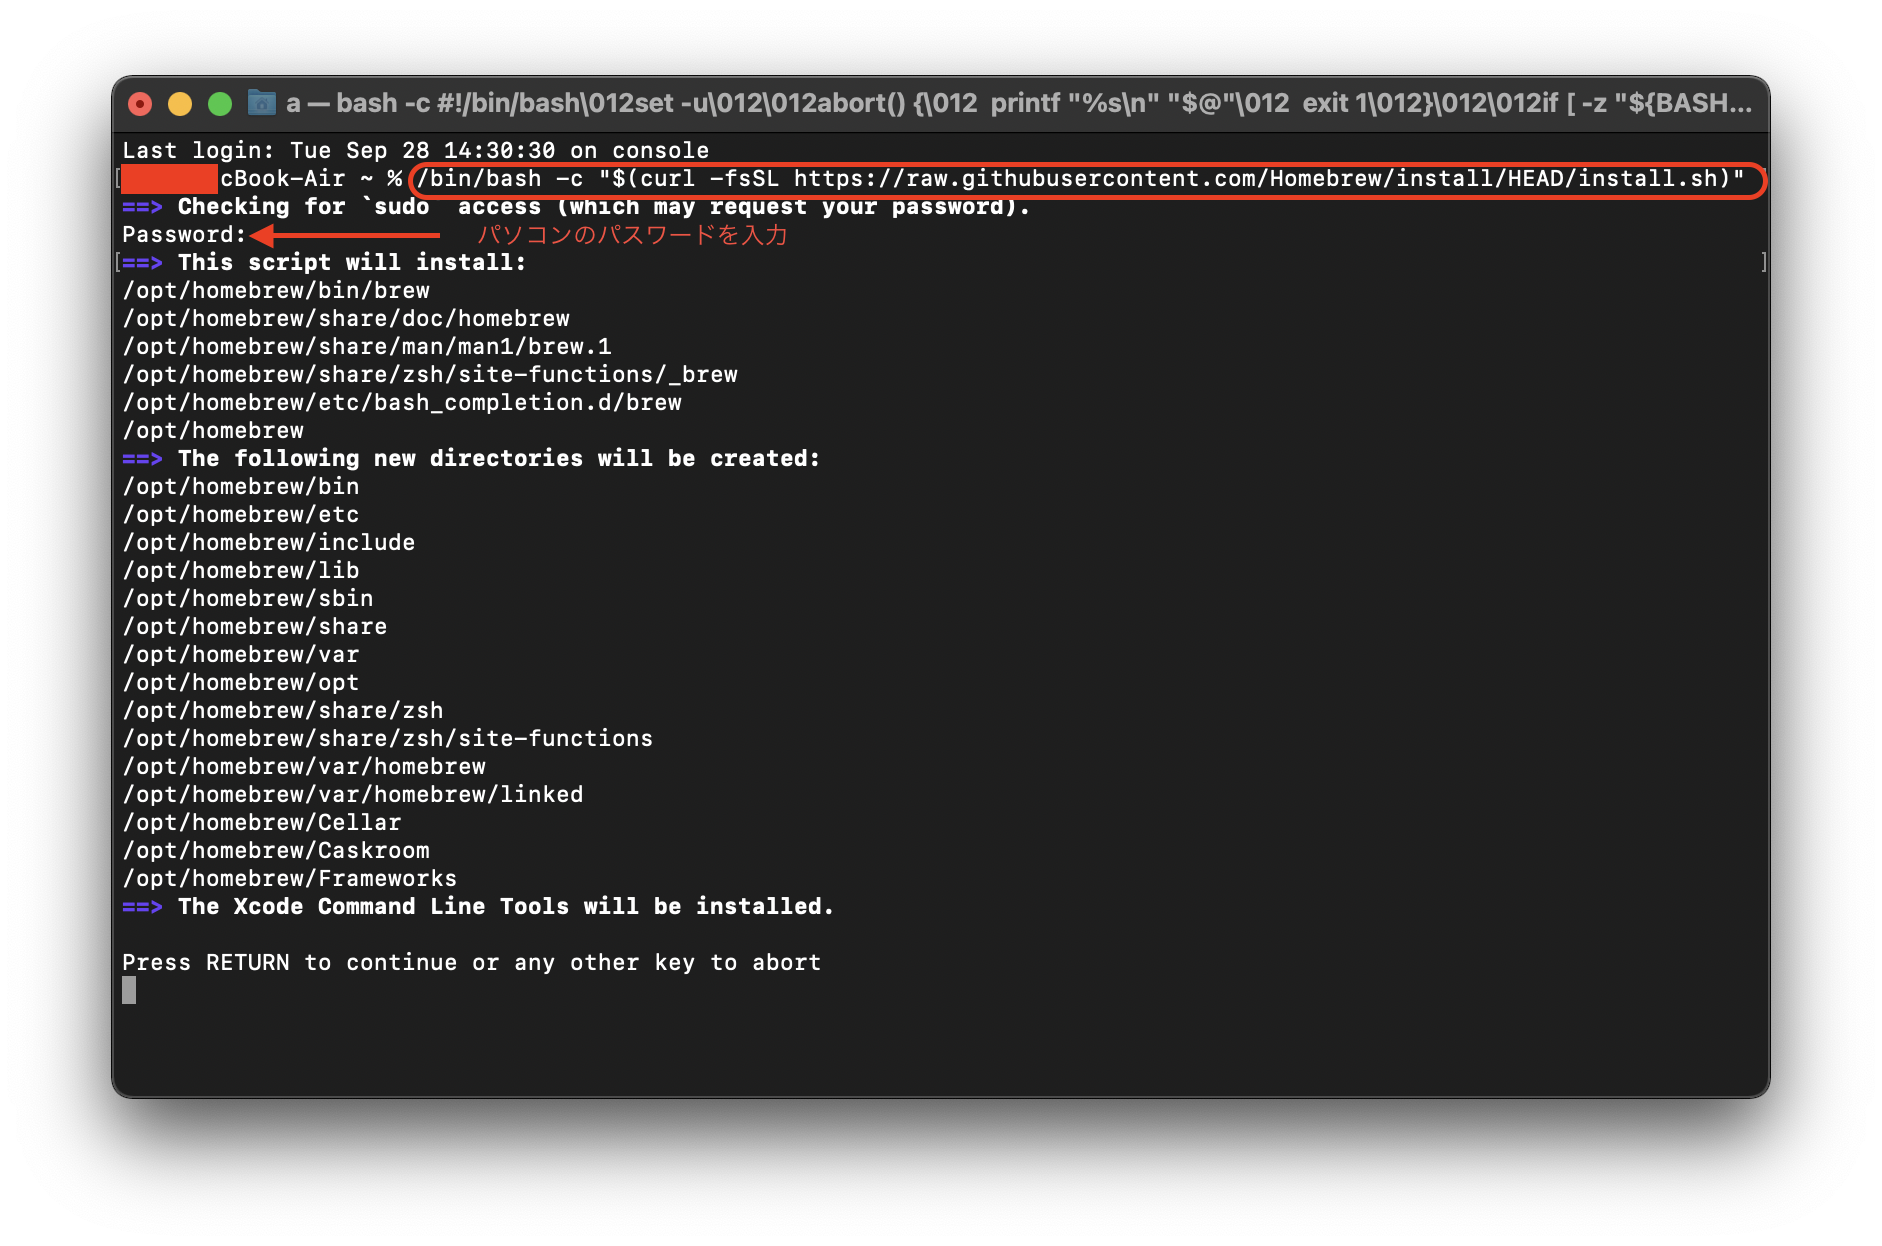
press RETURN と言われるので、returnキーを押します。
Xcode Command Line Toolsも自動的にインストールされるようです。なんかプログラミングっぽくなってきました。
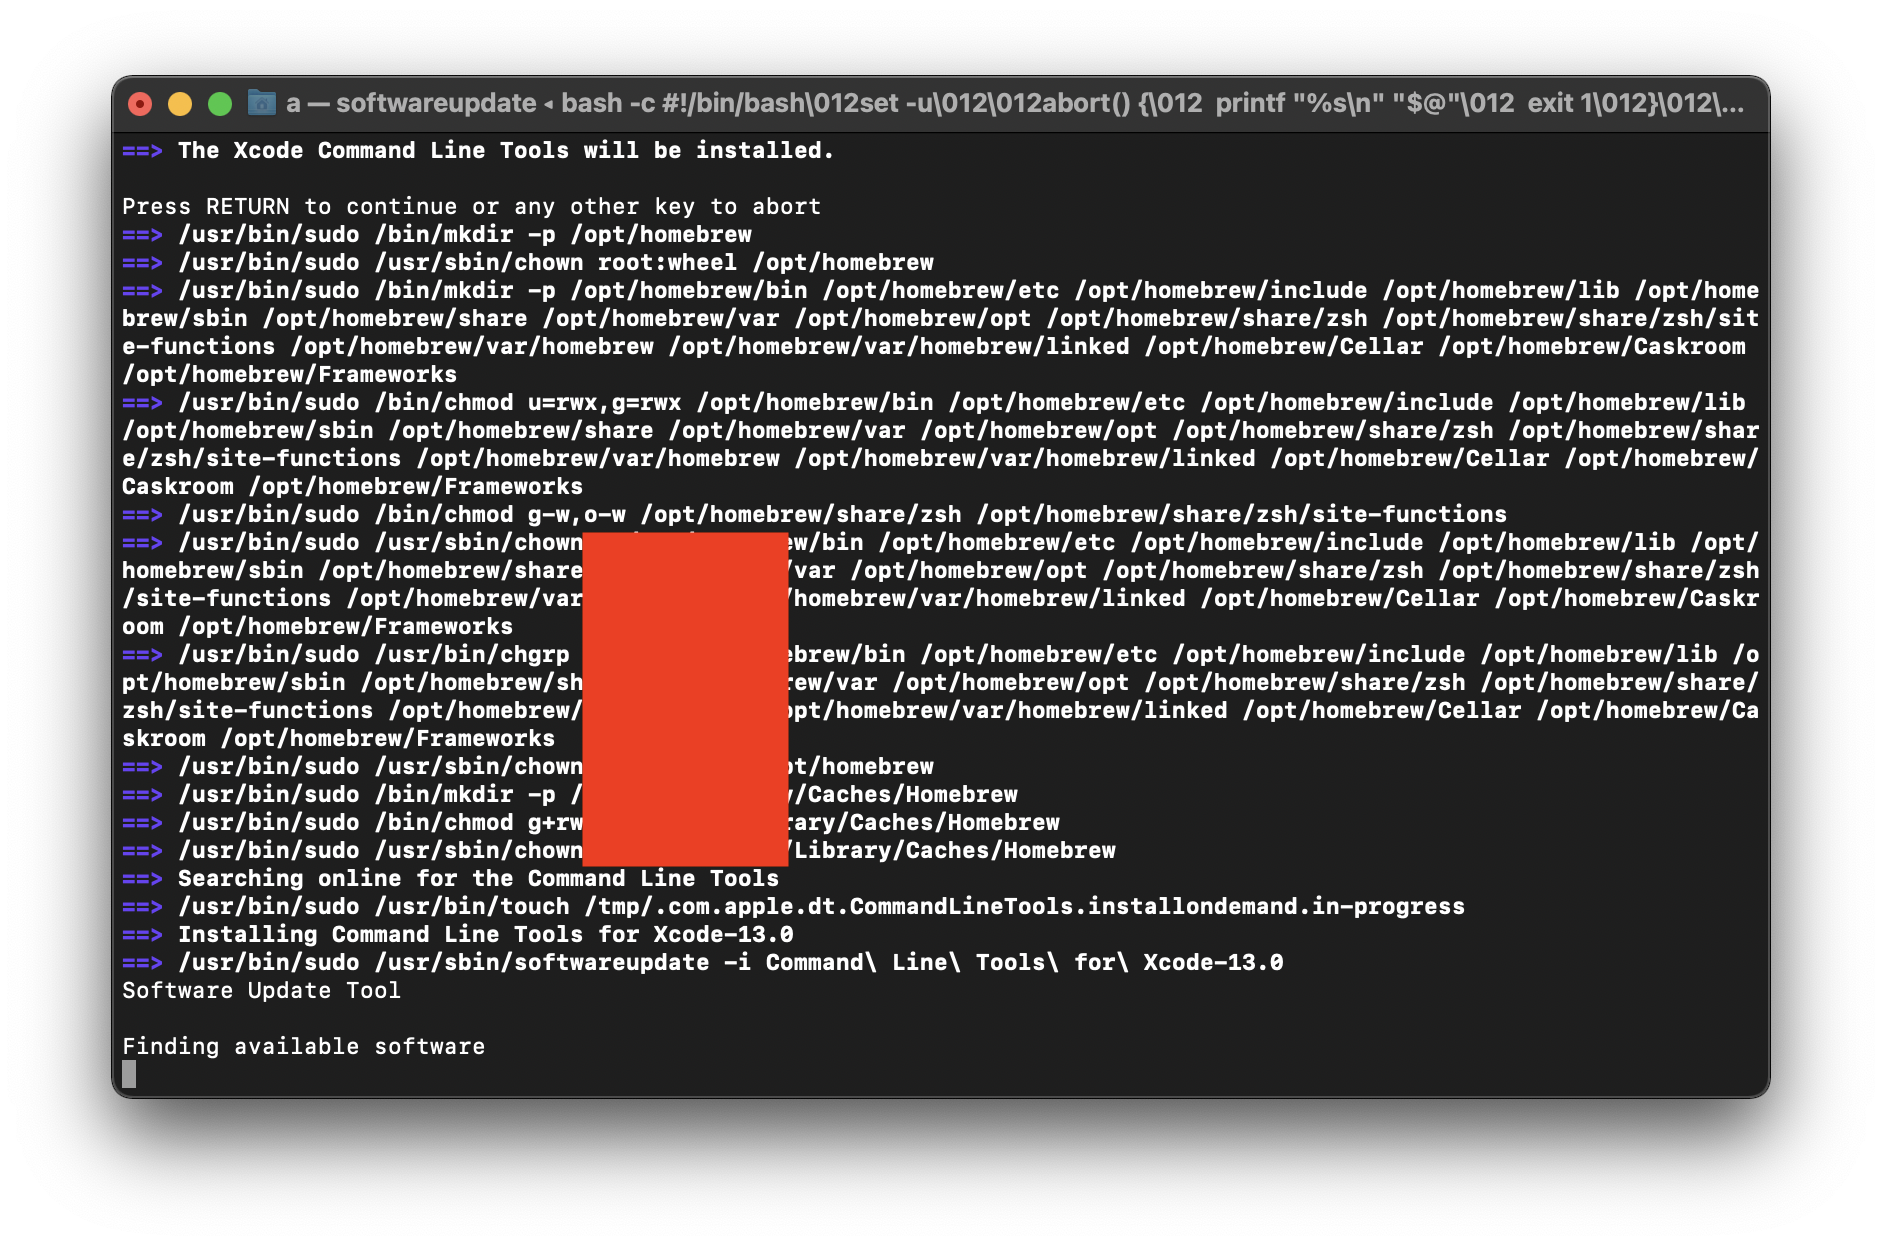
続いて、Homebrewもインストールされます。
このReceiving Objectsのところでものすごく時間がかかりそうです。何時間???
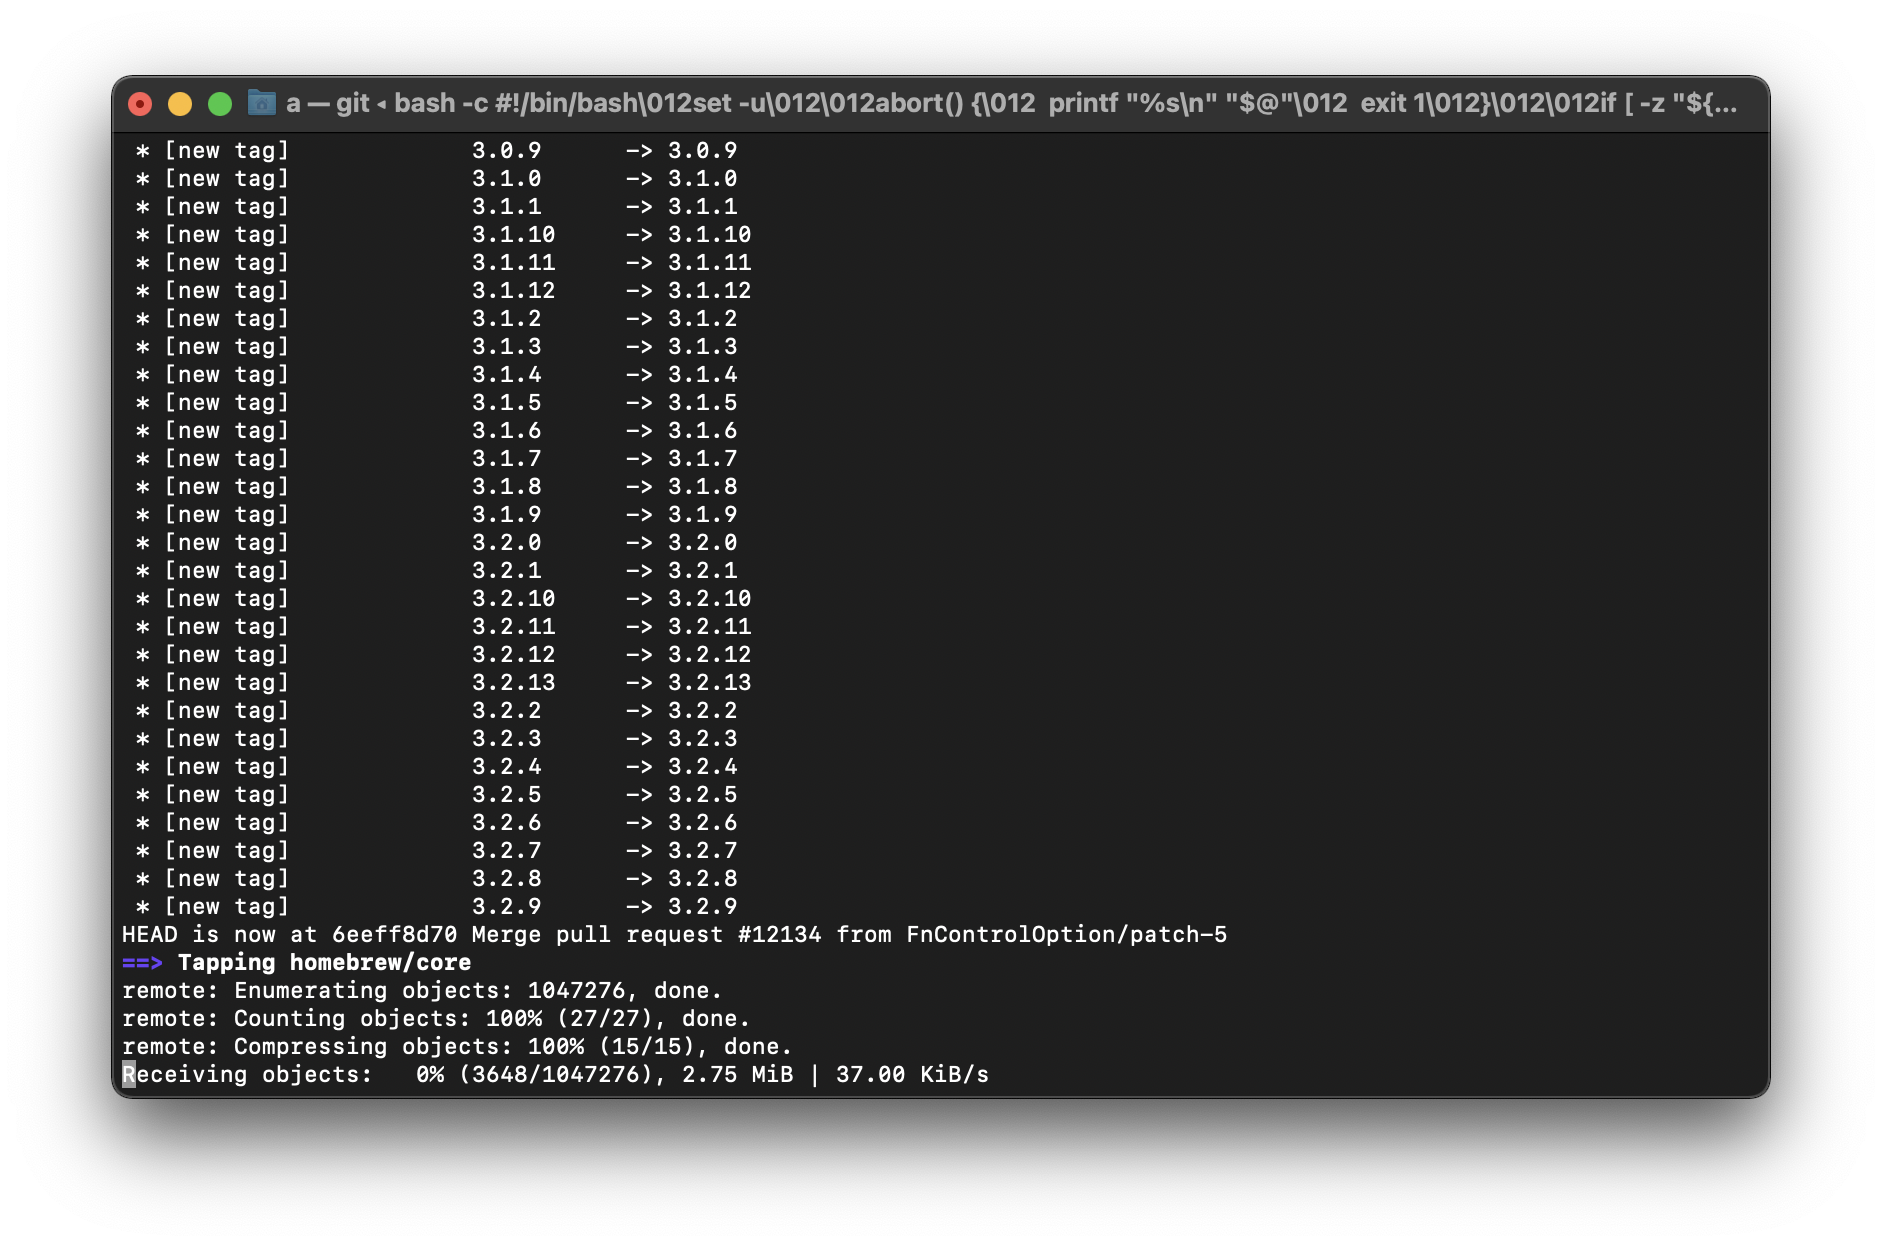
なんでこんなに遅いのでしょう???1時間経過してもまだ45%…
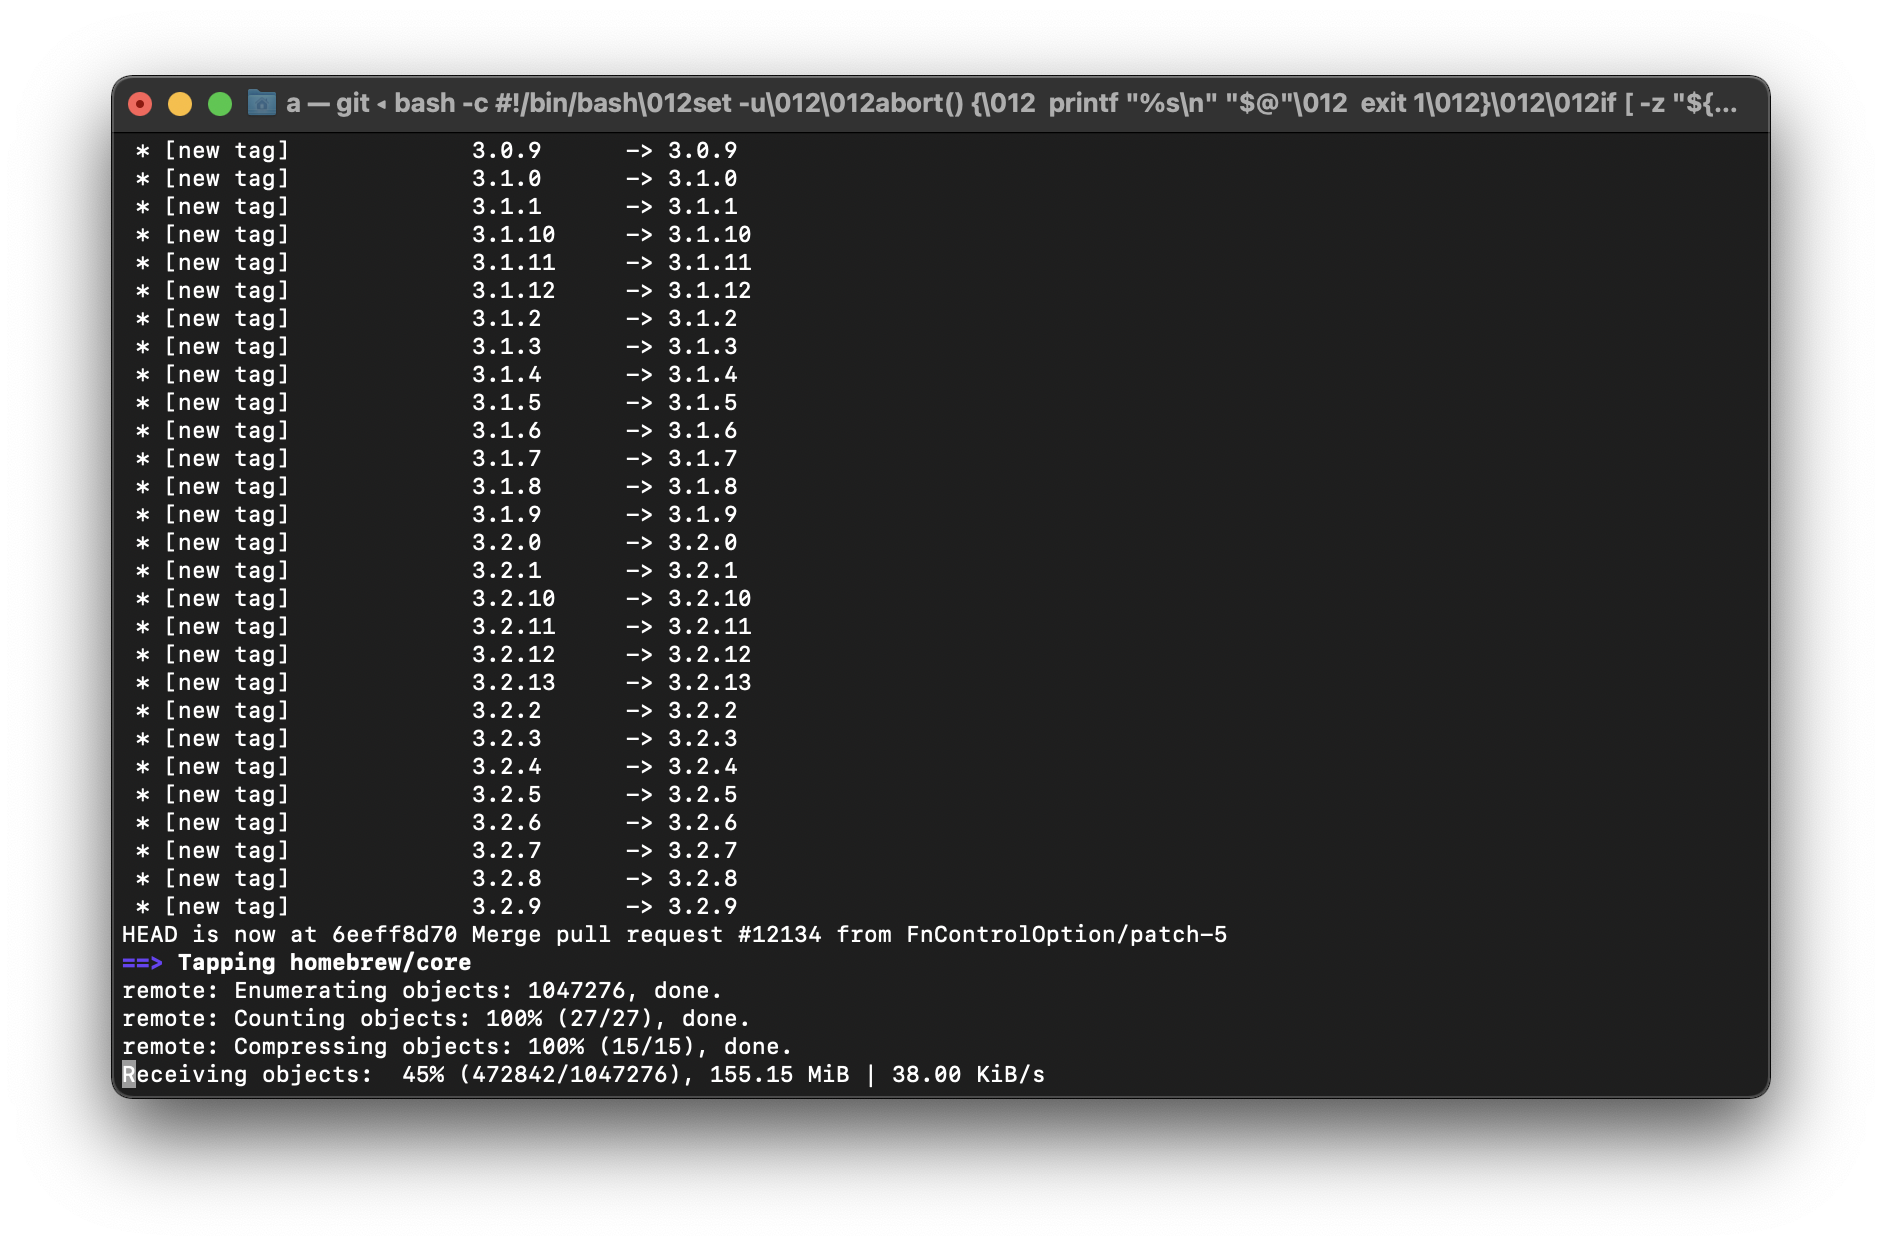
これでは、Homebrewをインストールするのに2時間待つことになるので、この間に別の初期設定をすることにしました。と思っていたら、なんと、2時間半待ったところでインストールがfailになりました。こんなの初めて!!ひどすぎる。
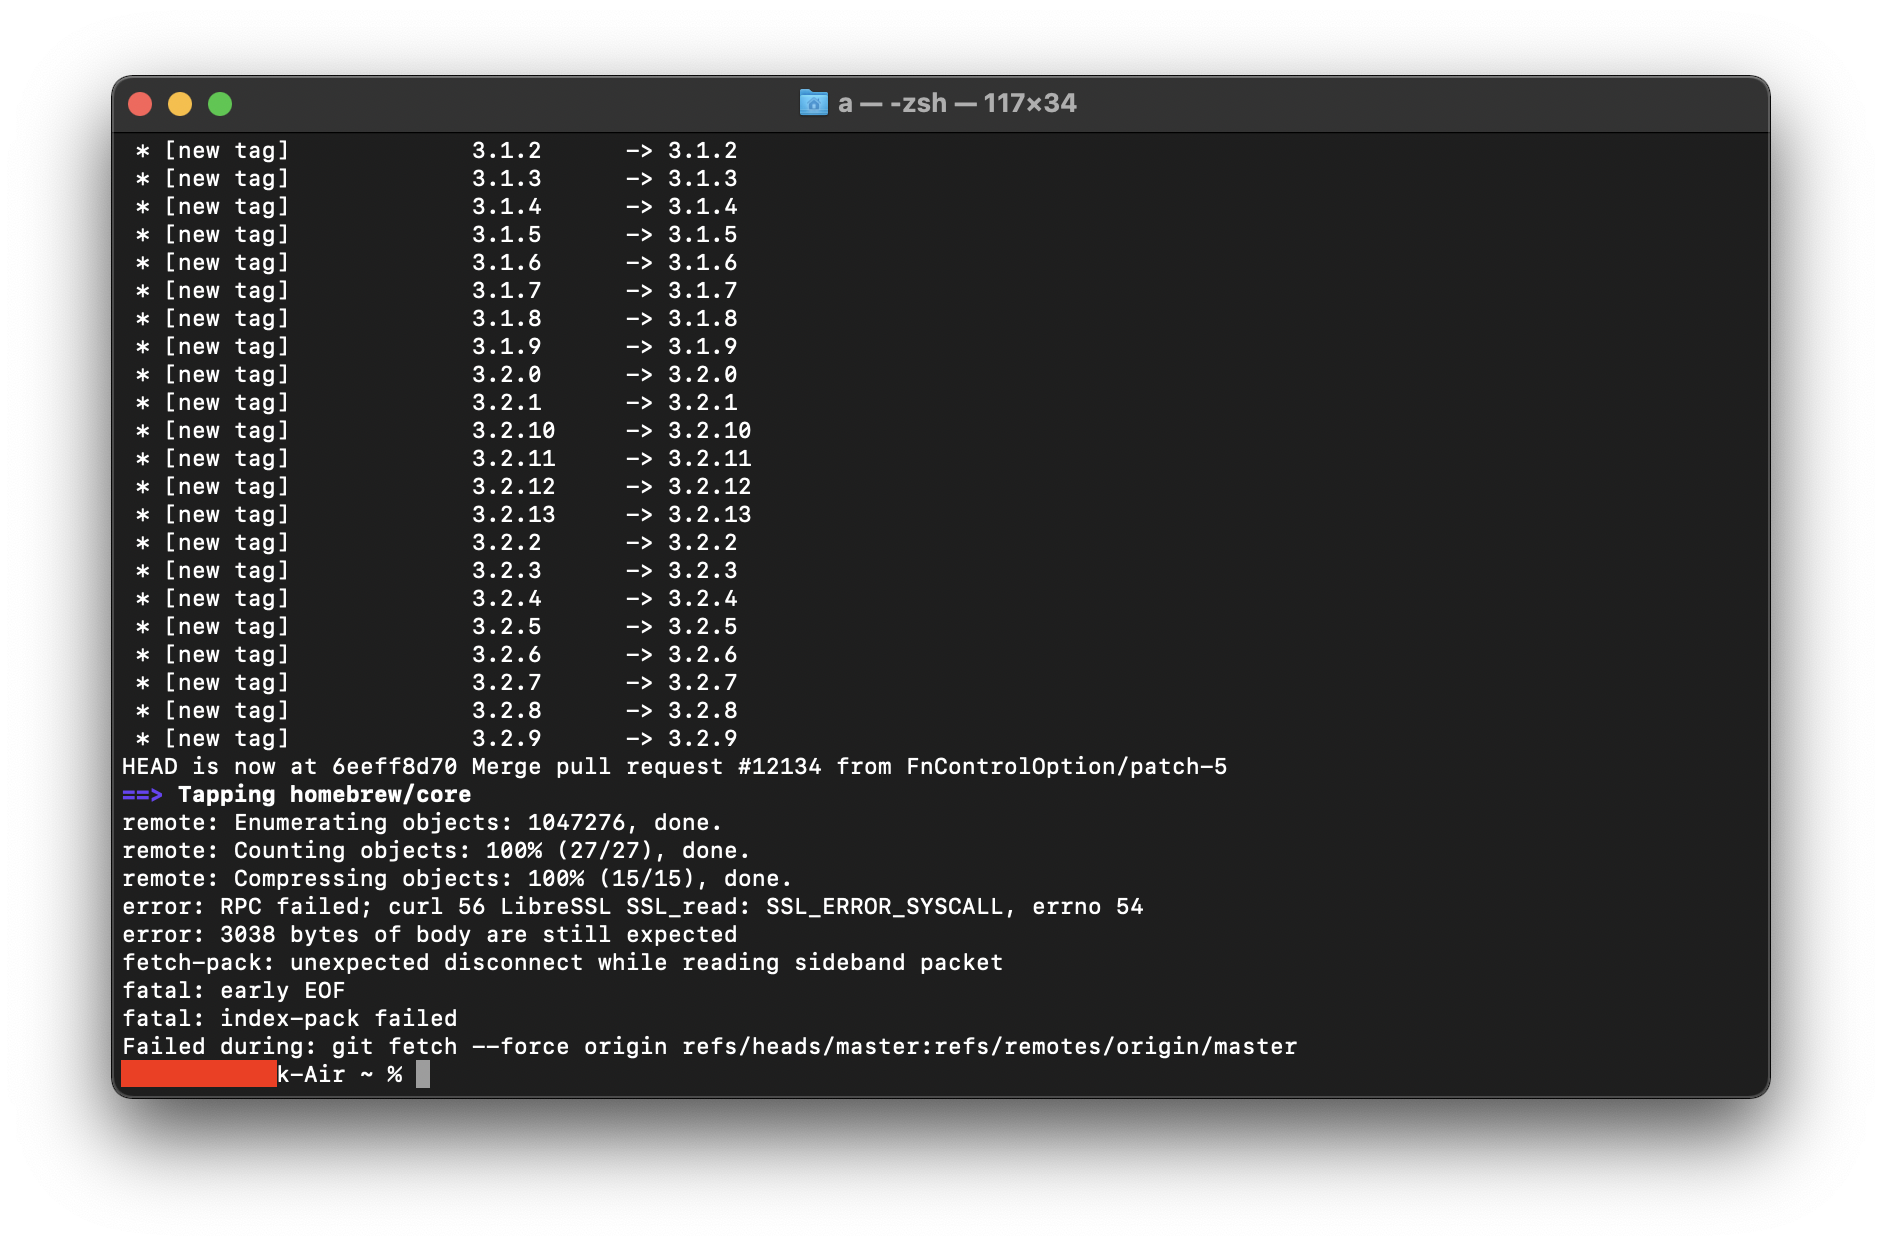
とりあえず
Xcode-select -vにより、xcode-select version 2384 はインストールされたことは確認できました。もう一度、以下を入力(矢印ボタンの上向きを何回か押すと、以前打ち込んだコマンドが出てきますので、returnを押すだけです。)
すると、今回はすぐにインストールが完了しました。前回はなんかタイミングがものすごく悪かったのかもしれません。ついてない、、、
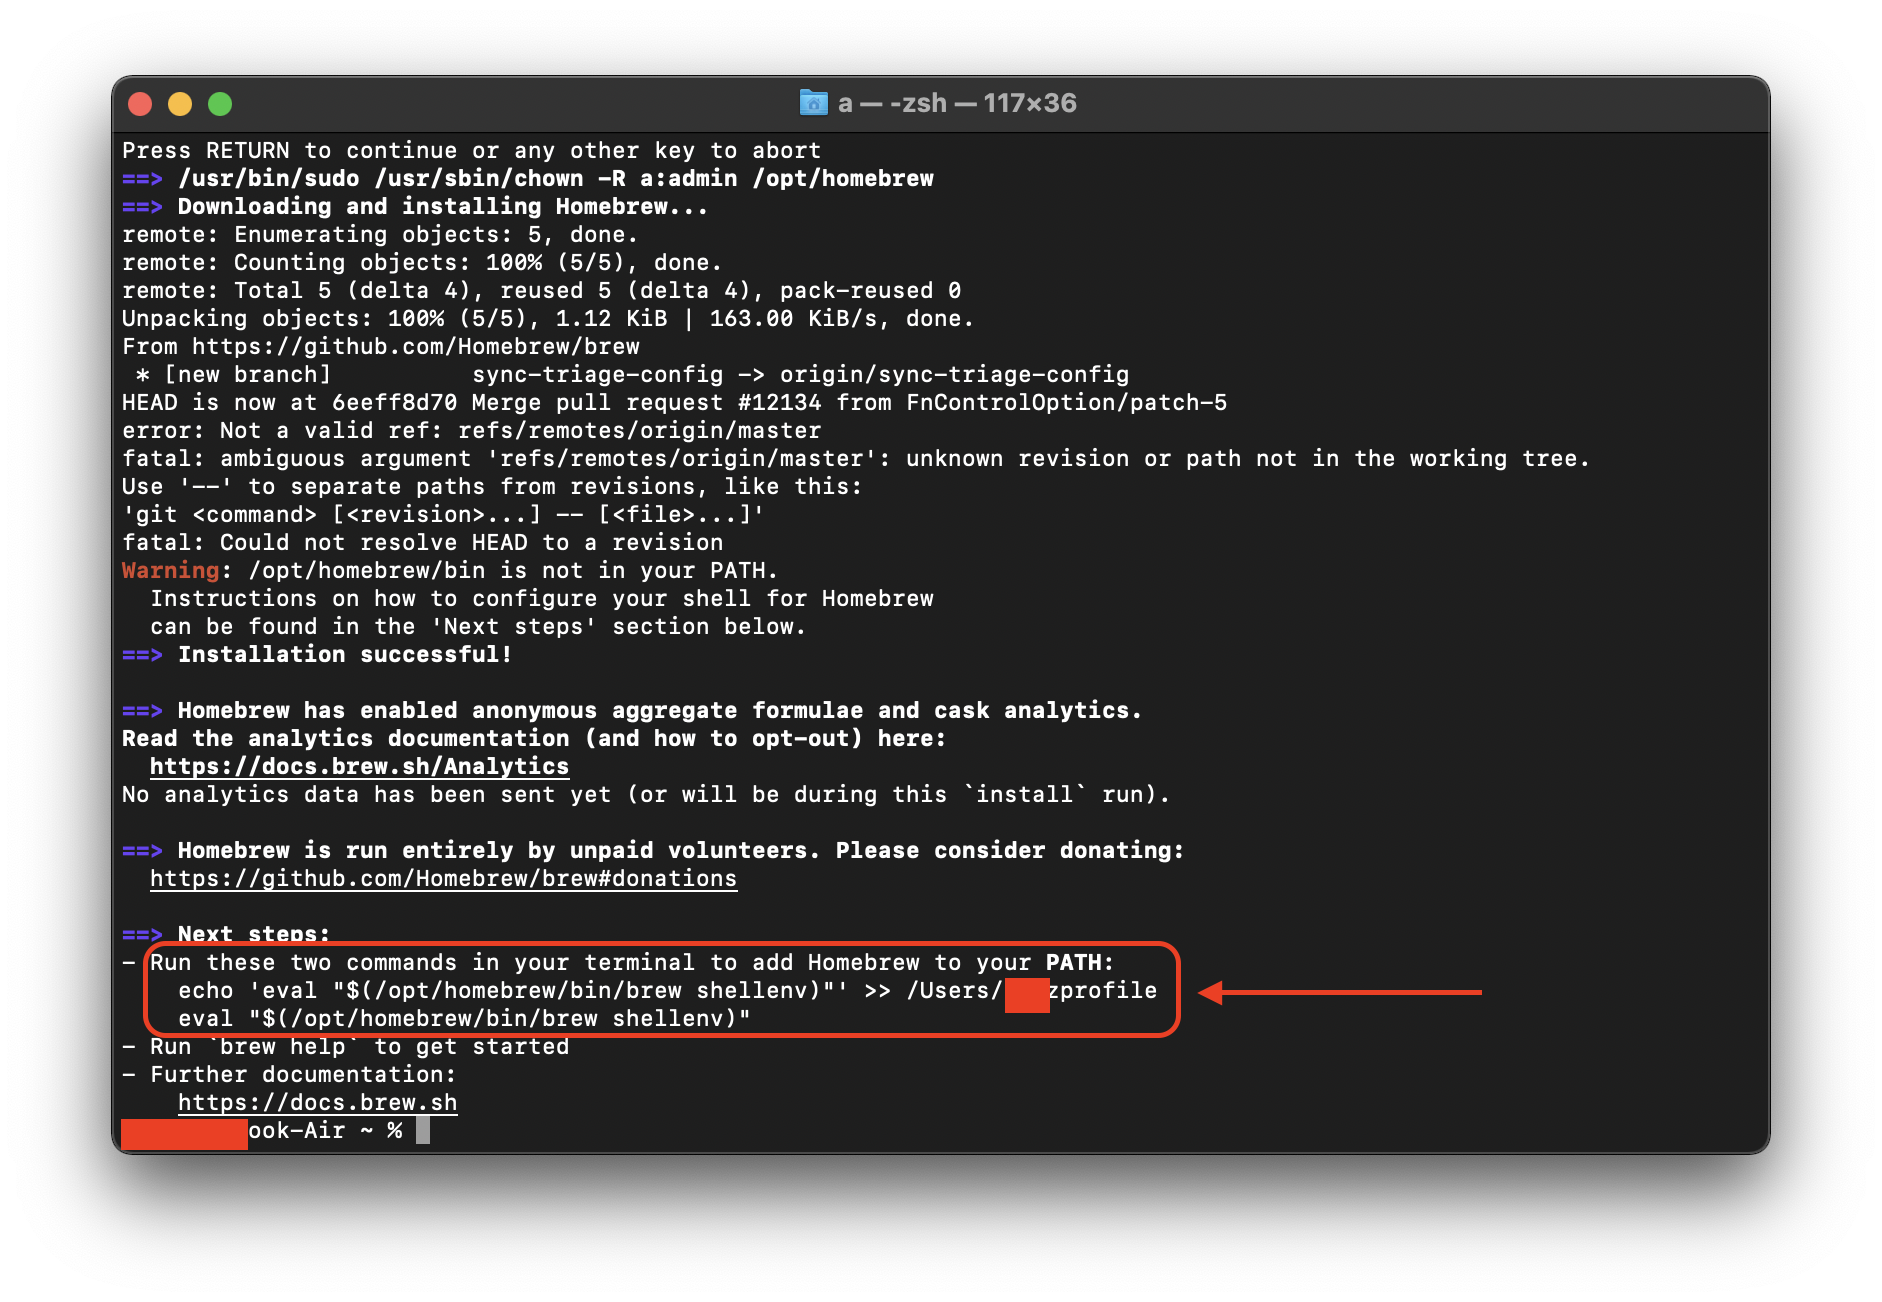
上記の赤枠で囲んだ部分に、「2つのコマンドを打ち込んで、PATHにHomebrewを追加してね!」と書いてあるので、コピペしてreturnを押します。
({ユーザ名}のところは、それぞれの方のユーザ名が表示されていると思われます。)
echo 'eval "$(/opt/homebrew/bin/brew shellenv)"' >> /Users/{ユーザ名}/.zprofile
eval "$(/opt/homebrew/bin/brew shellenv)"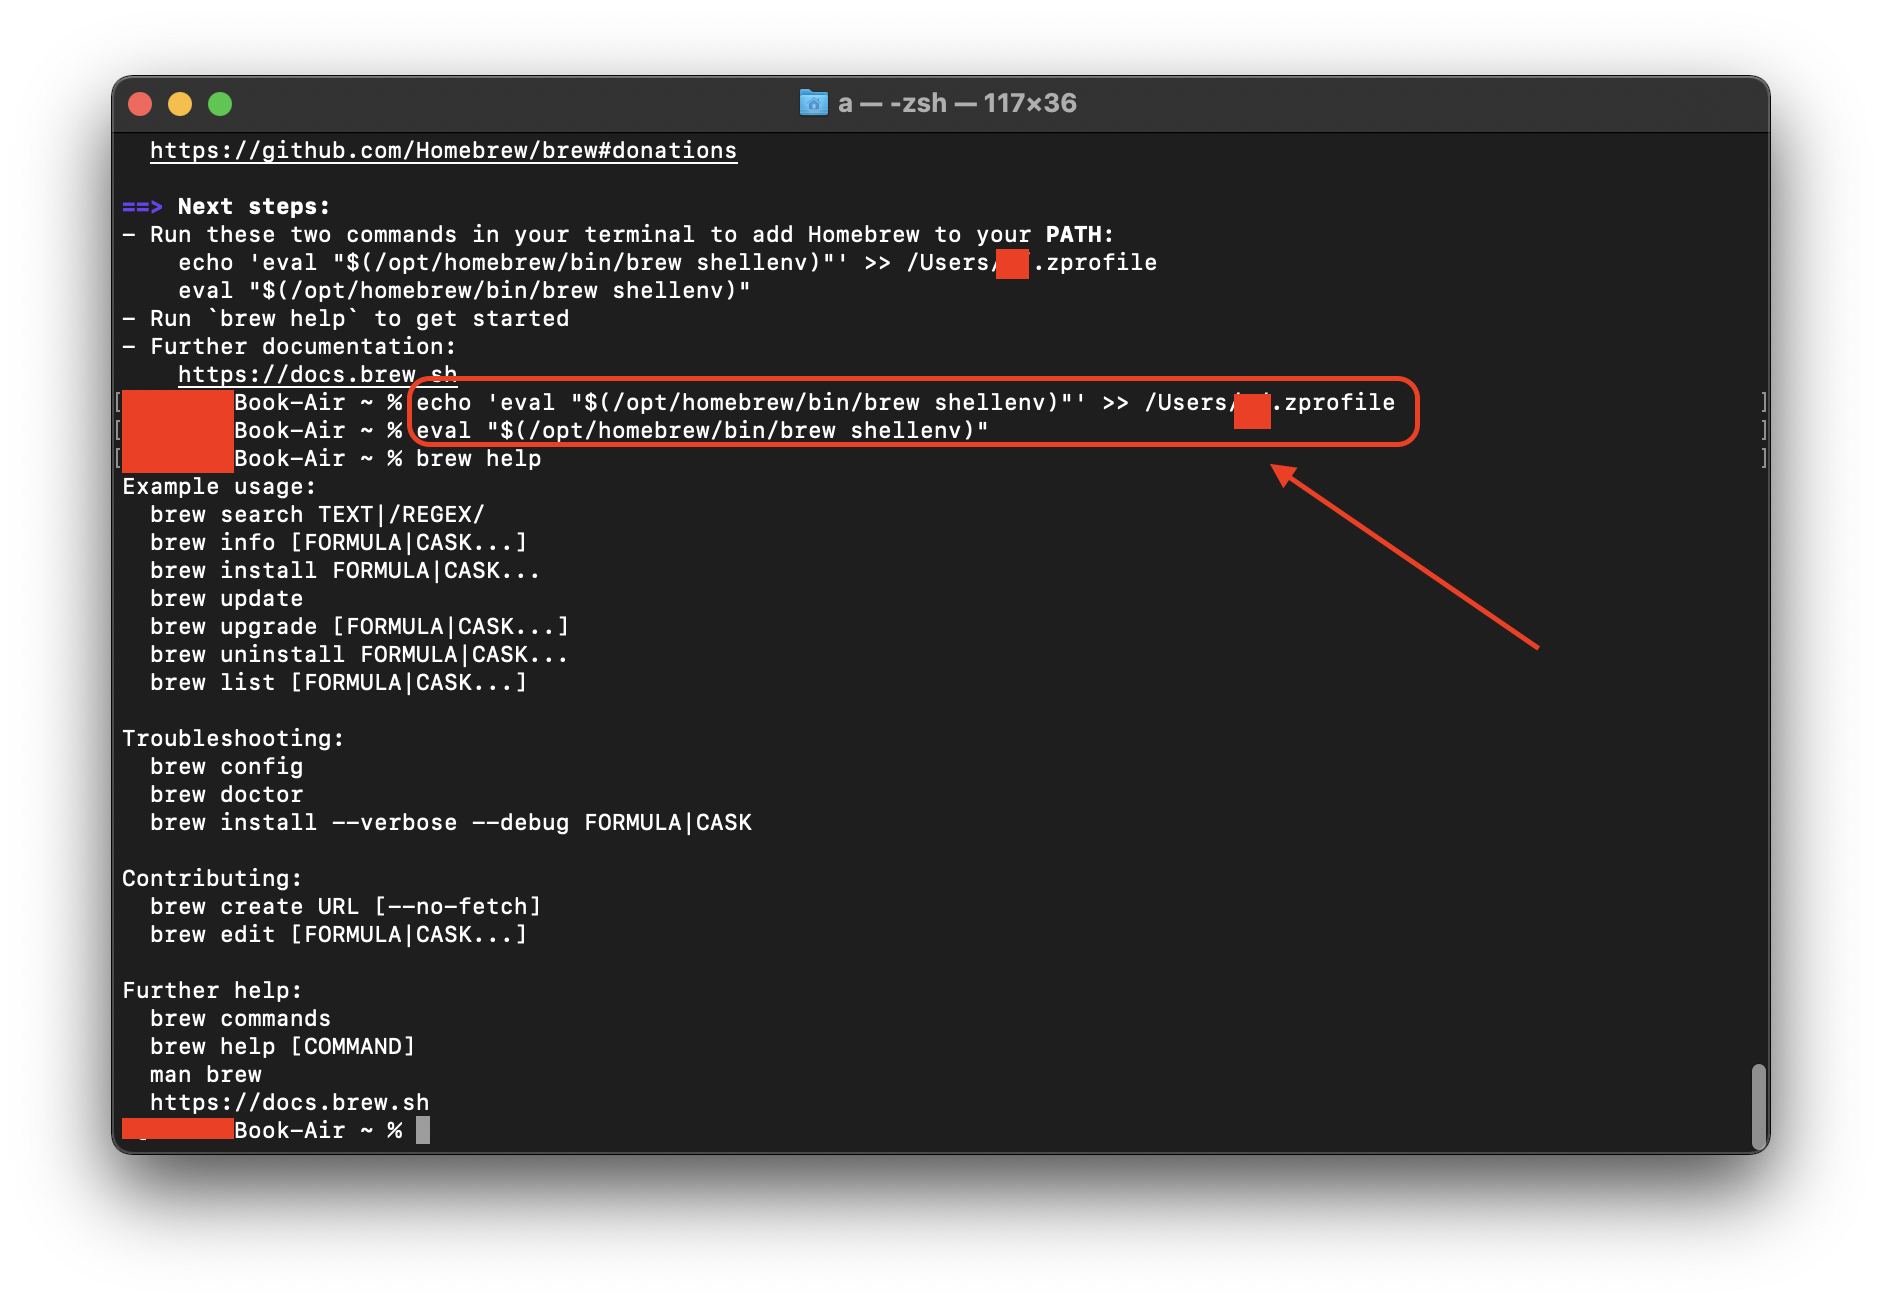
ちなみに、ちゃんと、Homebrewがインストールされたか確認のために、
brew helpして、ちゃんと動くことを確認しました。
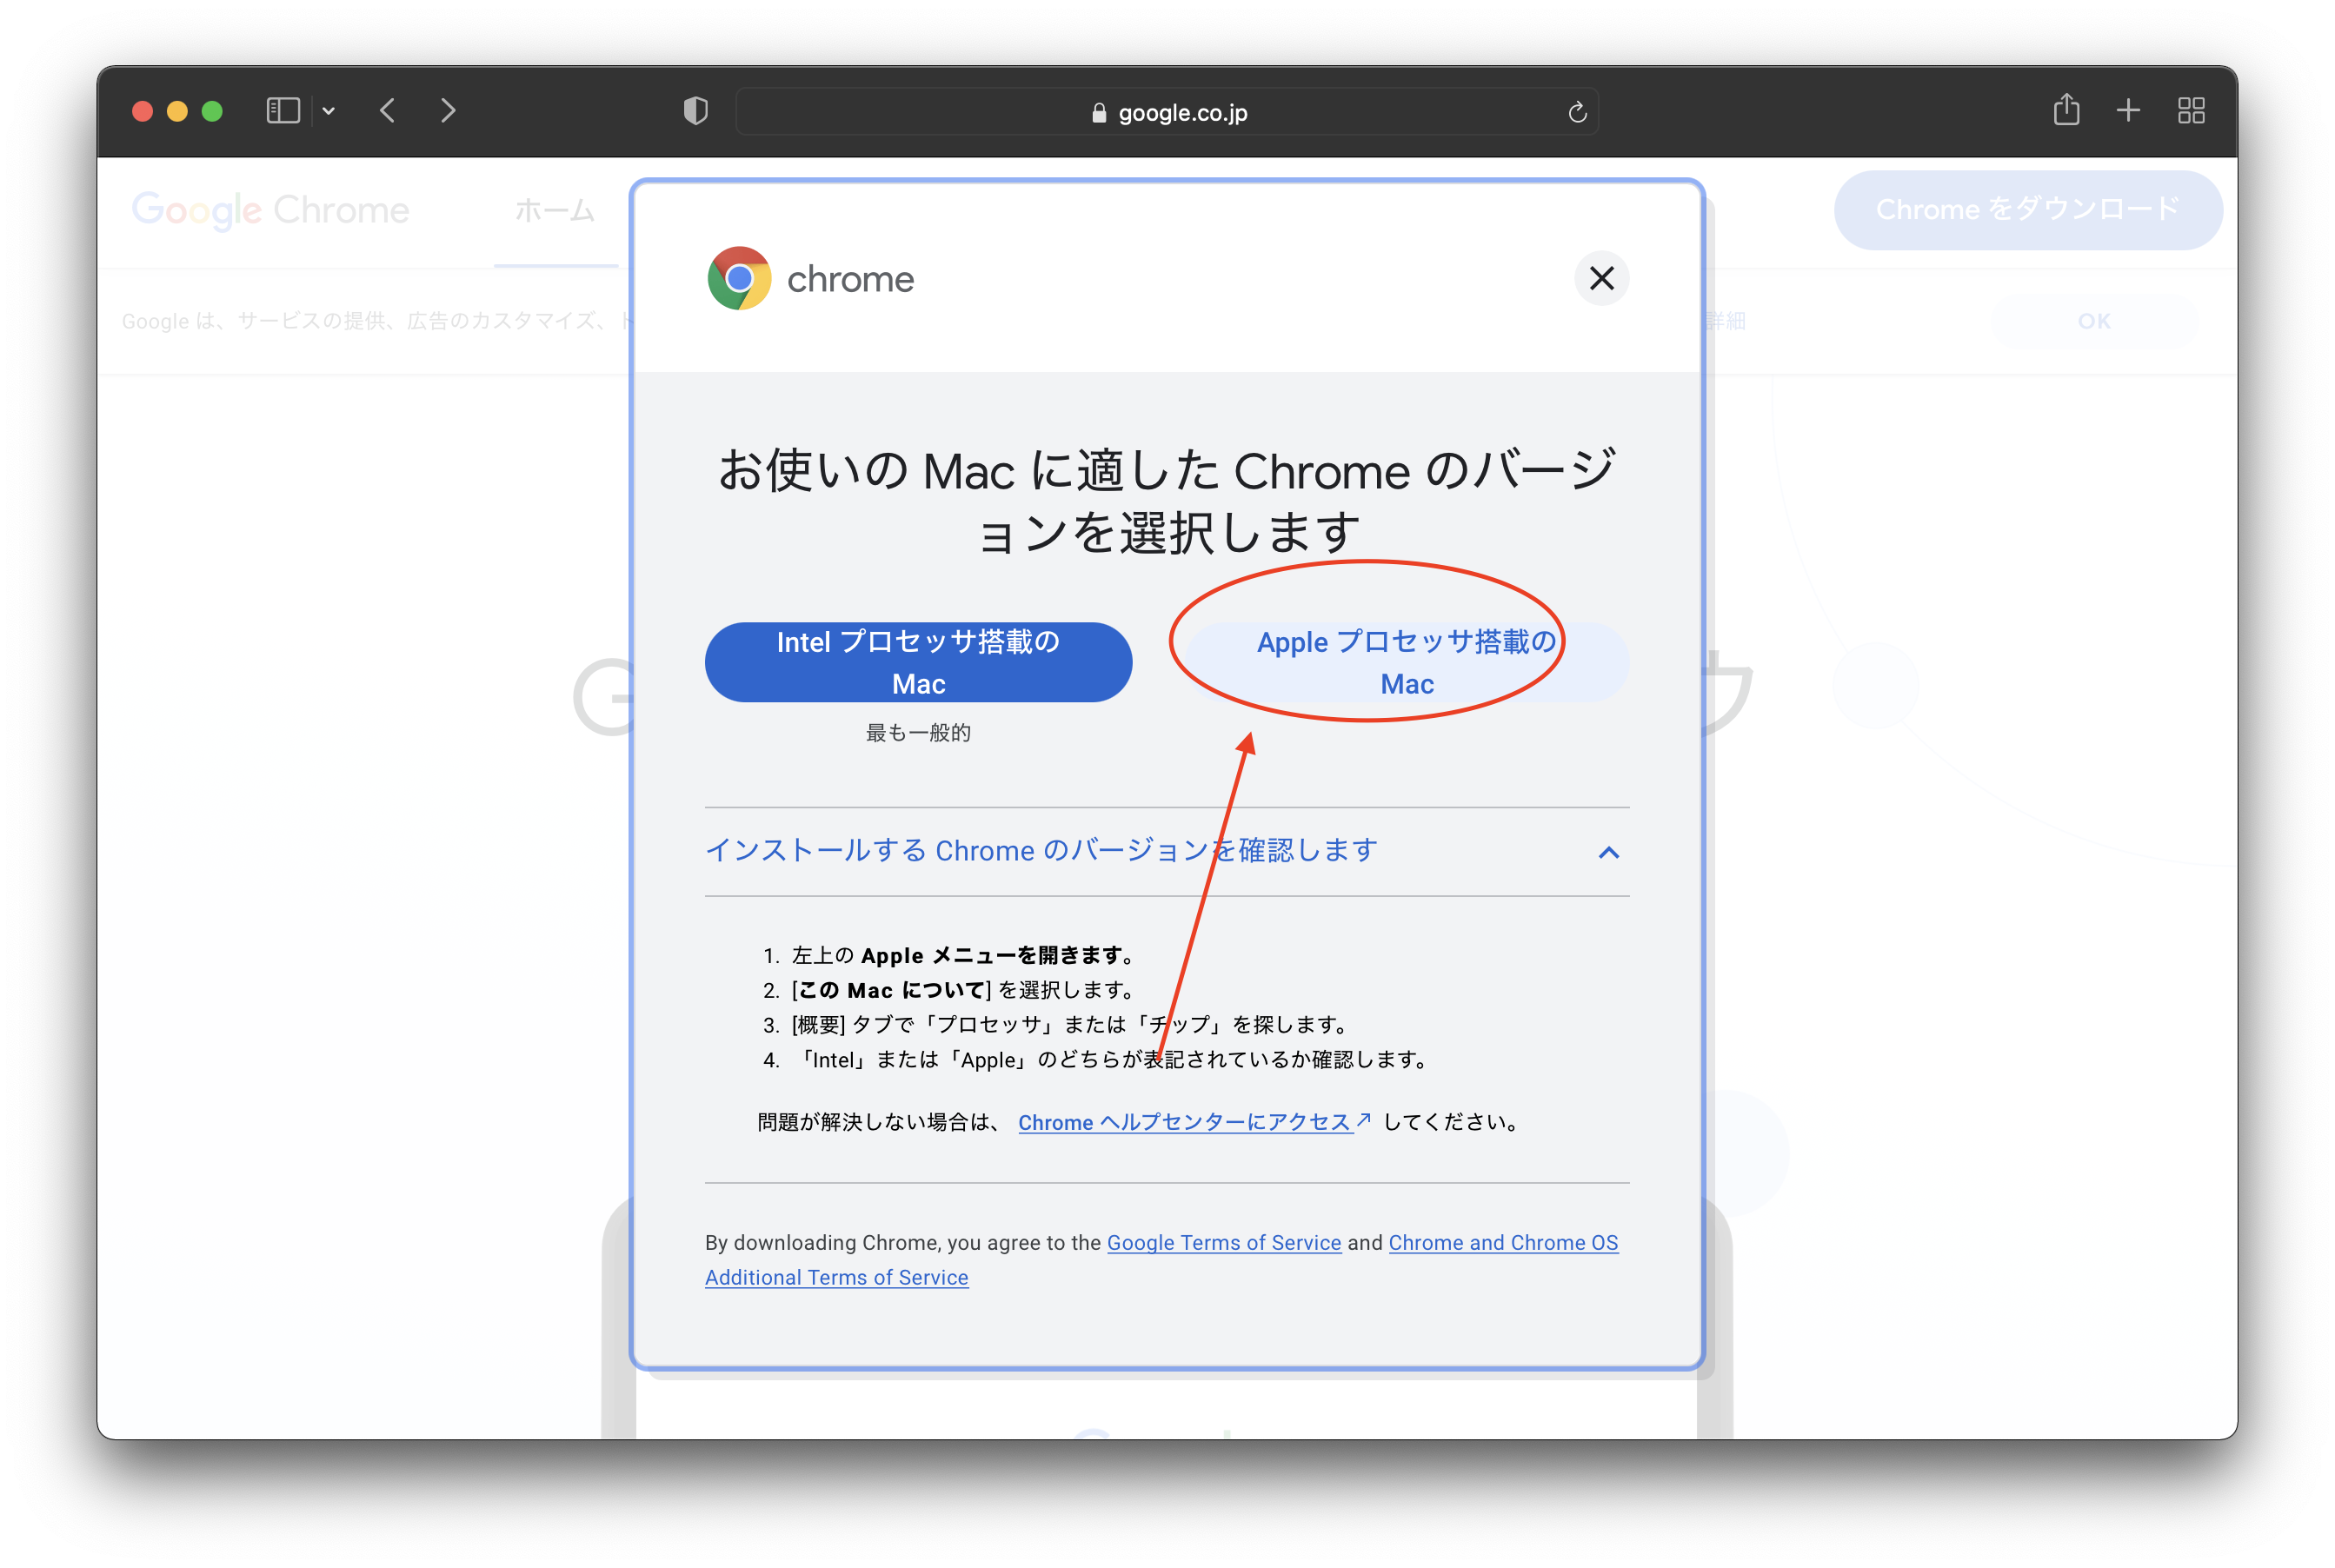
Chromeのインストール
https://www.google.com/intl/ja_jp/chrome/ から、右側の「Appleプロセッサ搭載のMac」をクリックして、インストーラーをダウンロードして、ダブルクリックしてインストールします。
やっぱり慣れたChromeは使いやすいです。
GitとGitHubの初期設定
本当はiTerm2とカッコつけたかった(参考:お前らのターミナルはダサい)のですが、先に、最低限必要なことからやります。
ターミナル画面で以下を入力します。
メールアドレスと名前は各自のものを入力します。
git config --global user.emal "{メールアドレス}"
git config --global user.name "{名前}"
ssh-keygenとかは、また次の機会に、、、
VisualStudioCodeのインストール
なぜかというと、私の好みだからです。
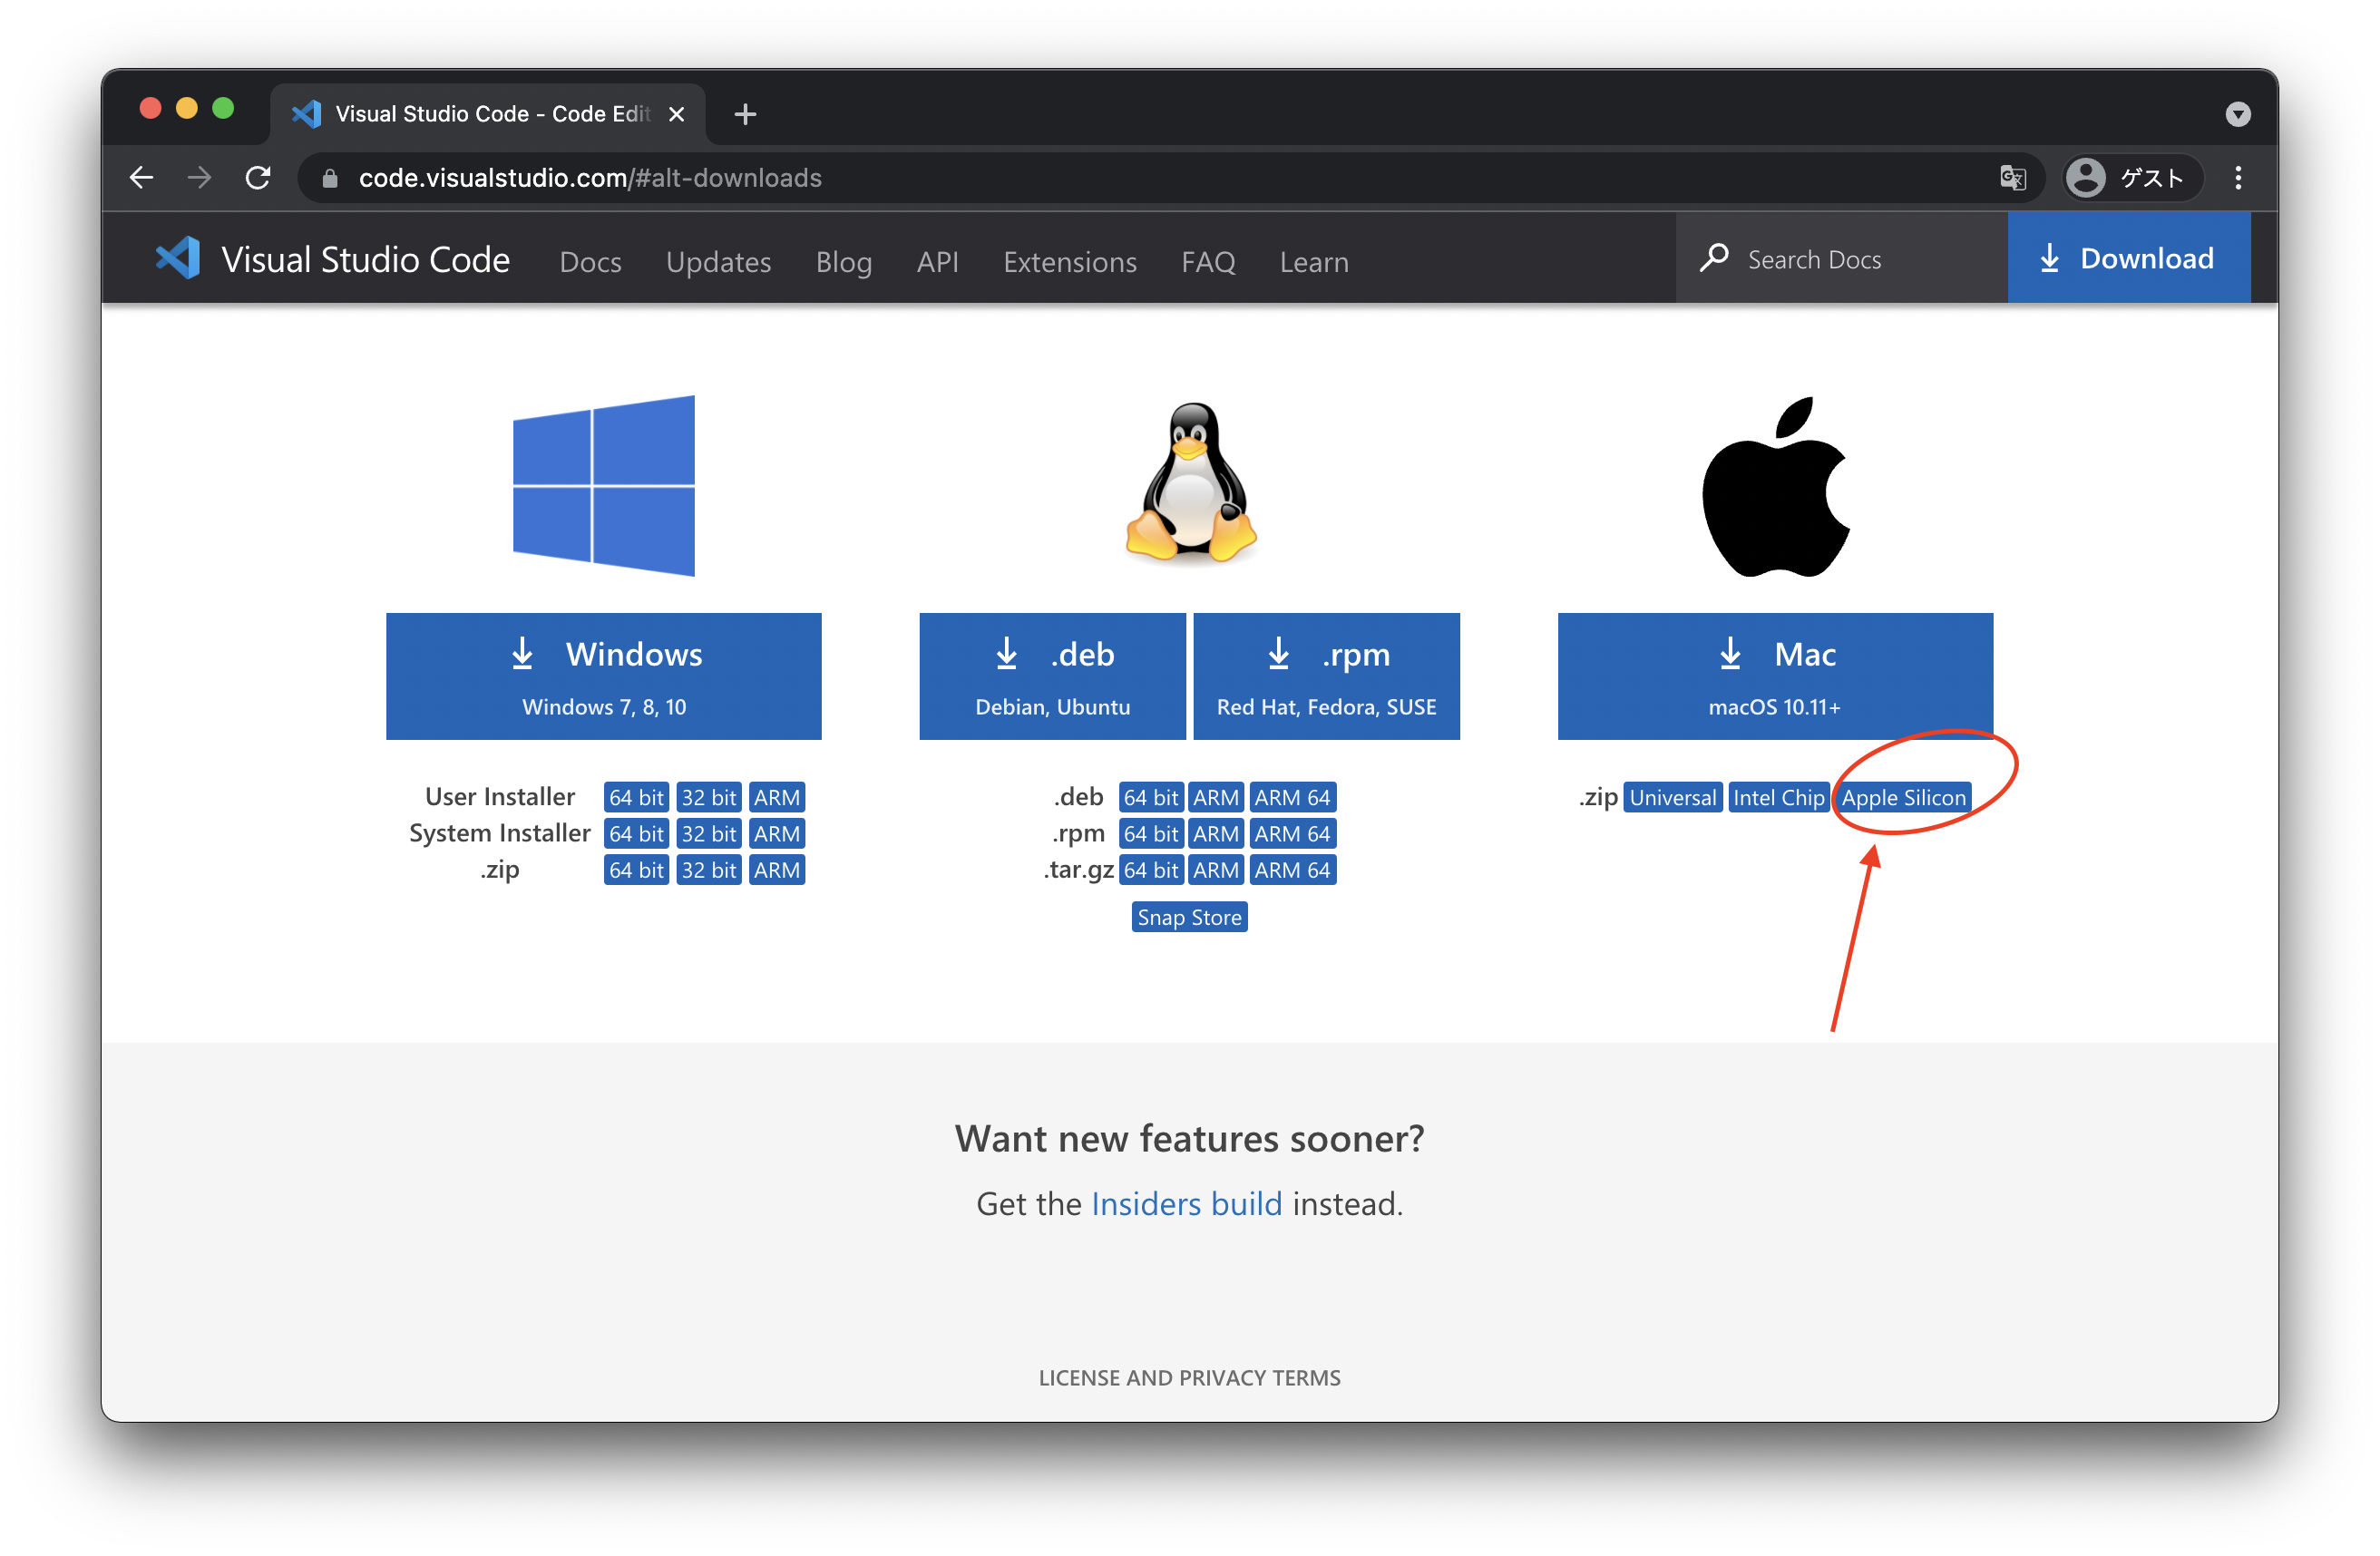
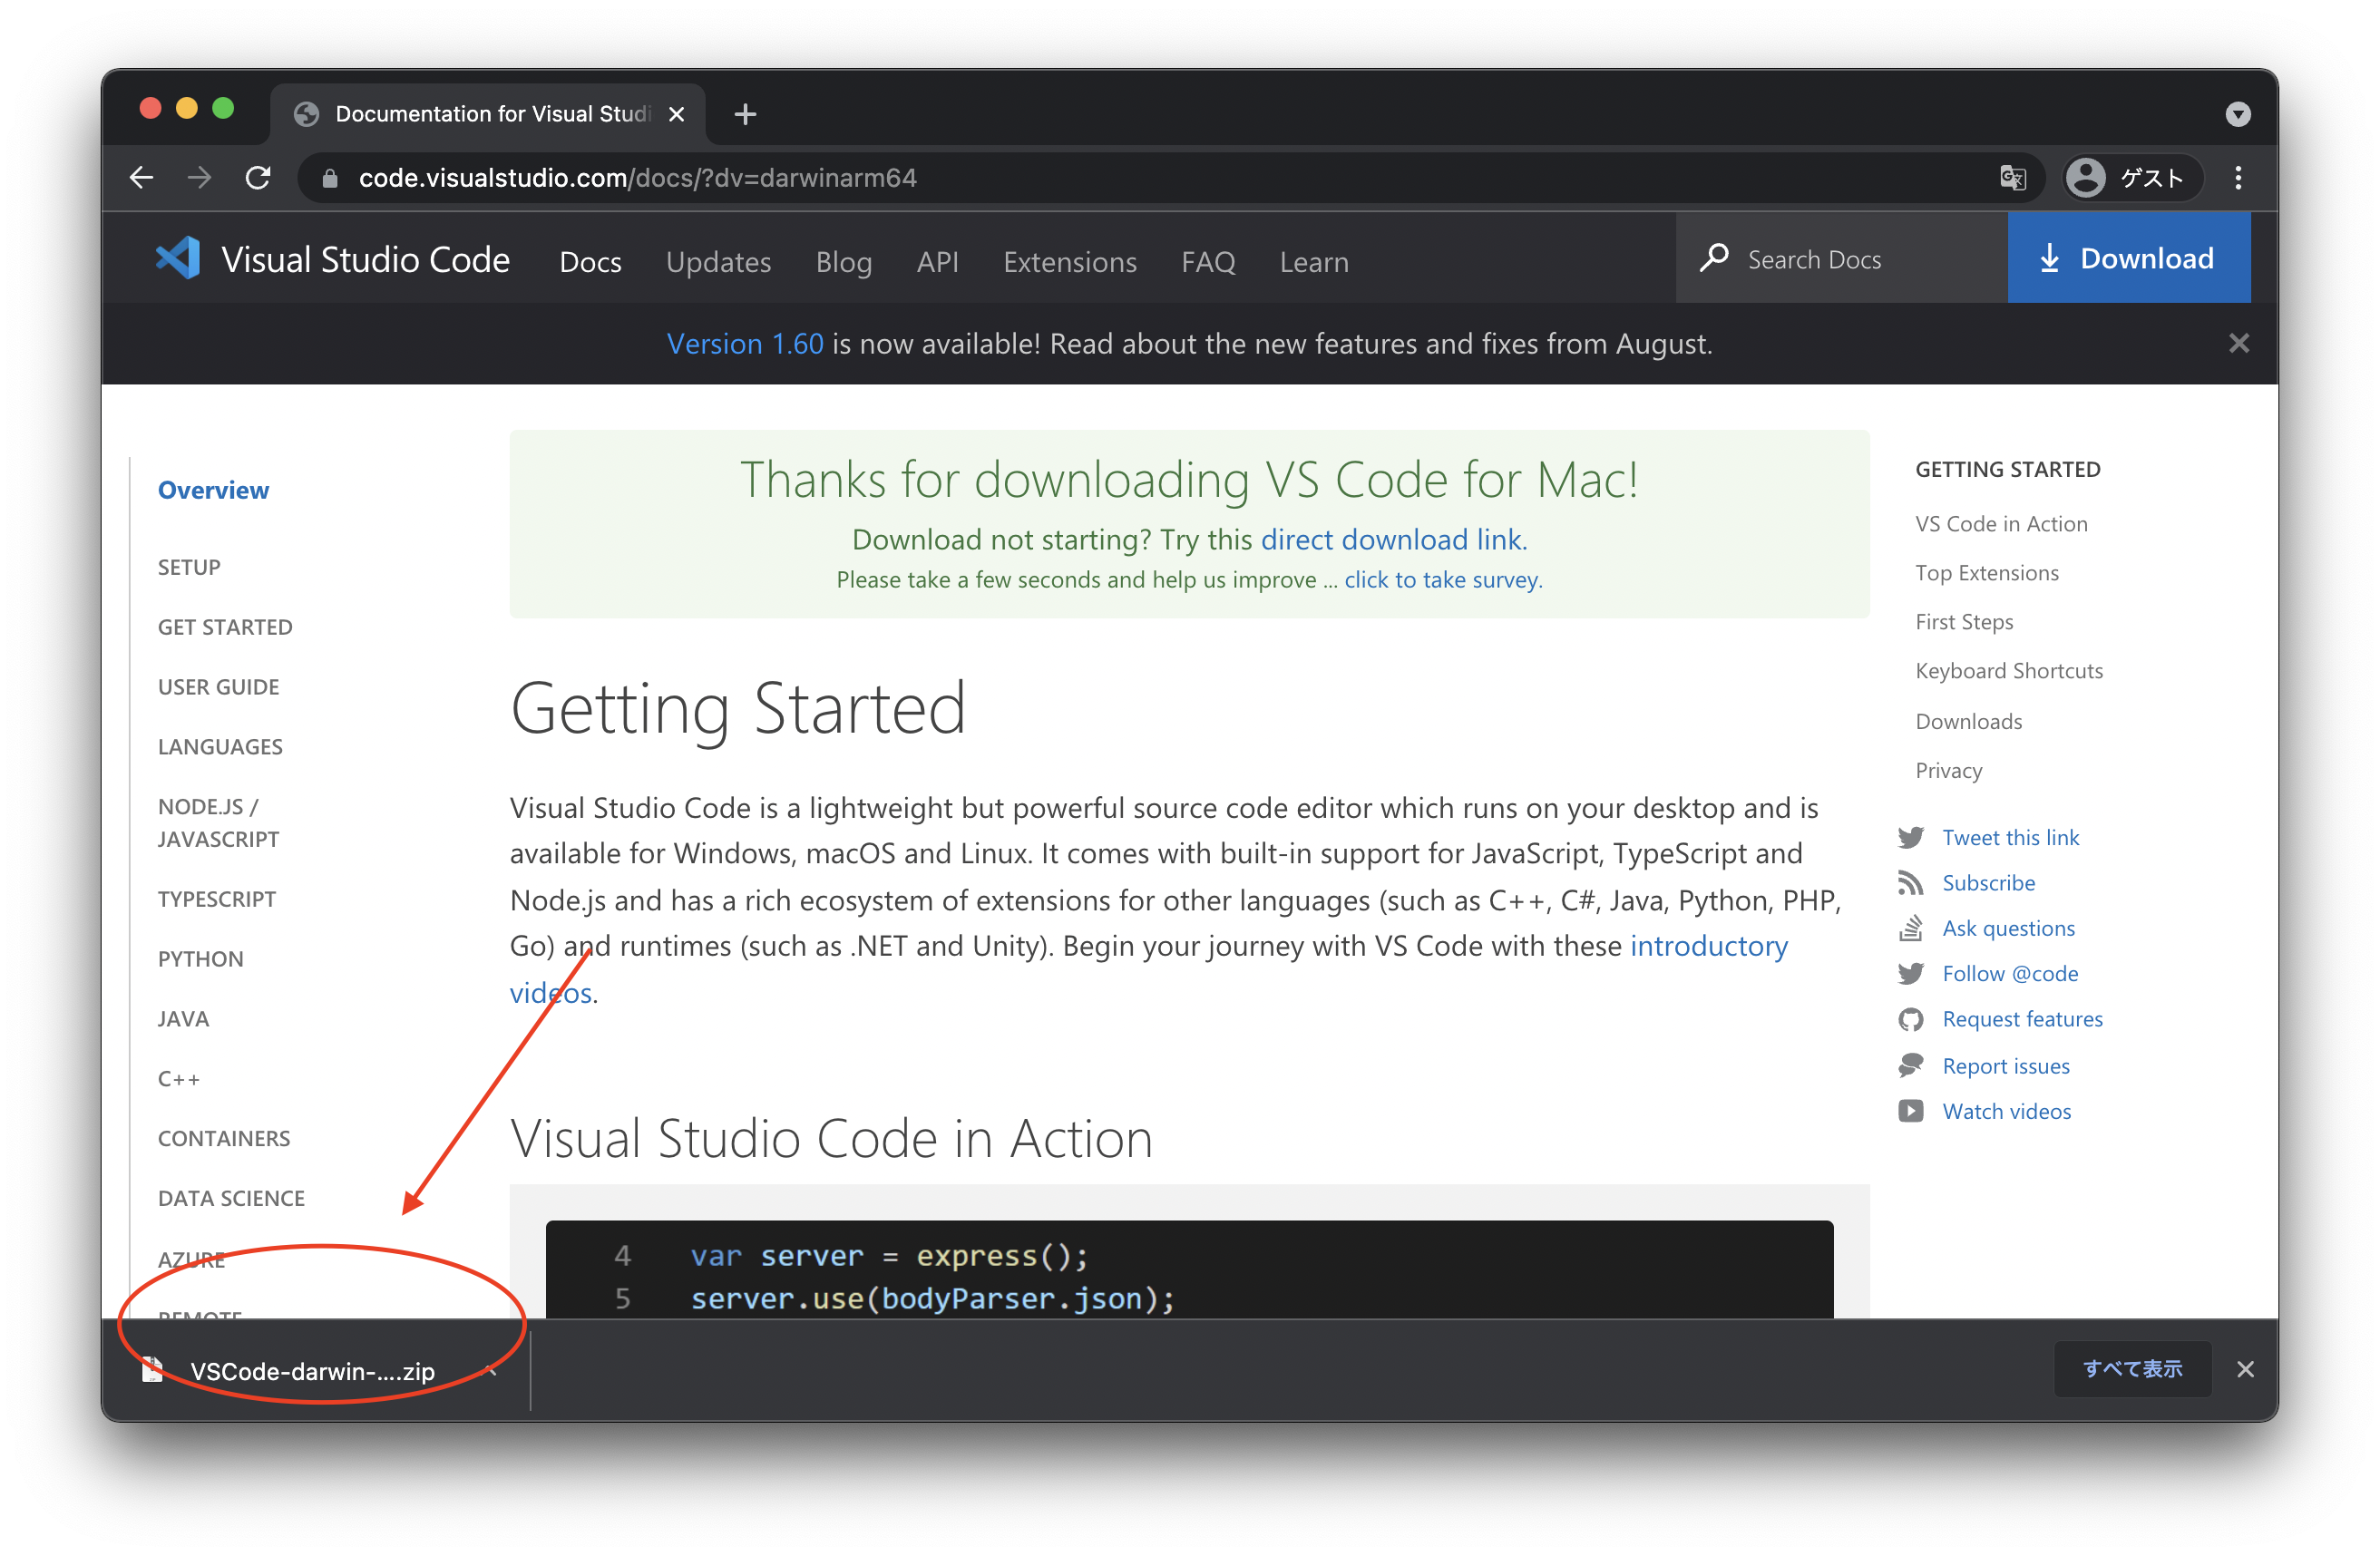
Visual Studio Codeが2021年3月にApple M1にネイティブ対応したとのことで、https://code.visualstudio.com/#alt-downloads から、「Apple Silicon」をクリックしてインストーラをダウンロードします。
ダウンロードされたZIPファイルをクリックします。
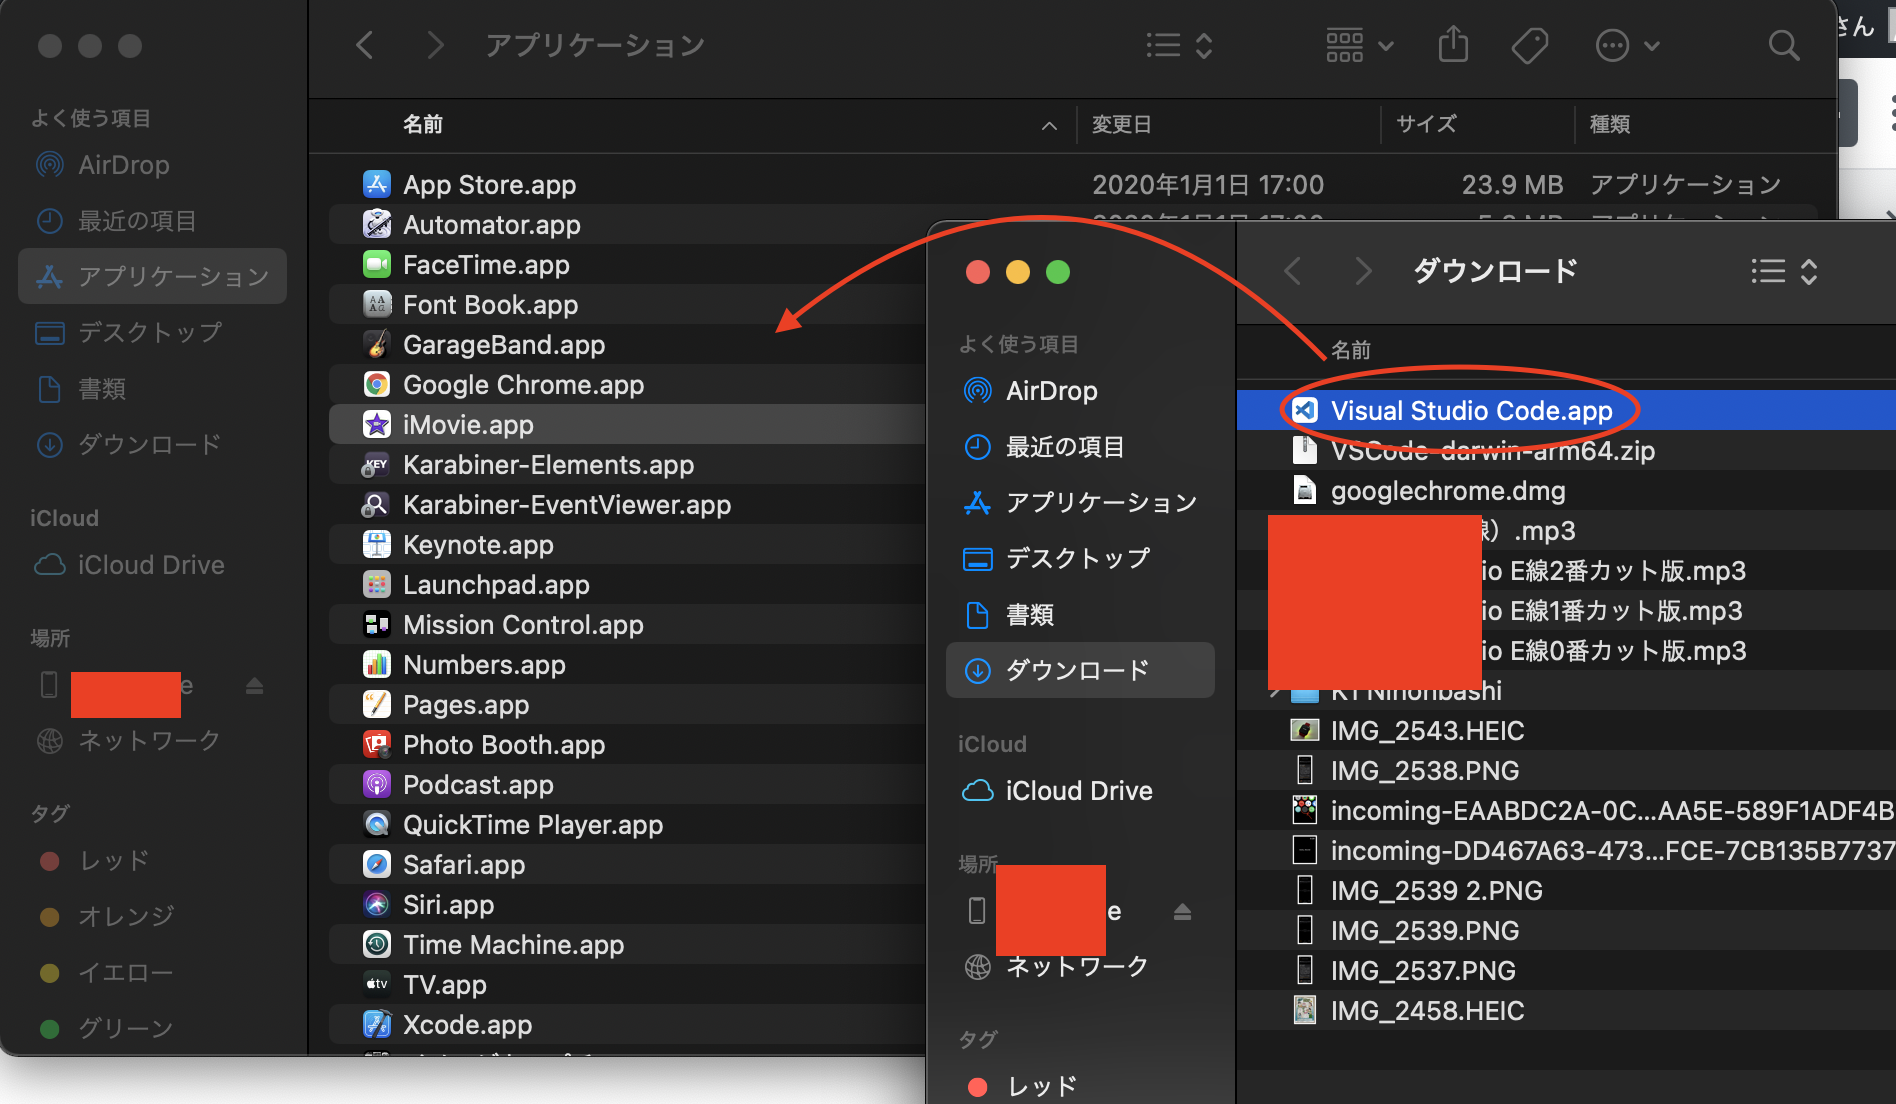
すると、数秒待ってから、ダウンロードフォルダに Visual Studio Code.app というものが出てくるので、作成されたVisual Studio Code.appを、アプリケーションフォルダ(/Applications)直下に移動します。(私の場合は移動できなかったので、zipファイルをアプリケーションフォルダに移動してから展開し、元のZIPファイルを消すということをしました。)
なお、アプリケーションフォルダは、 Dockの一番左の Finder を右クリック > アプリケーション で開きます。
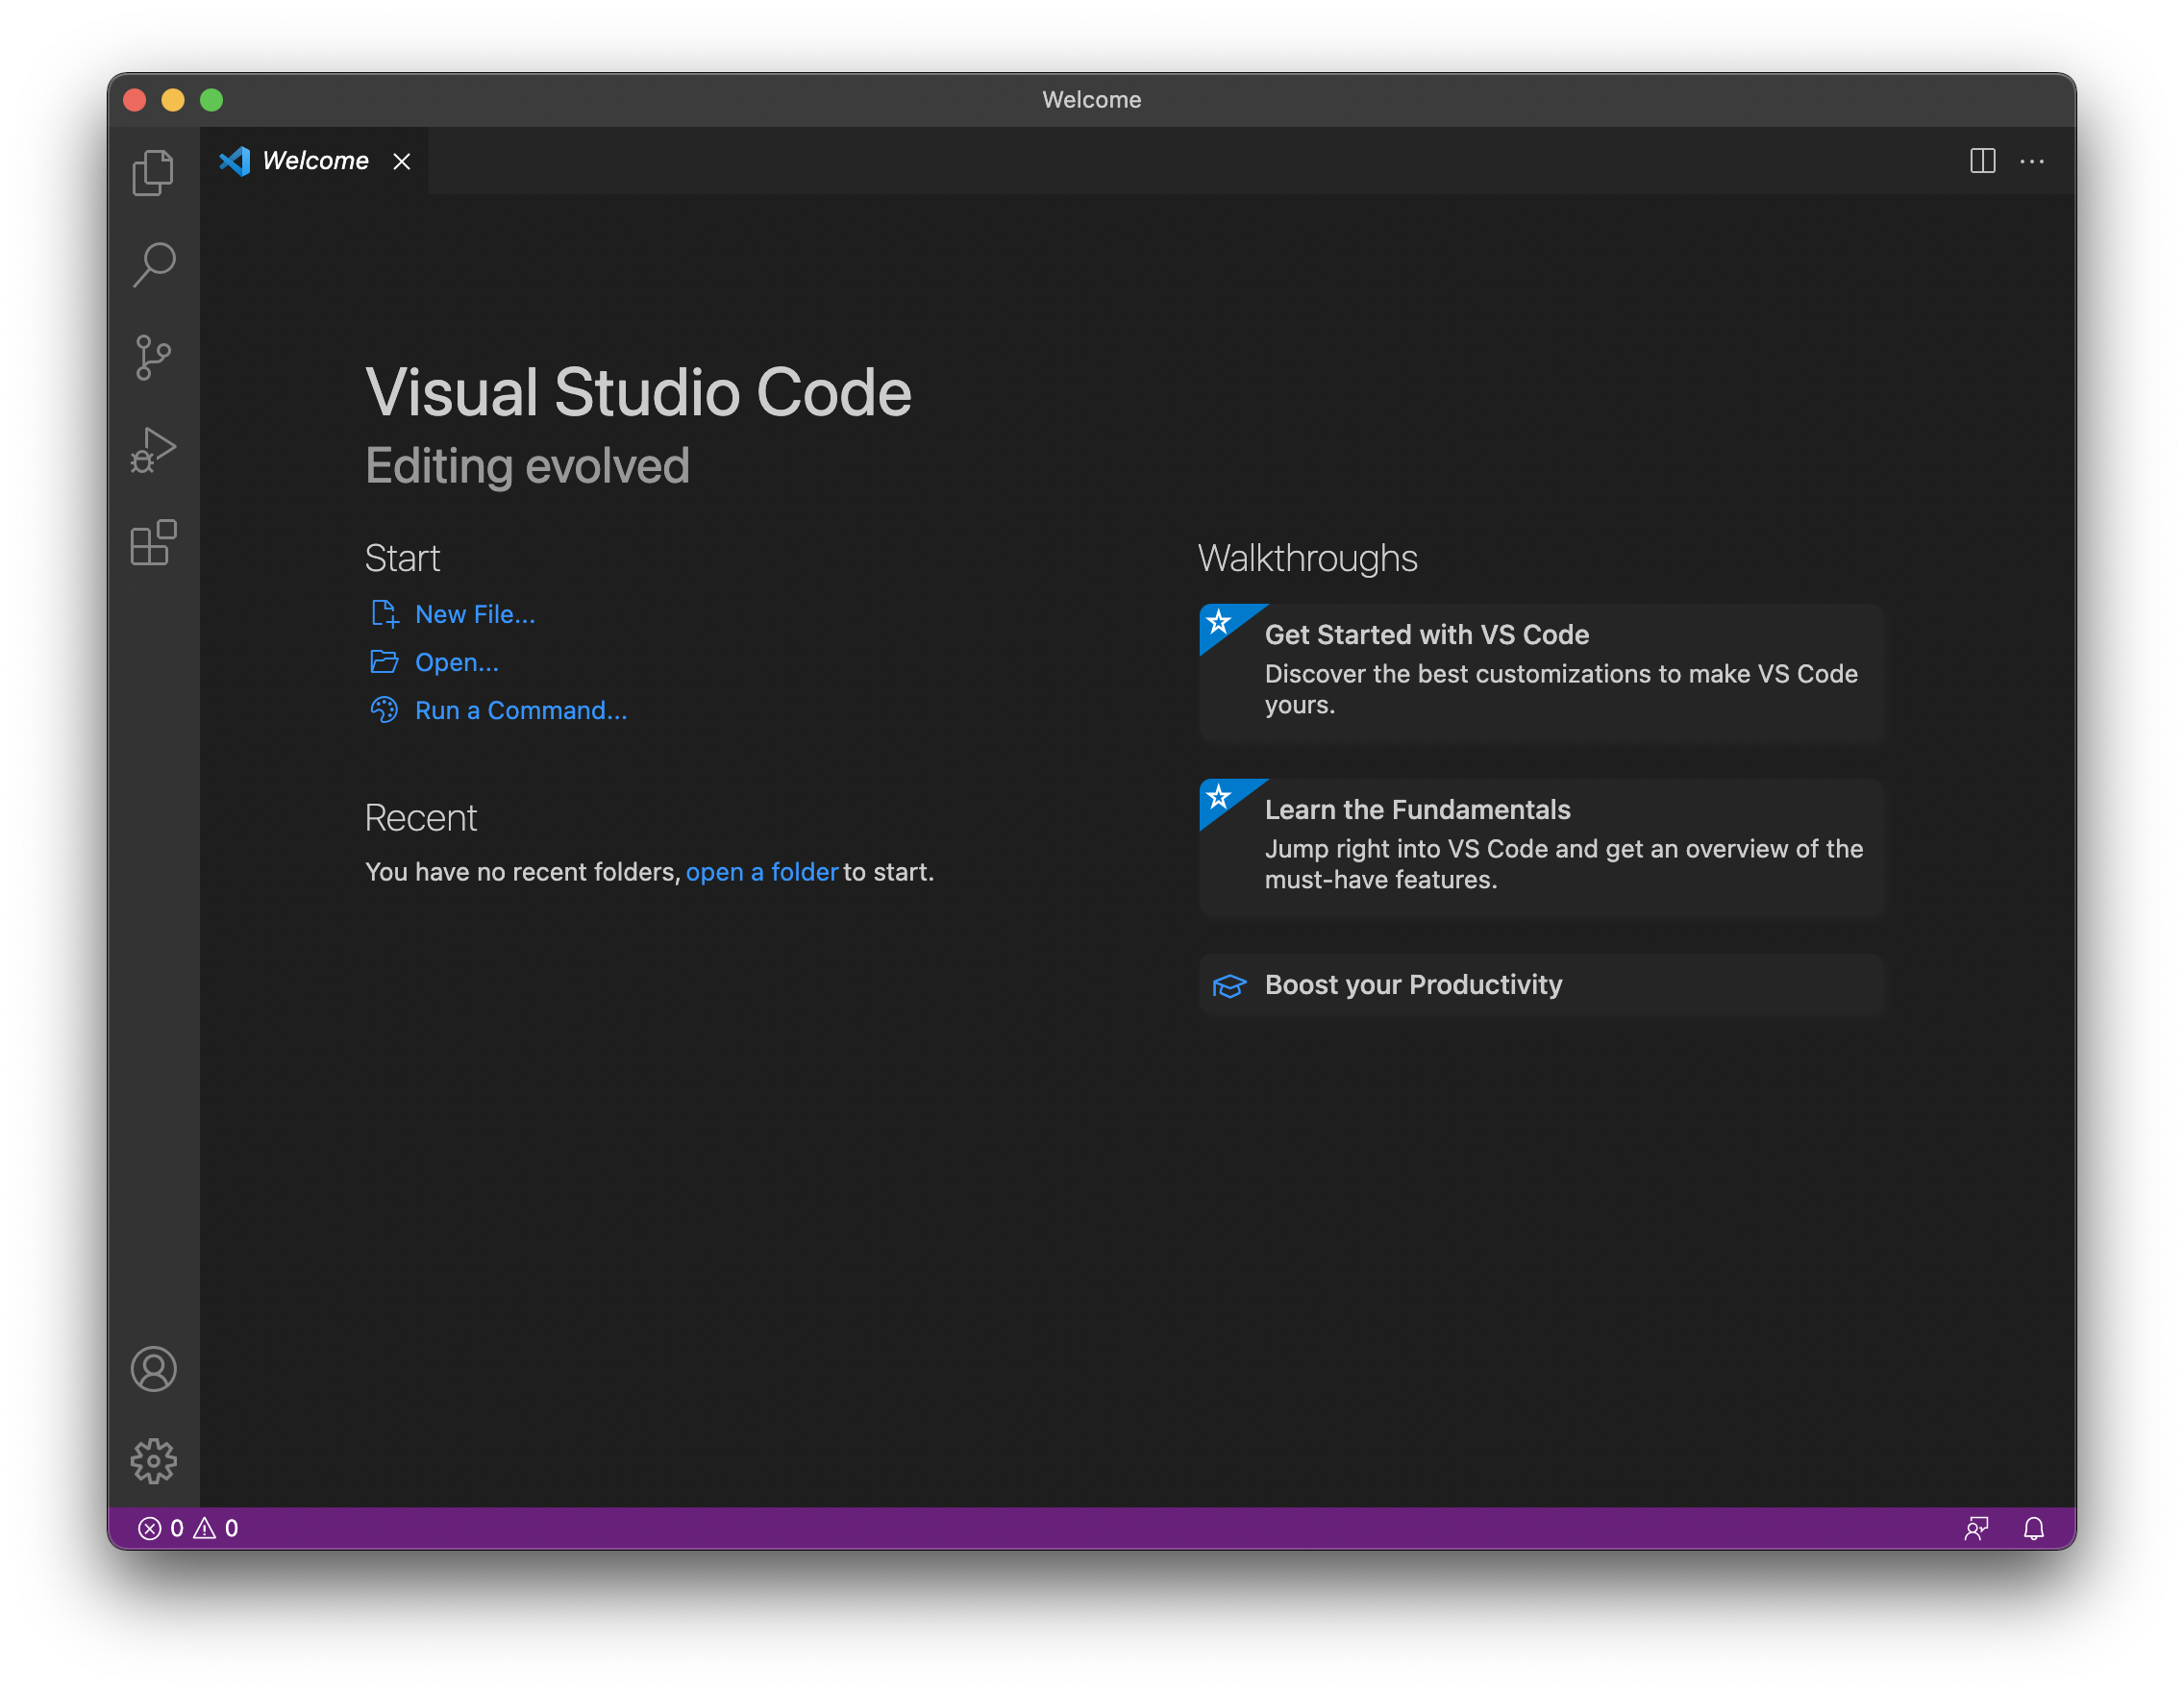
DockのLaunchpad > VisualStudioCode を開きます。
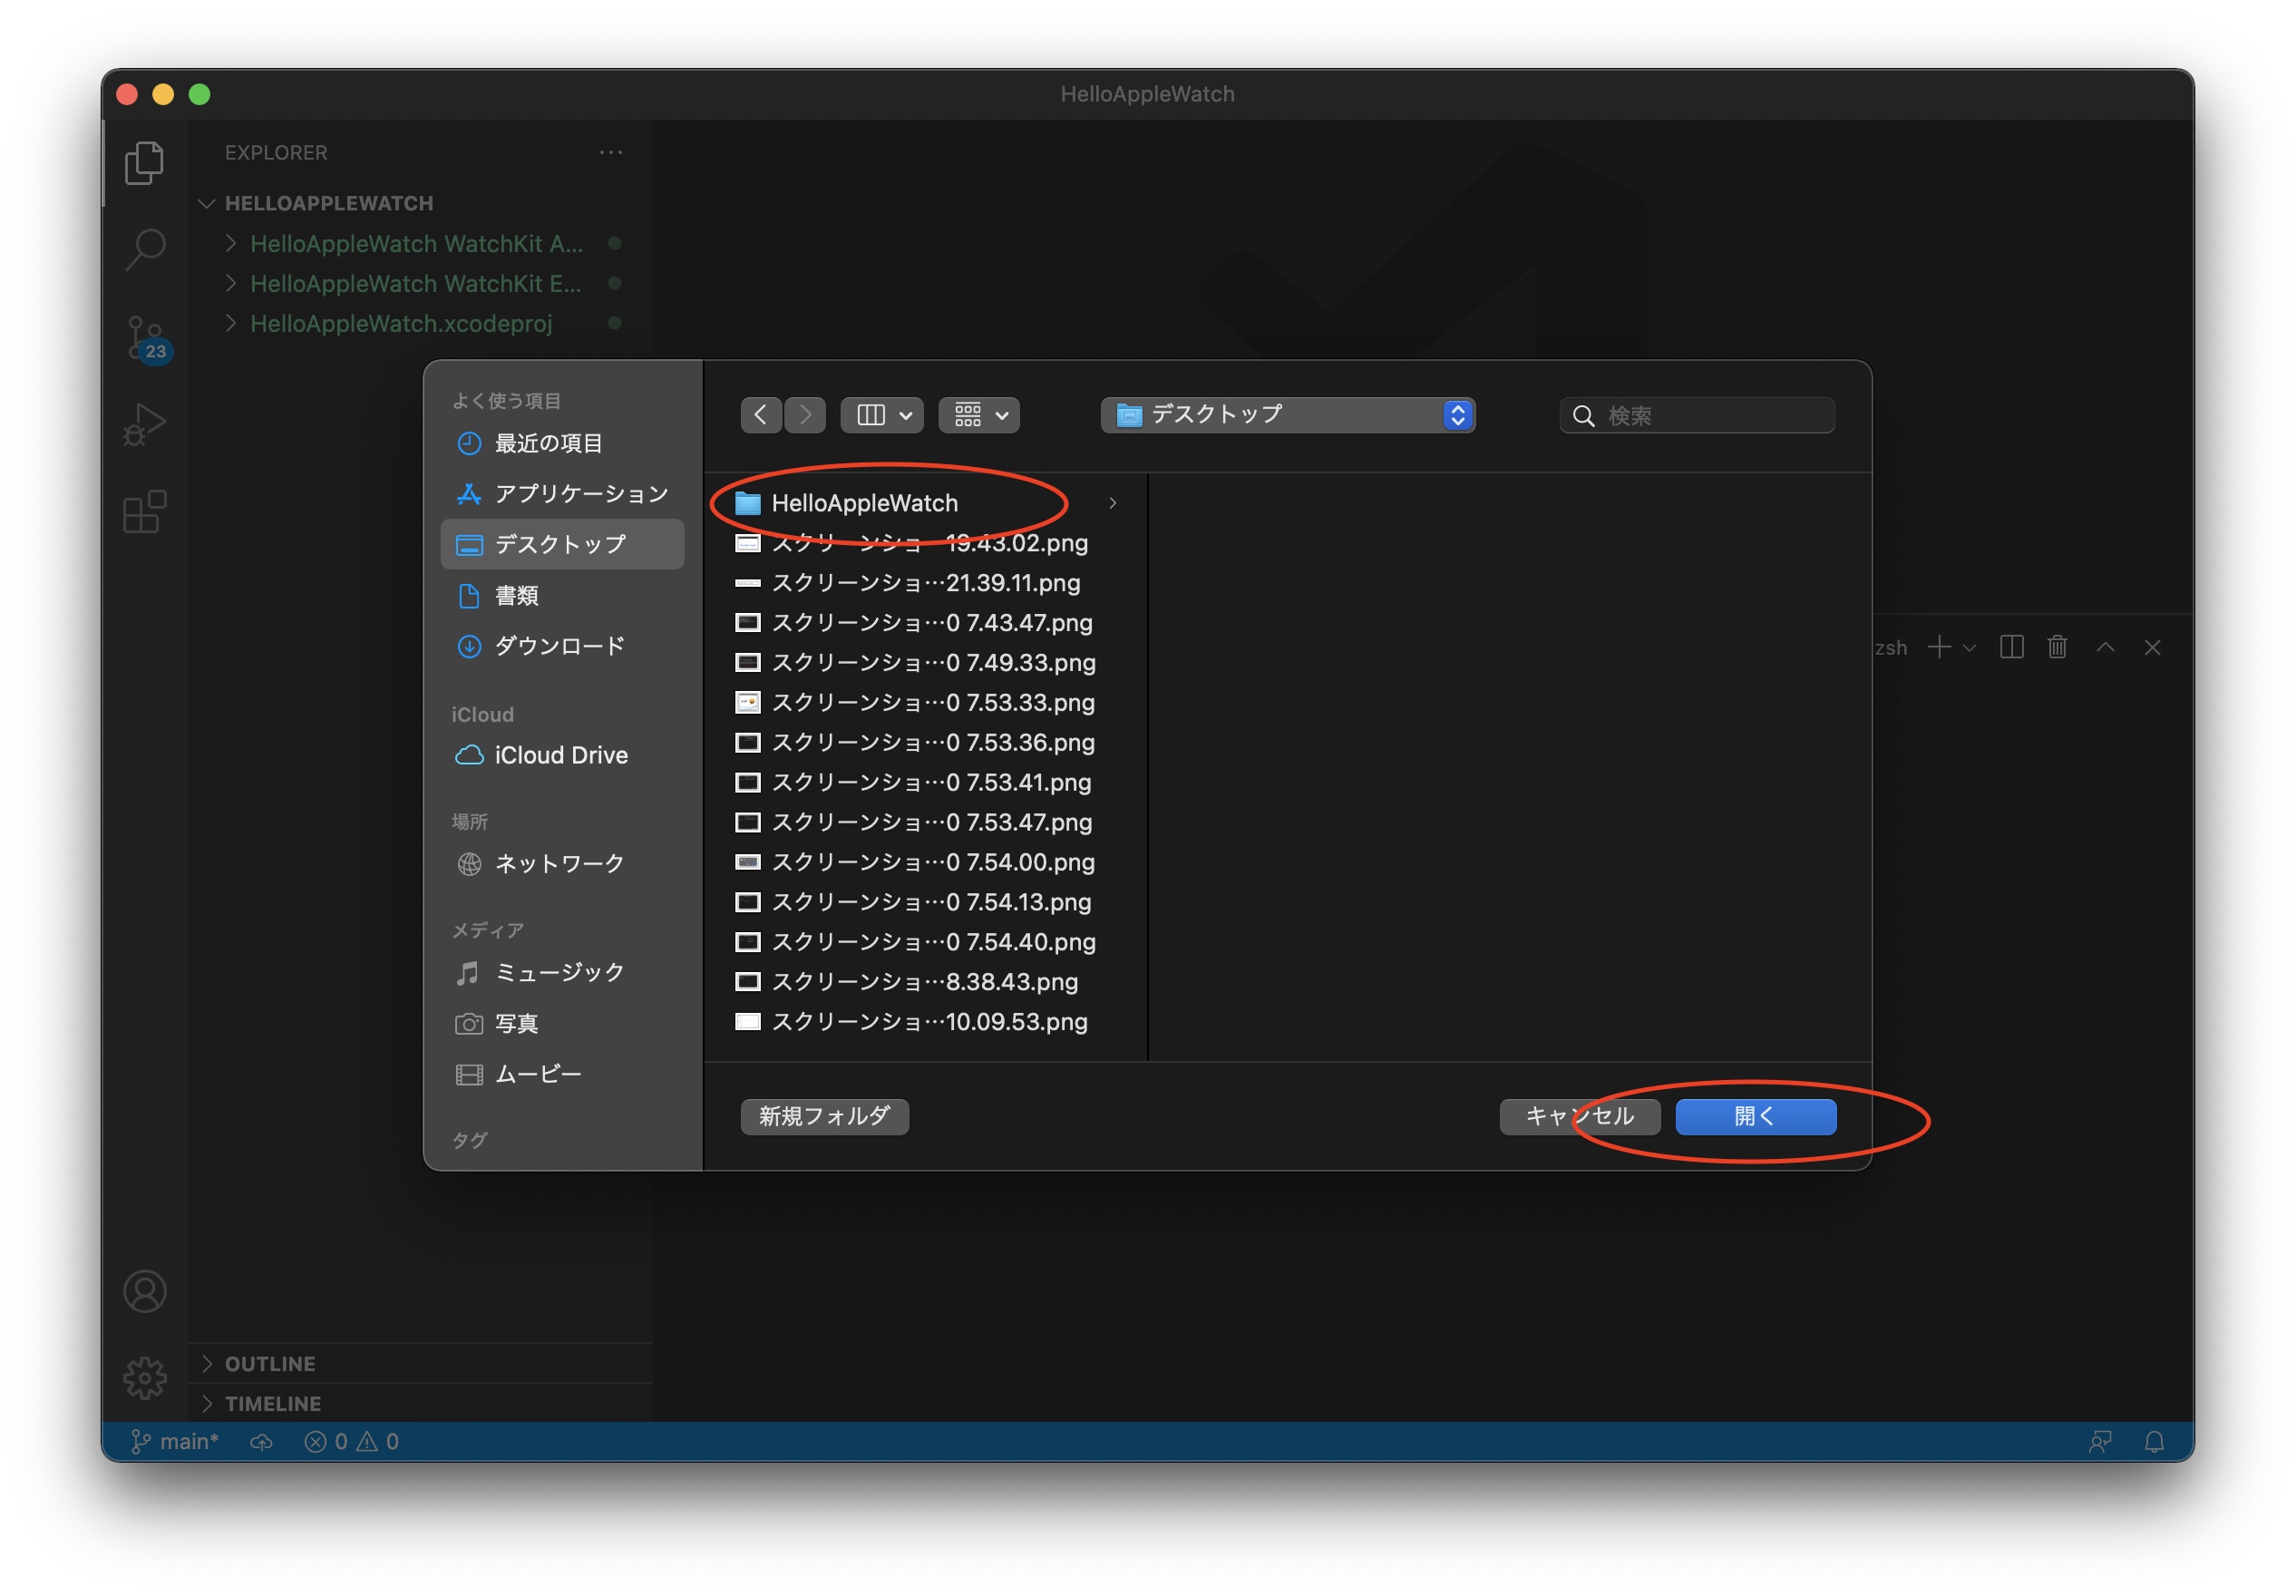
VisualStudioCodeで、WindowsユーザーがMacBookAirを購入してみた(2)XcodeインストールとiOSとwatchOSのアップデートに合計10時間かけてAppleWatch実機で”HelloWorld”作成したAppleWatchアプリのフォルダである、~/Desktop/HelloAppleWatch/ フォルダを開きます。
File > Open… で画面が出てくるので、Desktop/HelloAppleWatch/ を選択して、開く をクリックします。
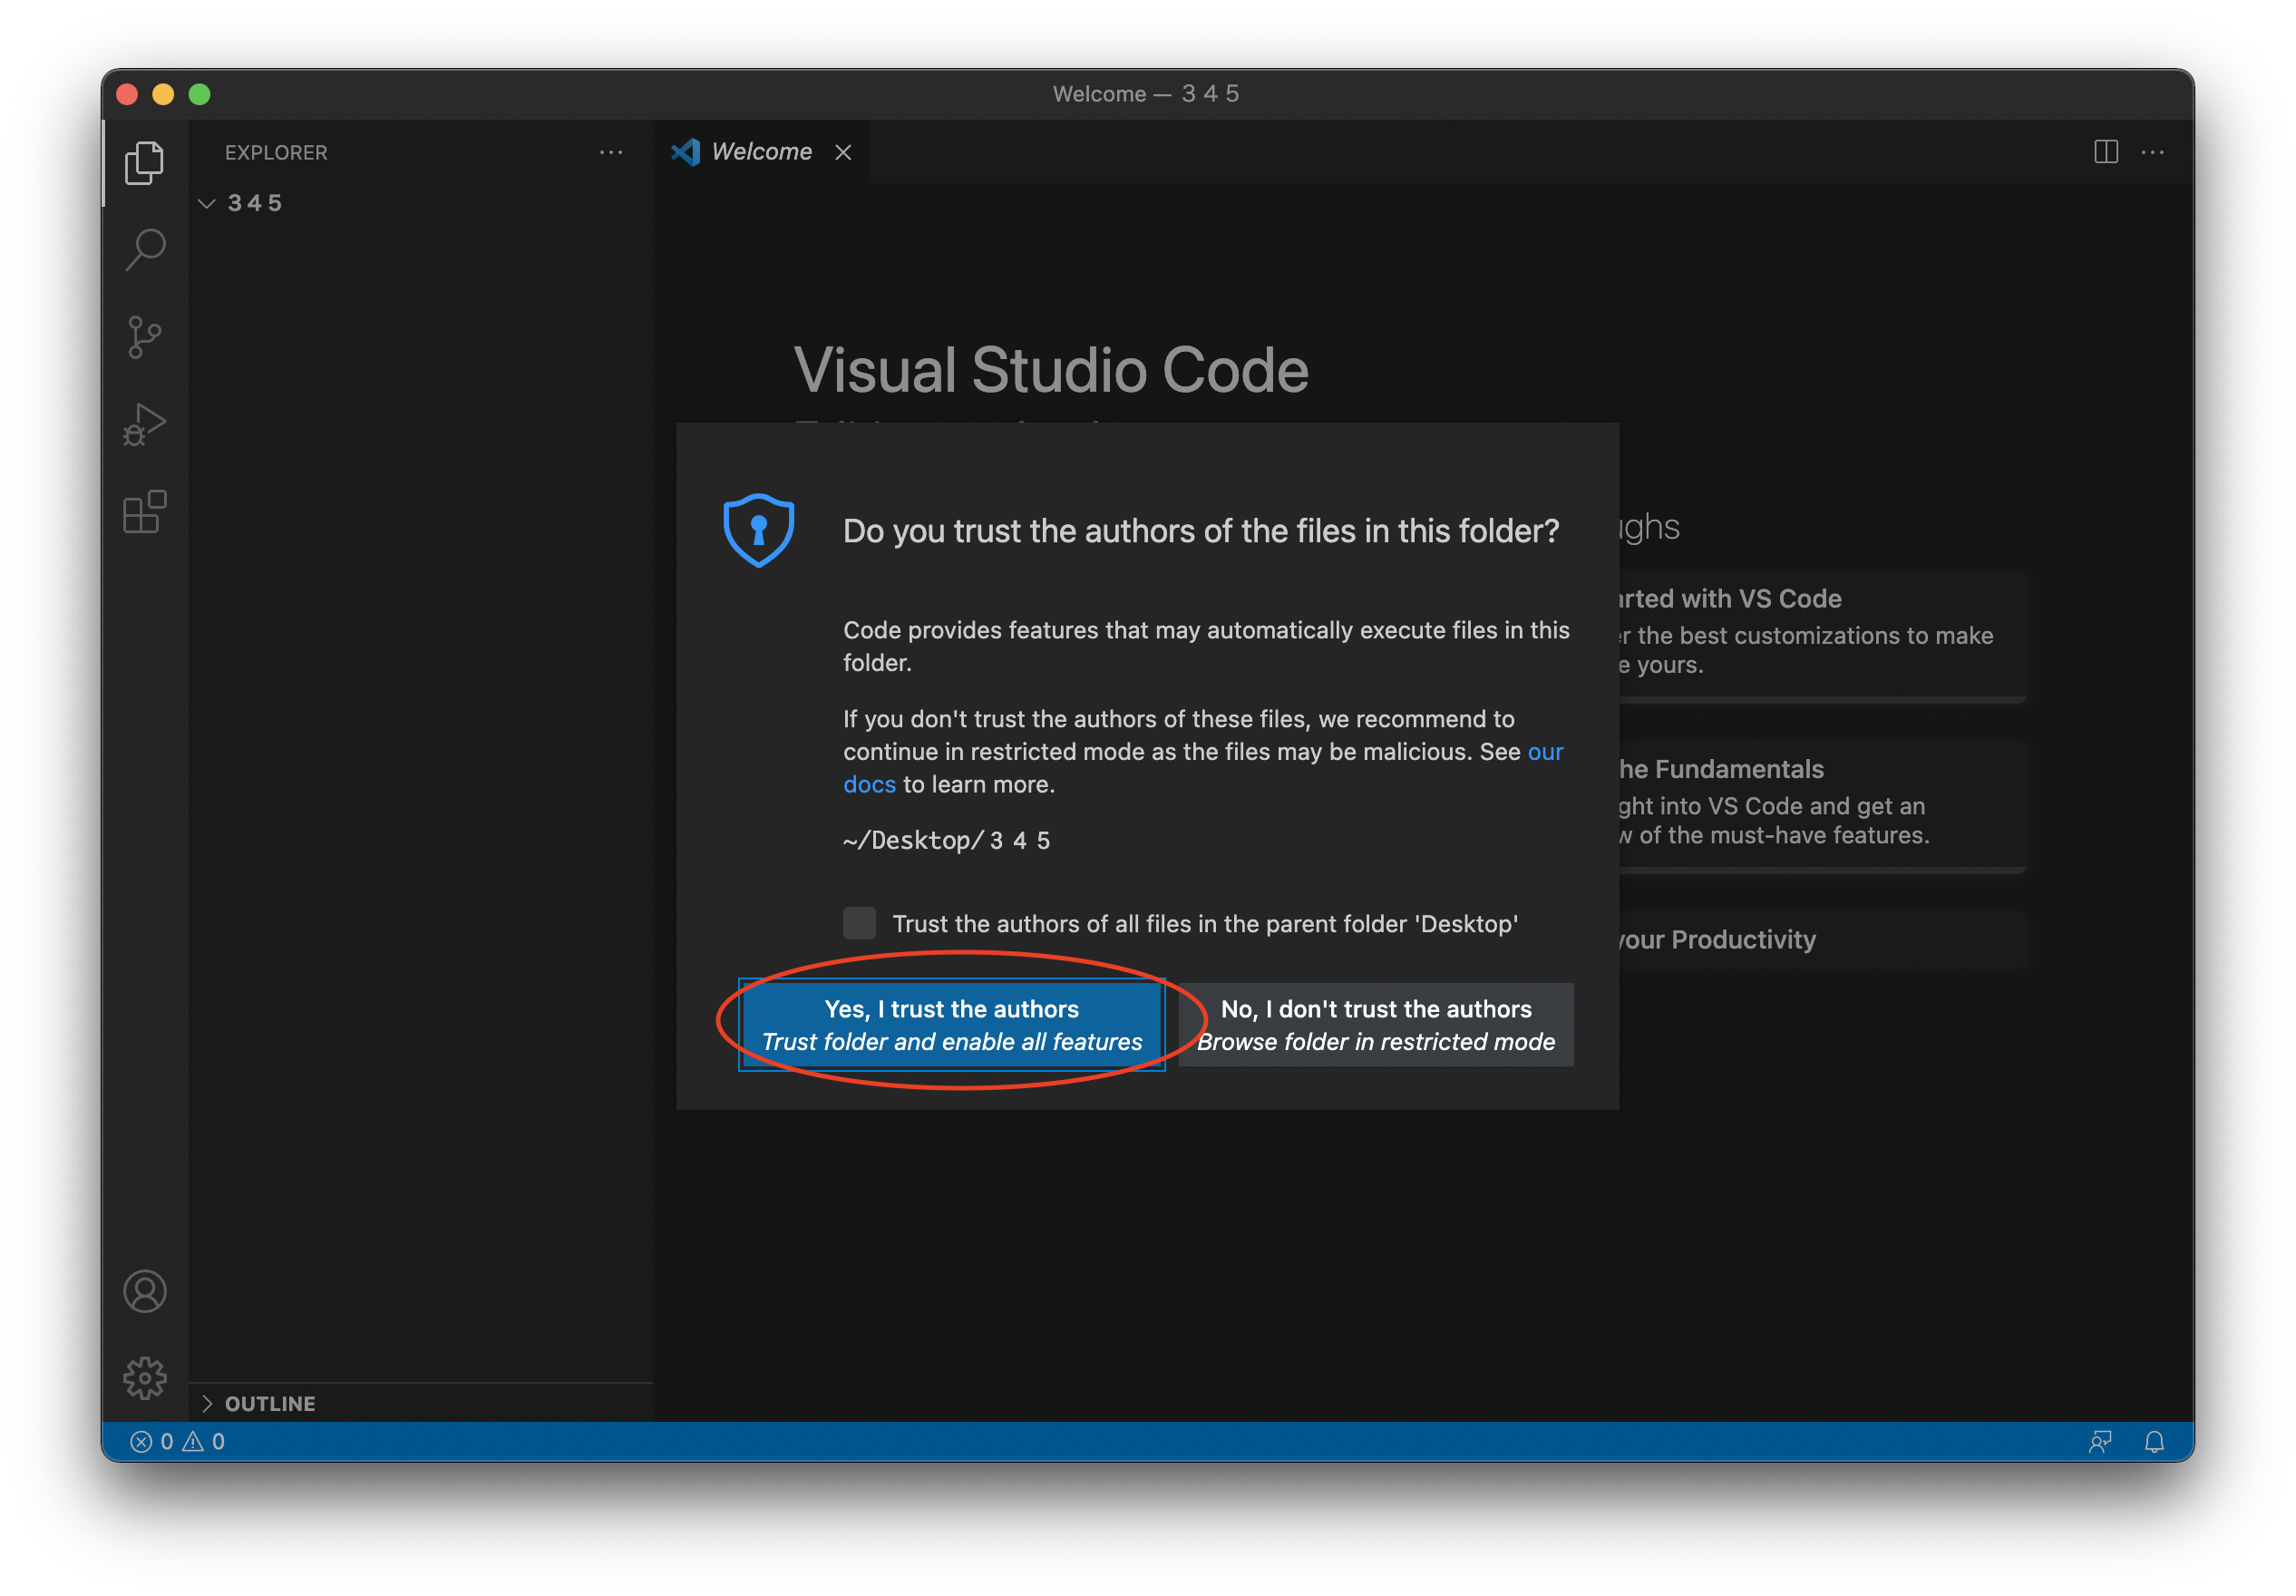
以下のような感じの警告が出てくるので、”Yes", I trust …" をクリックします。
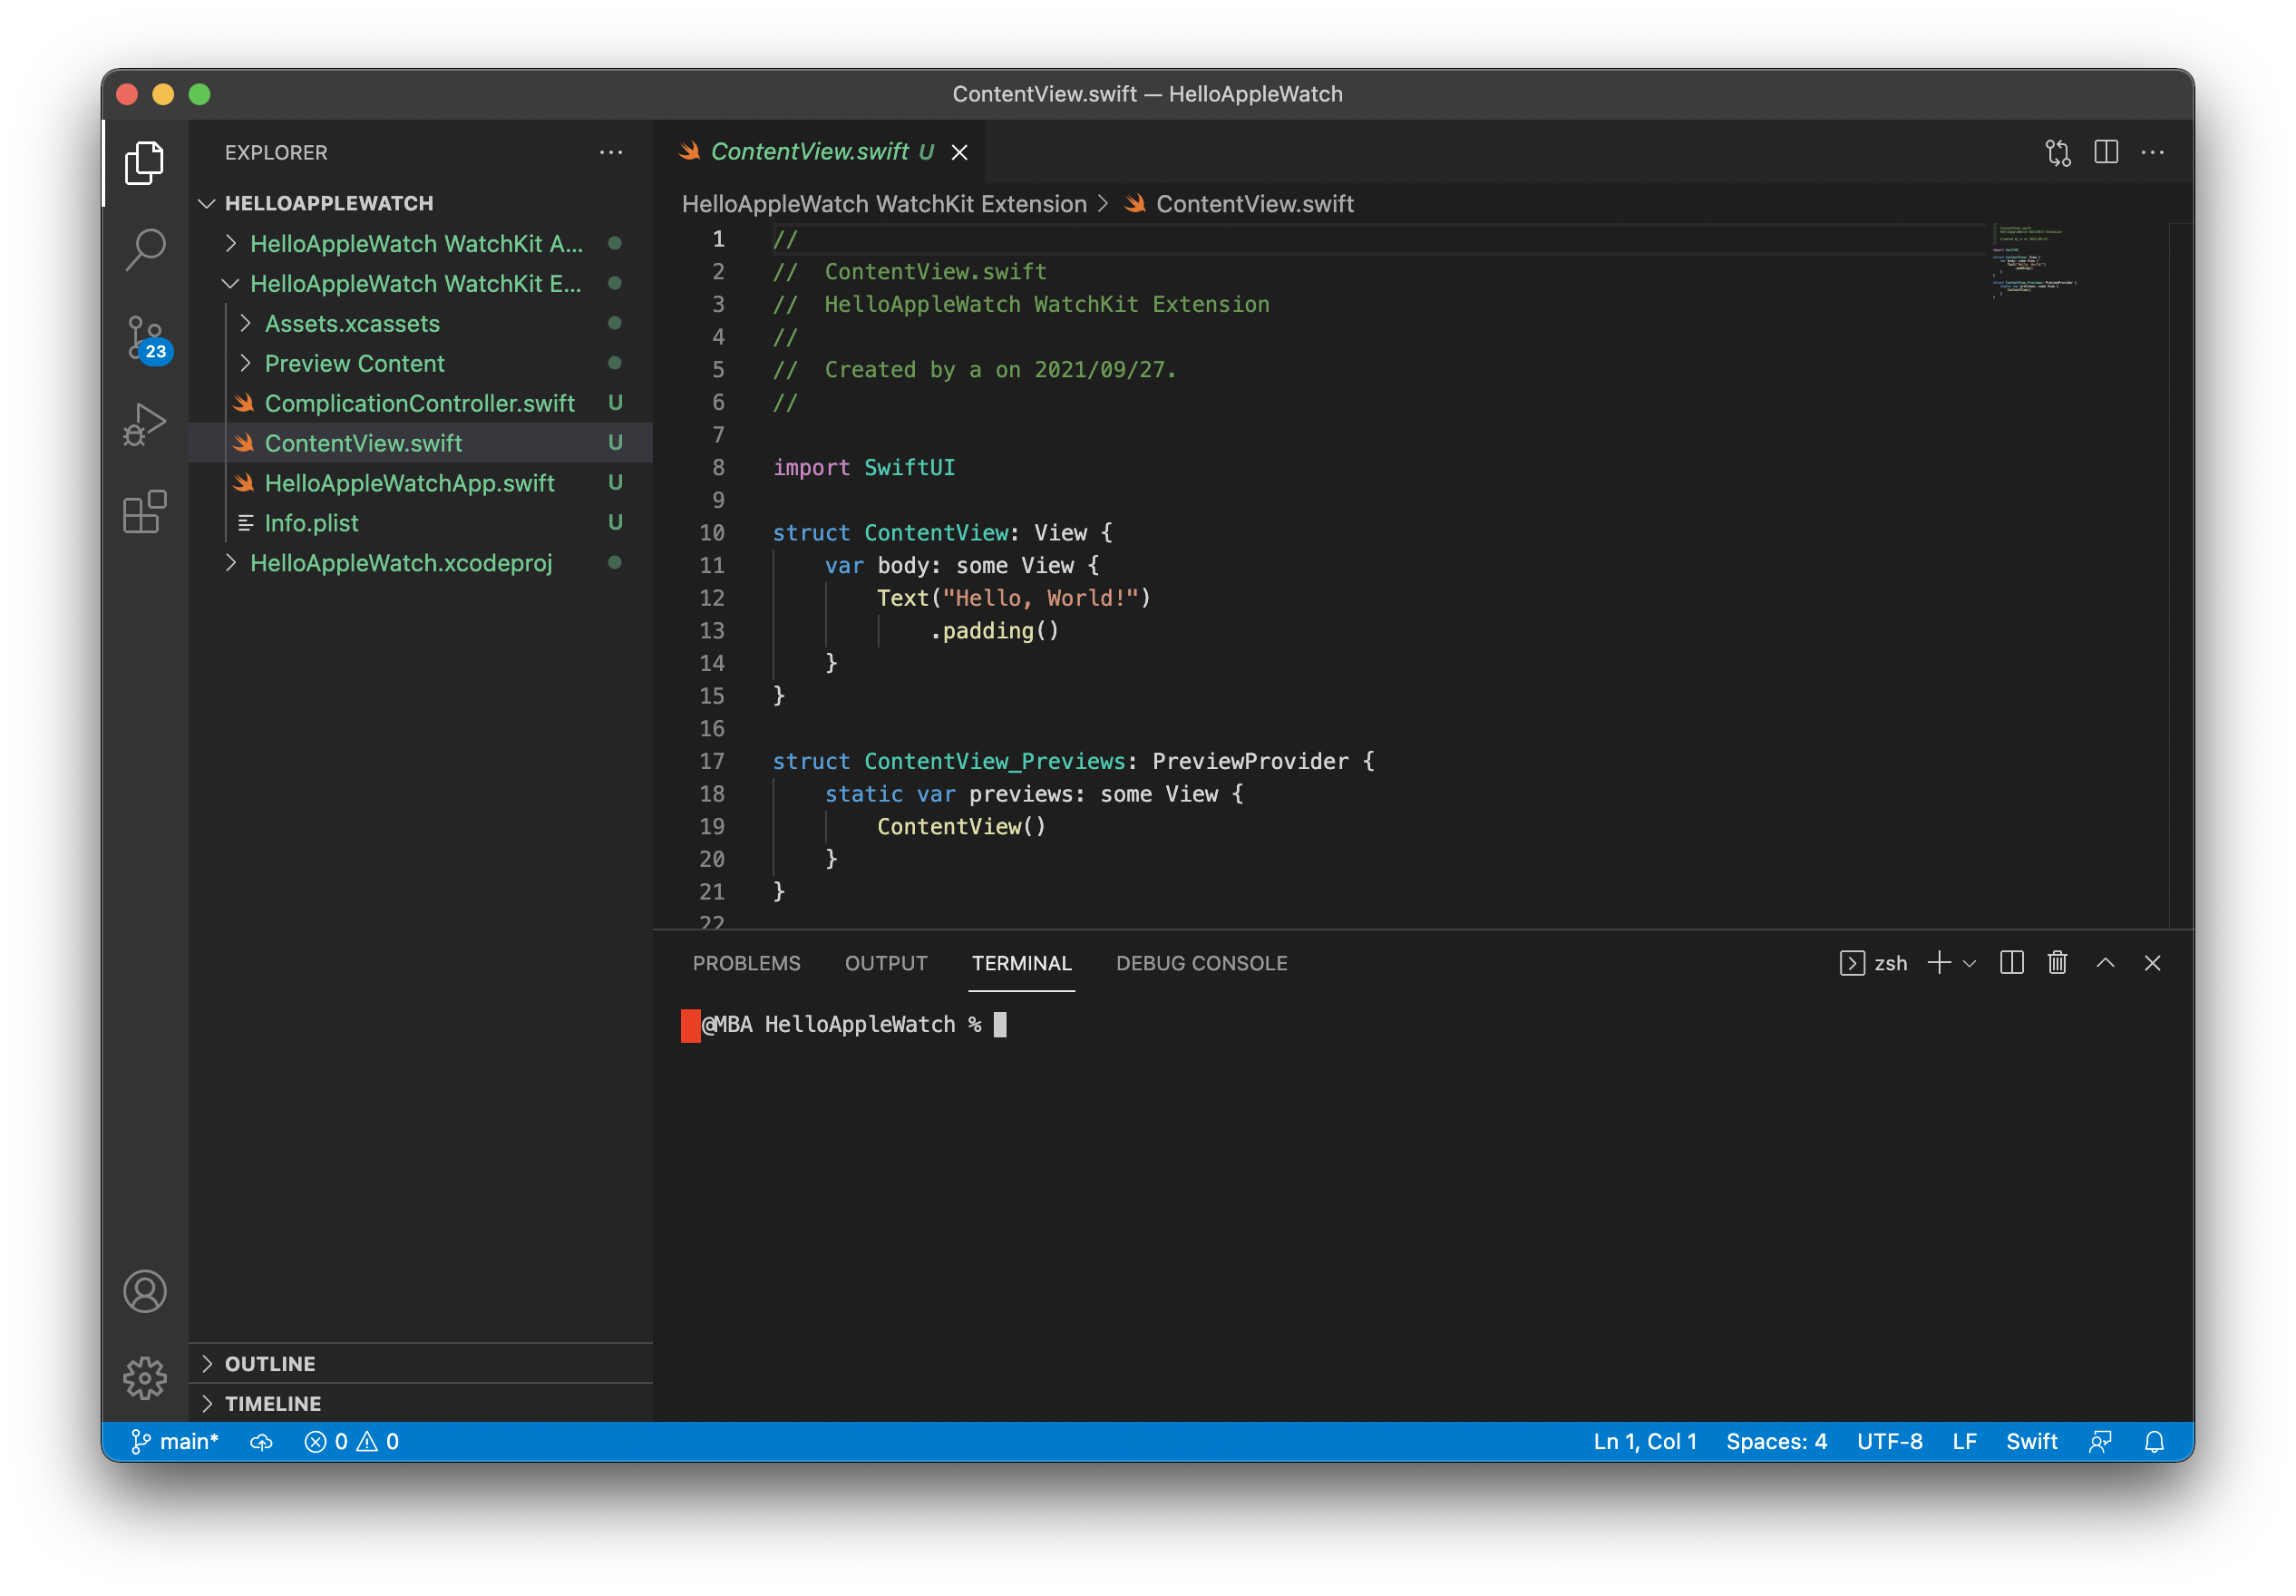
以下のような画面になるので、書いてある通りに、「control + `」をクリックして、ターミナル画面を出します。
なお、「`」は、USキーボードでは、数字の1の左側(Escの下)にありました。Windowsのキーボードと、記号のキーボードの位置が色々と異なっており、最初は戸惑います。
GitHubで新規リポジトリ作成
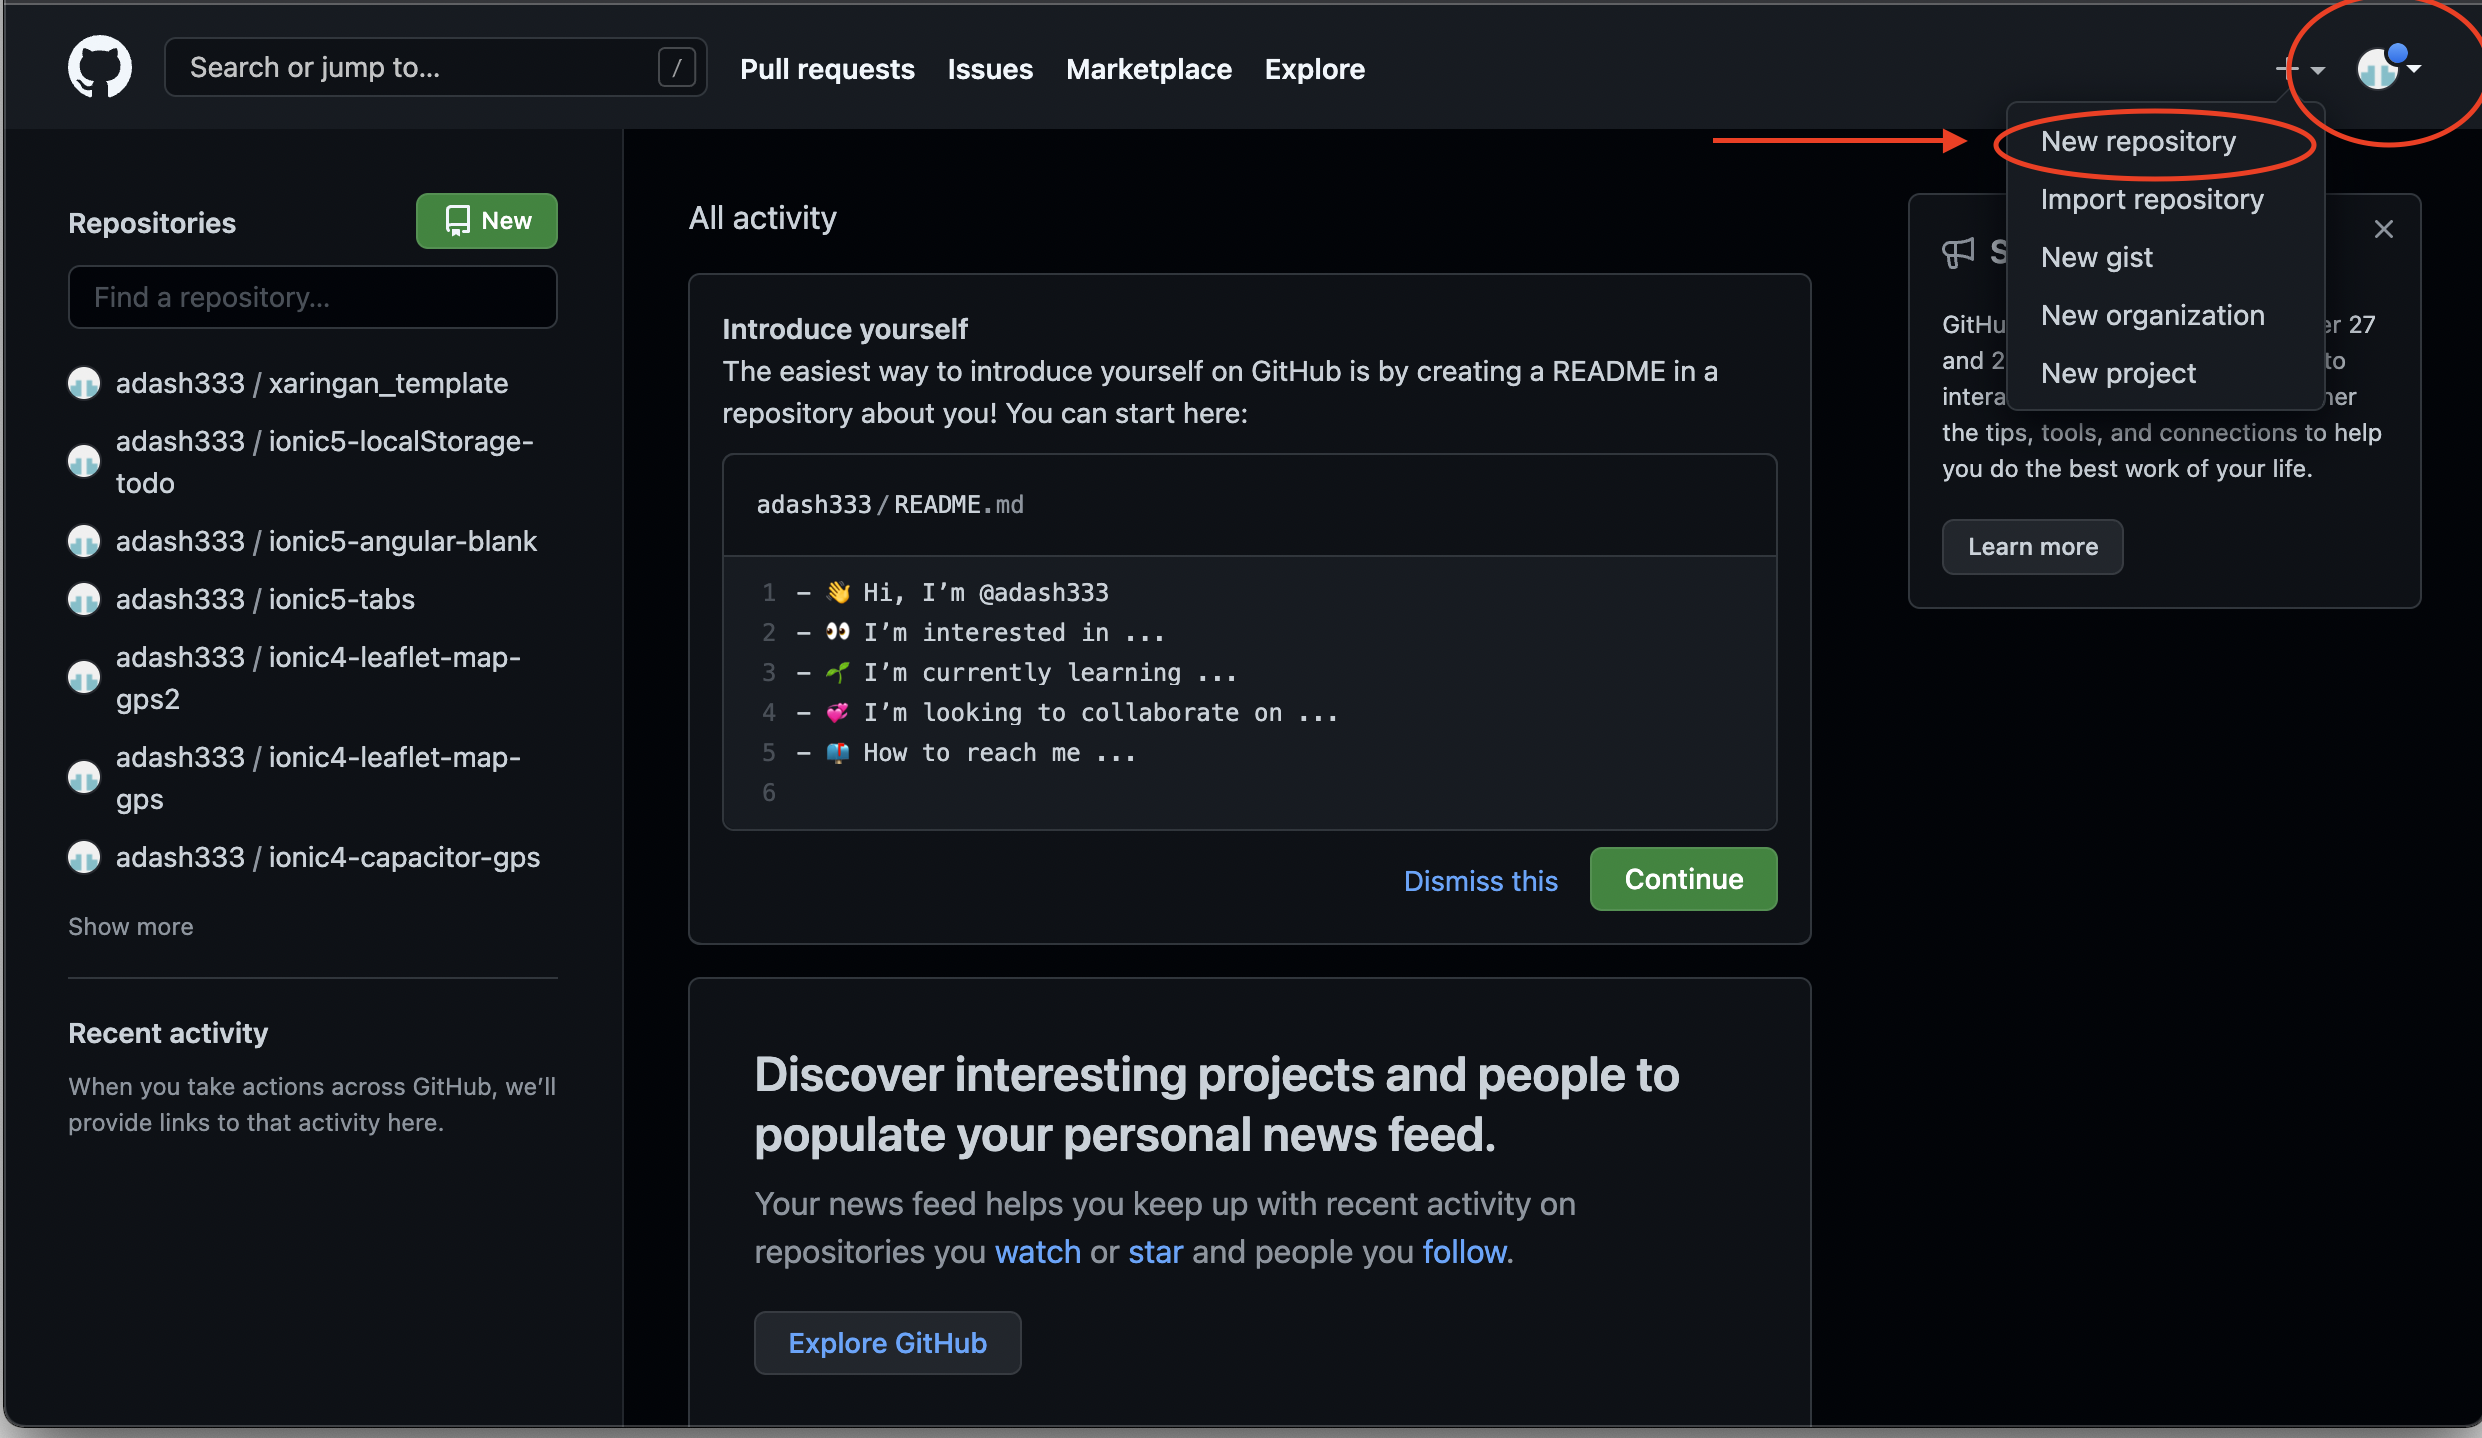
GitHubアカウントを作成し、https://github.com/login からログインします。
画面右上の「+」> New repository の順にクリック
Repository nameに、HelloAppleWatchと入力して、Create repository をクリック。
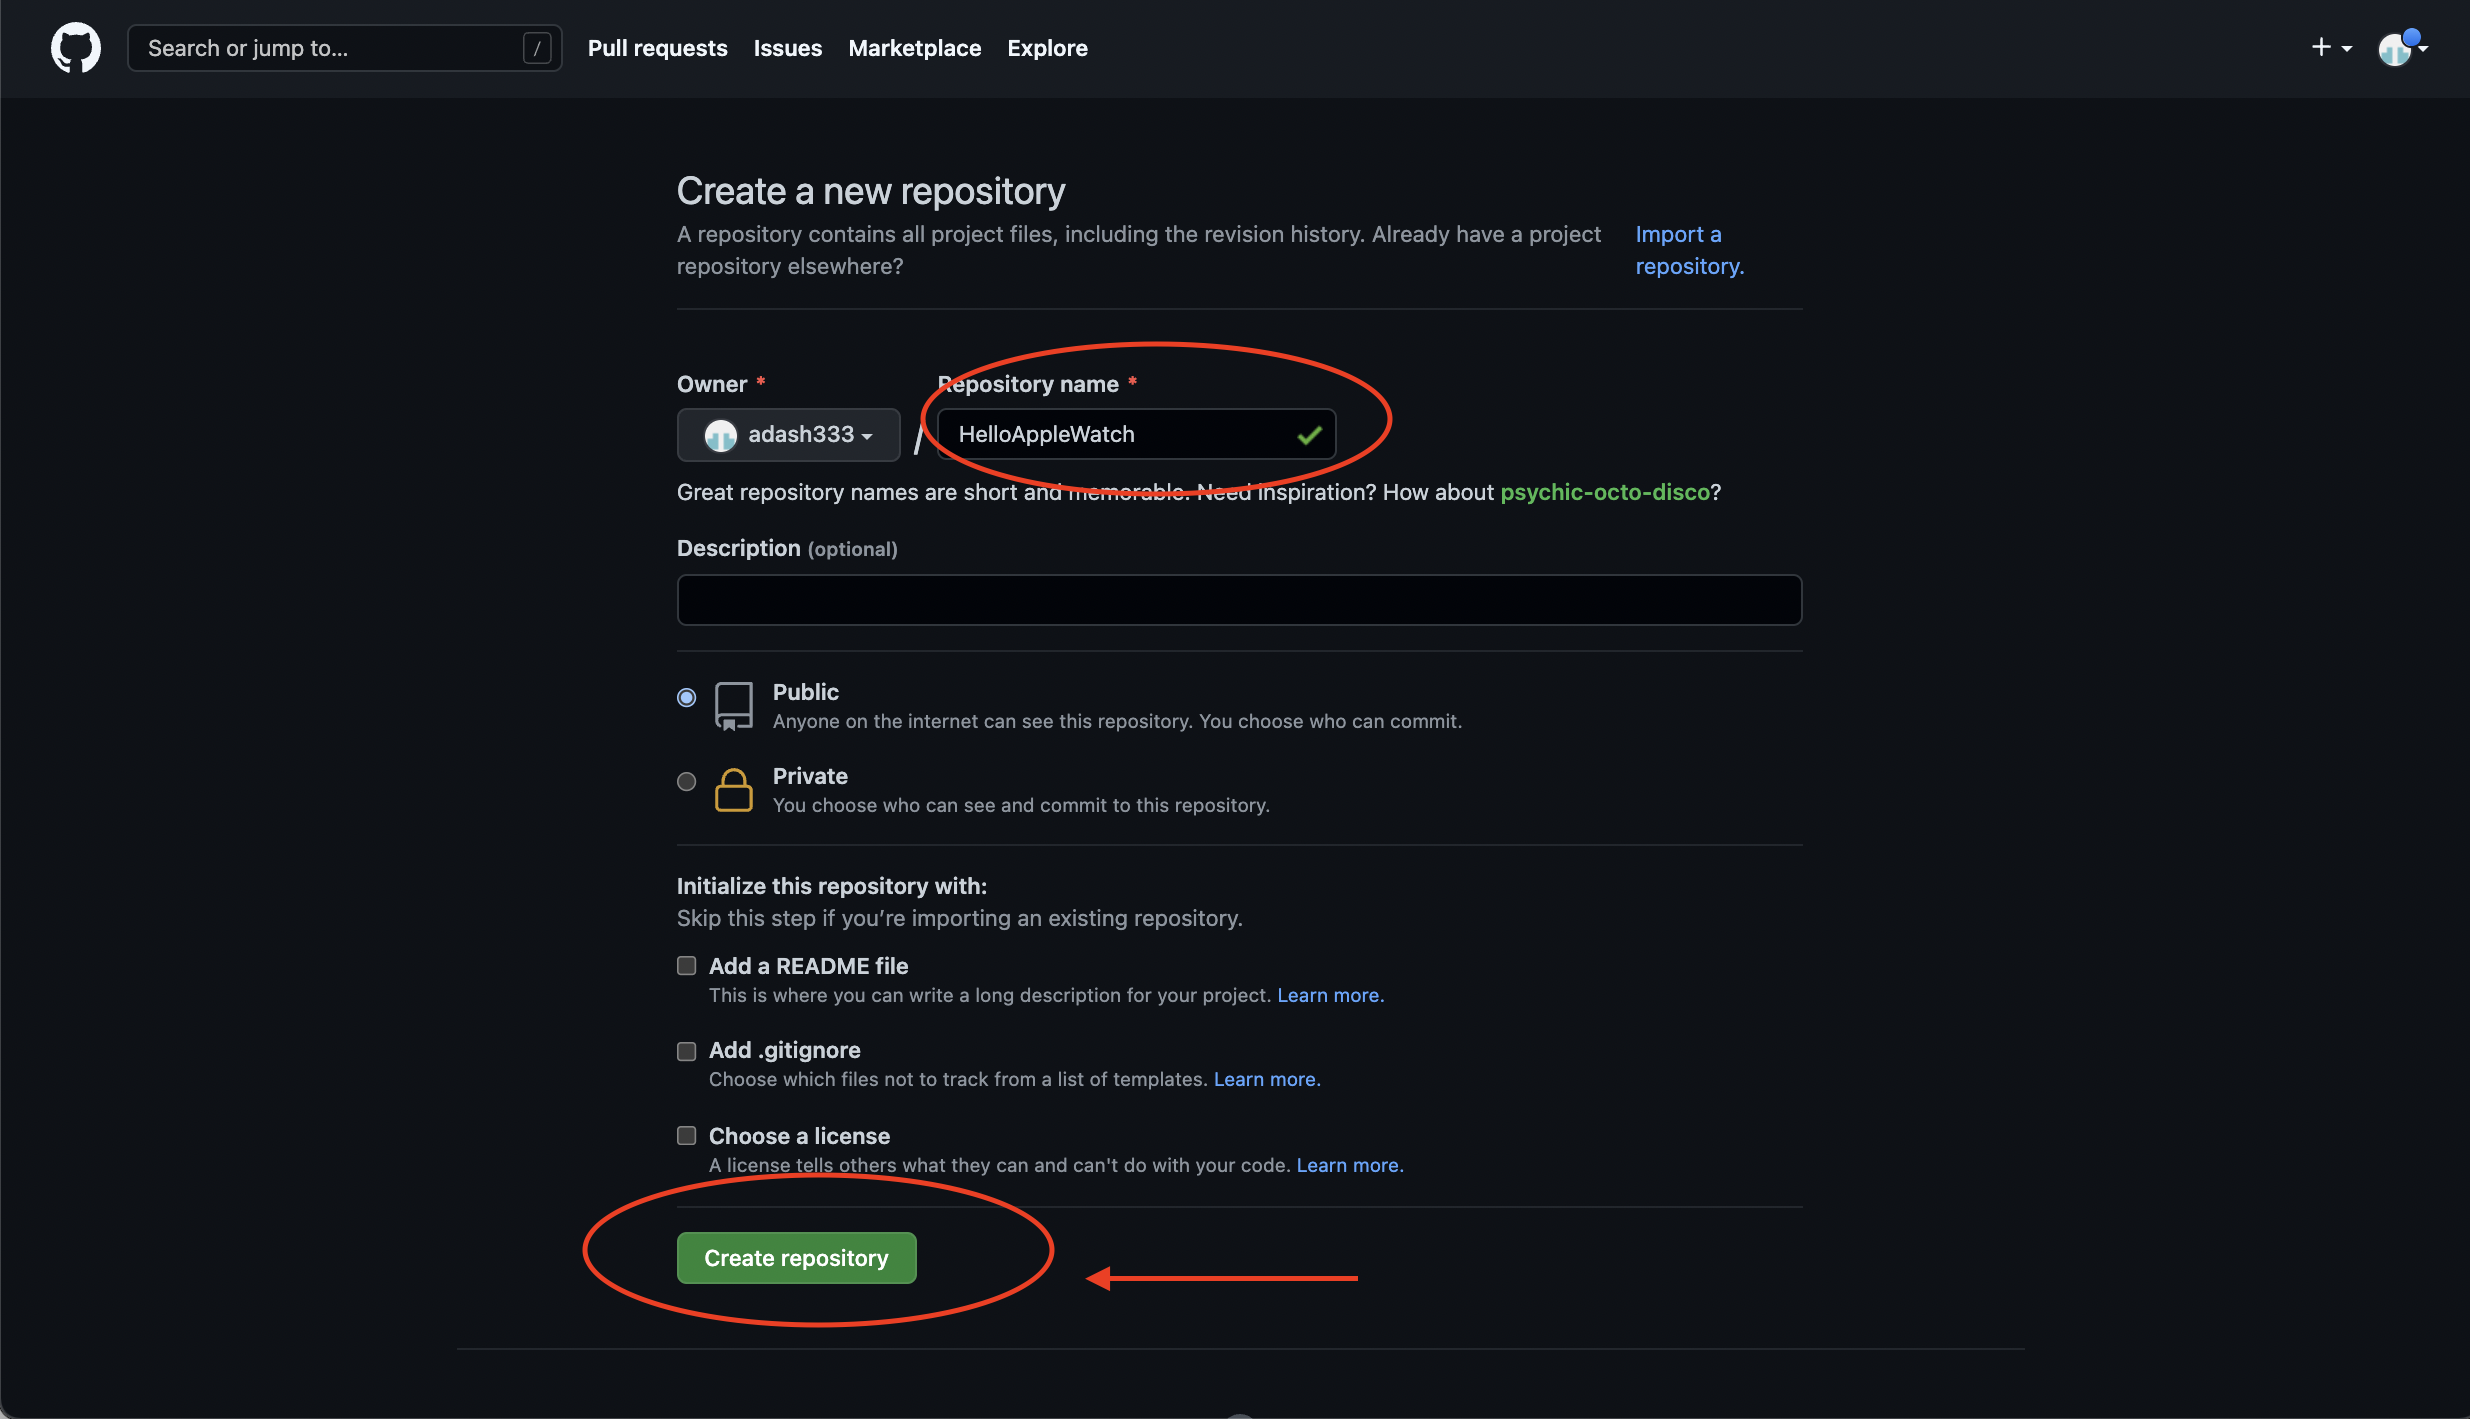
以下のようなページになるので、赤で囲んだ部分を参考にしながら、次に行きます。
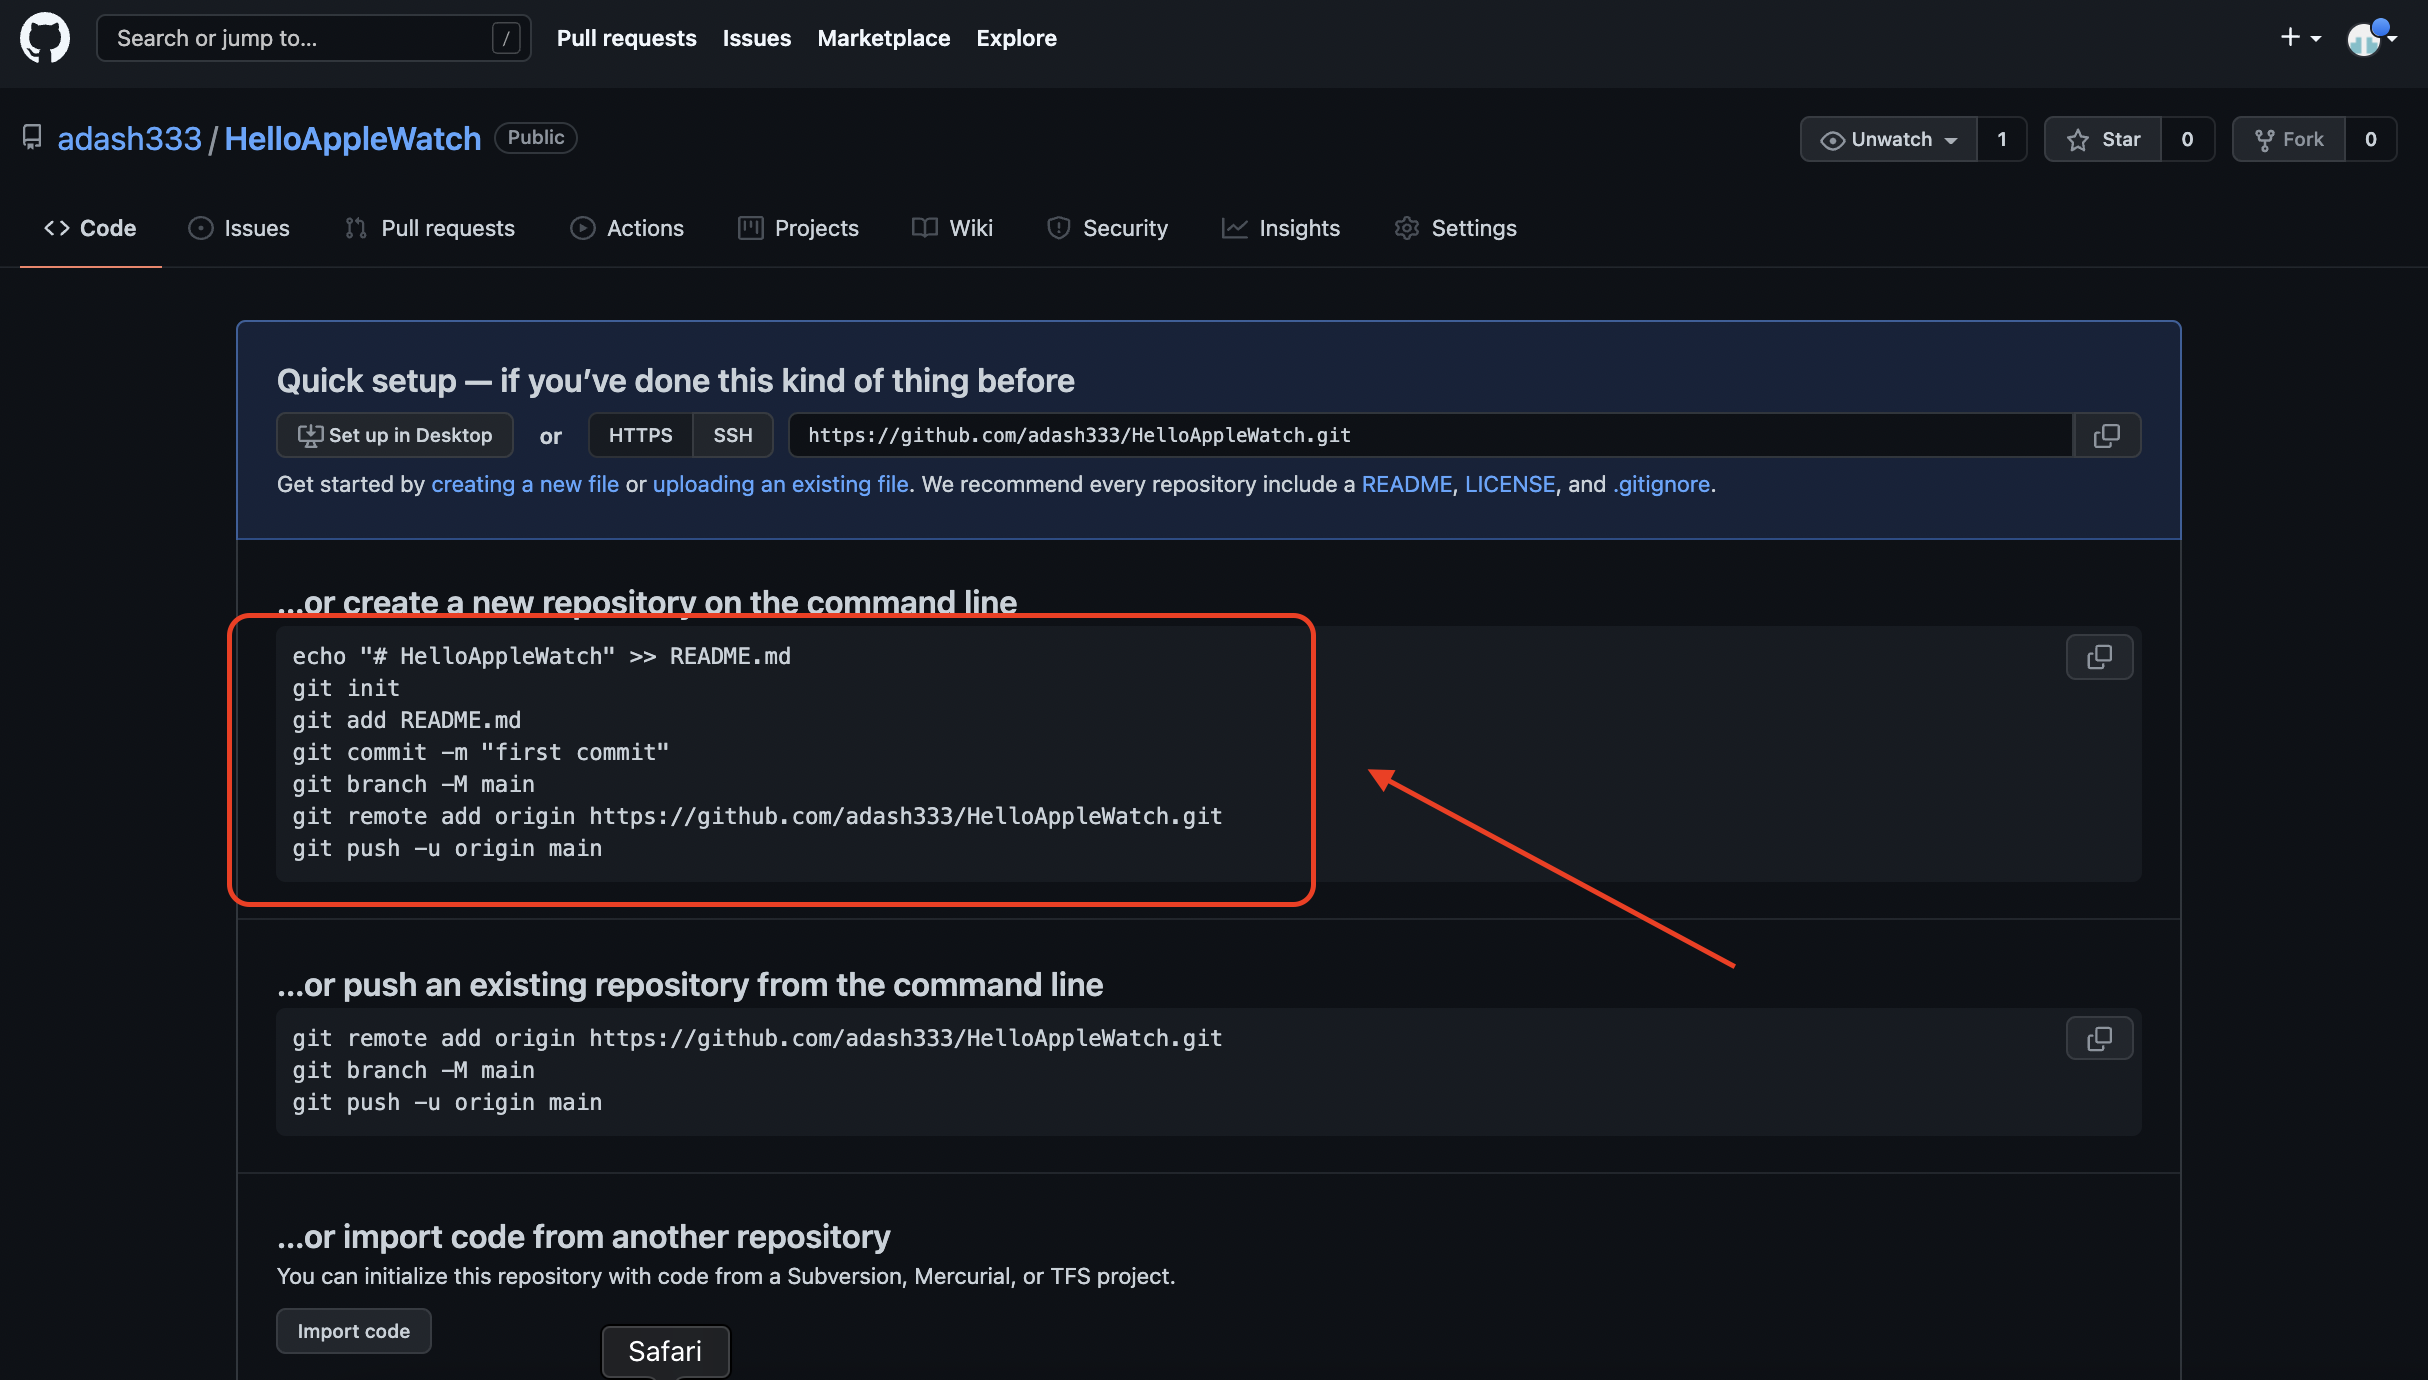
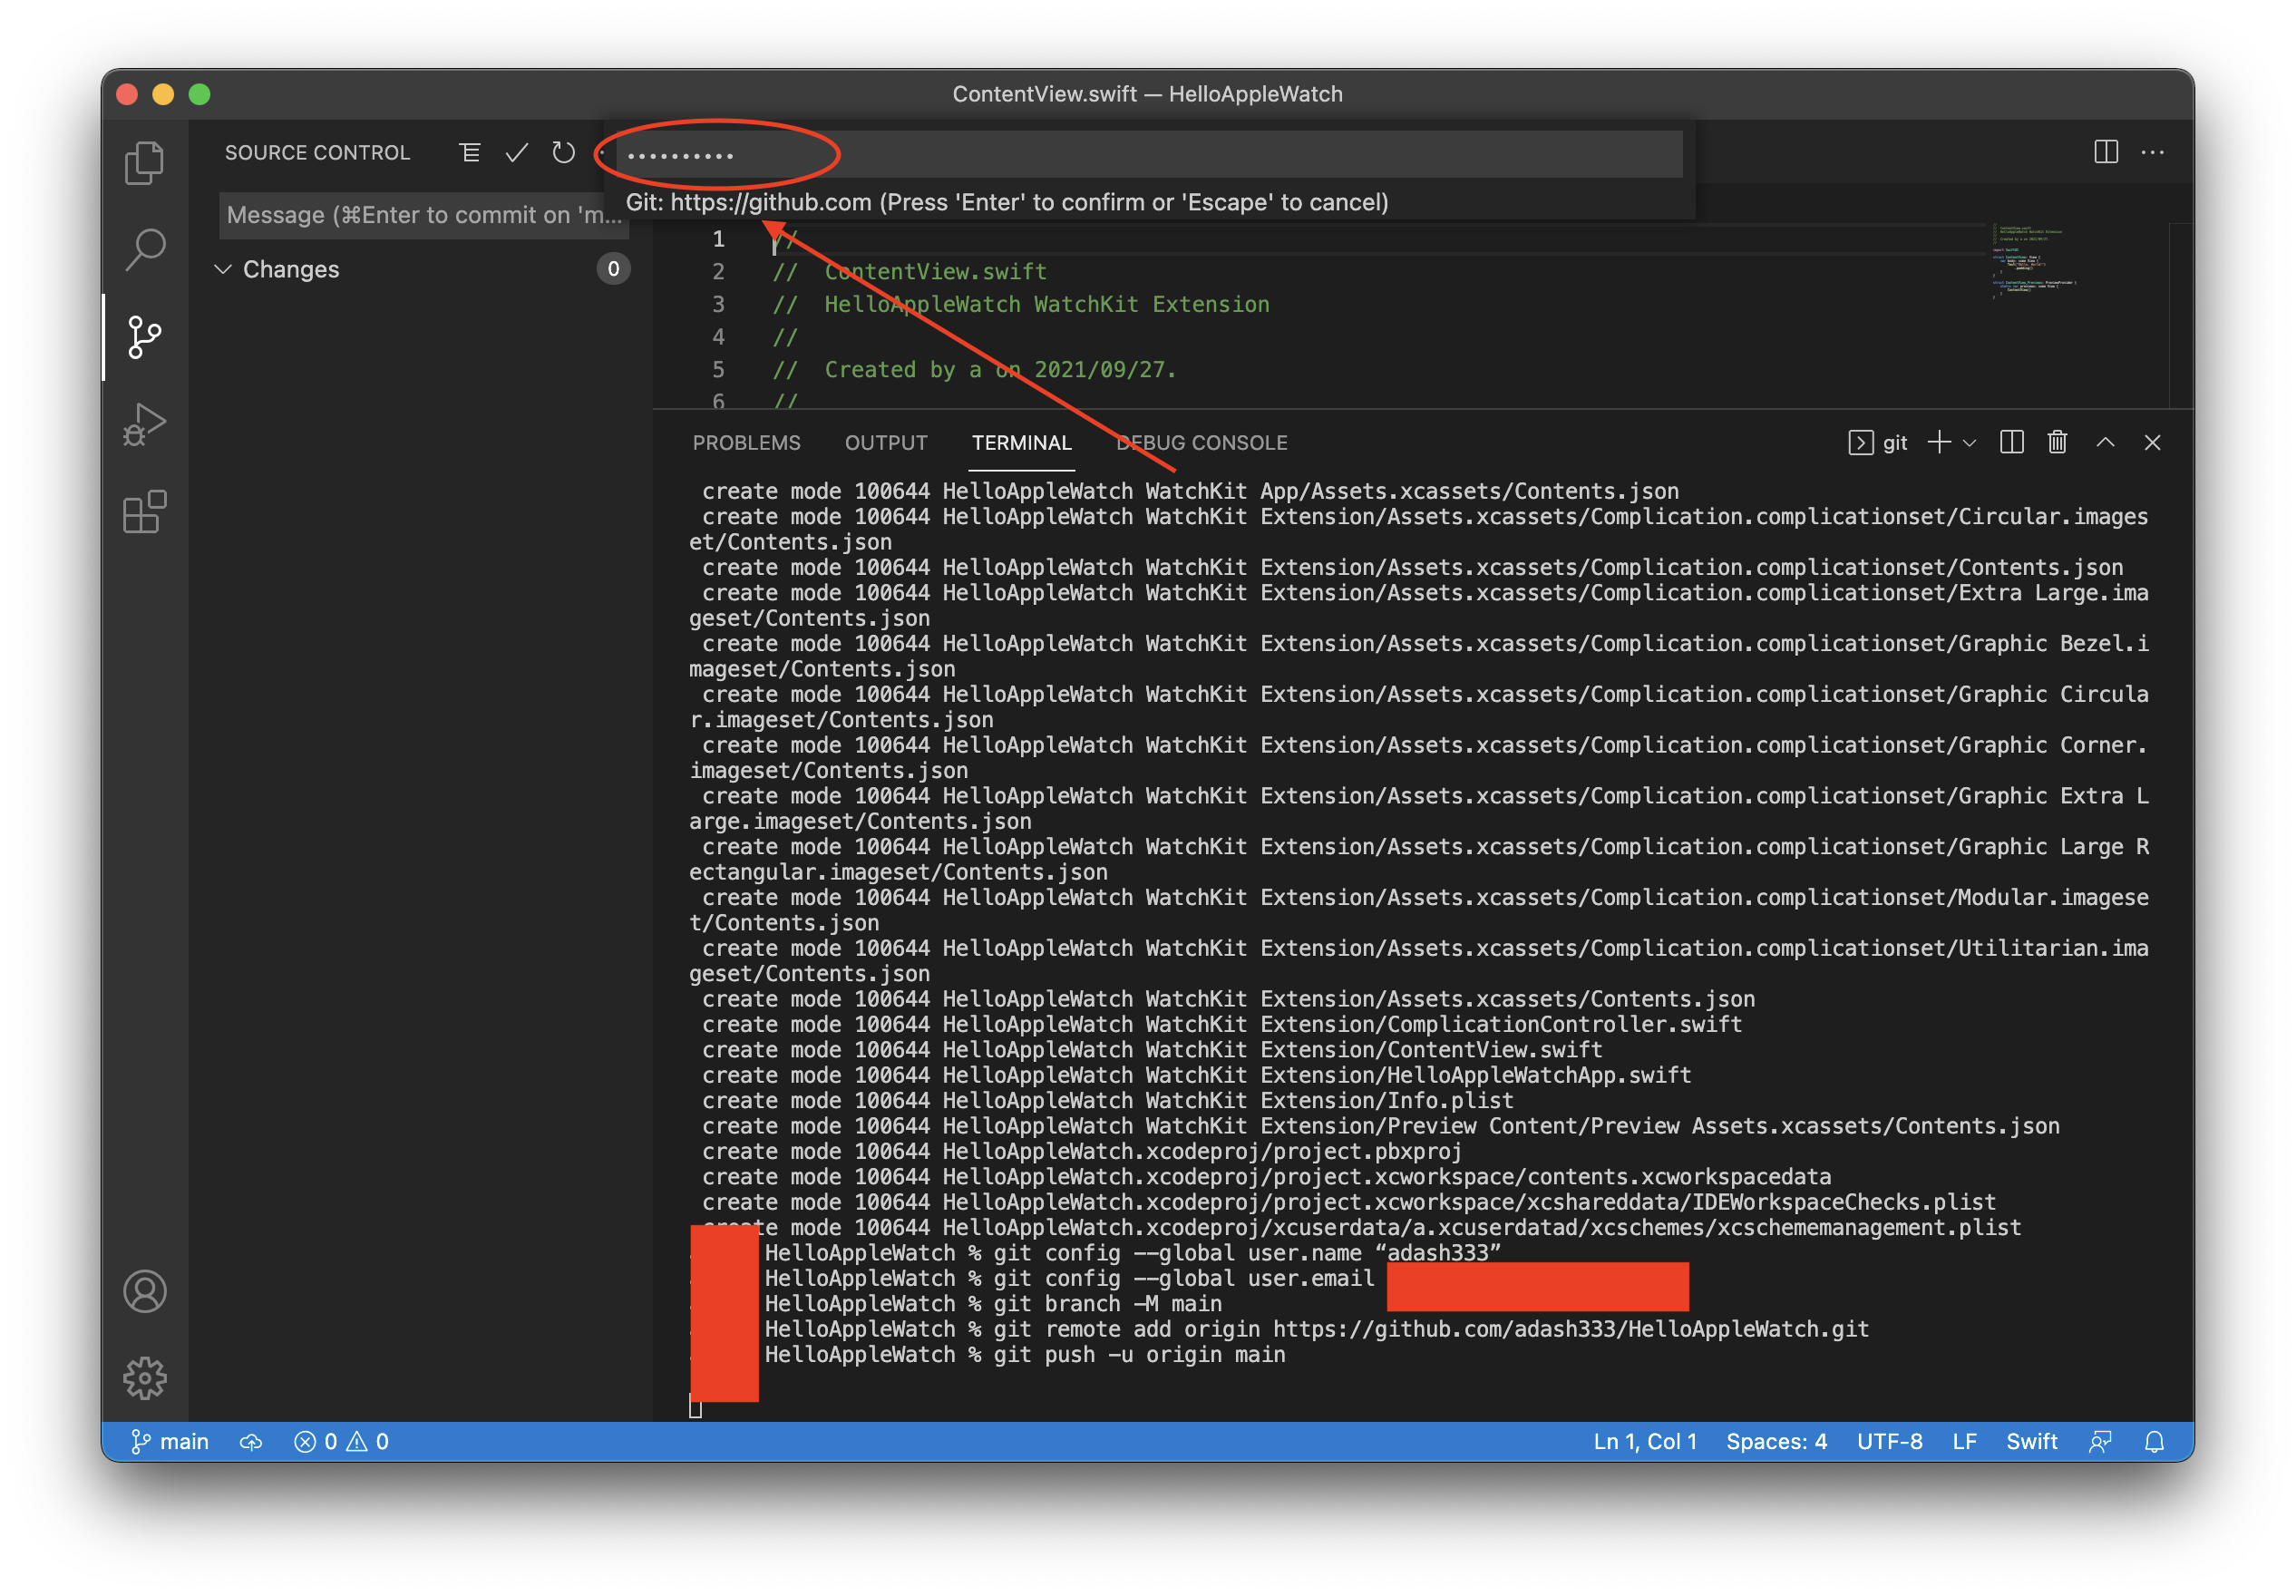
VisualStudioCodeのターミナル画面からGitHubへpush
VisualStudioCodeである必要はまったくなく、ターミナルからやればよいのですが、個人の好みで、VisualStudioCodeからGitHubへpushしてみます。
VisualStudioCodeのターミナル画面に、以下を入力します。ほとんど、上記のGitHubページの中身のコピペでいけます。
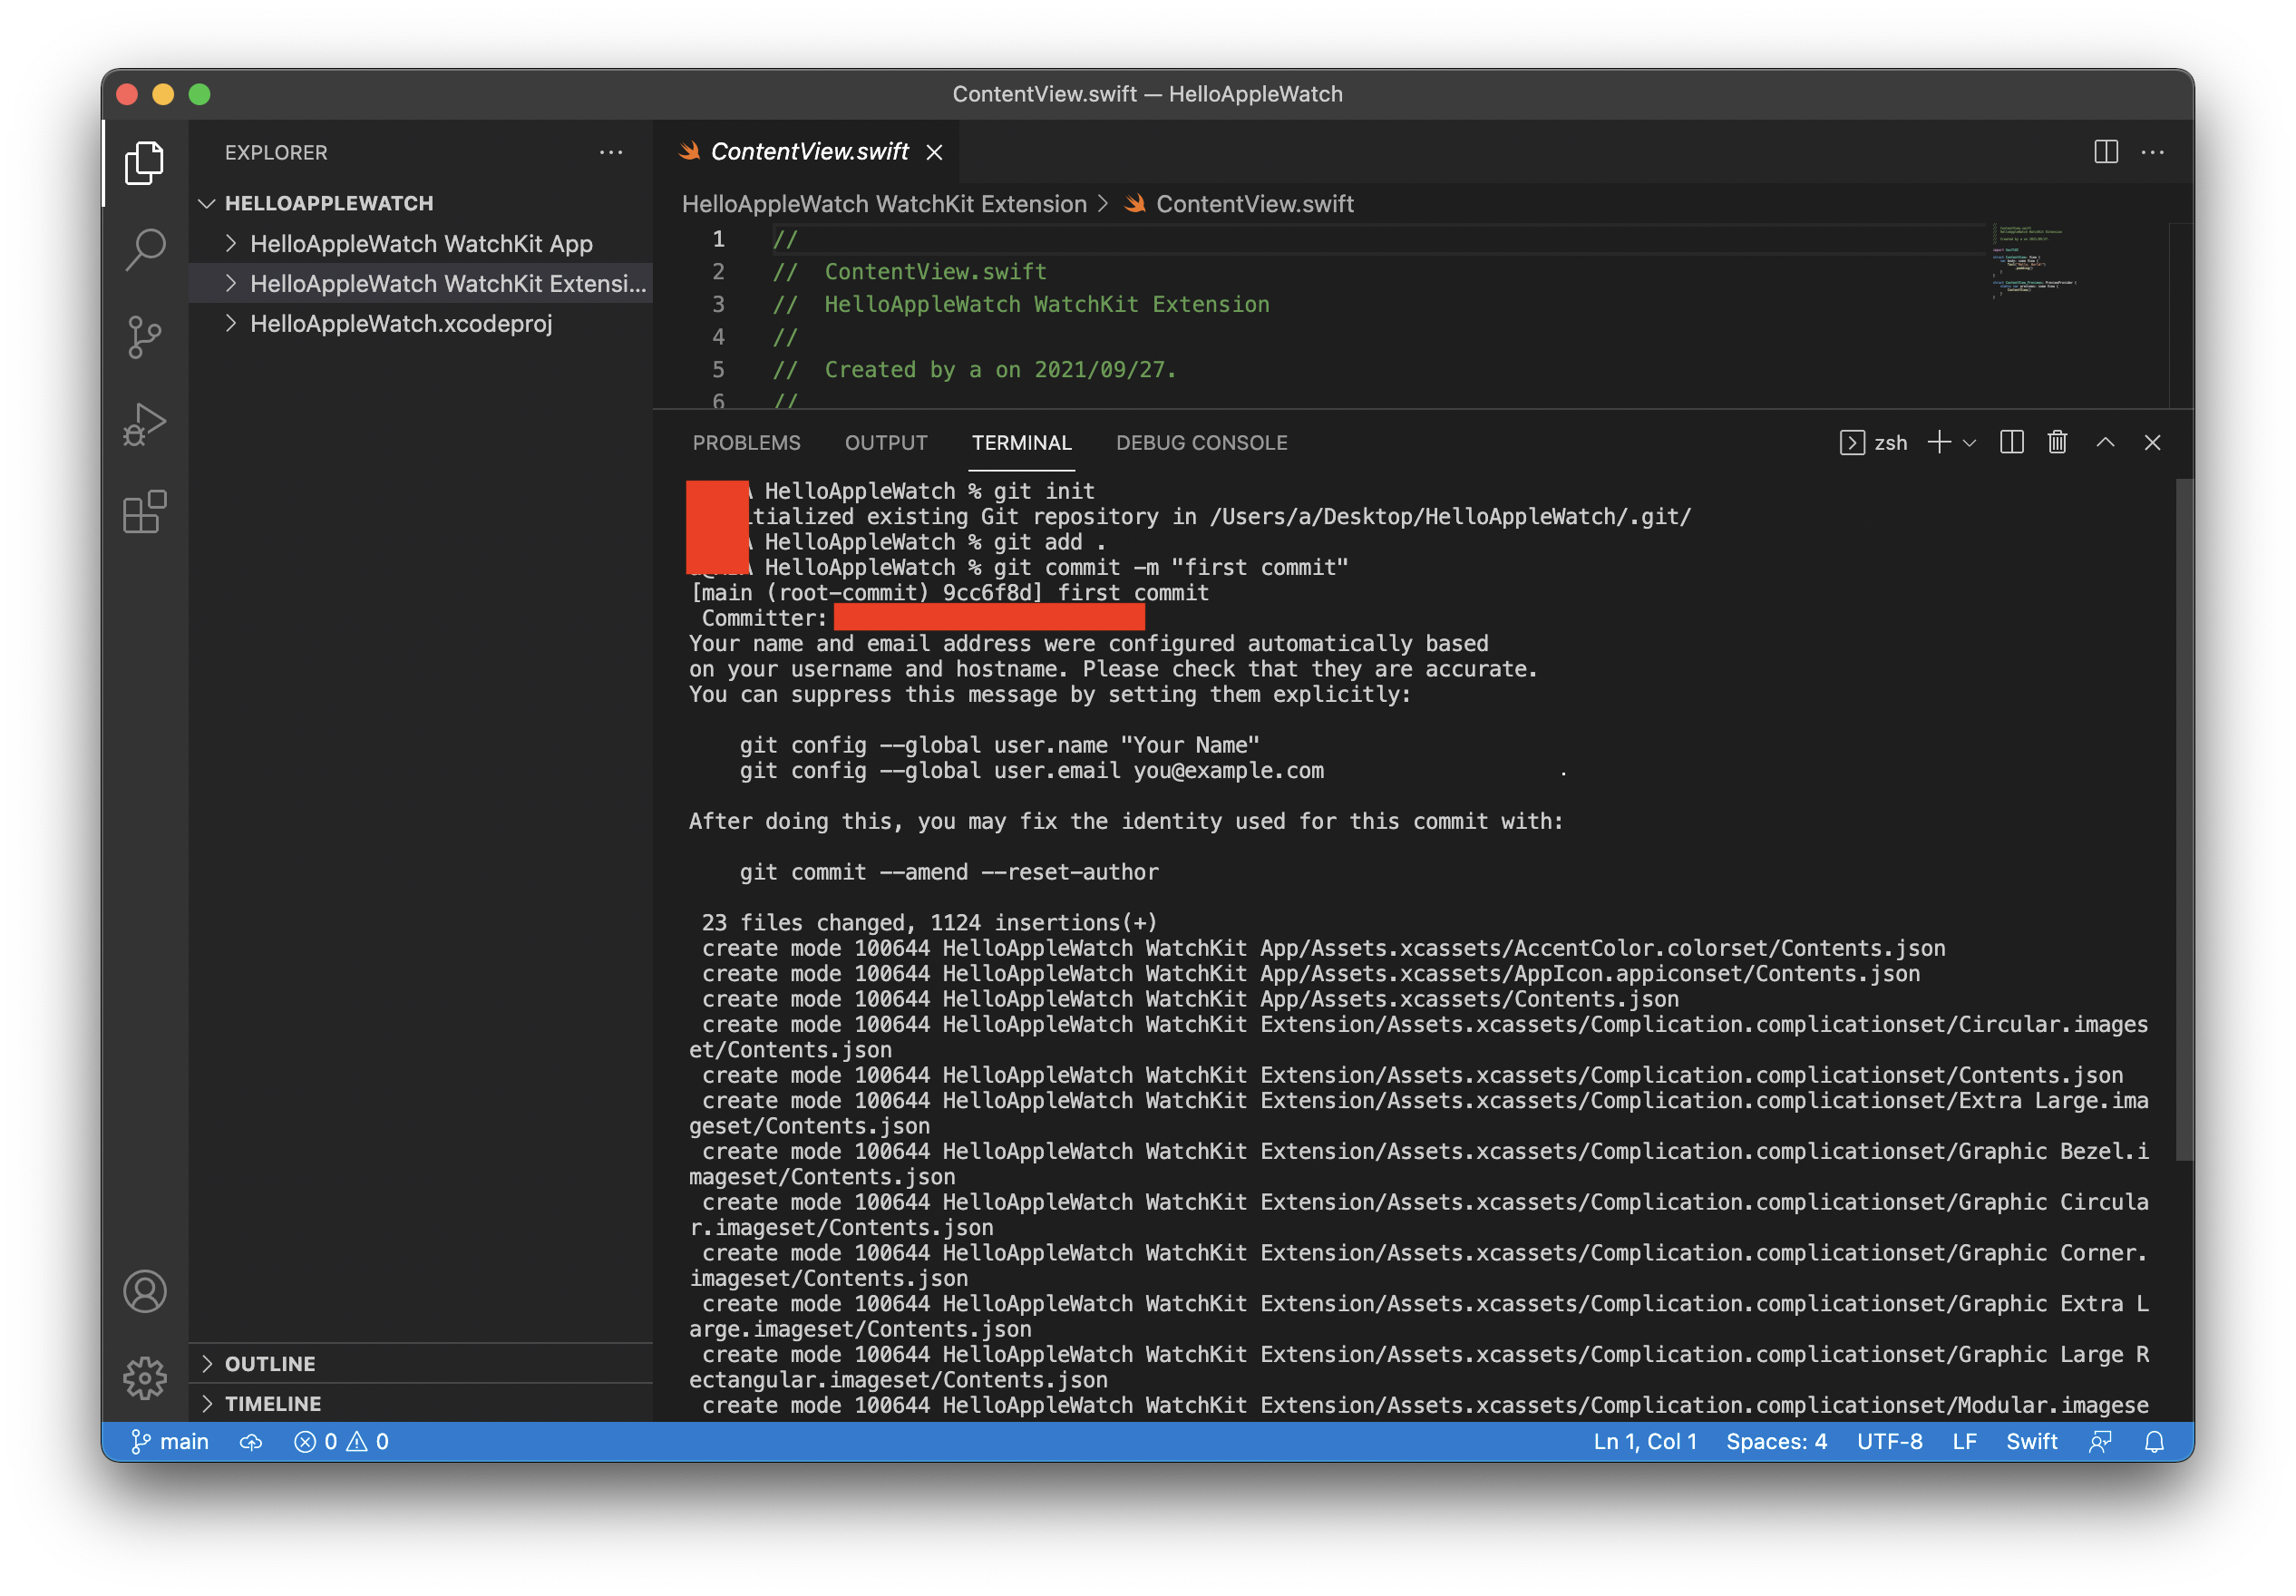
git init
git add .
git commit -m "first commit"
gitのuser.nameとuser.emailは既に設定したつもりであったのですが、下記コメントが出るので、もう一度設定しておきます。
git config --global user.name "{名前}"
git config --global user.email {メールアドレス}
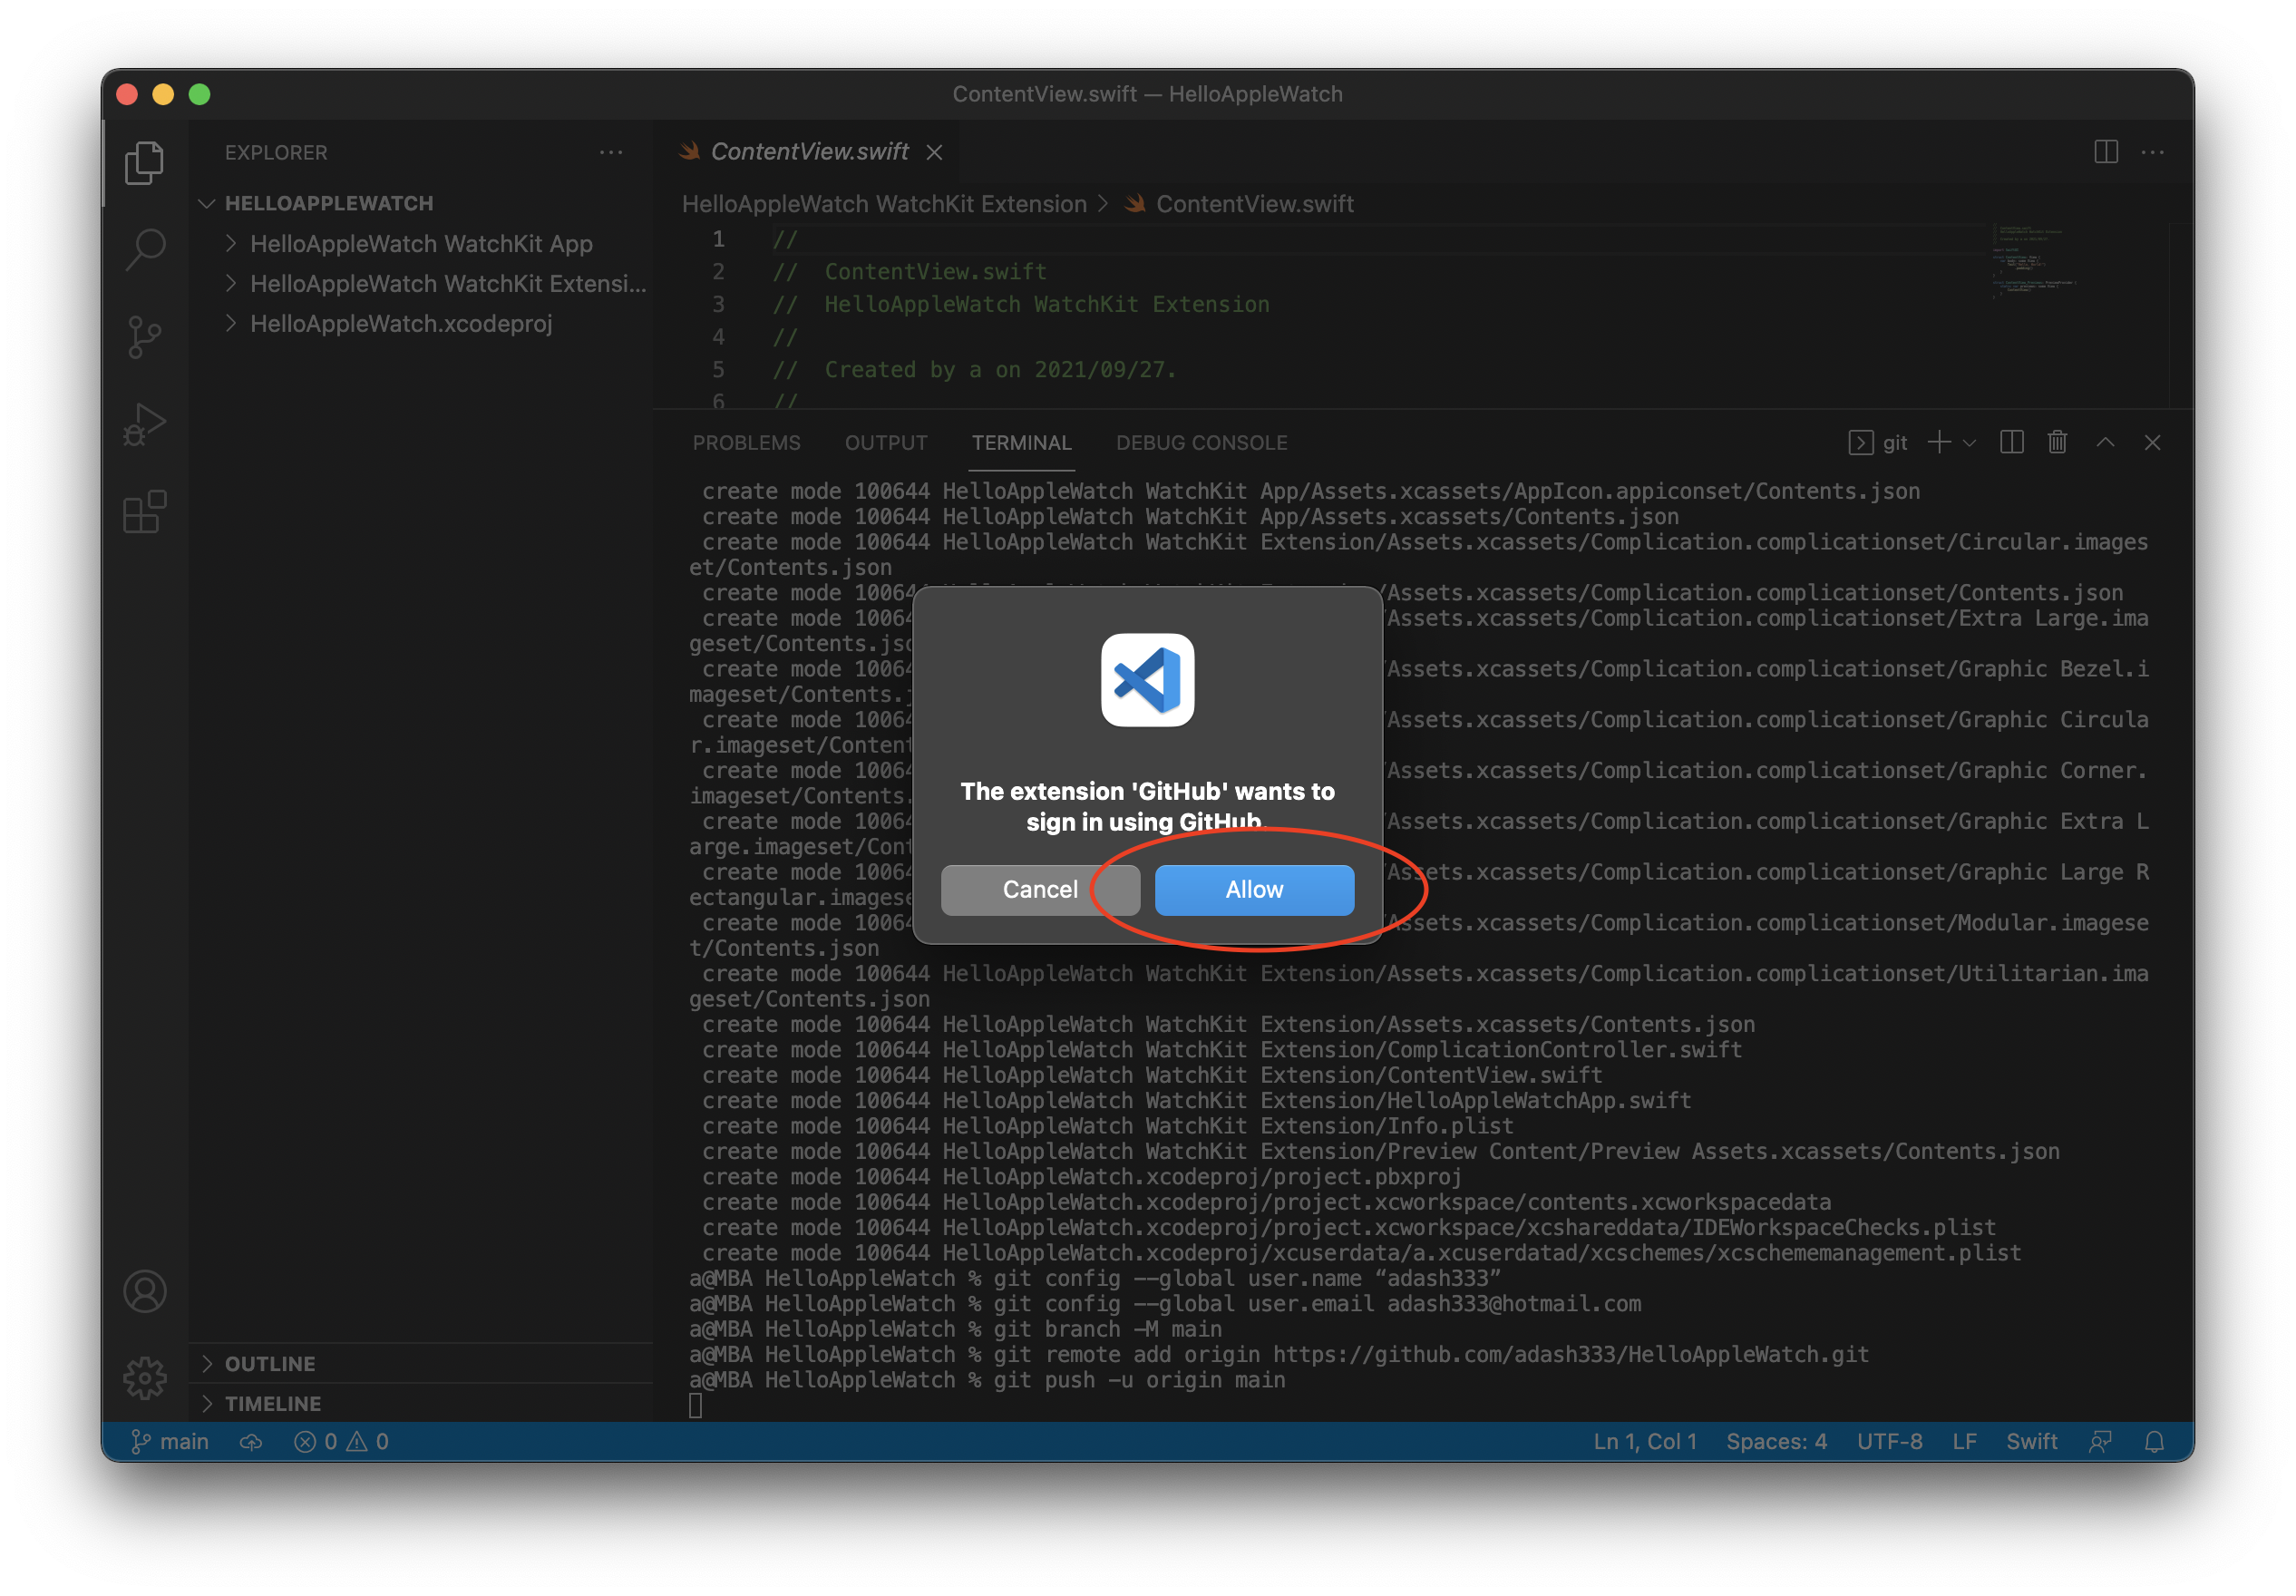
git branch -M main
git remote add origin https://github.com/adash333/HelloAppleWatch.git
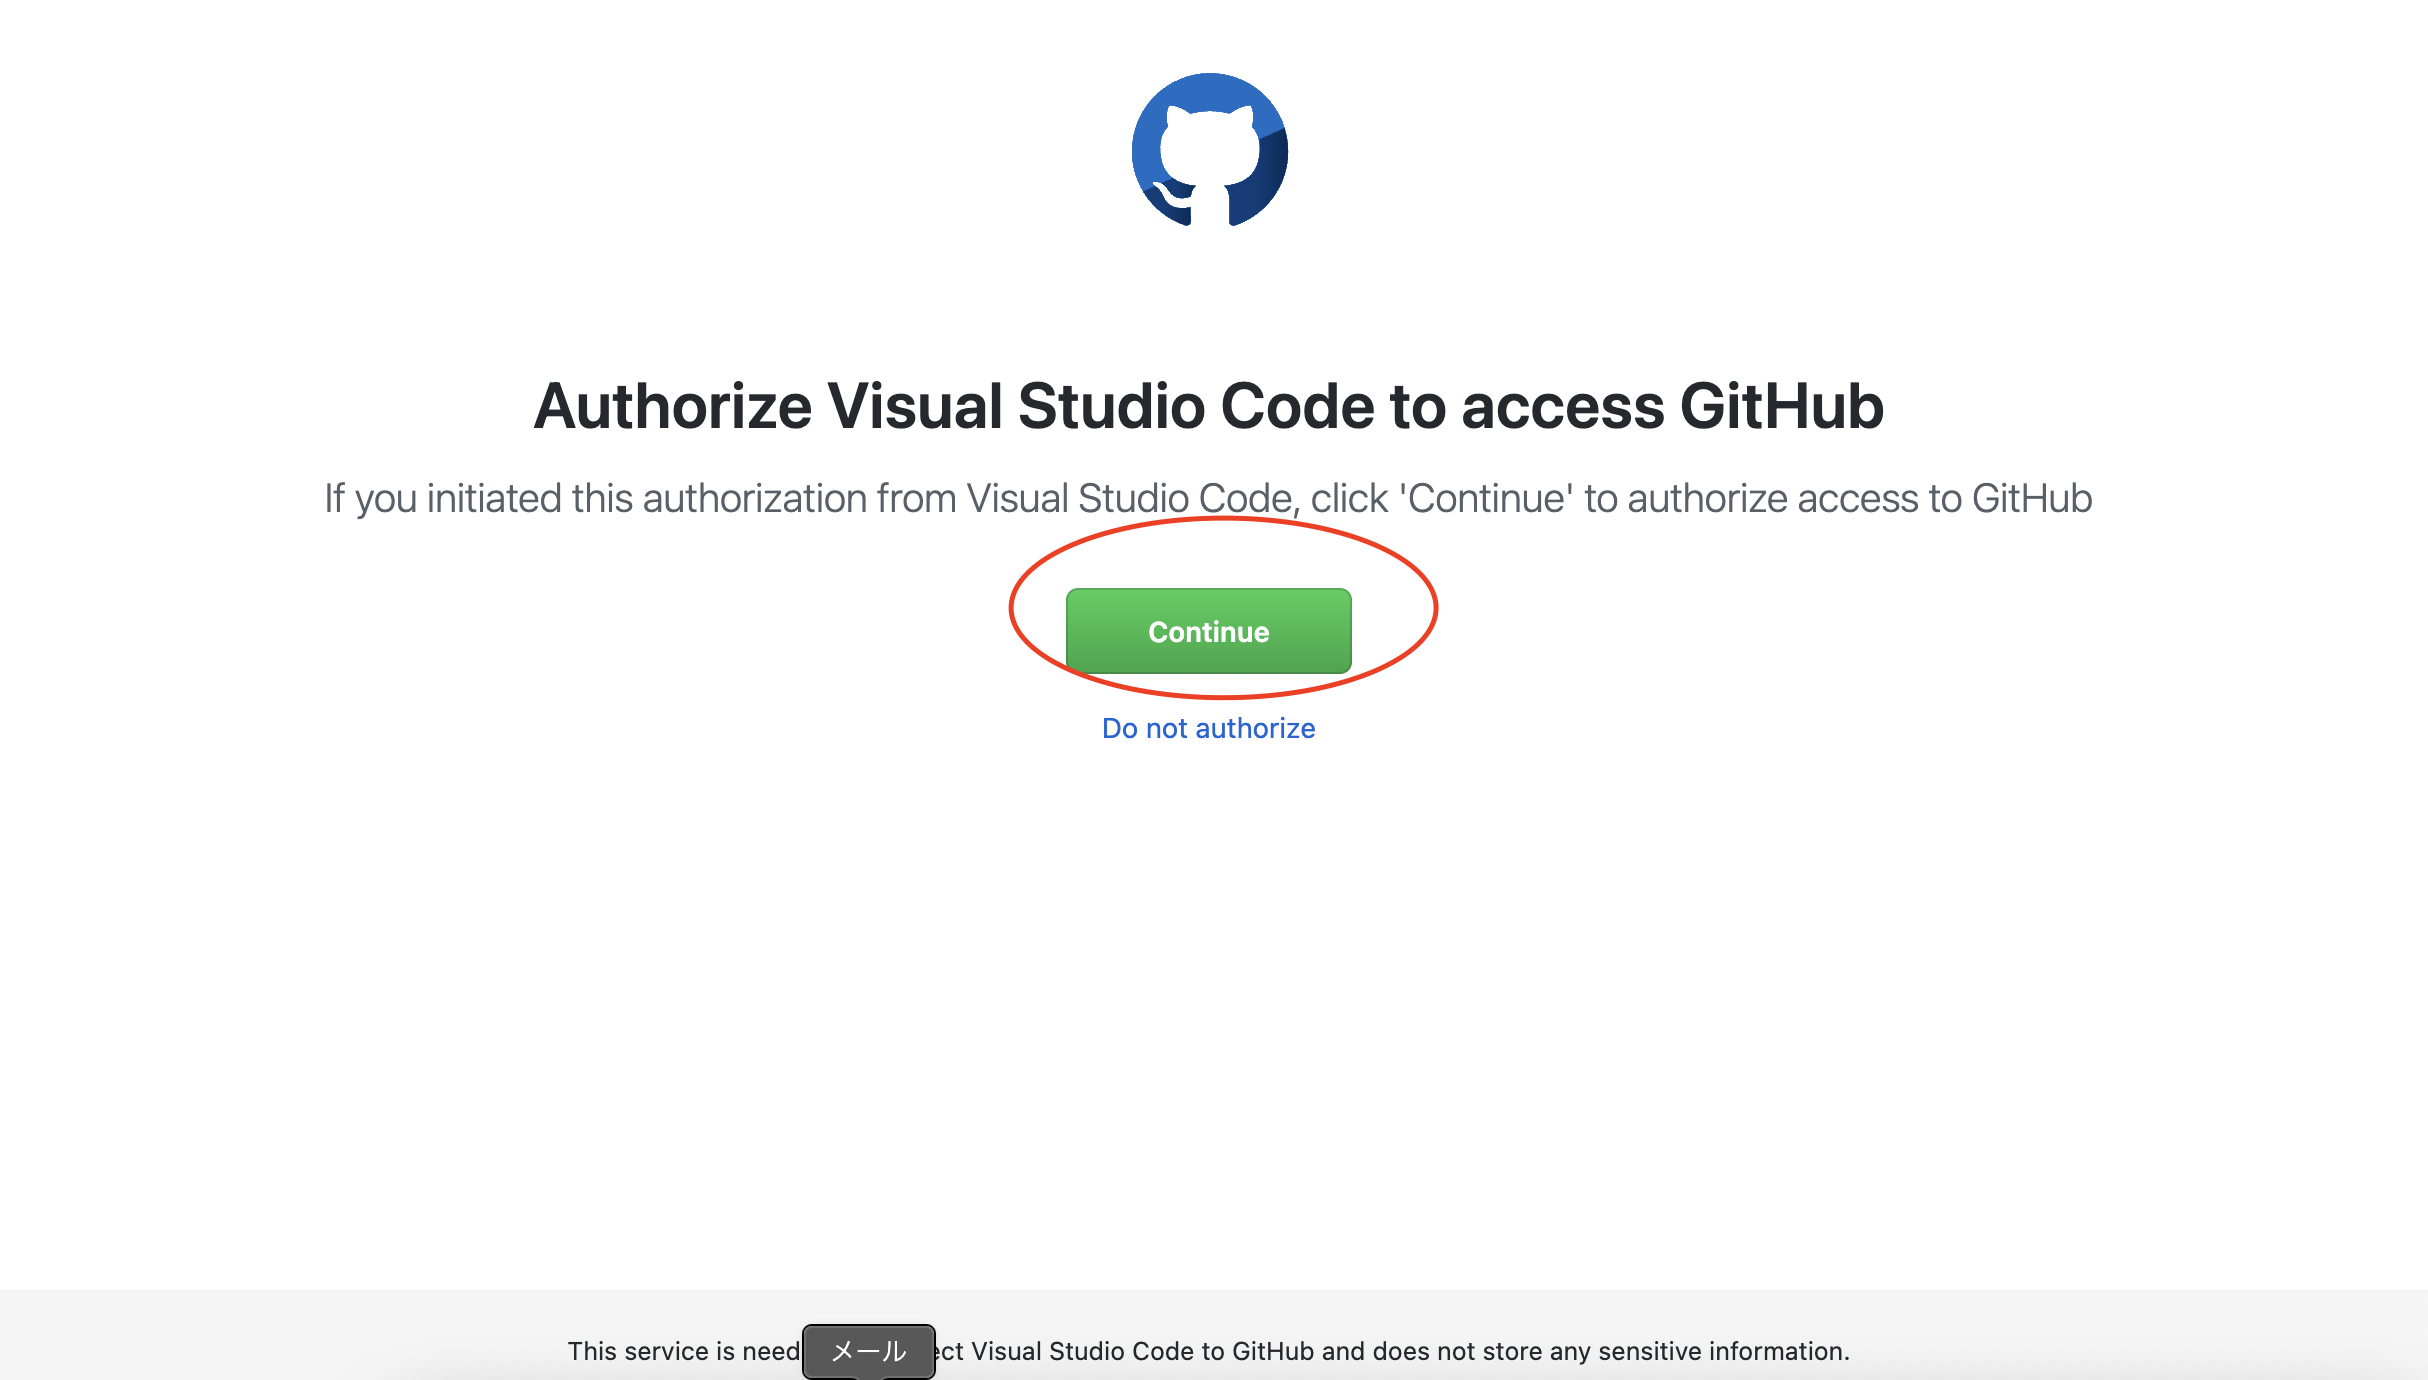
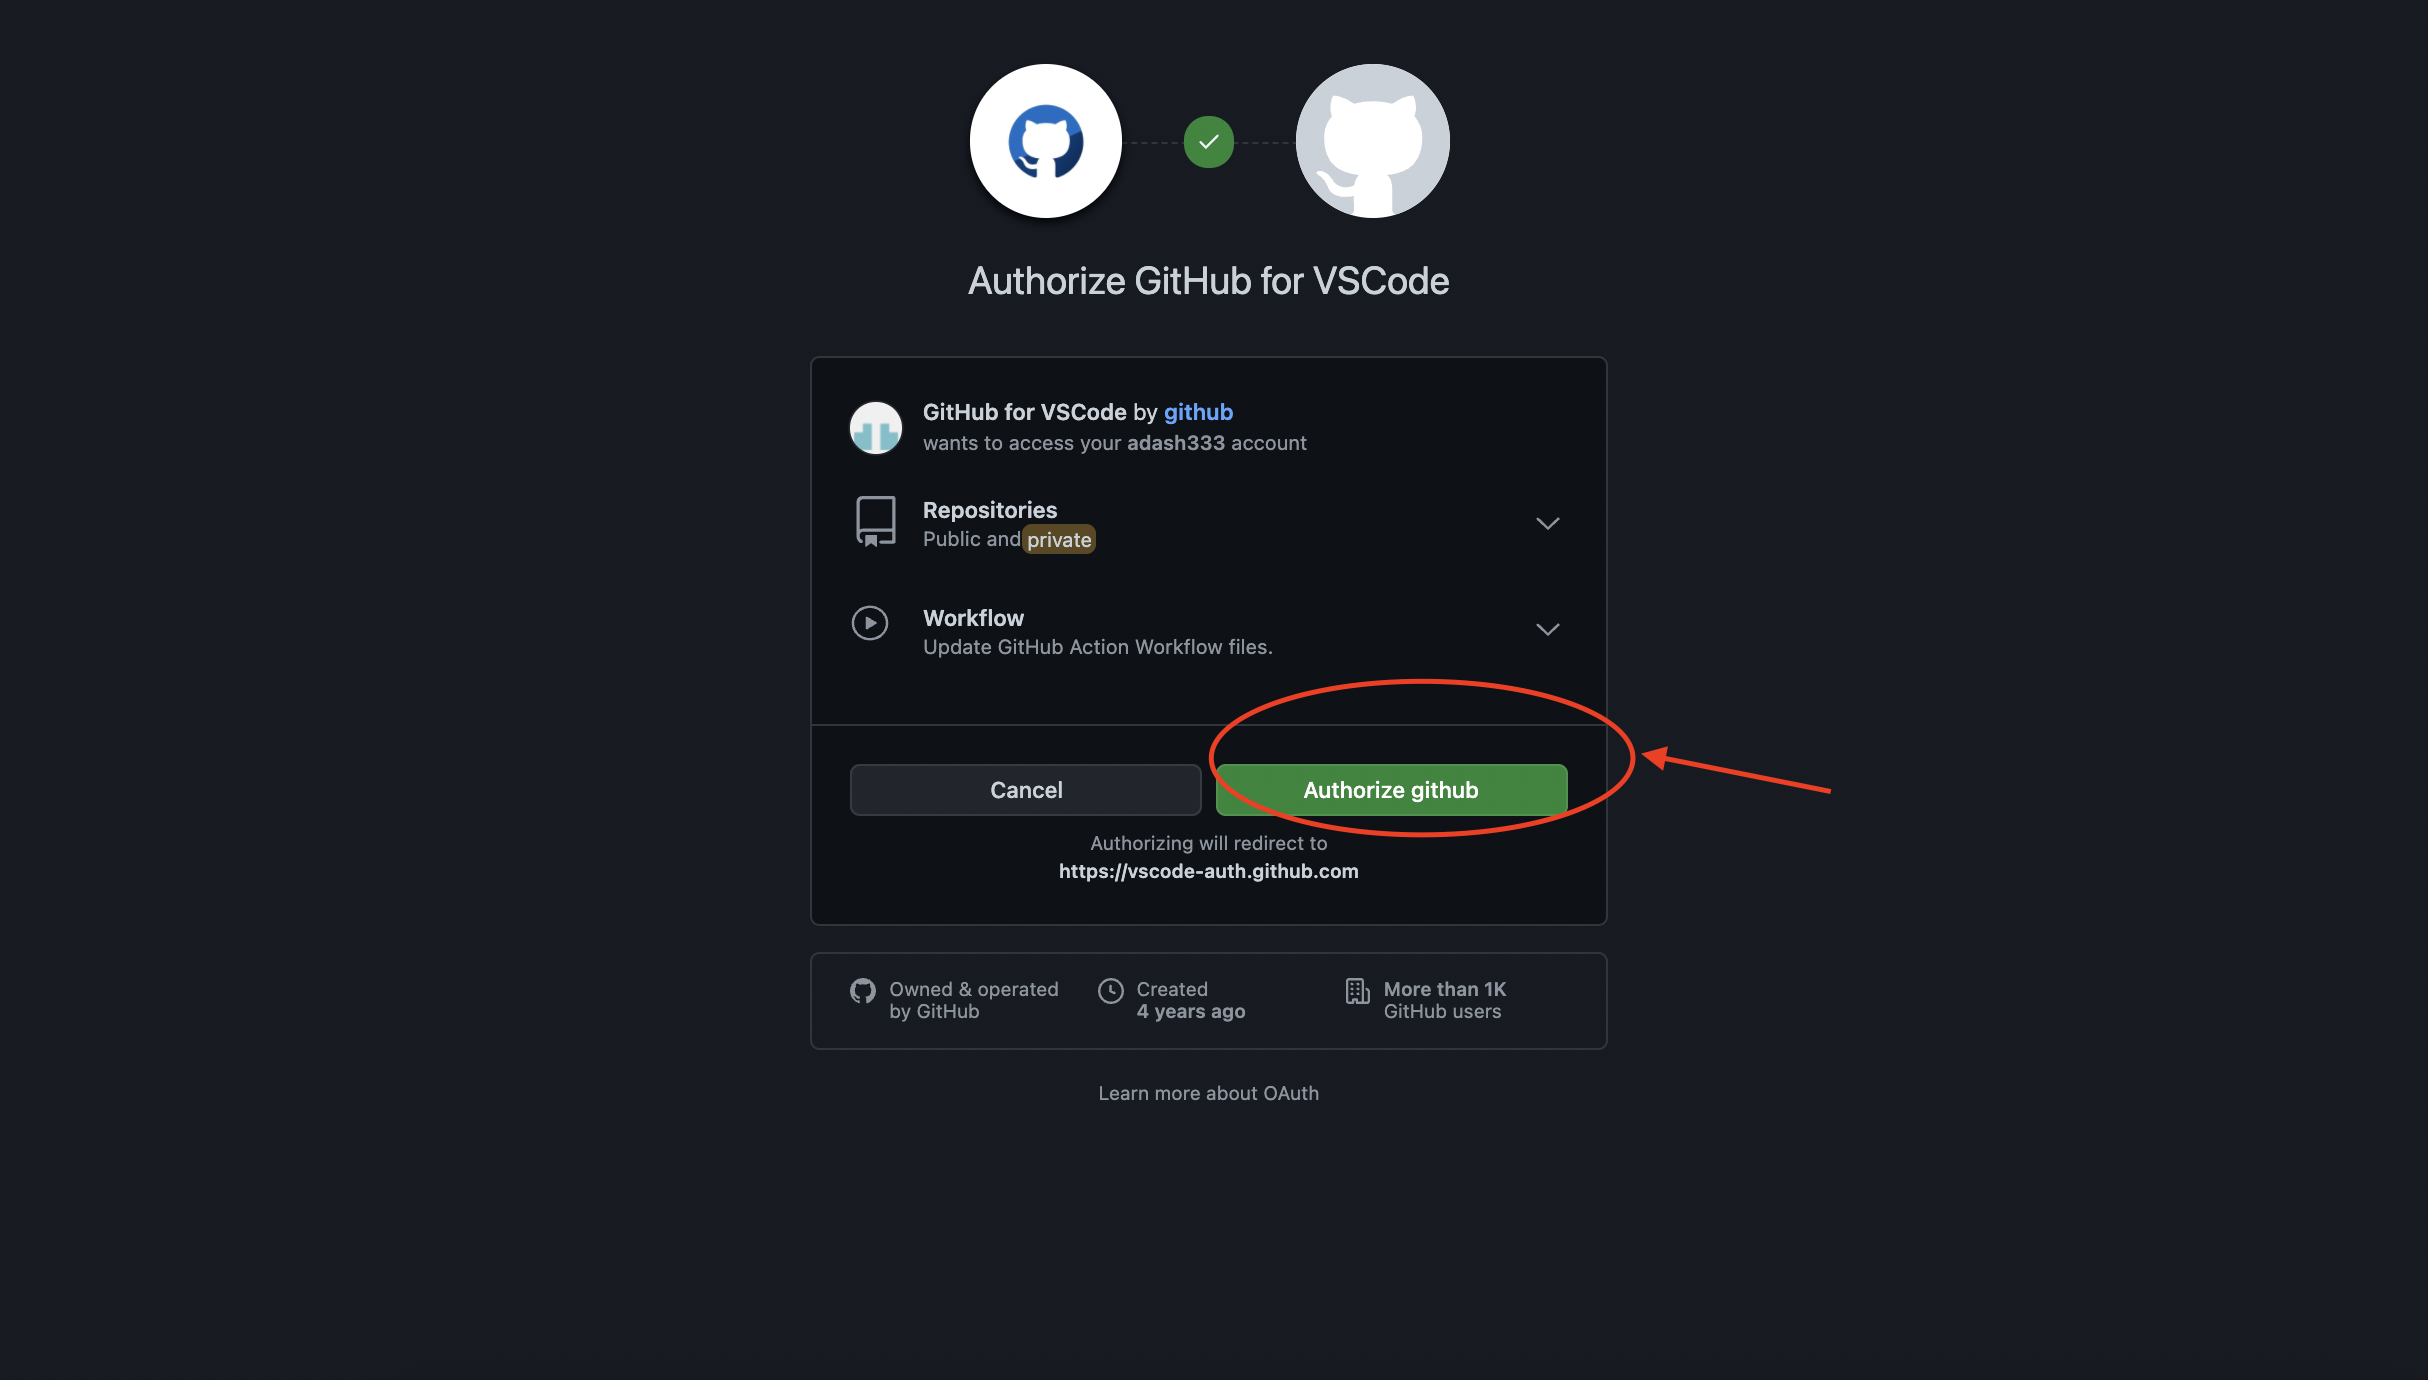
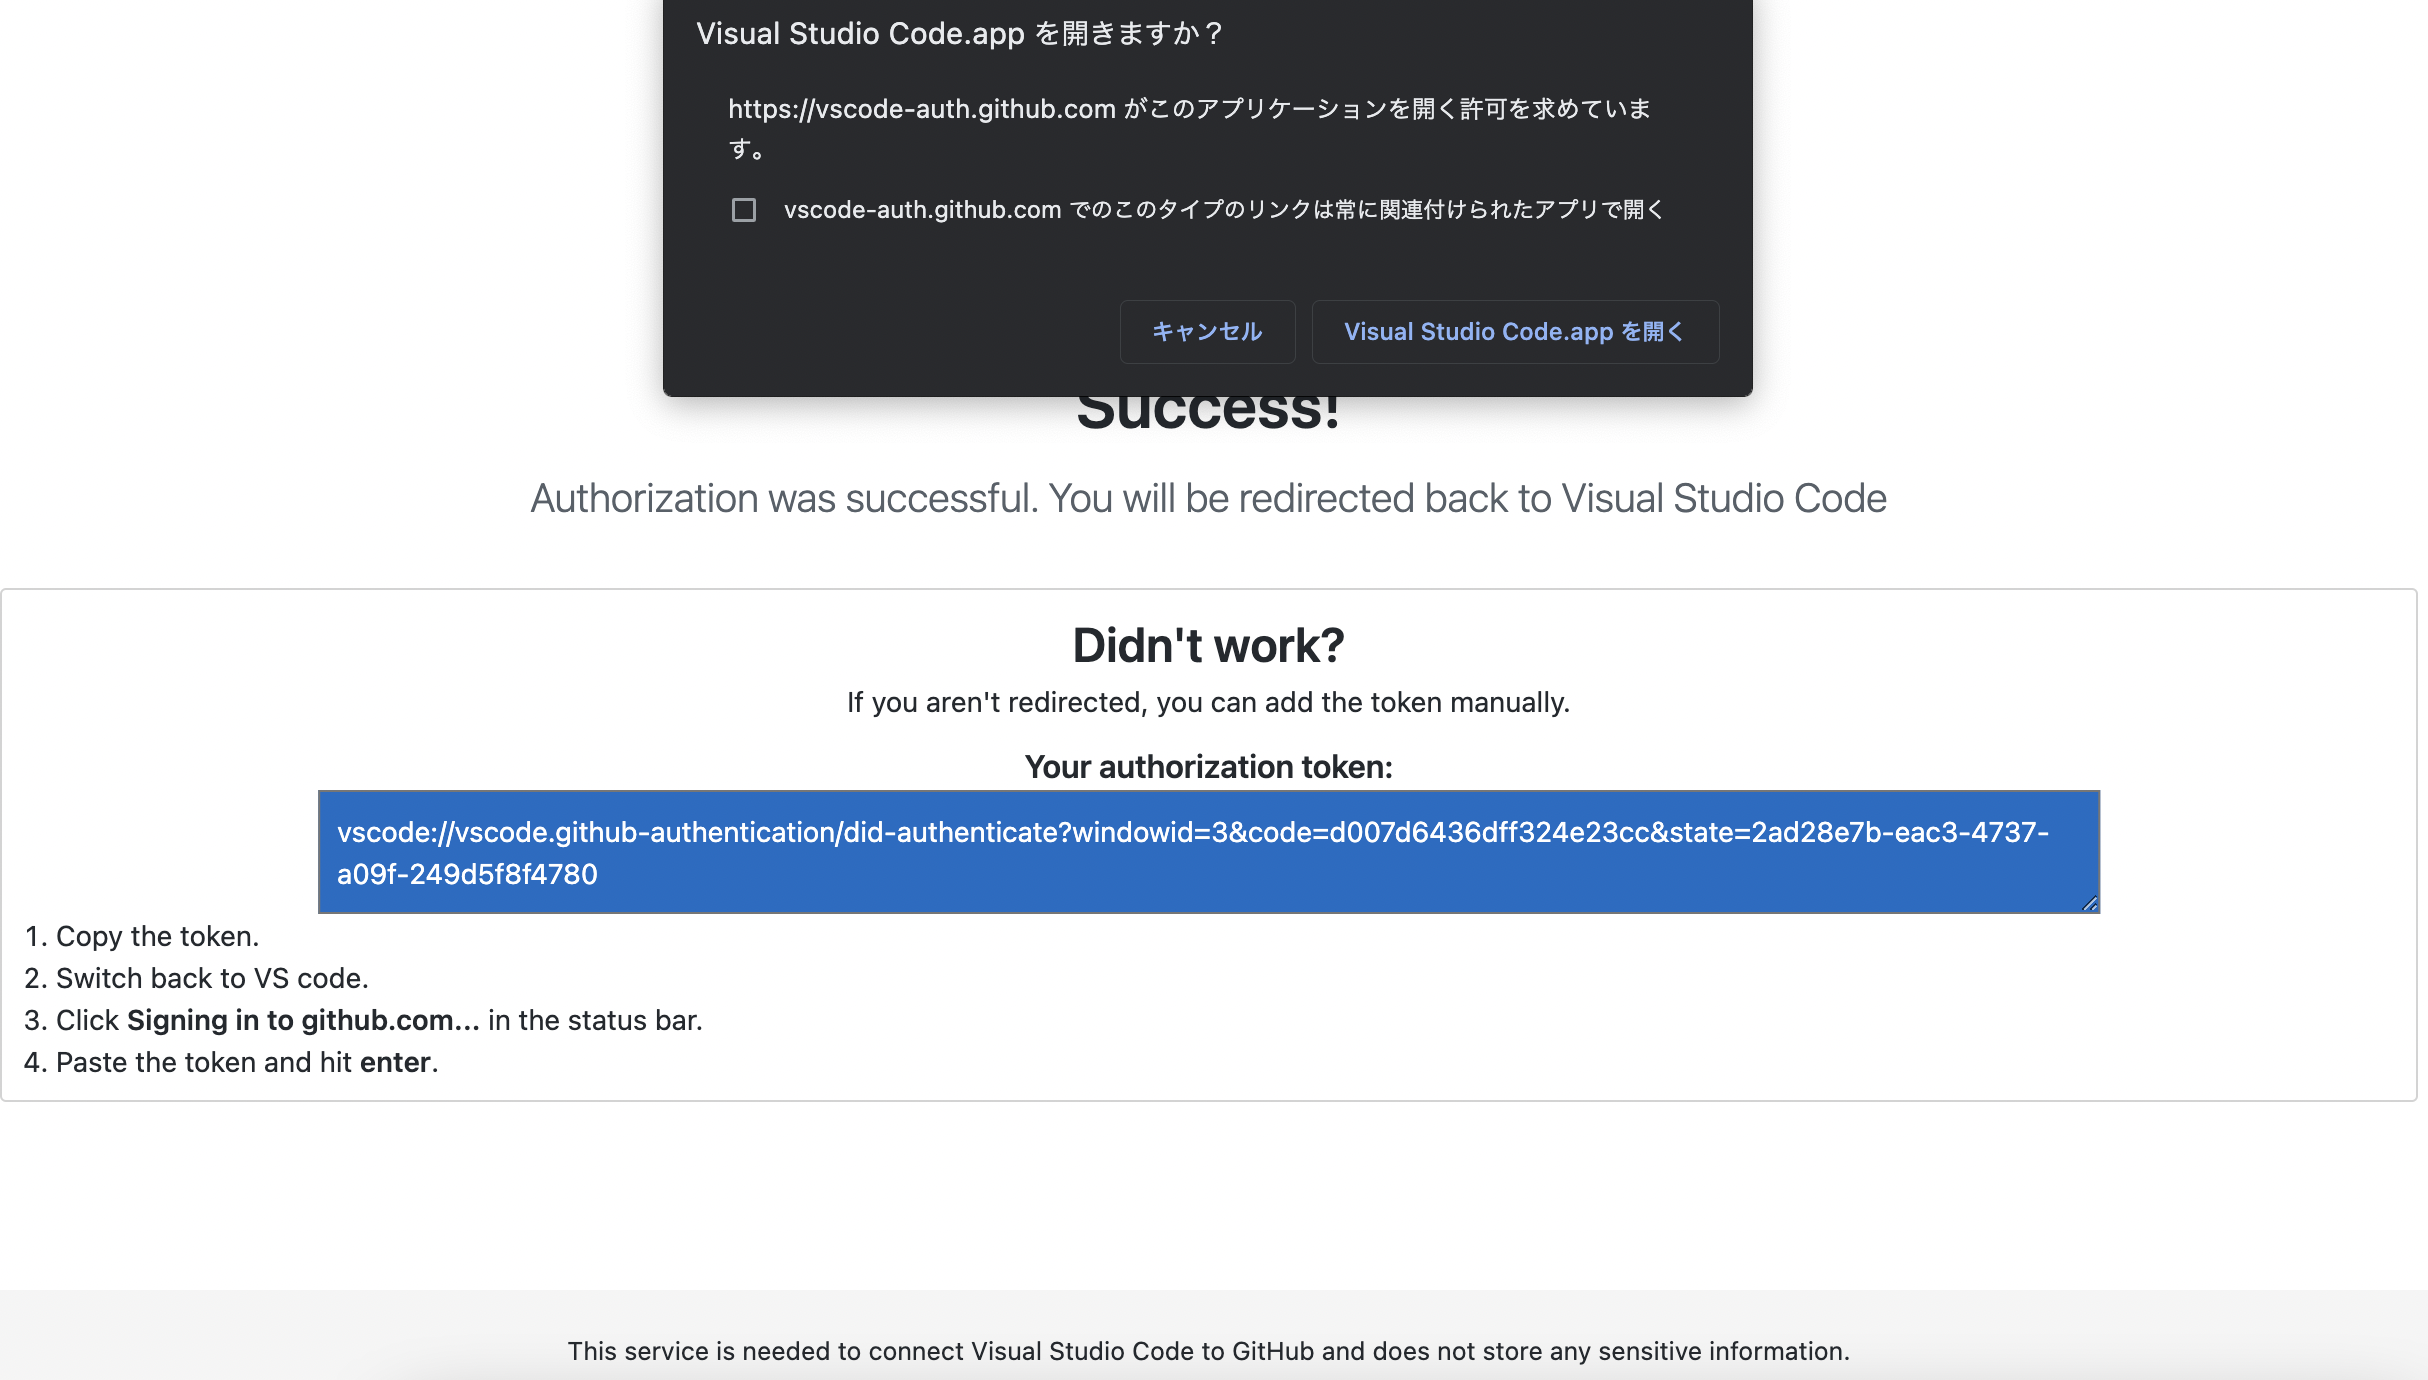
git push -u origin mainポンポン画面が出てくるので、AllowやContinueなどを押していき、最後に、VSCodeに戻ってきたときに、GitHubのパスワードを入力すると、pushされます。
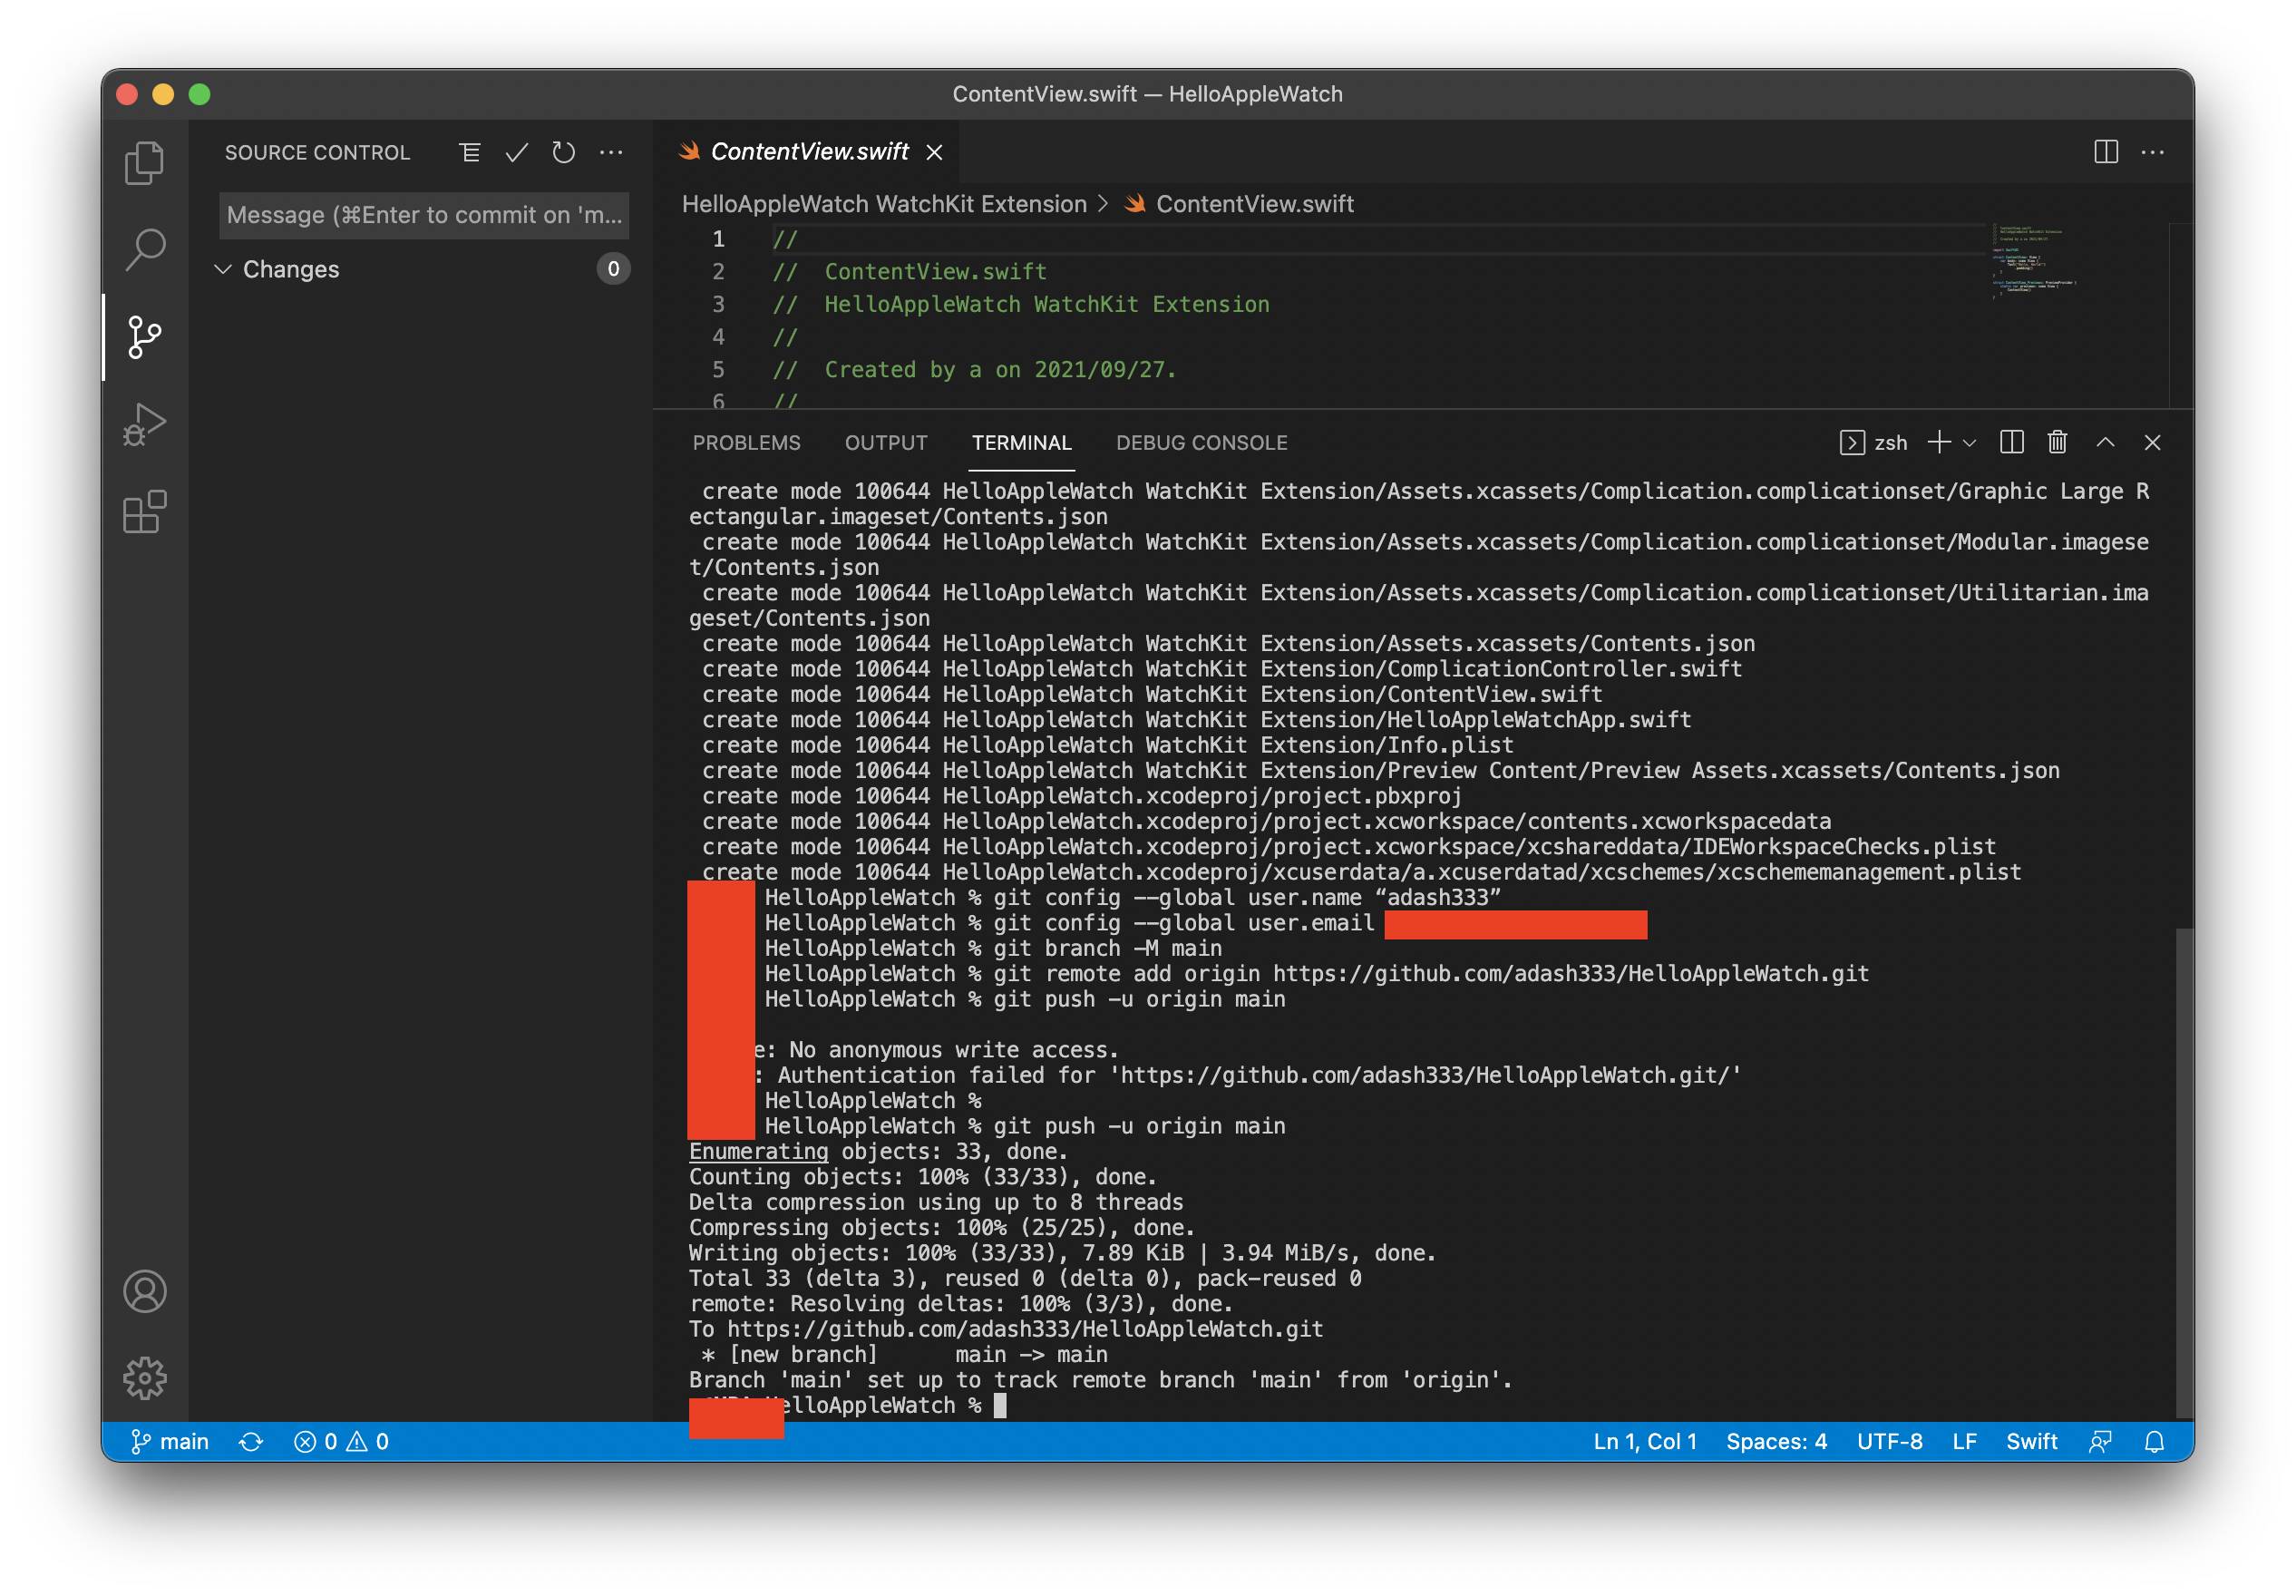
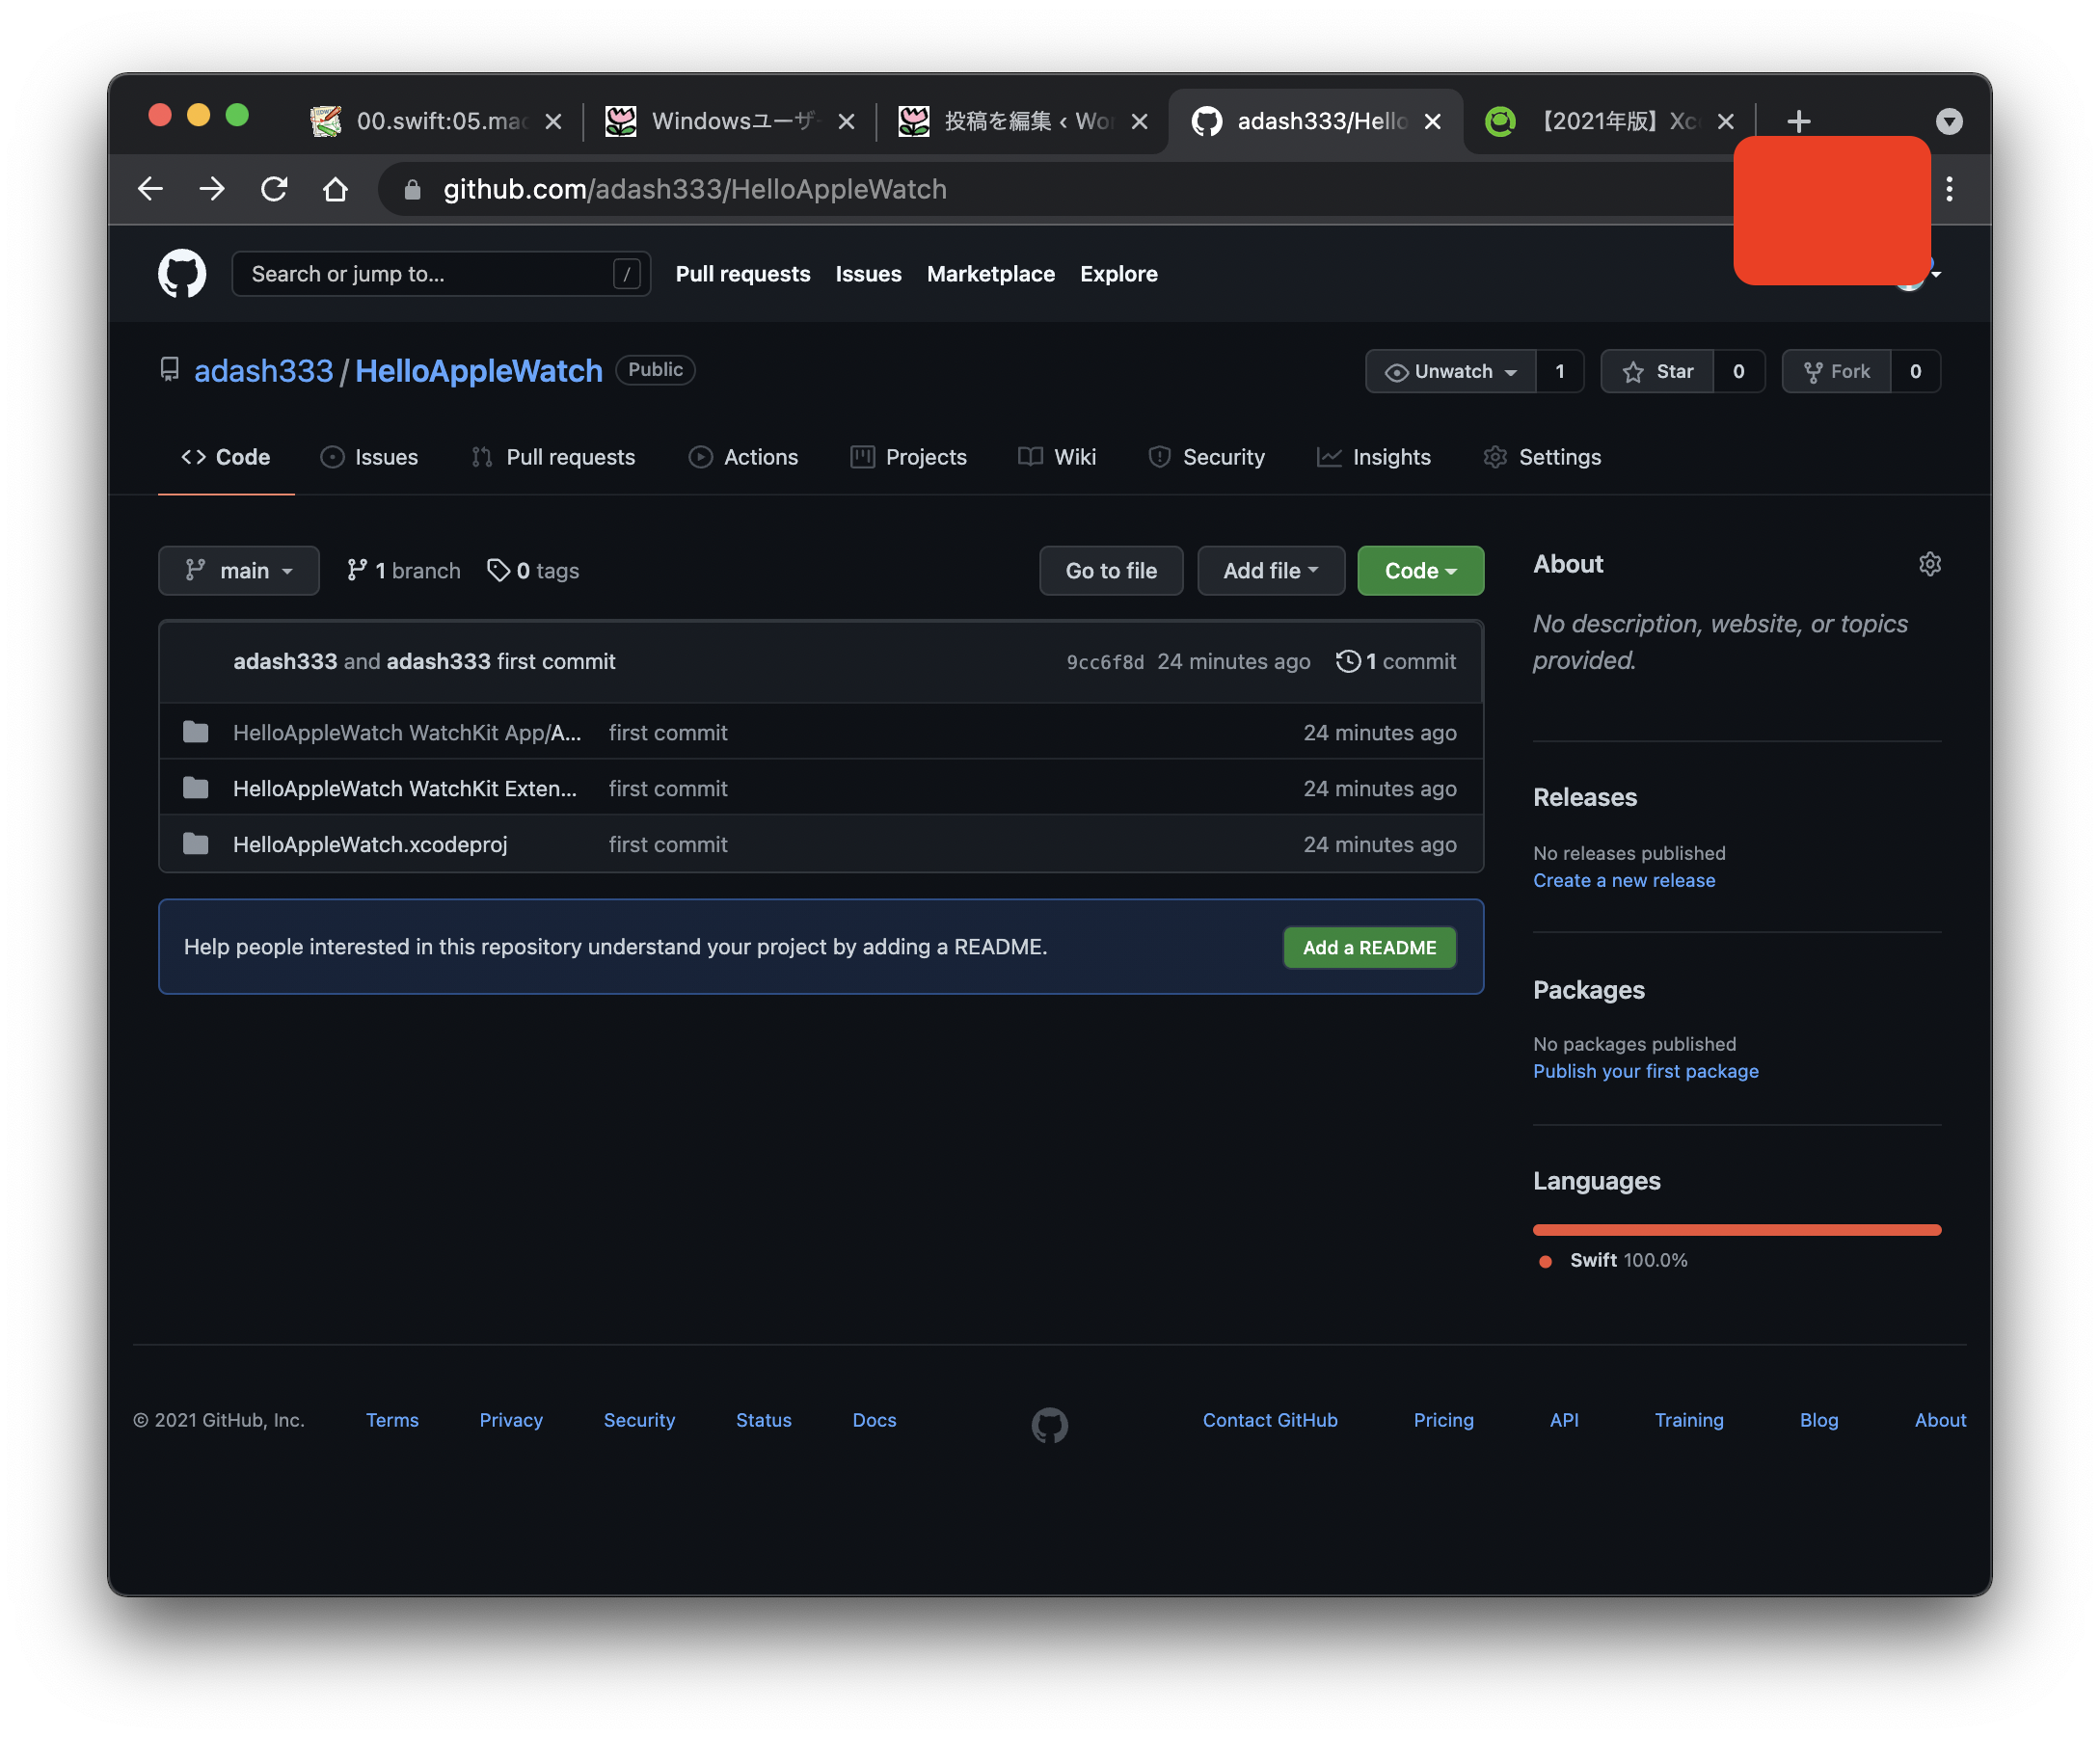
無事、pushされたようなので、GitHubの画面をリロードすると、ちゃんと以下のようにpushされたことが確認できました。
本当は、.gitignore とか、ちゃんと設定したほうがよさそうですが、今回はプロジェクトをそのまますべてpushしてみました。
参考:https://qiita.com/higan96/items/36d3877a85ab8fc36ea7
2021年02月19日に更新
【2021年版】Xcodeを使用する場合の.gitignoreの内容及び、その解説