目次
10.ionic4とcapacitorでgps取得
—2019/08/28 更新
Vue.jsとOpenstreetMapを用いた方法を記載させて頂きました。
→Vue.jsとleaflet.jsとOpenStreetMapで現在値を地図表示するPWAを作成してみる
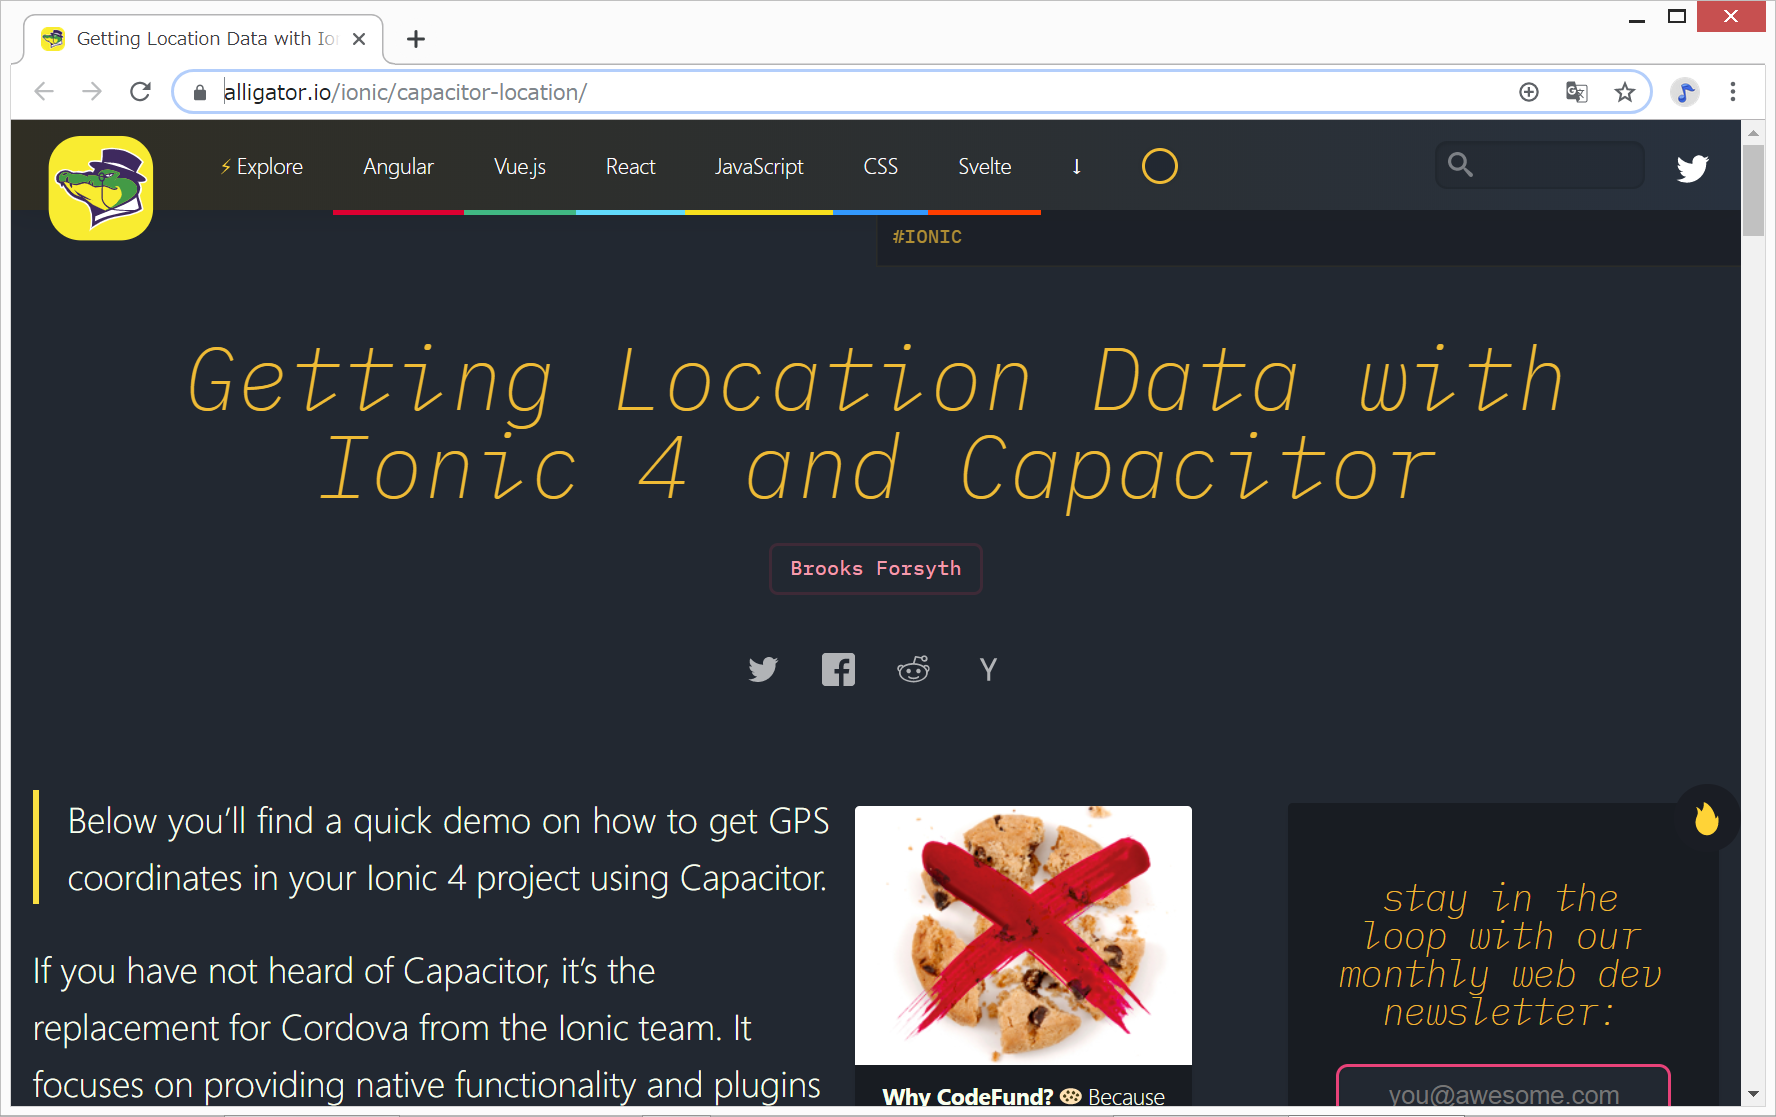
以下のサイトを写経してみたいと思います。
ソースコードとDEMOサイト
開発環境
Windows 8.1 Pro
nvm-windows 1.1.7
node 10.14.1
npm 6.4.1
ionic@5.2.6
git version 2.17.1.windows.2
Java SE Development Kit 12.0.2 (JDK)
Android Studio 3.5
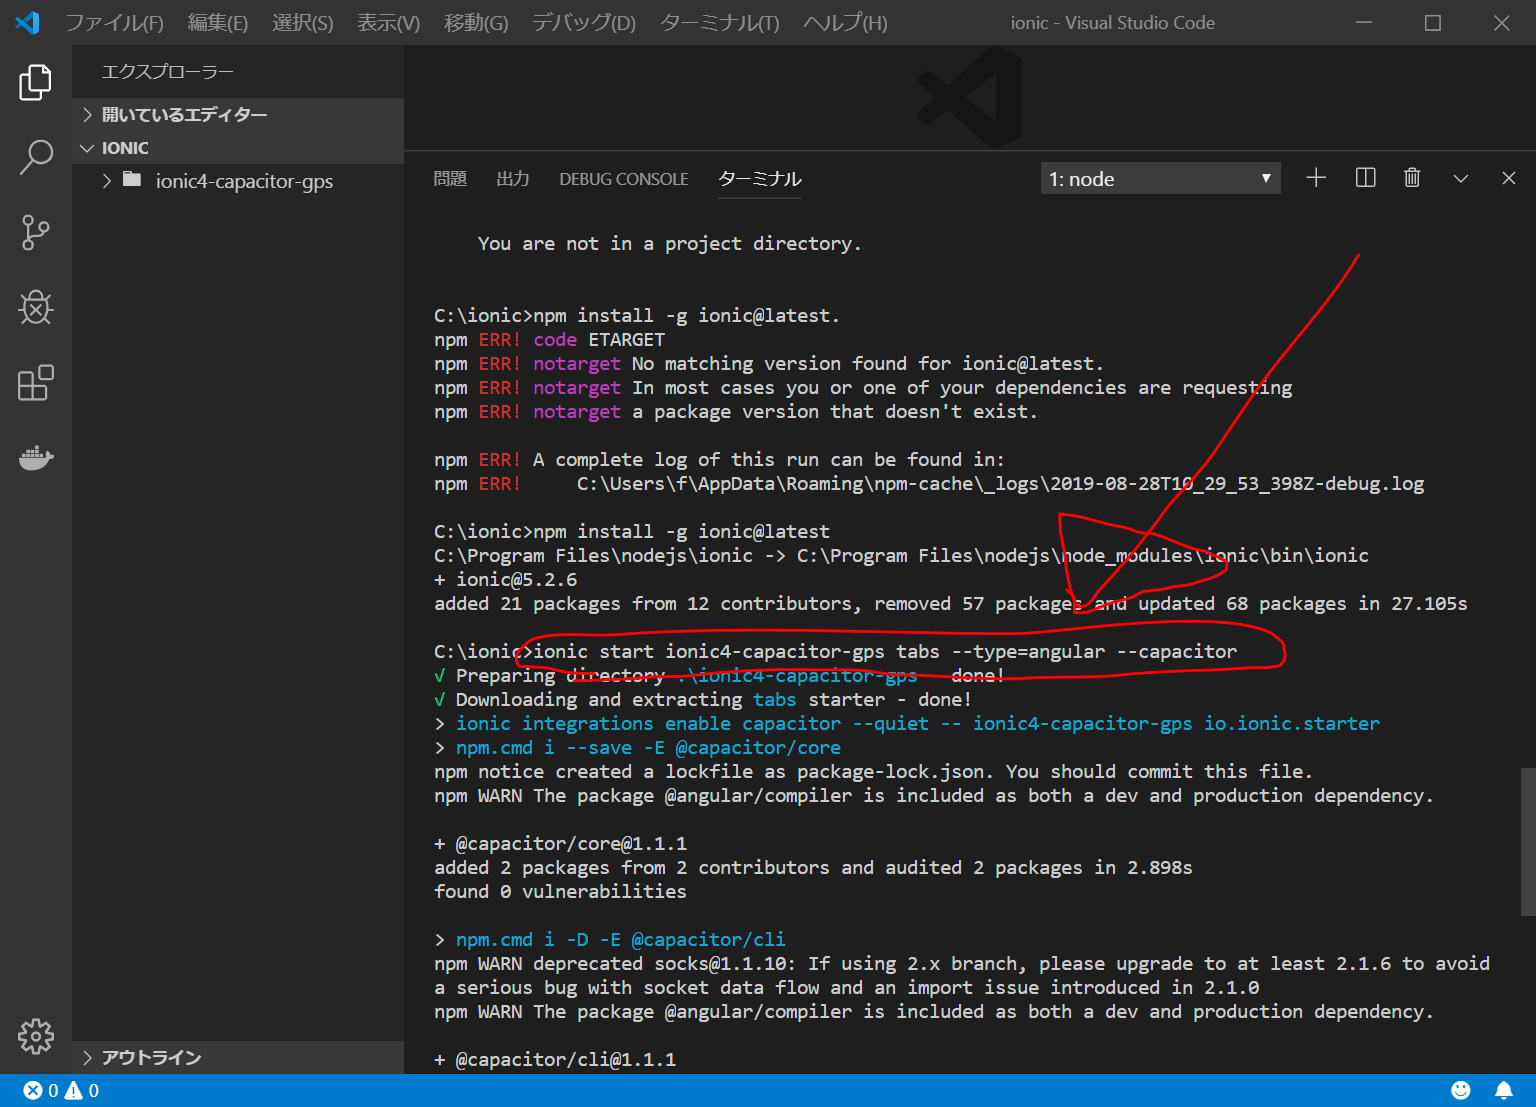
Node.jsをインストールした状態で、npm install -g ionic@latestでIonic CLIをインストールしています。
また、JDKとAndroid Studioのインストールについては、https://i-doctor.sakura.ne.jp/font/?p=40540に記載しました。
新規Ionic4アプリ作成
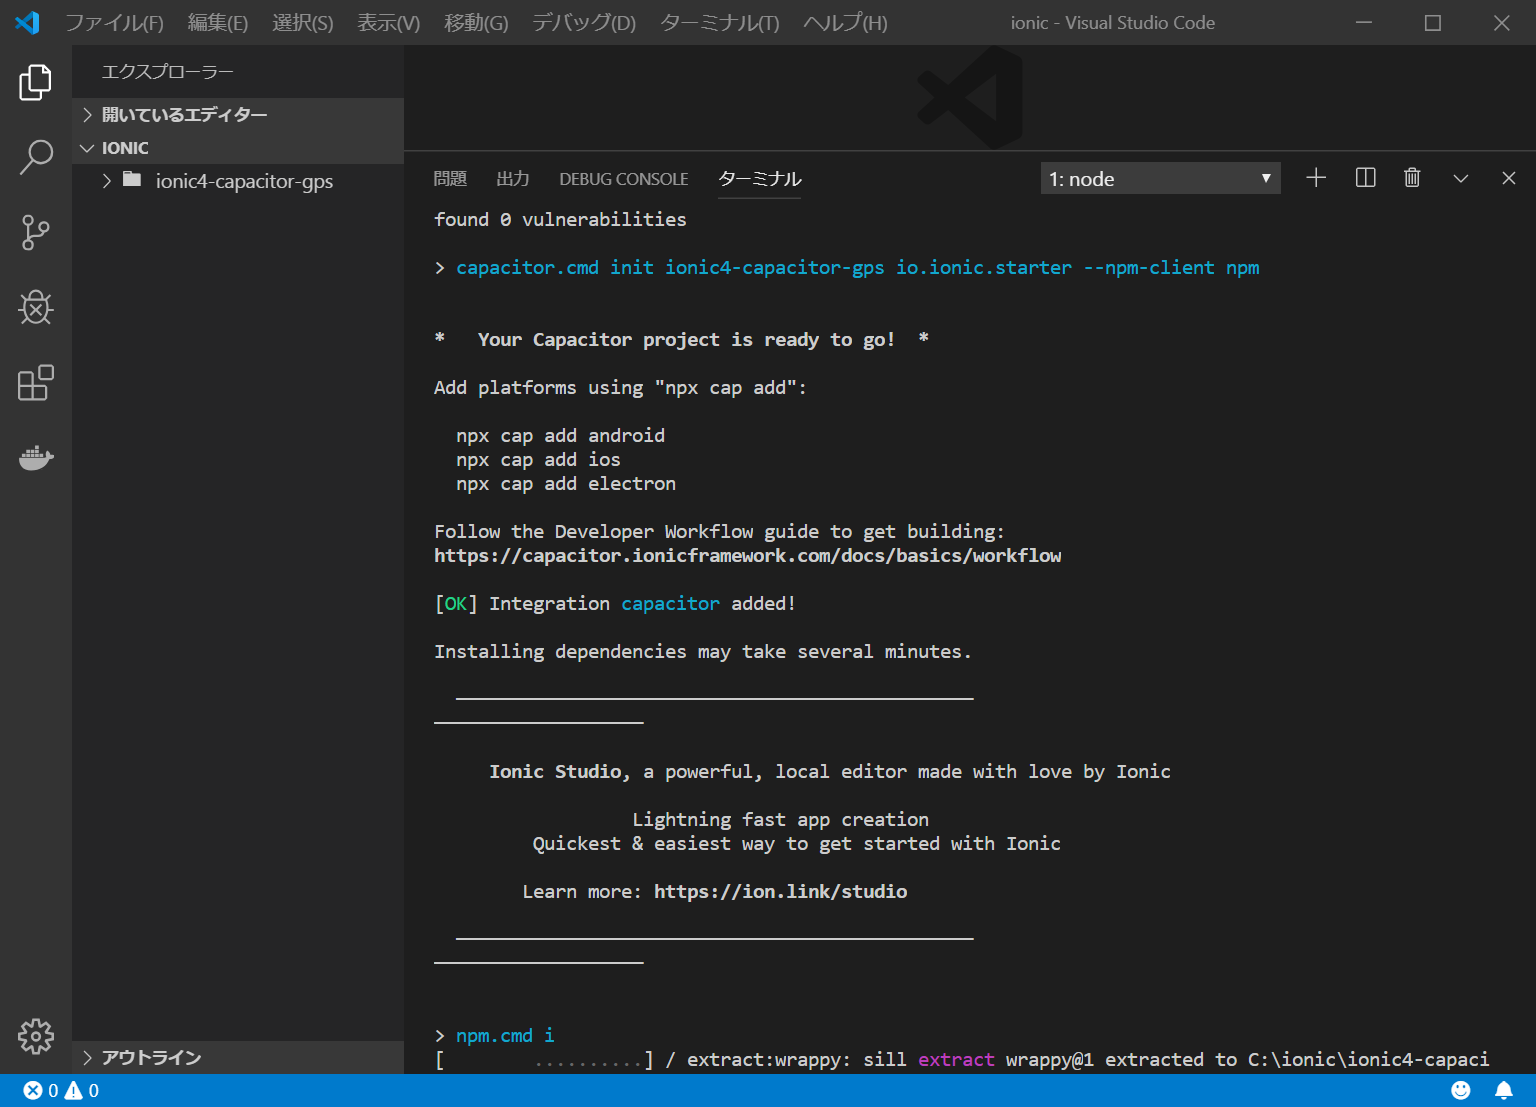
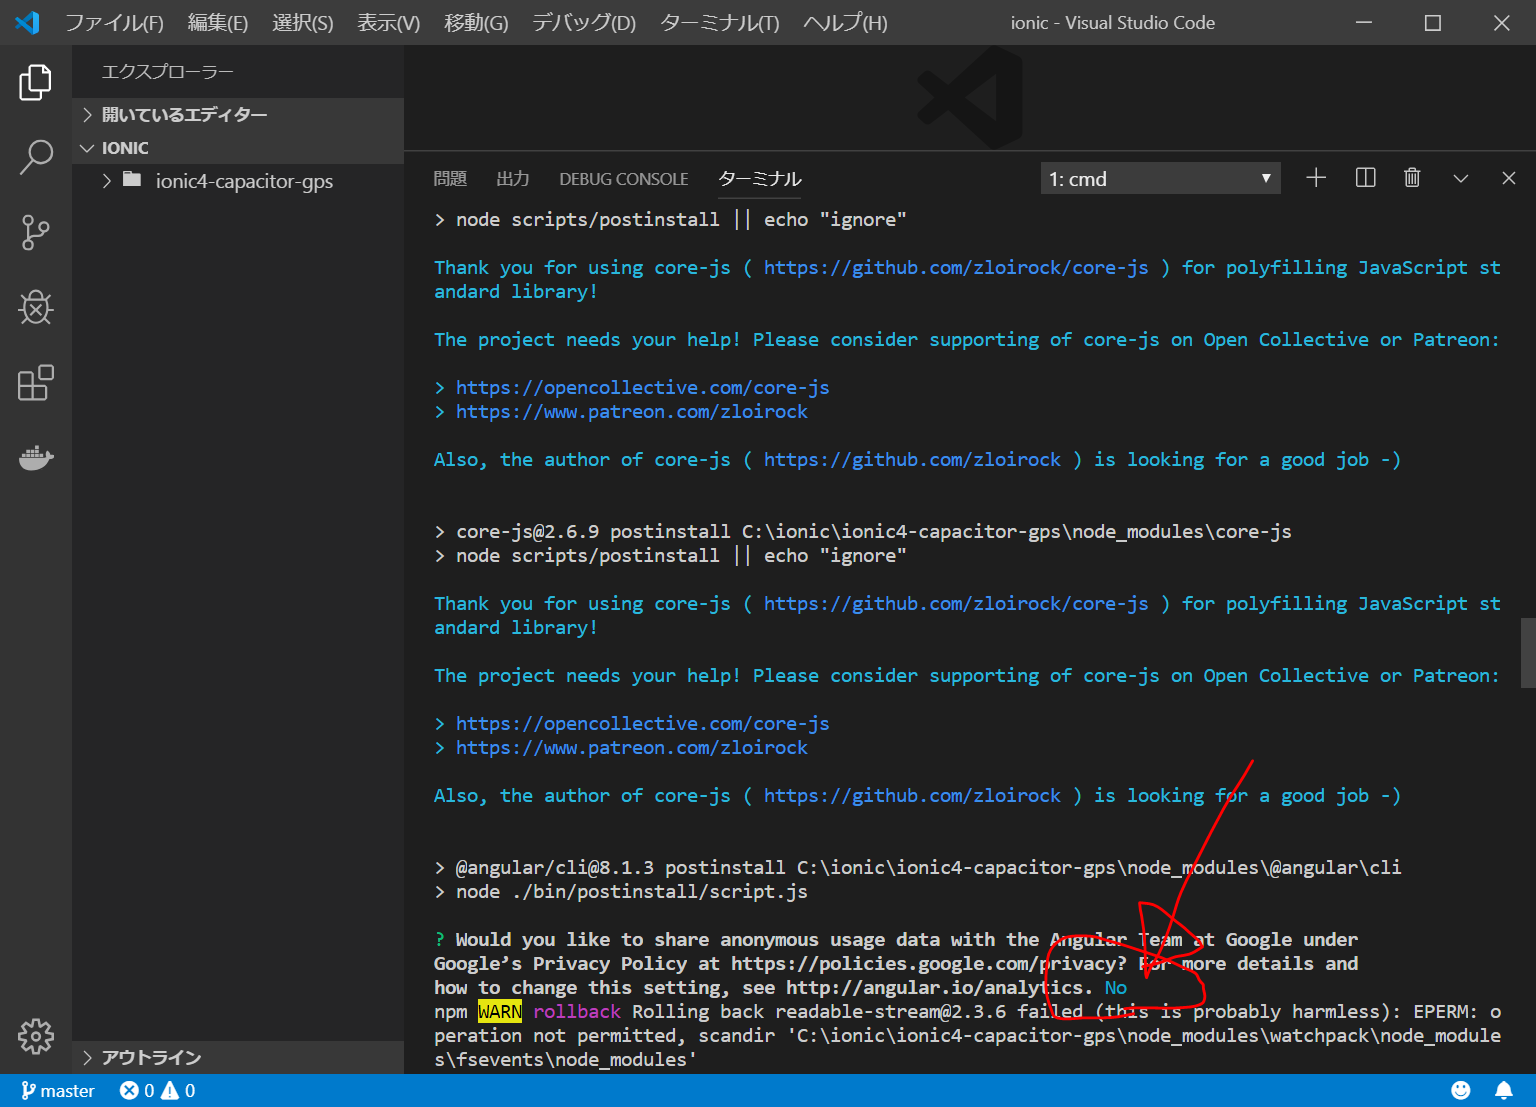
C:/ionic/ フォルダをVisualStudioCodeで開き、Ctrl+@でコマンドプロンプトを開き、以下を入力します。
5分くらいかかります。
ionic start ionic4-capacitor-gps tabs --type=angular --capacitor
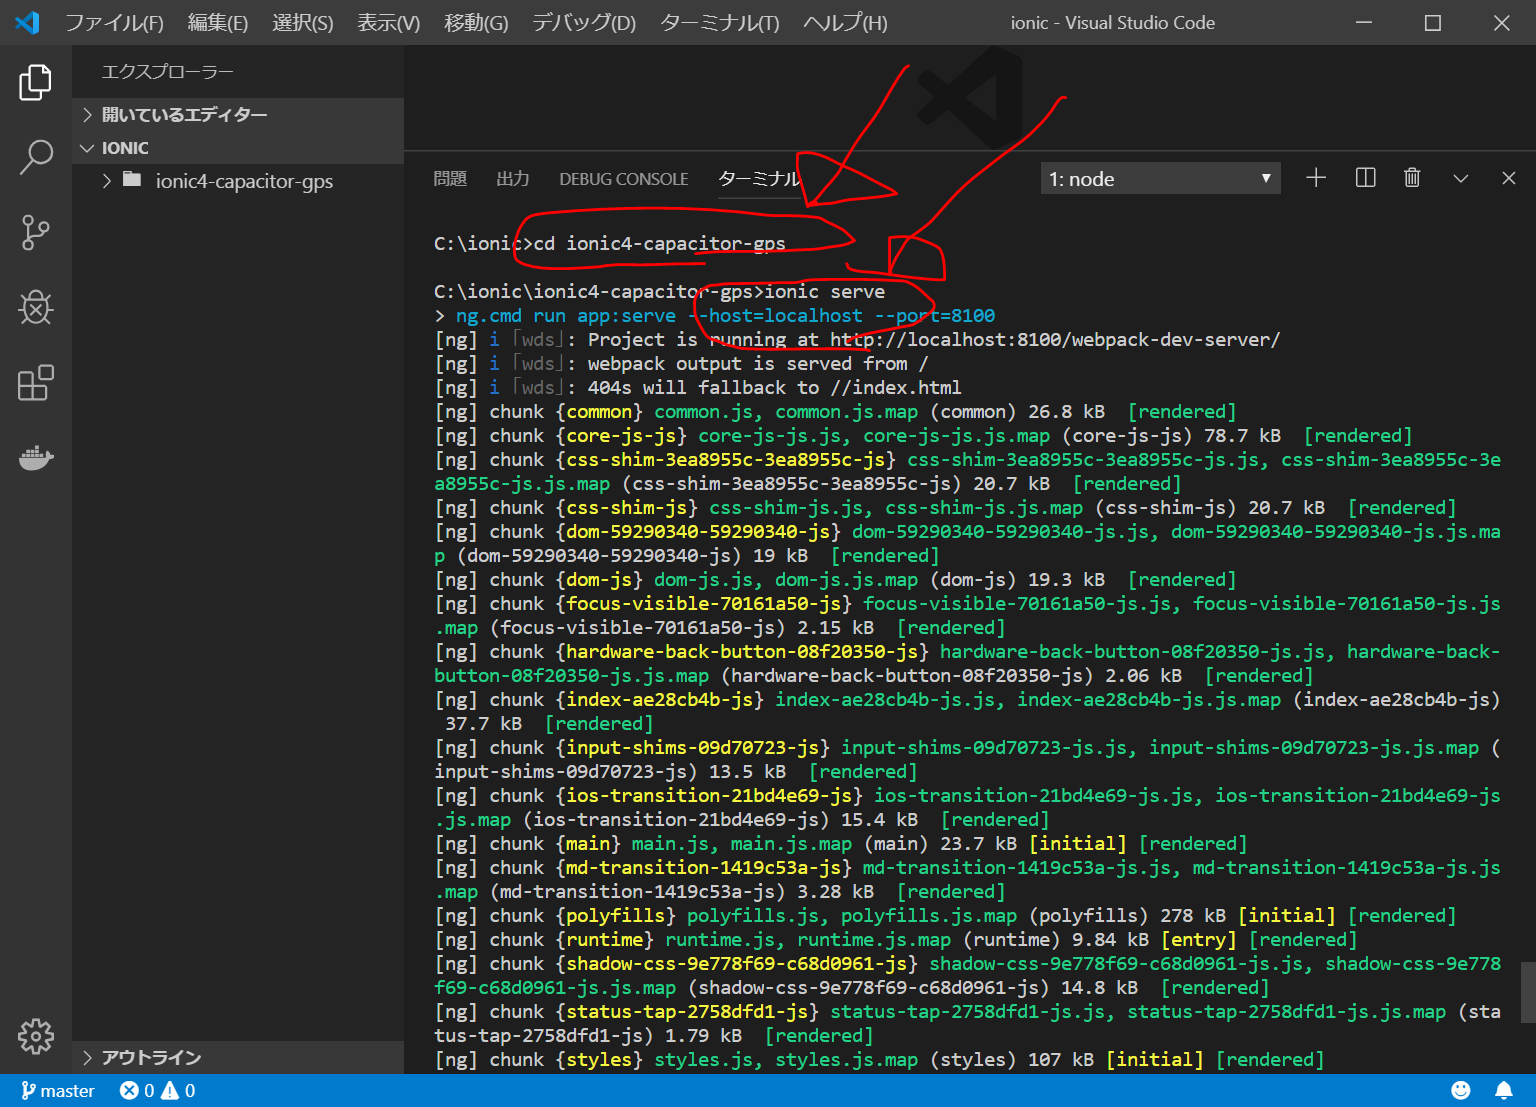
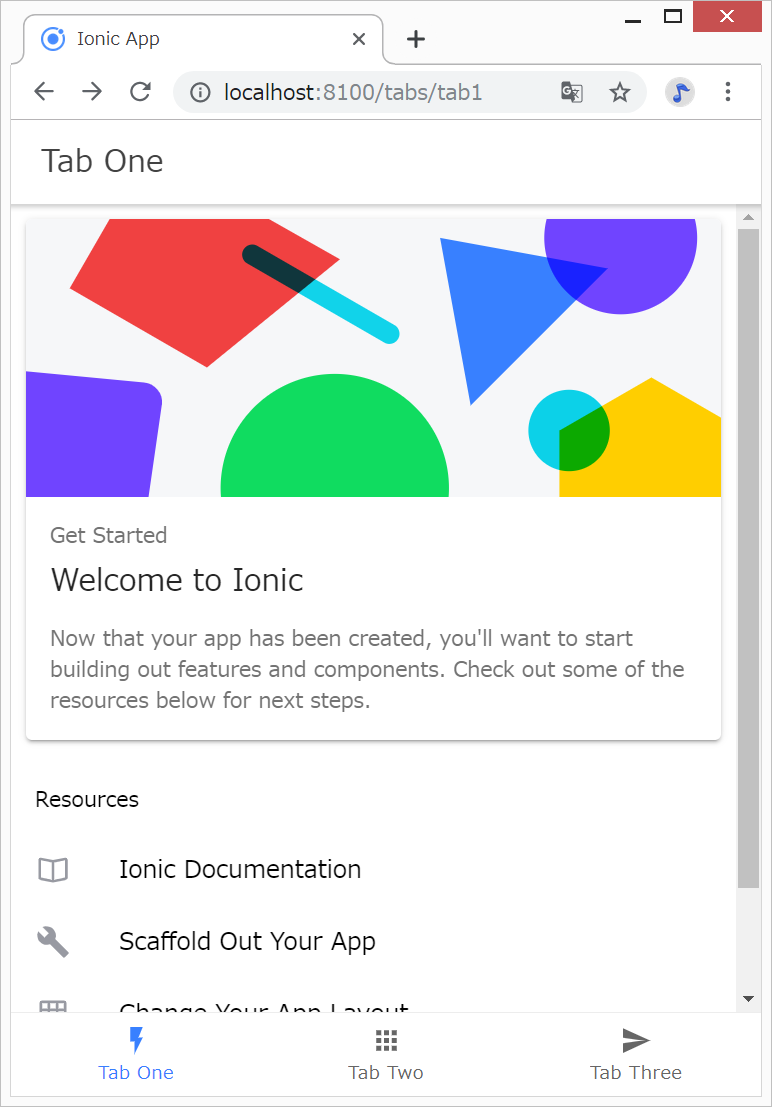
次に以下を入力して、一旦、Ionic4アプリを起動してみます。
cd ionic4-capacitor-gps
ionic serve
いったん、Ctrl+C ⇒ y + Enter でサーバを停止します。
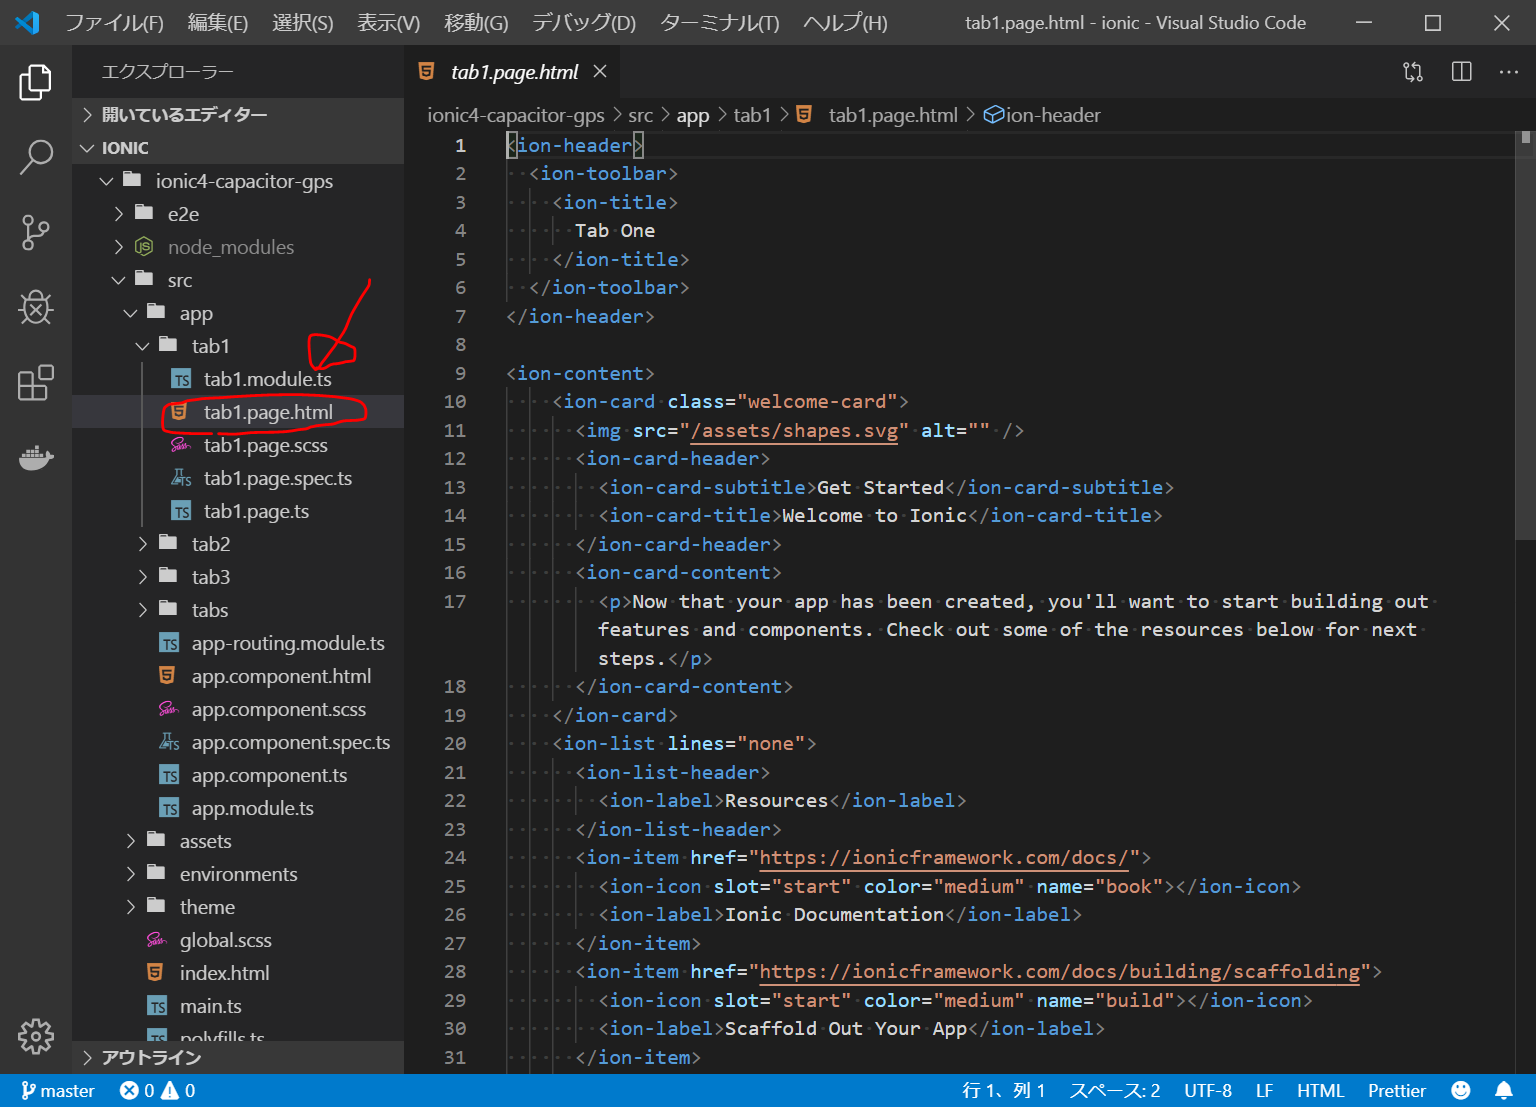
tab1.page.htmlの編集
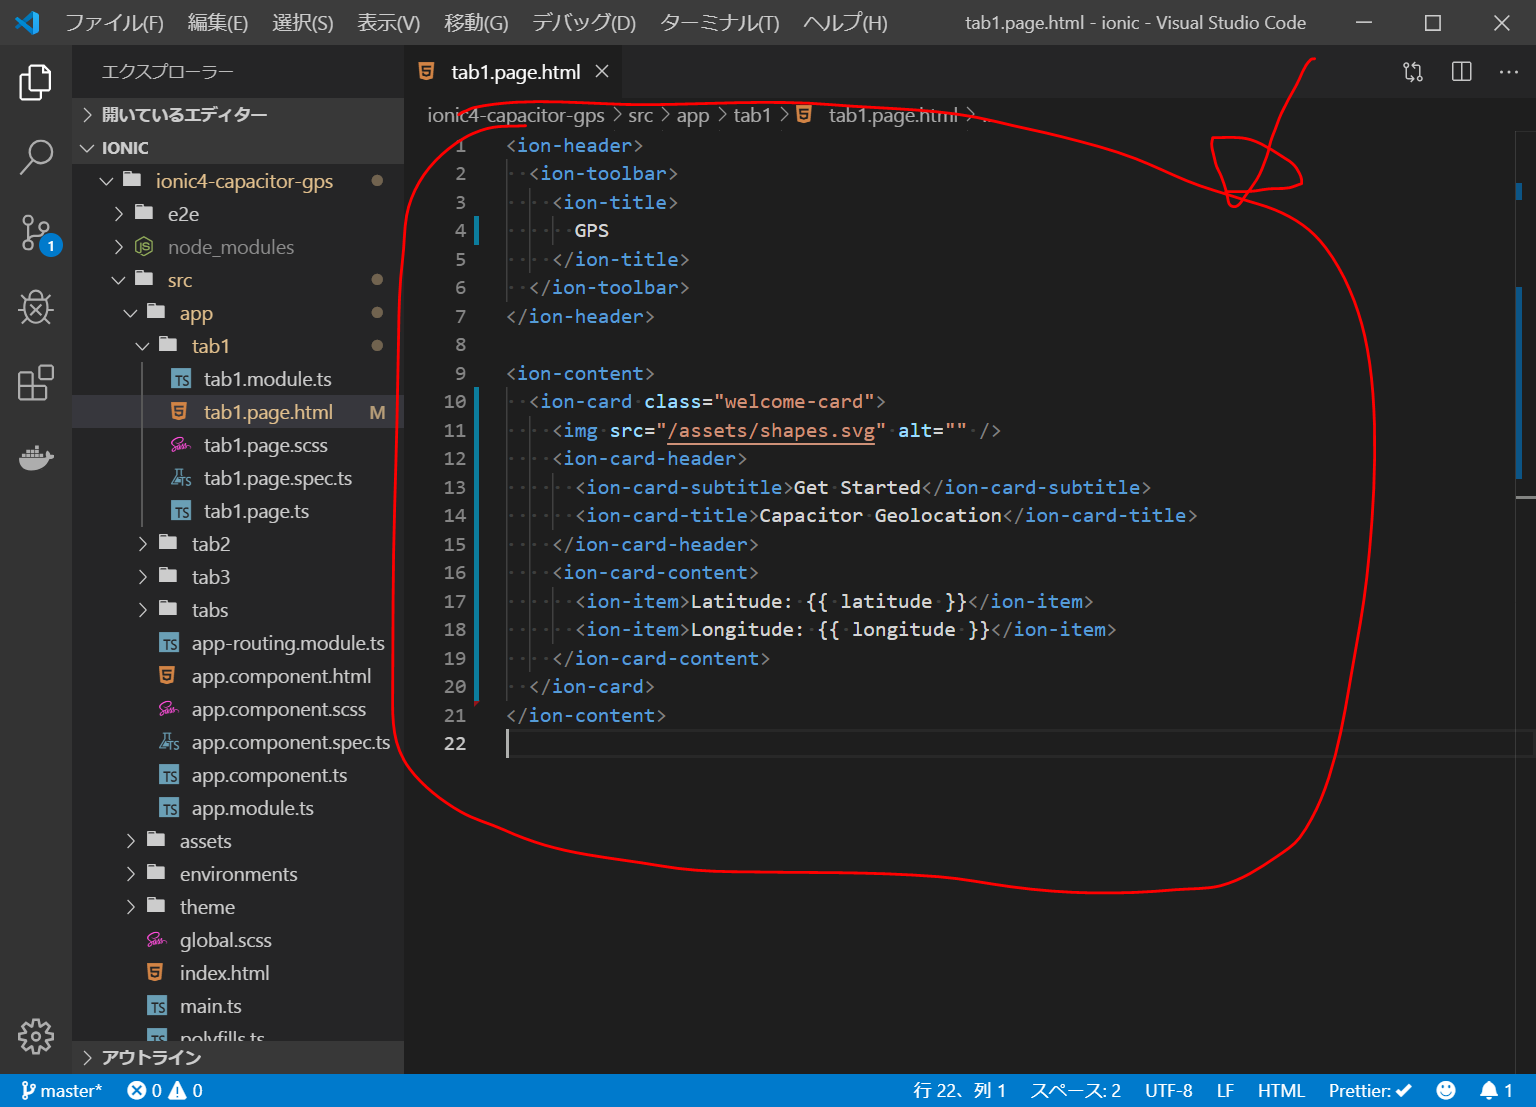
src/app/tab1/tab1.page.html を以下のように編集します。
<ion-card>
  <ion-card-header>
    <ion-card-title>Coordinates</ion-card-title>
  </ion-card-header>
  <ion-card-content>
    <ion-item>Latitude: {{ latitude }}</ion-item>
    <ion-item>Longitude: {{ longitude }}</ion-item>
  </ion-card-content>
</ion-card>
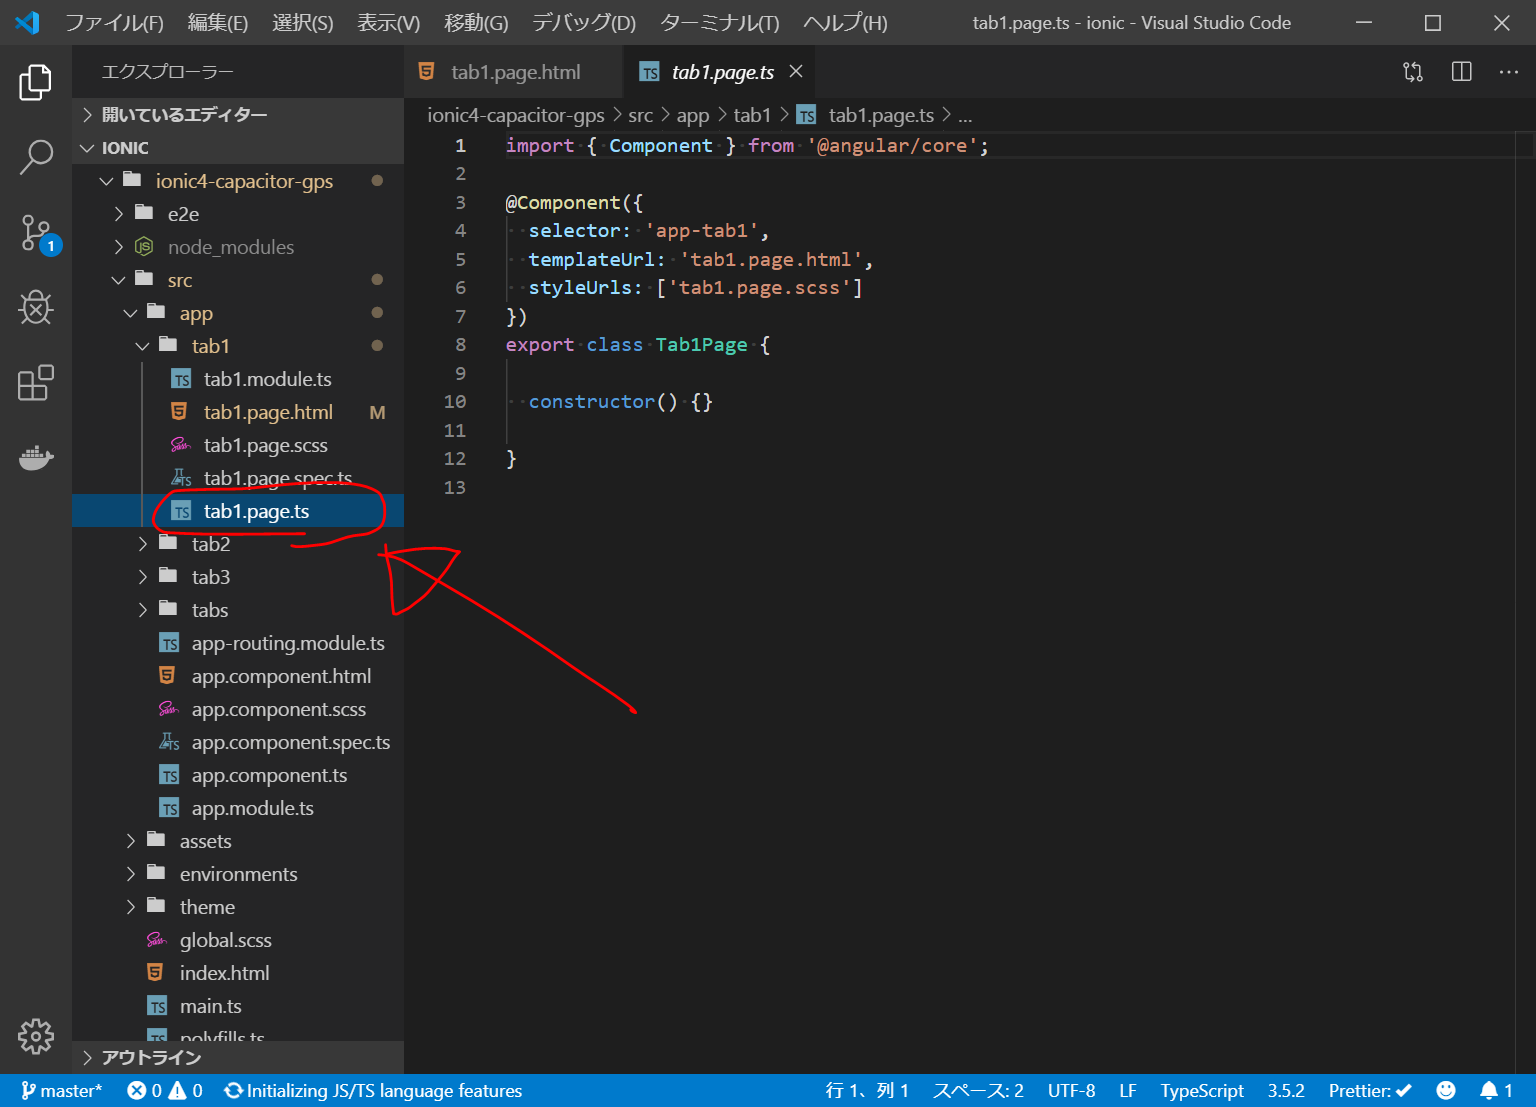
tab1.page.tsの編集
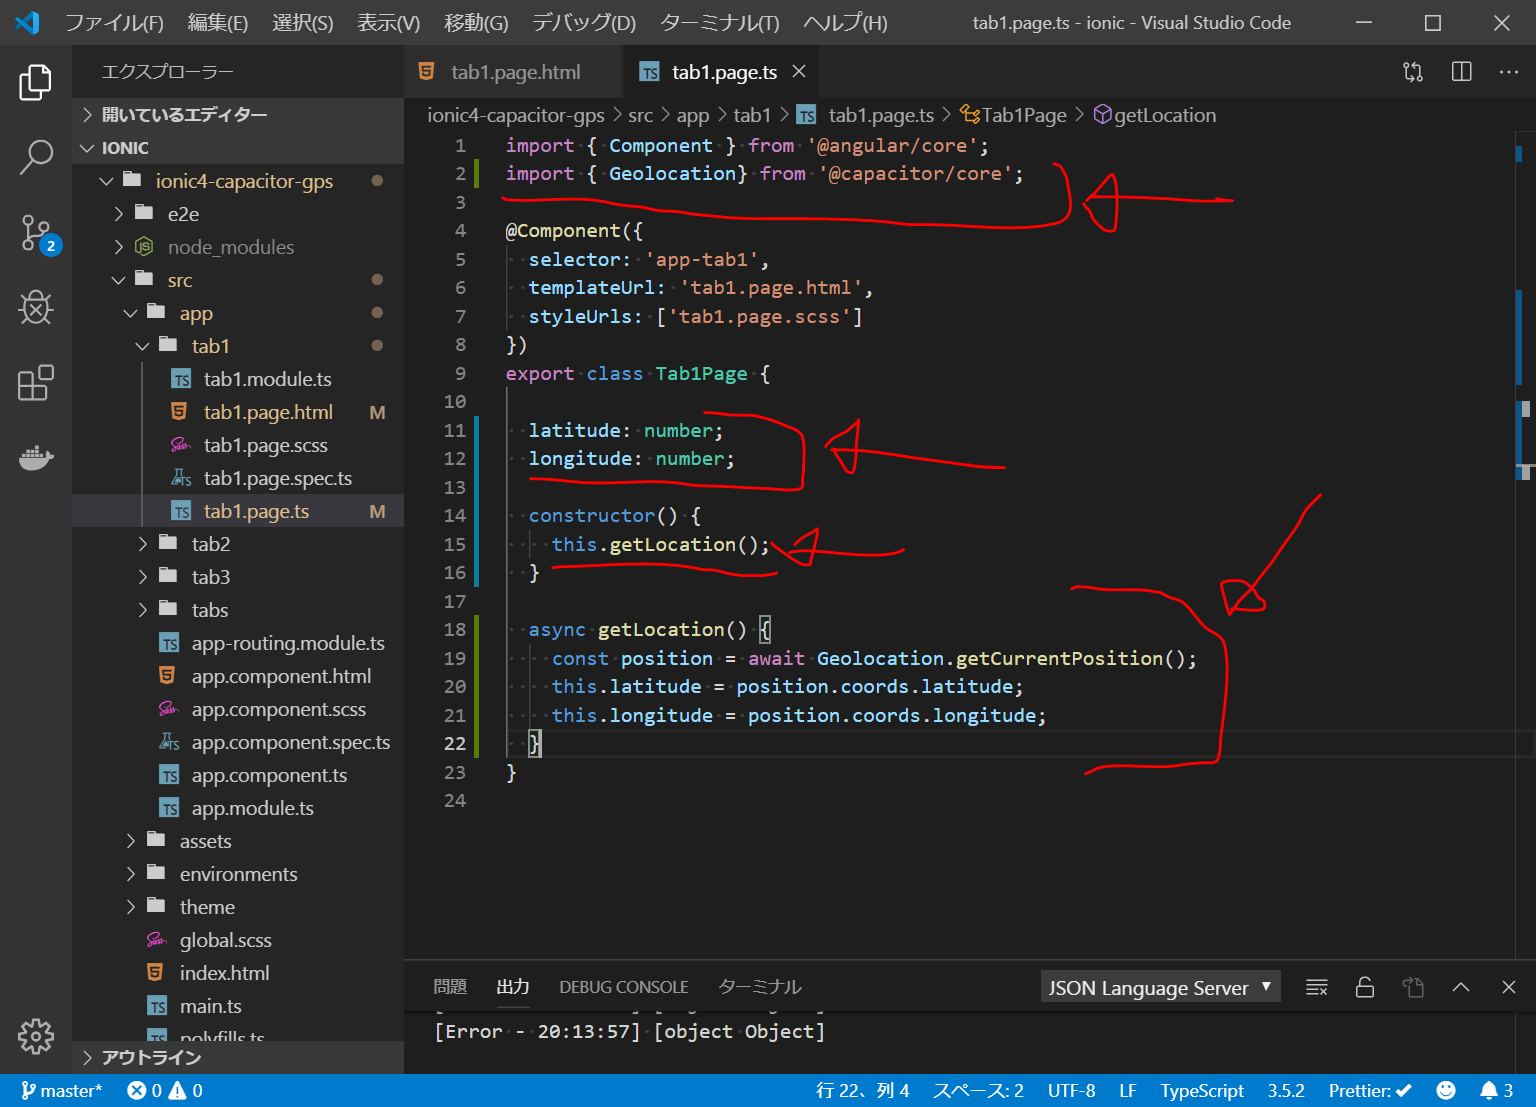
src/app/tab1/tab1.page.ts を以下のように編集します。
import { Geolocation} from '@capacitor/core';

//一部省略

export class Tab1Page {
  latitude: number;
  longitude: number;

  constructor() {
    this.getLocation();
  }

  async getLocation() {
    const position = await Geolocation.getCurrentPosition();
    this.latitude = position.coords.latitude;
    this.longitude = position.coords.longitude;
  }
}
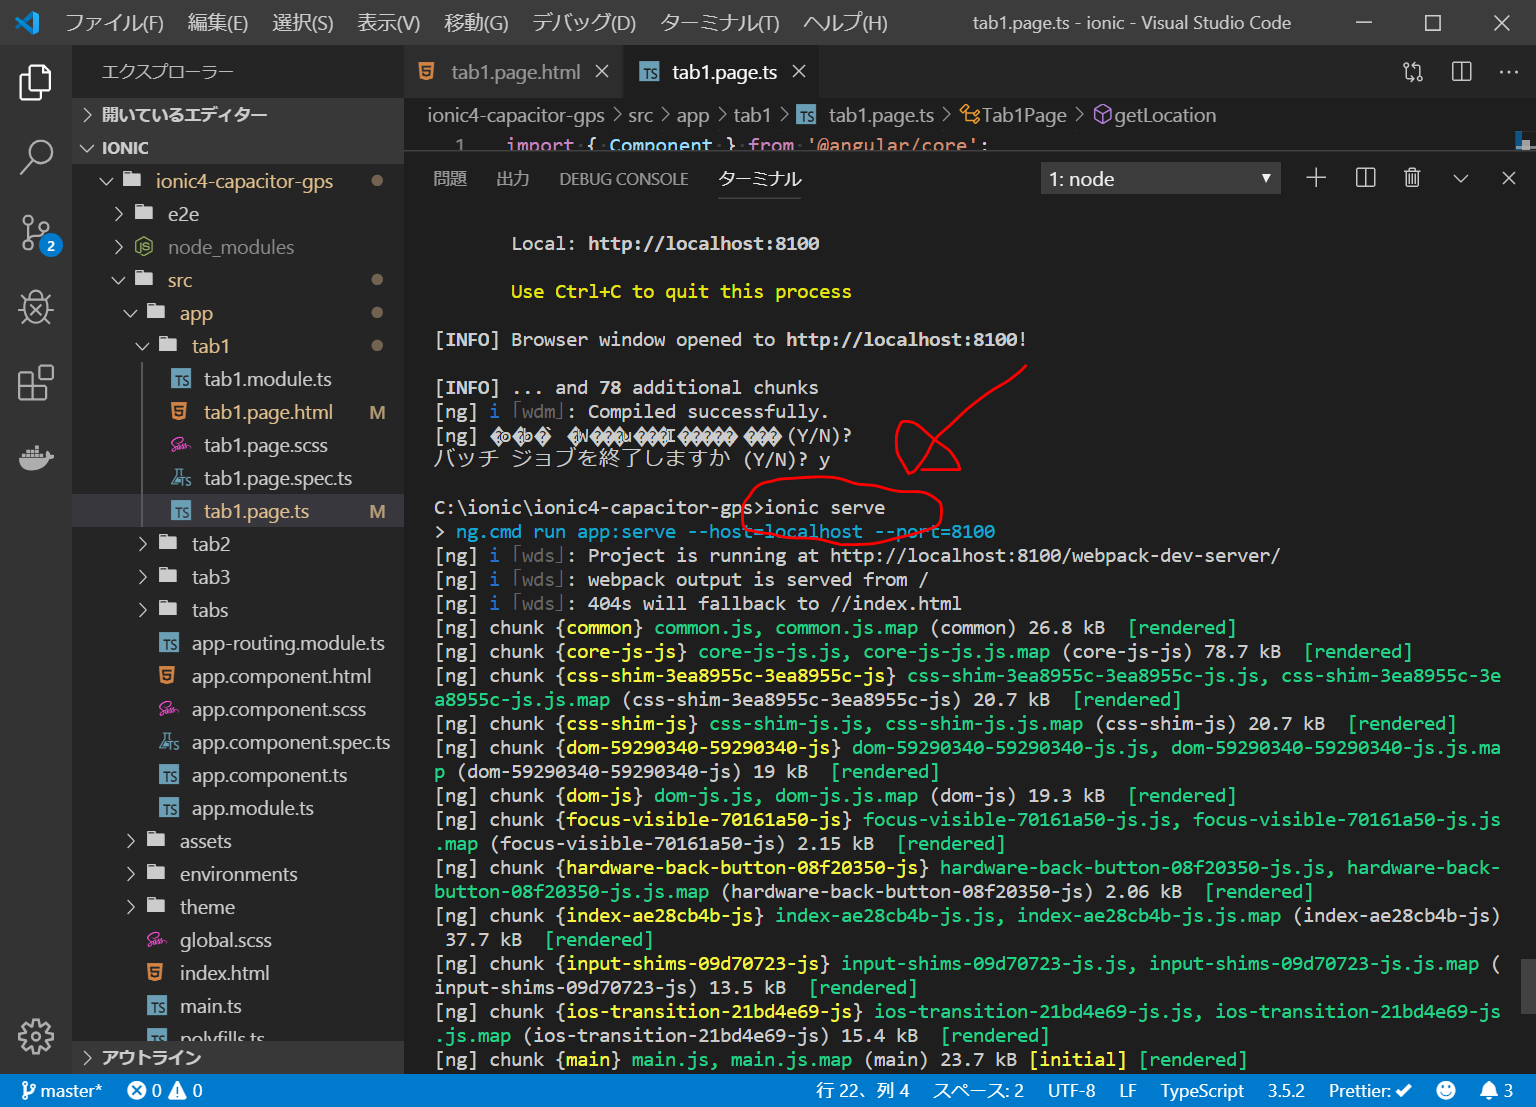
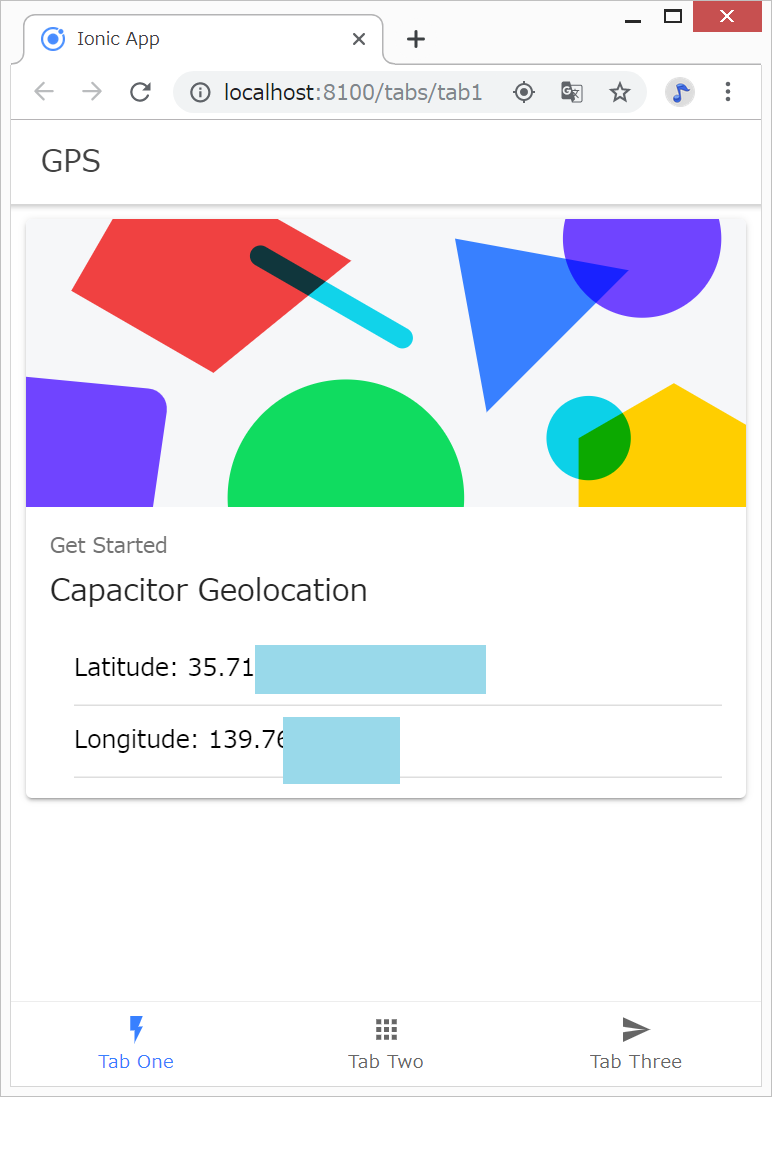
ionic serveで開発サーバで確認
GitHubにpush(アップロード)
Ctrl+C ⇒ y + Enter でサーバを停止します。
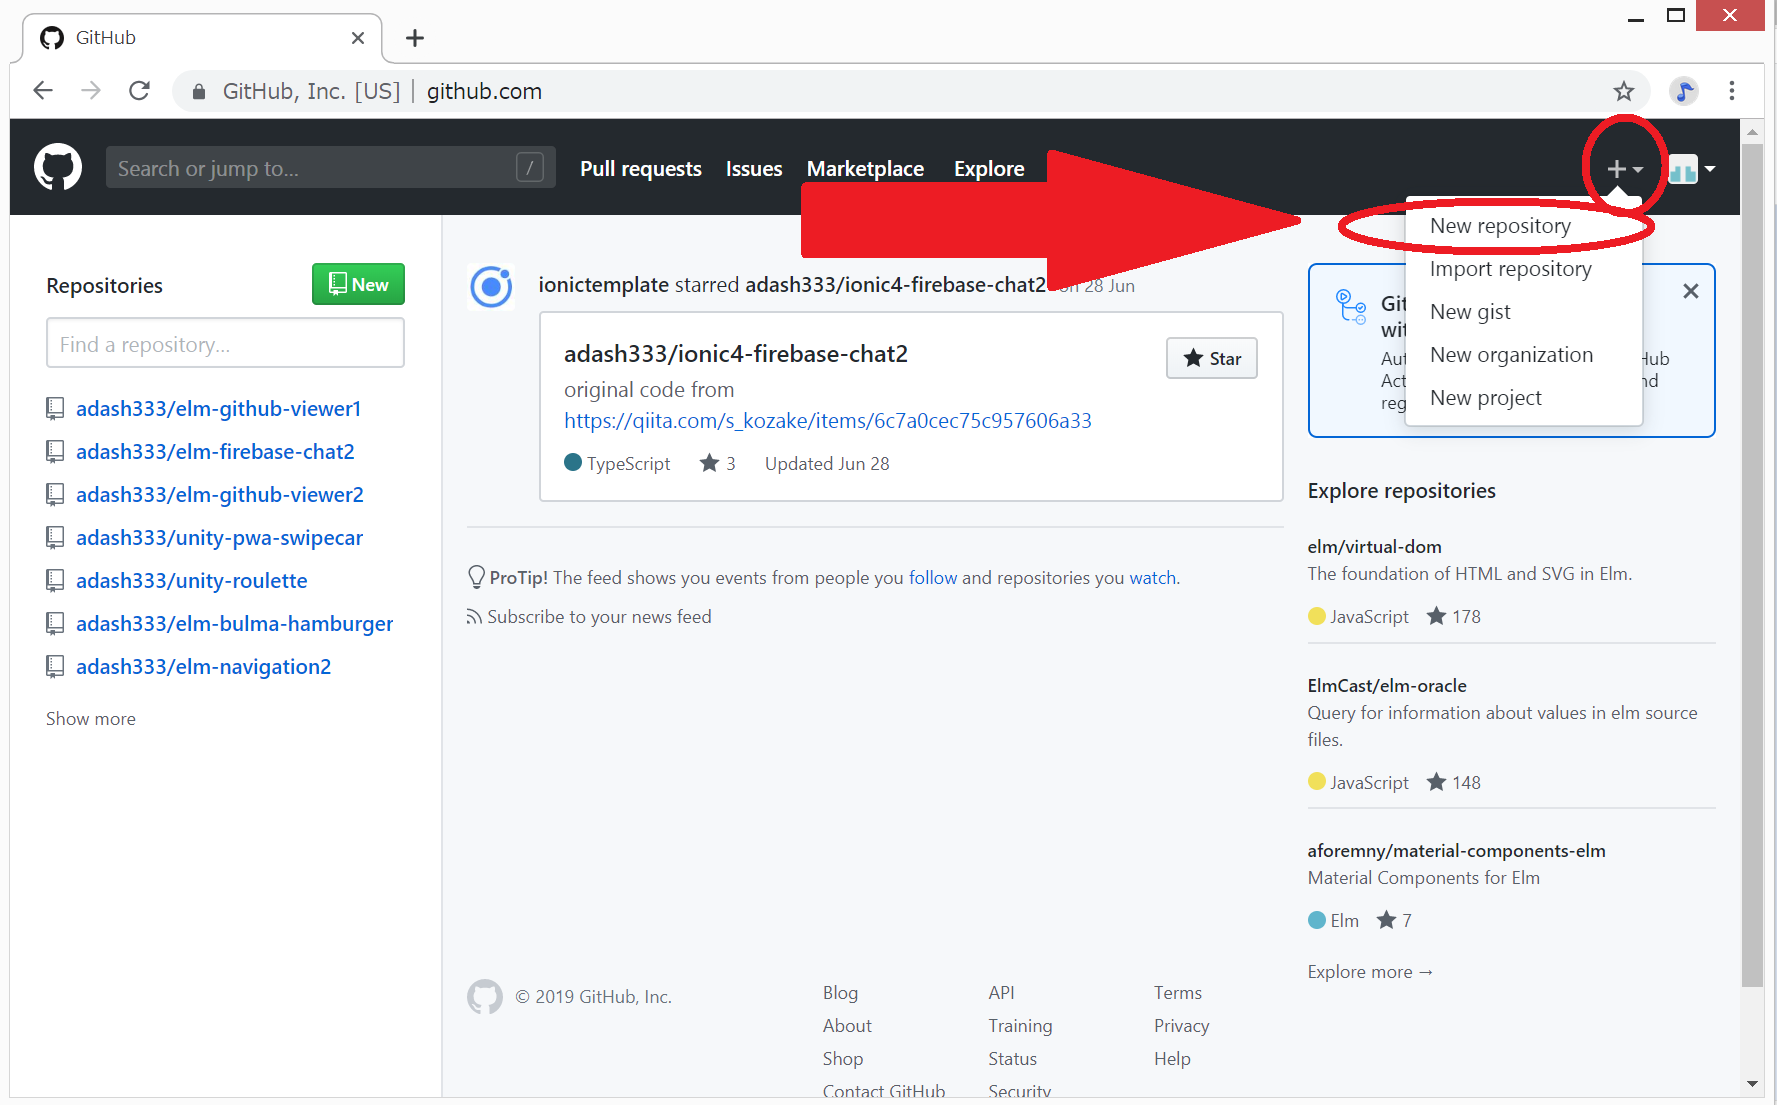
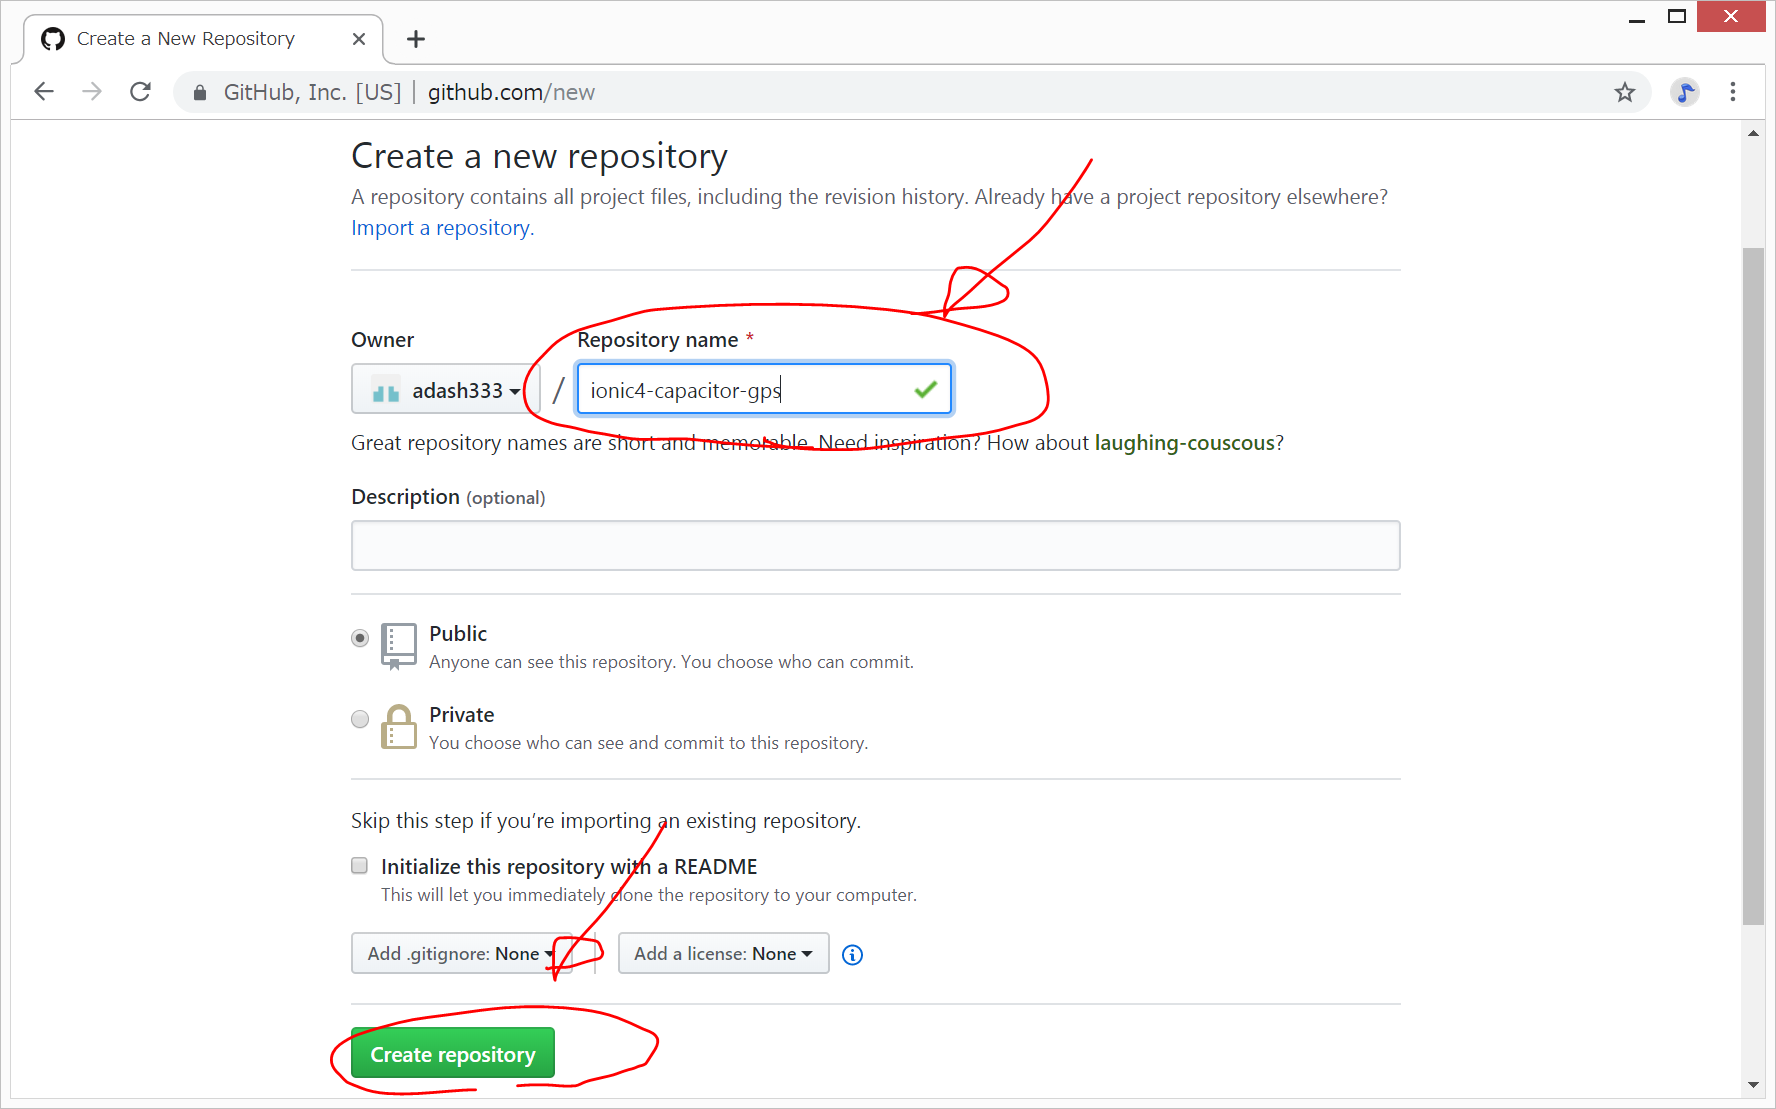
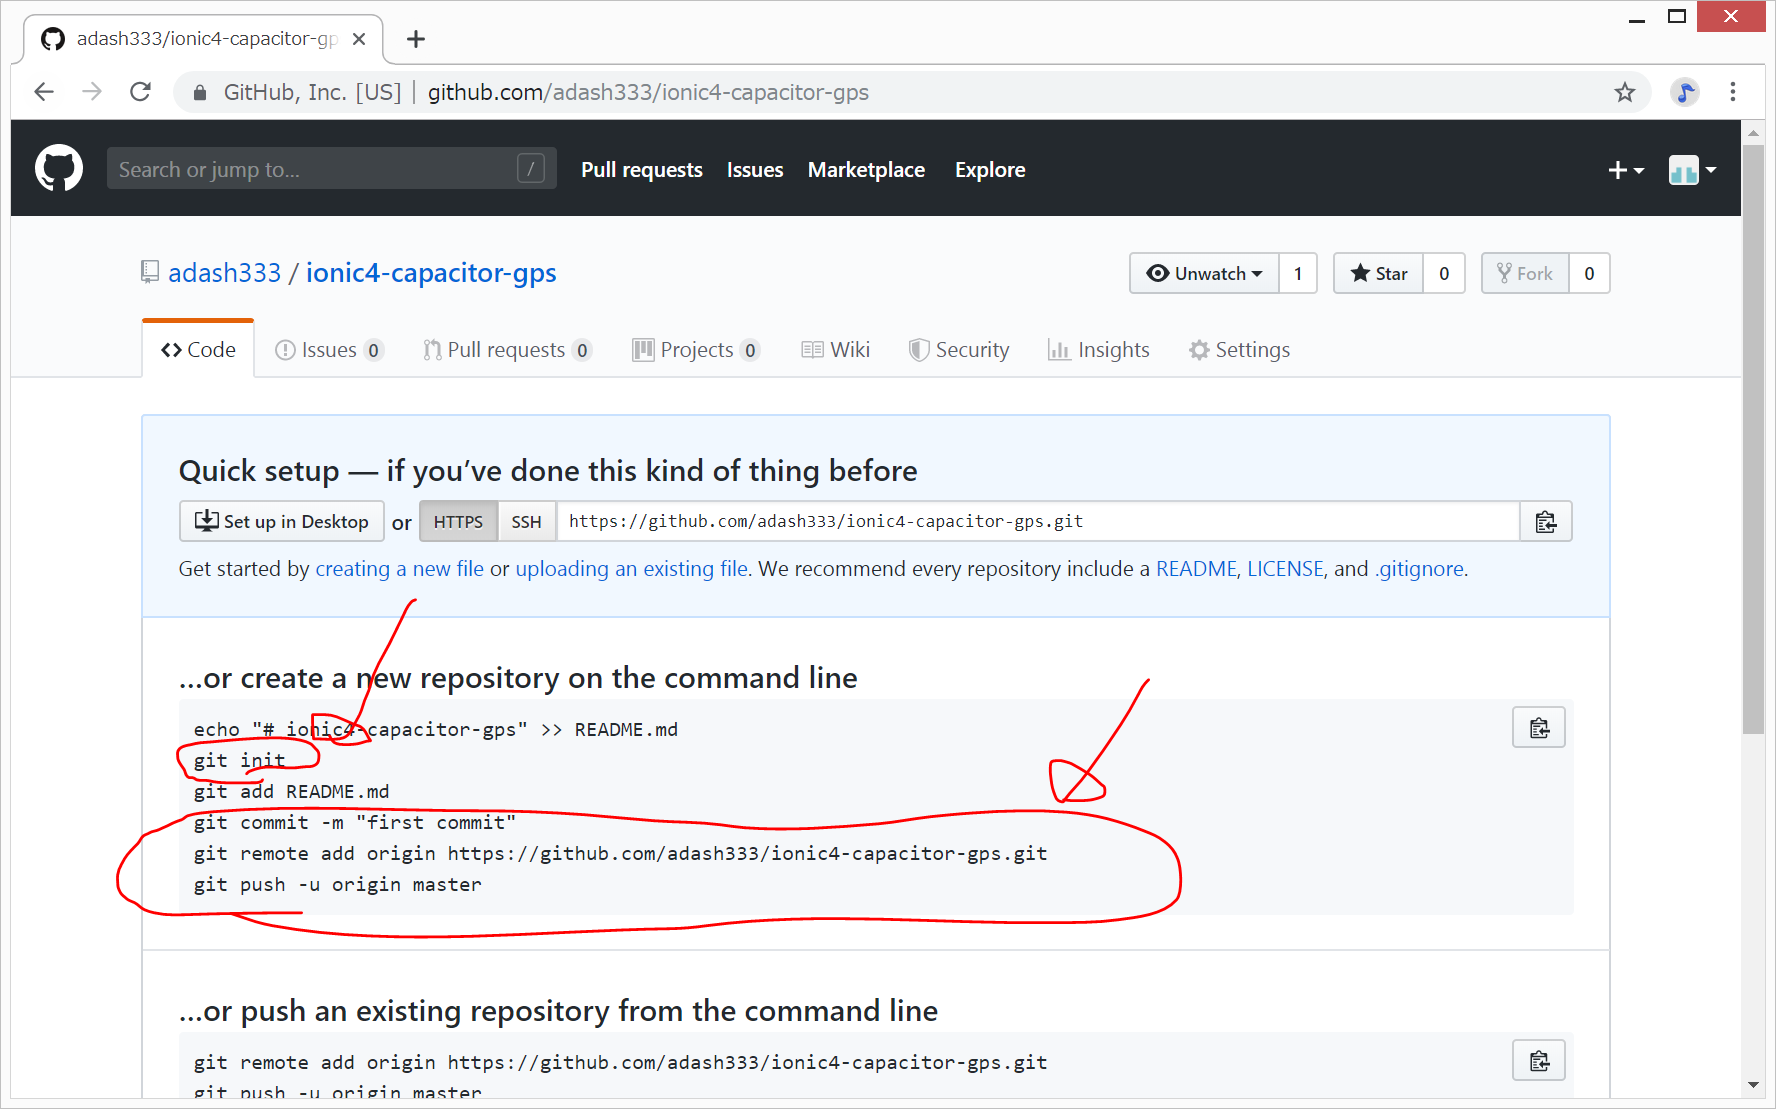
https://github.com/ にログインして、新規リポジトリを作成し、GitHubへpush(アップロード)します。
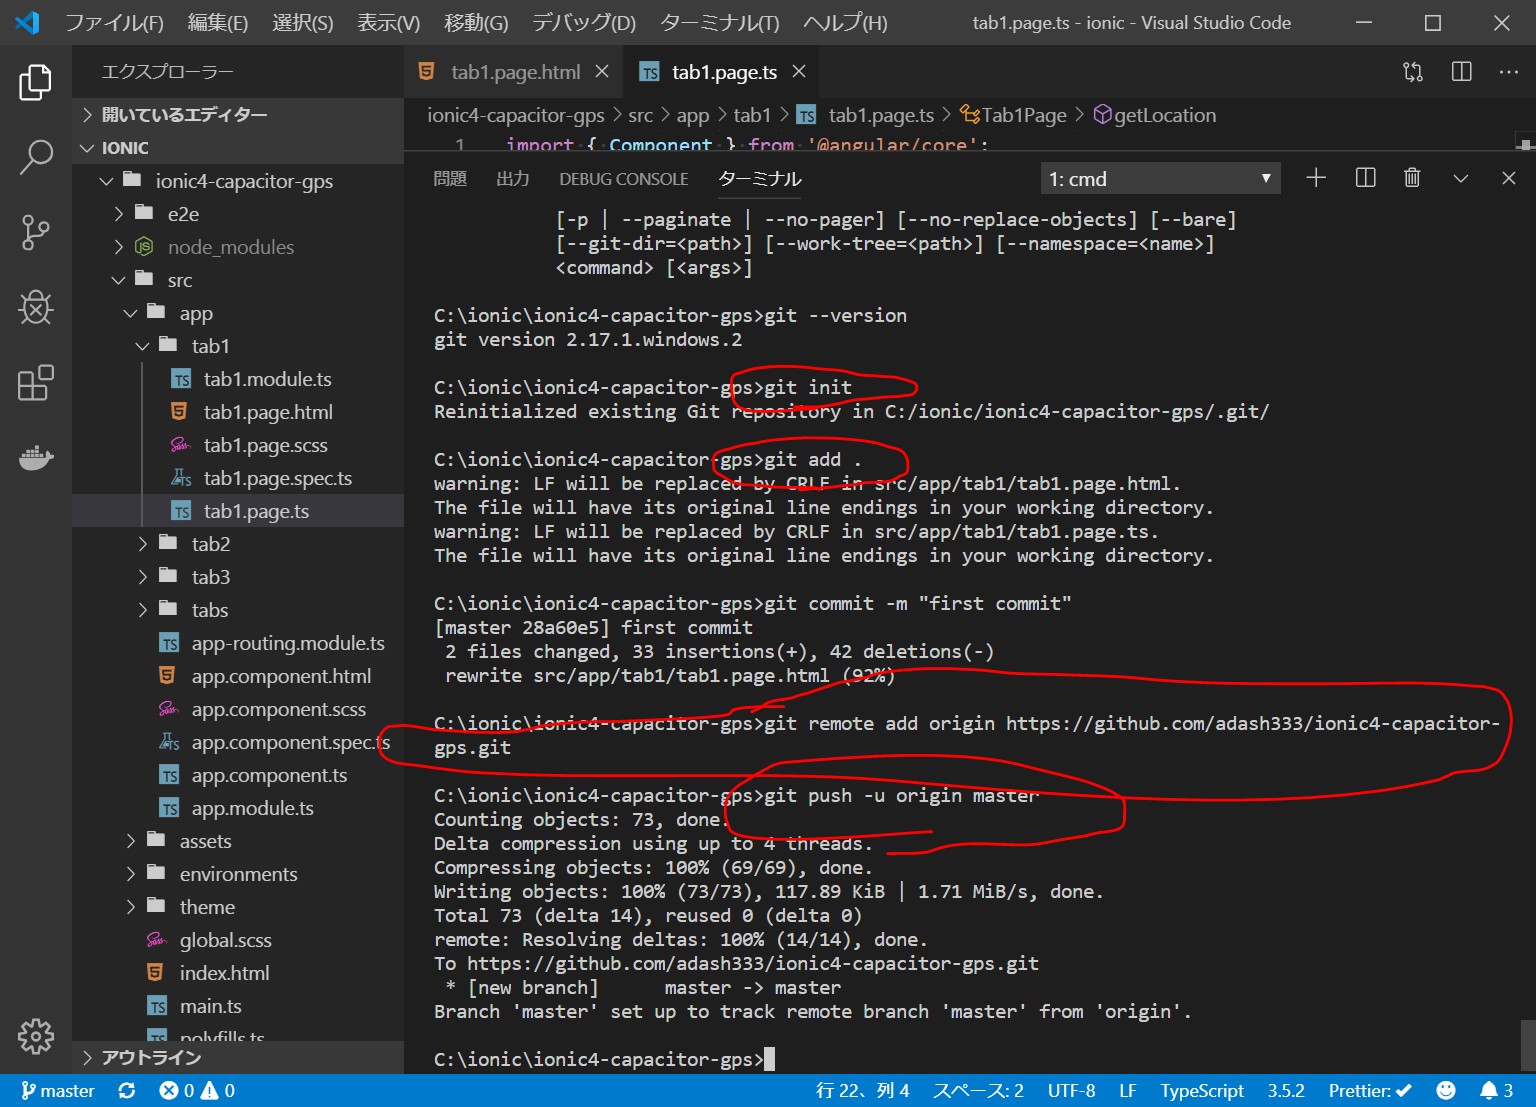
VisualStudioCodeのターミナル画面(Cmd.exe)で上記を参考にしながら、以下を入力します。
git init
git add .
git commit -m "first commit"
git remote add origin https://github.com/adash333/ionic4-capacitor-gps.git
git push -u origin master
GitHubのページは以下となります。
https://github.com/adash333/ionic4-capacitor-gps
Netlifyにデプロイ
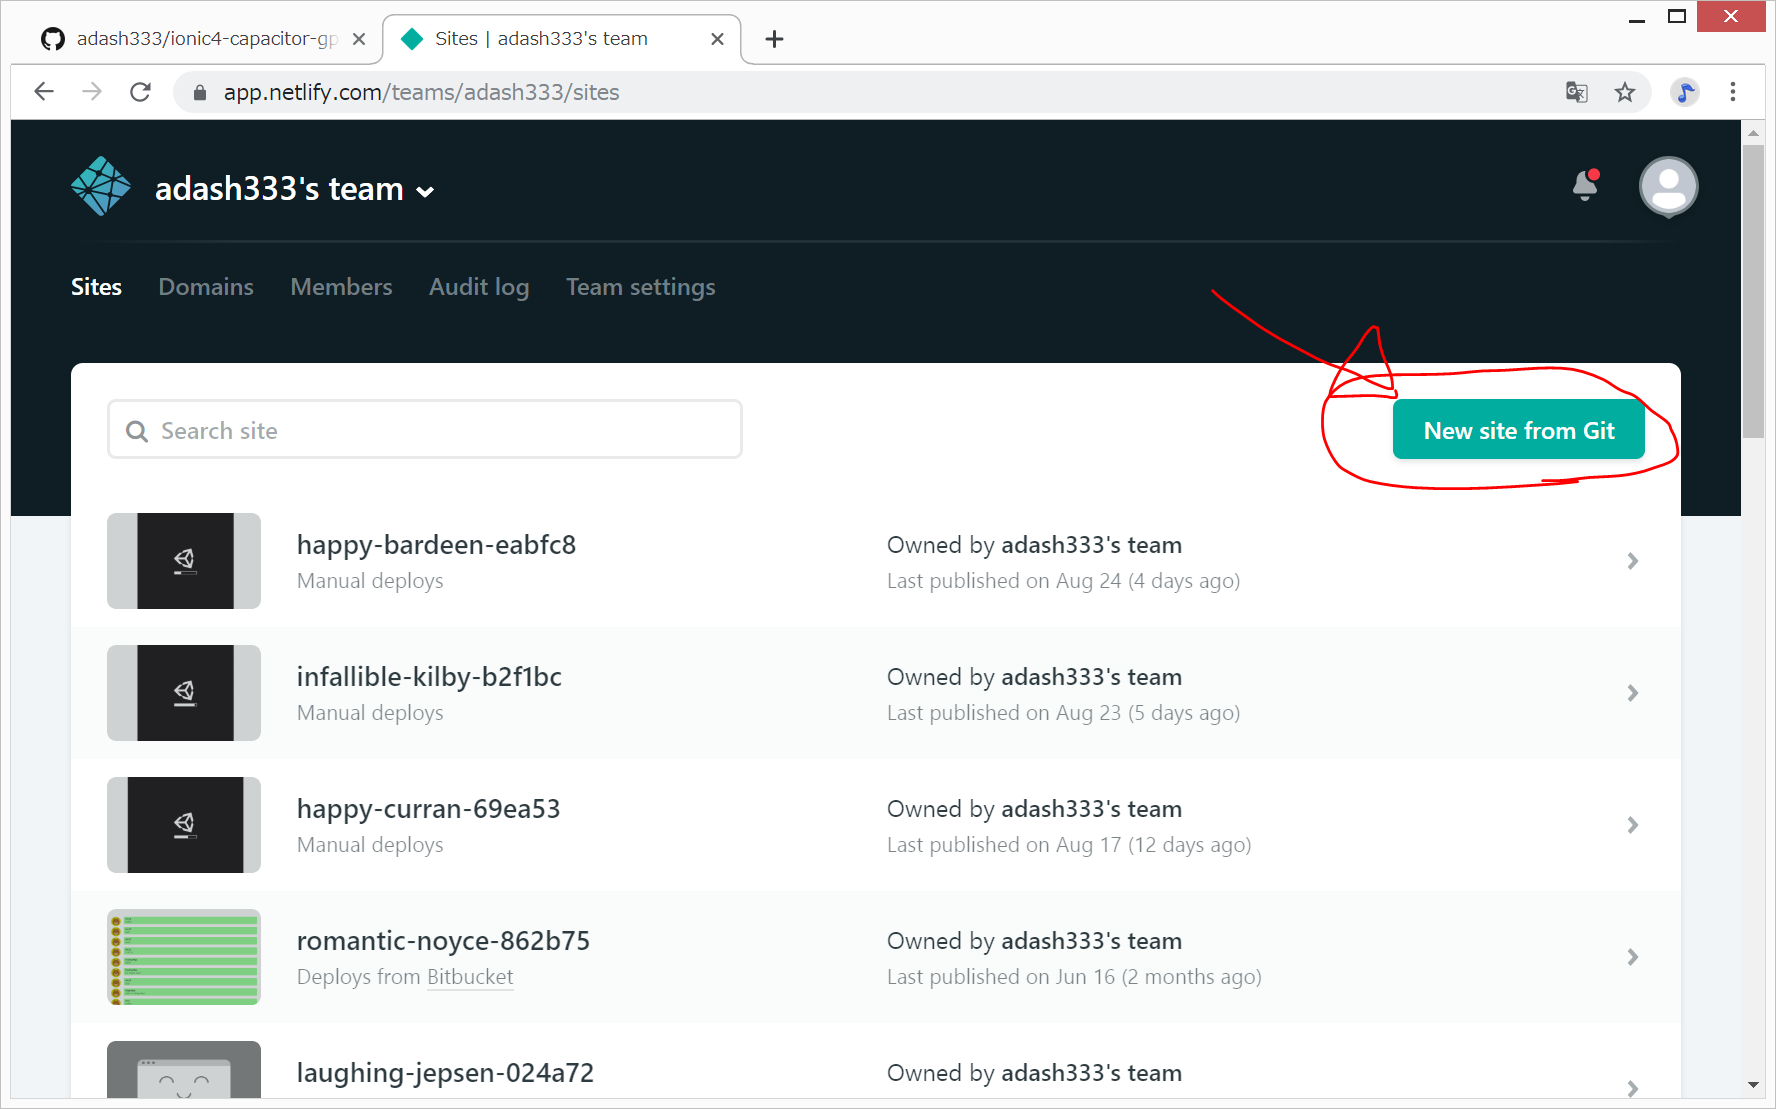
https://www.netlify.com にログインして、“New site from Git”をクリック。
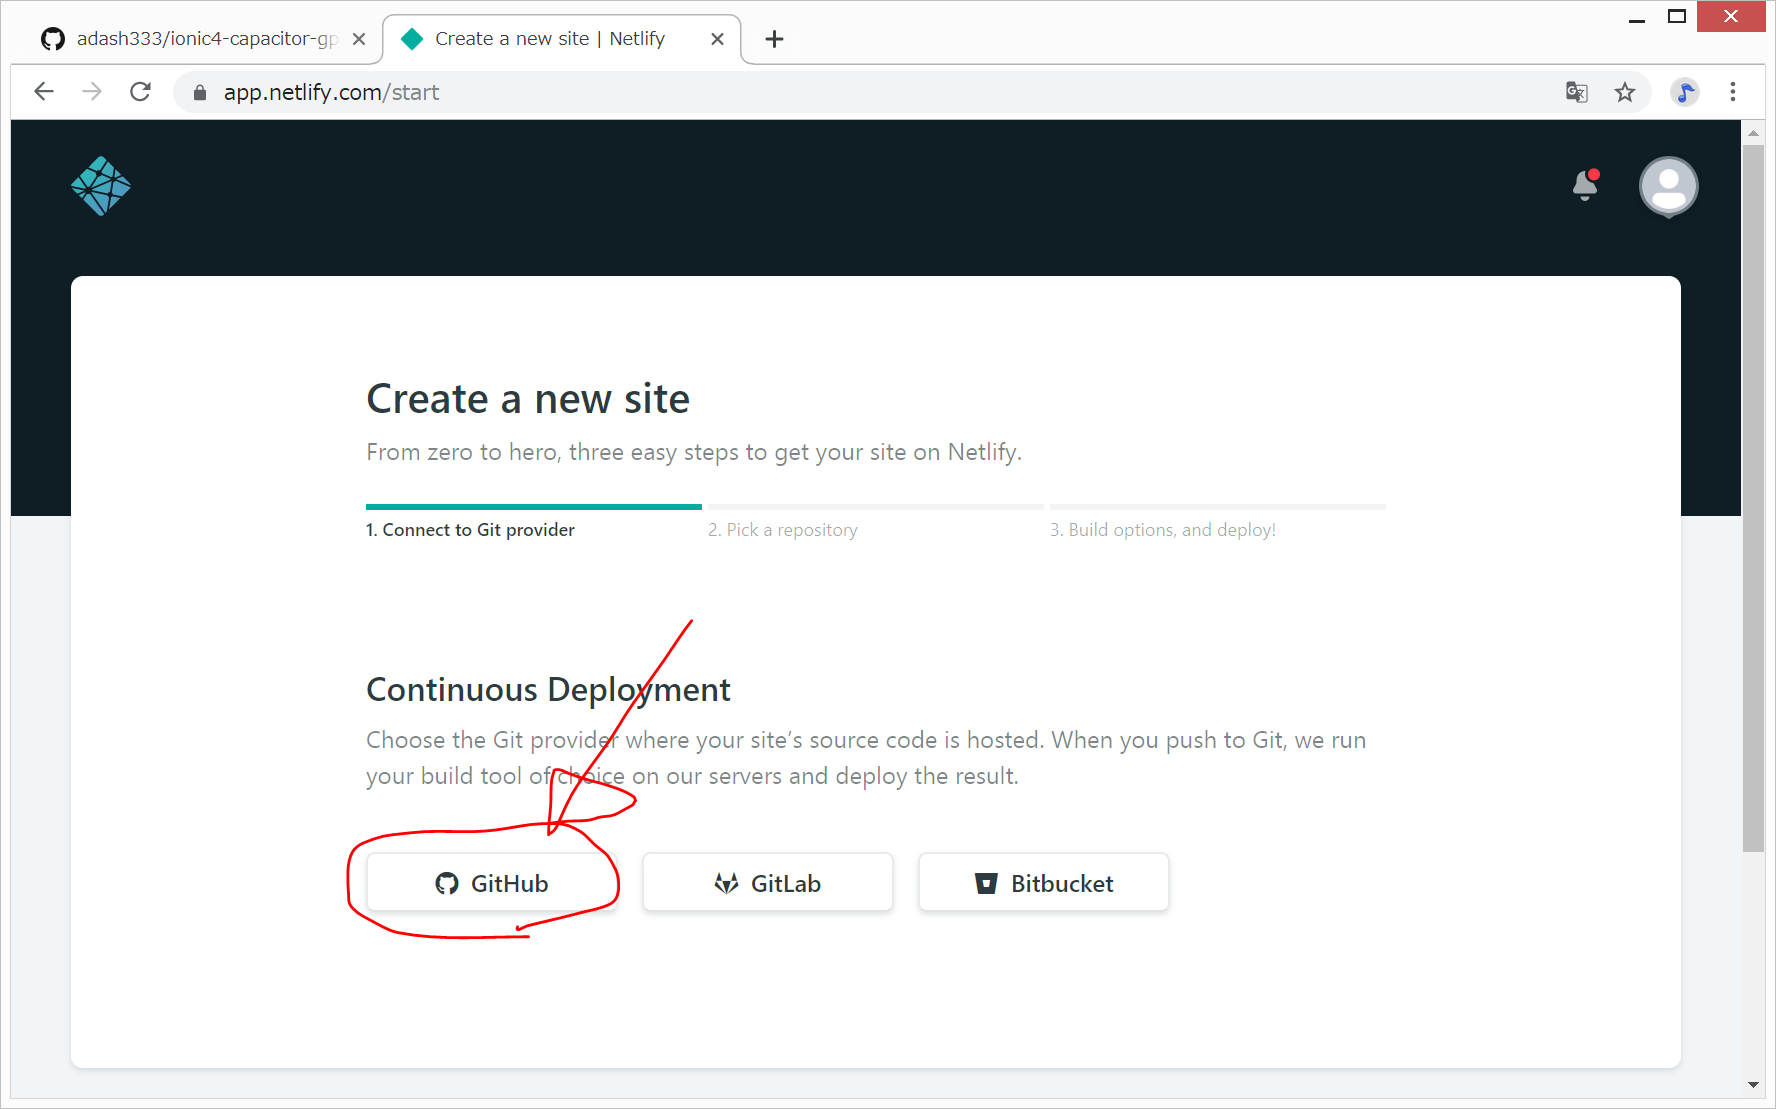
GitHubをクリックして
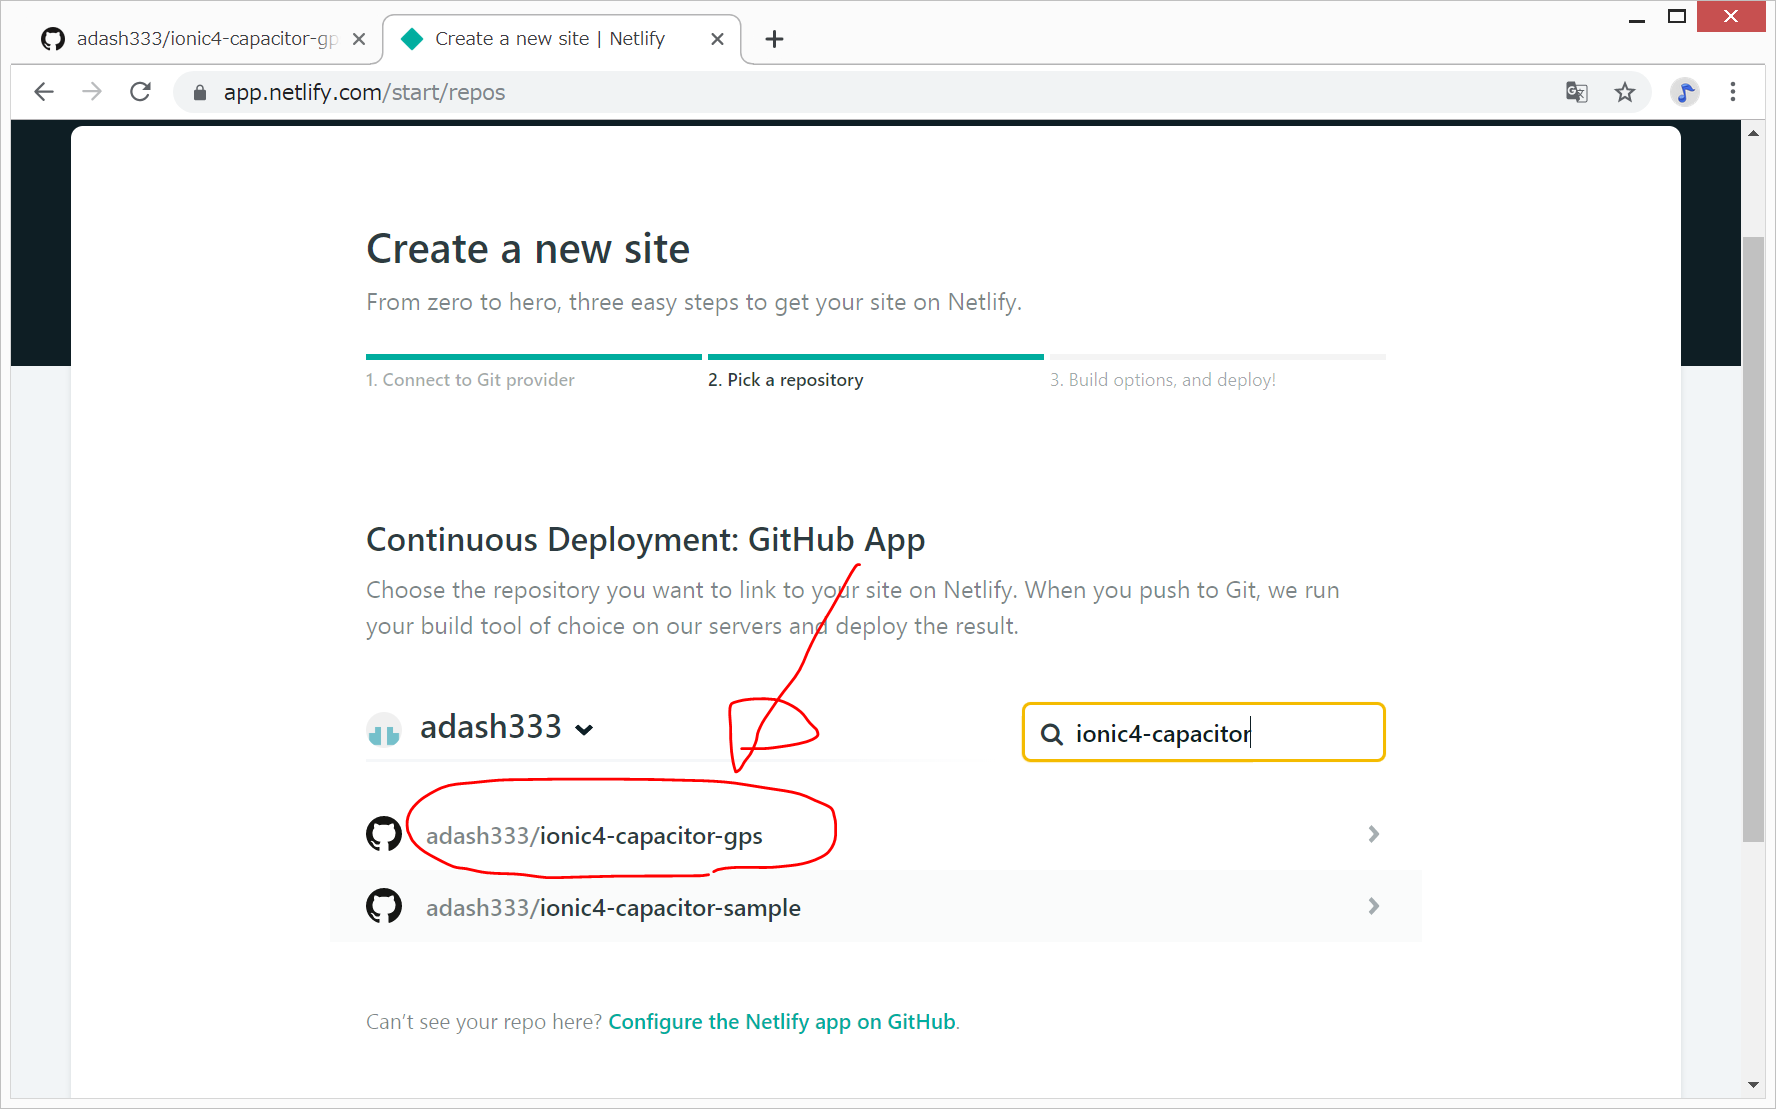
今回作成したリポジトリ(ionic4-capacitor-gps)を選択します。
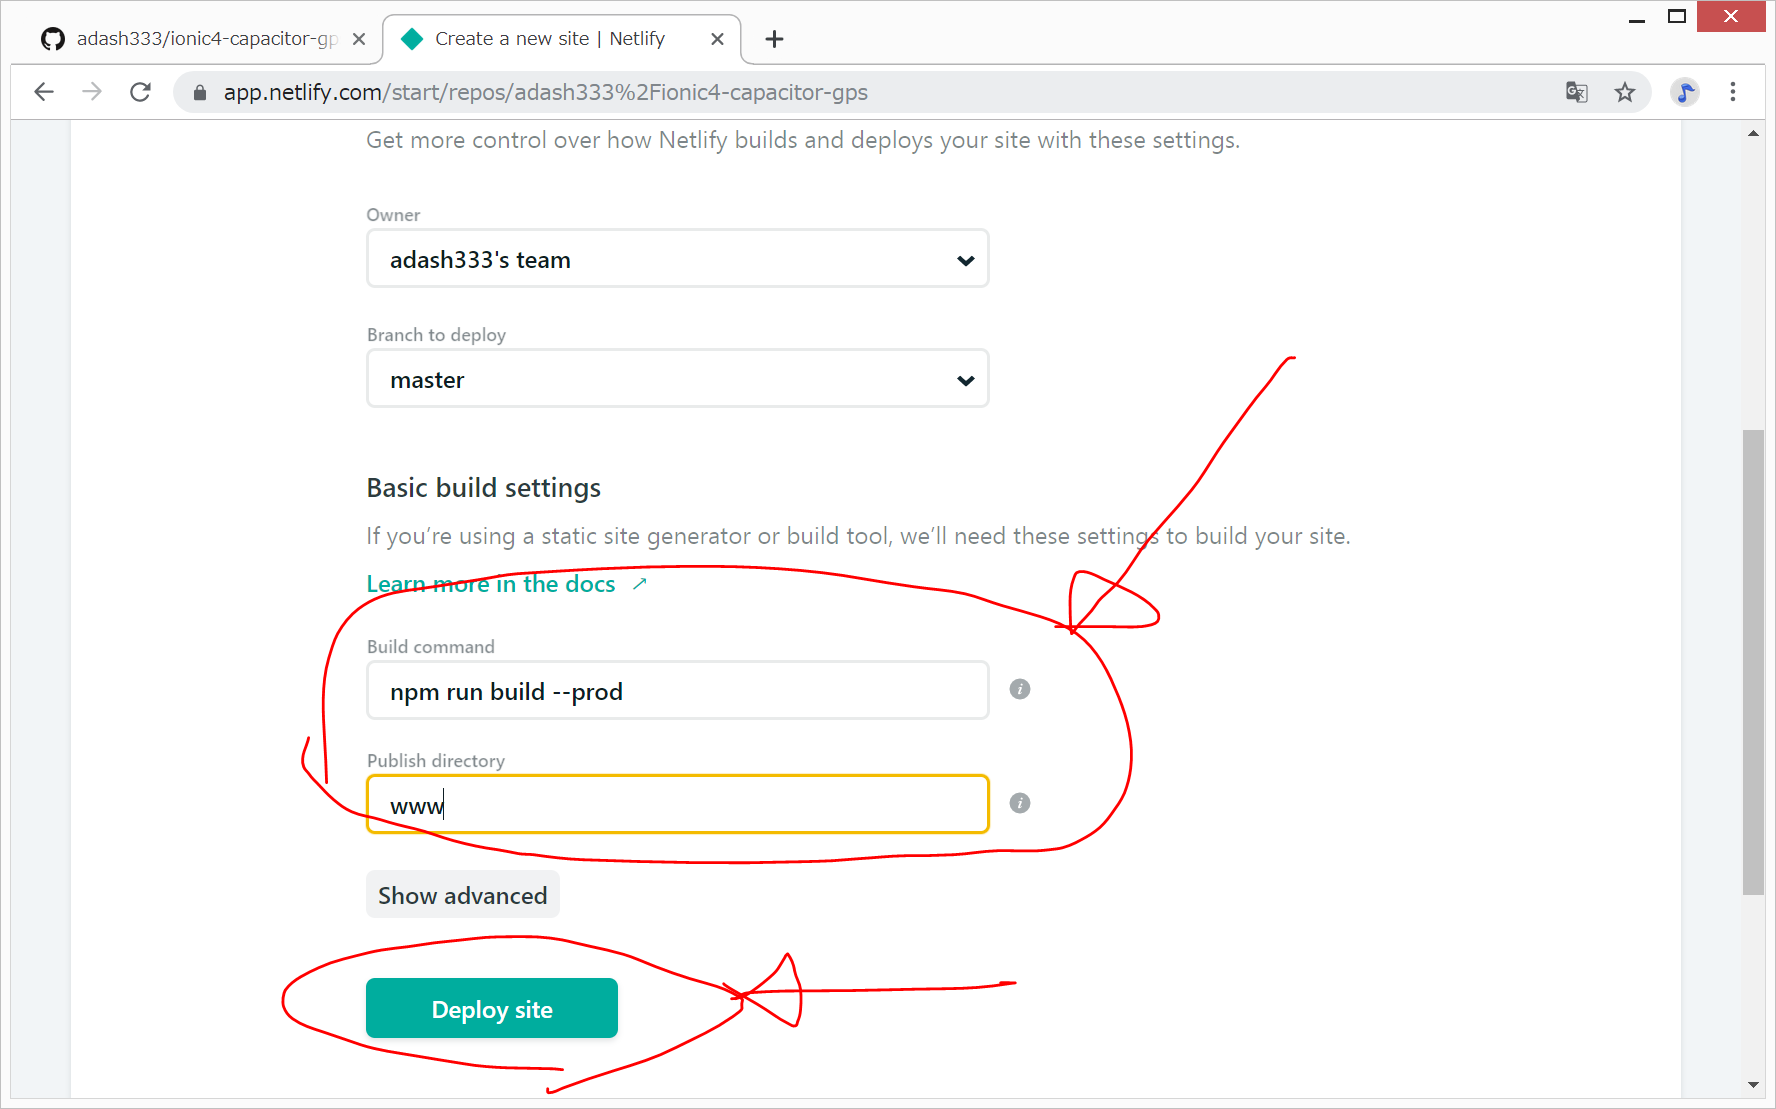
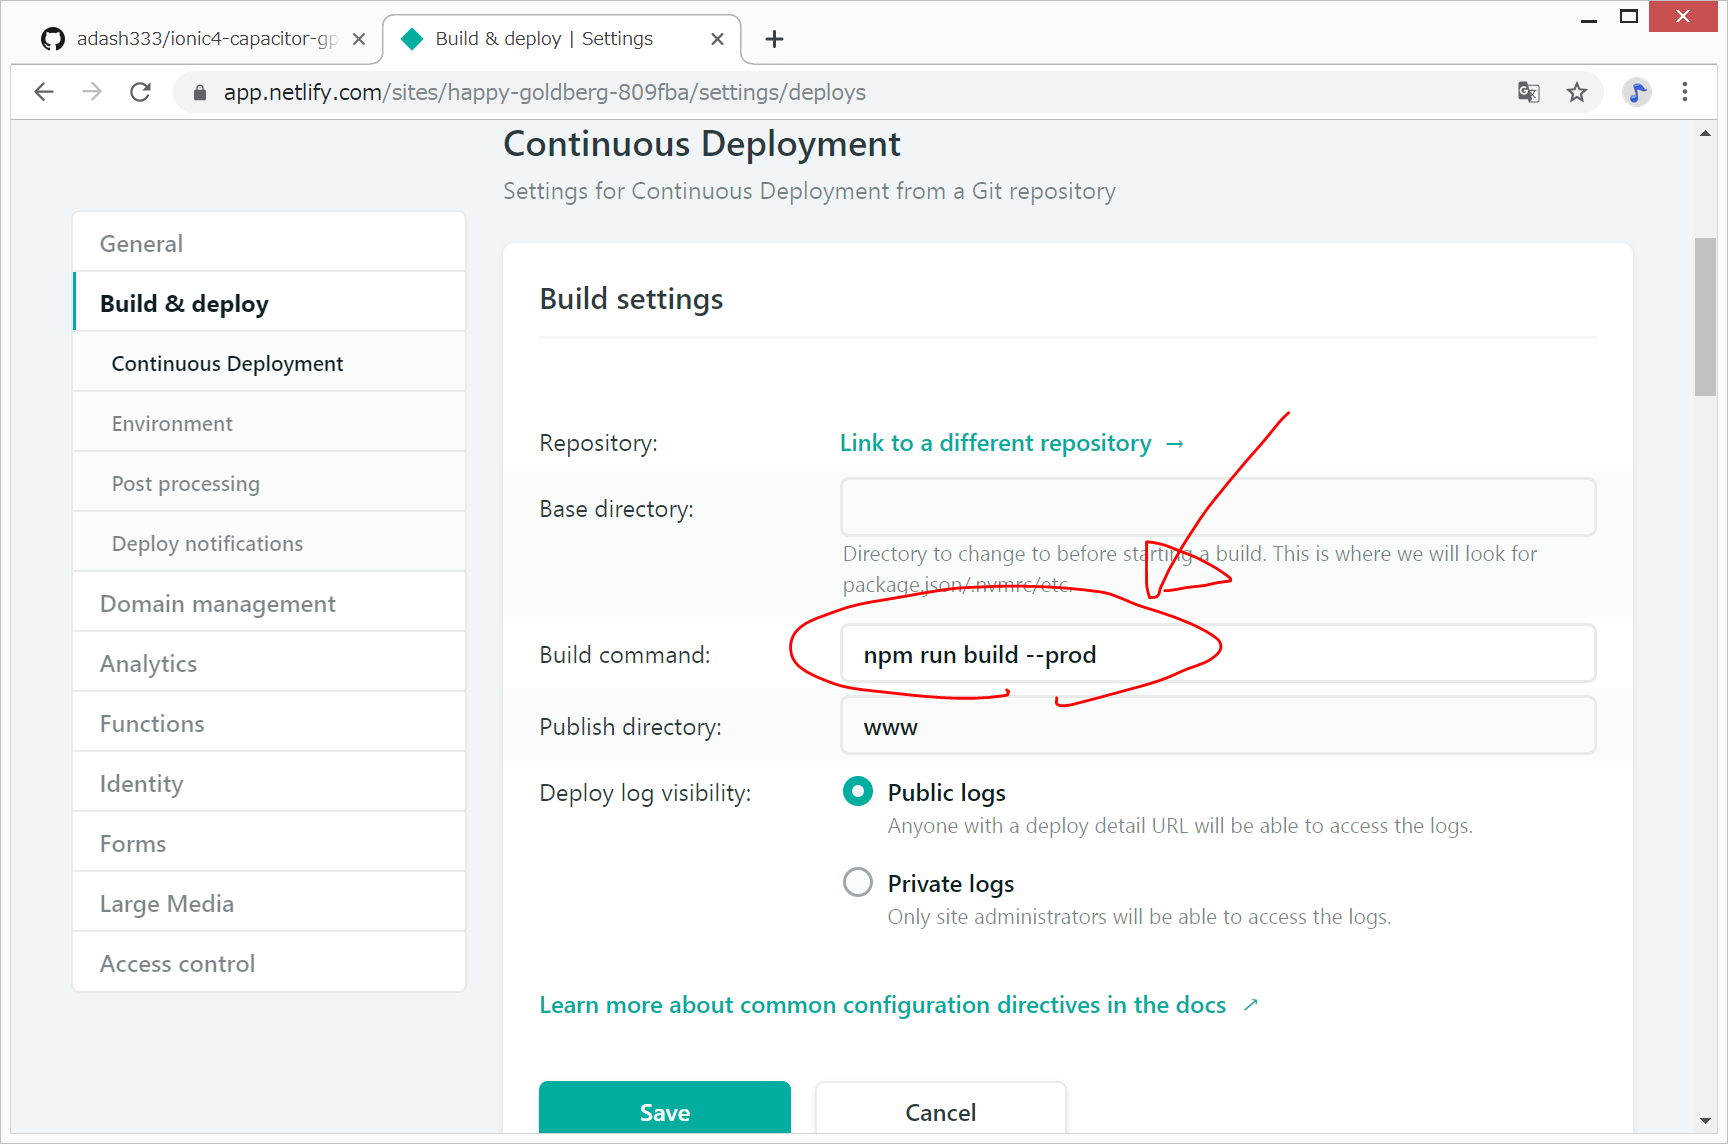
以下のように入力して、“Deploy site”をクリック
npm run build --prod
www
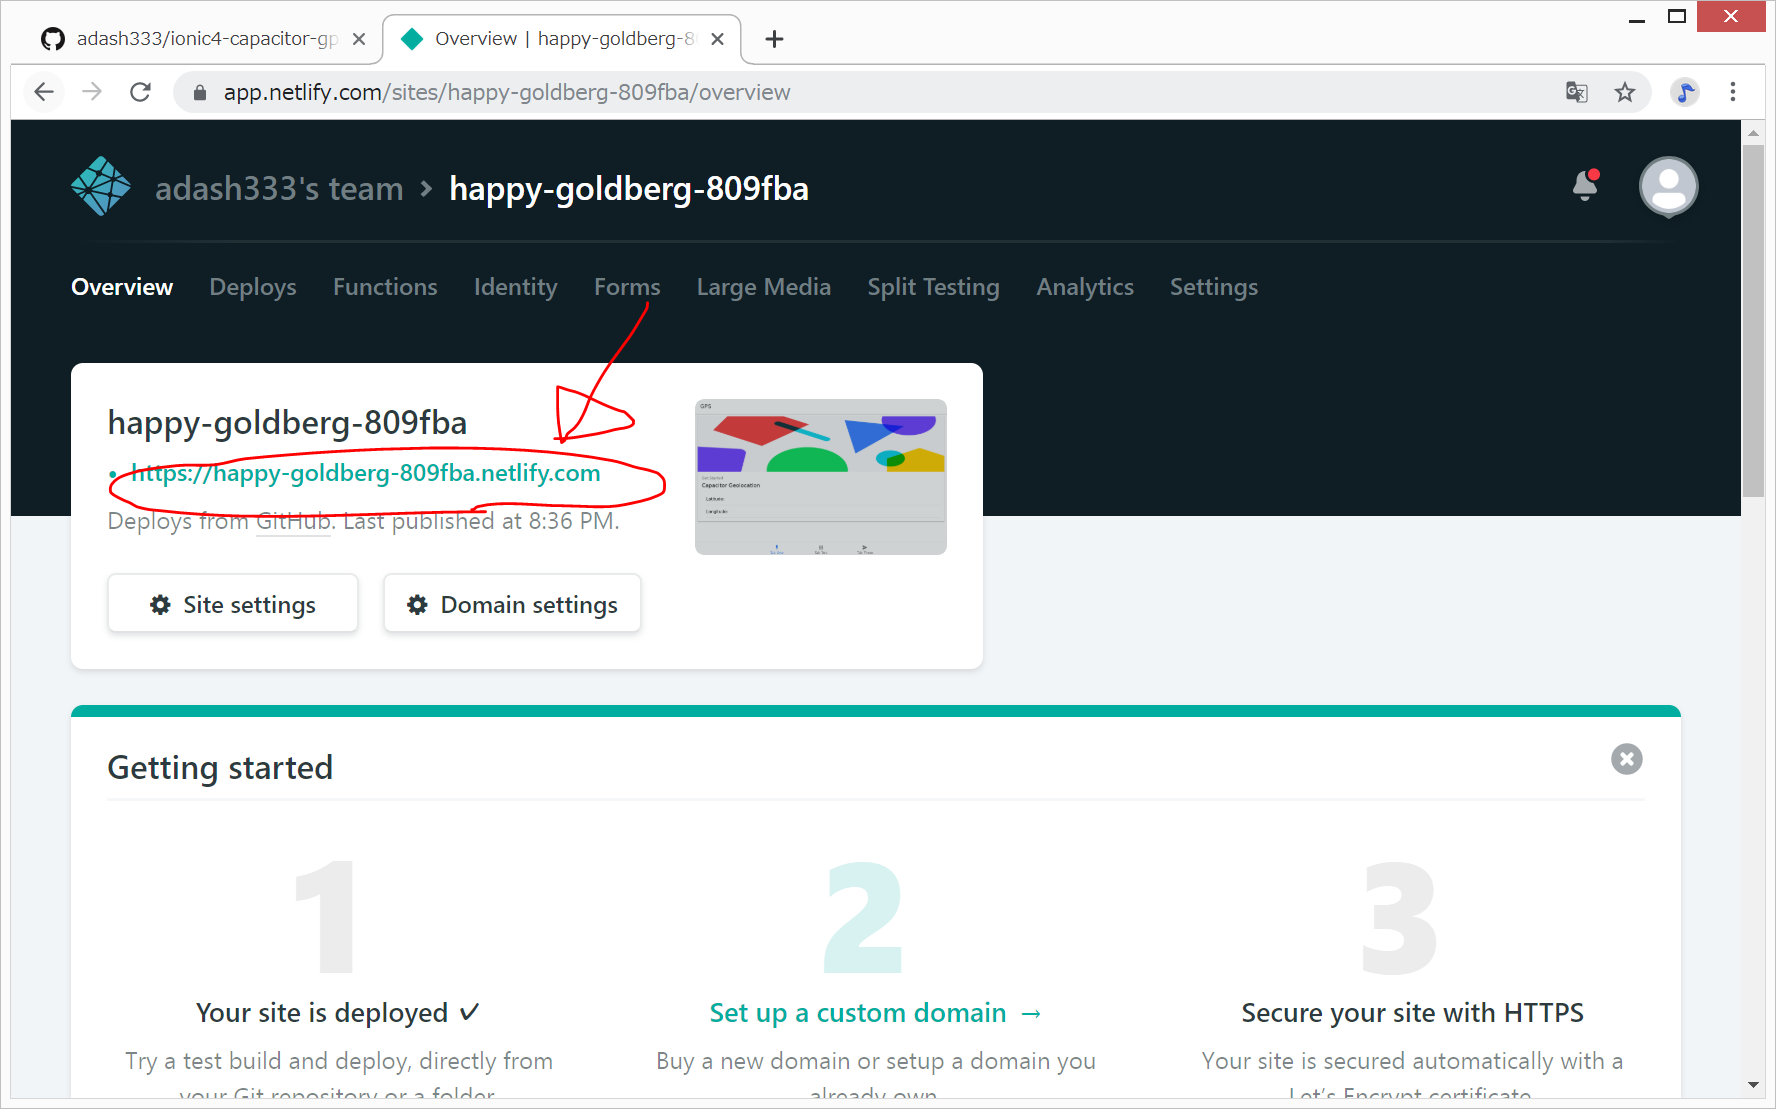
1分くらい待つと、以下のようになるので、リンクをクリックします。
https://happy-goldberg-809fba.netlify.com/
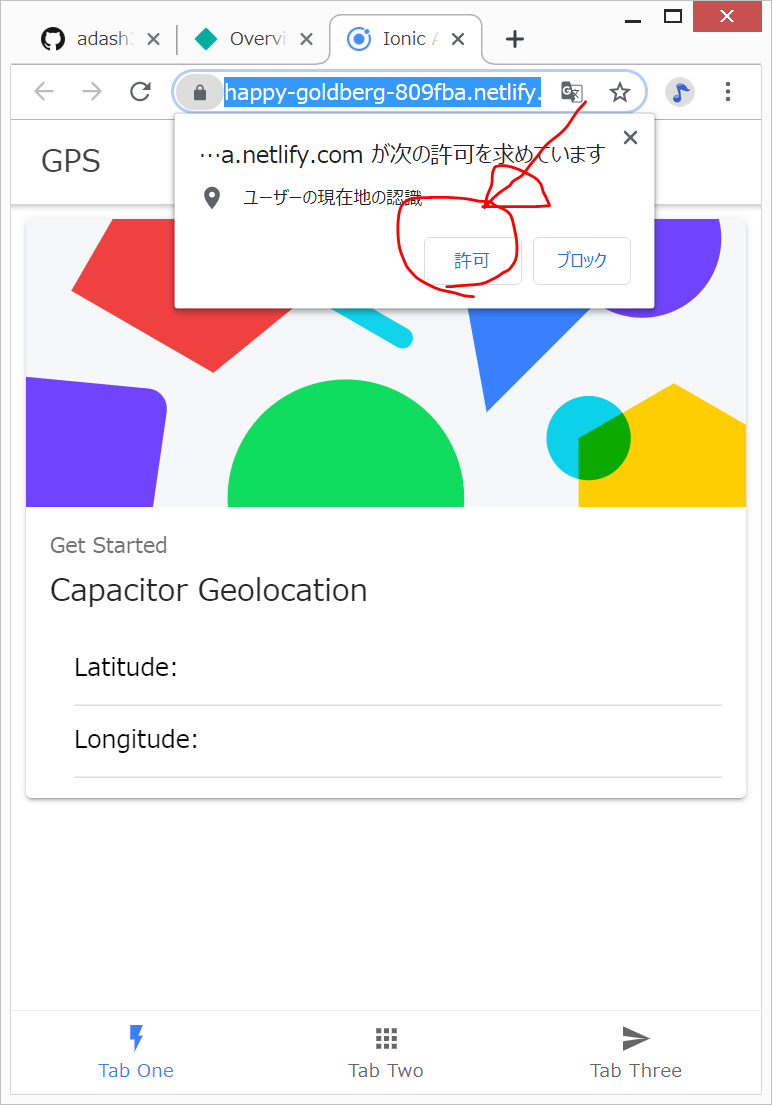
次の許可を求めています。。。と表示されるので、許可 をクリック。
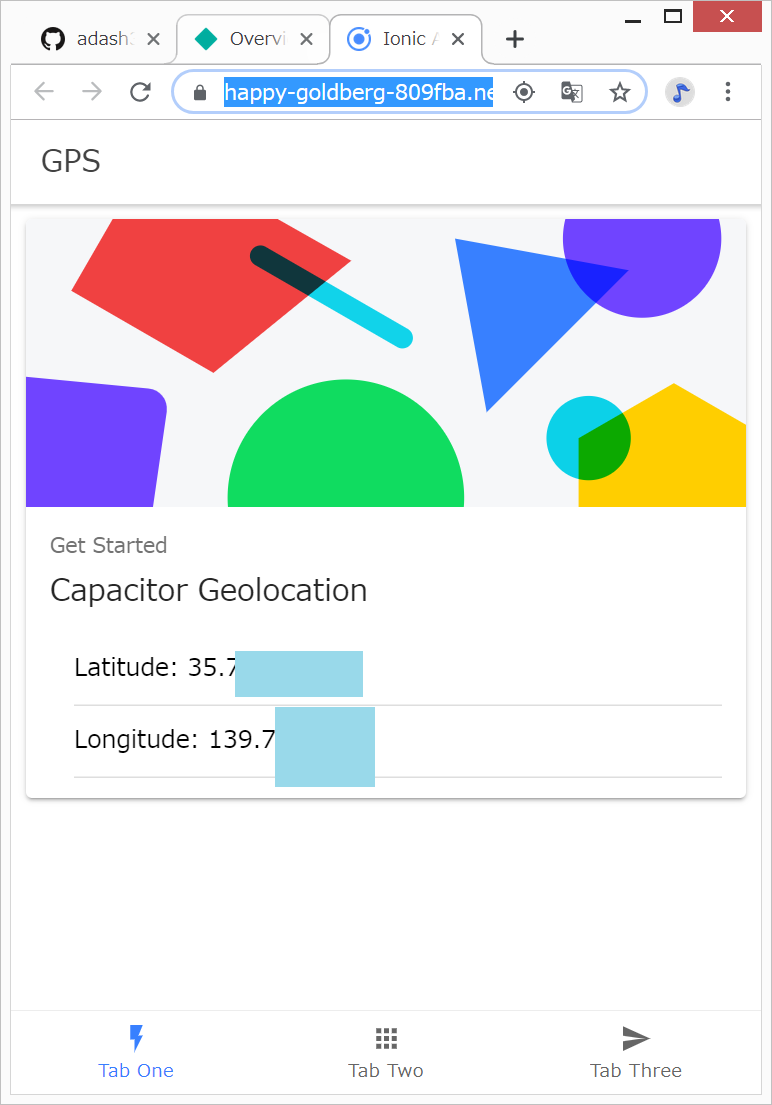
ノートパソコンなのに、緯度と経度が表示されました。これは簡単!すごい!
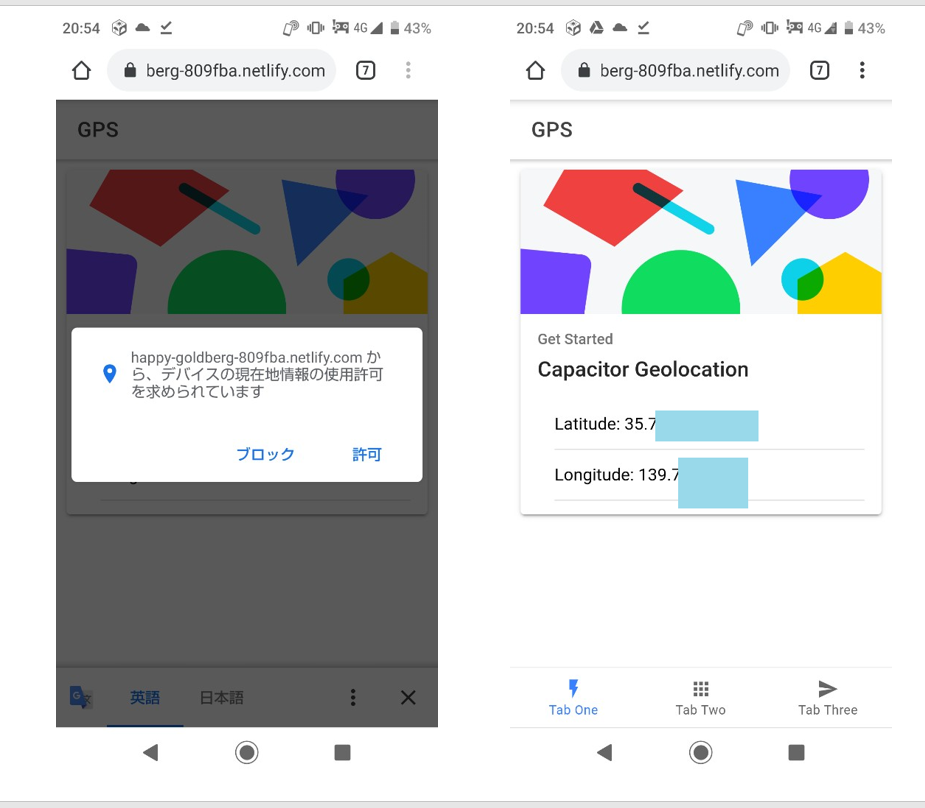
上記のアドレスをAndroidスマホで開いてみます。
許可 をクリックすると、ちゃんと緯度と経度が表示されました。これはすごく簡単!
サイトのPWAにtry(新しくNetlifyのサイトを作成する必要あり)
せっかくなので、オフラインでも動作してほしいと思うので、PWA化したいと思います。
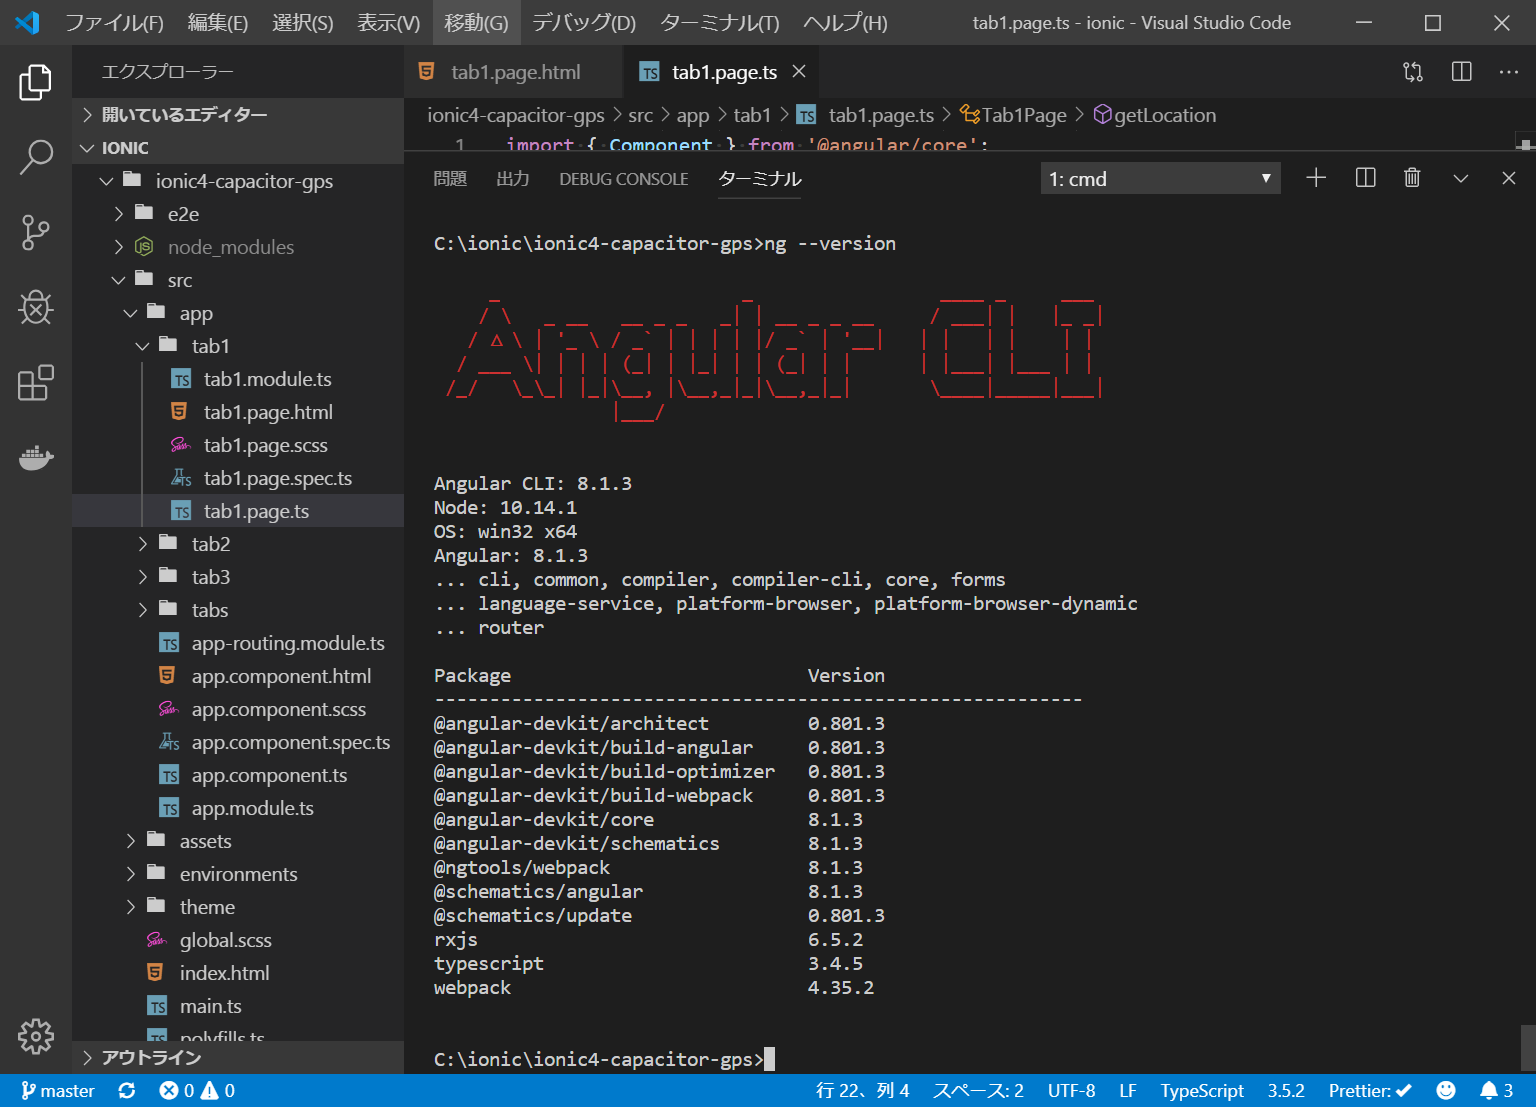
npm install -g @angular/cli
私の環境では、Angular CLI: 8.1.3 がインストールされました。
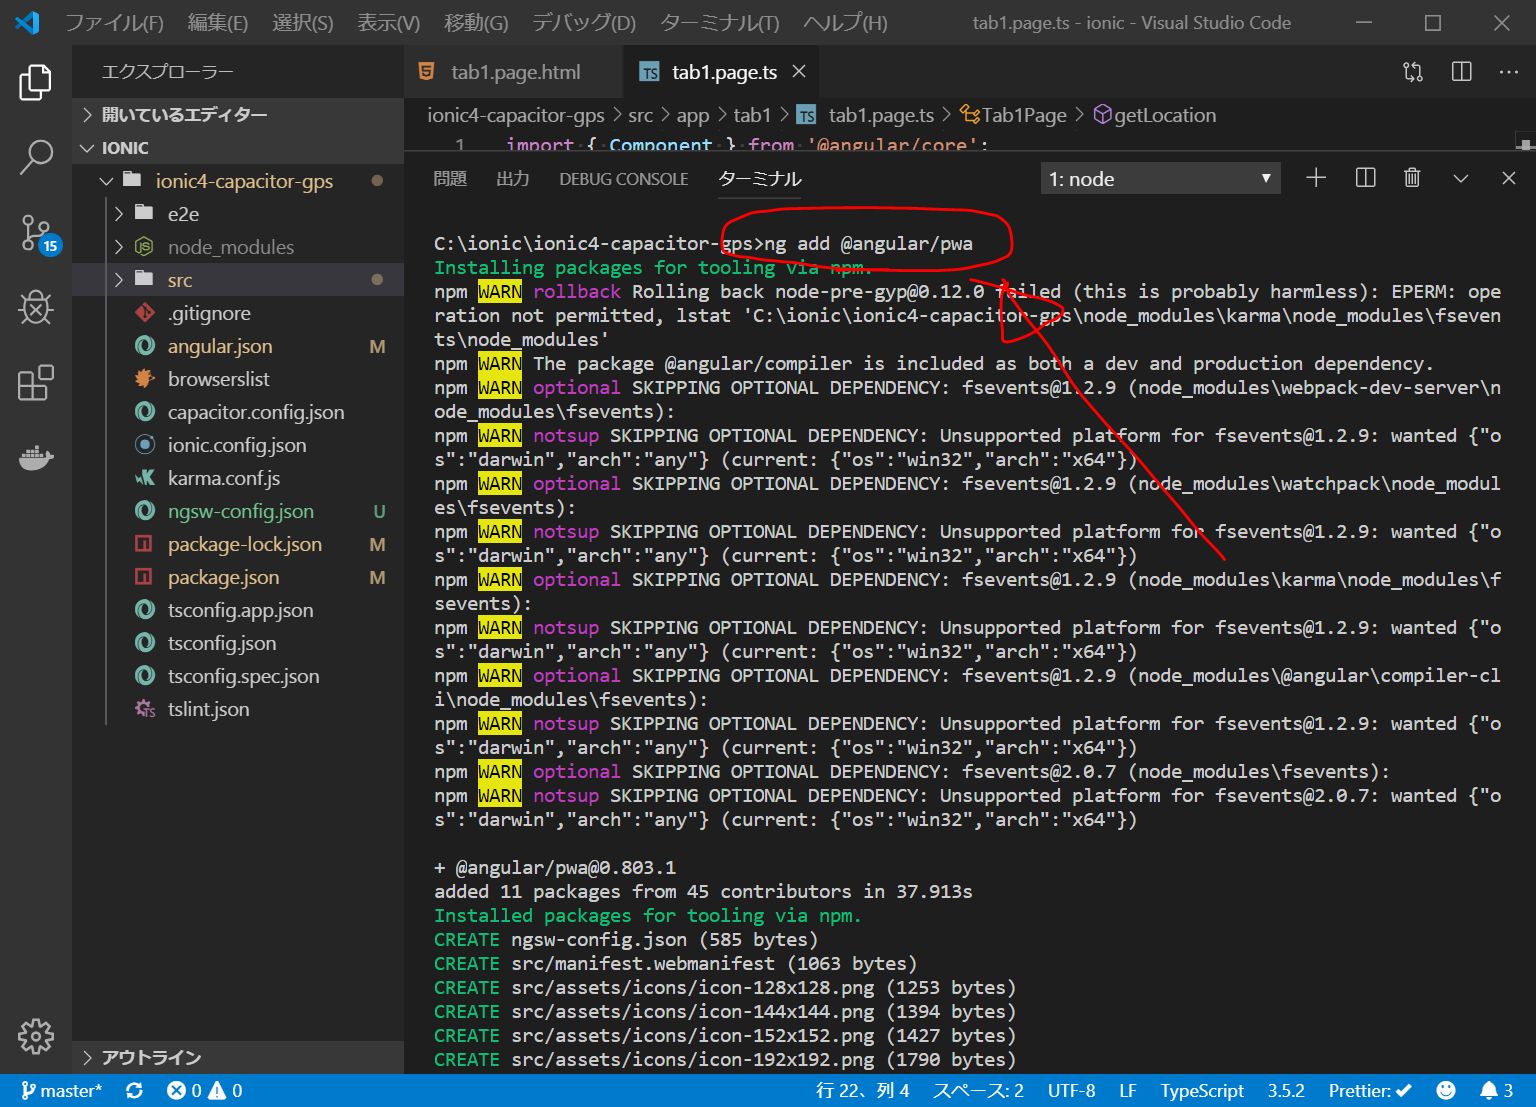
ng add @angular/pwa
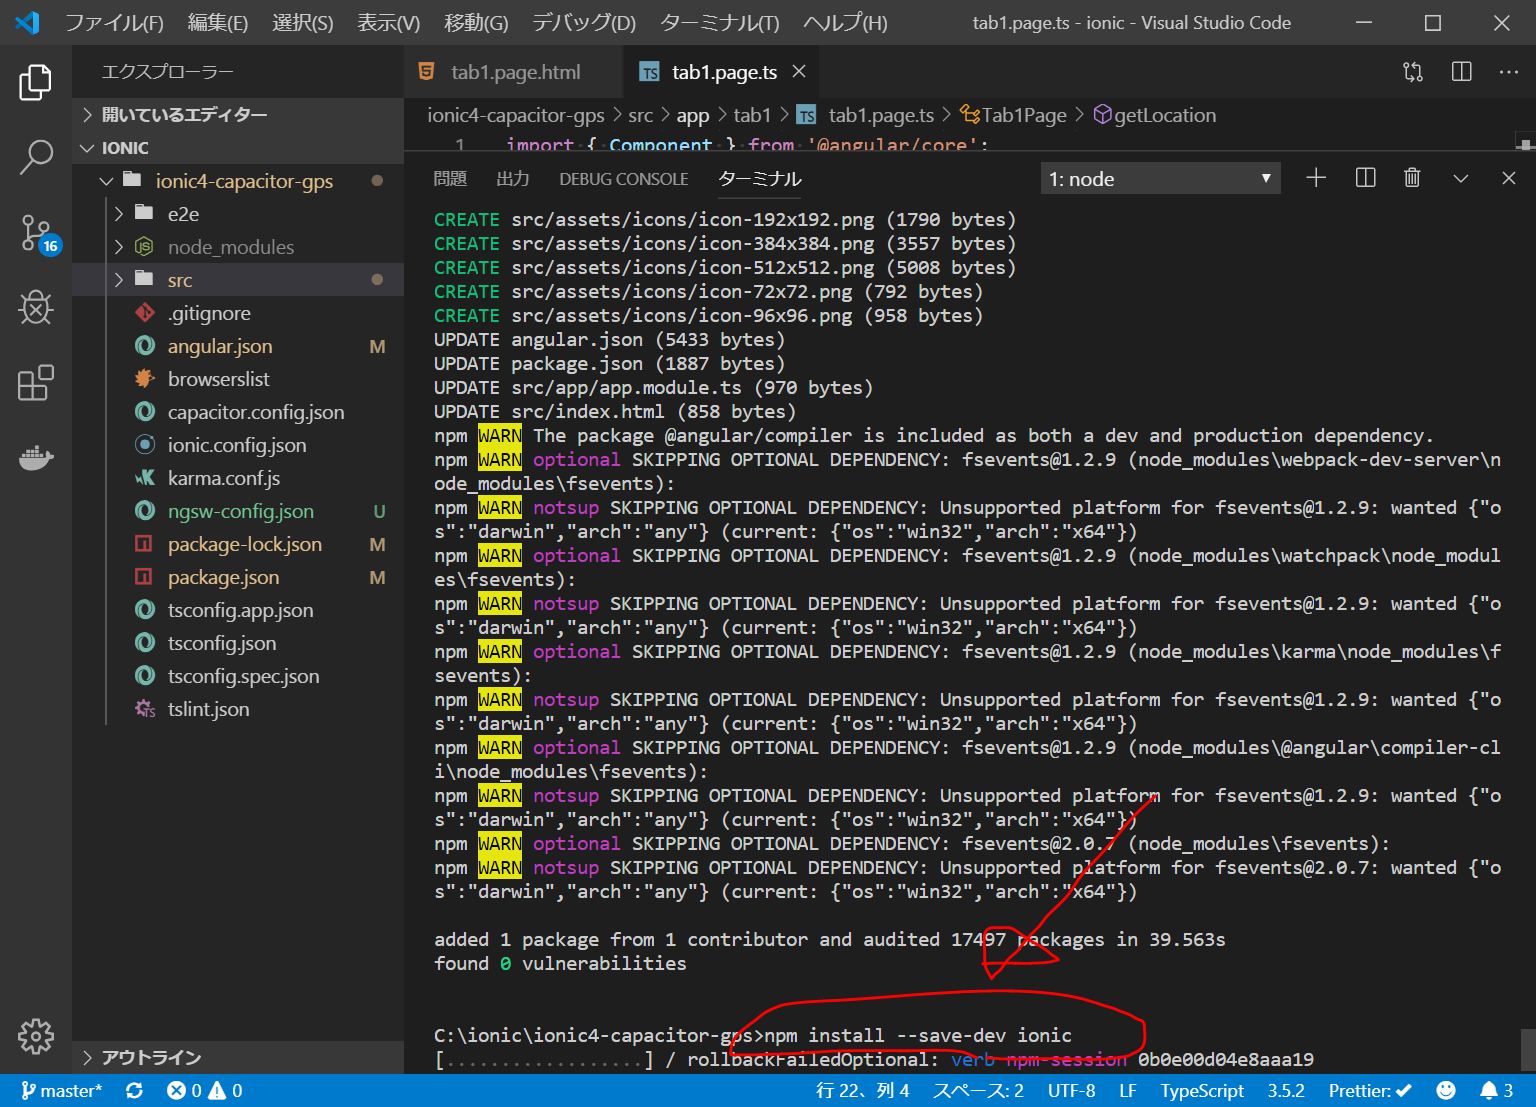
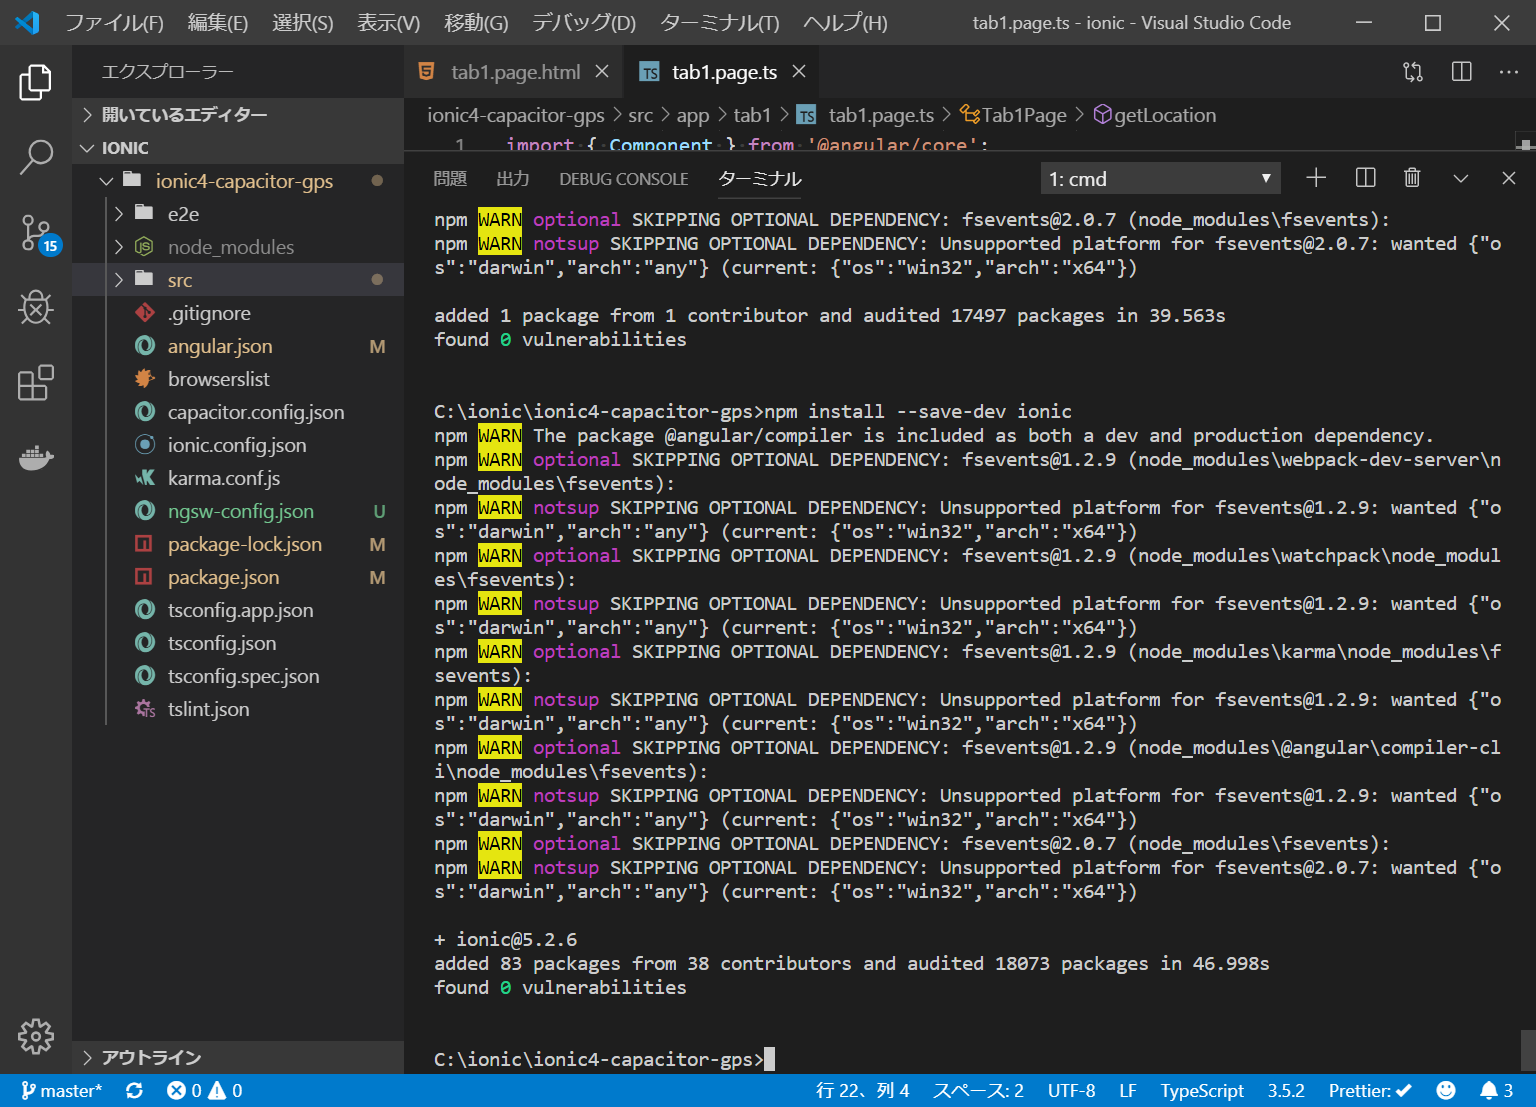
npm install --save-dev ionic
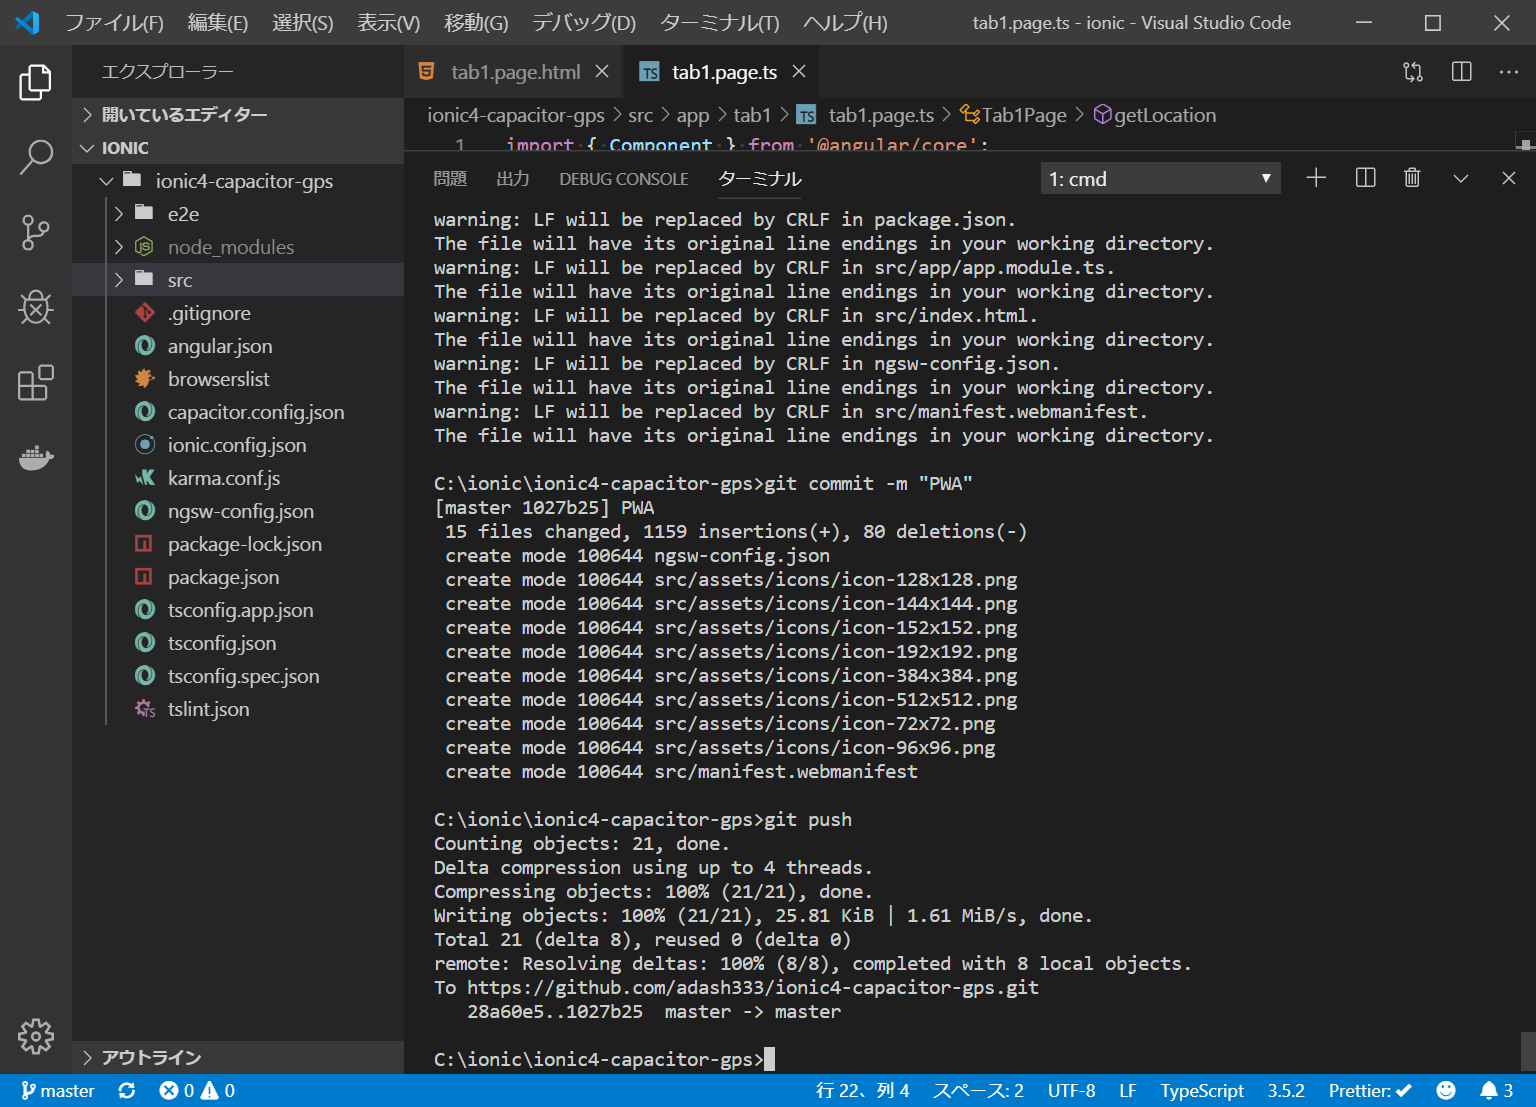
GitHubへpushします。
git add .
git commit -m "PWA"
git push
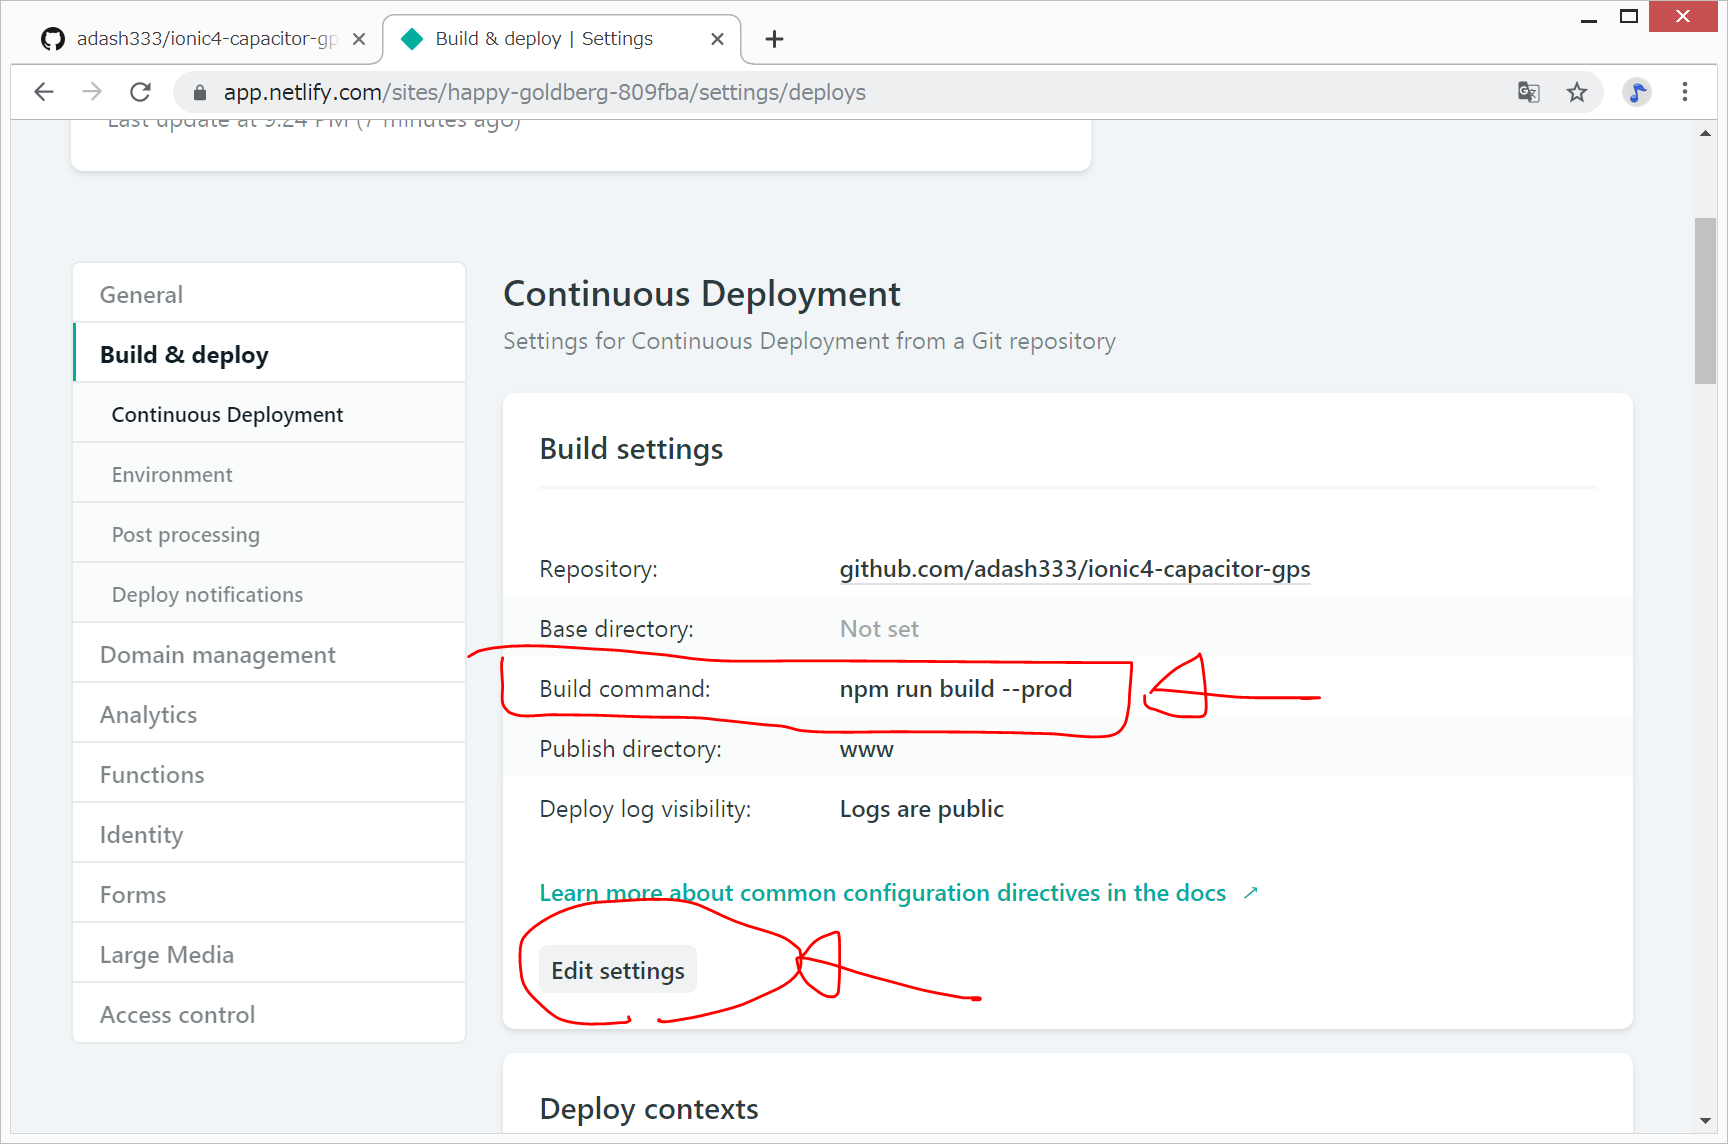
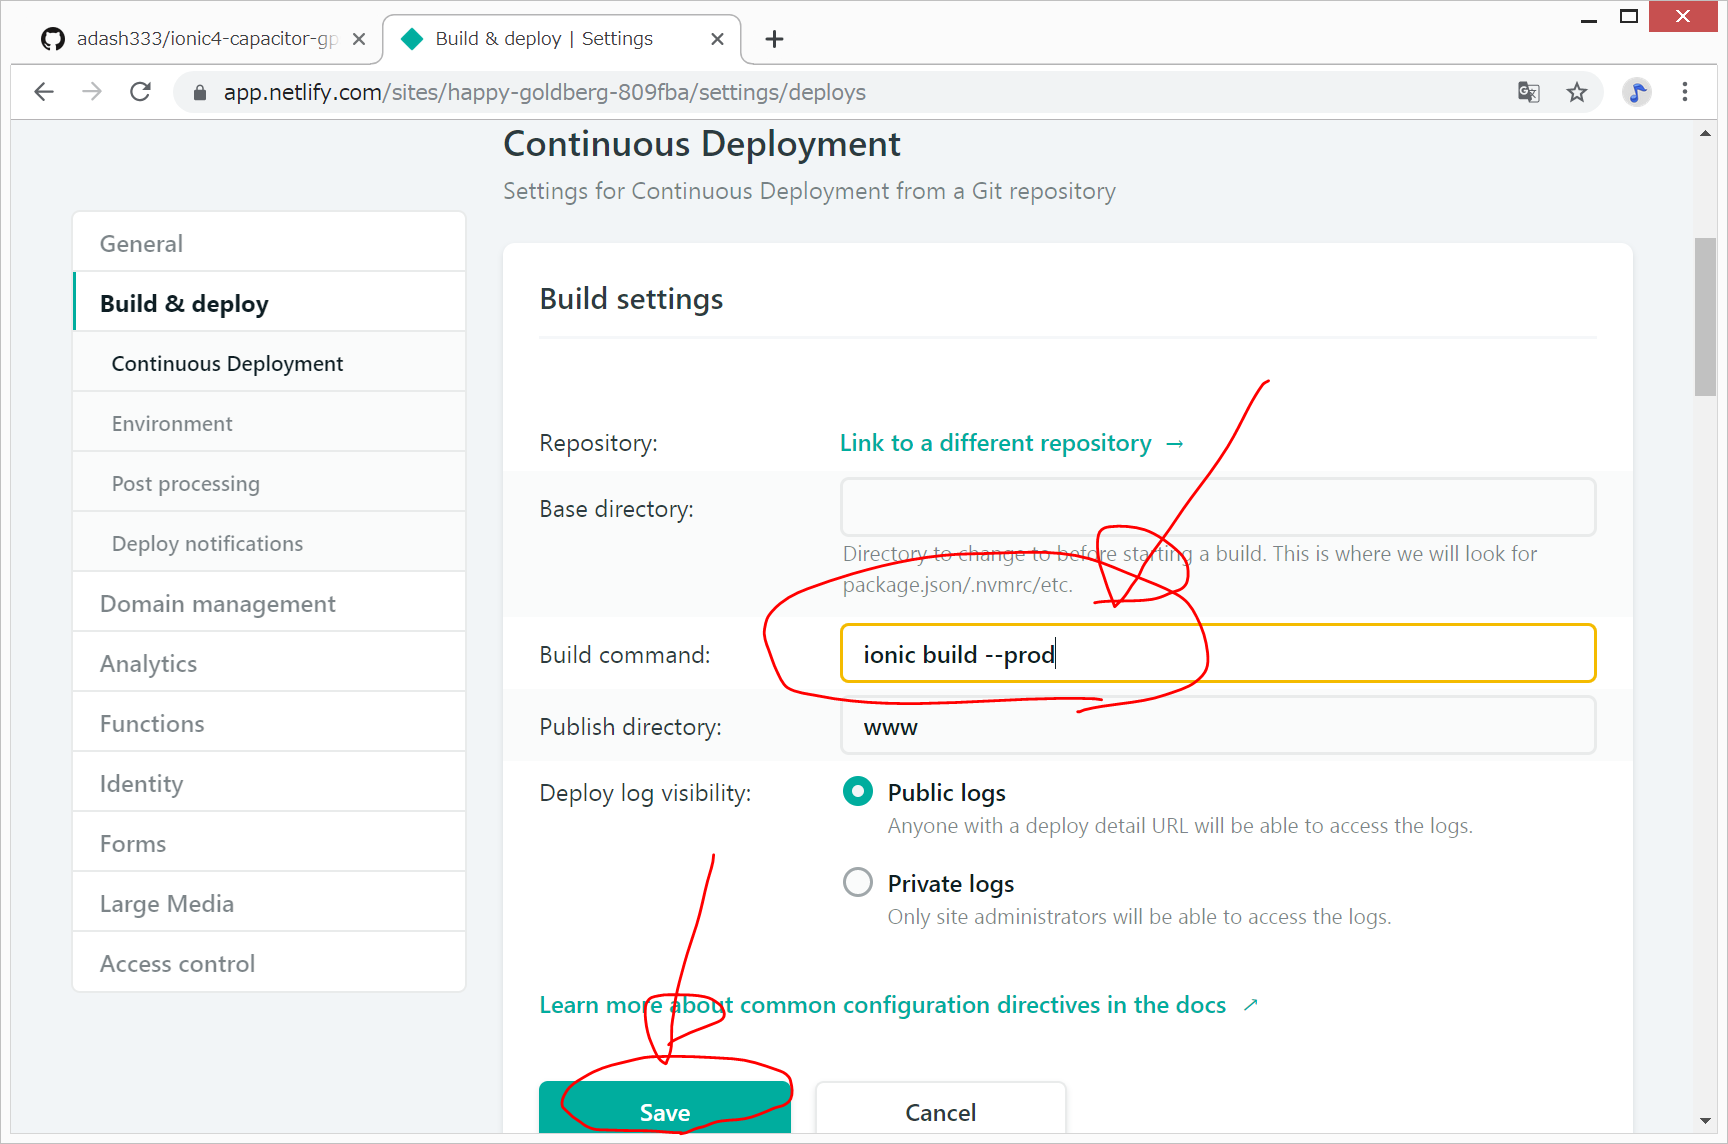
GitHubへpushすると、自動的にNetlifyの方も更新されますが、今回は、Netlifyのbuildコマンドも変更する必要があります。
Netlifyでのコマンドは
ionic build --prod
www
に変更となります。
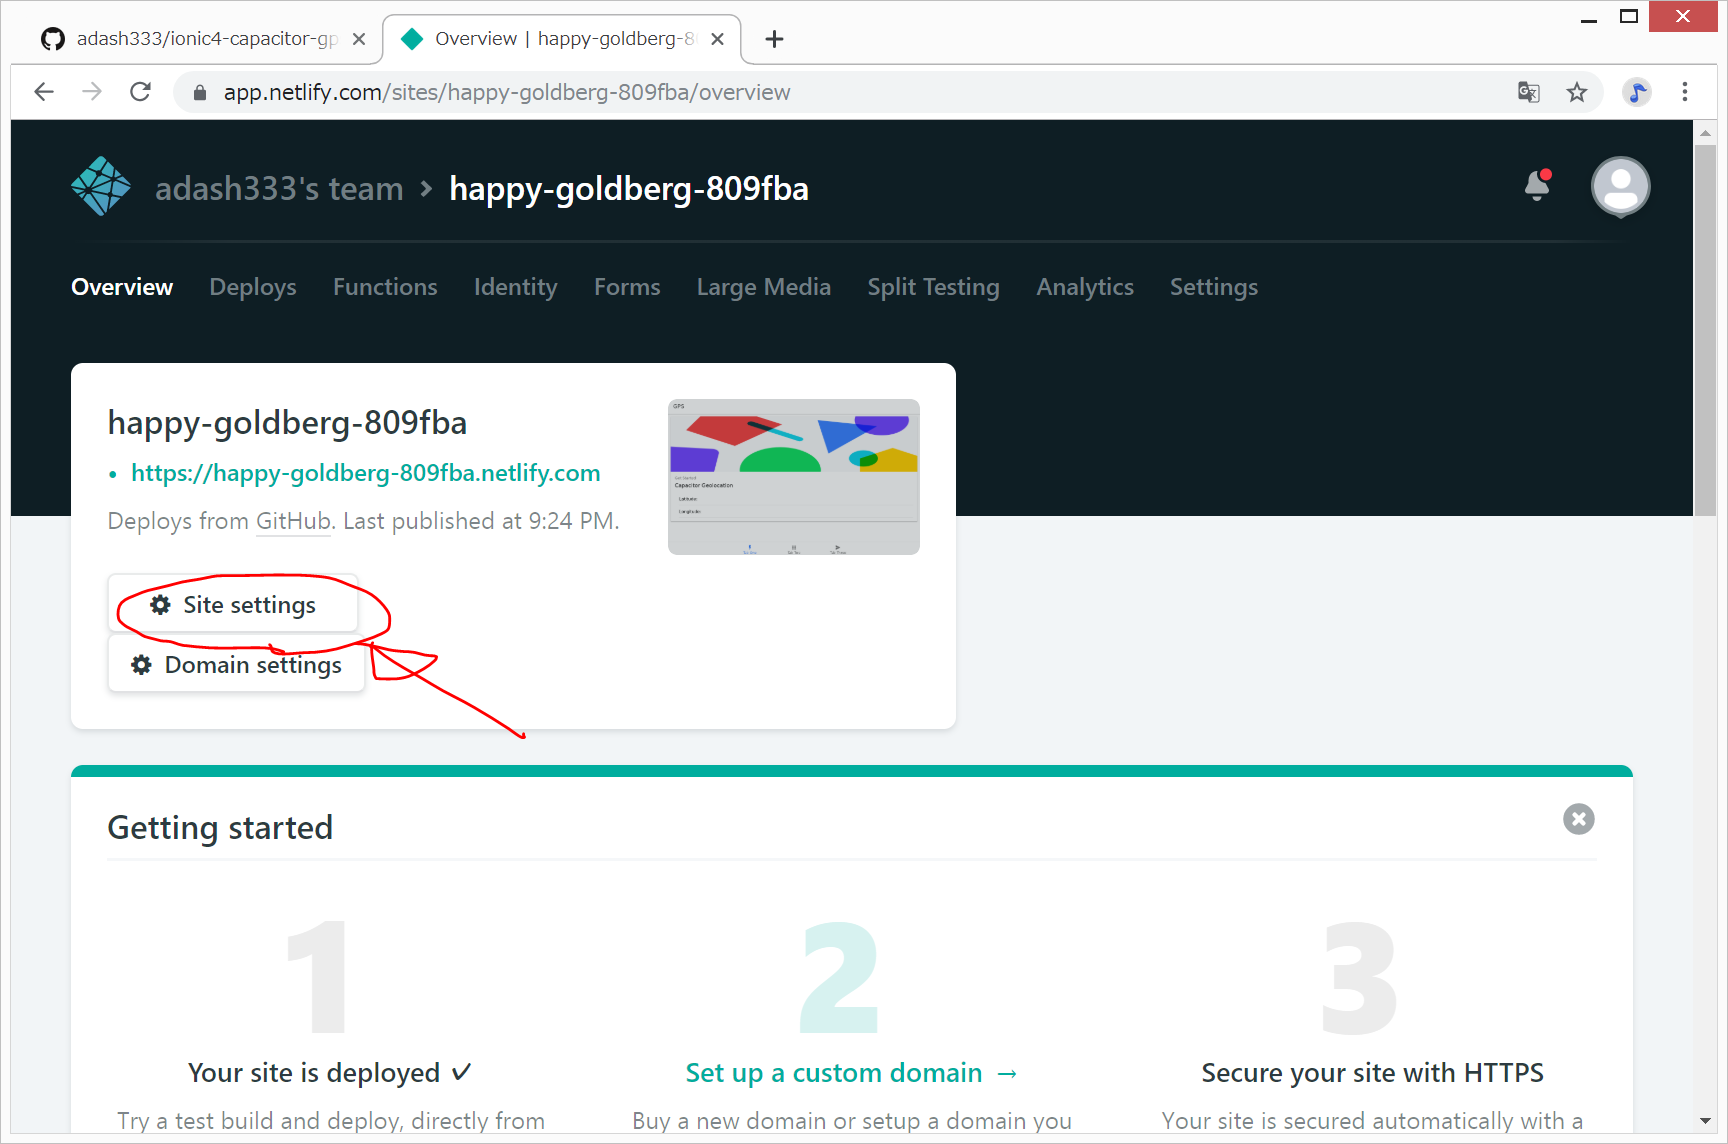
Site Settings をクリック。
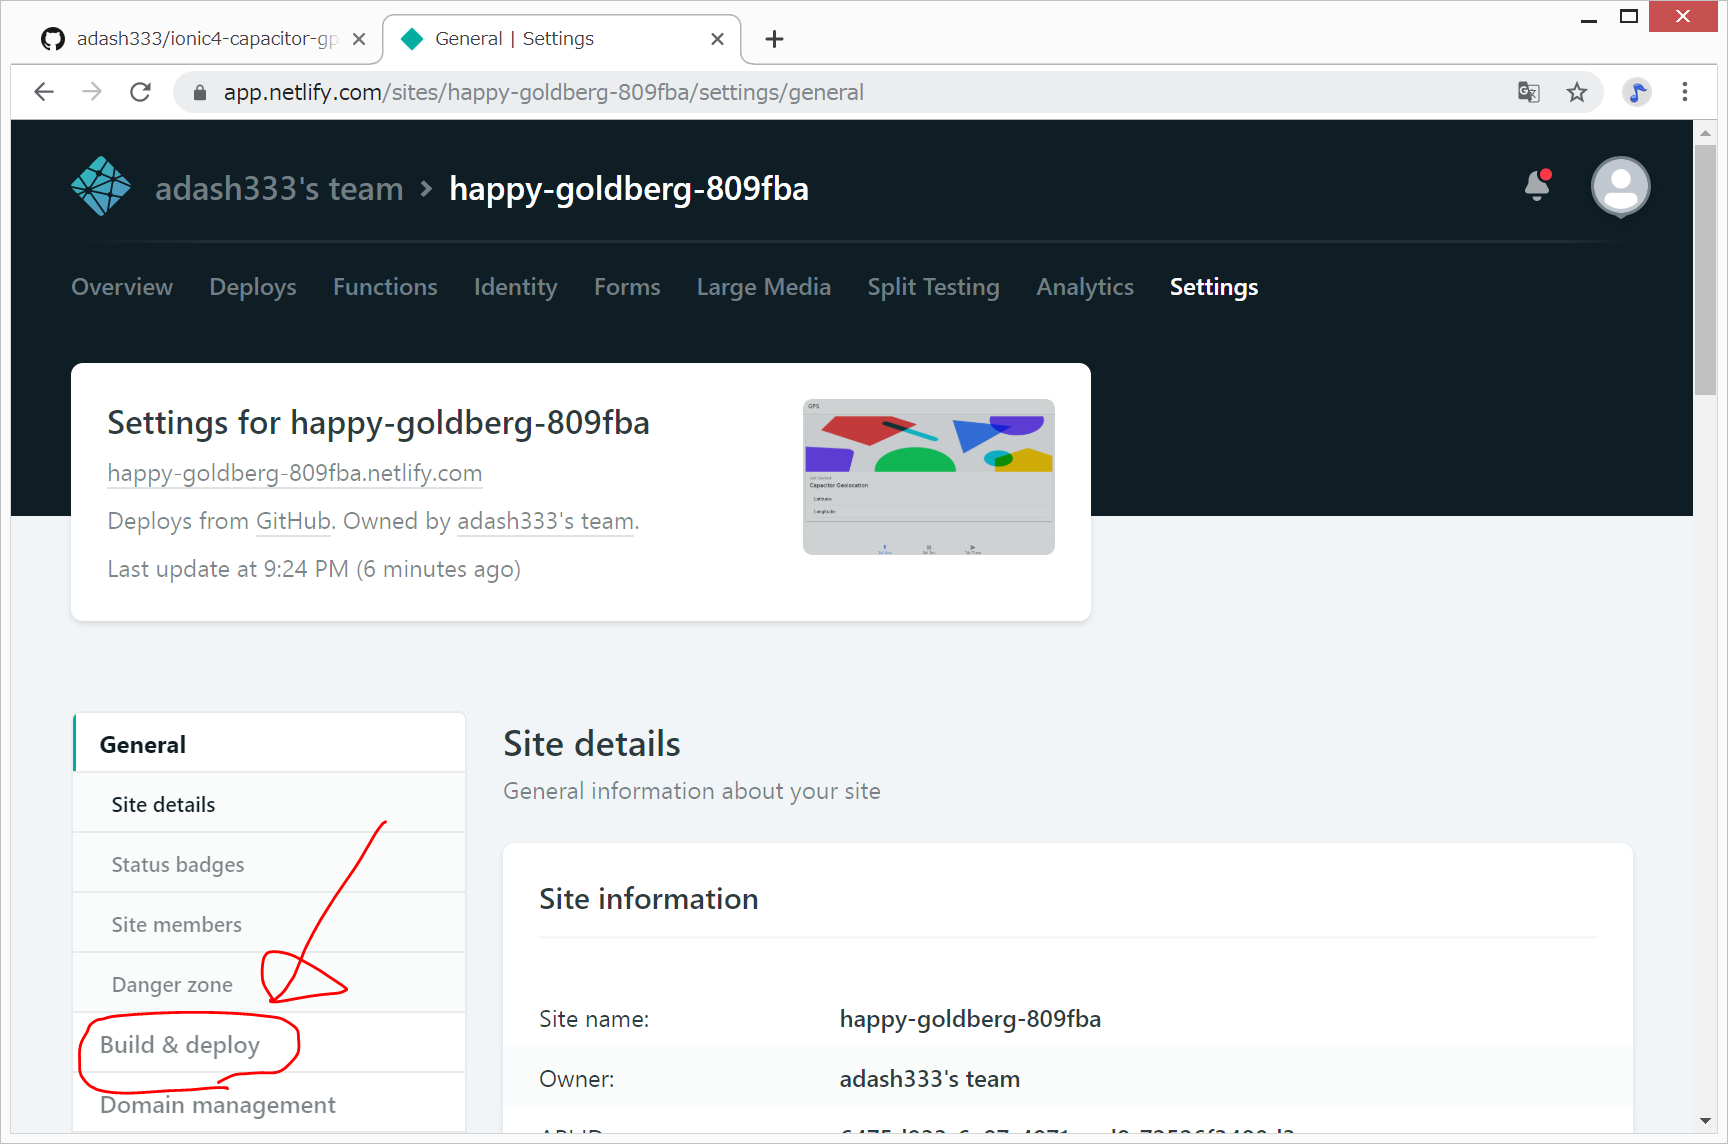
Build and Deploy をクリック。
以下のように変更します。
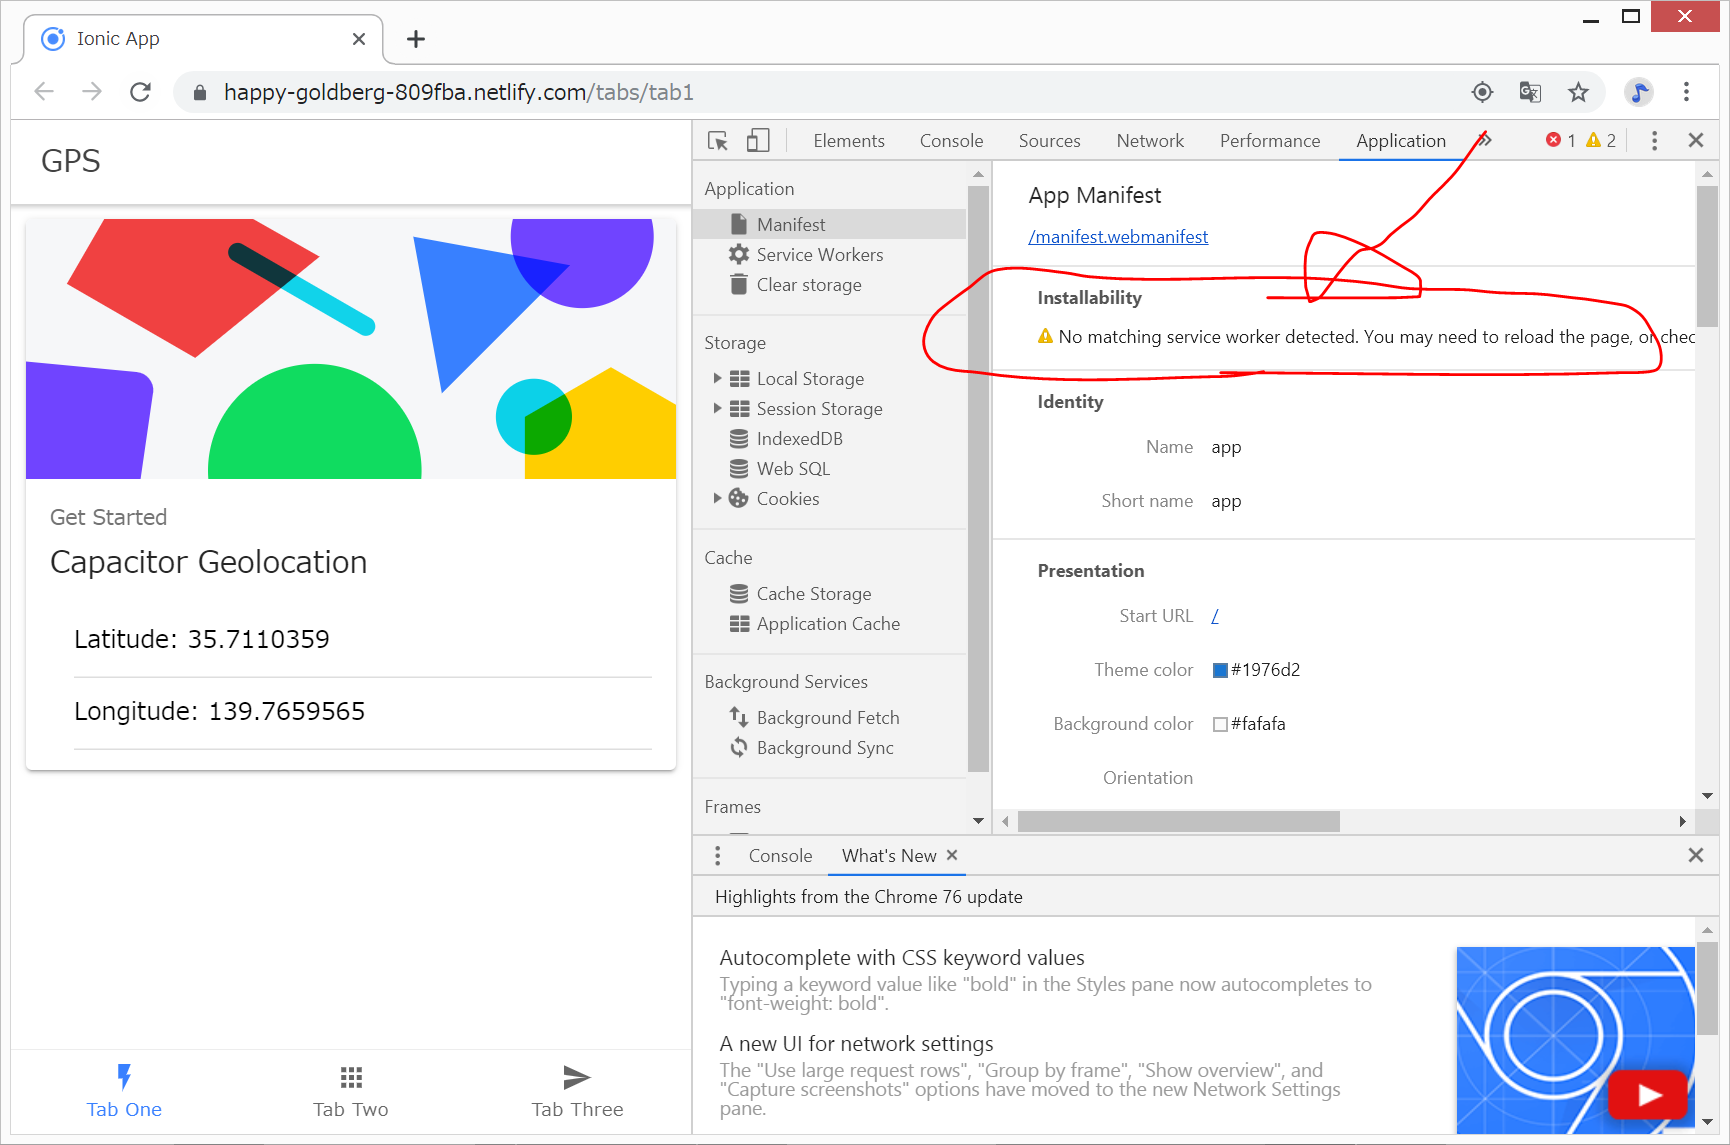
しかし、うまくいきませんでした。sevice-worker.jsがうまく読み込めていません。原因は分かりません。
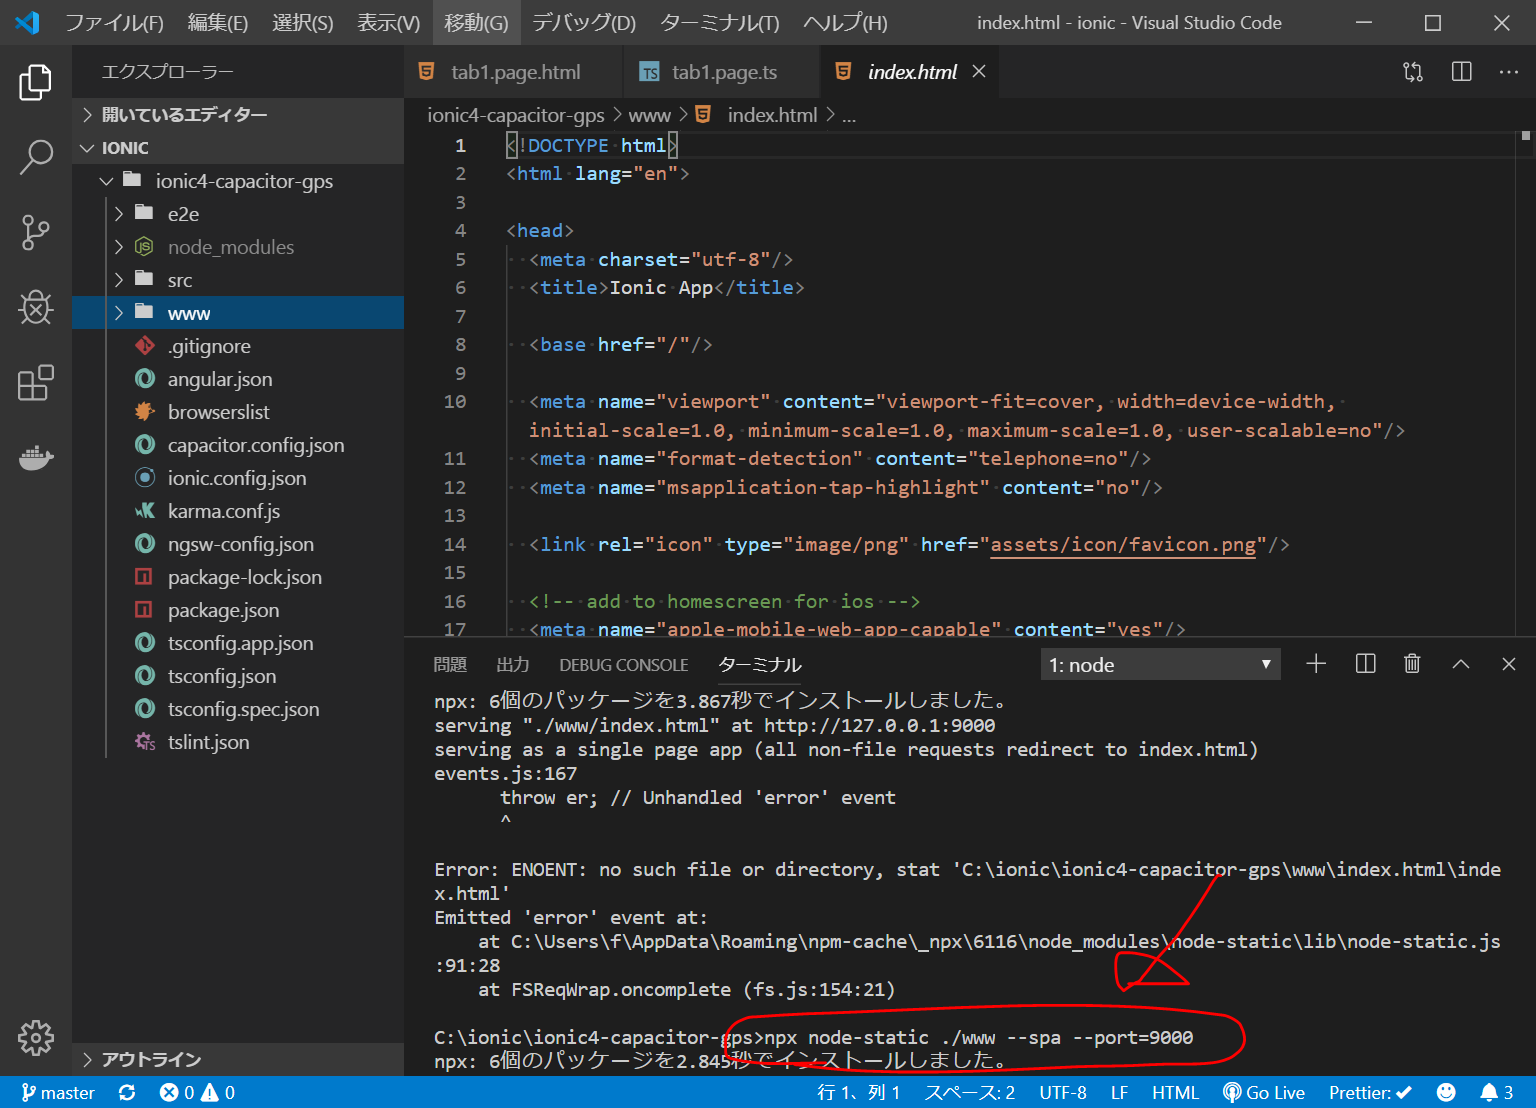
ちなみに、開発サーバですと、以下の2つのコマンドで、pwa化できていました。
ionic build --prod
npx node-static ./www --spa --port=9000
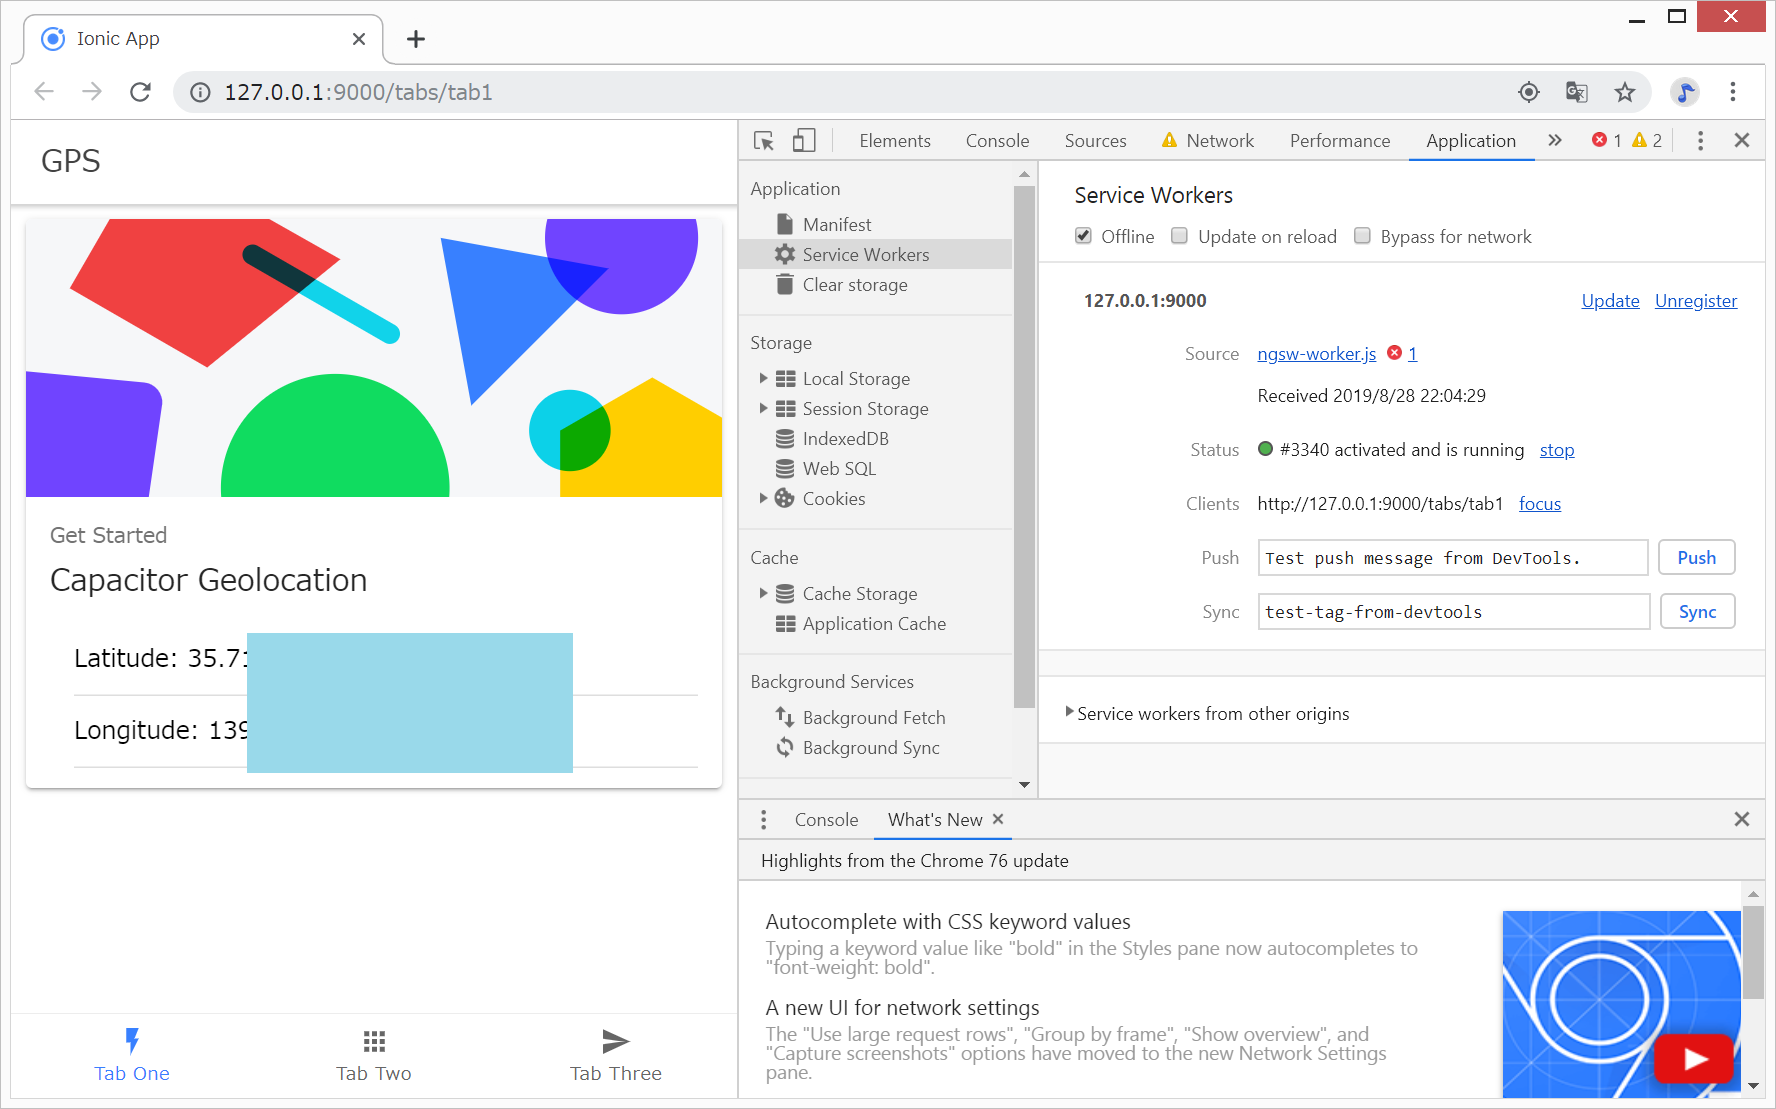
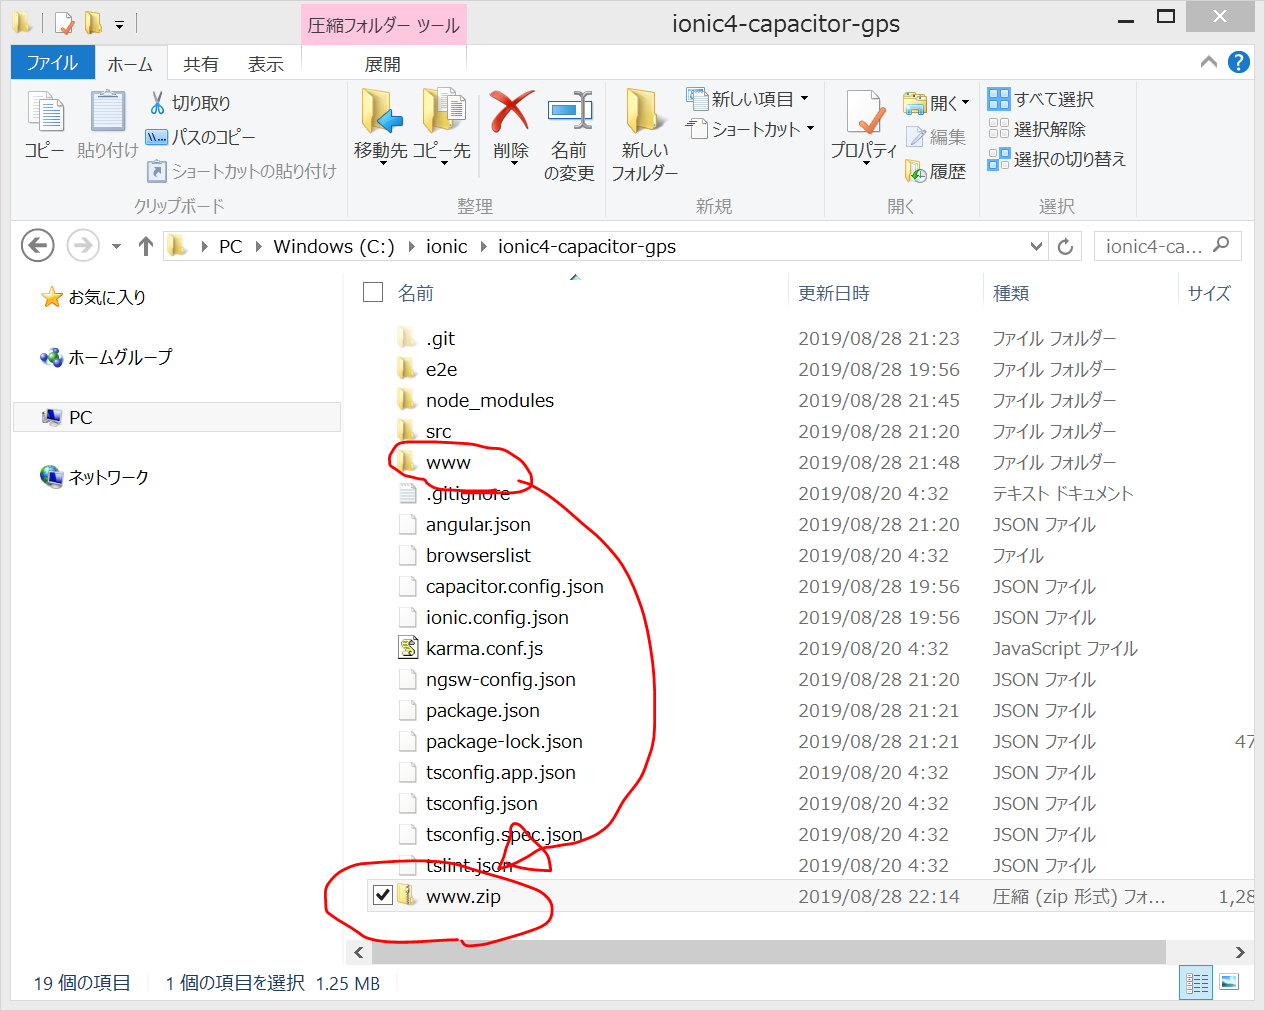
ということで、この www/ フォルダをZIPファイルにしてNetlifyにZIPファイルを投げ込んだら、PWAアプリになりました。なぜGitHubからのデプロイでうまくいかないのか、原因は分かりません。。。
PWA化したDEMOサイト
https://epic-edison-2e341f.netlify.com/tabs/tab1
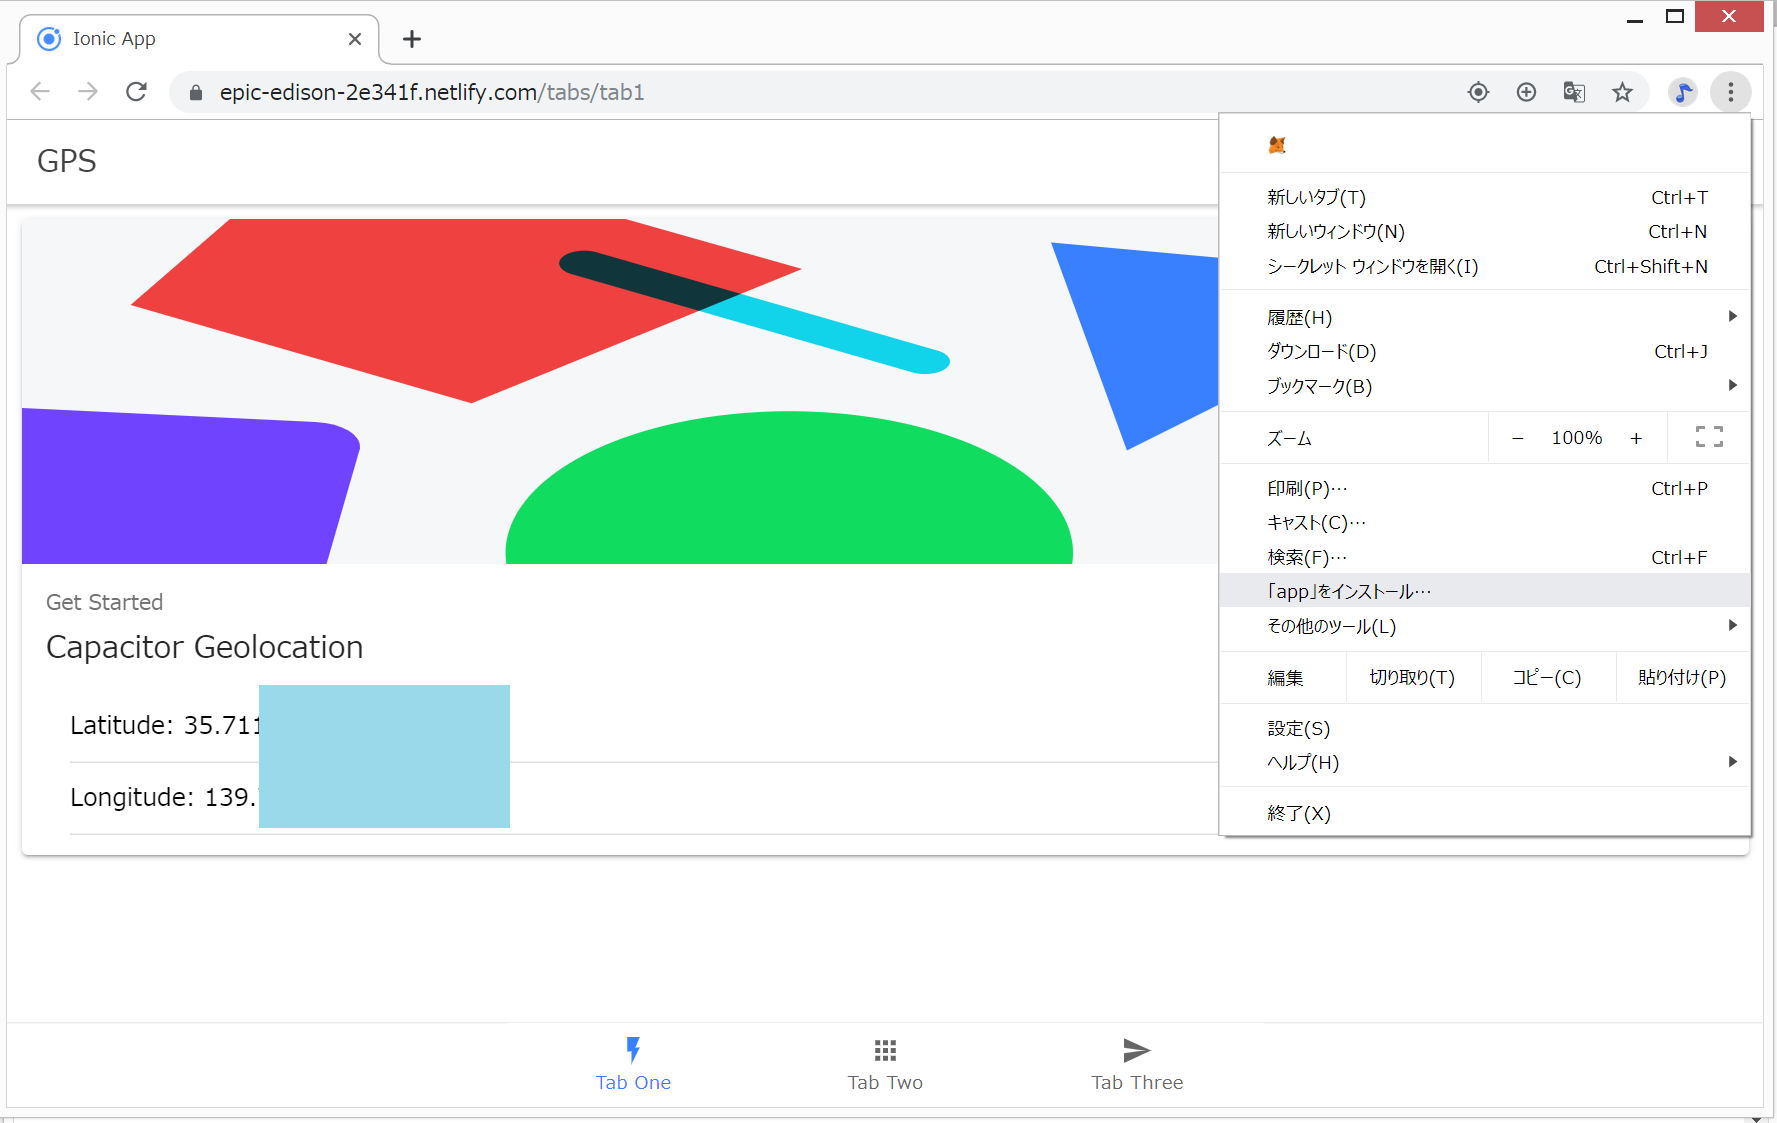
新しくNetlifyのサイトを作成したら、PWA化されていました。
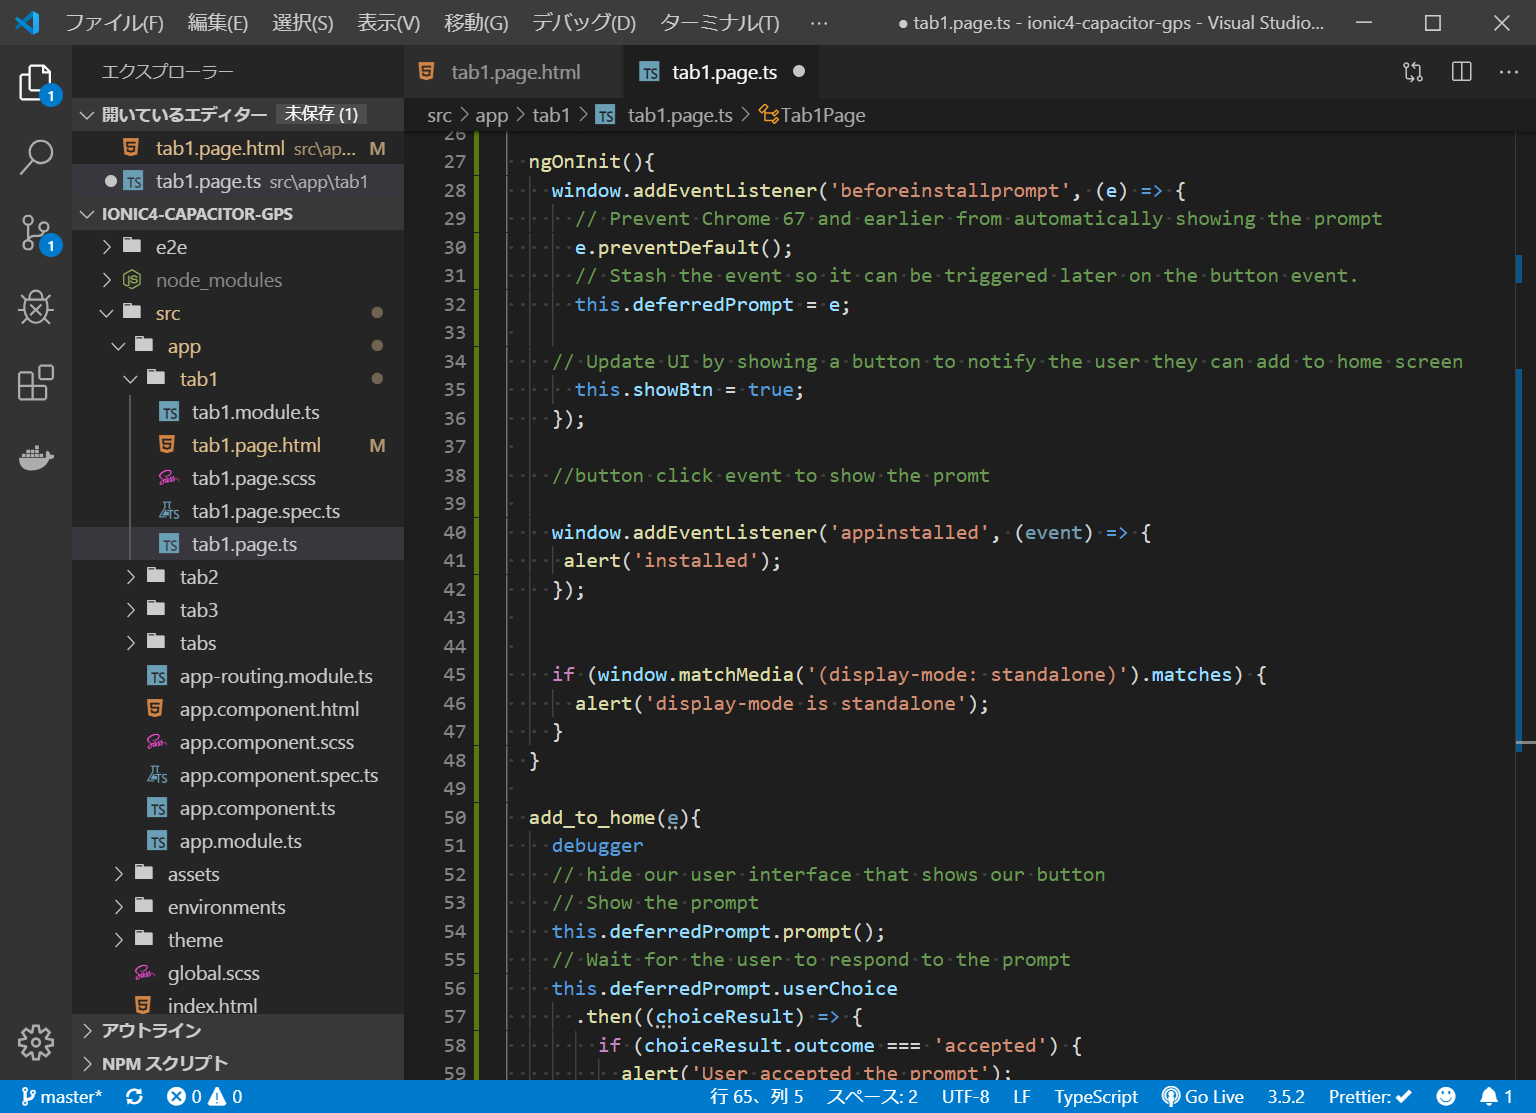
(オプション)Add to HomeScreenボタンの追加
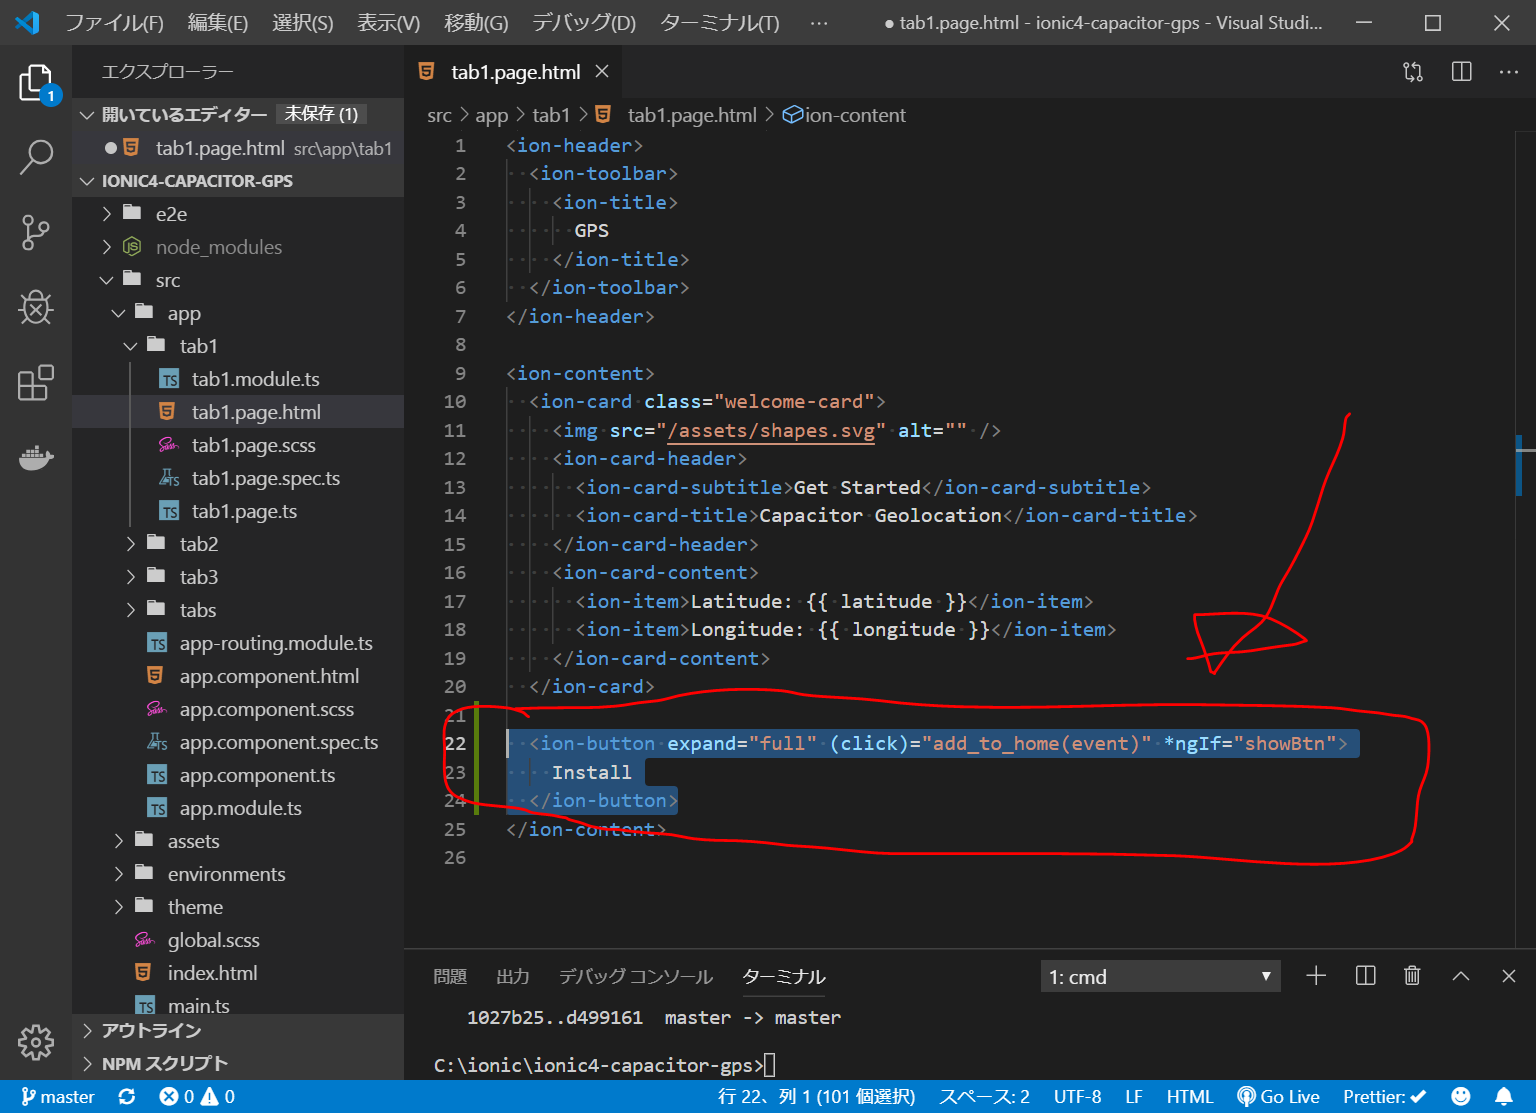
http://i-doctor.sakura.ne.jp/web/doku.php?id=00.ionic4:09.ionic4%E3%81%A7pwa#%E3%83%A1%E3%83%A2 を参考に、Add to HomeScreenボタンを追加します。
// 一部省略
  <ion-button expand="full" (click)="add_to_home()" *ngIf="showBtn">
    Install
  </ion-button>
// 一部省略
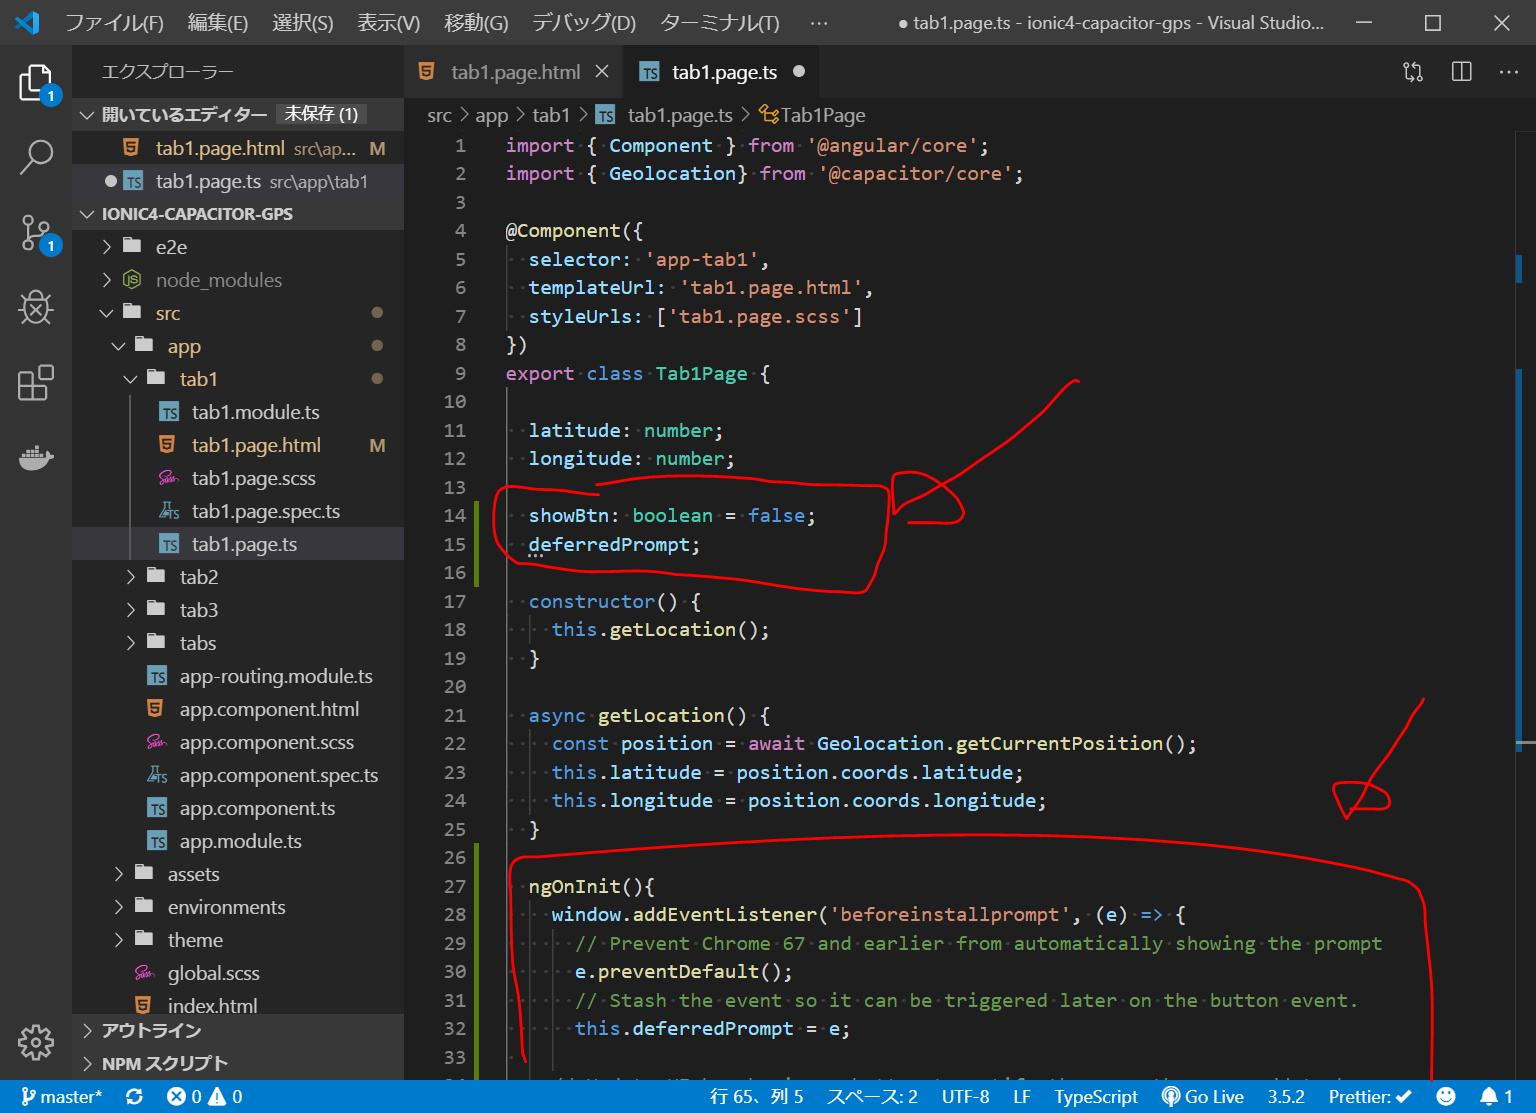
export class Tab1Page {
  showBtn: boolean = false;
  deferredPrompt;

  constructor() {
  }

  ngOnInit(){
    window.addEventListener('beforeinstallprompt', (e) => {
      // Prevent Chrome 67 and earlier from automatically showing the prompt
      e.preventDefault();
      // Stash the event so it can be triggered later on the button event.
      this.deferredPrompt = e;

    // Update UI by showing a button to notify the user they can add to home screen
      this.showBtn = true;
    });

    //button click event to show the promt

    window.addEventListener('appinstalled', (event) => {
     alert('installed');
    });


    if (window.matchMedia('(display-mode: standalone)').matches) {
      alert('display-mode is standalone');
    }
  }

  add_to_home(){
    debugger
    // hide our user interface that shows our button
    // Show the prompt
    this.deferredPrompt.prompt();
    // Wait for the user to respond to the prompt
    this.deferredPrompt.userChoice
      .then((choiceResult) => {
        if (choiceResult.outcome === 'accepted') {
          alert('User accepted the prompt');
        } else {
          alert('User dismissed the prompt');
        }
        this.deferredPrompt = null;
      });
  };
}
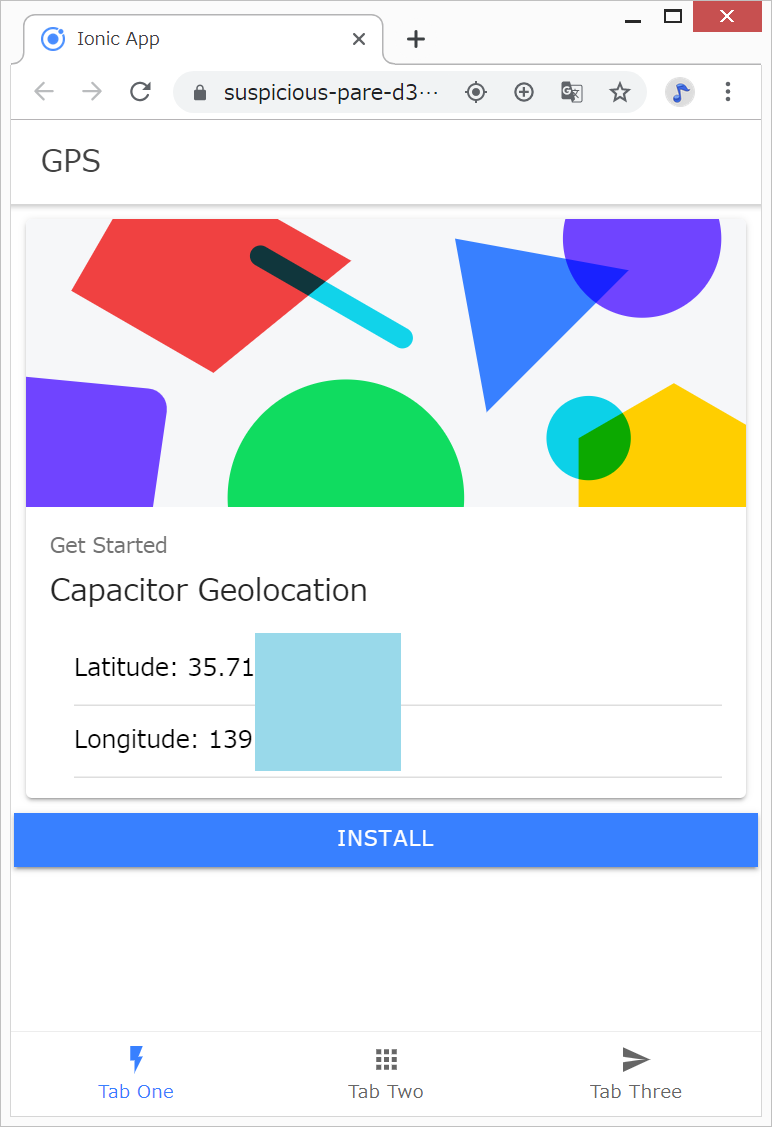
インストールボタンができました。
ソースコードとDEMOサイト
IonicとCapacitorに関するリンク
https://alligator.io/ionic/capacitor-location/
Getting Location Data with Ionic 4 and Capacitor
Brooks Forsyth
https://capacitor.ionicframework.com/docs/apis/geolocation/
Geolocation
リンク

